17. Wildcard week
This week I use another machine on AgriLab : Brother VR. It’s an single needle embroidery machine, 7” LCD Display, embroidery speeds up to 1,000 stitches per minute. In USA it’s called the Brother PRS100
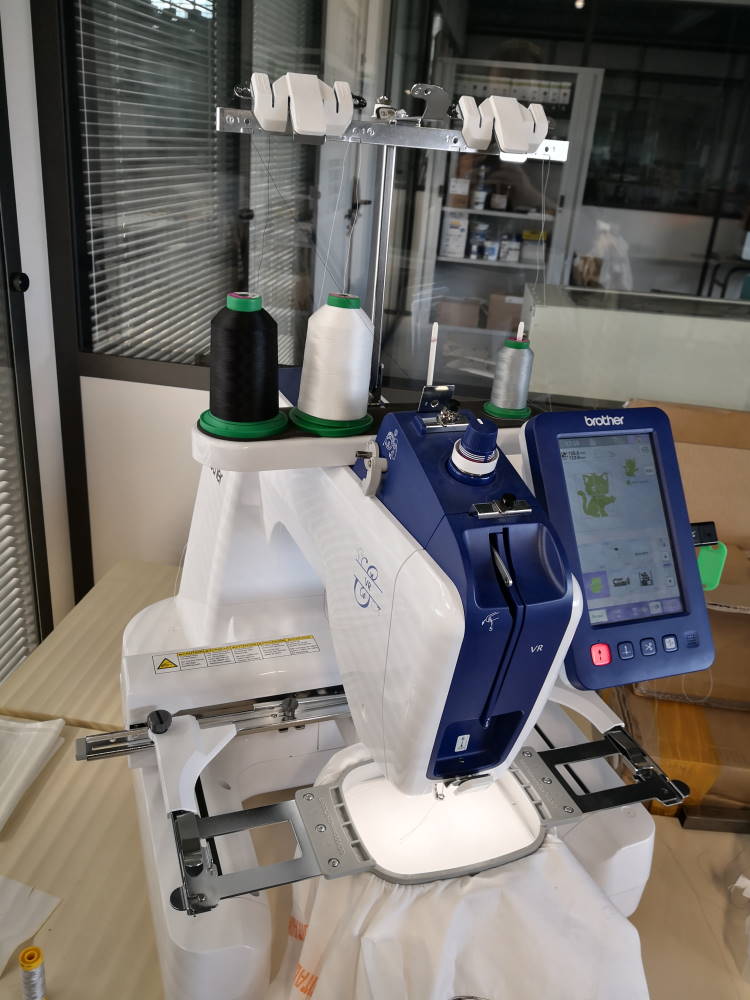
Actually, we can go up to 20 x 20 cm. This machine works with a Brother Software : PE DESIGN 10.
I use it since 18 month and here are some things I have already made before :
This machine works very well and have some interesting feature like auto cutting when switching to another shape (It’s very important to remember it).
But for this week, I will try to do by another way -> Inkscape !
This miracle can be made with the help of an inkscape plugin : Ink/Stitch. With this plugin, normally we can generate embroidery usable on the Brother VR. Fake or real? Let’s try.
Why? Because PE DESIGN is expensive, a year ago I searched another software that can also does the job. I haven’t find working solution. And like all fabacademy week, I try to take time to discover new things and not just answering the week with something I already know. It’s a win-win challenge, even if it takes more time, I know more things at the end and it’s something new for AgriLab. I have already found this plugin last year but can’t spend enough time on it, I can’t get a result. I let this to a colleague, she spends a few time on it but no more result. Finding alternative to PE design is important because for all machines, we want to purpose free or cheap softwares that permit to AgriLab’s members to work on their project on their computer, so they are no limited to fablab hours.
First, I reuse a design made during computer-aided design week. First this model was changed to vector for engraving with the laser cutting machine on computer controlled cutting week but I forgot it, here I have a new chance to use it.
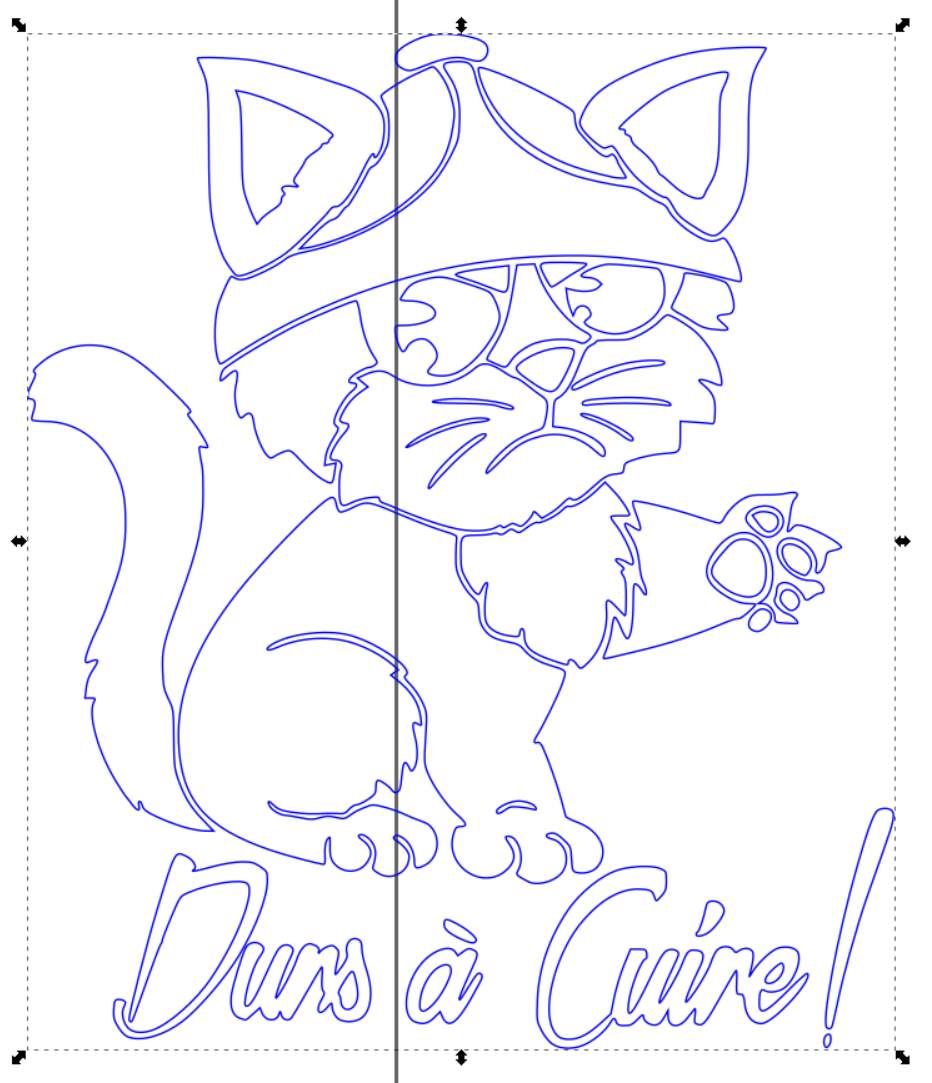
I remove text to keep just the cat.
Starting from here, we work in a specific way for embroidery. Ink/Stitch is not an old software, it’s a small open source project. Like most open source software, functionality is prior to UI. Why? Because it’s made by people who have a need and know how to answer to it, “a software from geeks to another geeks”. It’s very special for this software because 99% of people that uses embroidery machine aren’t no very skilled in computers. I follow french facebook groups dedicated to this plugin since this week and most of people are stuck just of installing inkscape and this add-on.
Following parts seems simple but it takes time for me to find solution of my problem. Already using a lot inkscape itself was a big big help for me to find way to correct problems after finding problems themselves. I don’t touch embroidery settings of Ink/stitch because even if I have made many embroideries with PE Design, I can’t say I’m mastering embroideries deep in the settings. I know how to start, repair the machine, design embroideries but PE design is already made to have default settings and functionality that works 99% of the time so I haven’t needed to push tuning. At AgriLab, for now I’m the only one who has passed all the stages until using the embroidery machine, here I will explain how to succeed faster because the first time you just lose many times on small things just because it doesn’t work but you have no error at all, or fully obscure error and when you are lucky an understandable error but no explanation on how to correct it… I will spend more time after fabacademy to make a bigger tutorial.
Designs aren’t very limited by embroidery itself after you have correctly put fabric on the frame and verify the correct tension and locking. You also have to be careful on thread that you will use, also the needle that depends of fabric you use. It’s exactly same problem like sewing machine. You can put thread over thread, it’s not a problem (or if you put so many layers that needle can’t go trough all…). Maybe one problem can occur if you try to put your needle too many times at the same place and your fabric is weak, you can have a hole at the end.
Problems and limitations are mainly only due to this software.
To show better how it works, I make outlines in blue and inside in green to see correctly all. Here I also put one ear with dotted line because it corresponding of another type of embroidery for outline in the plugin. Dotted line for straigth point, full line for zig zag.

I have my vector design, with the different colors, it seems (for me) shapes are good.
At first, I have all as an object, but when I want to simulate embroidery, I have no result and when I close simulation, I have a error message. Apparently I have a self intersect path. So I split the path. I still have errors and now I have some shape that aren’t correct. One colleague who’s trying this plugin since a few days give me some tips (she have seen them in tutorial but she doesn’t know inkscape a lot so she can’t fix problems on her design tries and can’t go further), I can simulate a subgroup by selecting the paths (that are now splitted) so I start my shape debugging.
I also merge some shapes with difference (and no fill with white! Because white infill will be considered as a thread color and at the end you have to embroider shapes you want to leave empty).
Finally, I find annoying paths, I made “path>simplify” on them and verify shape are still correct at end. I also add some clearance between shape to avoid embroidery collision. I remove outline because they are put under the infill so you won’t see them at the end.
If you want to add outline with a different color. My colleague says me I have to duplicate shapes, one with inside, one with outside and put the outside shape higher in hierarchy that inside shape (because inkstitch generate embroidery in this way).
As explained on machine description, Brother VR detects itself when cut the thread between shapes. This settings can be changed directly on machine (enable/disable and minimal distance between shapes before cut), I don’t need to put trims on my design. There a function for that in Ink/Stitch. In following simulations you can see threads between shape but you will see they automatically disappears when machine will embroider my design. On previous tests last year on this settings, here my remarks :
- cutting thread between all shape will give you the best result but it add time
- if you have many embroideries with many shapes on it and you want to save time, don’t cut inter shape threads smaller than 5mm, result will not be perfect like full cut but good enough for most cases (by example if you put text)
- if you want to go at full speed, don’t cut anything but result may not be very beautiful
I don’t know for others embroidery machines but the brother VR completely override cut settings so it’s useless to spend time on software for that part.
The result

The generated embroidery
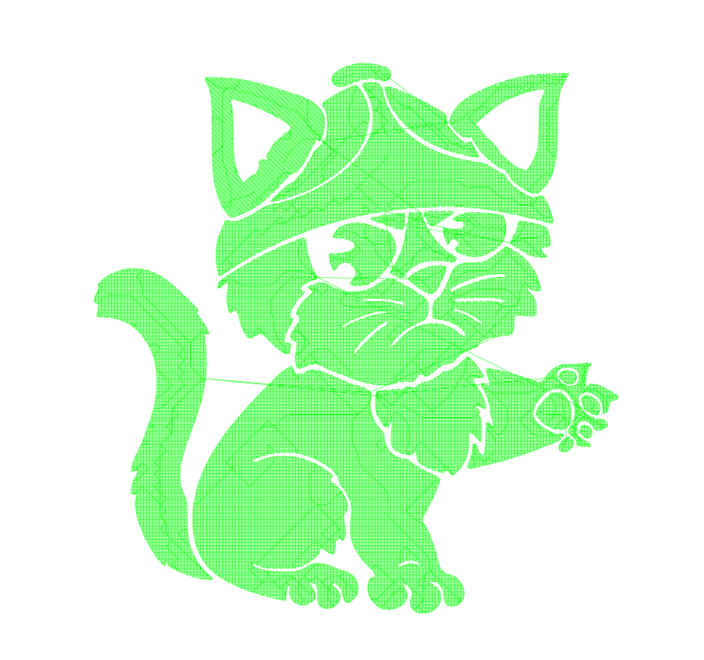
The simulator GUI
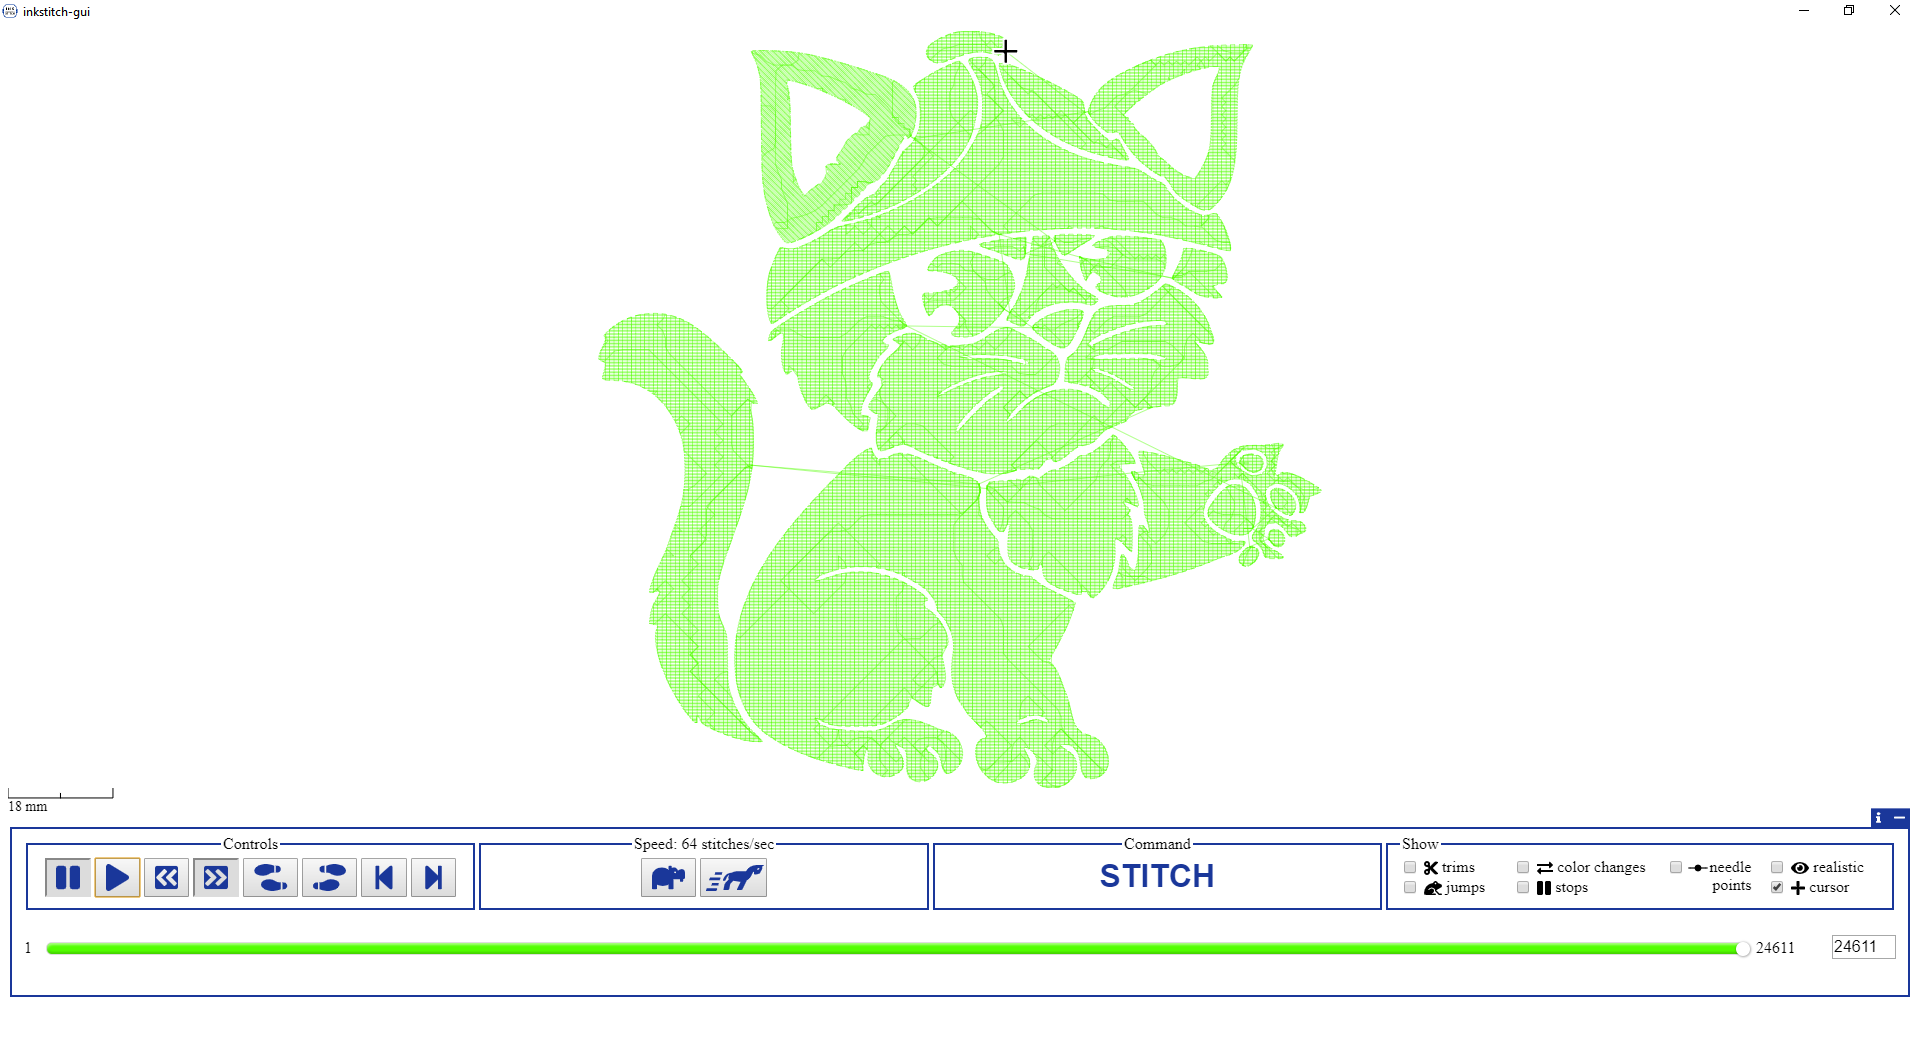
Here a video a the simulation of the full embroidery
I export the result to a .PES file (it’s the same file format used by PE design) on a USB stick, now let’s see if the Brother VR can read and embroider it (even having same file format, sometimes software doesn’t use same version or write exactly in the same way. I have often this kind of problem with DXF files between illustrator and inkscape).
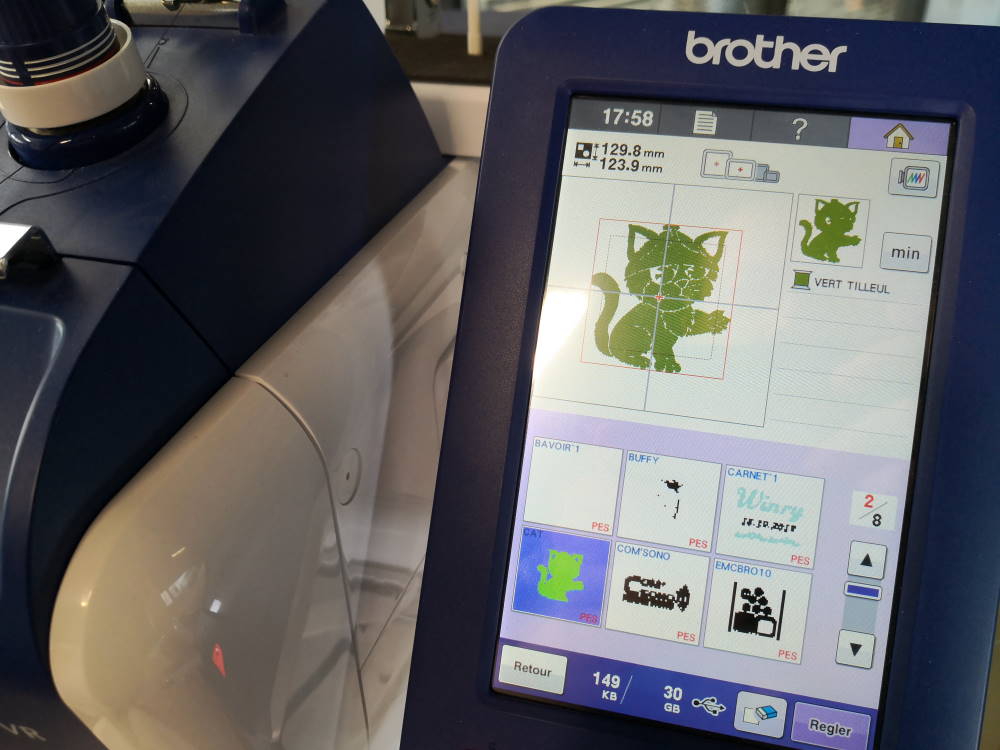
Ok, machine load correctly the file and it’s seems correct shape on the screen.
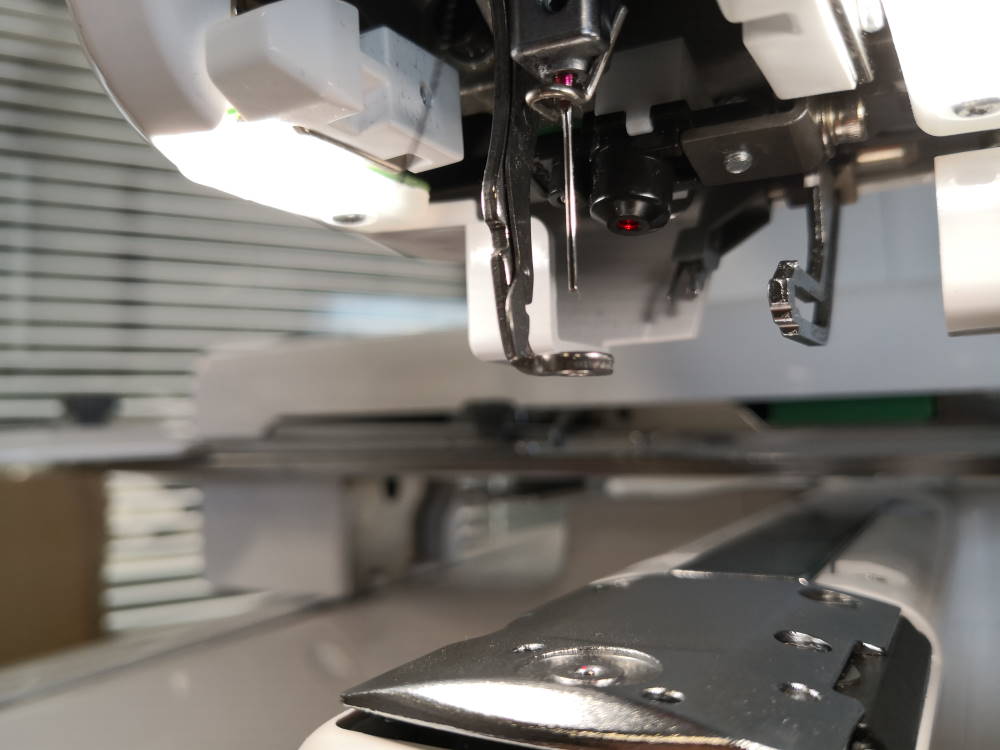
You have to oil this part, the machine reminds you this step at startup.
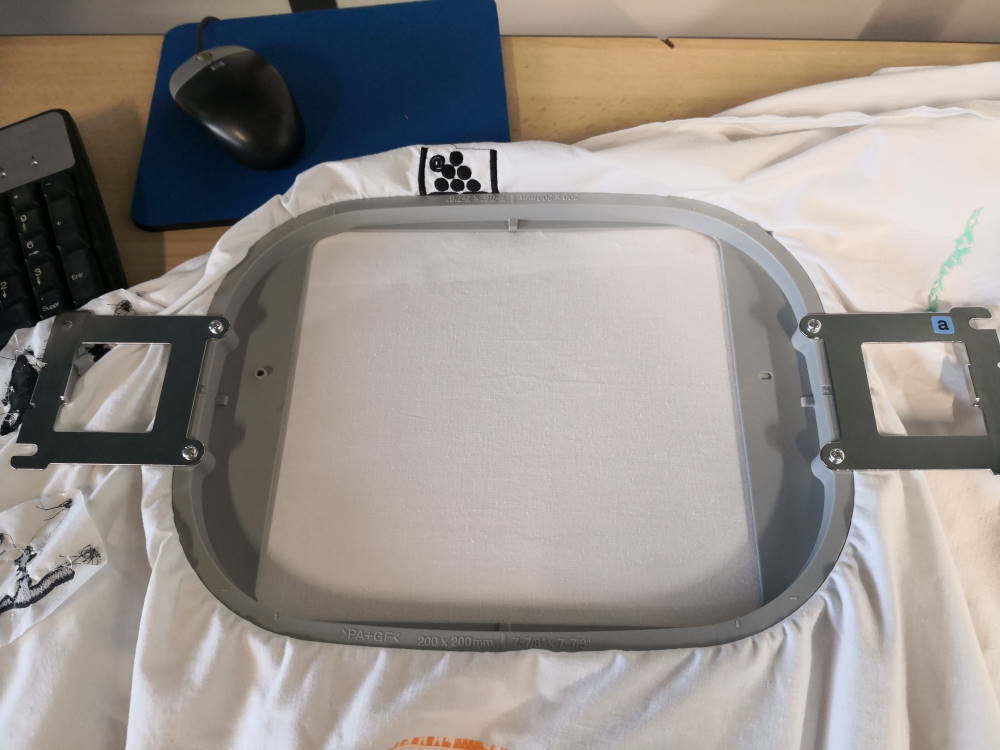
Load your object/fabric on the frame. Verify the correct tension and locking. If your fabric is not stiff or elastic, you have to add a special layer to fix stiffness. If you work on special fabric like towel, you also have a layer on top (soluble layer to block fiber)
Needle is ok, thread loaded on it. Ok, start!
And… noooo.... fail. What’s wrong? Thread won’t fix on fabric, it’s seems that machine doesn’t make correctly nodes. Thread is correctly on needle, enough thread in the under spool, try again.
2nd start and needle breaks…
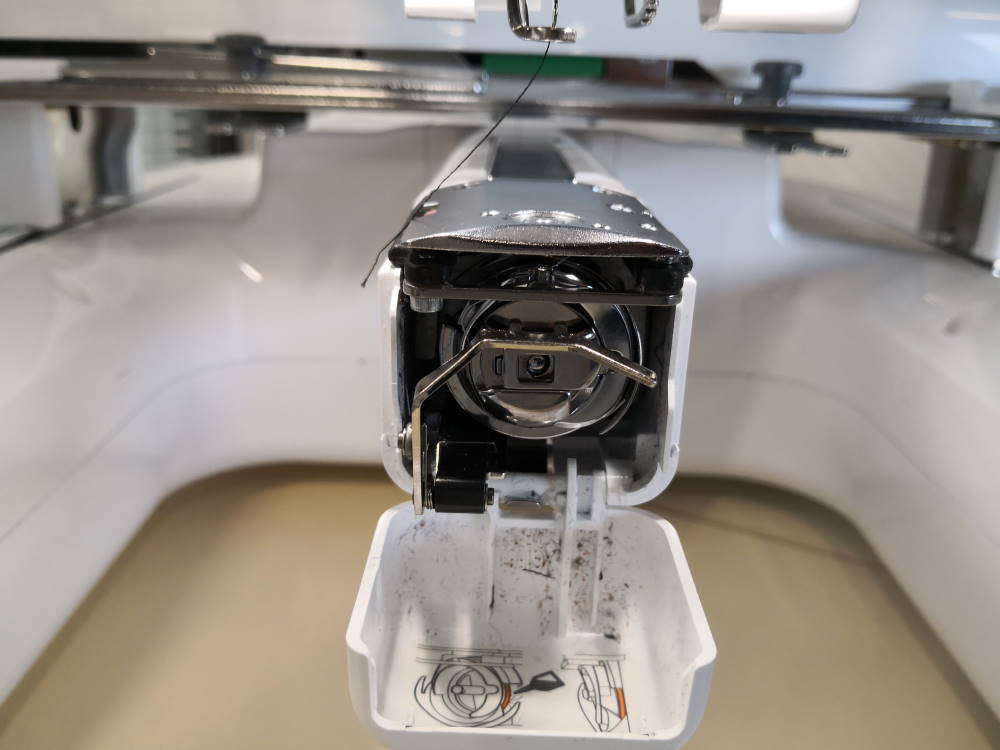
i remove object to change the needle and… horror

There are many threads going out this hole, it seems that a anonymous person don’t clean correctly the machine on previous use ^^ So i unmount the under spool, remove all dirt and threads hidden here and change the needle.
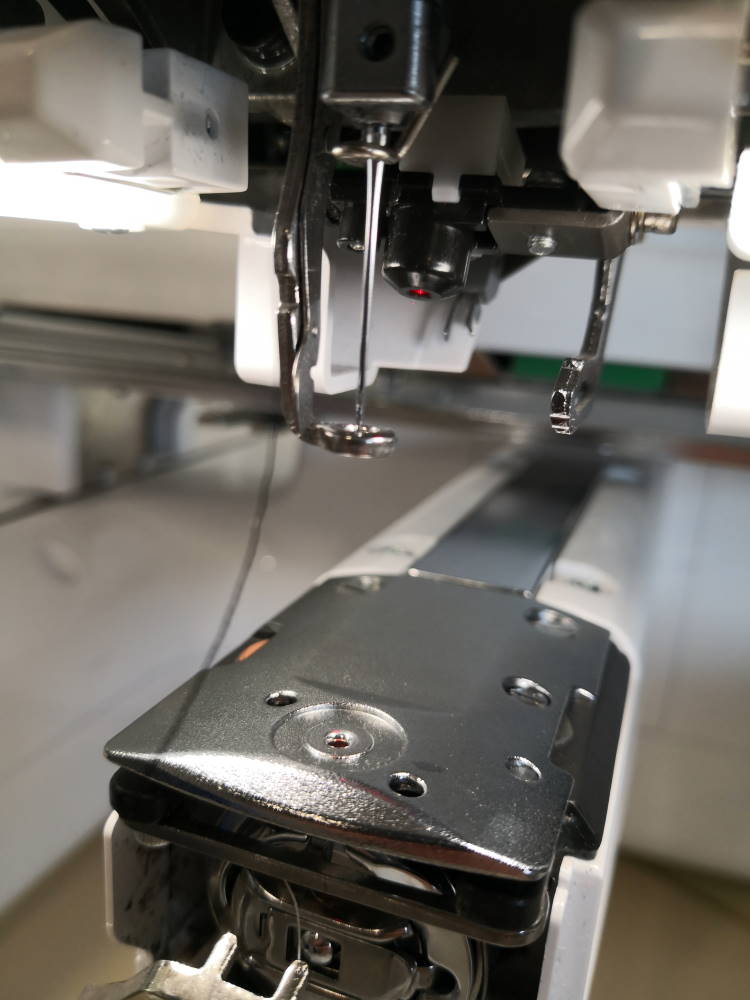
I load thread on it (this machine have a loading helper and it helps a lot, no need to find and put the thread in the small hole!)
I restart the work, machine correctly handle the file, the thread patch seems correct, it’s good for a first try with Inkstitch. At the start, I launch machine at low speed (400 spm) and finally I set machine at full speed (1000 spm).
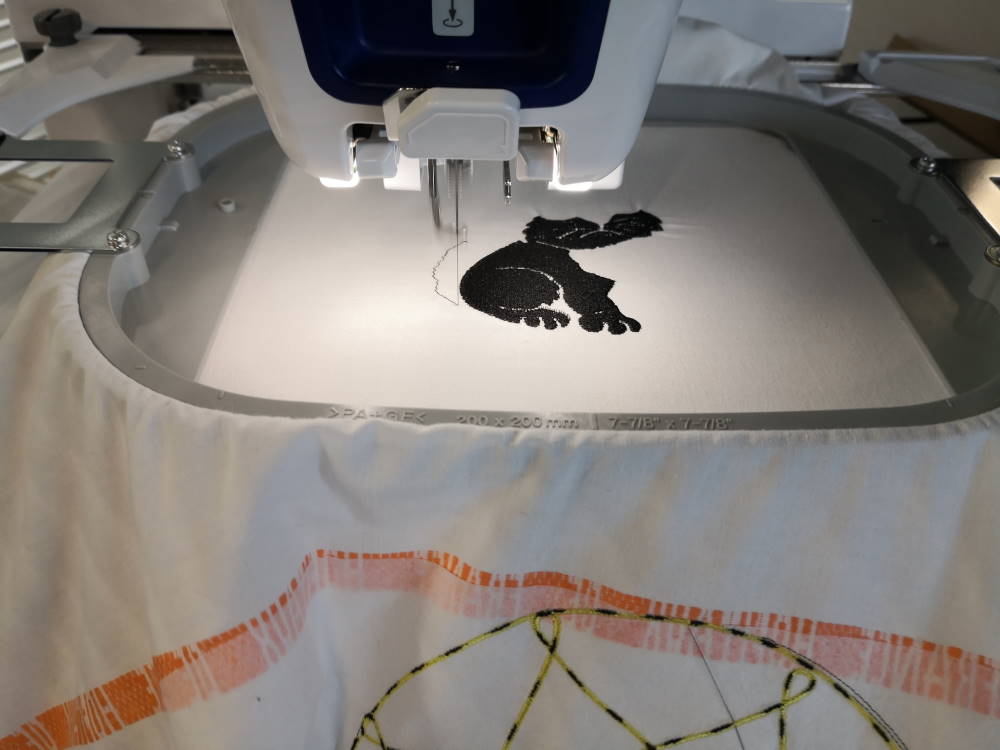
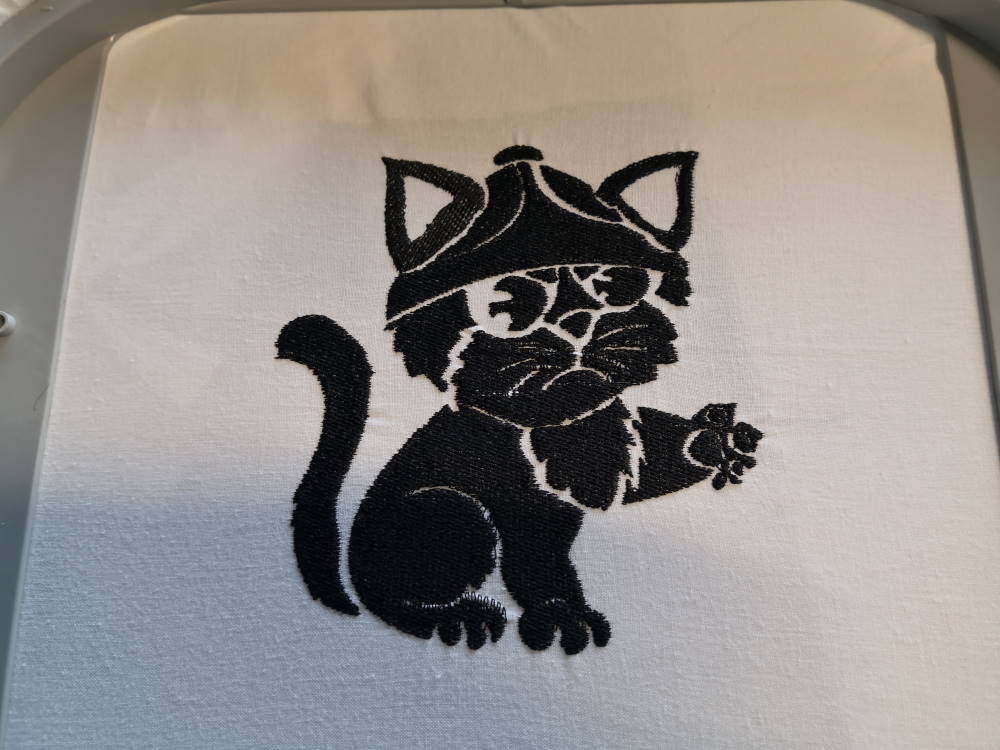
Machine is happy, work is finished. No other problems during embroidery.
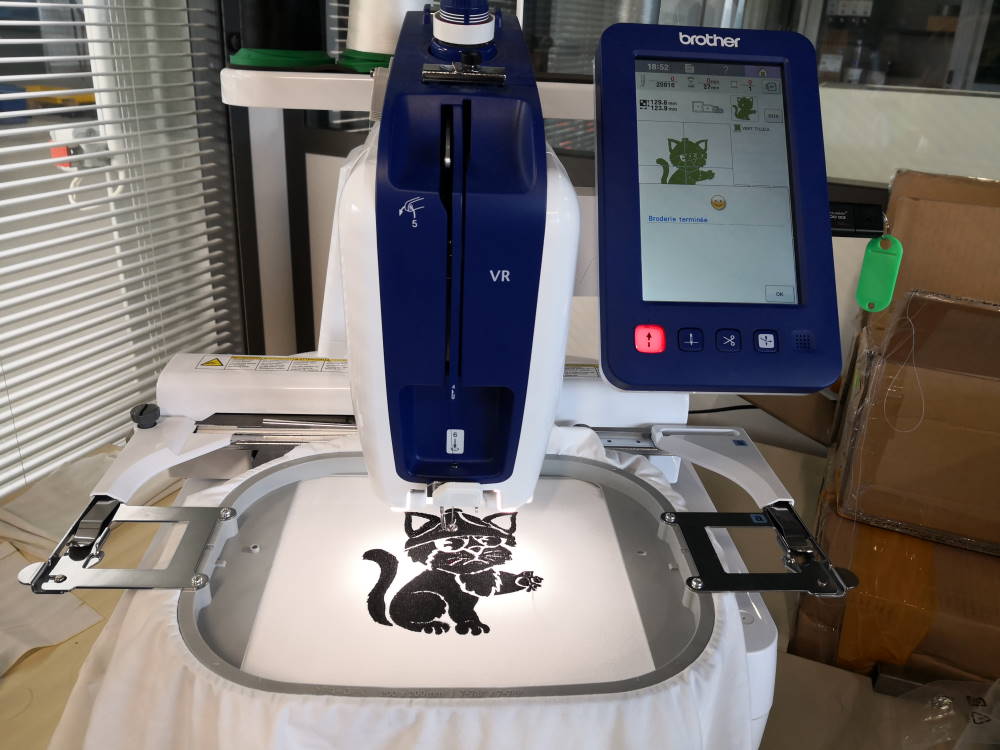
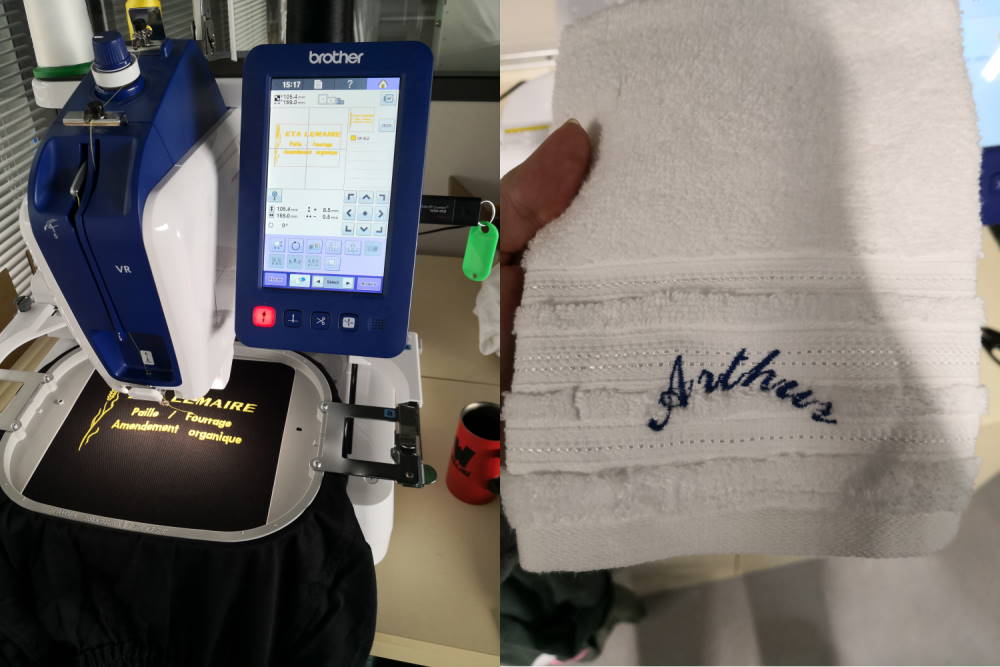
The result
And the hidden face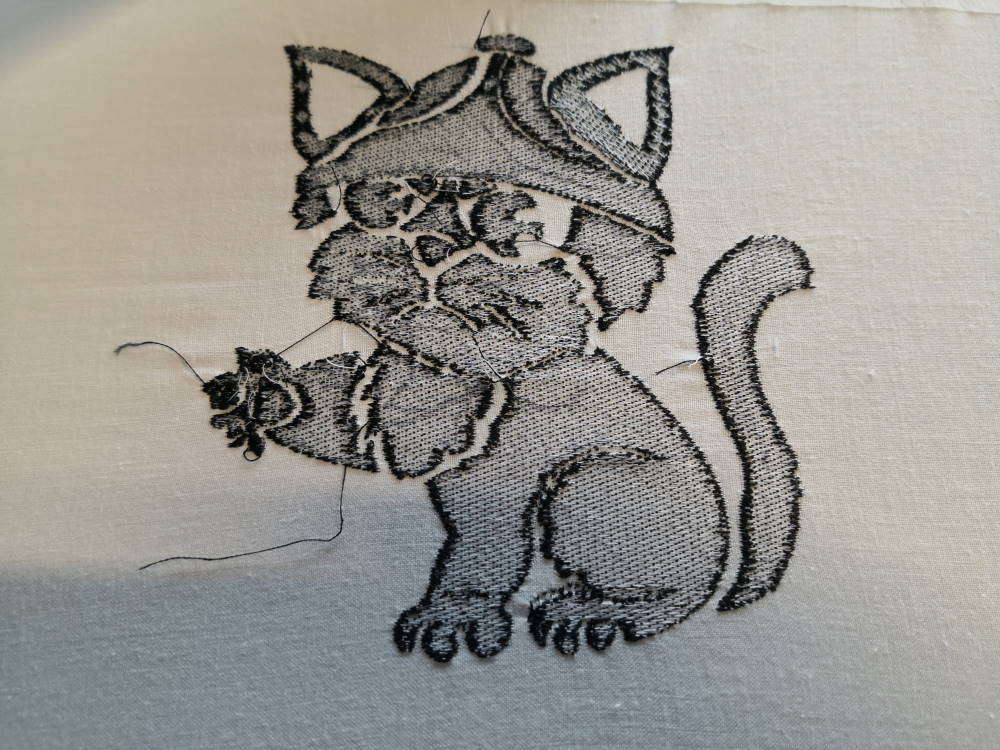
In conclusion, inkstitch works good. It’s more user friendly for users that usually uses inkscape than PE design. It has some limitations on computing than PE design but the price is totally different (inkscape and inkstitch are FREE!!!). Embroidery paths need improvement, the Brother VR never reaches her full speed when working. I don’t spend many times on settings. There also a cutting feature but I don’t use it because the brother VR have a full automatic cutting. If activated, it detects gaps and cut the thread, very cool feature !