3. Computer-Aided Design
This week I worked on 2D and 3D design.
3D design
For 3D design, I chose to use various program. One I usually use Autodesk Fusion 360, one I used before FreeCad and one new Blender.
Autodesk Fusion 360
It’s a closed source application that mostly work in cloud. It’s a very powerful and easy software. As a former user of freecad, I was impress when I try this 2 years ago and finally I still use it. More informations here. I mostly learn how to use it by myself with some youtube tutorials. Luc (AgriLab instructor) also made a training at AgriLab, I follow it to be sure to have same level of knowledge.
Interface :
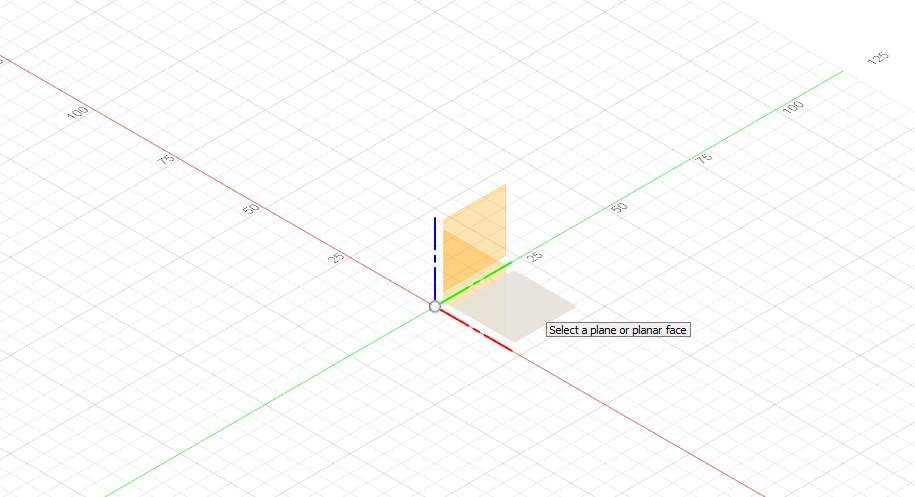
I use sketches to 2D design, so I start to select a plane.
I draw some forms and add constraints
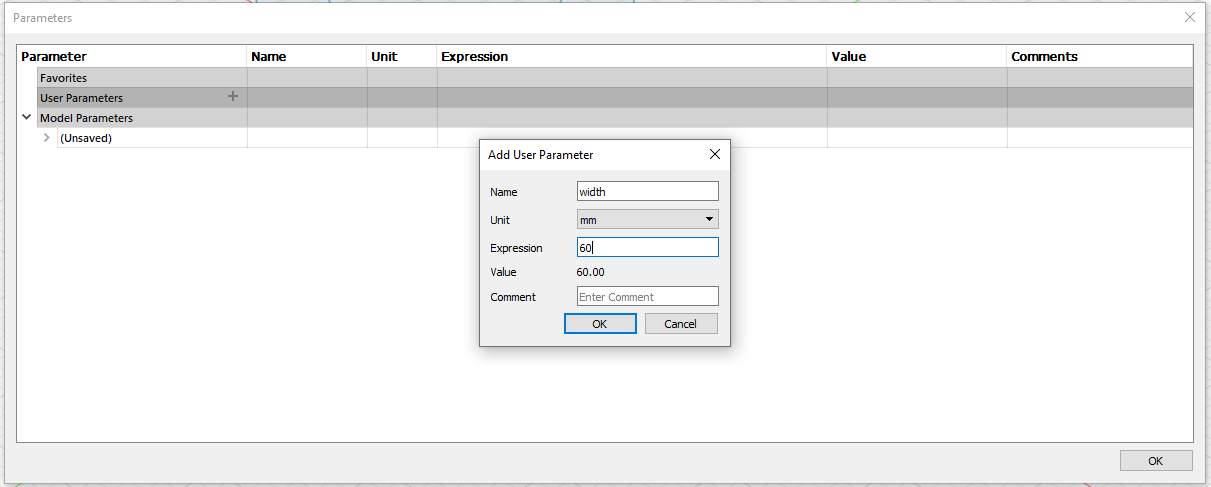
Now, clean up and go to parametric design
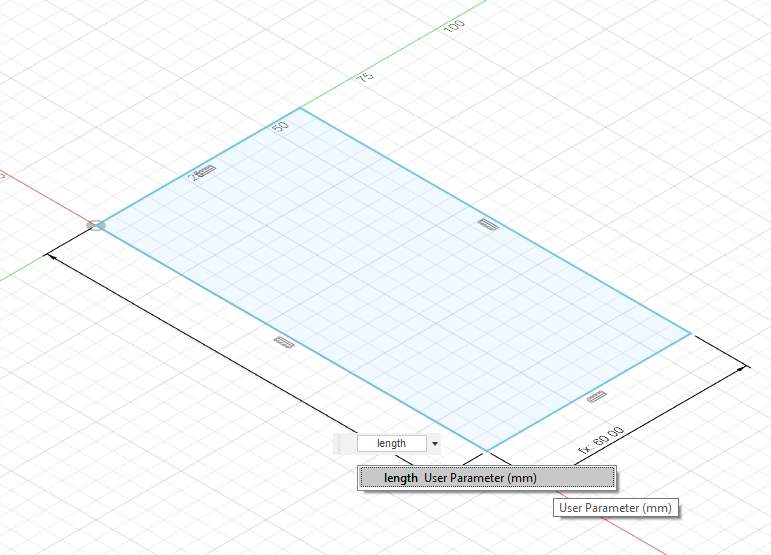
and add some parameters
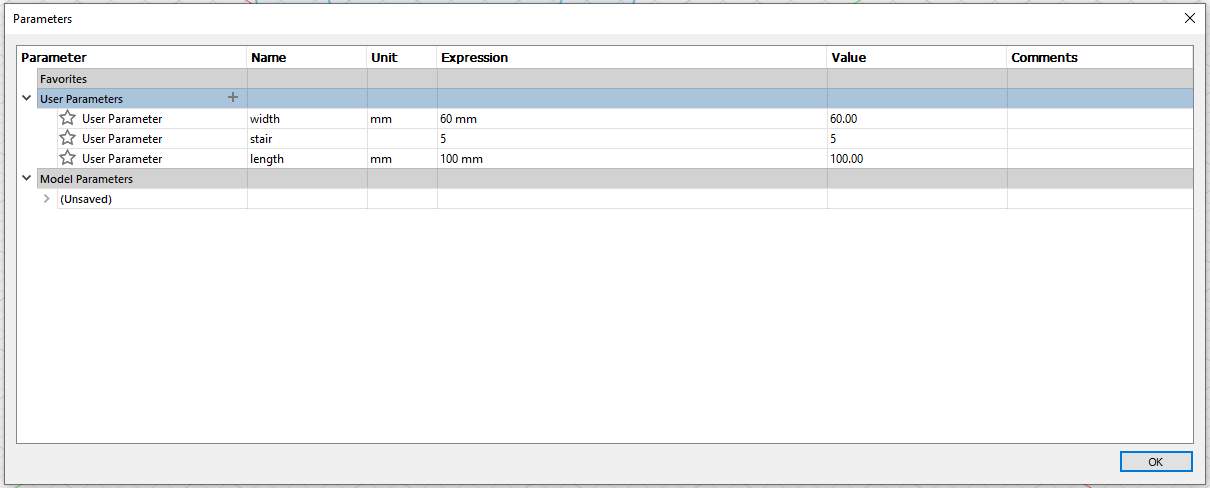
And I apply constraints to my object
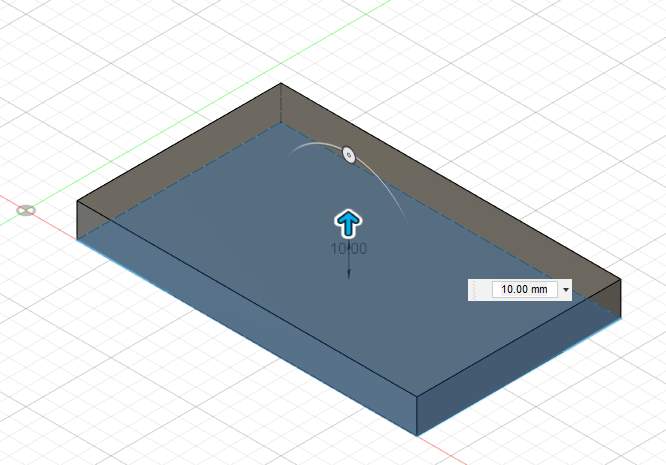
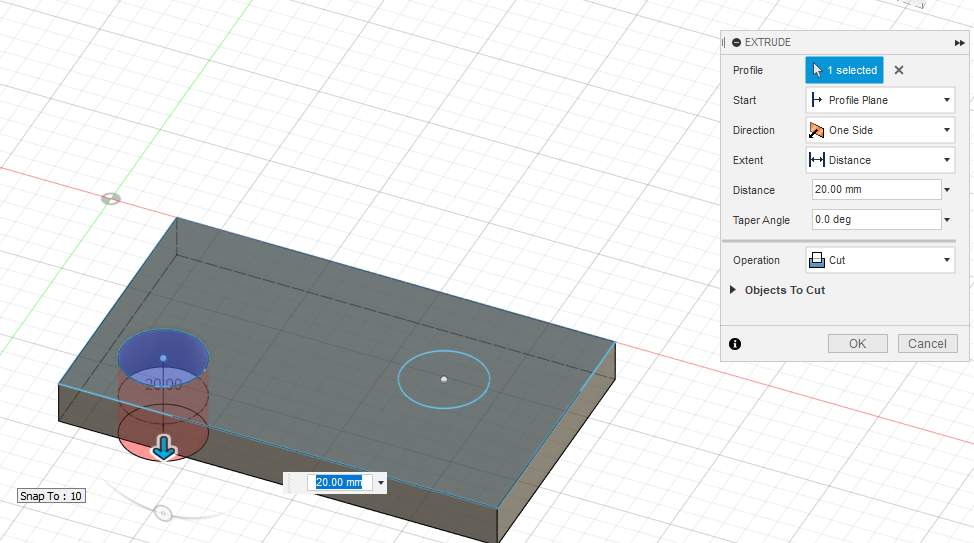
2D is cool but the goal is 3D design, so I extrude
I sketch 2 rounds and now I make some 3D operations, here I make a cut
And I extrude with join

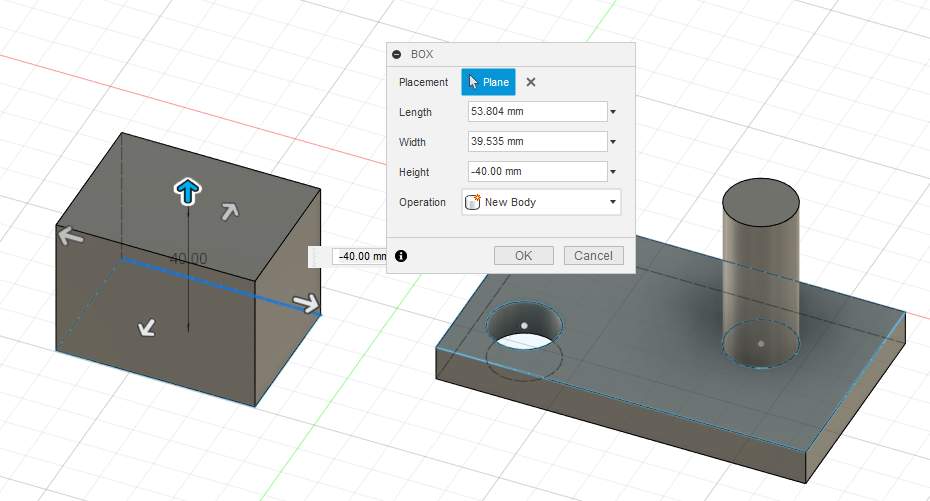
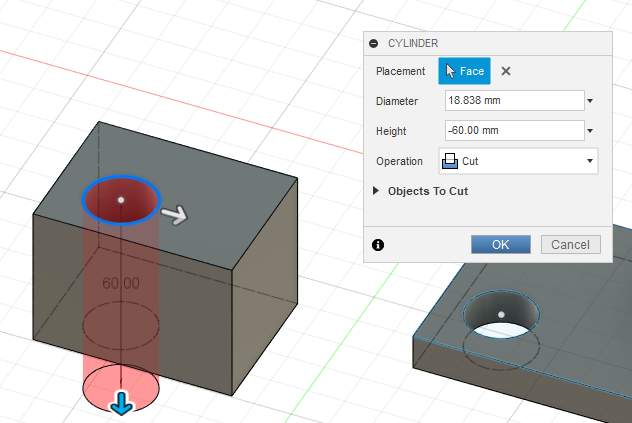
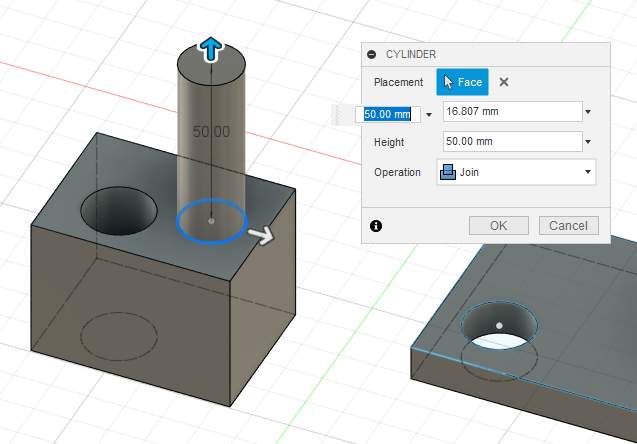
I make another example directly with box and cylinders
Now I use somes functions
I draw random shetch
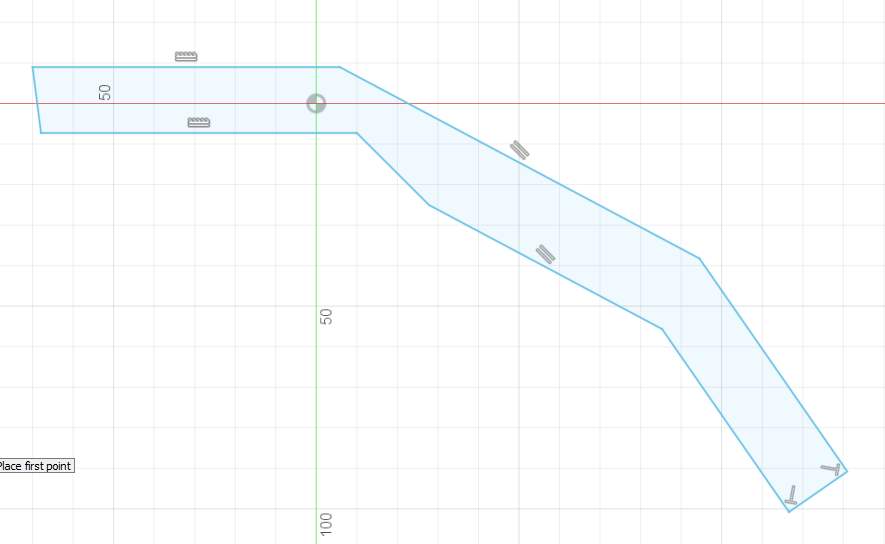
And I use revolve to make funnel
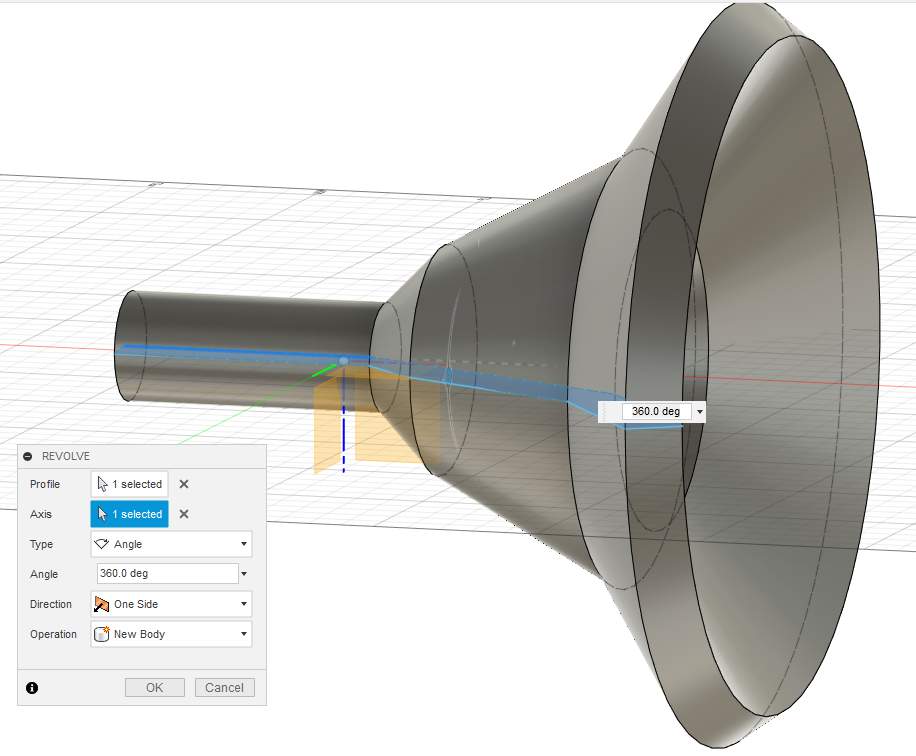
I make a hole and a thread
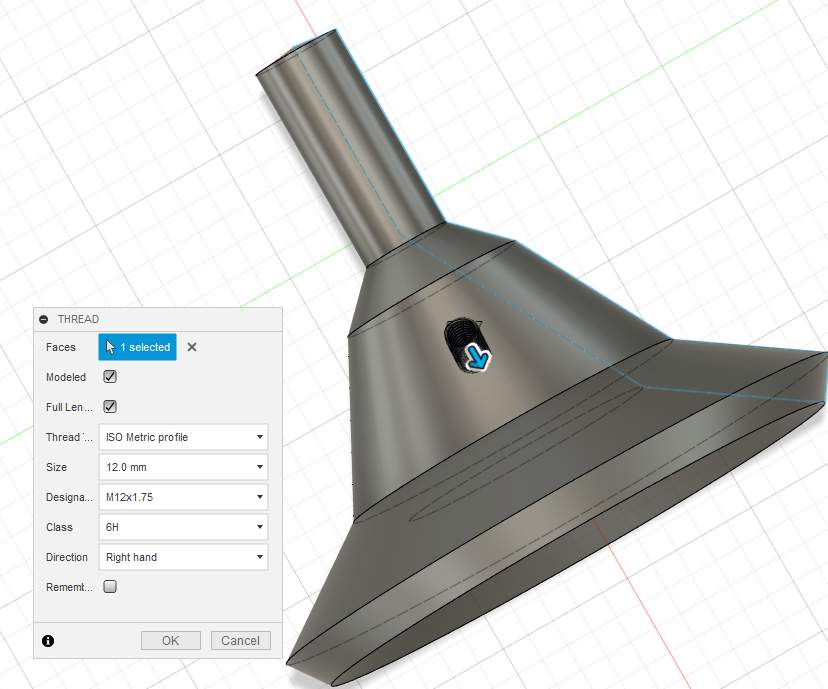
Remember to check “modeled” or your thread will just have texture and won’t be 3D design, so when you will export your object, you never see your beautiful thread !!!
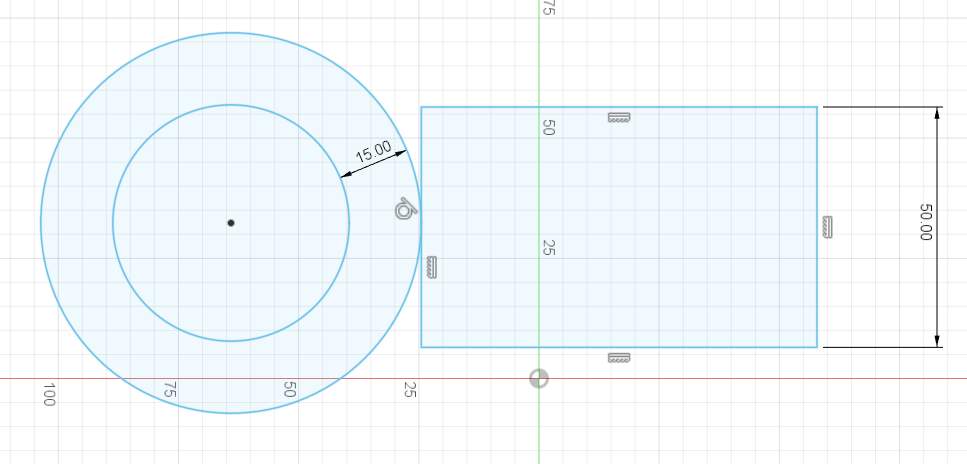
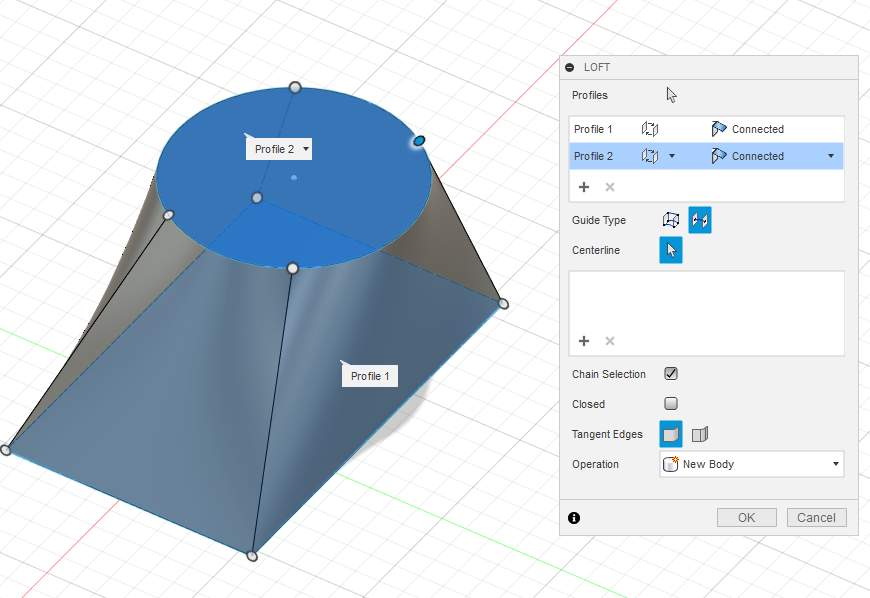
I create circle and rectangle and 2 differents sketches
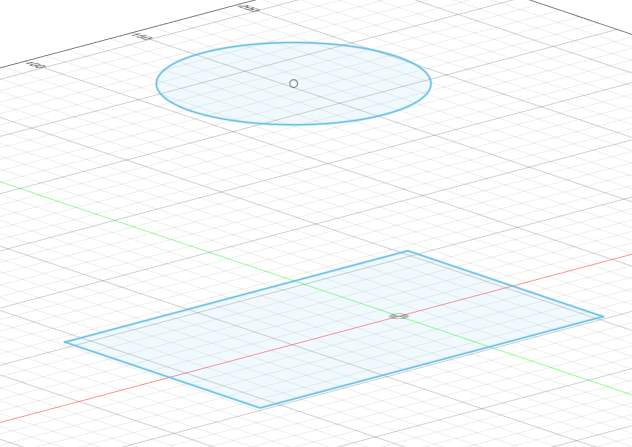
And I make a loft
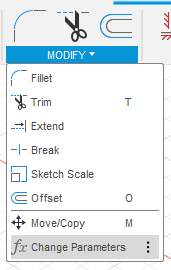
Now, I will use modify tools
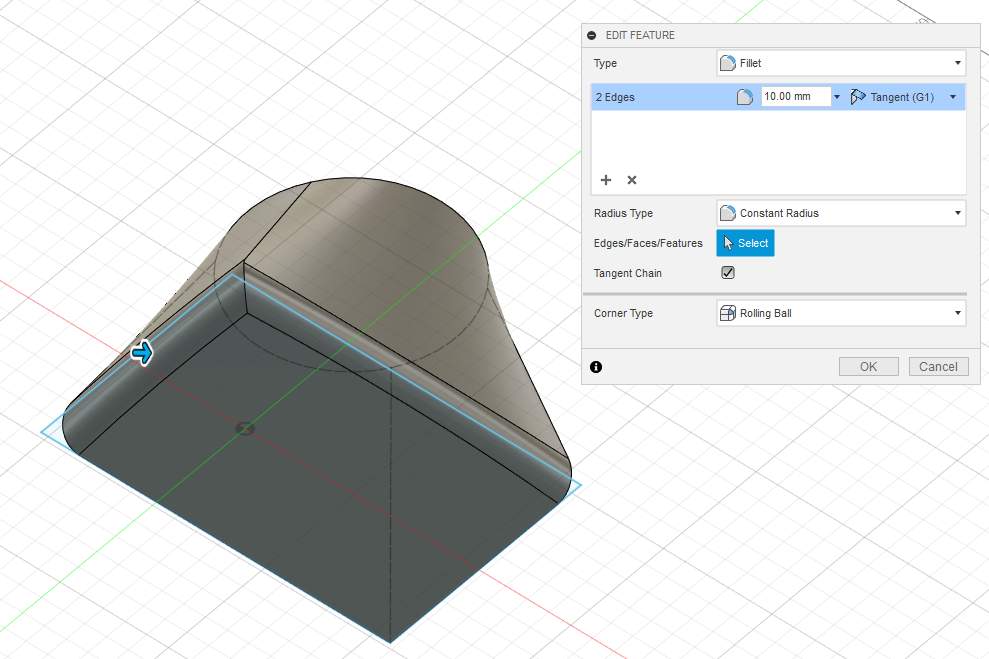
Here I make fillets
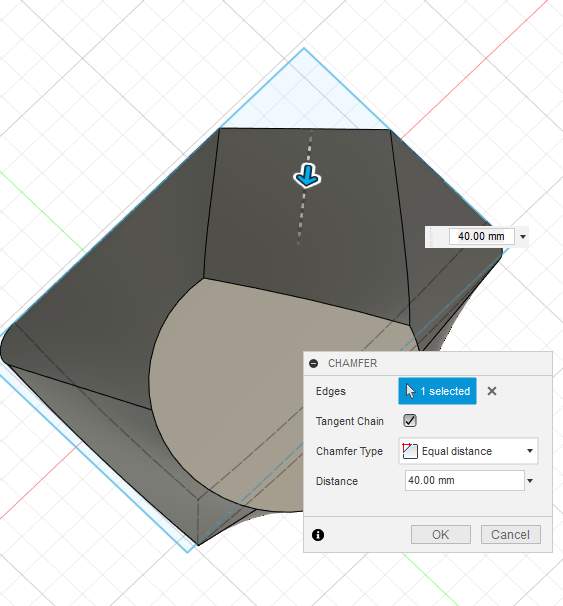
And chamber
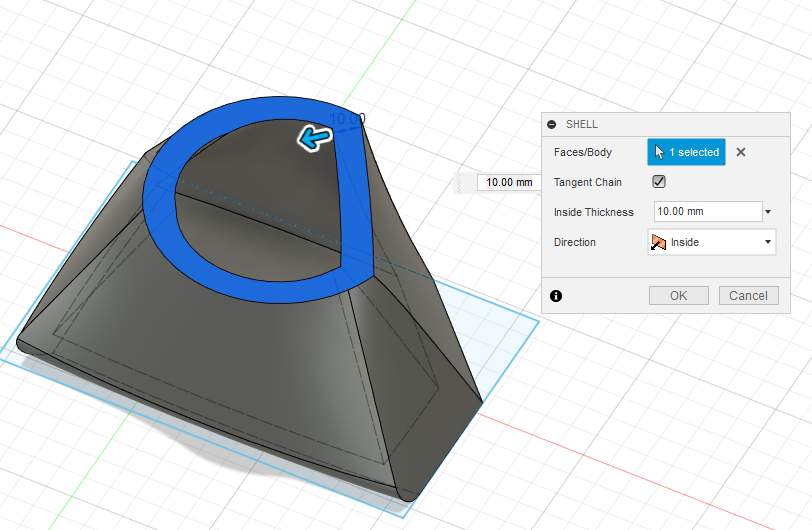
And I make a shell
So beautiful! Isn’t it?
Amination & render
Never use this part before the training, so I follow this part carefully.
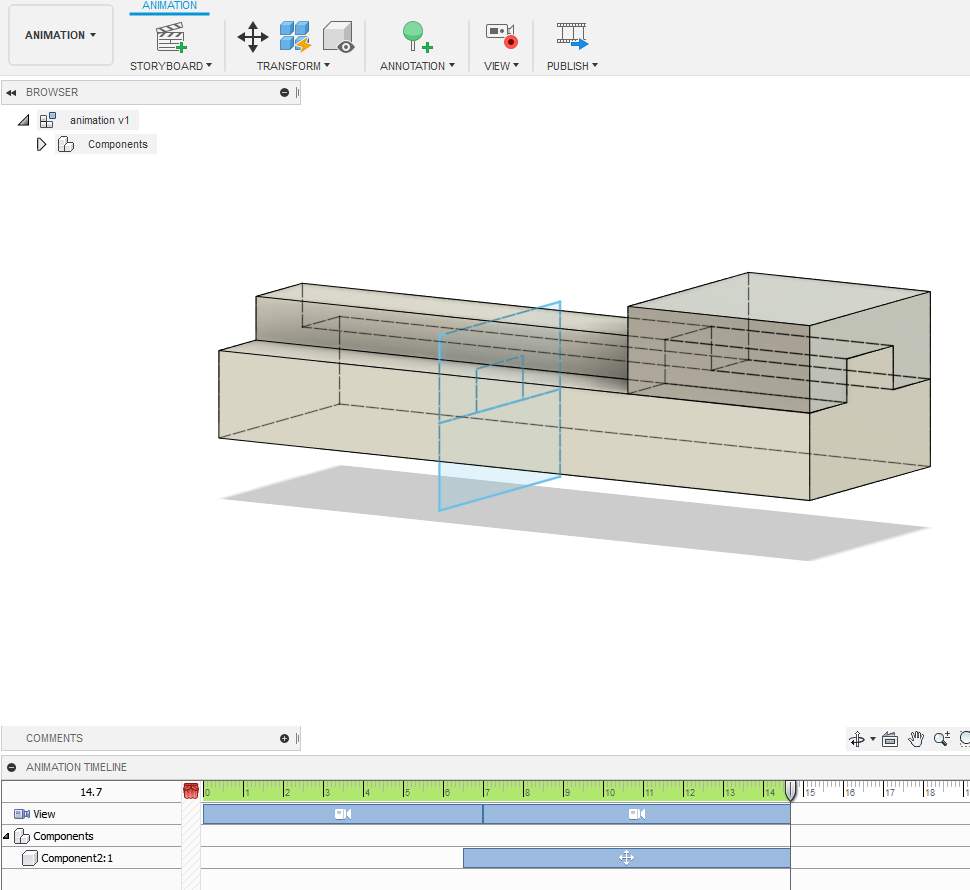
In design view, I made quickly 2 objets in fusion360 from 1 sketch, I extrude each on one side.
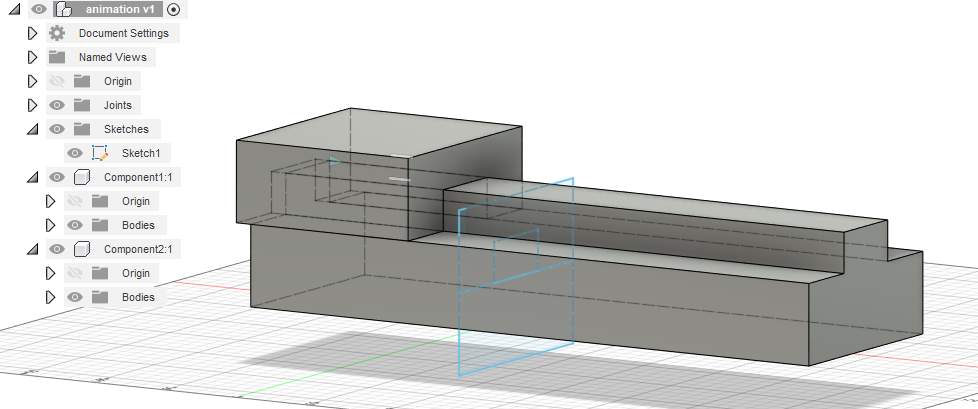
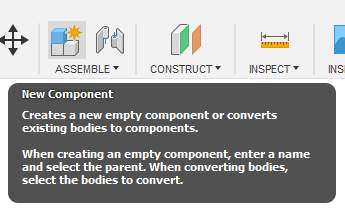
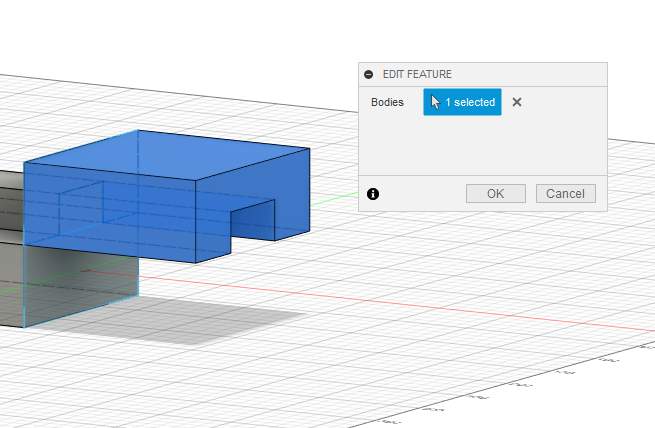
I create 2 components, and put one body in each.
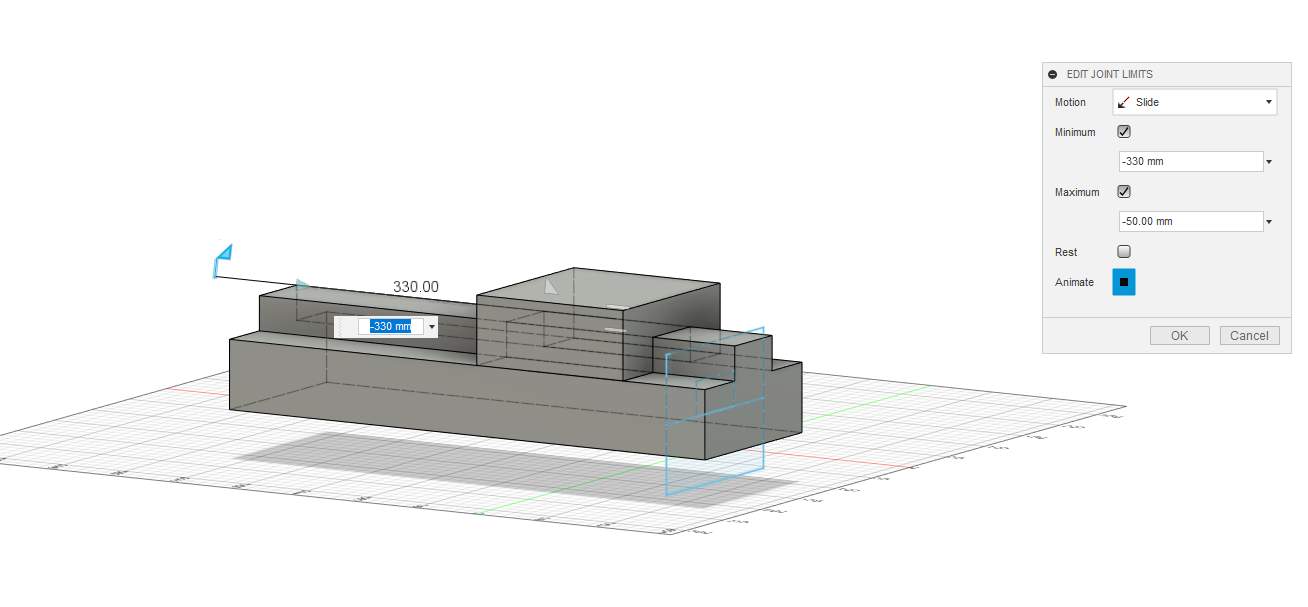
Then I add a joint of type Slider, I use edges for aligning instead of faces. Using face I’ve got wrong translation in my case.

And then I edit limits to have correct displacement.
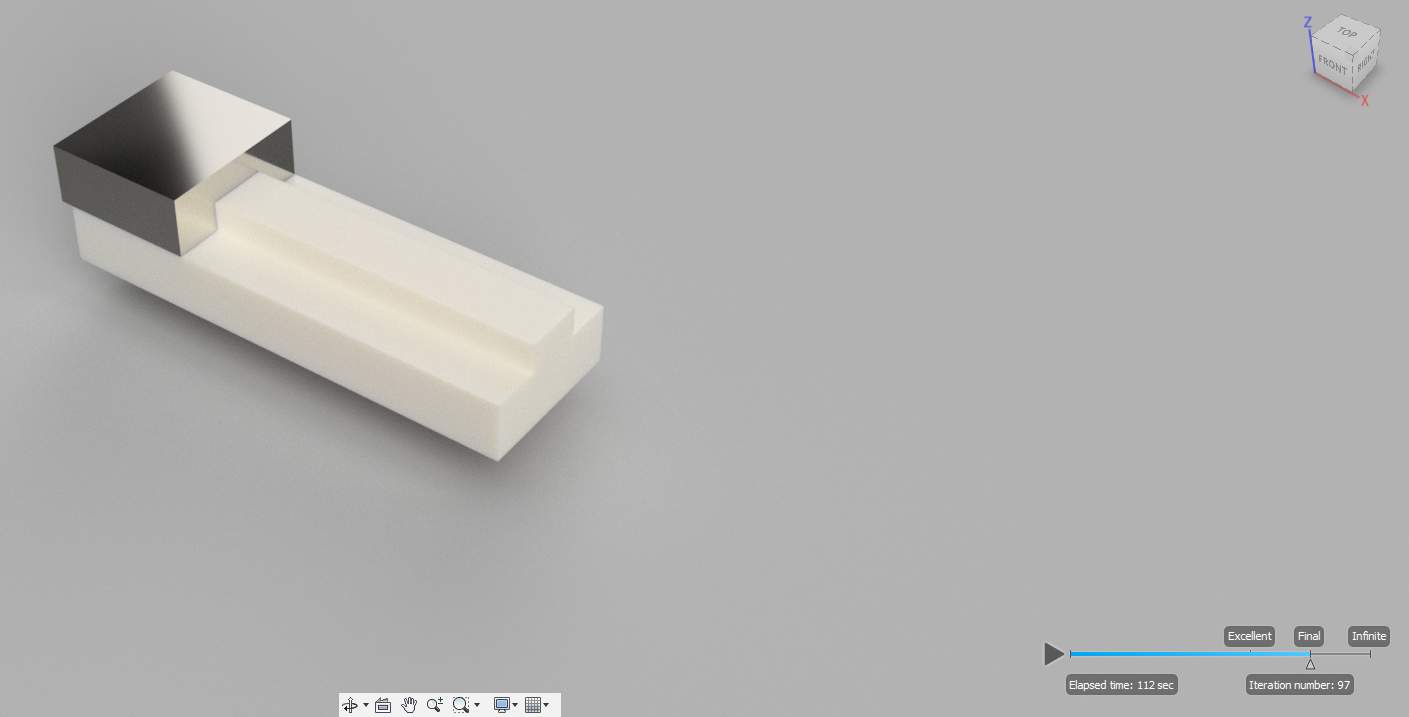
Then I put some appearance to objects, one in Nylon 6-6 and the other in polished palladium. I put it by sliding material on the body.
I go to render mode, I let standard scene settings and move a little the view. I put render level to final. And here is the result :
I go to animation mode, I set some camera displacement and components sliding.
Here a video exported to Autodesk hub :
FreeCAD
So I decide to reuse a program I haven’t use since 2 years. It’s an open source and free 3D design program called FreeCAD. It’s written in Python language.
I create a sketch, I put a rectangle and add constraints, UI is soooo awful. I used this before discover fusion 360, it has many functionalities but it less user friendly and slower to use than fusion.
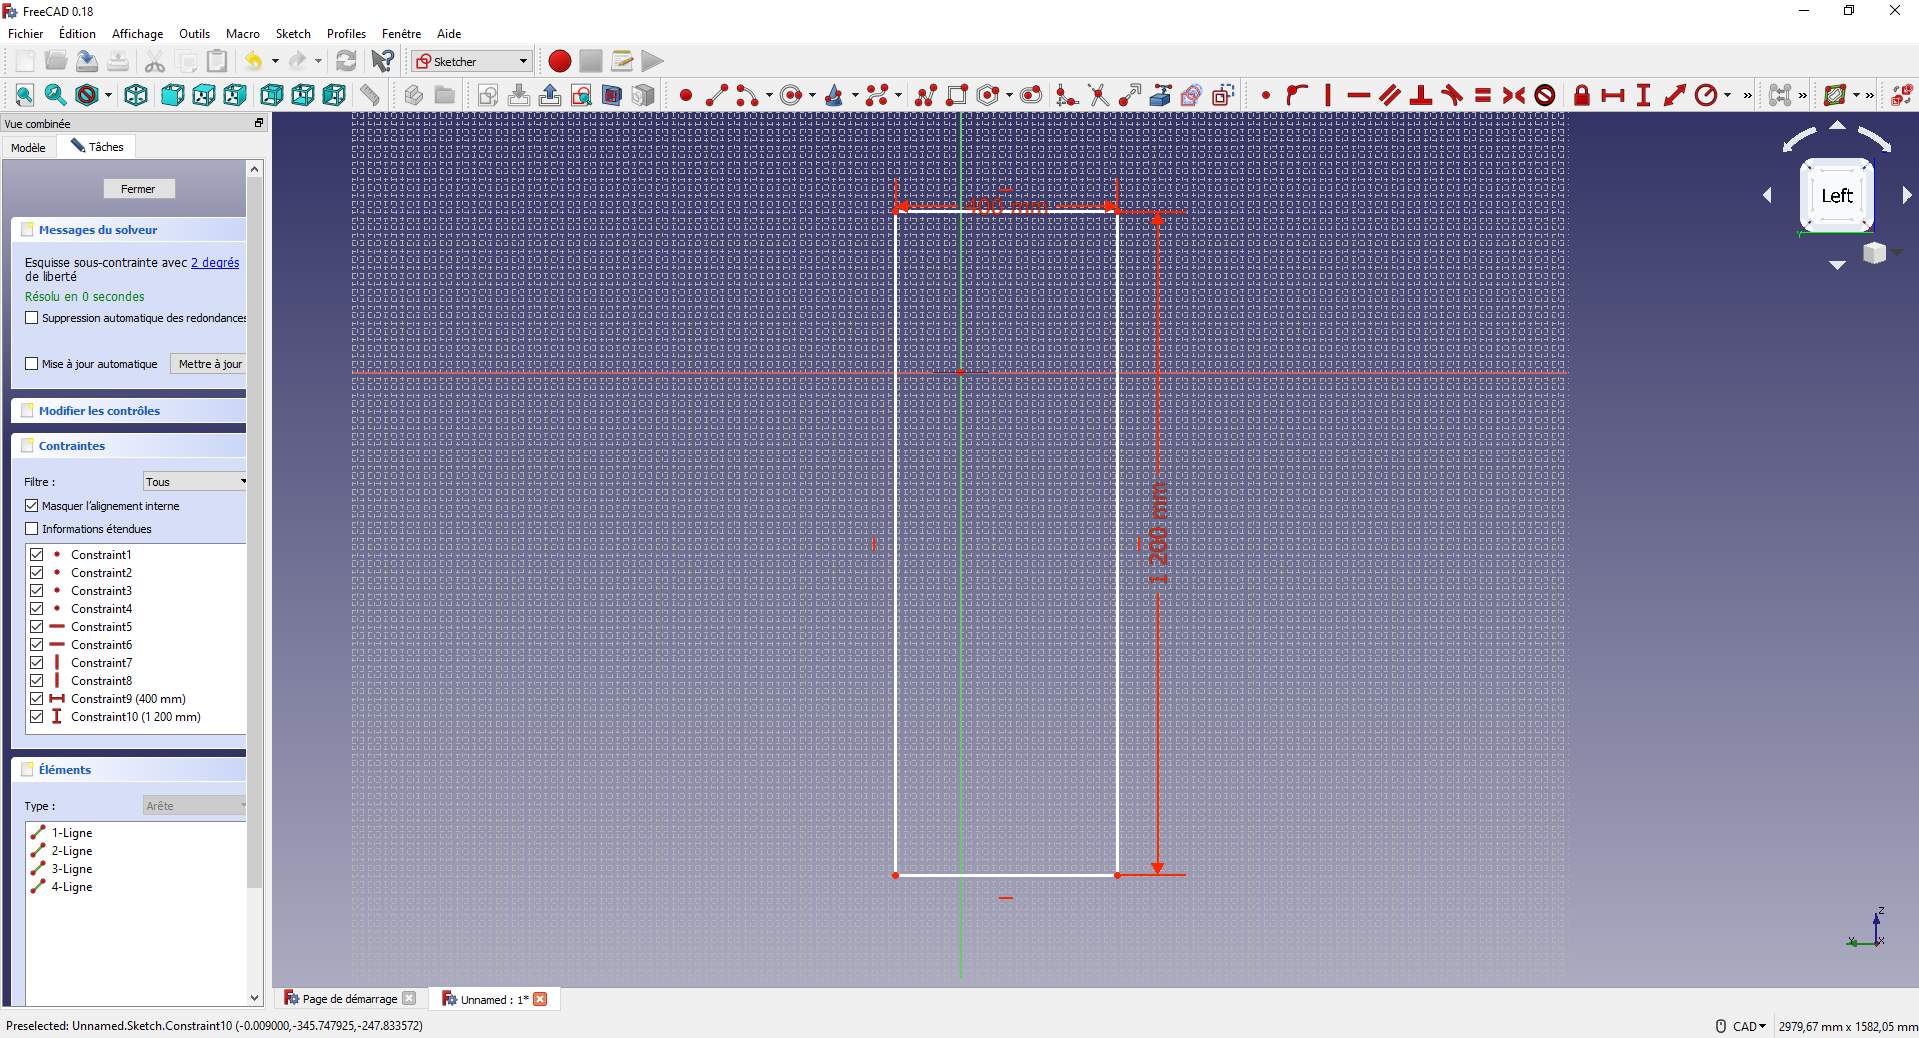
An example, constraint tool. In fusion there is only one tool/button for setting constraints in every direction. In FreeCAD, there’s many buttons… why?

3 buttons for length constraints when only one is enough :-o
Need to put so many constraints to do something 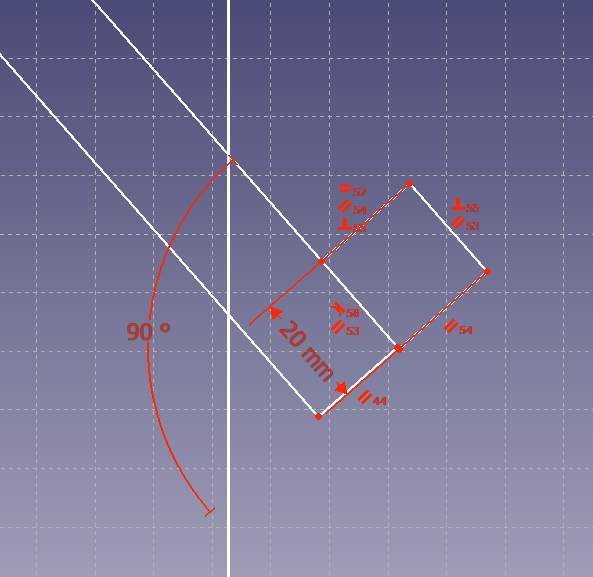
Now I switch to part design and I start to extrude 
Unfortunately, I can’t extrude only parts of my sketch like I always do in fusion 360, I have to redo all and split in many sketches so, Next! I remember why I’ve switched to fusion 360, the UI. And also a big lack when I want to use threads. In freecad, I had to use a script to design thread, it was very heavy for a “basic feature” and in fusion, I just have to use a function (even if for some case, I have to made hack in fusion files to add big thread (it’s now very easier!).
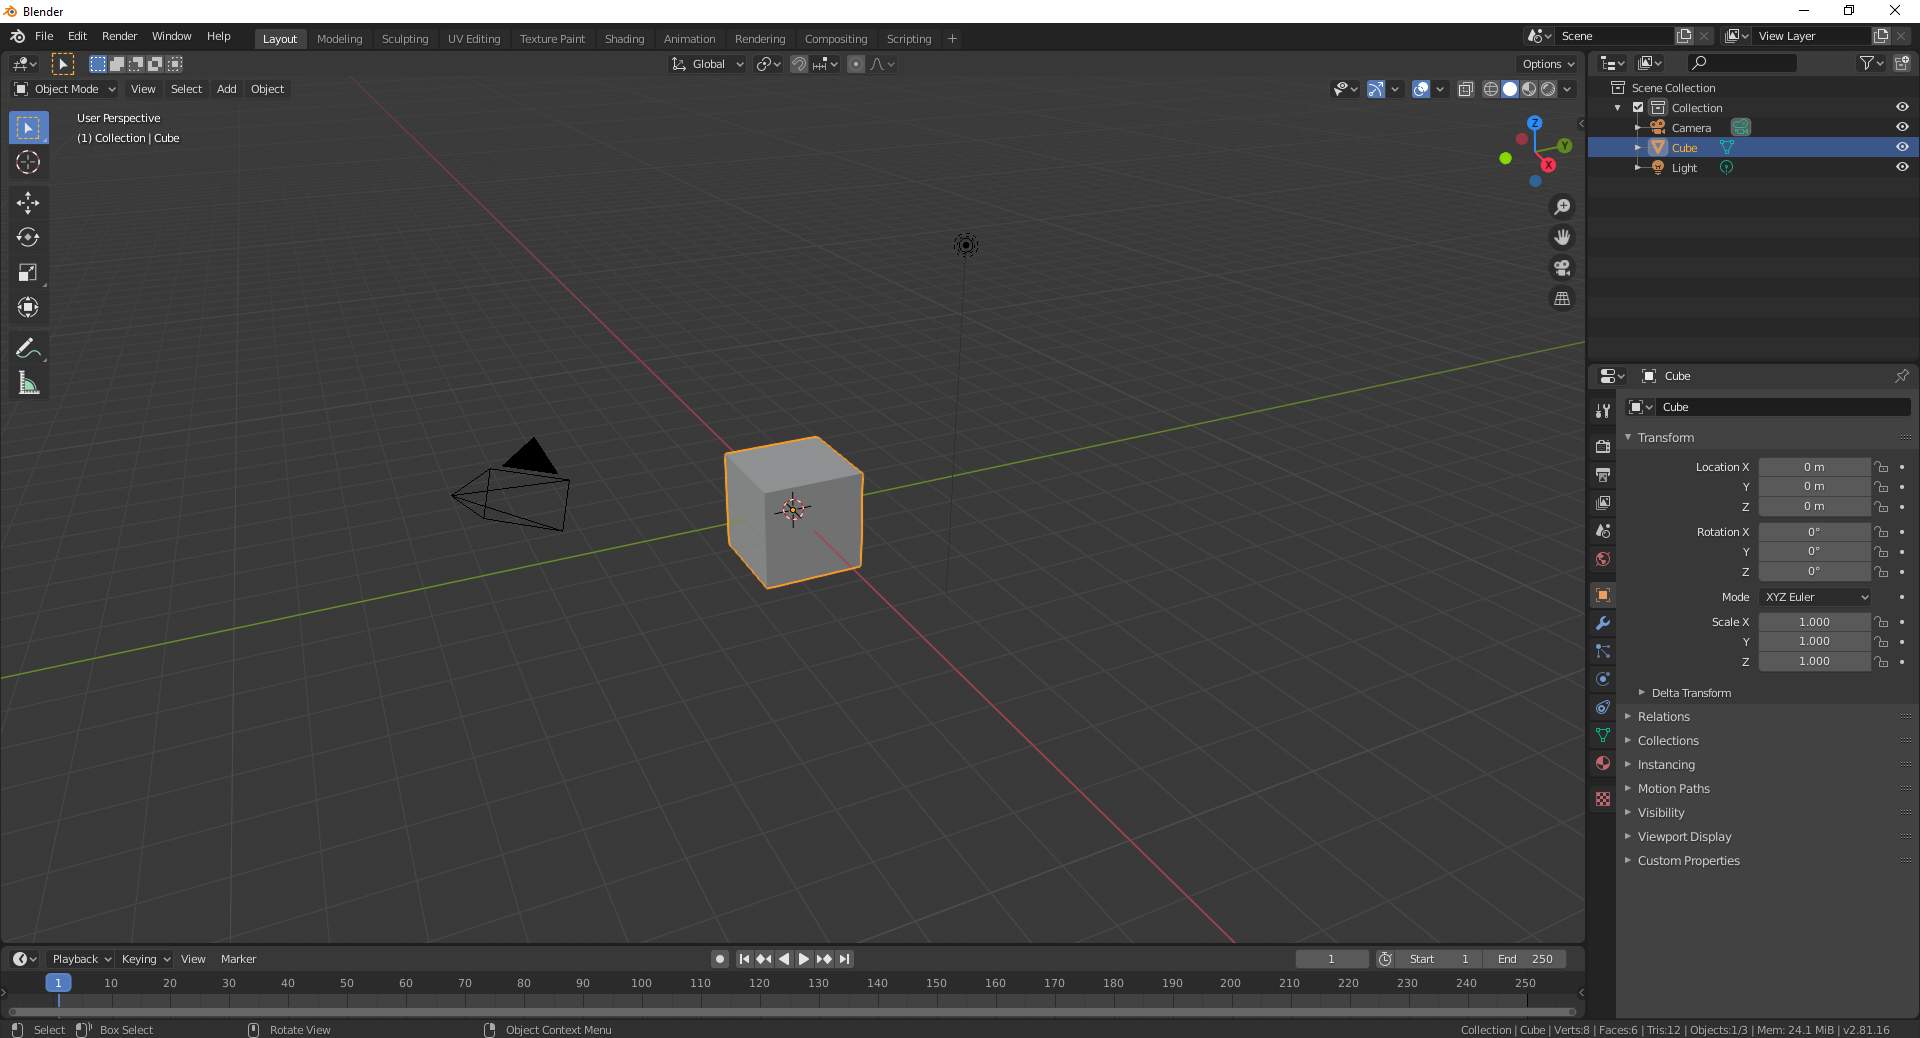
Blender
This week I try another type of 3D modeling program. Blender it’s a free and open source powerful design and animating software written in C++. I try to use it a long time ago but the power of this software is also the biggest default, it does so many things and UI is so complicated. So I follow a quick training at AgriLab to discover more about this software.
disclaimer : because blender is not a good software for 3d design real pieces, following designs are just funny designs.
First design
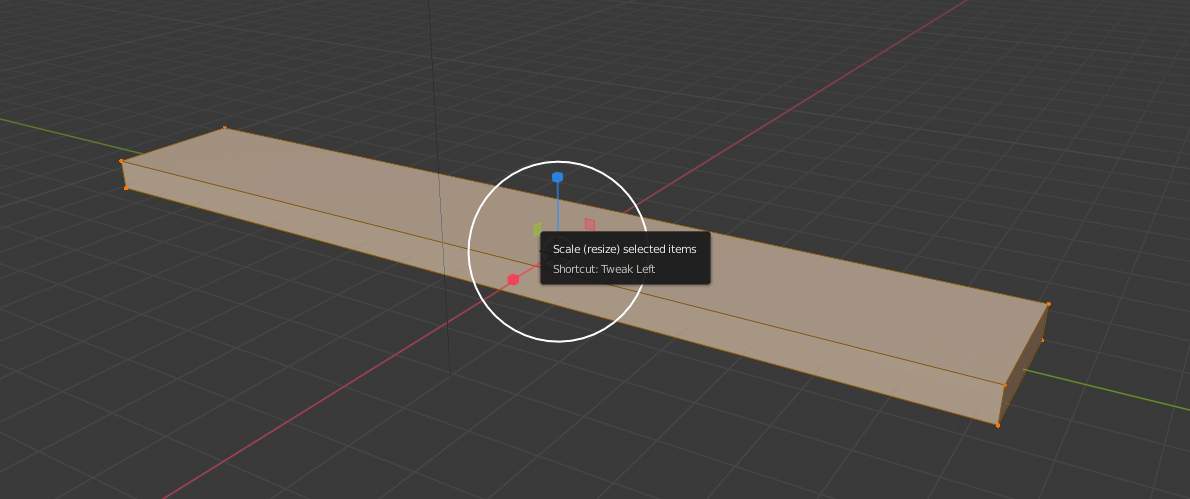
Go to edit mode, then scale
and I resize the cube
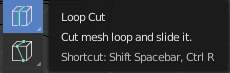
 I use loop cut to add some cuts into the model
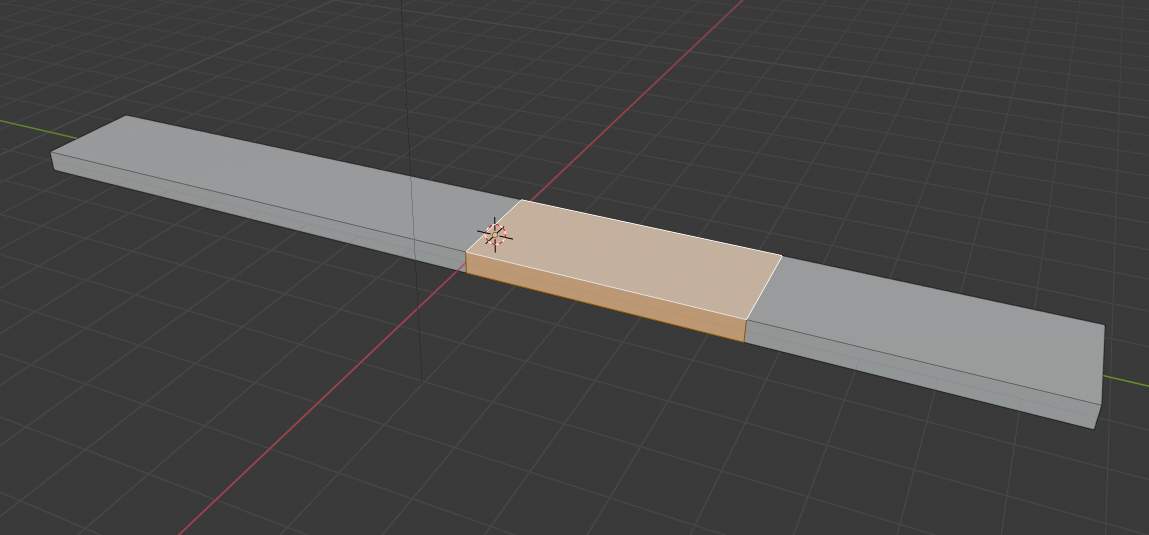
and I use scale to transform
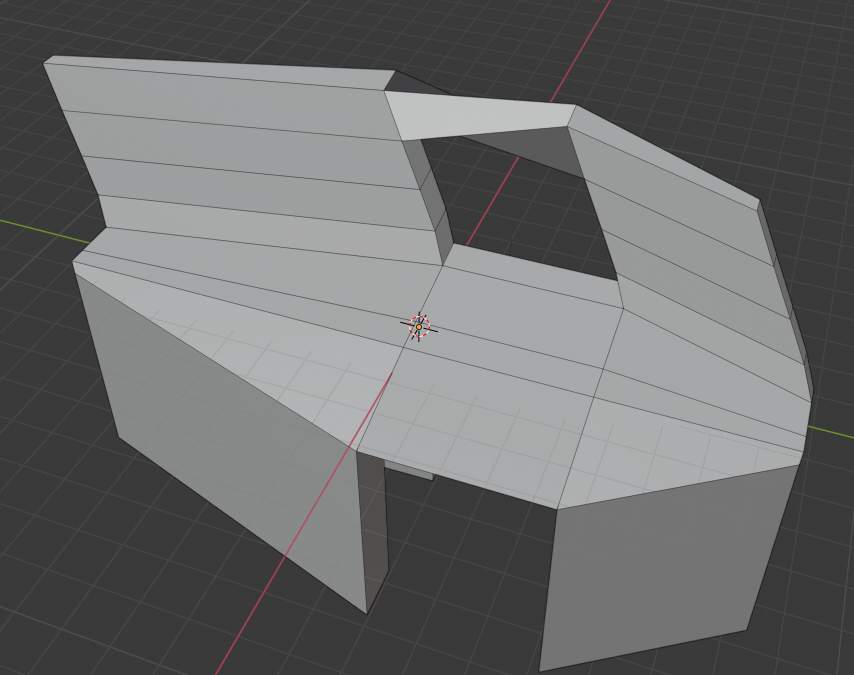
then I add some more cuts and I choose extrude tool
and I extrude 4 foots
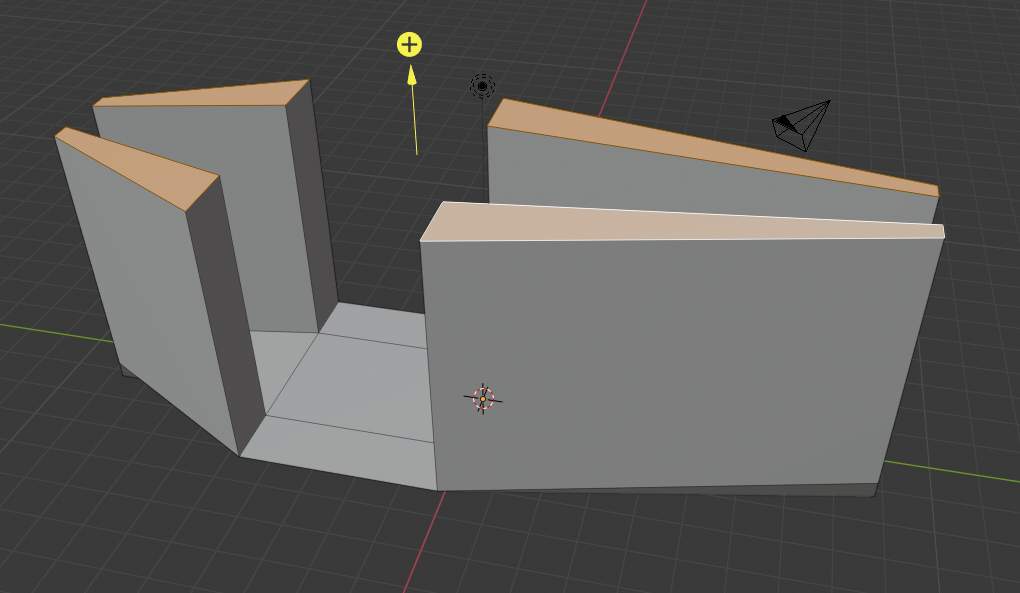
I continue with cut and extrude and after un select 2 opposites faces and I use bridge edge loops
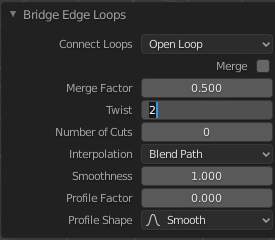
and tada
and then I select the 4 end faces of foots, I switch to individual origins
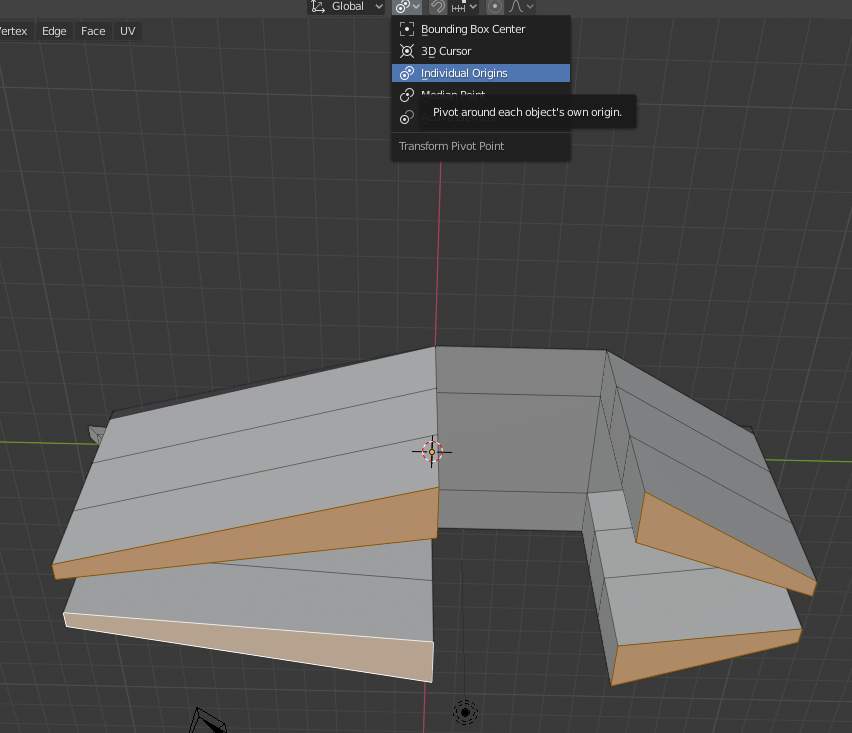
and I add some rotate
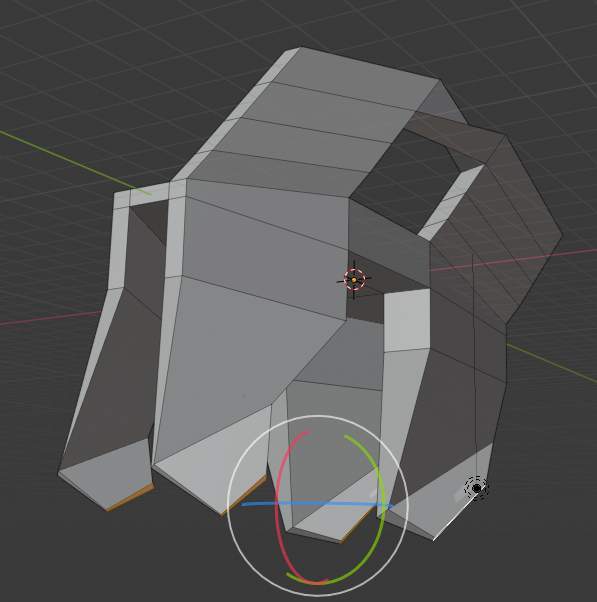
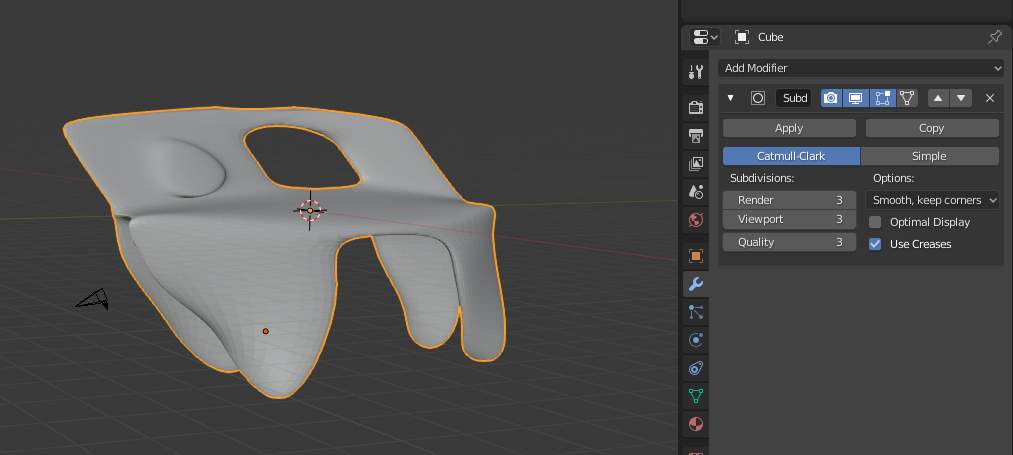
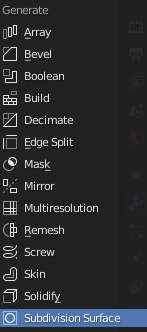
Go to object mode and add one modifier for fun (catmull-clark), it looks more organic (settings are in the screenshot).
Second design
For the second test, I start a new project.
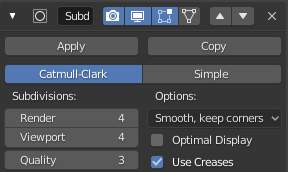
I have my cube, in object mode I add a modifier “subdivision surface”
 catmull-clark, render and viewport at 4
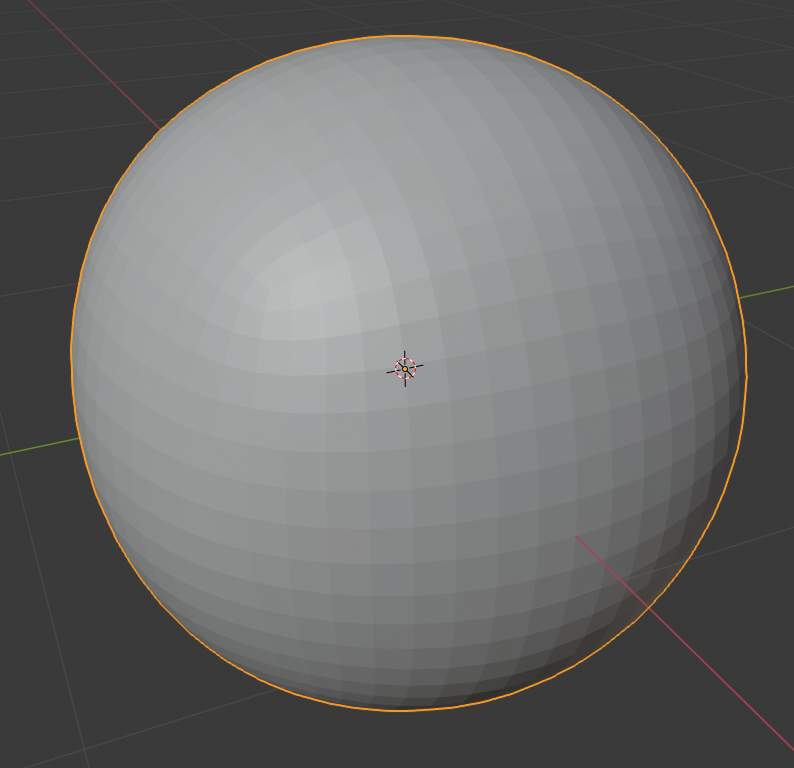
and I have a ball !
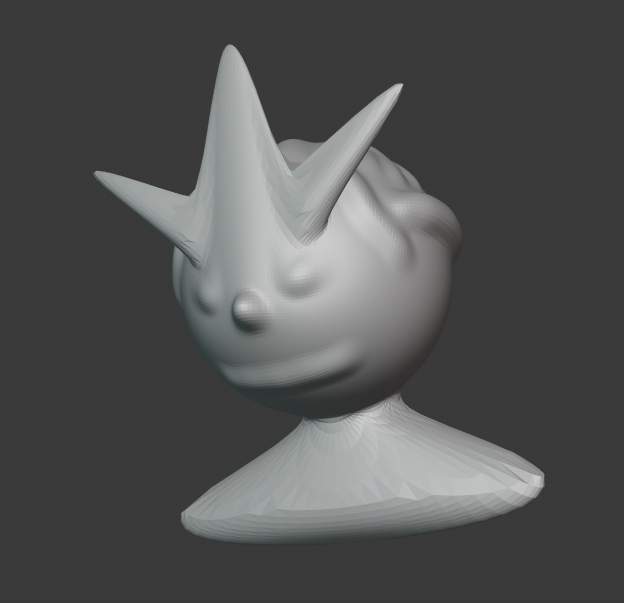
So let’s go to sculpt mode and enjoy!
After abusing of tools in sculpt mode, I made this :
Then I add another ball and continue a little bit of sculpting but it’s time for today. You can see my model on sketchfab :
Bonus : Openscad
As a former developper, I will make a quick view of a 3D coding software that I looooooooooooooove use :) It’s OpenSCAD, it’s a opensource freeware software made in C++.
Here it’s an example with the BPEX made @ AgriLab, a outdoor IOT parametric case, I help Luc Hanneuse in rewriting code in a more efficient way.
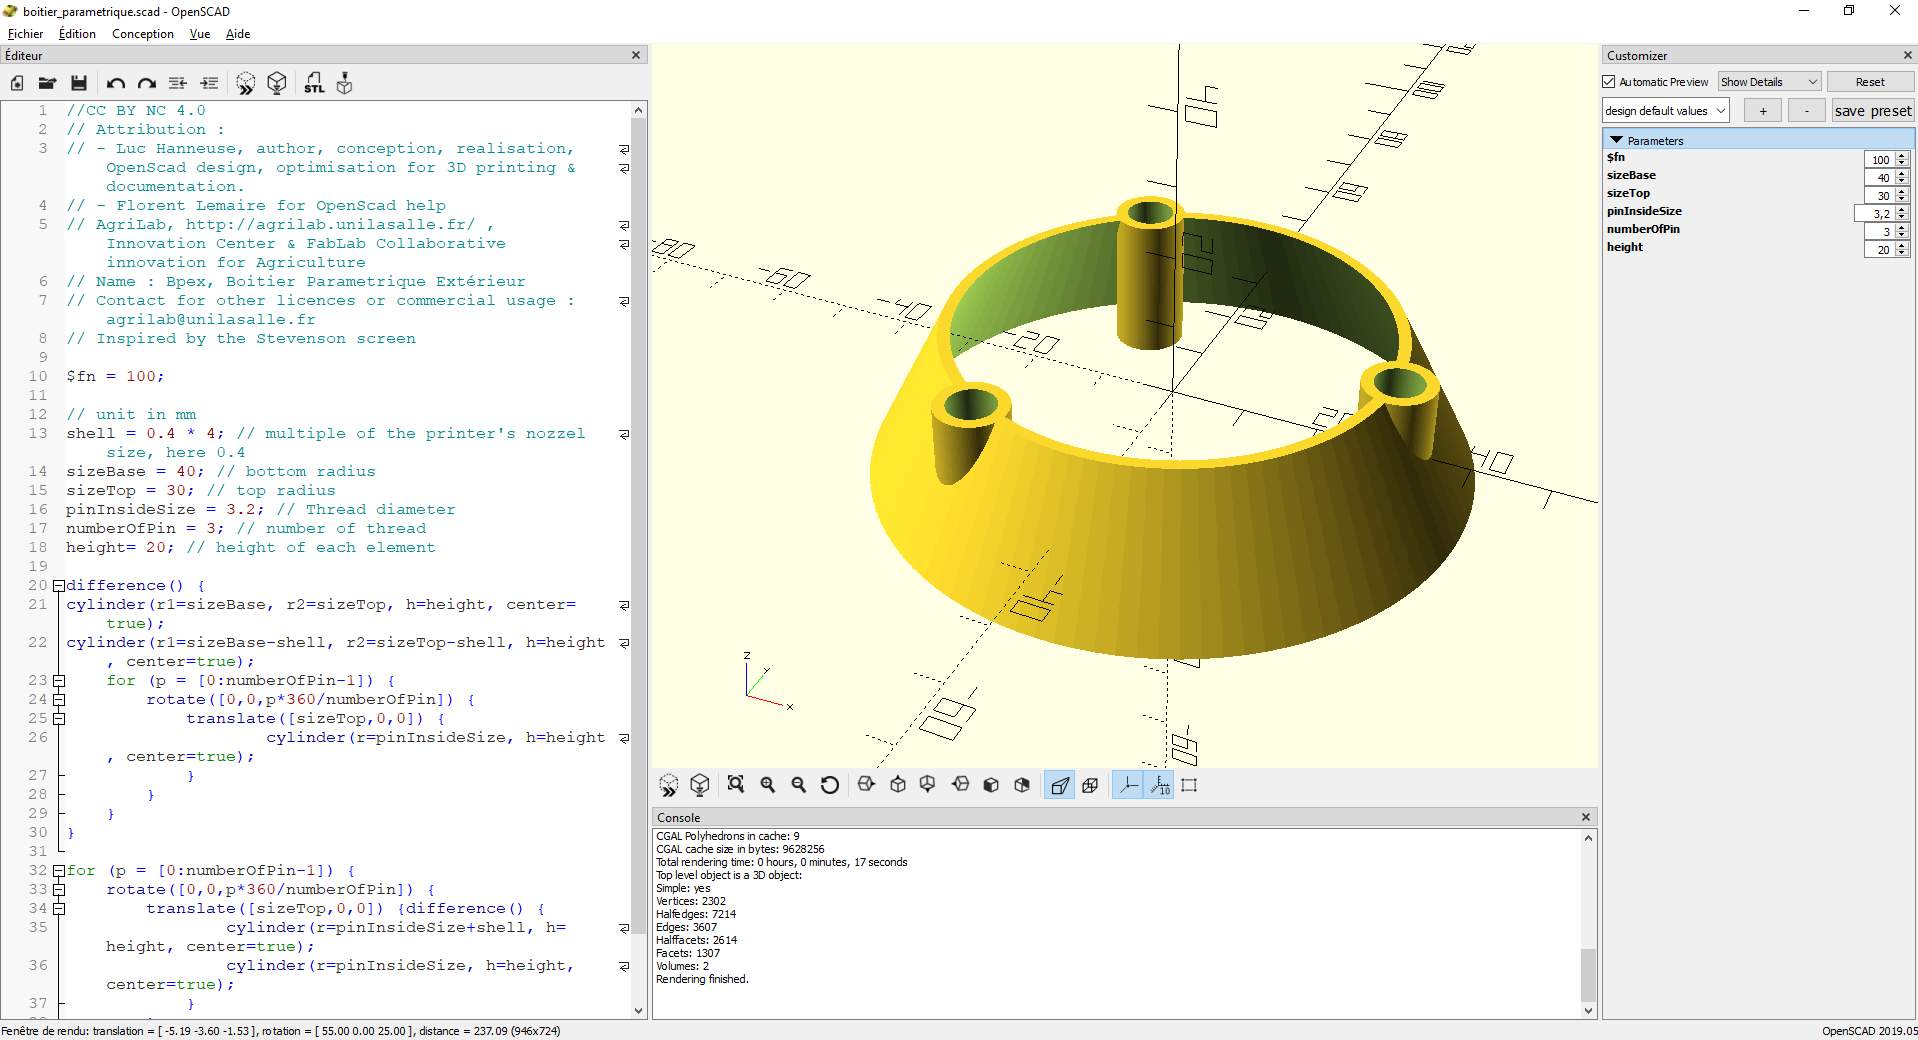
Source files can be found here : http://agrilab.unilasalle.fr/projets/questions/107-bpex-boitier-parametrique-exterieur
Conclusion
They are my 2 favorite softwares:
If you’re a beginner, try fusion 360. The UI is so great. The learning curve is quick. Many many tutorials on internet.
For developer, openscad is the best ^^ it’s so quick to made a parametric native design.
And the others 2:
For beautiful things, Blender is the best of 4 but use it to design virtual things. You will have some problems if you want to design things with constraints.
FreeCAD is good but it’s too late on UX with fusion 360. If you want to design real pieces, the 2 advantages are you have more control on the source code and it’s totally free.
2D Design
Raster : Paint.Net
For 2D Raster, I use Paint.net, it’s a free program written in C# .Net available only for windows (and now for Windows S but it’s a paid version). You can download it at https://www.getpaint.net/
I use this program since many years as a free alternative of Photoshop. I try to use Gimp a long time ago but I hate the UI, may be I’ll retry it later.
I use it everyday, I missing a few advanced functions of Photoshop but it does the work.
I use it to modify, resize, compress my images.
For images in this website, since there is a lot, I will try image-magick.
Vector : Inkscape
Inkscape is a free and opensource software written in C++.
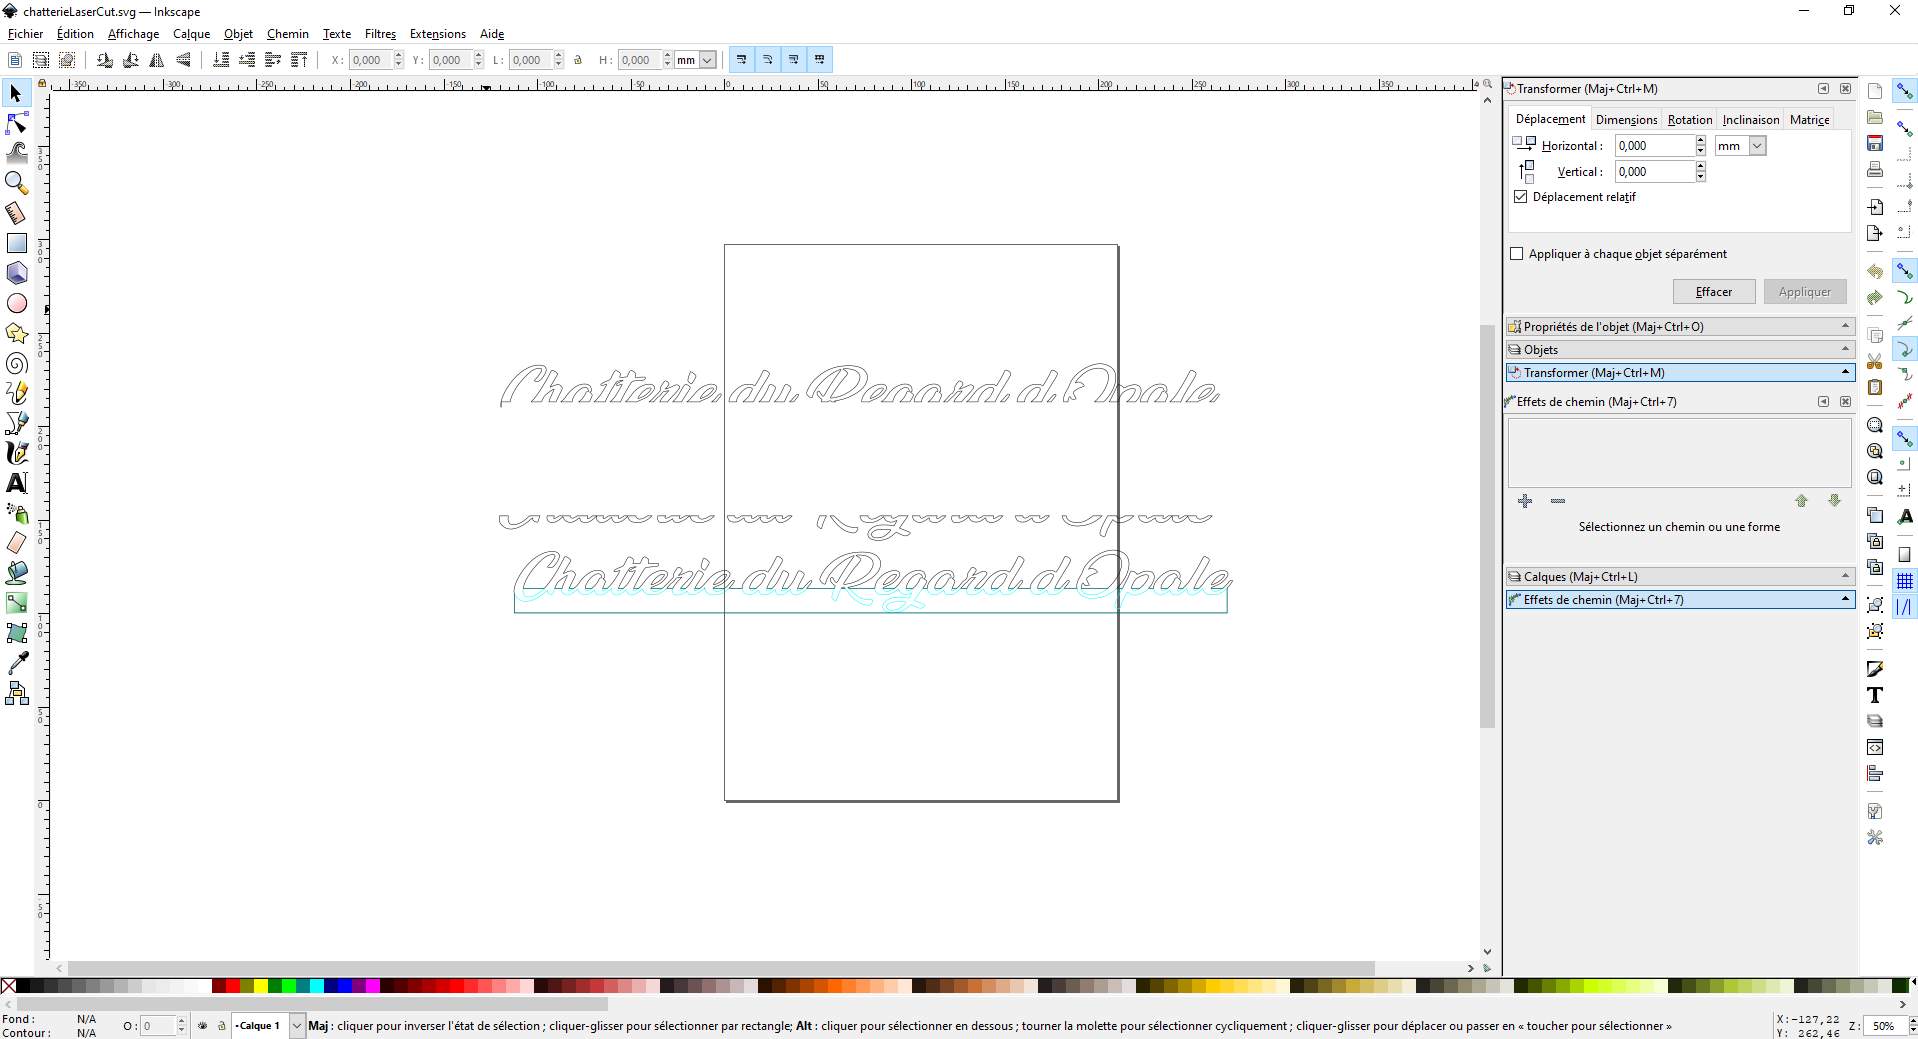
I use it mainly to vectorise raster images, modify and save in dxf for import to the laser machine software or in svg to import as sketch on fusion360.
Let’s make some exercice
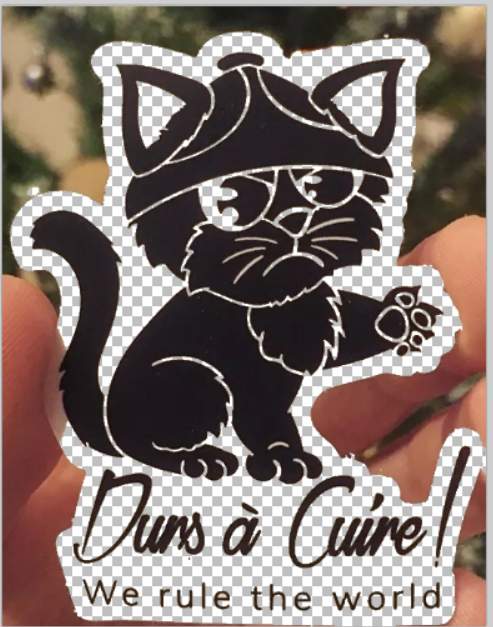
I will make a crossover between paint.net and inkscape like i often do, I take a screenshot that someone send me by messenger.

So i start some cuts with rectangle select and I put it to a new image
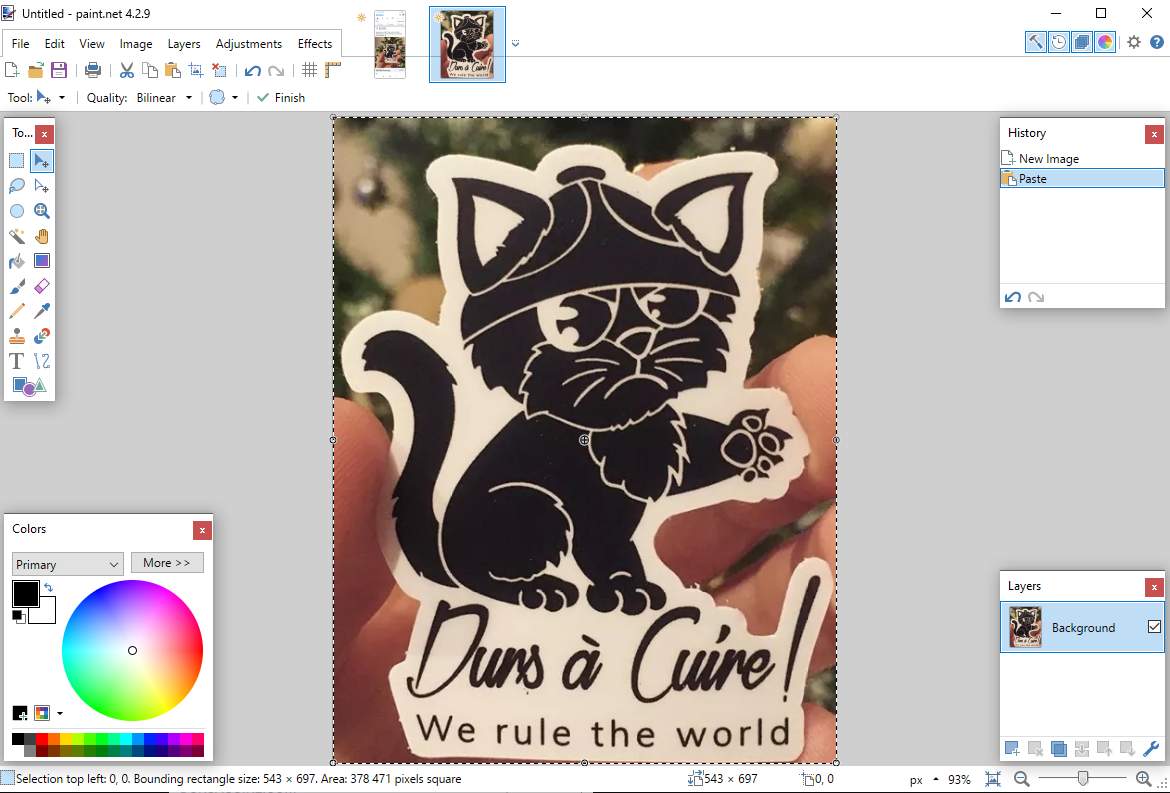
Then with magic wand, with a tolerance at 50%, I start select “white” parts, I select in group with ctrl key. Then I press delete and I have this
I play with tolerance (here @ 41%) to remove finger and shadow next to the left of the cat.
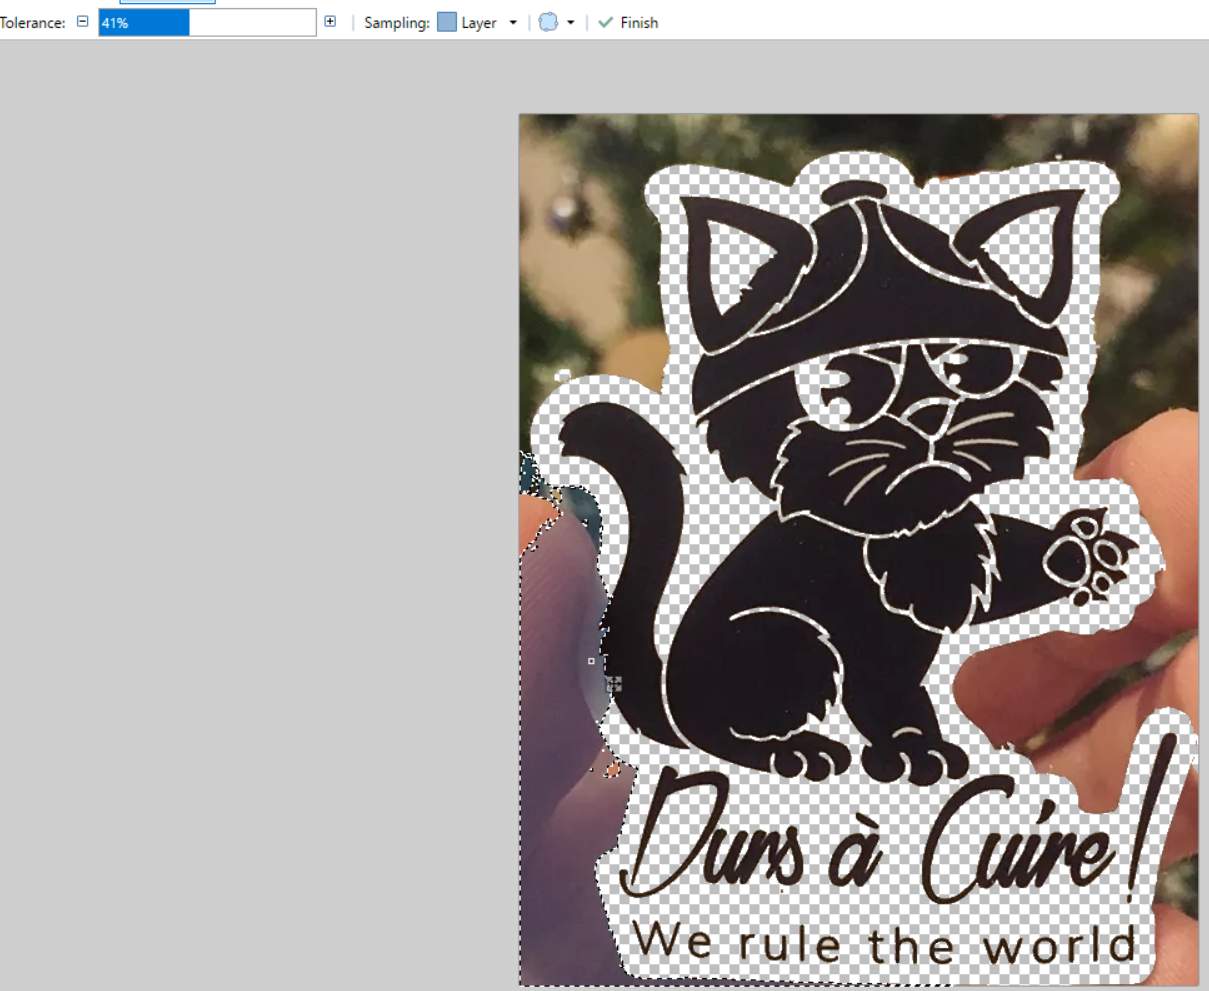
and I delete.
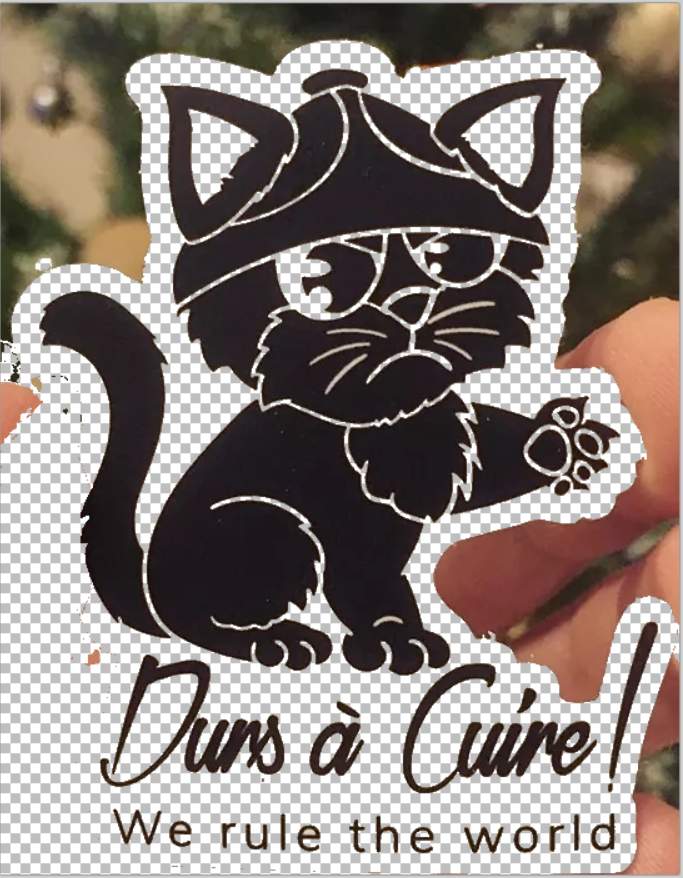
Now, I will do it in the other way, instead of deleting unwanted parts, i will try to select wanted parts. So with magic wand (tolerance @ 57) I select “black parts” I want to keep. A few zooming and click later :

and I copy it to a new image

I make some adjustements, here I put a auto leveling to enhance brigthness & contrast

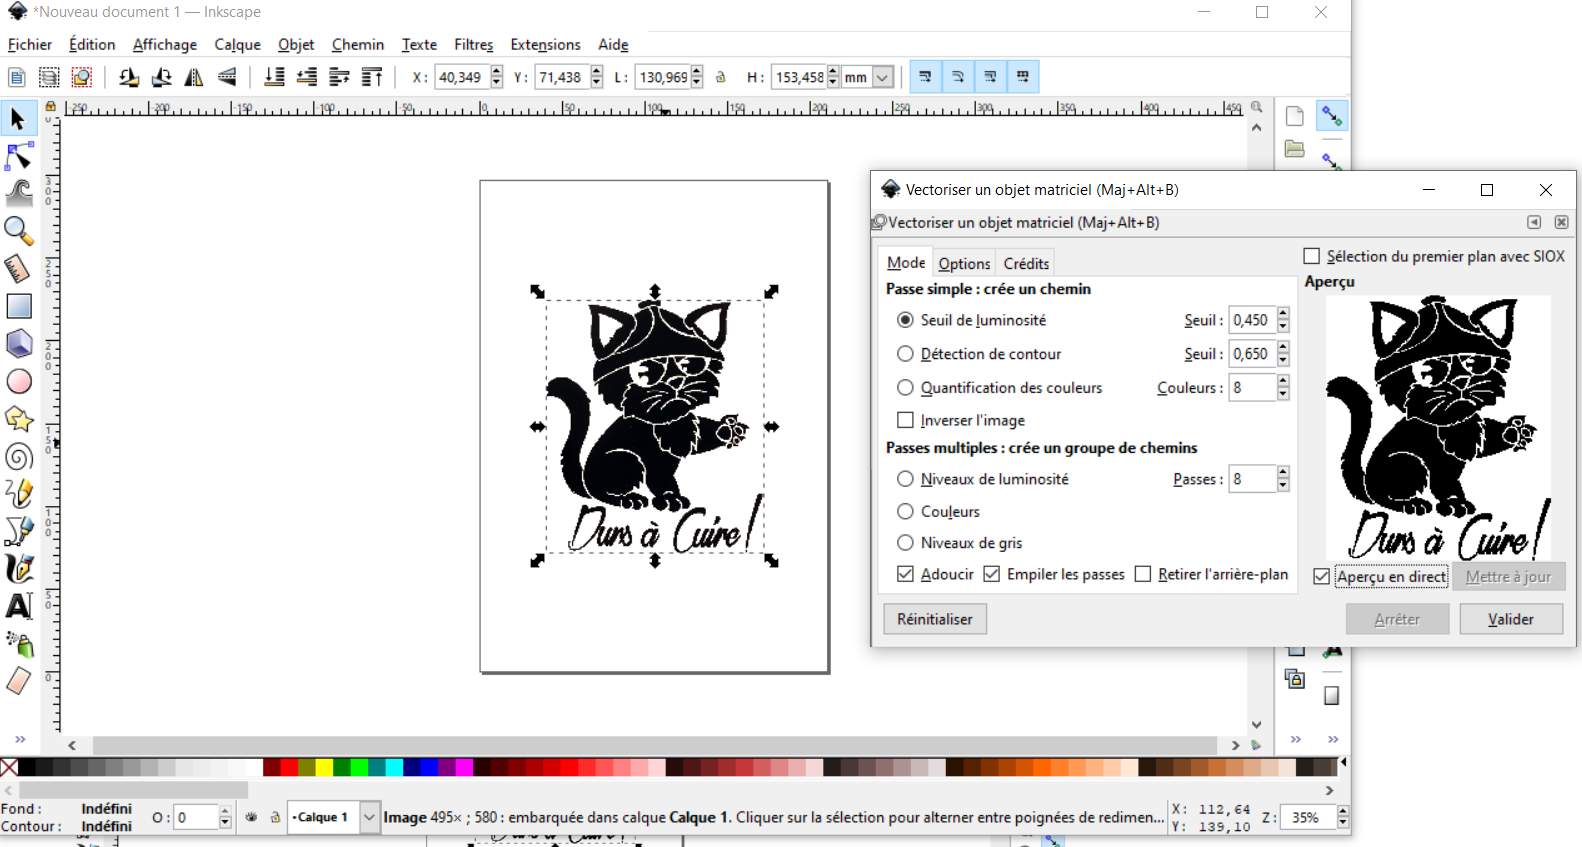
Now I’m switching to inkscape, I copy my image (ctrl+A, ctrl+C) and paste to inkscape (ctrl+V)
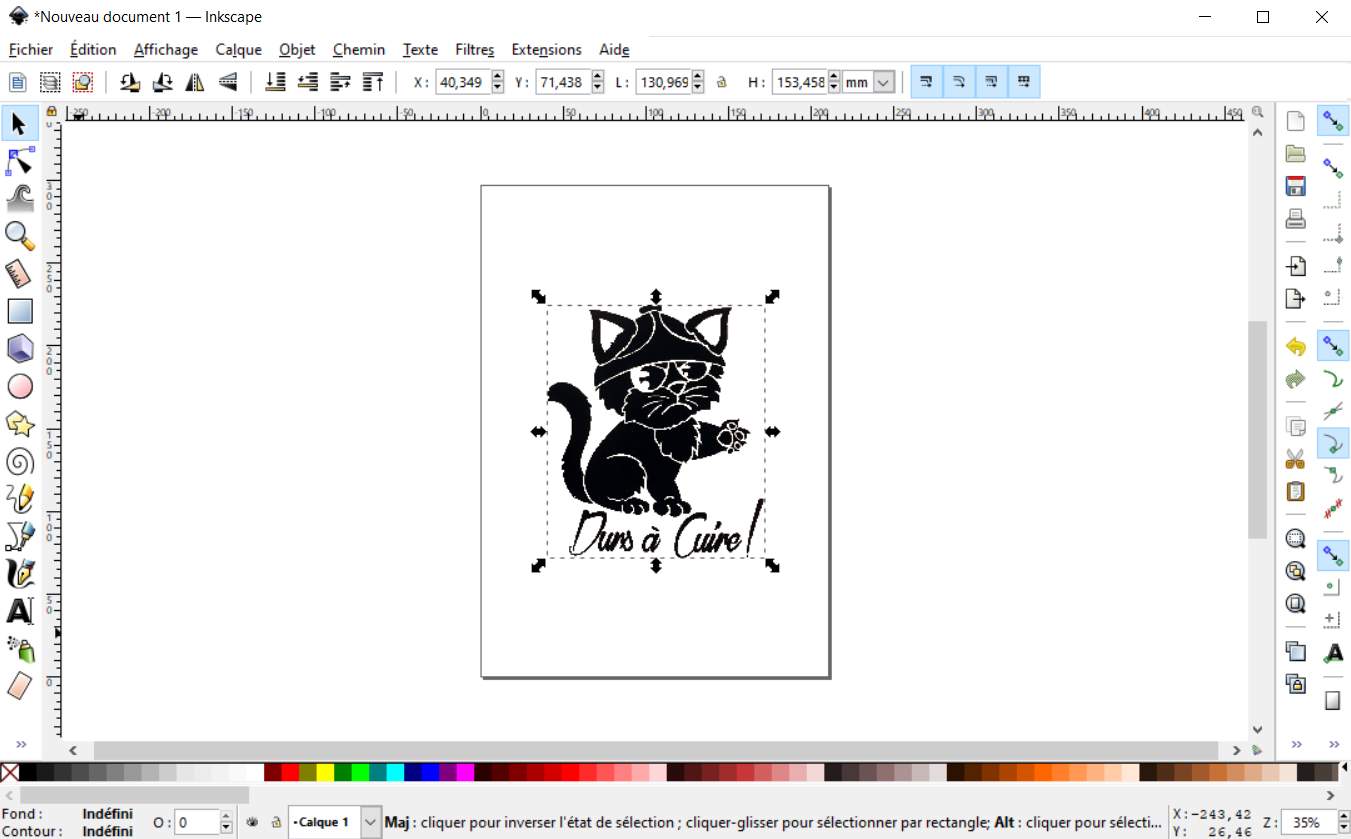
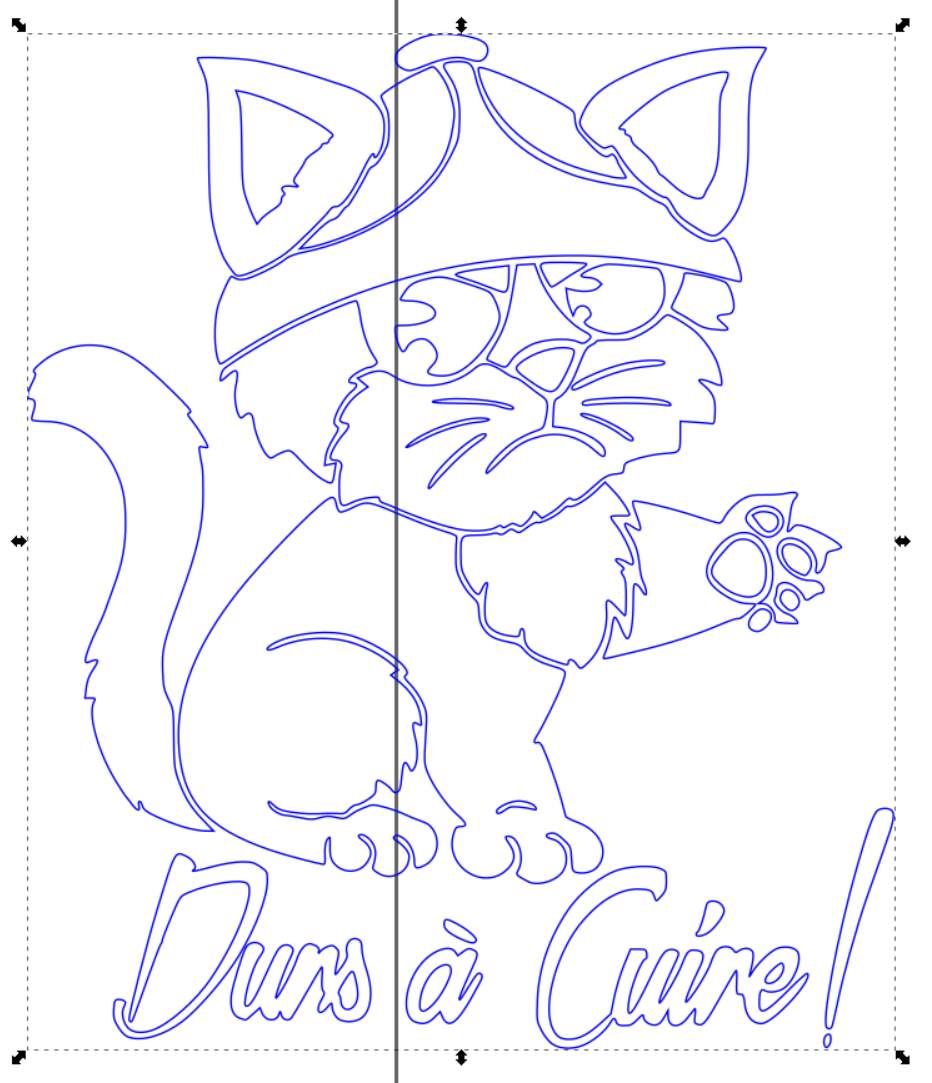
and I vectorize
I move raster image and vector side by side and change vector one in red
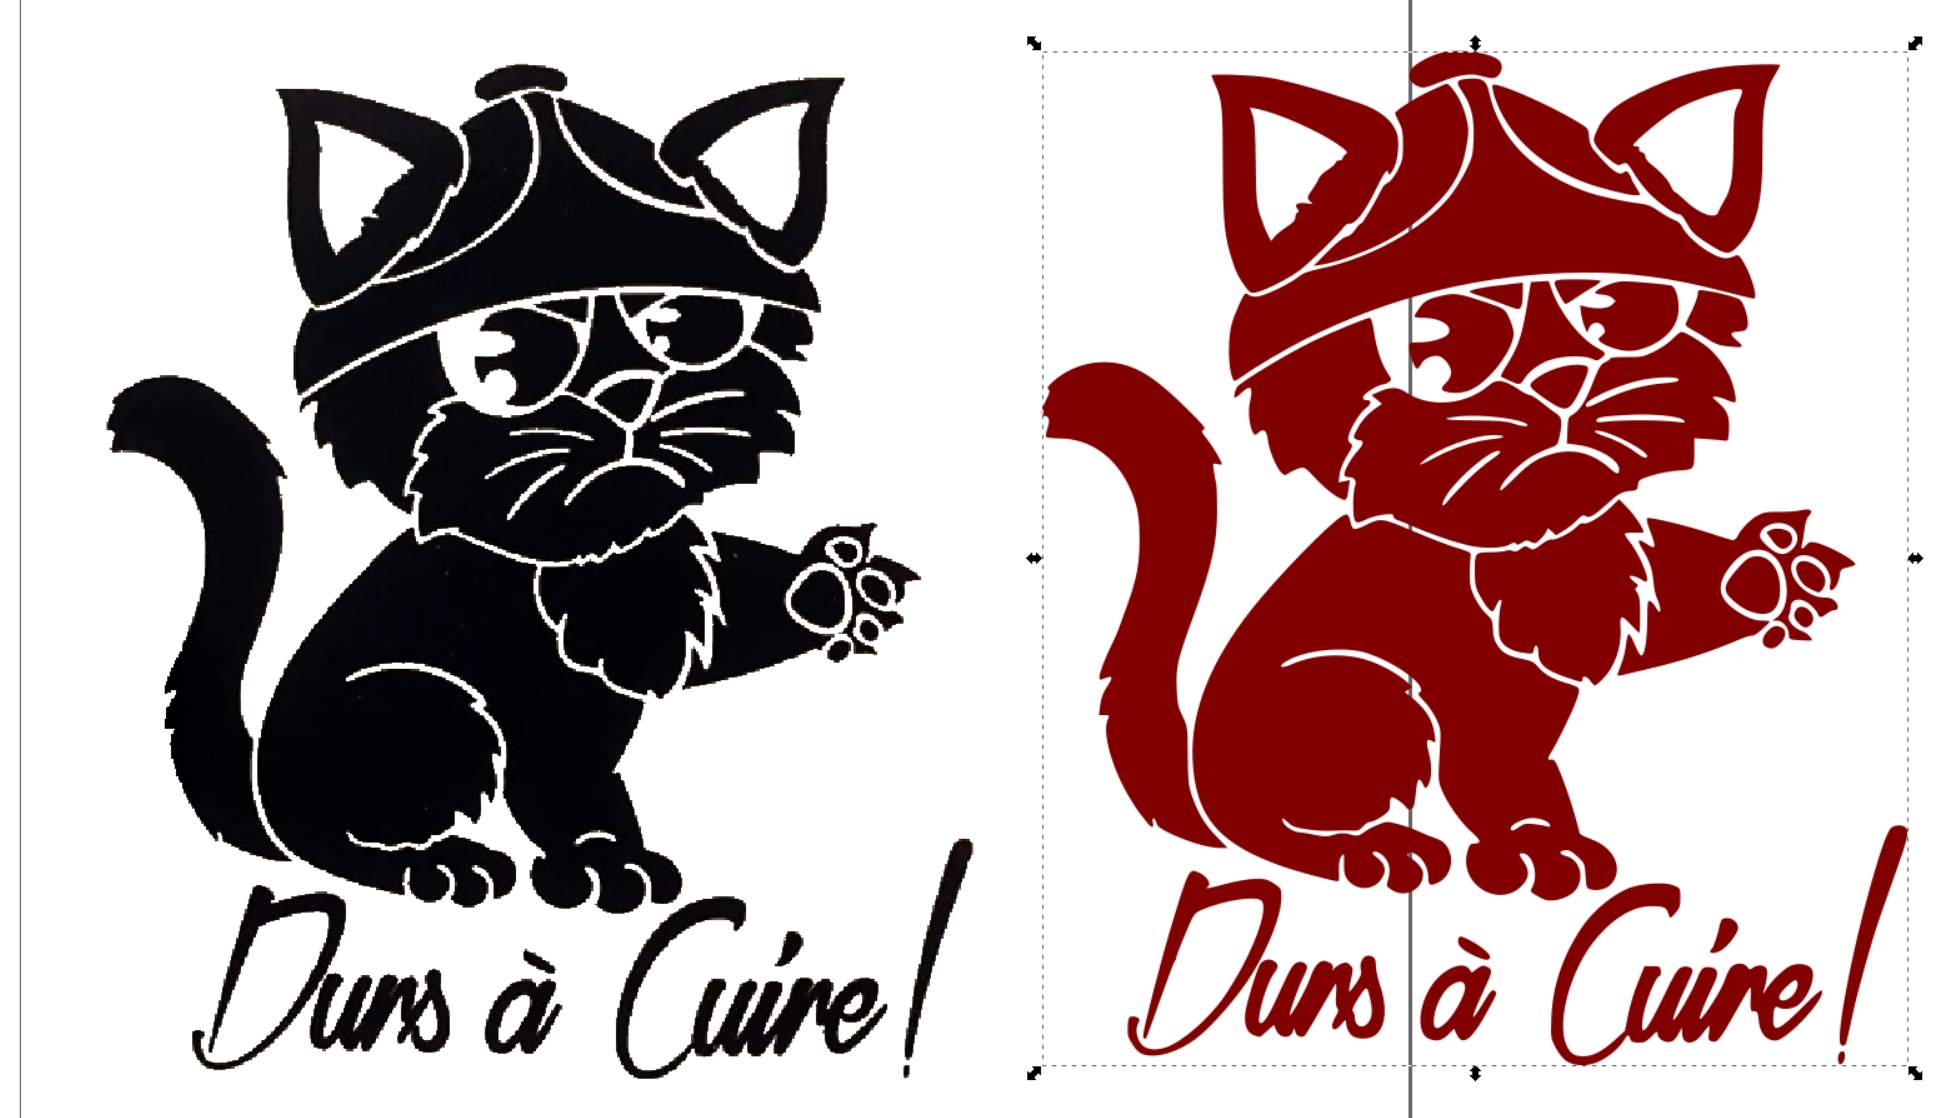
And now I can laser engrave it next week :)
Attachments
2D vector file (contain cleaned raster from Paint.net + vector) : cat.svg
Blender first try : firstTry.zip
Blender men sculpt : bonhomme.zip
FreeCAD : firsttry.FCStd
Fusion 360 design : animation.f3d