Week's Assignments
● Build a personal website in the class archive describing you and your final project
● Work through a git tutorial
Creating the Website
First, I took a look at some of the former Fab Academy students' websites, to gain a clear view of what my website should be look like. The website can be divided
into two main parts, namely homepage and assignments page, each with its own requirements. The main required parts of homepage were: an about Me section, a section
to represent the week's assignments, and a brief introduction of the final project. The homepage is a gateway to all the contents that will be present in the website. So, having a well
designed navigator was essential. From the former students' assignment pages, I understood that we would need intensive documentation for each week's assignment. So, I figured that an important
feature in designing such long assignment pages should be well-separated sections, which can easily be accessed from any other section of the page.
Iván Sánchez (FabAcademy 2017 graduate) gave a
comprehensive lecture on the subject, including basics of Git, Creating SSH key, guiding to build a website, etc.
I had some previous experiences with html, css, javascript, bootstrap, etc. and with Ivan's tips and recommendations, I had adequate confidence to start building my website.
Instead of designing the website from scratch, I decided to pick an available free bootstrap template and modify it according to my needs. Among the available
bootstraps themes, I found "Agancy" (figure 1) more suitable
for the home page of my website. I also borrowed some features such as fix background and image slider with indicator buttons from a
bootstrap tutorial on YouTube.

Figure 1. Agency Theme.
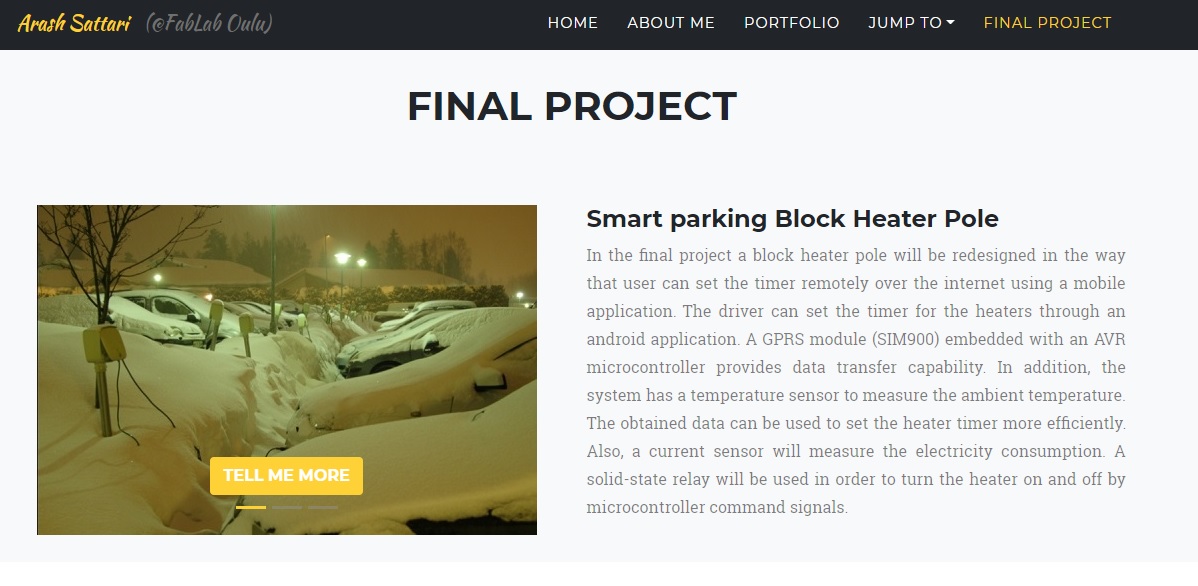
Figure 2. Image slider with indicator buttons.
For the assignment page, I designed a fix sidebar that lets the user easily move between different sections of the page (figure 3). I also added the homepage navigation bar to the assignment
page and fixed on top of the page, so that the user can go to the other sections of the website with minimum effort. As mentioned before, an assignment page can be very long, so
having buttons for scrolling back to top seemed like a good idea (Thanks to Marta for her reminder).
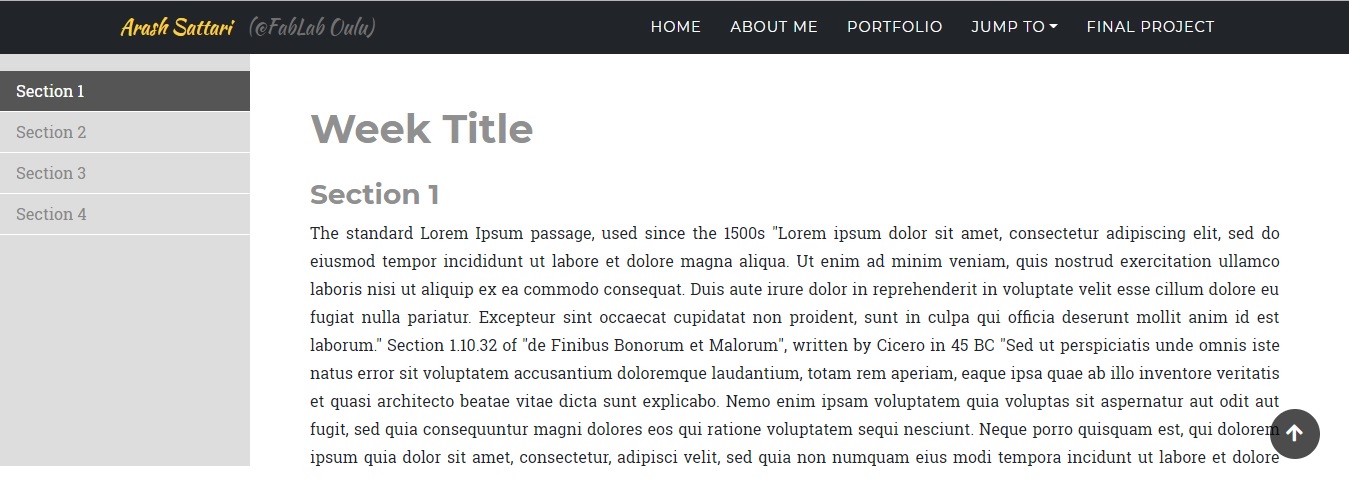
Figure 3. Assignment page template.
To add different features to the website, I went through multiple tutorials on the internet. For instance I followed these two tutorials ( 1, 2 ) to implement the sidebar. HTML and CSS codes for the sidebar in the current page (week 1), are below.
HTML
CSS
Code Editor
Choosing the right code editor makes the documentation process less frustrating. There are several IDEs that are suitable for front-end developing, for example Visual Studio Code (VSCode), Sublime Text and Komodo IDE. I had used Visual Studio before, so I decided to choose it as my IDE (figure 4). VSCode is free, open-source, and provides support for debugging as well as built-in Git version control, syntax highlights, snippets, and so on. Here are some useful extensions (suggested by freeCodeCamp) that I installed on VSCode:
● Code Spell Checker: A basic spell checker that helps with catching common spelling errors.
● Bracket Pair Colorizer: Allows matching brackets to be identified with colours.
● HTML Snippets: Beautify code in place and make your code more readable.
● JavaScript (ES6) code snippets: Contains code snippets for JavaScript in ES6 syntax for VS Code editor.
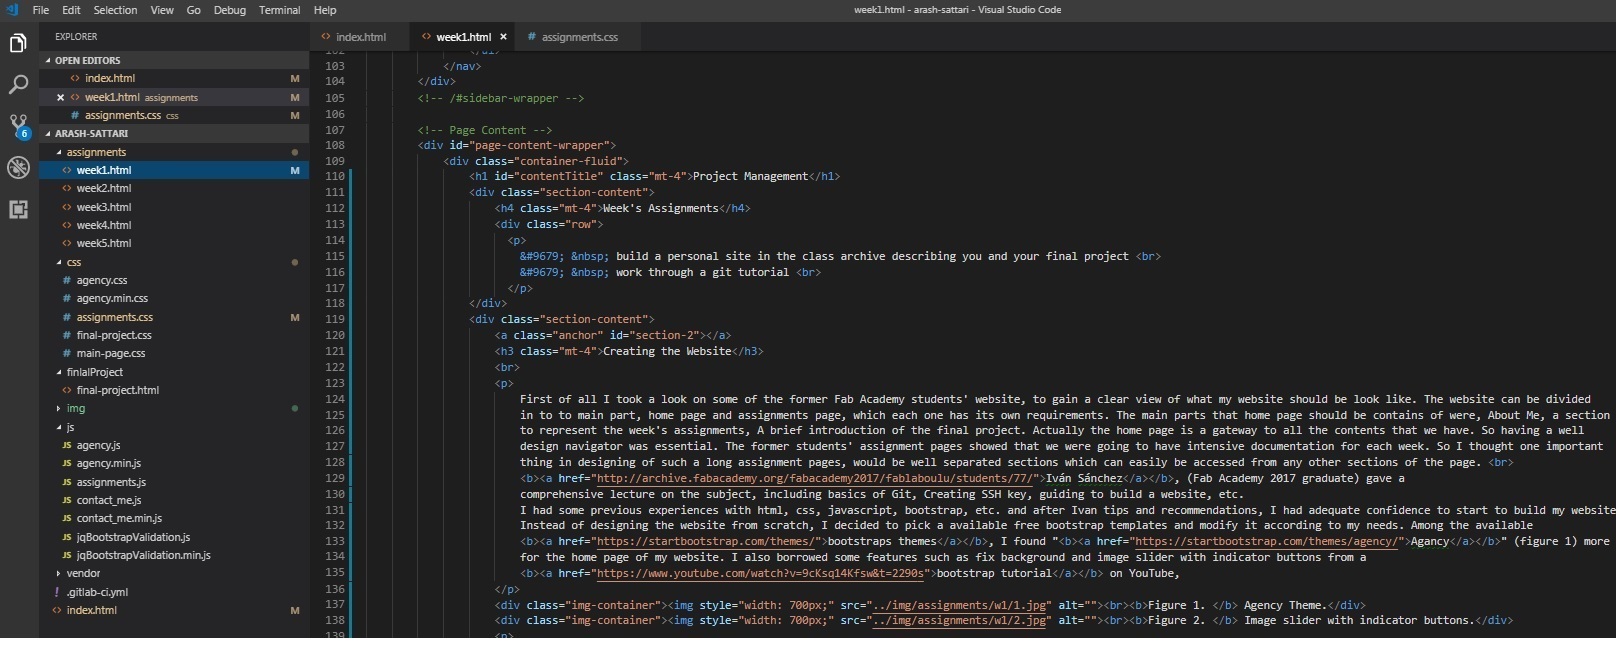
Figure 4. Visual Studio Code (VSCode).
GitLab Version Control
As mentioned before, Ivan gave a short introduction to Git, and explained the policies for using Fab Academy’s GitLab account, and more importantly about the repository size limitation. He strongly recommended to check the file size before uploading. Here are all the steps I took to have a running "Hello World!" website on GitLab:
1. Signing up for an account in fabcloud gitlab. All the needed information (e.g. student ID, etc.) was sent to me through an email.
2. Installing Git (I already have git installed on my computer, so I skipped this step).
3. Creating SSH key in order to provide a secure connection with the repository. To accomplish this:
- Open Git Bash.
- Generate the SSH key using this command:
ssh-keygen -t rsa -C "your email address"
- See generated key using this command:
cat ~/.ssh/id_rsa.pub >
- Copy the SSH key (figure 5).
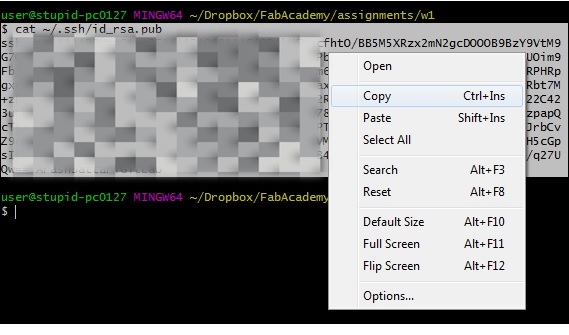
Figure 5. Copy the SSH key.
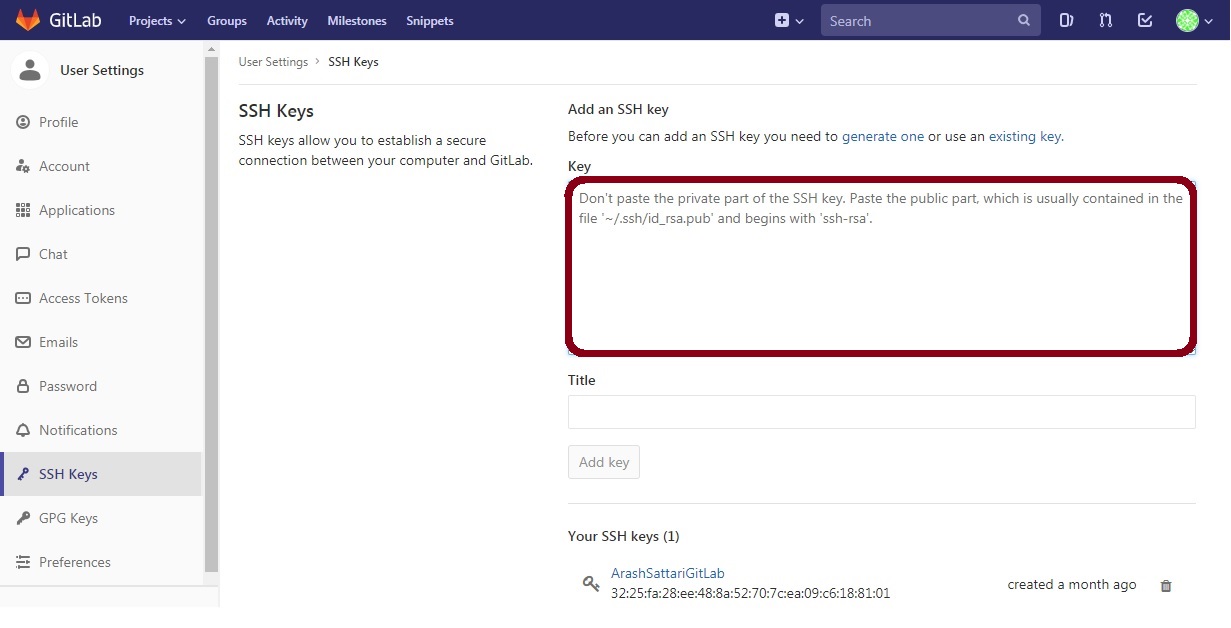
Figure 6. Where to paste the SSH Key.
Cloning the FabAcademy Repository:
I had used Git before, so basically I was familiar with that. But still I followed this tutorial to learn more.
4. Creating a local copy of the remote repository using clone command (clone address can be found on your project page).
git clone "Fab Lab Oulu repository address"
5. Since I did not want to use website templates that was prepared by repository, I deleted them. I did clone
the repository to a local directory on my laptop, deleted them and then push the empty directory back to the repository. However I found out later that it would be better to use
git rm command instead.
6. I made a simple "Hello World!" page named index.html (figure 7) and put it in the local repository.
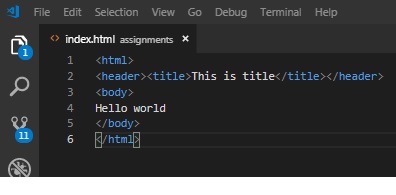
Figure 7. Hello World page.
- To download the last copy from the repository and synchronize local repository with the remote repository:
git pull
- To add the new files or the ones you have modified to the index area:
git add .
- Name your update, so you know what you changed. Actually 'commit' command, stores the files that are in the index area, into the local repository.
git commit -m "change you did"
- Upload to the Repository.
git push
8. Add the configuration file (.gitlab-ci.yml) to the root directory (master). This file tells GitLab how to build the website. Figure 8 shows how to accomplish the task.
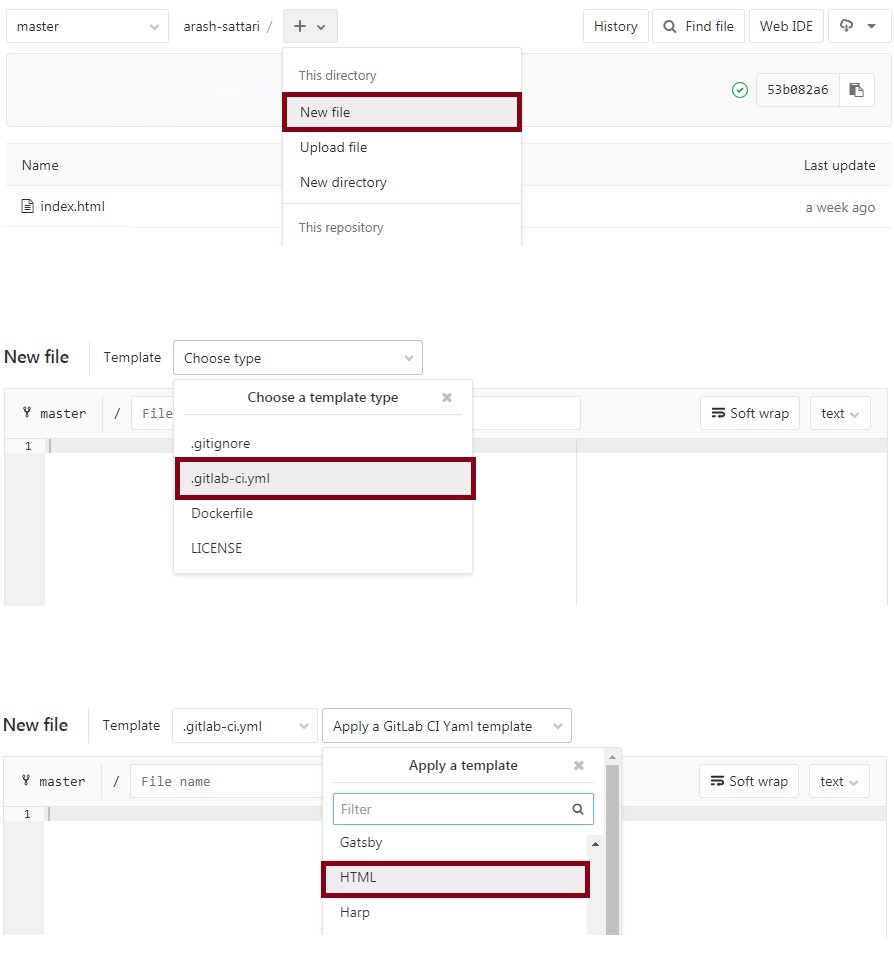
Figure 8. Adding the configuration file.
Reflection
Main learning outcomes:
During this week, I designed my website, and during the process, I leaned more about bootstrap, HTML and javascript. Besides, I got familiarized with hosting a website using GitLab.
Main difficulties:
I had previous experience with Git and GitHub, but it took some time to clearly understand, what is the difference of GitLab with those, and why we are using it in Fab Academy.
Tips:
● Notice that HTML is case-sensitive in attribute values such as id, class, file names, etc.
● Check and reduce the files size before uploading them.
● Documentation is time consuming, so do it as you progress. Otherwise, very soon you'll fall behind the schedule.