6. 3D Scanning and printing
This week was 3D Scanning and printing. These were the assignments
- Getting familiar with the 3D Printer
- Intro to 3d scanning
- 3D scanning an object or body
- Exploring Slicing softwares
- Calibrating the 3D Printer
- 3D Printing a torture test and an object that can be manufactured using only additive manufacturing
3D Printing
Intro to 3D Printer
I was introduced to the two 3d Printers available in the Fablab, one is an FDM(Fused deposition modelling) and the other one is DLP(Digital Light Processing).
DLP:
DLP uses a screen to project uv light layers onto the resin bed and the resin hardens.
* Make: MakeX
* resolution: 5 microns
* Print material: SF Resin
FDM:
FDM uses filament of various materials which will be extruded onto the bed through the nozzle of various diameters.
* Make: Creality 10s S5
* Resolution: 0.1mm
* Print material: PLA
Print Design
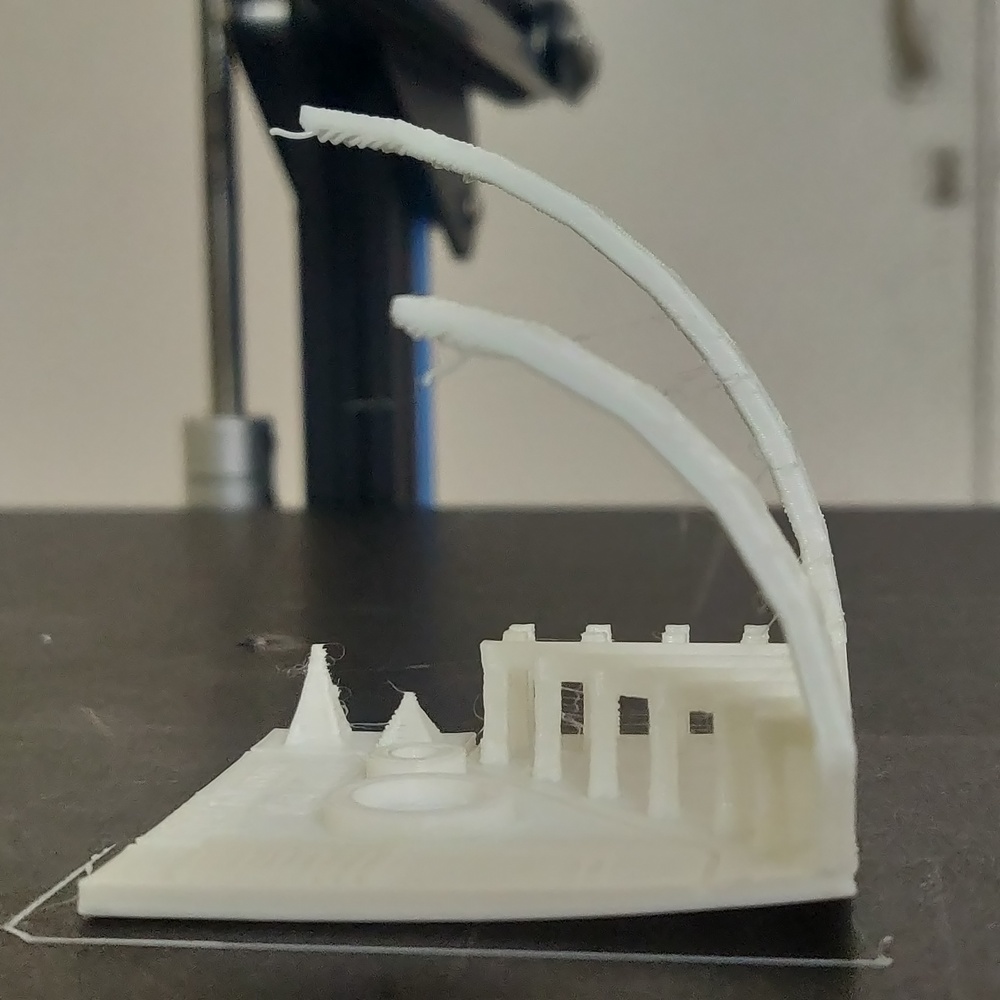
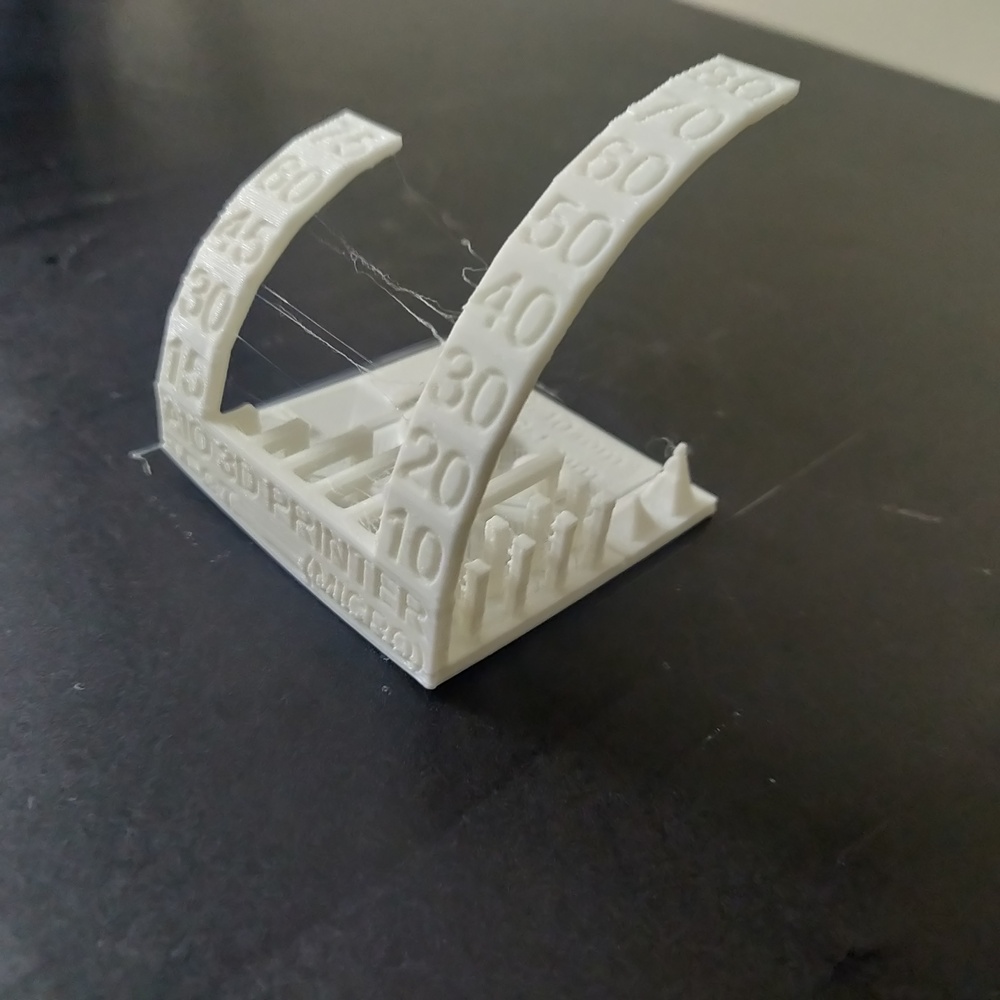
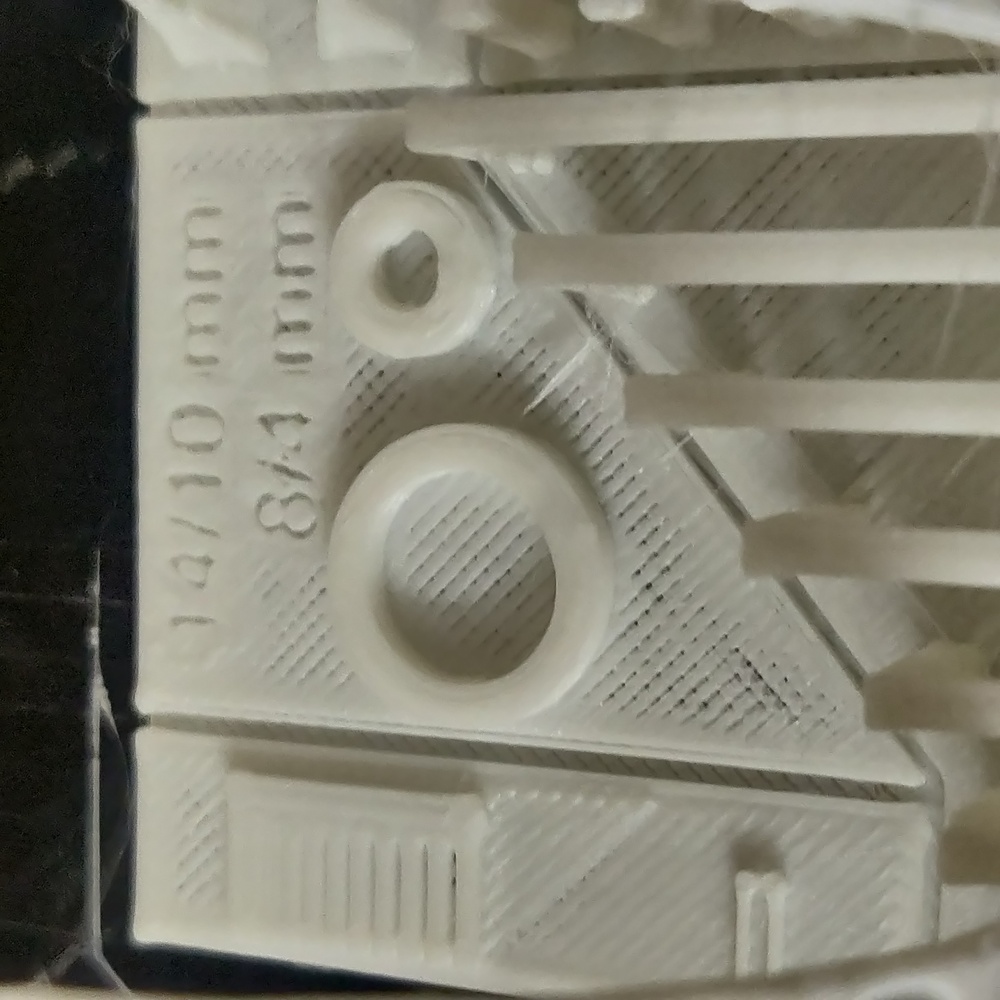
This week we were supposed to design an object which highlights additive manufacturing, basically the object cannot be done without Subtractive manufacturing for example, CNC milling.
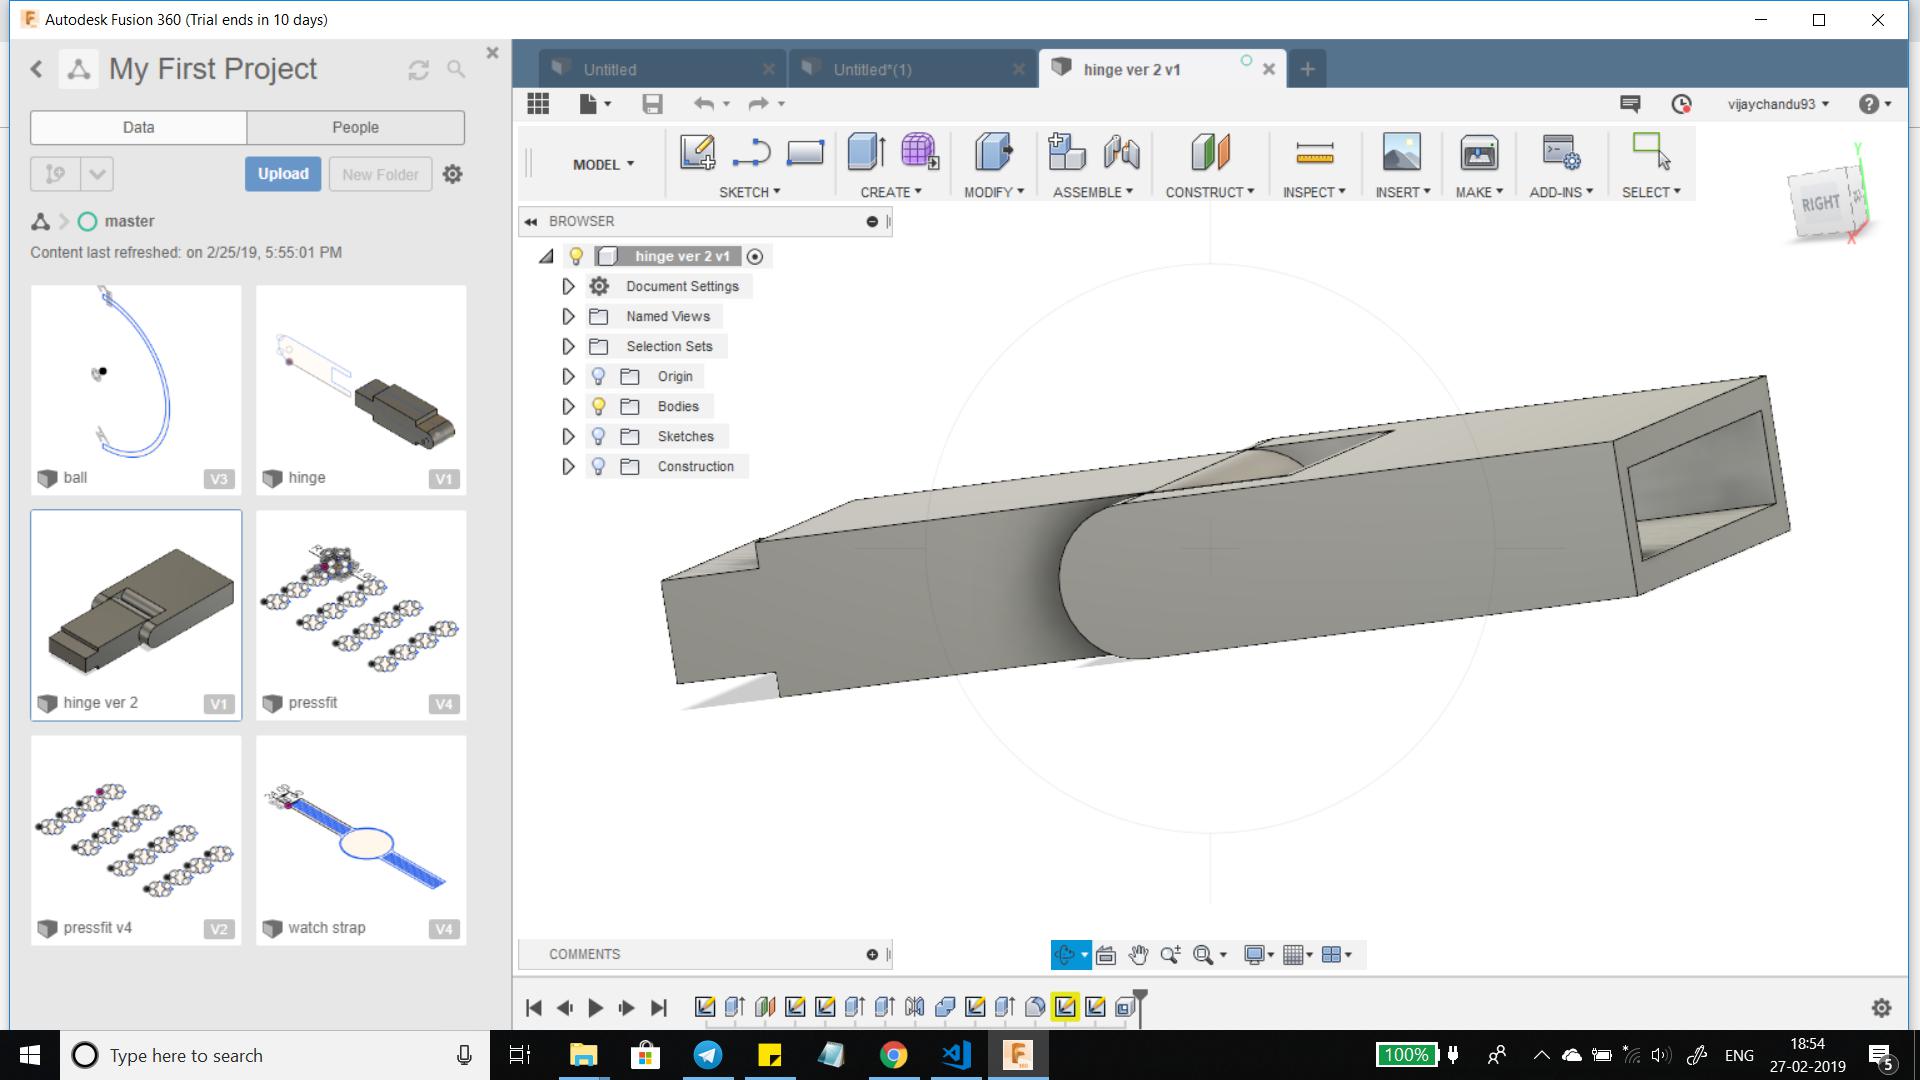
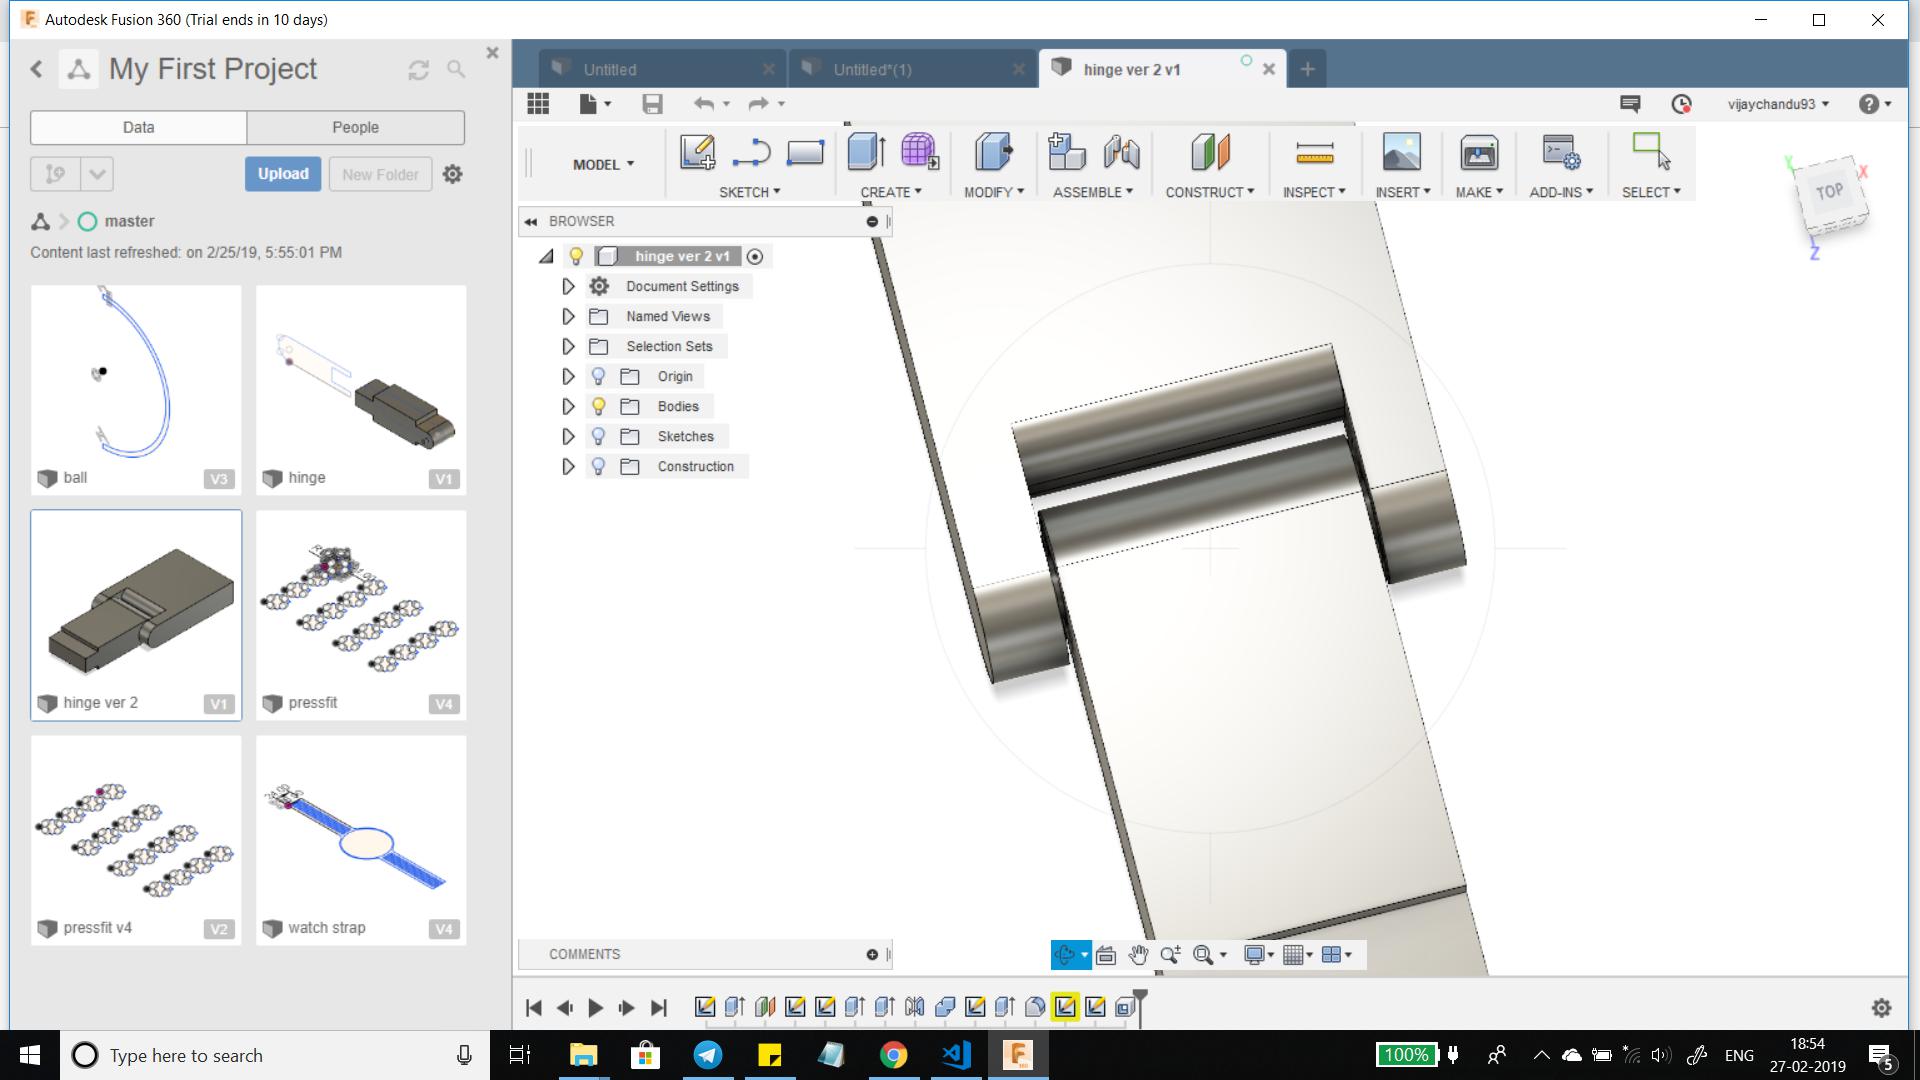
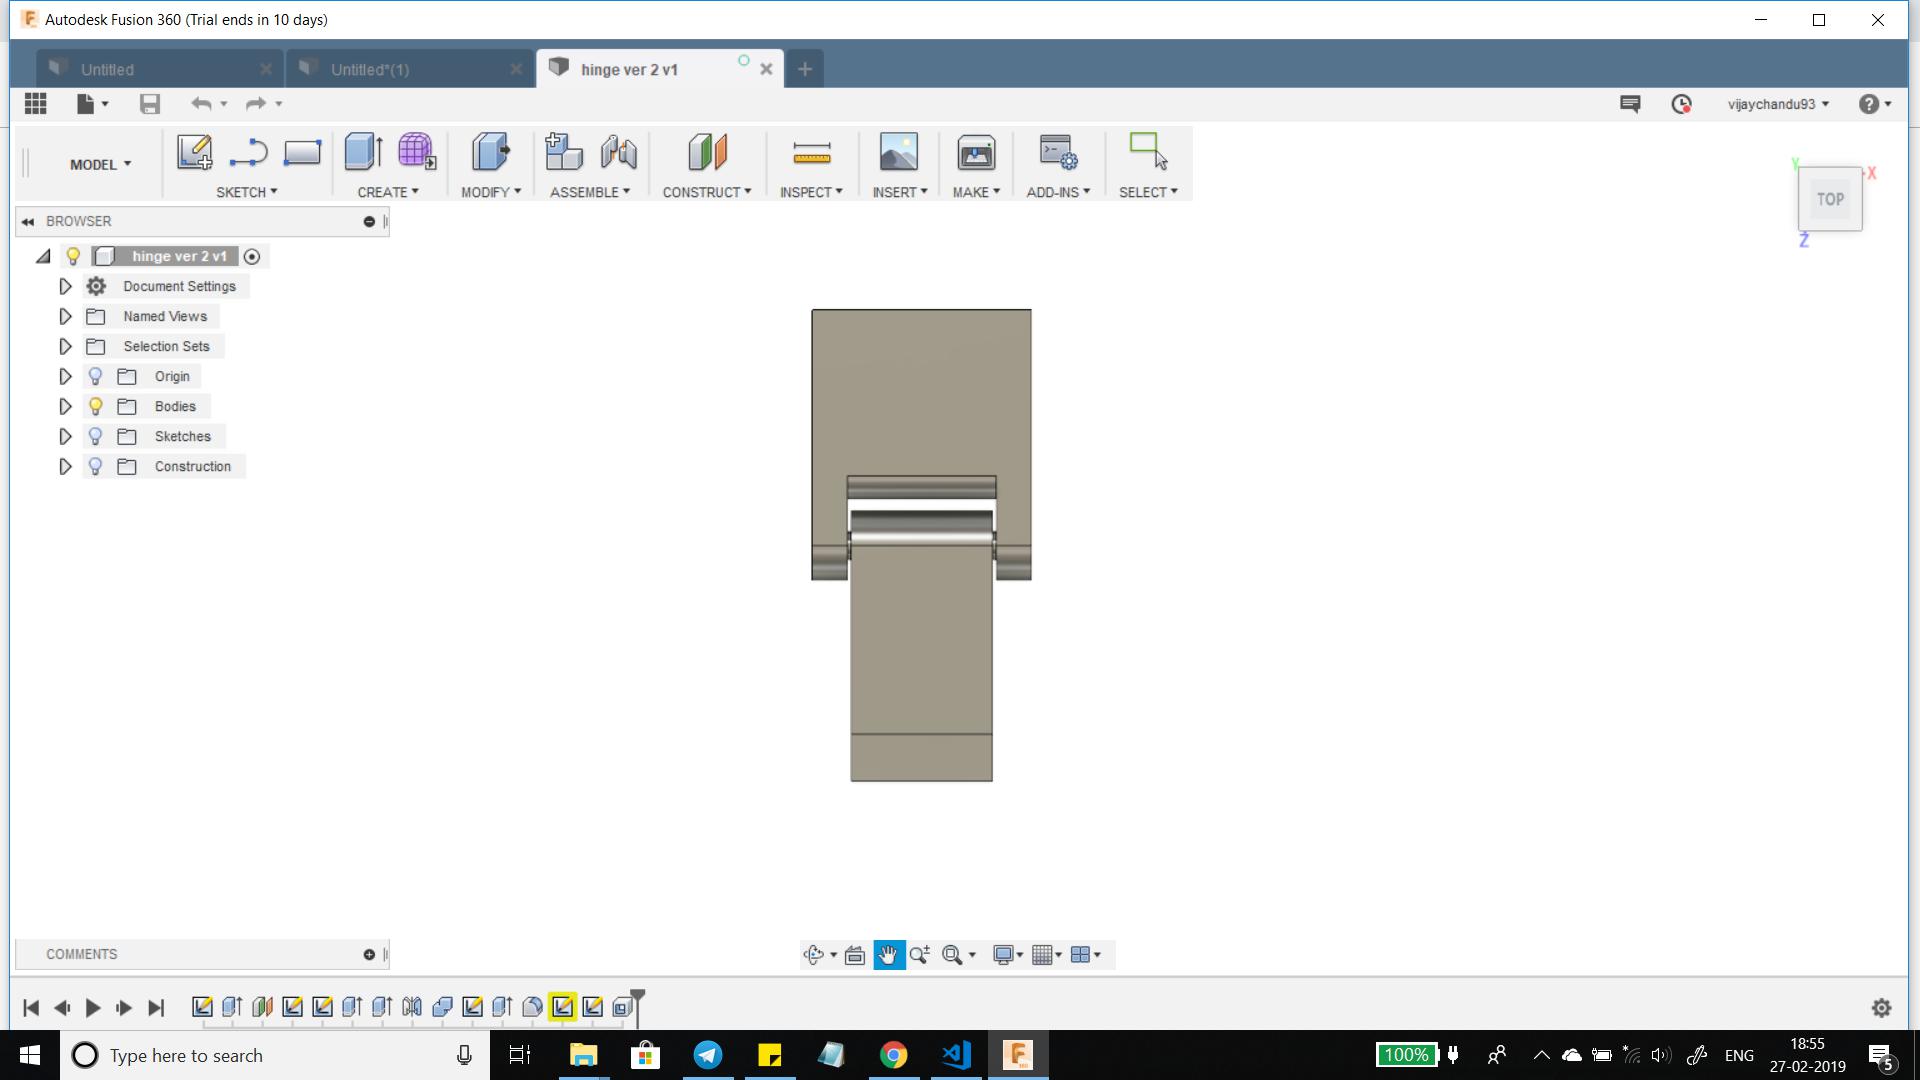
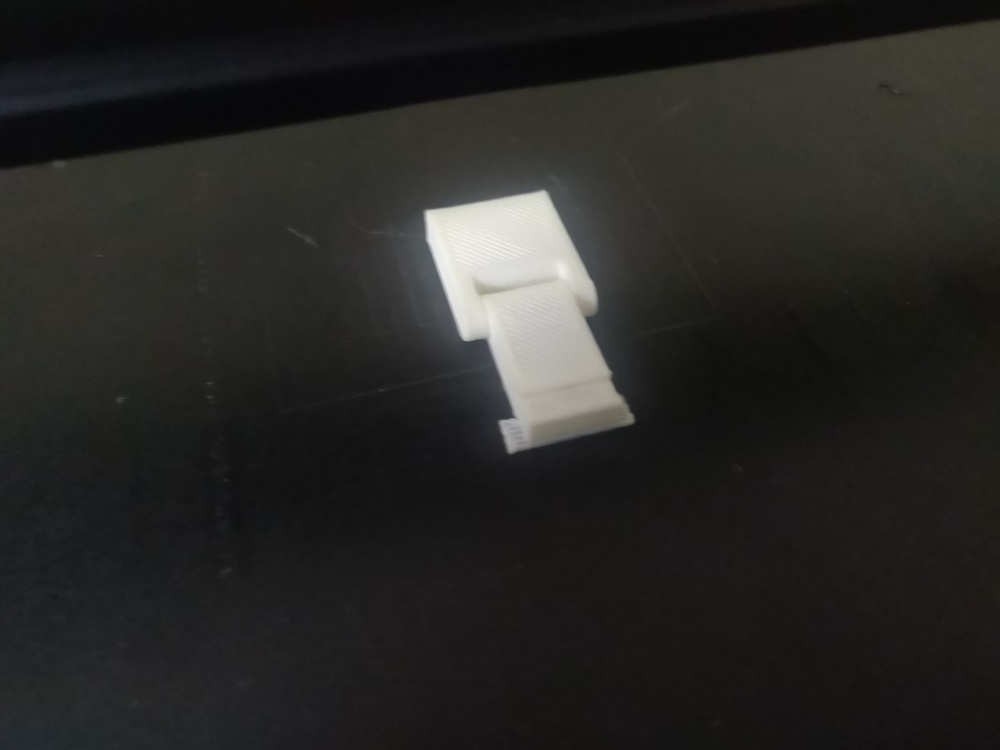
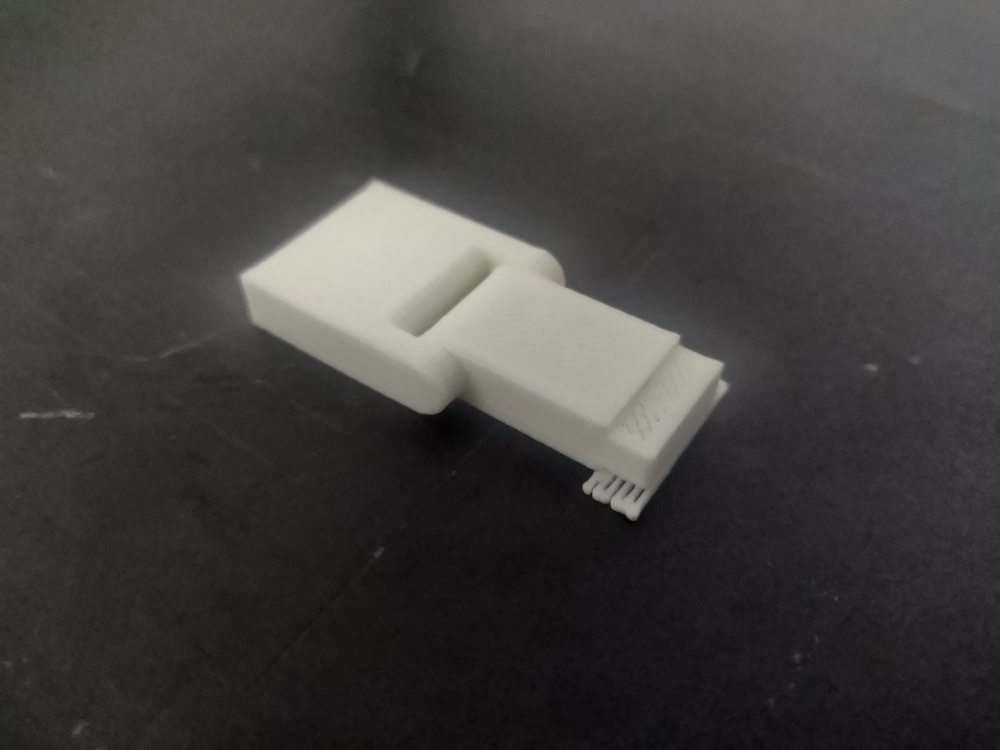
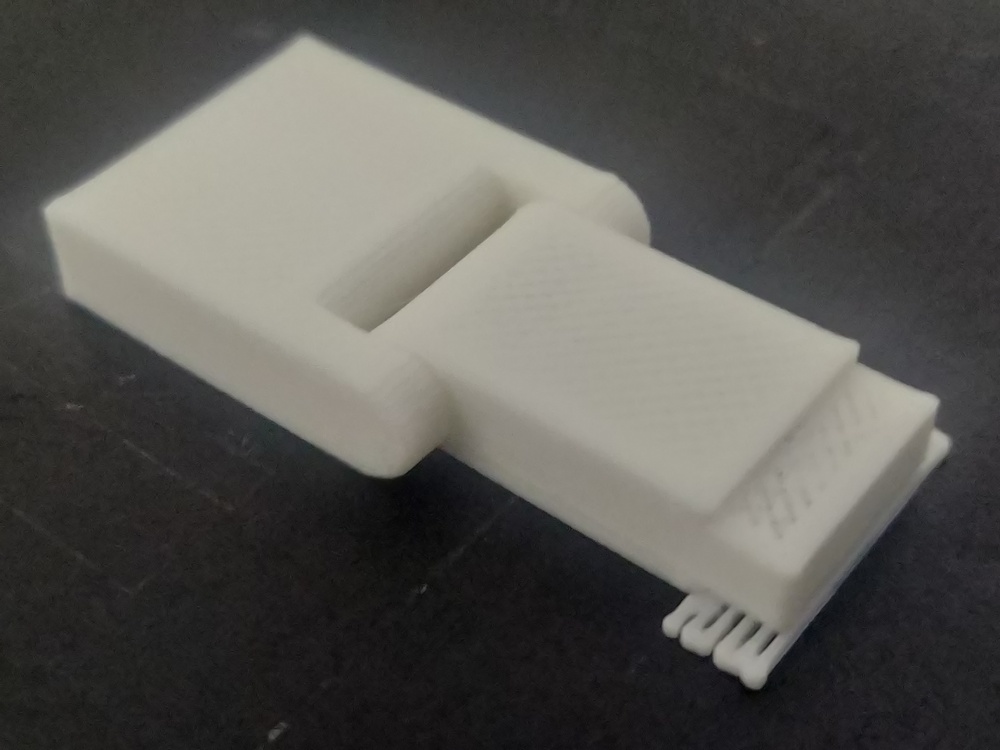
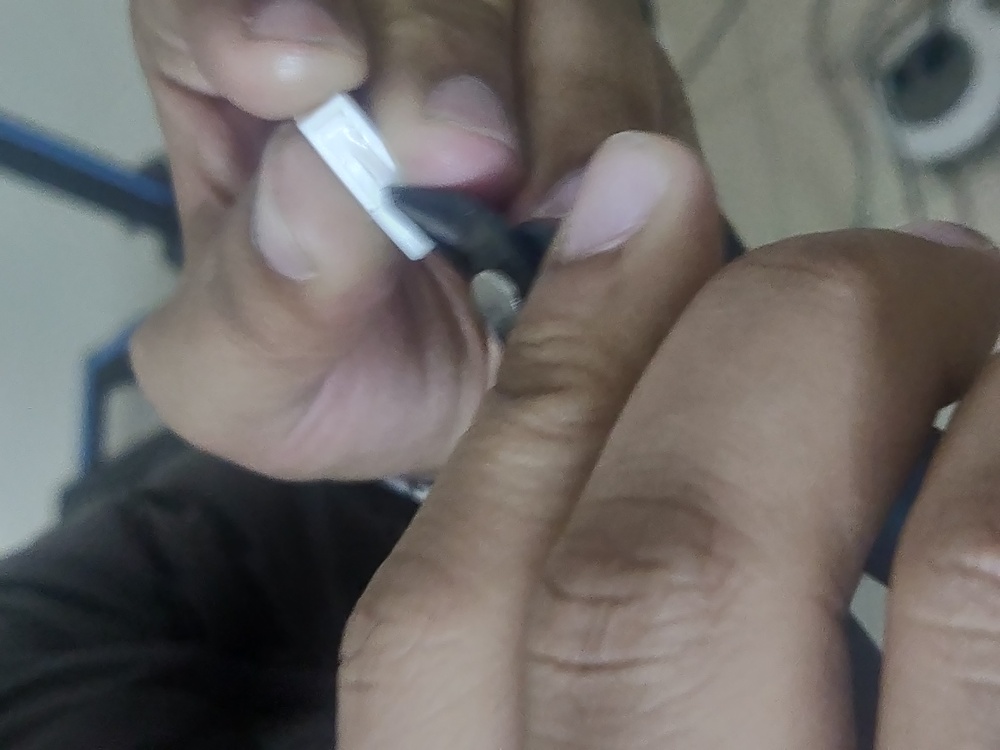
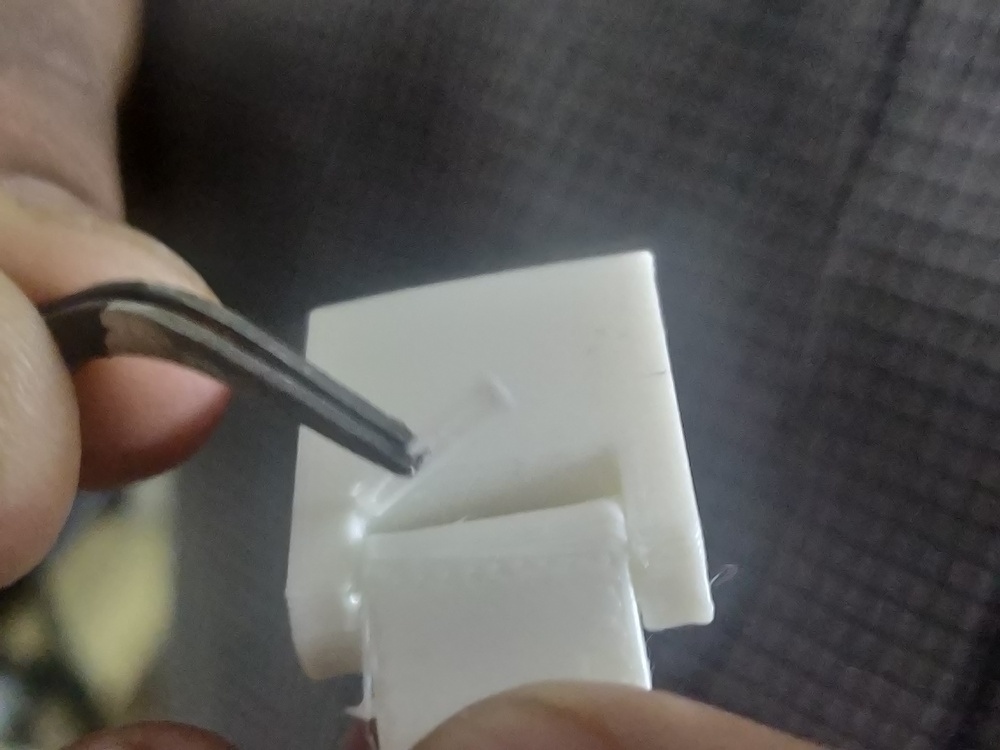
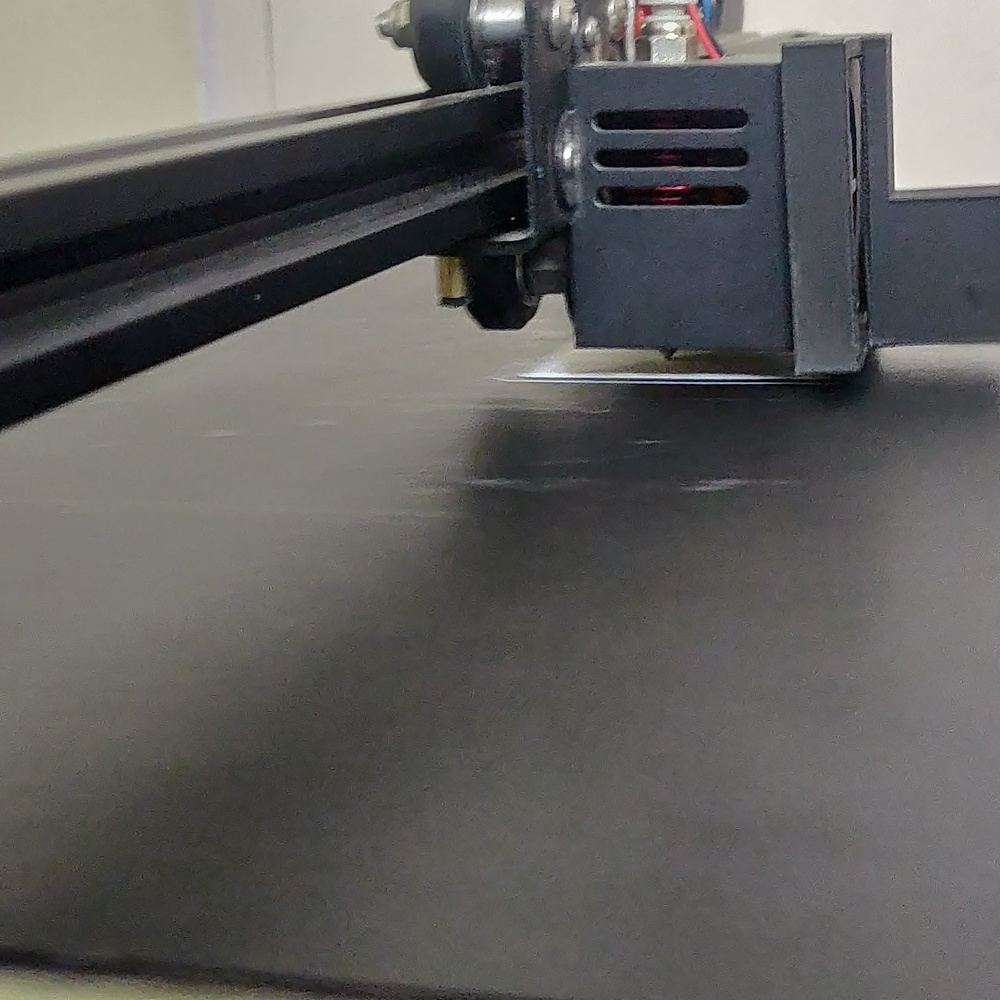
I felt a hinge with pin hinge fits the description perfectly, so I then started to design it. Briefly explaining the design I designed it such that multiple hinges can be made and can be linked.
Why this design cannot be made subtractively
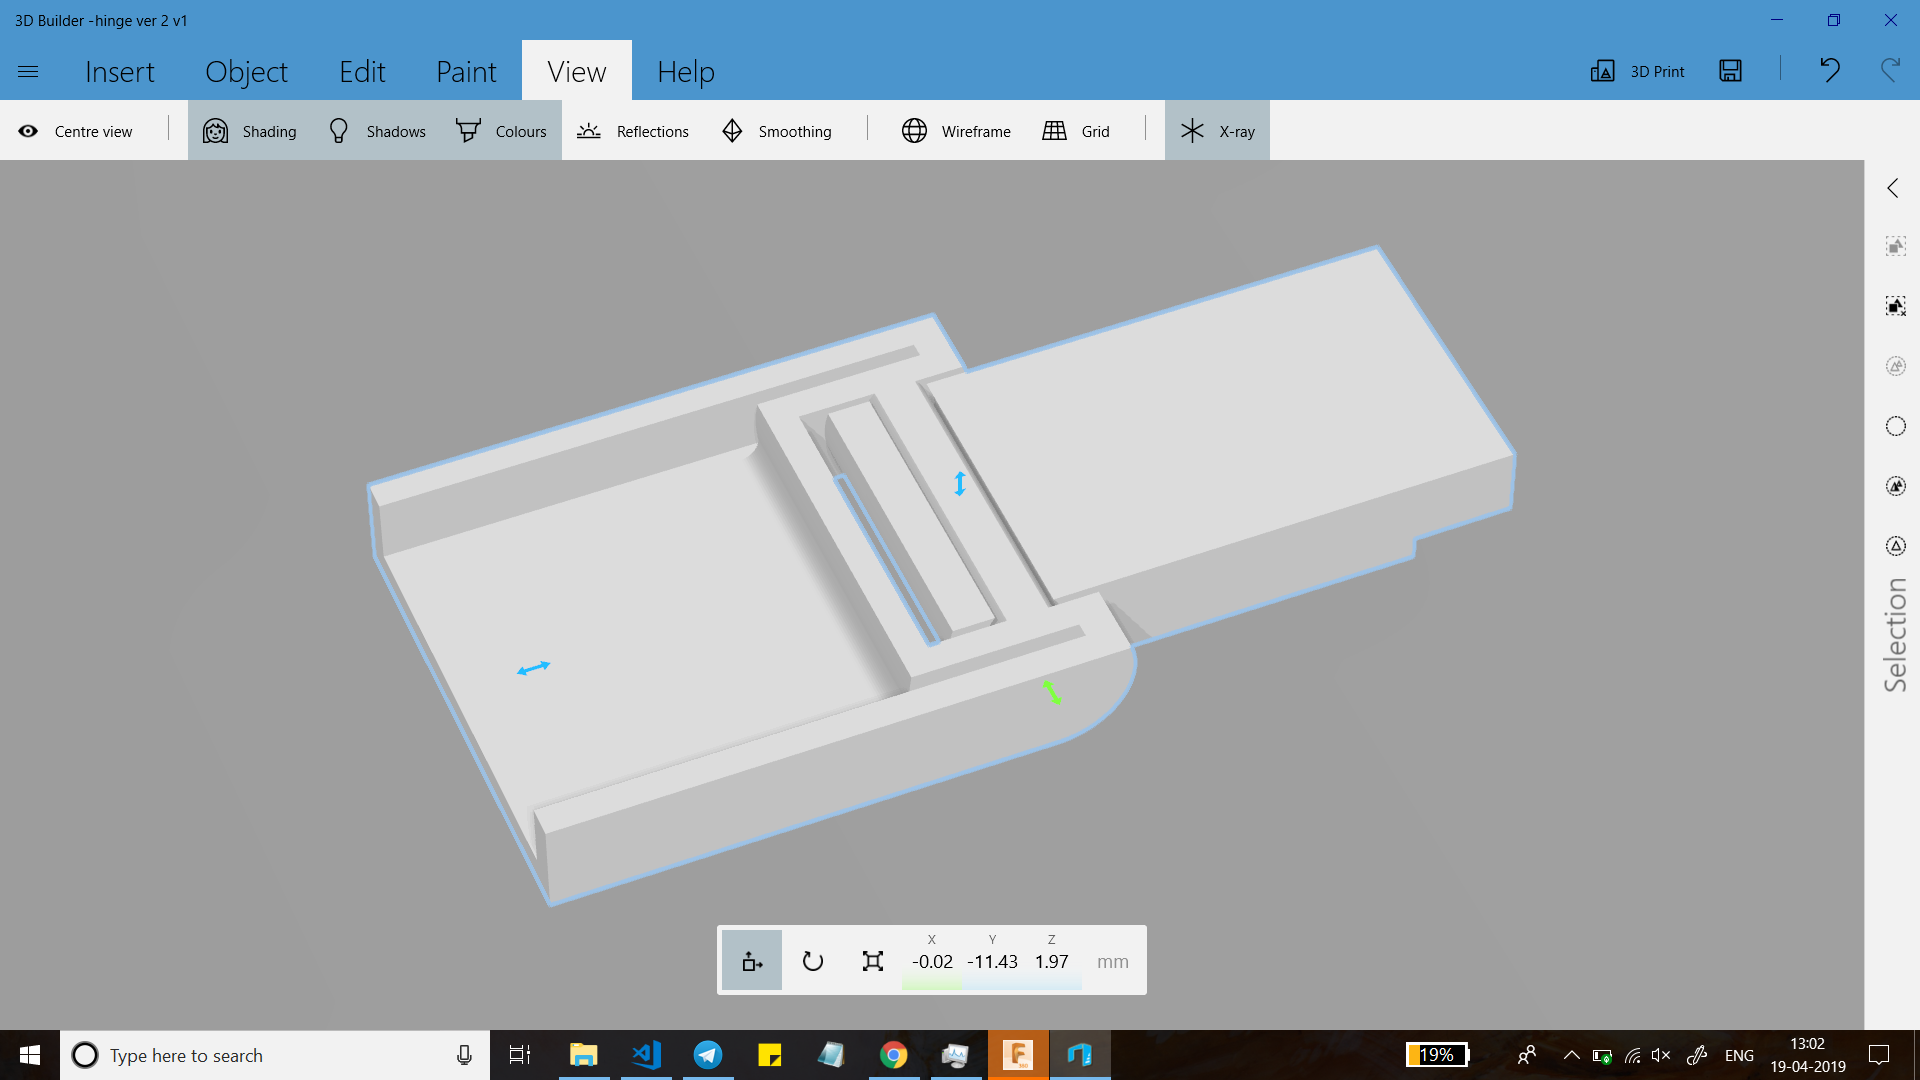
By inspecting the image below We can observe that the axel is connected to the second body which is wrapped around the shaft during 3d printing. This is a one step process which embeds one design within another, meaning a design where an object is made within an object(nesting) therefore we can conclude that this design cannot be done subtractivly.
Software
The softwares I tried out were classified into two sections one is Slicer software and the other is CAD Software.
CAD Software:
For the CAD Software I used Fusion 360, it took some time to design the hinge but it was challenging when I tried to design the female part of the link because i tried to use the shell command and it would create a rectangular hole (like a slot) with fixed offset.
Slicing Software:
I have tried out a total of three softwares they are:
Cura:
Cura is a slicer software by ultimaker the things I love about Cura is that even though it is open source its user interface is really good not to mention that it supports other 3D printers and has presets. I was also impressed by its simplicity.
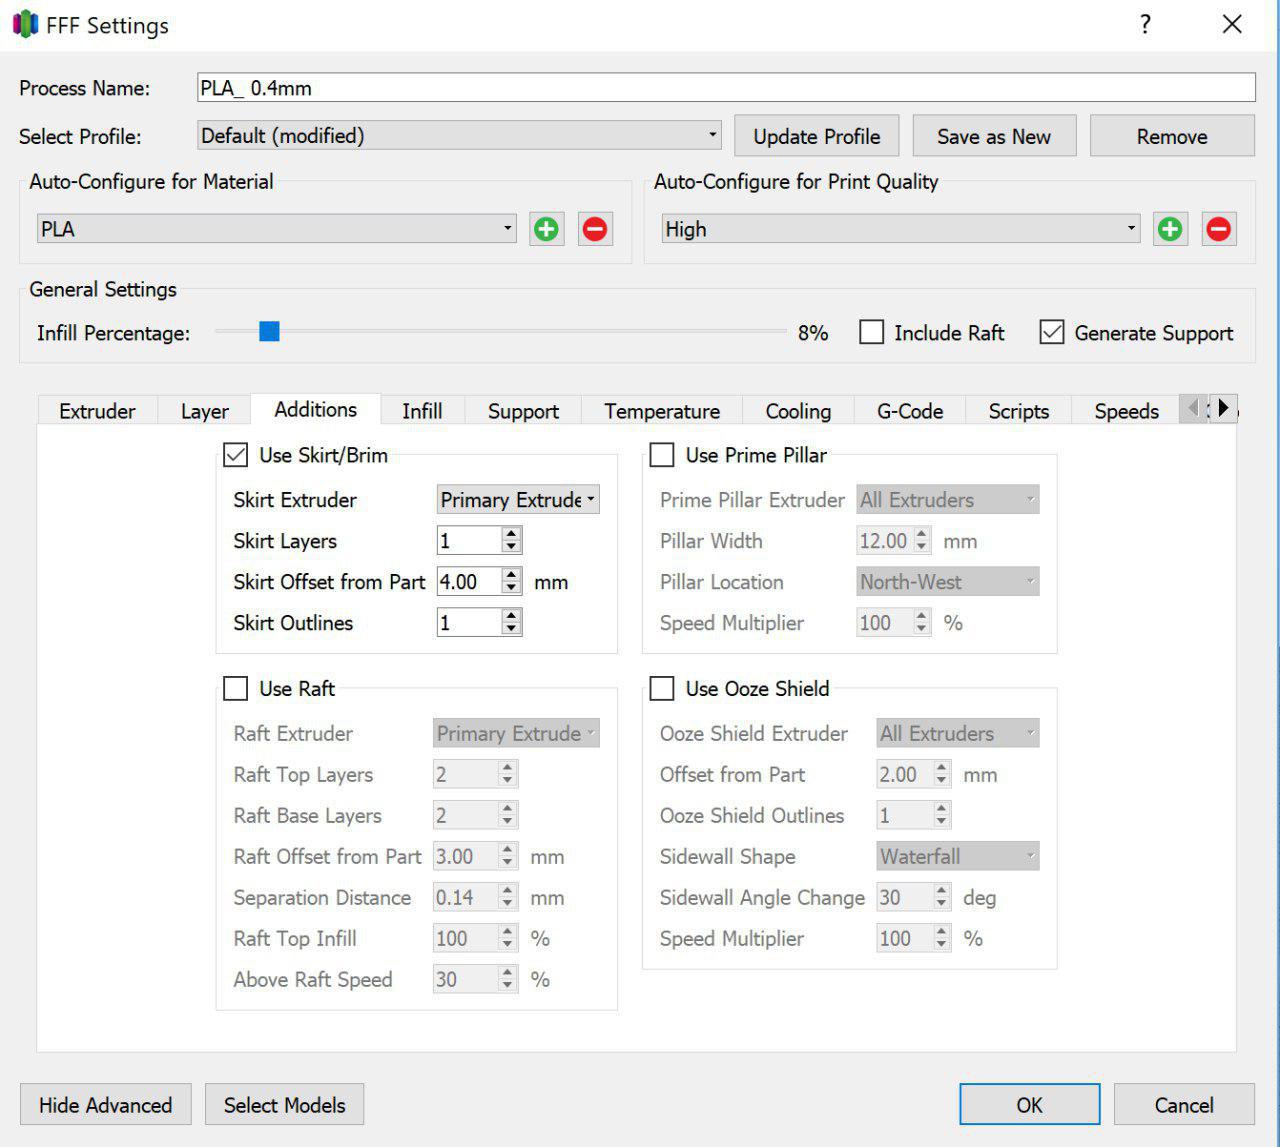
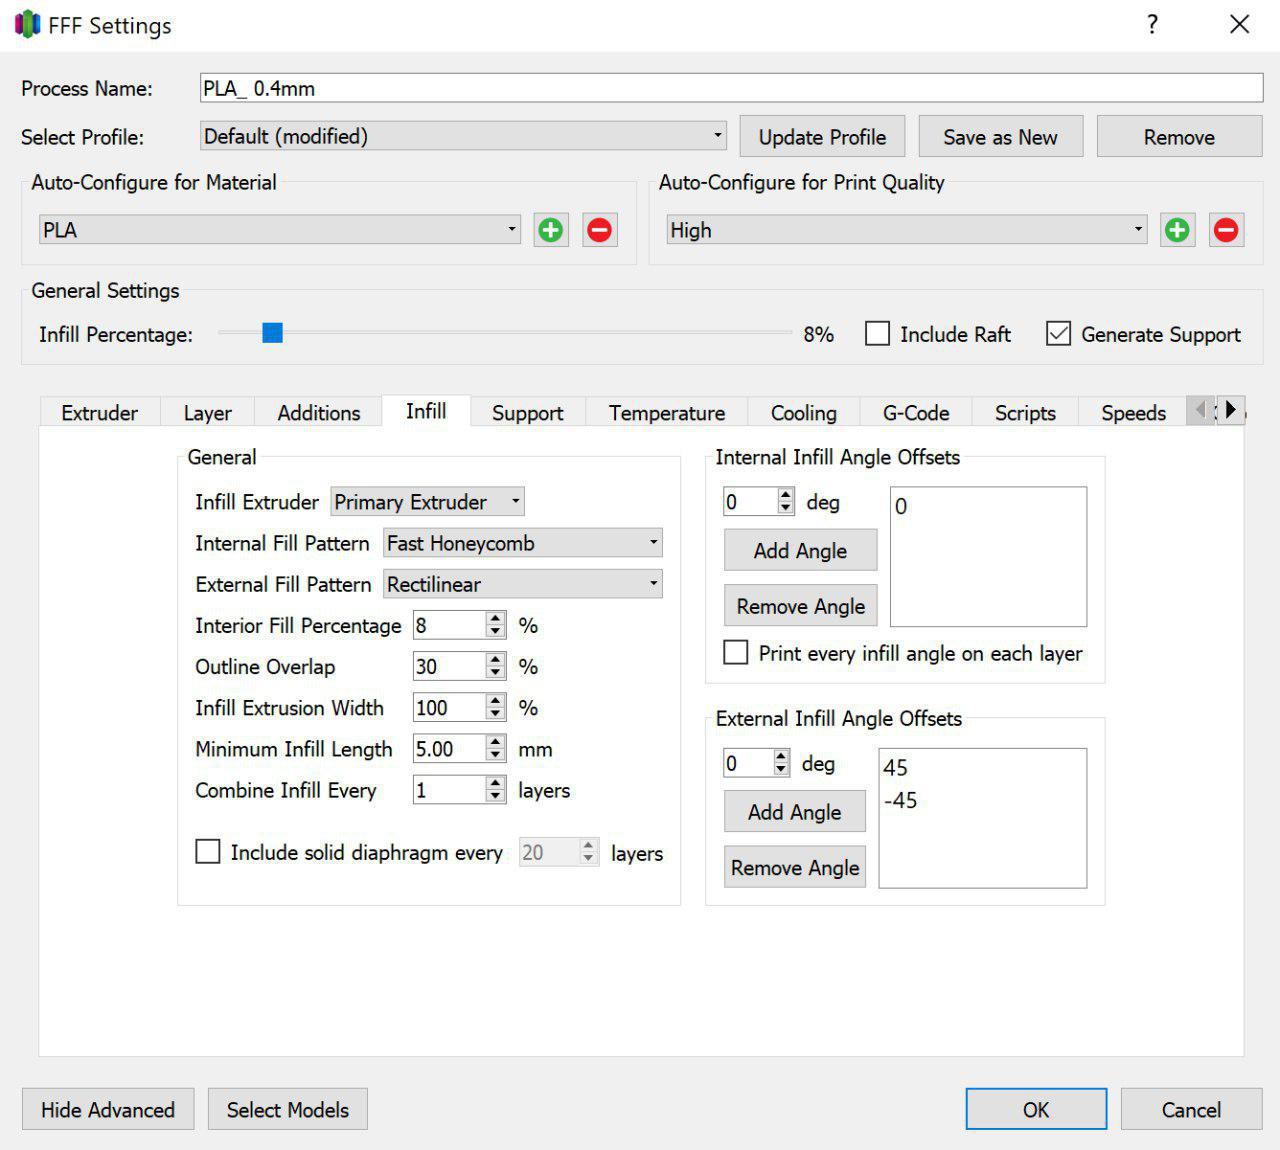
Simplify 3D:
Simplify3D is a paid software which is kind of similar to Cura in terms of functionality and then some, Simplify3D can show simulations of 3d prints which can help identify any weaknesses in the print, not to mention that we can edit supports. Also, the quality of the documentation is outstanding.
The Main settings are:
* Nozzle Diameter: 0.4mm
* Nozzle Temperature: 200~210C
* Extruder Multiplier:0.89
* retraction
* skirt/brim
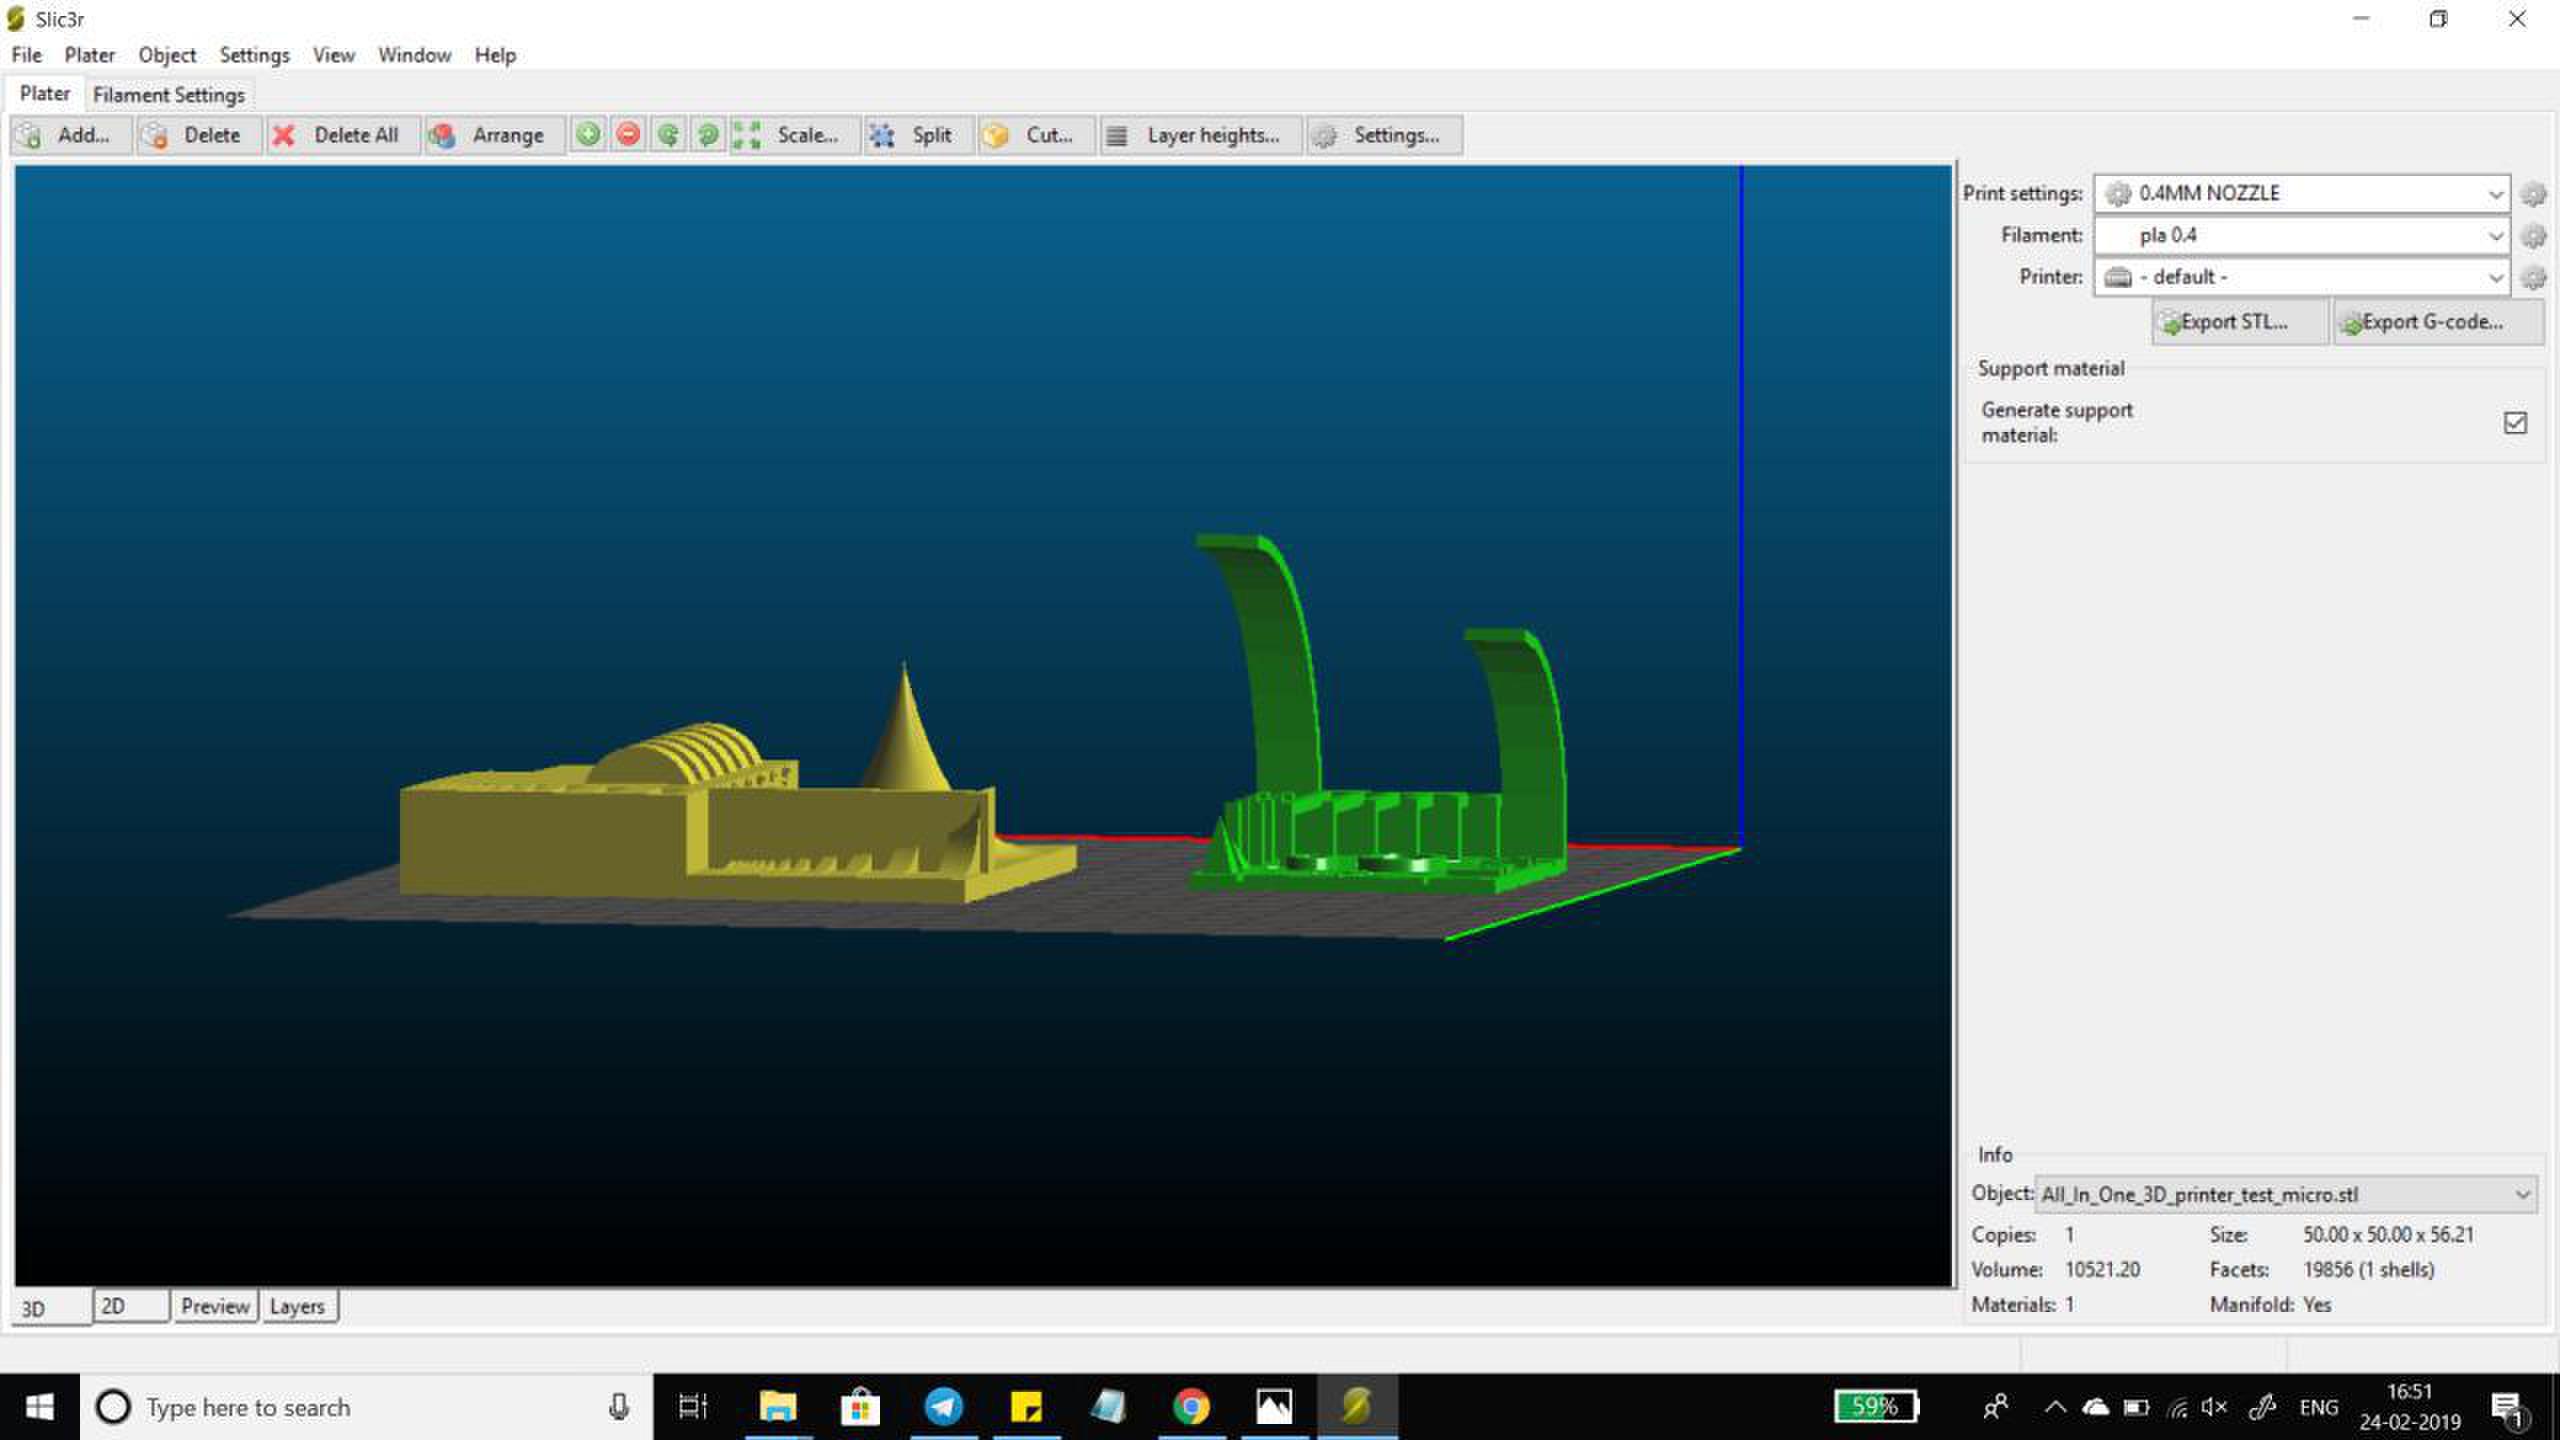
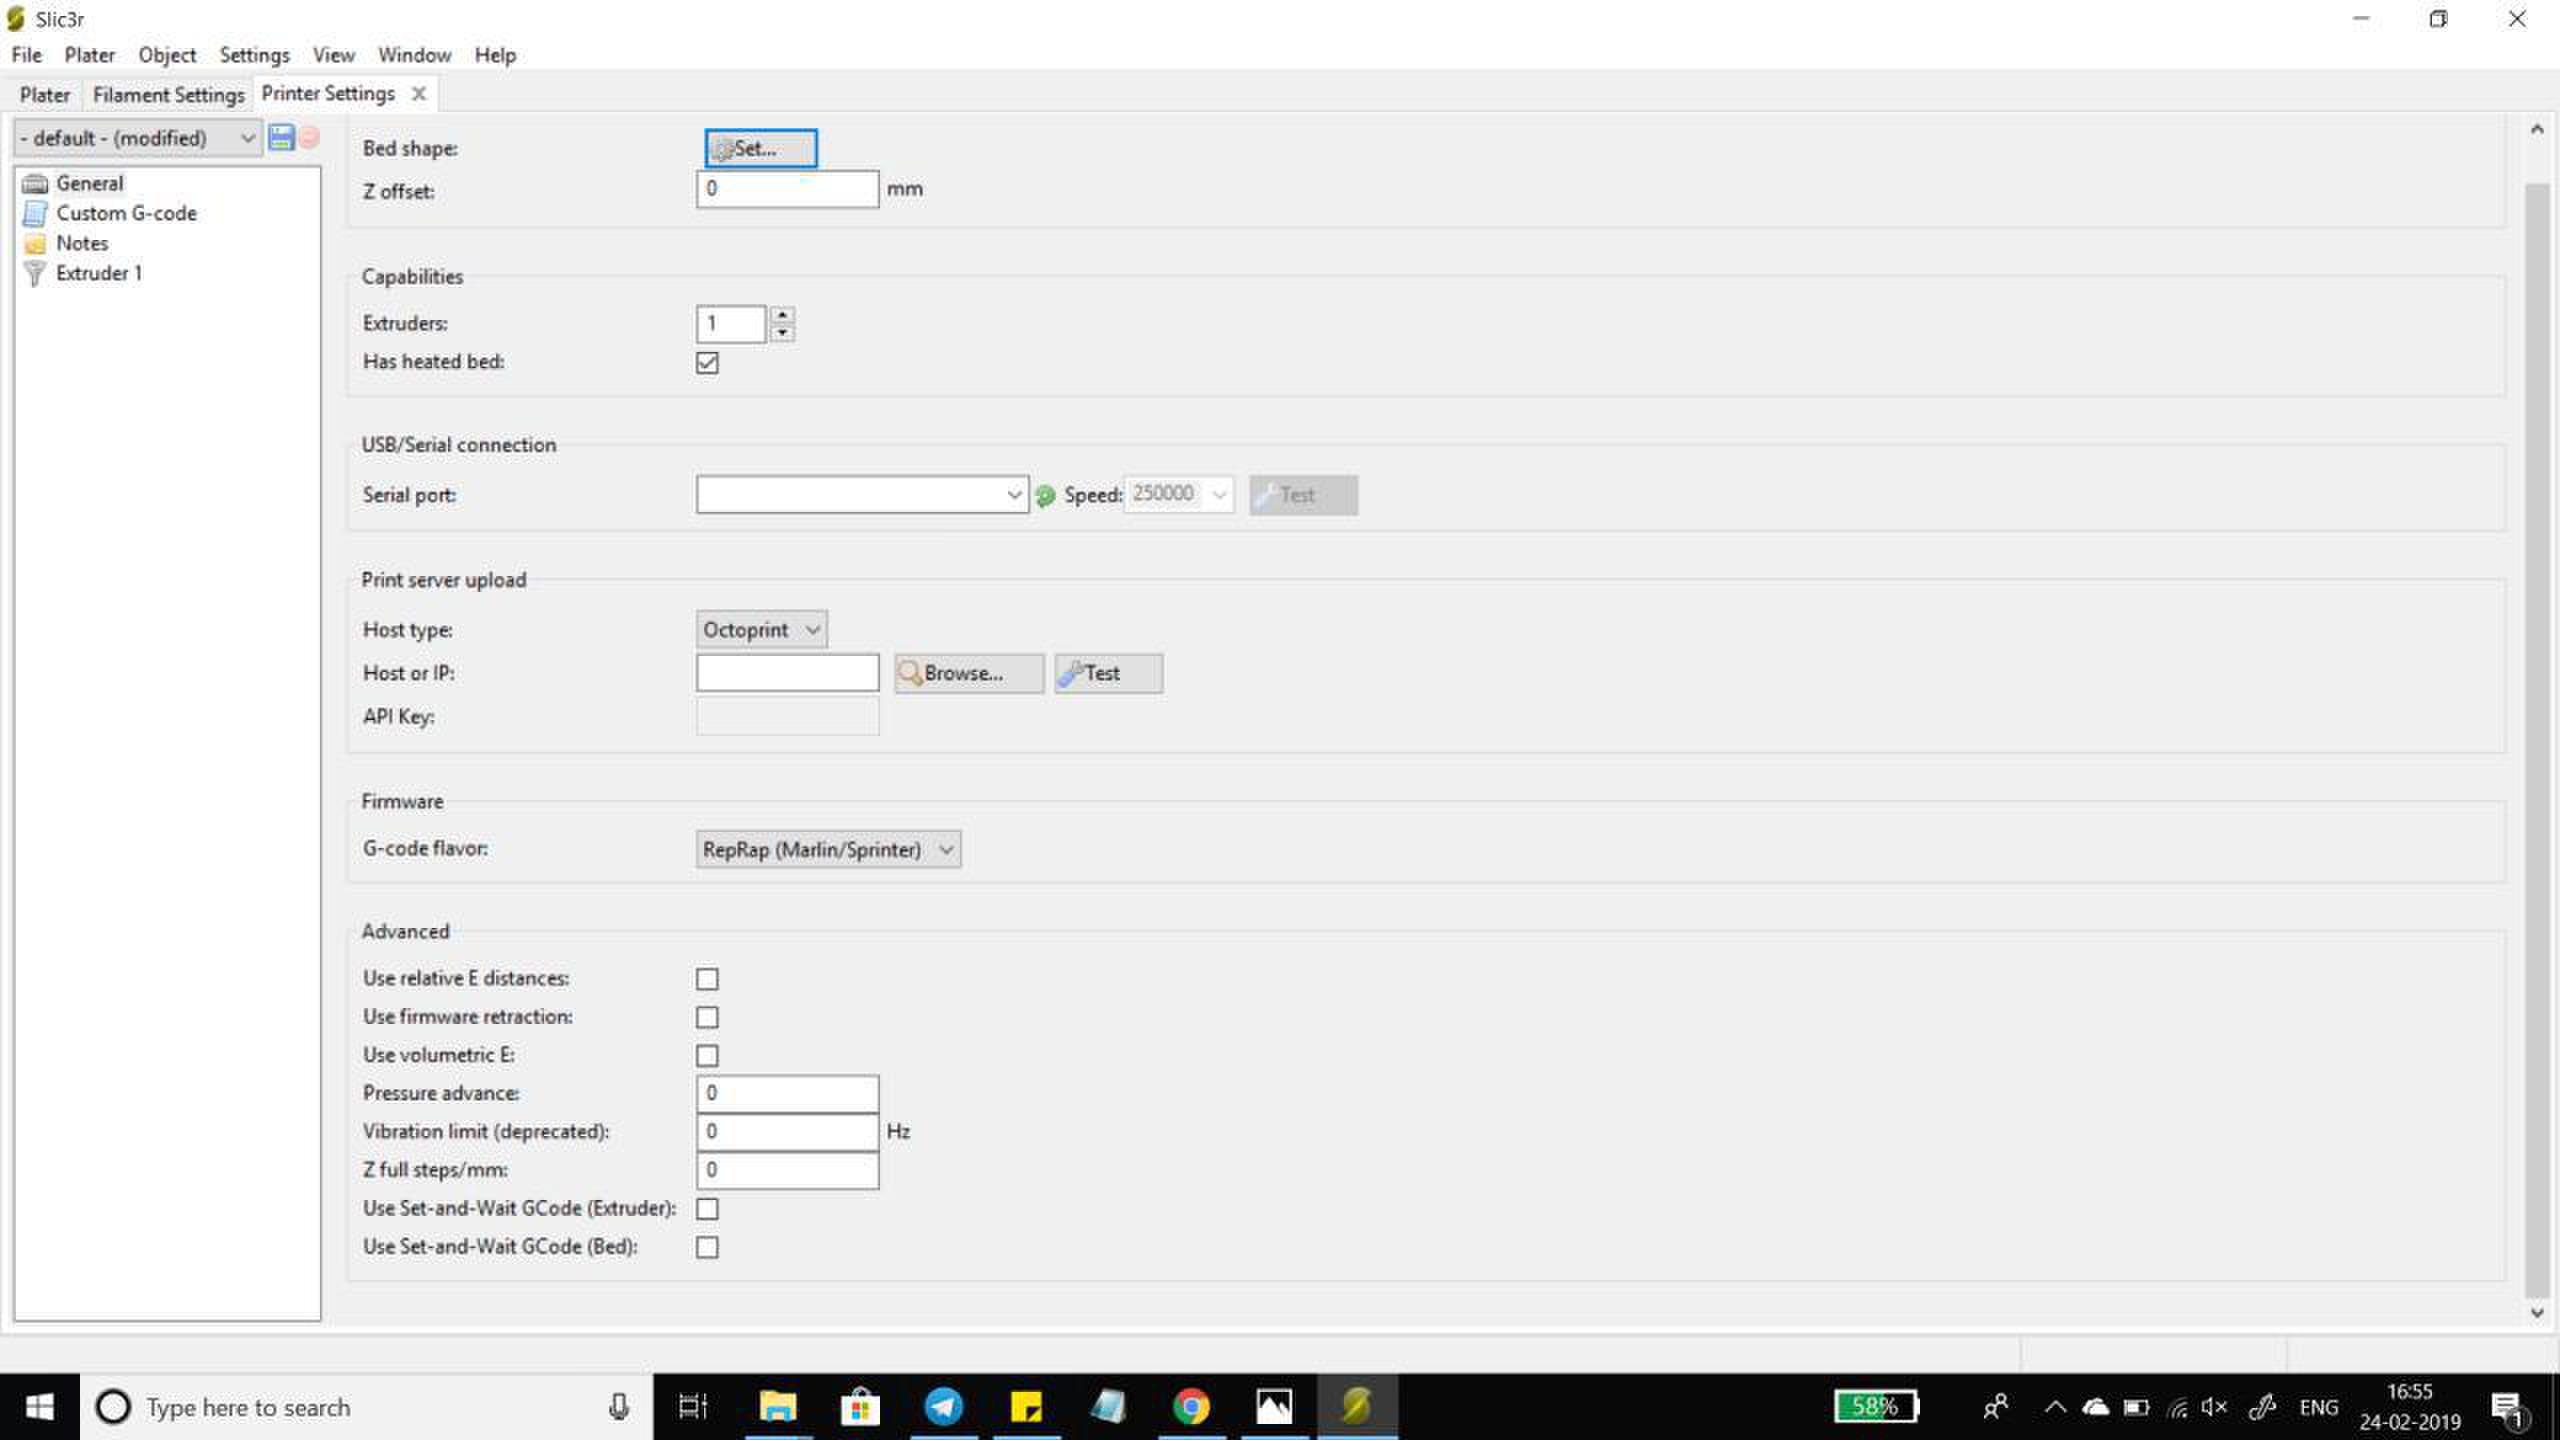


3D Printing
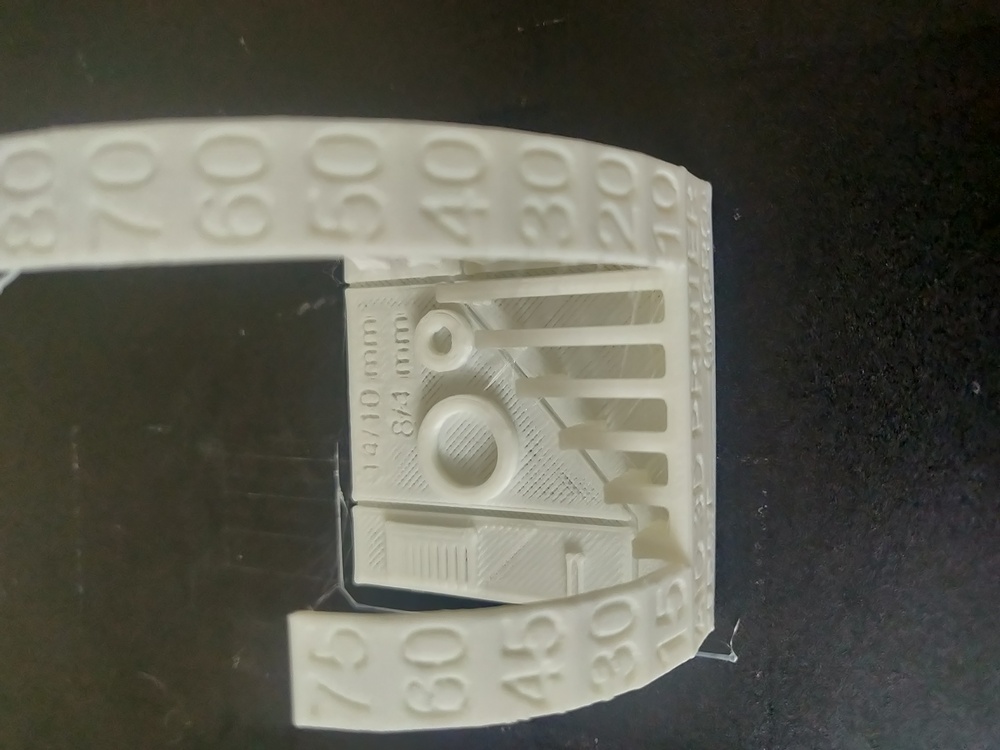
Group Assignment
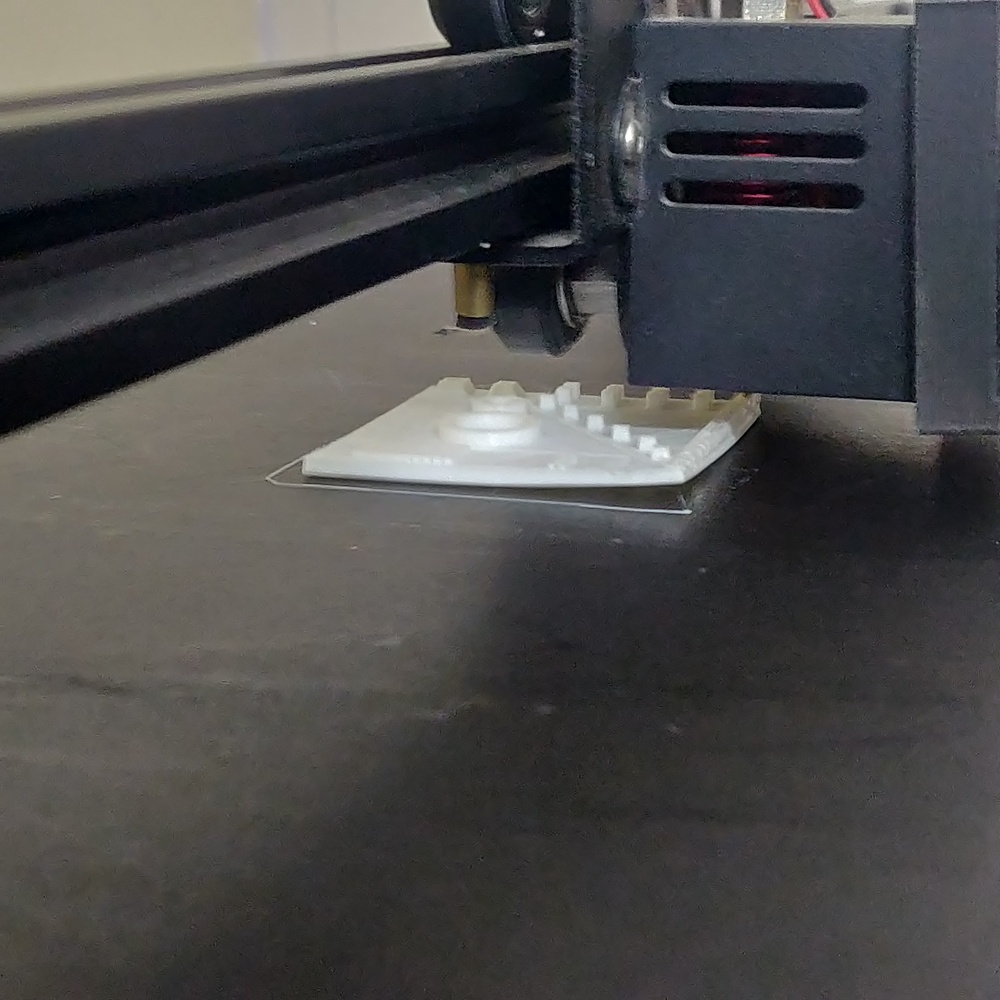
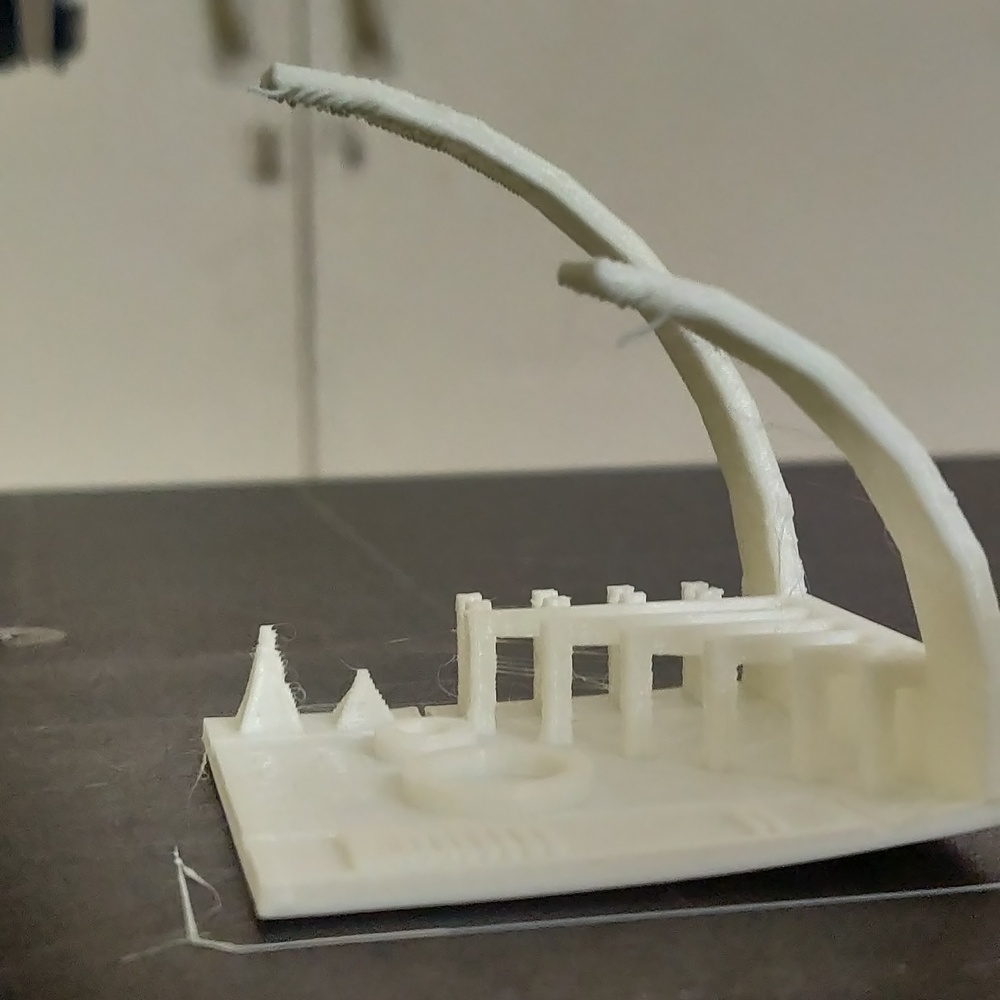
For group Assignment we Printed a torture test to understand the limitations of the Printer. The torture test showed that the printer was able to print vertical lettering. We have observed that we must increase retraction speed to avoid webbing. We have aloso observed that the printer can handle upto 70 degrees inclination without supprts for the Prints. There was warpage on one corner which we conluded might have been due to draft in the room.
3D Scanning
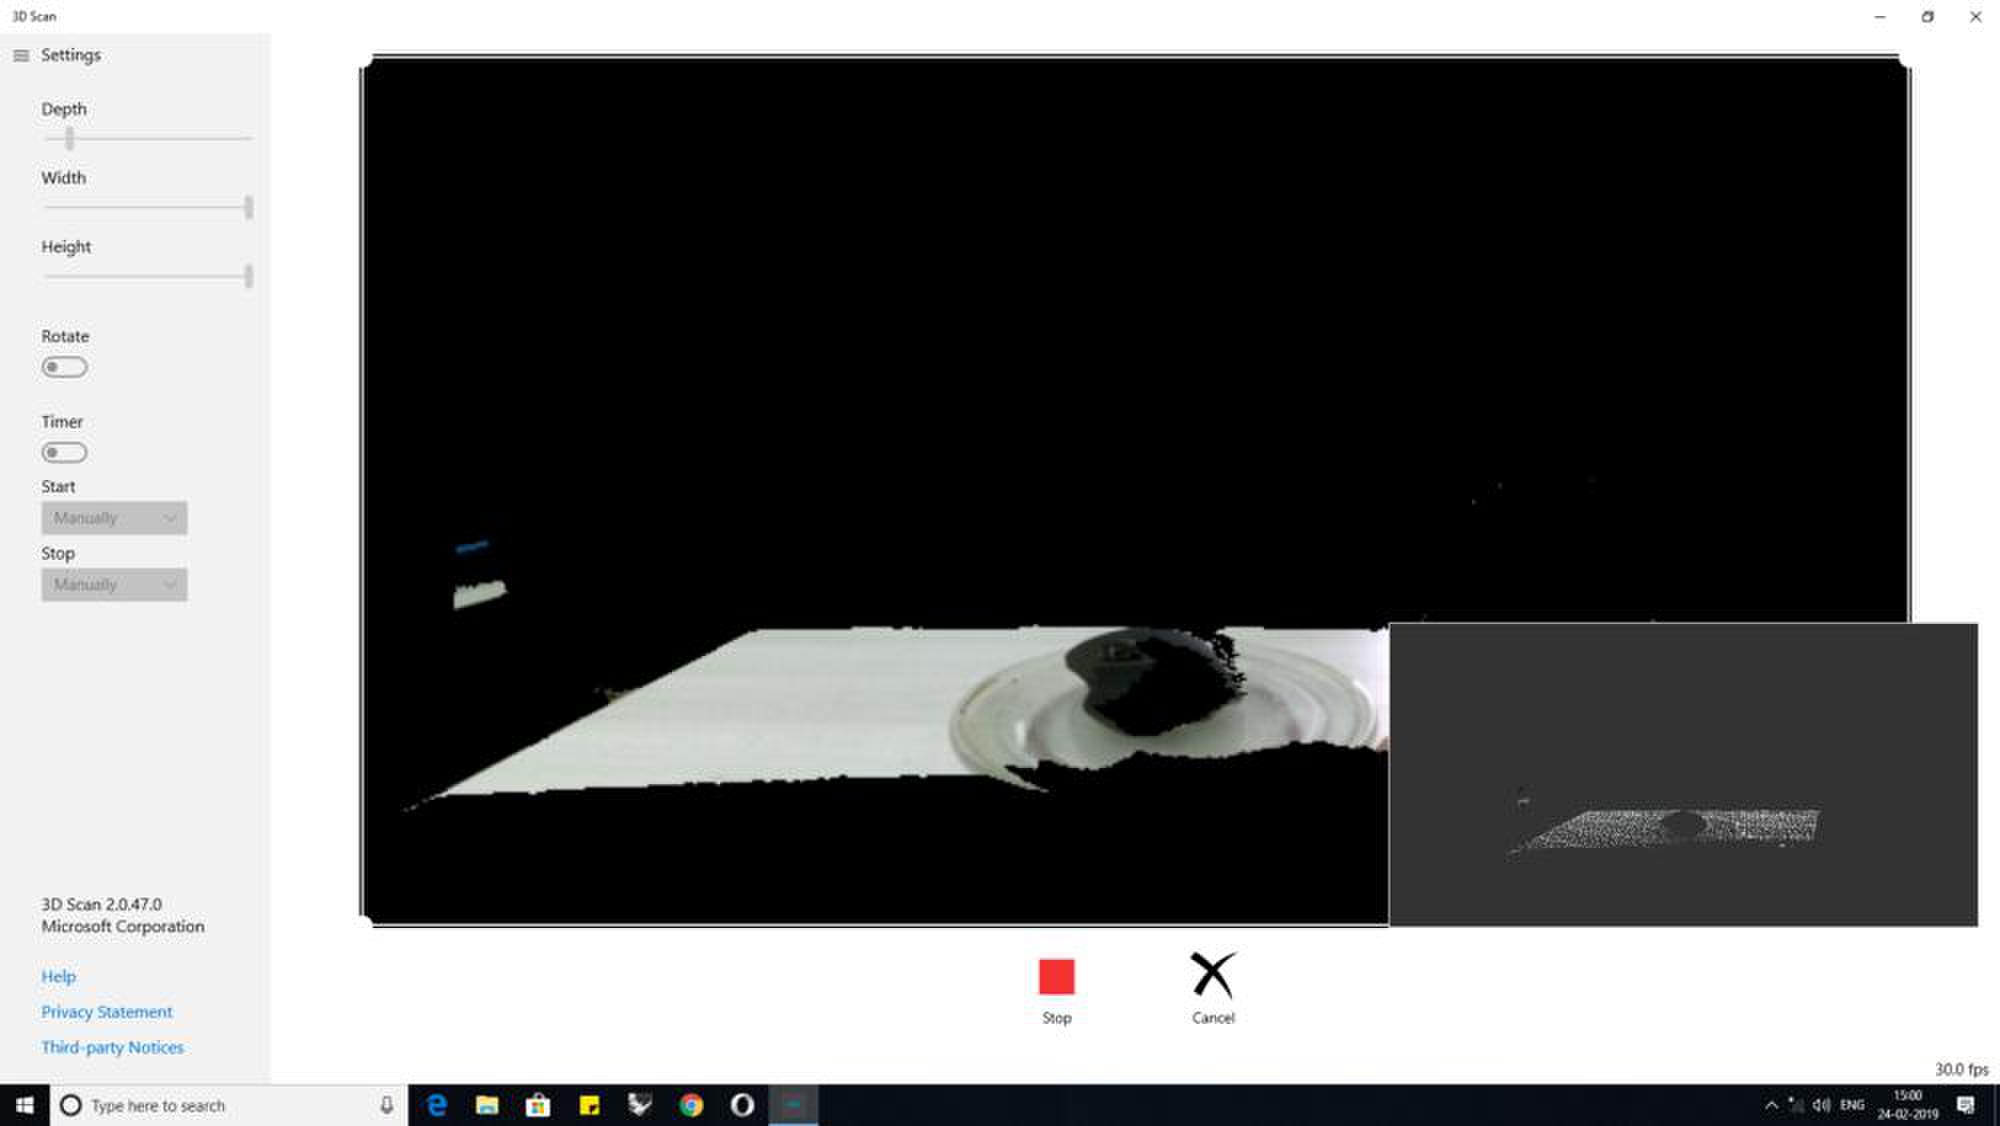
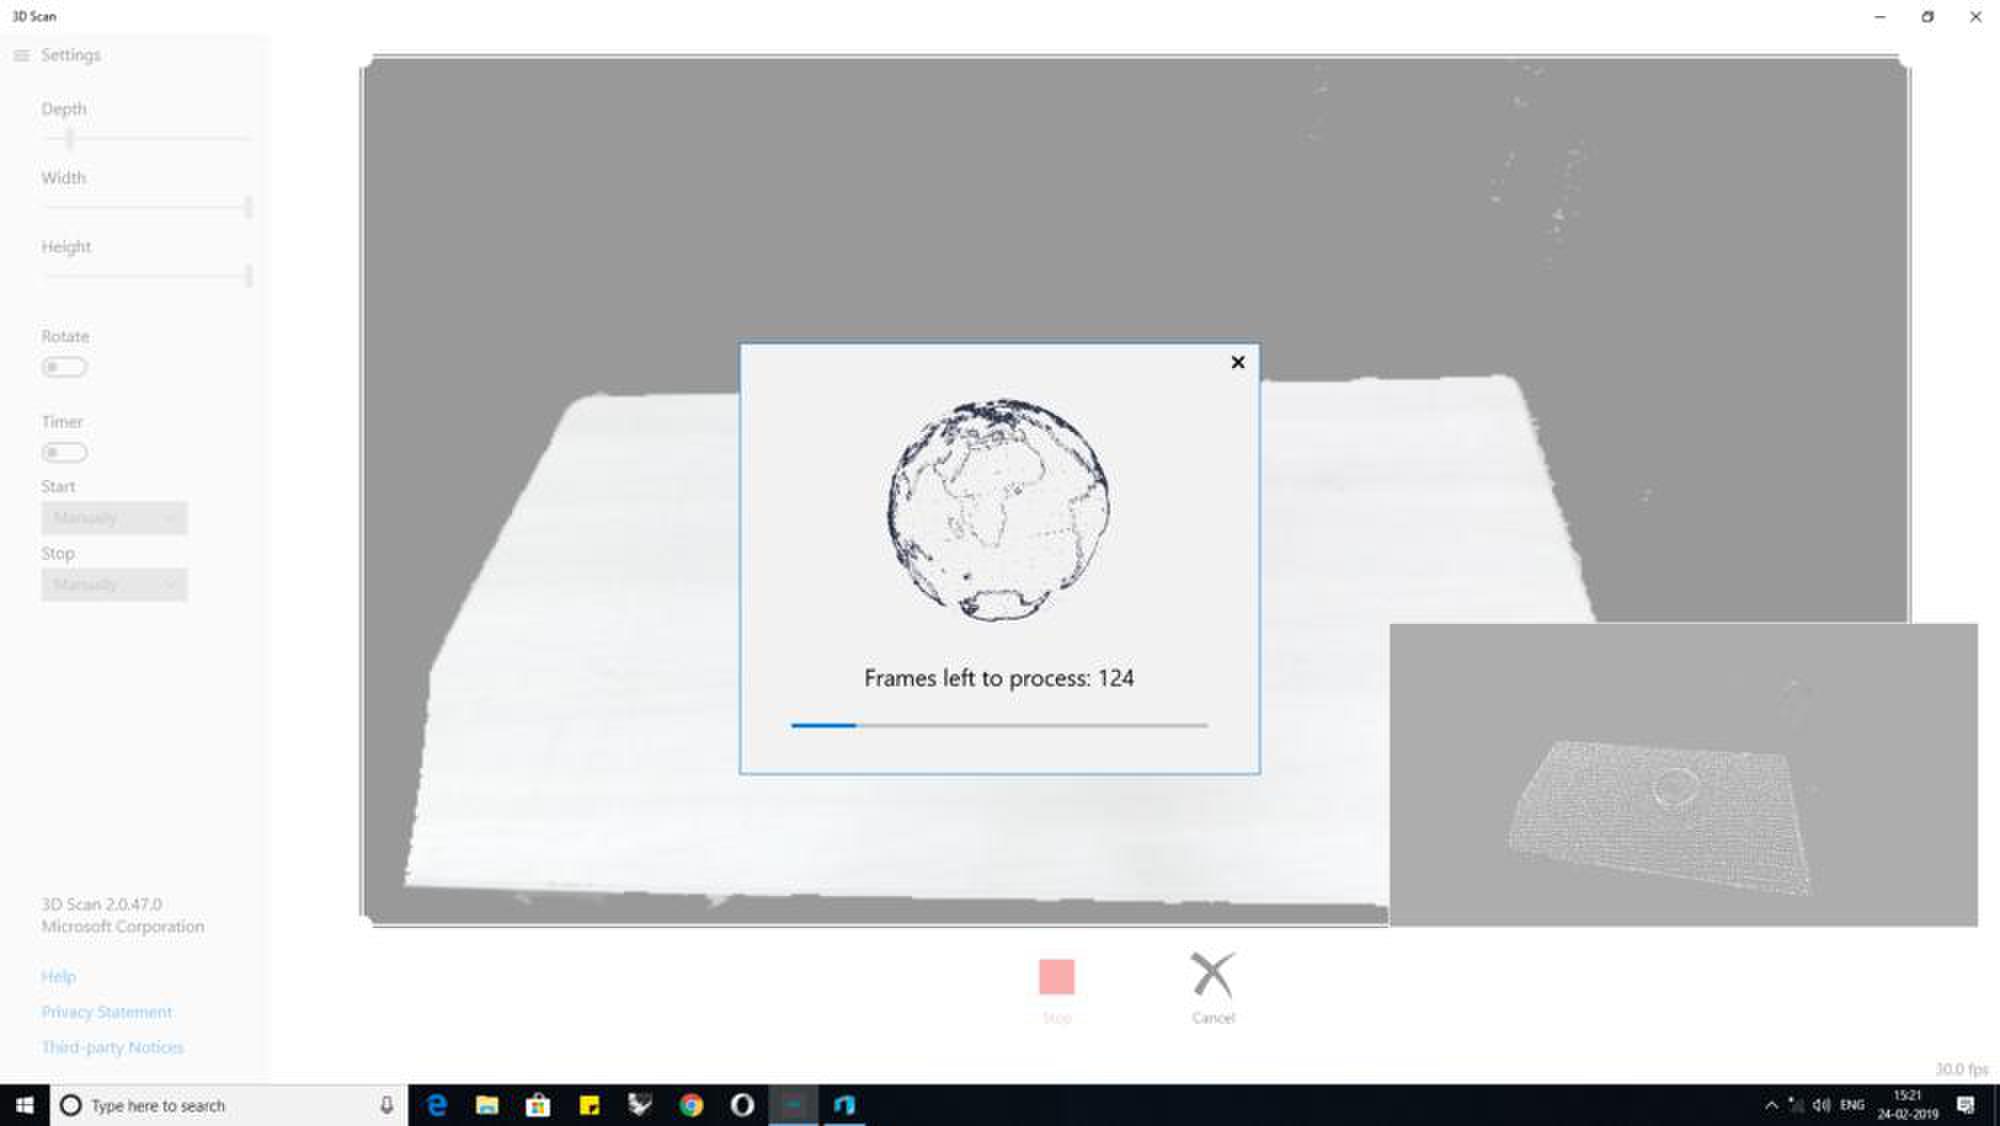
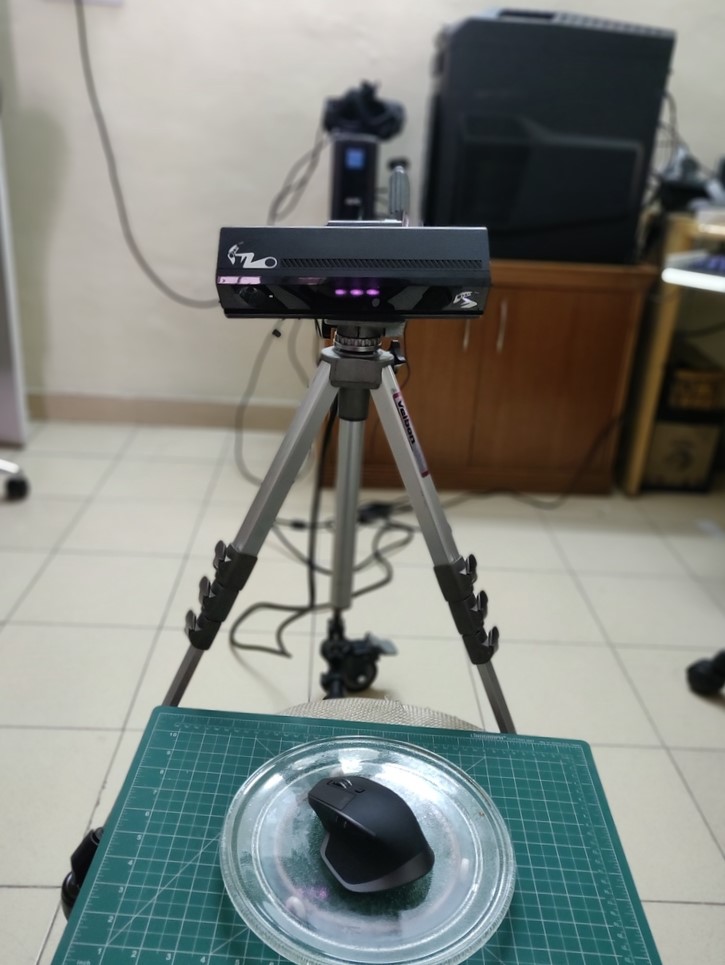
For 3D Scanning I have used Xbox One Kinect to scan myself and a few objects in the lab.
Here are the system requirements to scan using Xbox kinect:
- Kinect for Xbox One sensor
- Kinect Adapter for Windows
- 64-bit (x64) processor
- Physical dual-core 3.1 GHz (2 logical cores per physical) or faster processor
- Compatible USB 3.0 port (Intel or Renesas chipset)
- 4GB of RAM
- Graphics card that supports DirectX 11
- 3D Scan App
- 3D Builder App

Windows integrated scanning is so easy and user friendly that it can become your go to method to do 3DScanning, however it is not perfect yet. Scanning using this method has some limitations.
For example, while scanning the rotation of the body must be done without any variations if not there will be distortions in the scan. In case of an object, if it is symmetric it needs to have a reference point especially while scanning using a turntable, if the surface is reflective then the chances of getting a scan is really low.
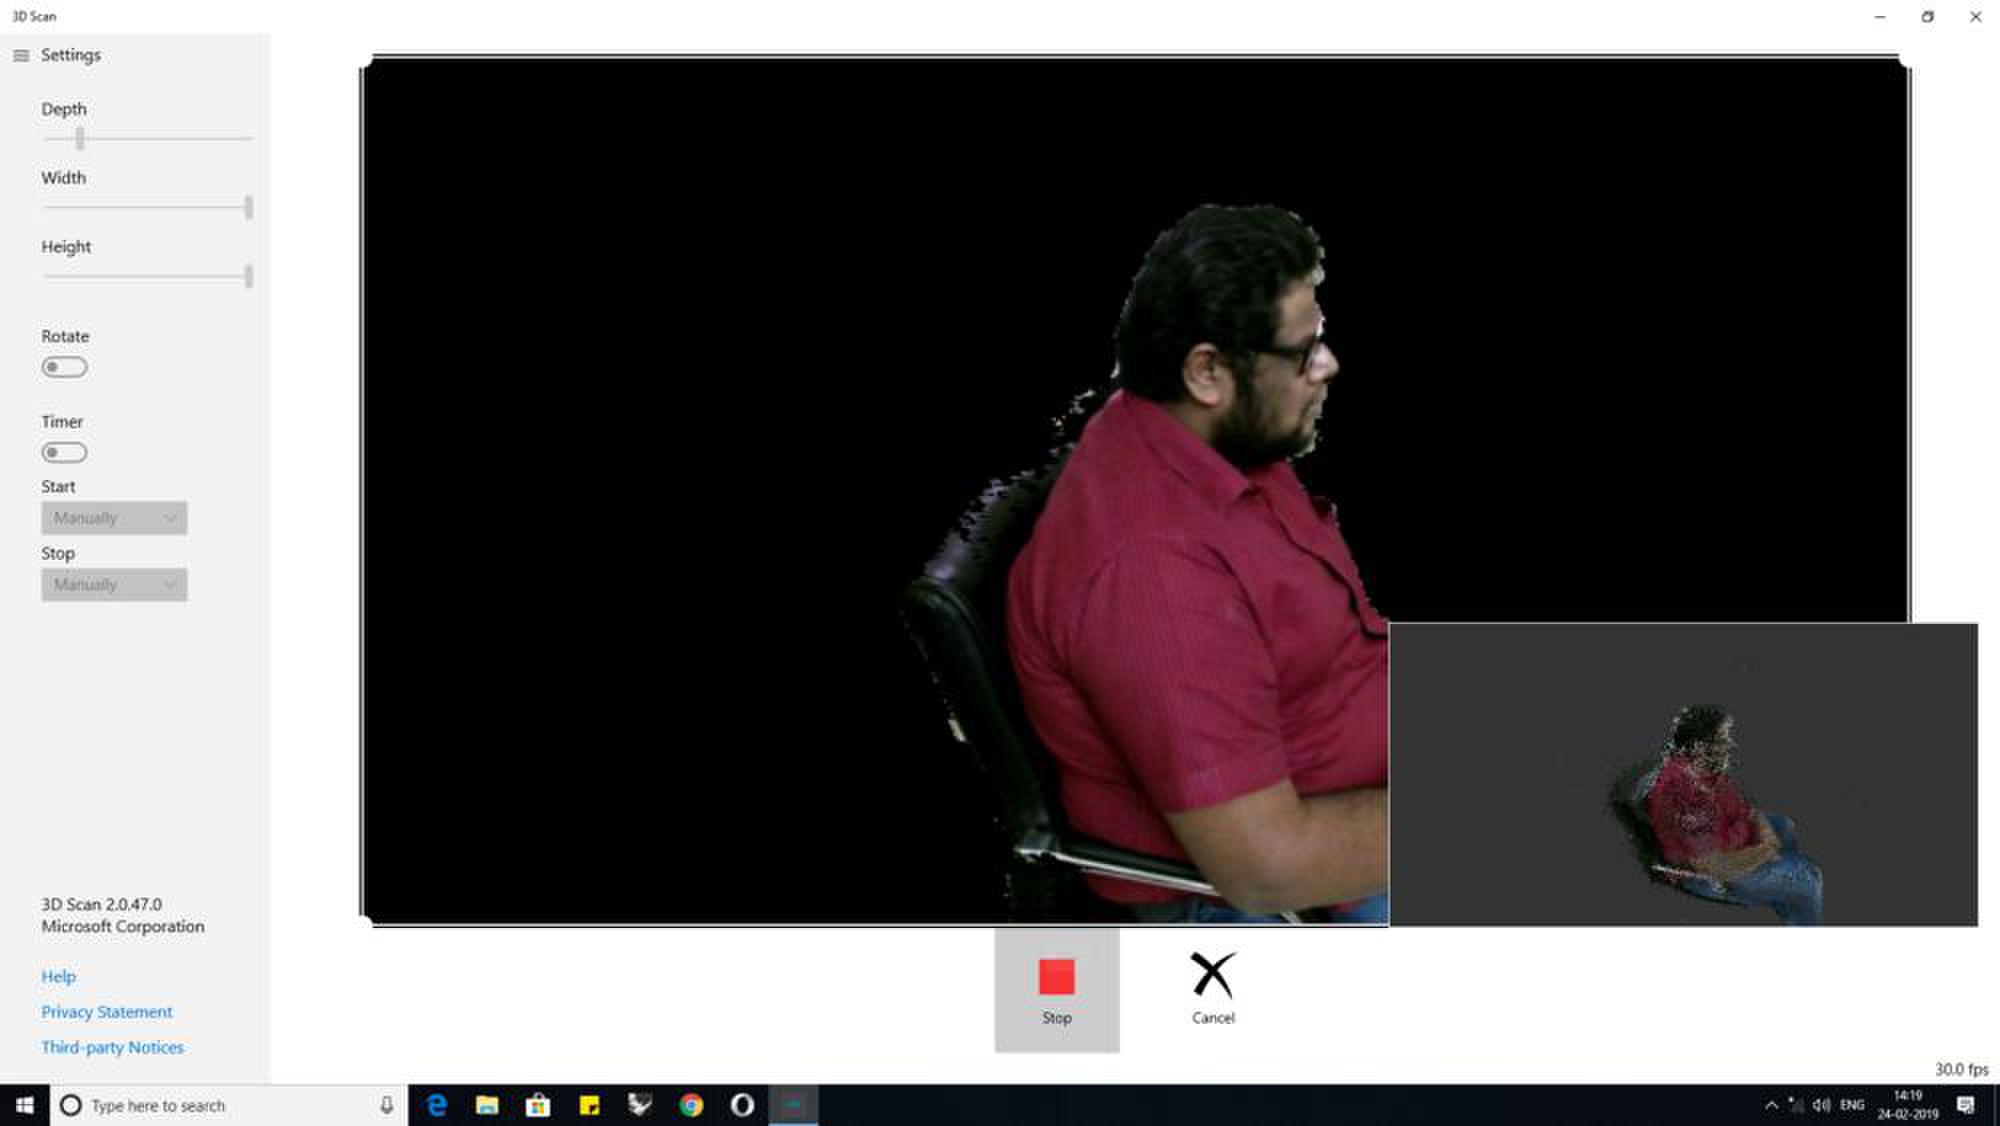
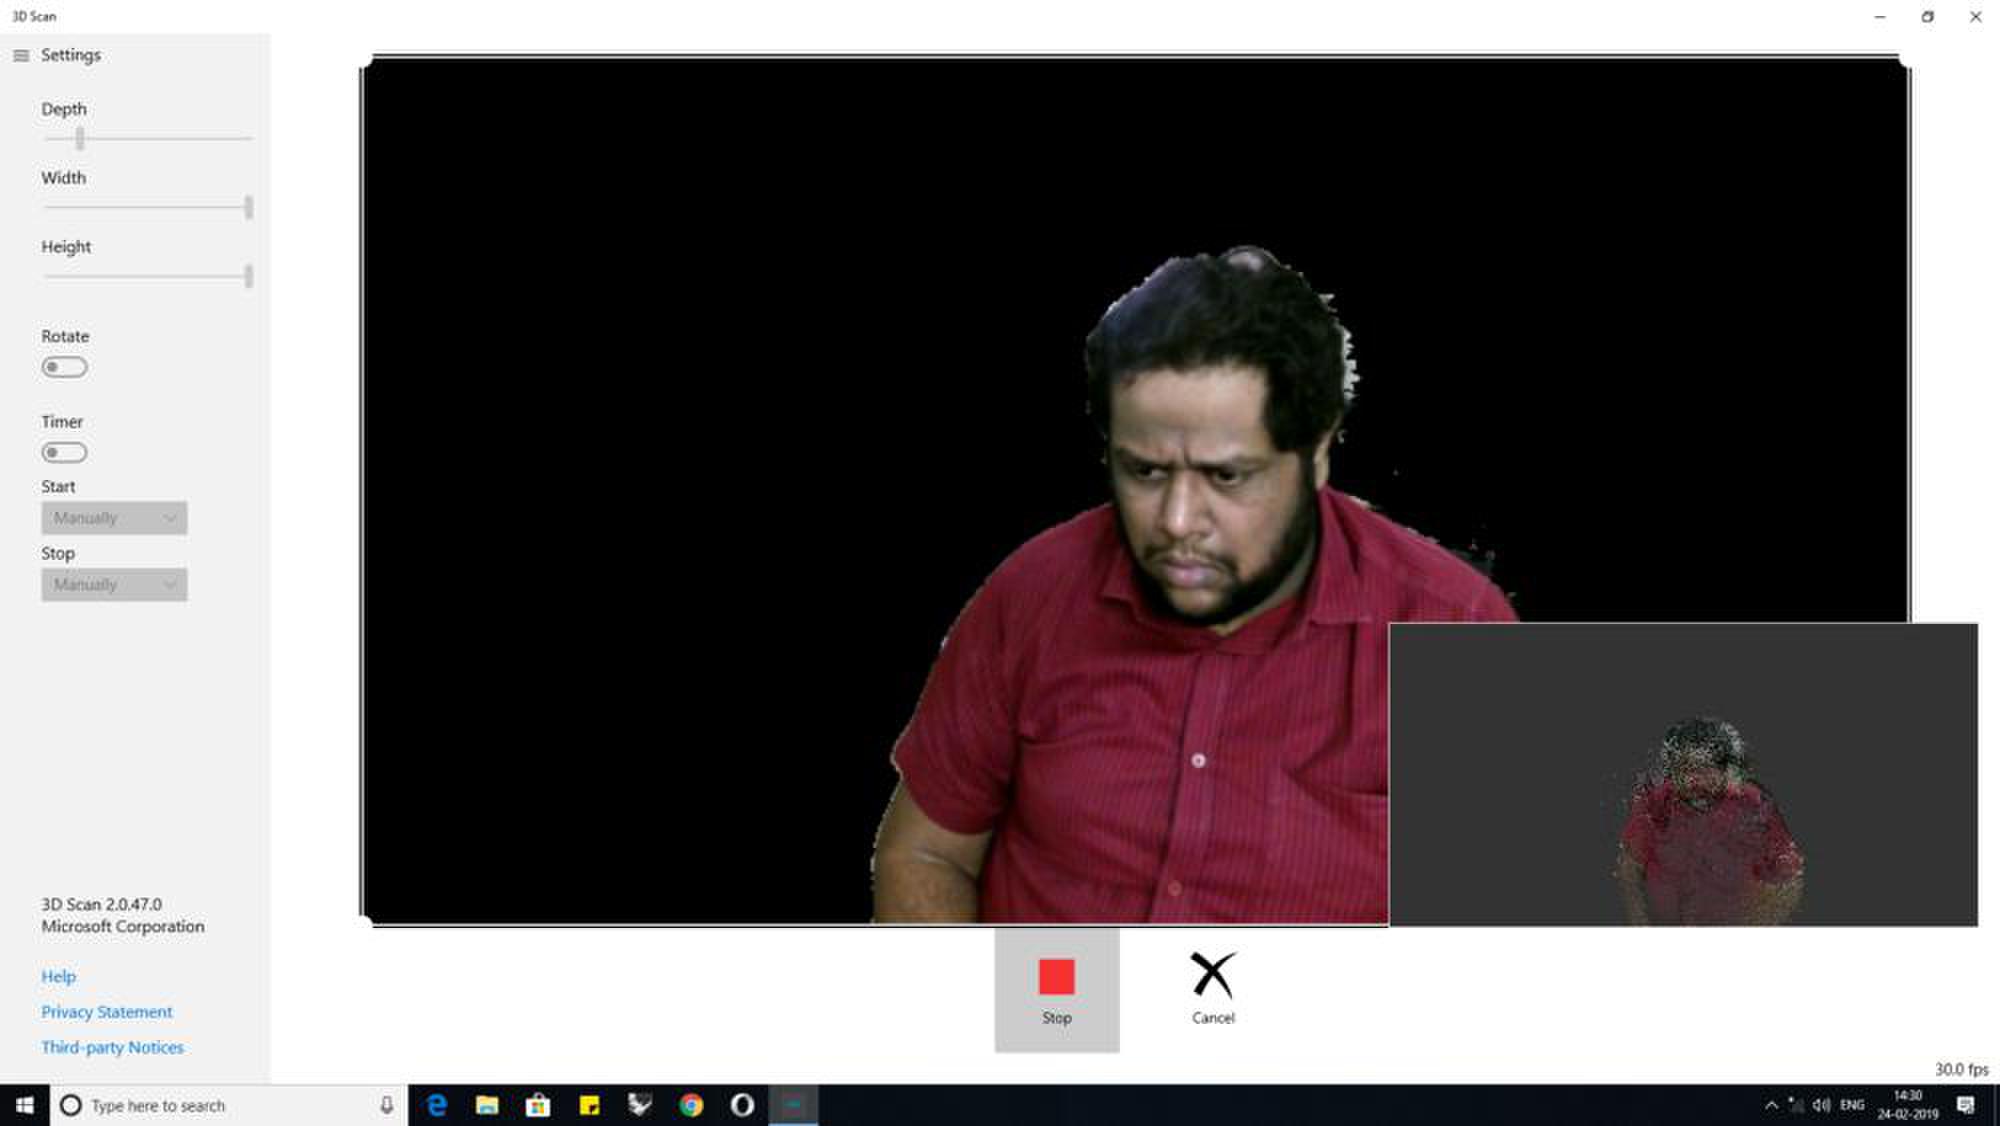
while scanning use a well lit room and wear clothes that reflect as little light as possible.
Software
I have used two softwares for scanning they are: * 3D scan * Brekel
Using 3D scan I have scanned bodies and objects for 3D Printing and using Brekel I tried my hand in Motion Capture.
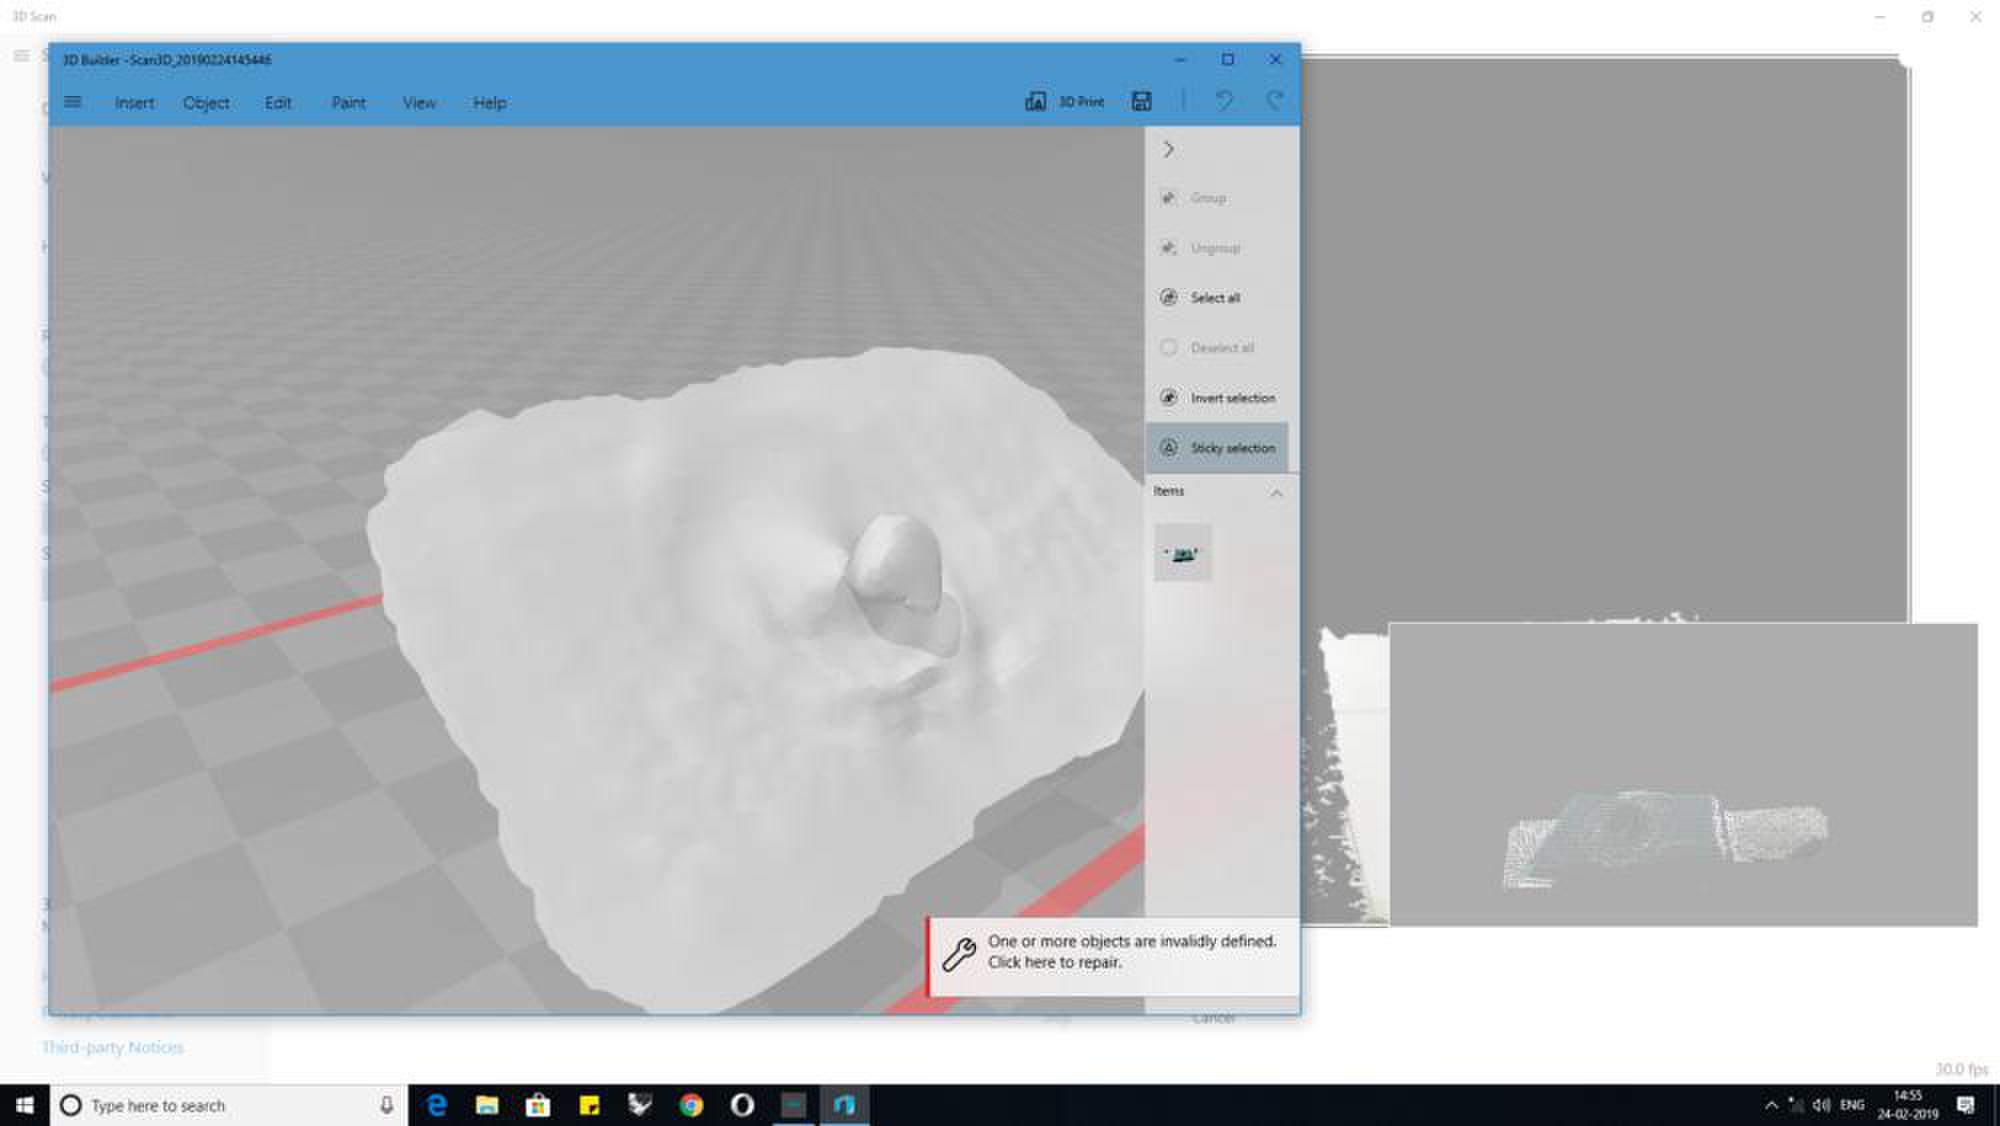
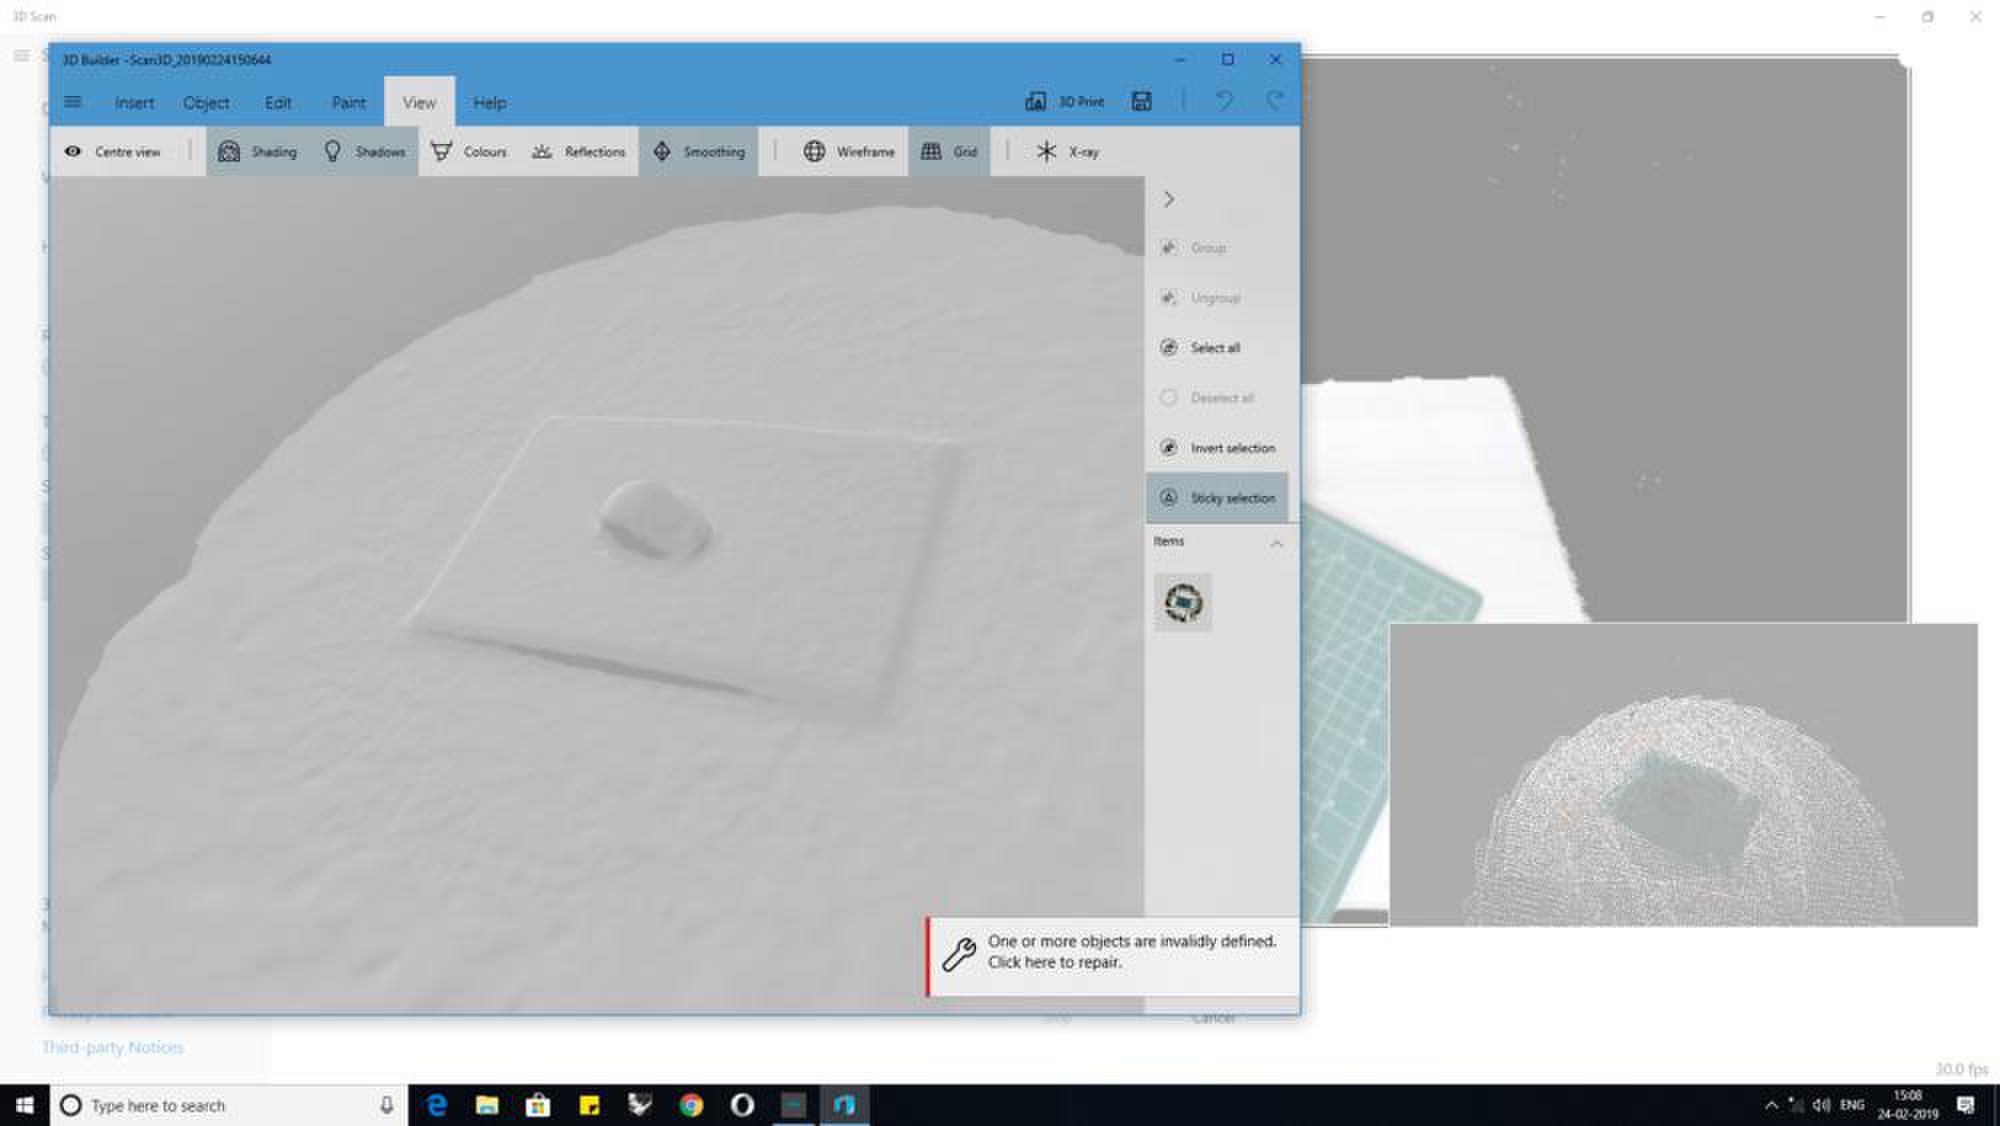
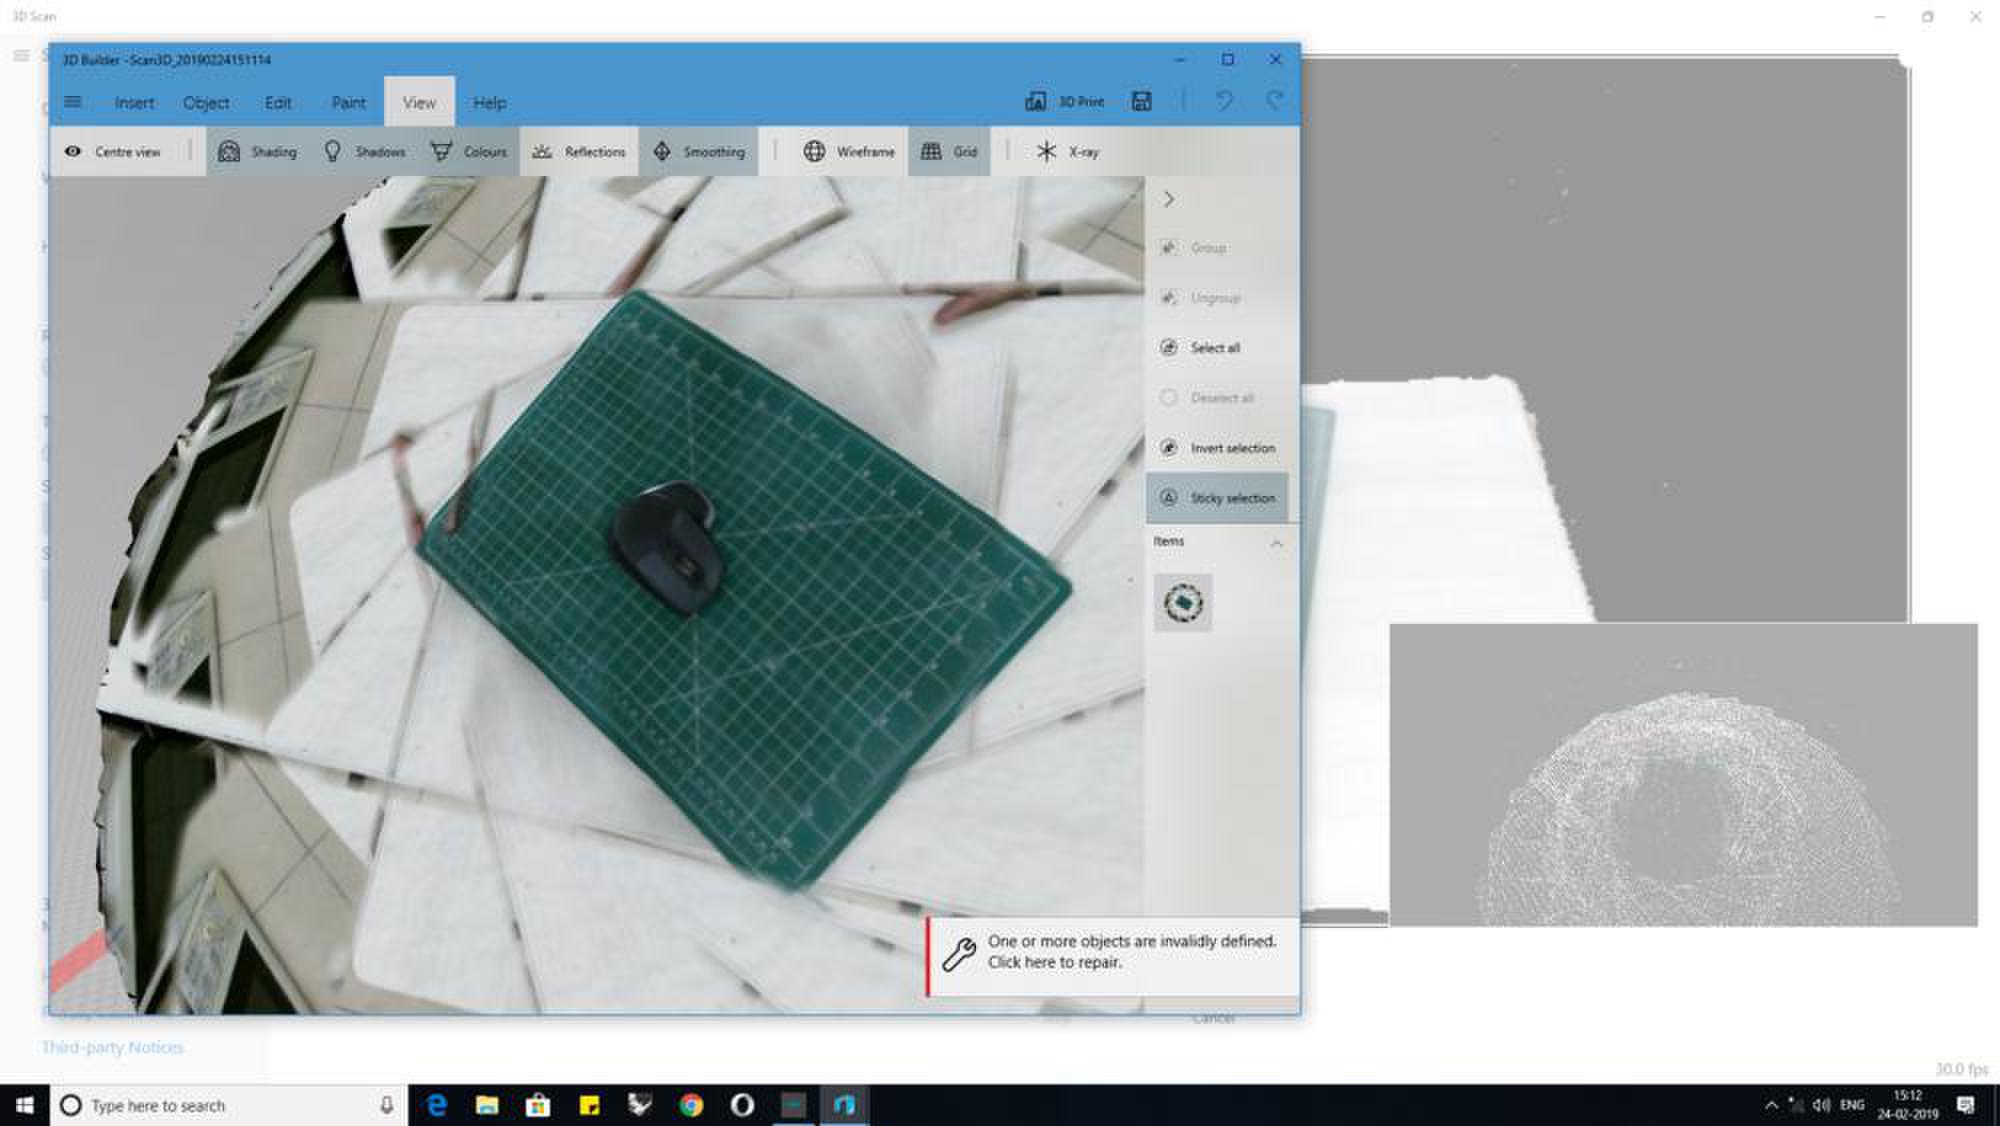
3D scan
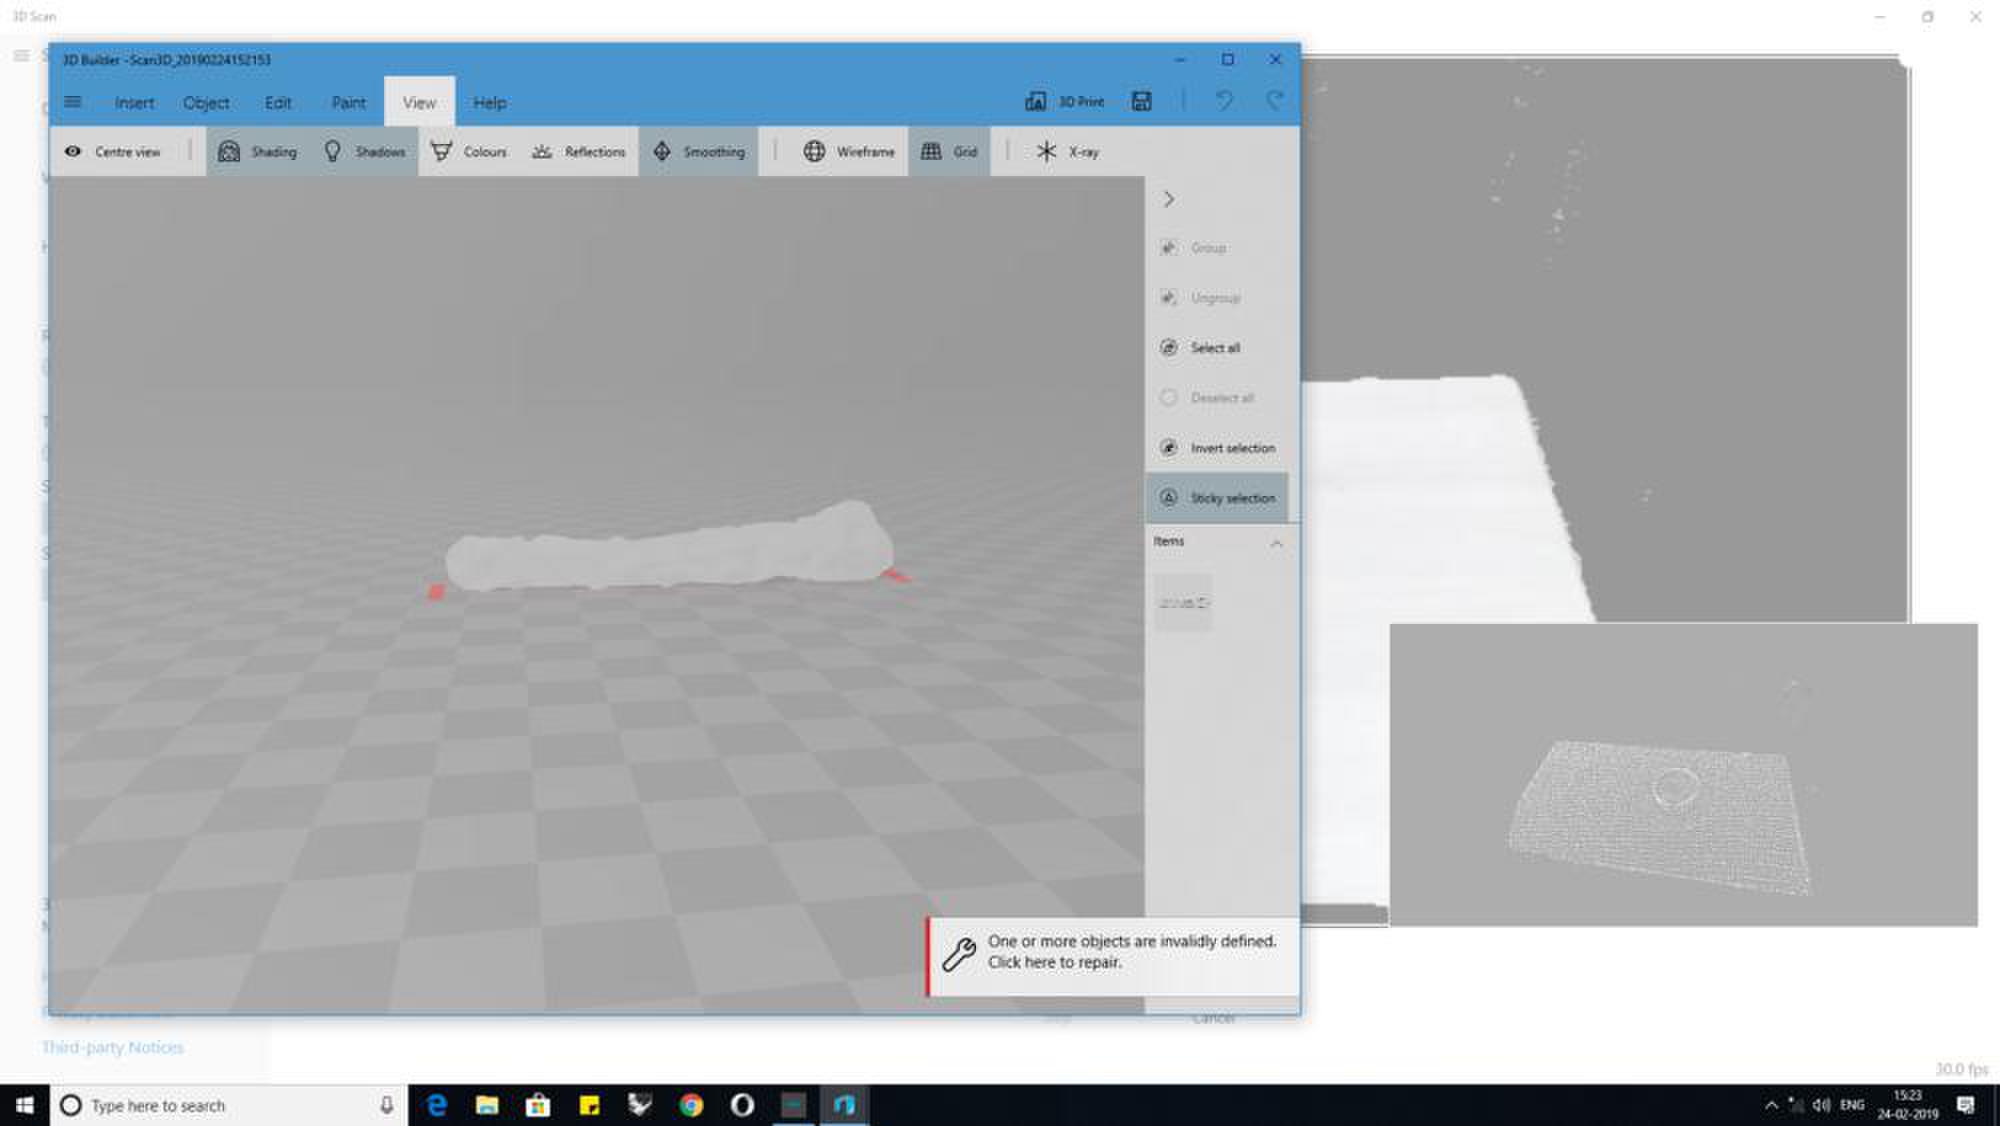
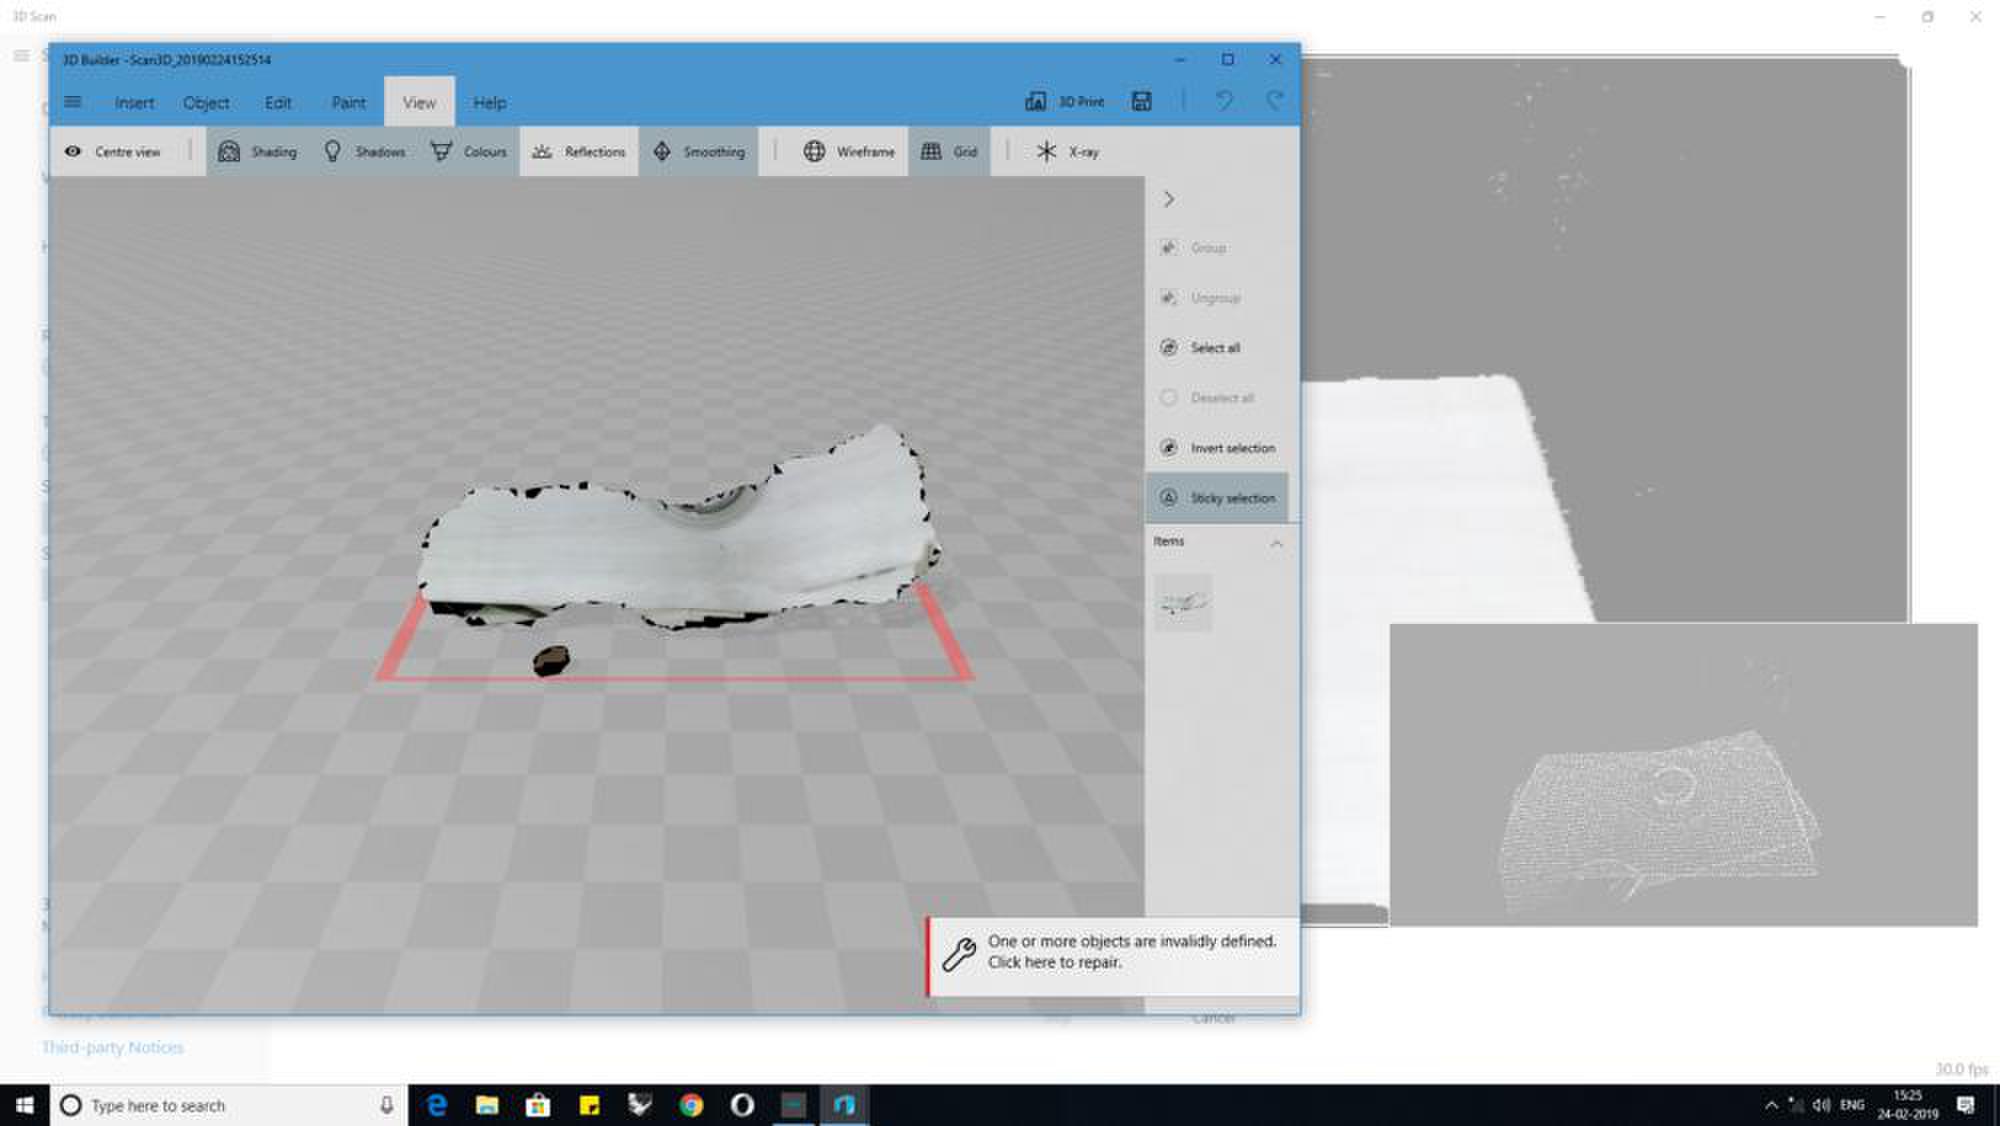
During my research I have found that compared to the skanect software 3D scan app has two advantages one is that it was developed by microsoft and has integrated its other softwares like 3d Builder to create a good scan and use Print 3D App to print the the scan, but I will be using Meshmixer to smoothen my scan surface and used the inspect tool to check for errors.
The most common errors will be holes in scans which can rectified using make solid command in edit toolbar.