#18: Invention, Property and Income
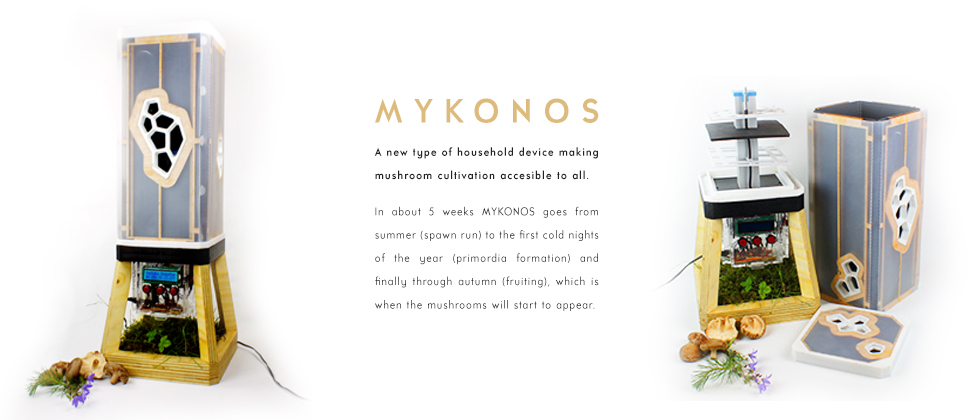
This week we reviewed the options designers and inventors have at distributing their works and how to make money from it. I used my mushroom project as a case study for a business model. If all goes well, the world will soon be bemushroomed!
#17: Mechanical & Machine Design
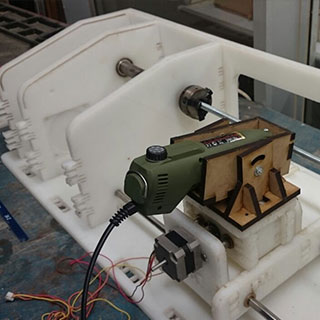
The last assignment before we can focus on the final projects is a big one! With my colleague Martin Gutmann I revived a lathe and implemented a machine electronics design from MIT! A big effort before the end!
#16: Applications and Implications
So now, after almost having finished all of the week excersizes, the final project is coming into view! Before finishing the design, it's time to describe the project more and clarify the aims! So basically, back to growing mushrooms!
#15: Interface Programming
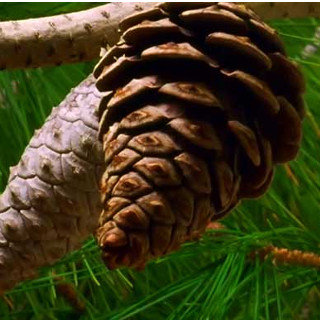
We took an input device from week #11, and wrote an interface application based on the input values! I got back into my art mood, and made a visual output, a pinecone opening and closing in response to light! I got very inspired to do more similar projects!
#14: Networking and Communications
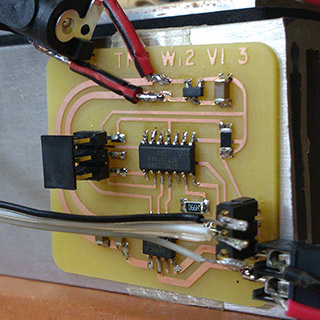
The electronics learning curve just got a lot steeper this week, learning about how microcontrollers communicate with each other. I remade the hello.bus.45 to learn about the basic principles of serial communication . Perhaps not the most creative solution, but surely a useful lesson learned!
#13: Composites
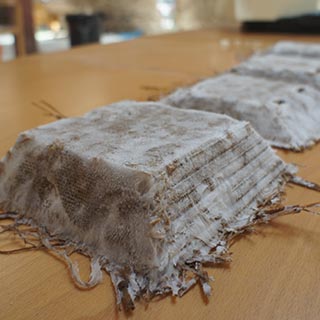
This week we made a composite: a material composed of multiple different elements using a binding agent. I made an all natural composite using burlap and straw, bound together by mycelium! It will be used for testing its capacities as an insulating material.
#12: Output Devices
The first prototype for the electronics to power my final project comes alive this week! I made a device to control a thermoelectic cooler/heater. It will be programmed to read the data from a temperature sensor, and switch between heating and cooling in reaction to that.
#11: Input Devices
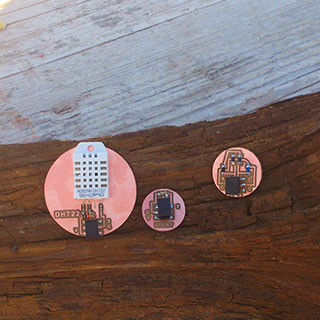
Back to electronics! We started creating sensors which later on will enable us to power our project with functions based on the sensor readings!
#9: Molding and Casting
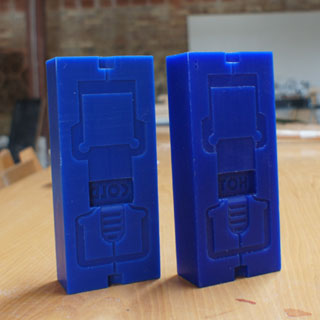
Besides milling, cutting and 3D printing, molding and casting is a great means of producing many identical items from a digital design. I made a custom "flipper" to turn over a peltier element on a heatsink assembly.
#8: Computer Controlled Machining
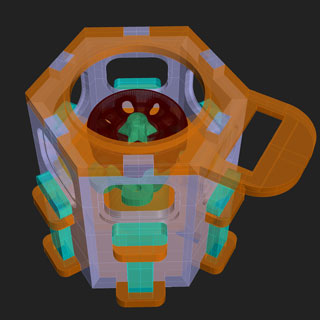
Make something big! A week of more craft style woodworking, using the Shopbot CNC machine. We have a rule of 'no screws no glues' here at the Fab Lab, so using press-fit and slot joints, I made a housing for a DIY biology centrifuge. It turned out to be quite small, but it does the job!
#7: Embedded Programming
Code! We jumped from making circuitboards to writing the code give it a function this week. There is a button connected to one pin of the microcontroller, and an LED to another. I wrote a simple code to make the button and the LED interact! A first step towards writing the code that will run my final project.
#6: Electronics Design
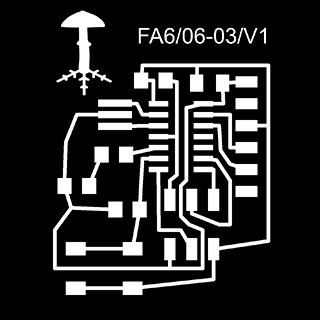
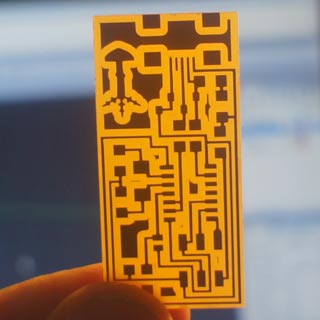
Just two weeks ago I had my first introduction to electronics. Now we started designing circuitboards ourselves. It felt like a huge personal victory to concieve of, design, and produce a customized circuitboard. For the first time in my life, I feel I understand the flow of electricity!
#5: 3D Printing and Scanning
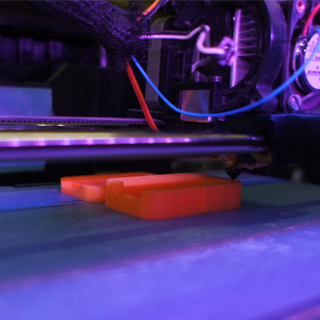
The thing that probably most speaks to the imagination of people when it comes to digital desktop manufacturing is 3D printing. I must admit that I am very impressed with the potential this technology offers. The other asignment for the week was to make a 3D scan of an object. I designed a case for the FabISP circuitboard for 3D printing, and made a 3D scan of a stump of wood!
#4: Electronics Production
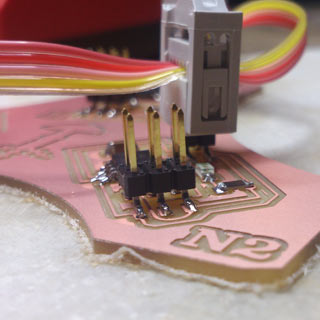
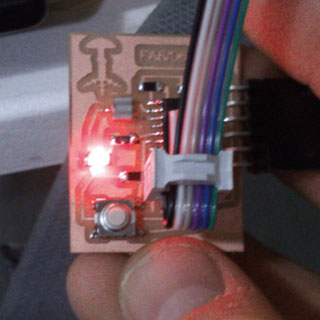
Electronics: the topic of Fab Academy I know absolutely nothing about. This week, that is finally going to start to change. I milled, stuffed, and programmed a circuit board! It's the first step in getting to know how start making my own programmable electronics for my project.
#3: Computer-Controlled Cutting
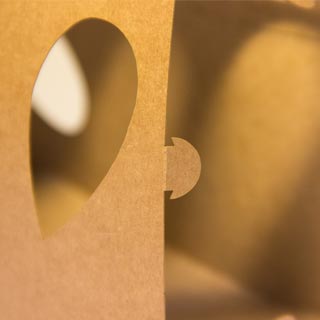
The first real manufacturing began this week. Using the laser- and/or vinyl-cutter, we made a snap-fit-construction-kit. No glue, no nails. I made the first prototype of my mushroom helix-grow-kit!
#2: Computer-Aided Design
This week we learned about a large variety of CAD software, that we will use in the design and manufacturing process. The objective was to make a model and a render of the final project proposal. I have chosen to use Rhino 3D for designing the project, aided by Grasshopper and various rendering tools.
#1: Principles and Practices & Project management
The first lesson of Fab Academy 2015 has been a very clear one: this program is not just on how to make (almost) anything, but if done right we learn how to manage to make (almost) anything.
