Week #3 || Computer-Controlled Cutting
Software used:
Machine used:
Setbacks:
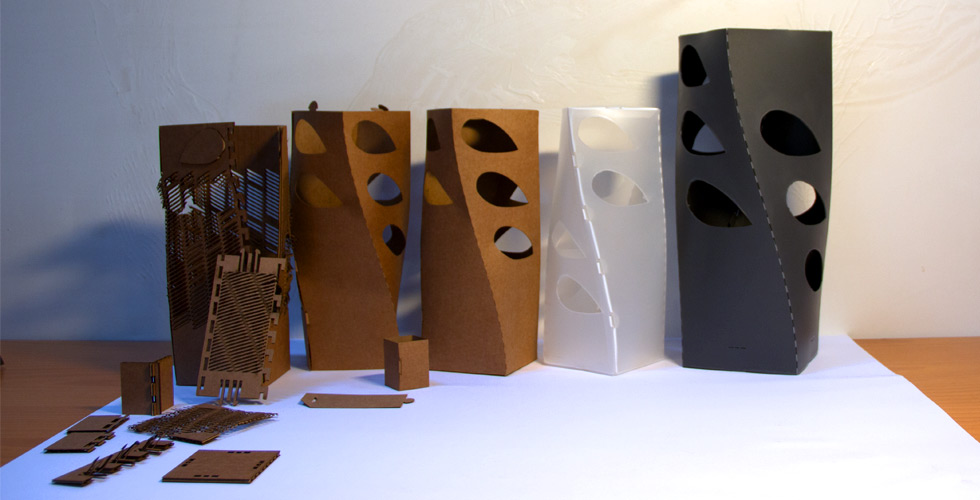
This image shows the process from the first trials to the final result.
1. Cardboard sucks
As I intend to do every week, I want to work towards my final project as much as possible. Therefore the I wanted to make a snap-fit-contstruction-version of my mushroom grow container, that I rendered last week. It is a box with waterdrop shapes spiralling upward along a helix curve in the box. A simple thing to make, but hard to realize how simple it actually is.
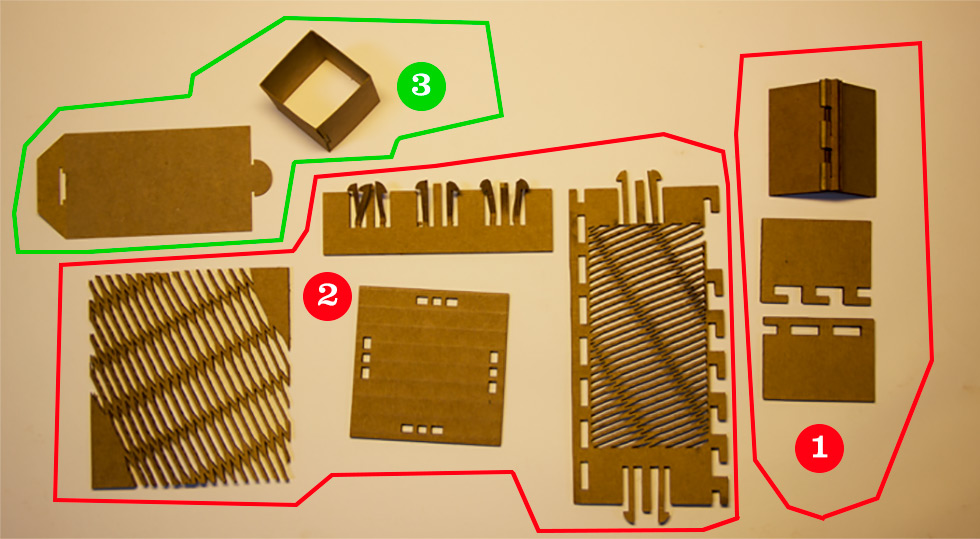
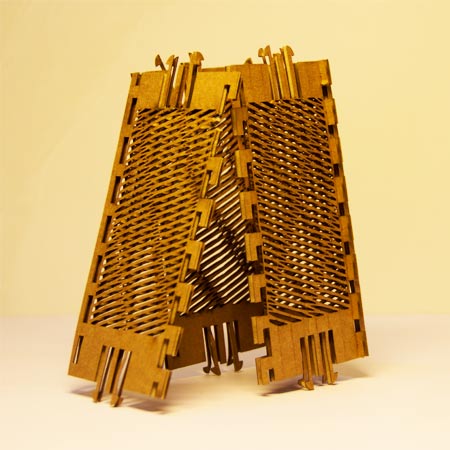
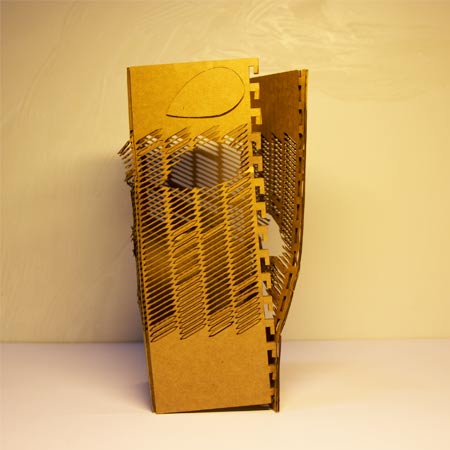
I started, as suggested, with cardboard. I had drawn various joints from scrath in Rhino, and wanted to make a square box out cardboard, that I would then manually twist into a helix and then pin down in the desired angle. This turned out to fail completely:
2. Cardboard-paper is nice, plastic is perfect!
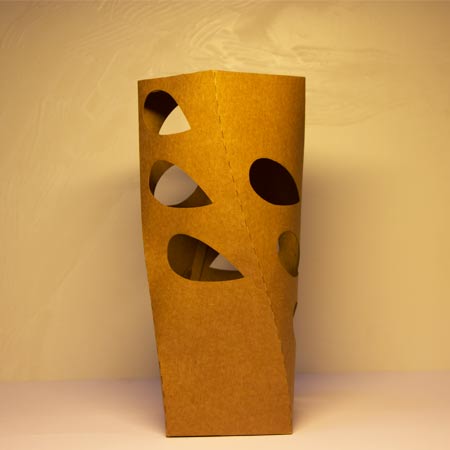
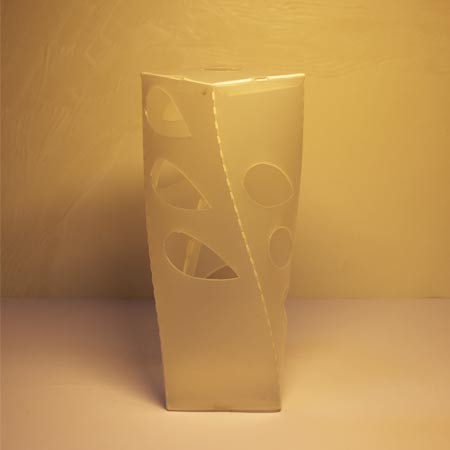
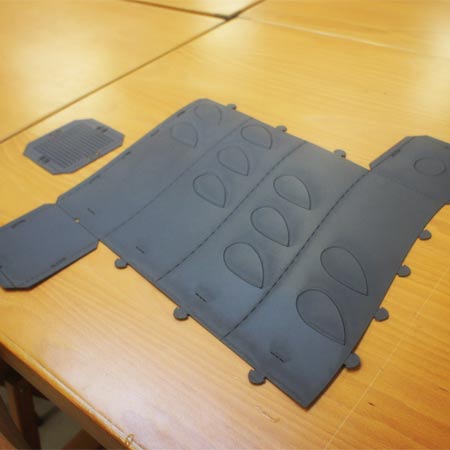

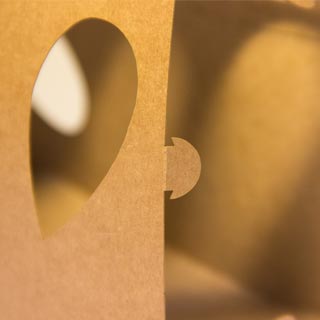
I finally realized that in order to create the helix box I can use the Unfold Surface command in Rhino. It creates a single pieced surface that will potentially fold into the 3D shape it was made from. After some brushing up or corners and curves (the Unfold Surface command does not always give a very clean result) I added foldable sides to close off corners and sides that meet, and inserted the joint that I had drawn earlier and indivually tested positively. The joint is quite simple: just a trimmed circle on a stem (like a mushroom) going into a slot that at its entry equals the size of the circles' diameter, and beneath that has the width of the stem to lock the joint in. After making a successful first (small) version from cardboardpaper, and one from plastic, I continued to make a series of 10 big ones. The reason that they are made from plastic is because of the intended use for mushroom cultivation, so it has to be humidity resistant.
Files
Click here to download the DXF file for the foldable kit.