Week #7 || Embedded Programming
Software used:
Setbacks:
1. Arduino
We started this week with a class on Arduino by our in-house genius Guillem. The lecture by Neil this week was rather overwhelming, with a lot of terminology unknown to me. The class we had on Arduino clarified a lot, giving us some history on computing and microcontrollers and putting this weeks' theme in a wider context.
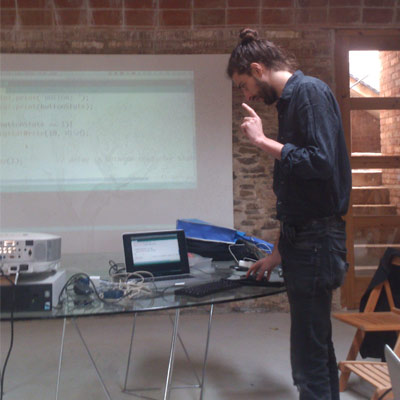
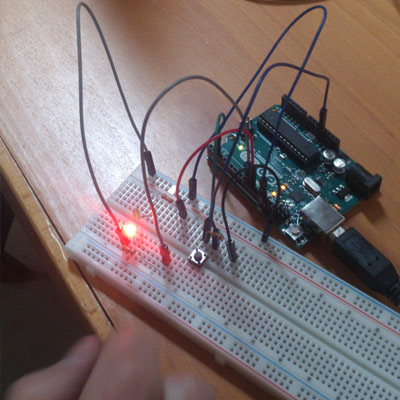
Guillem gave us a lengthy introduction to microcontrollers, Arduino, and the code structure of C / Arduino. We did some tests with a breadboard, working our way through the basic examples given by the Arduino IDE. We could already try out the set-up we had on our circuitboard we made last week.
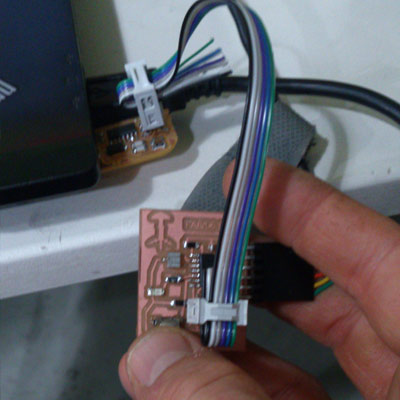
2. Programming the board
To program the board, I wrote a short program to run a sequence of blinks on the LED light when the button is pressed. I used the examples given by Arduino, but wrote it from scratch to get some feeling for it. It was the first code I have ever written for a microcontroller.
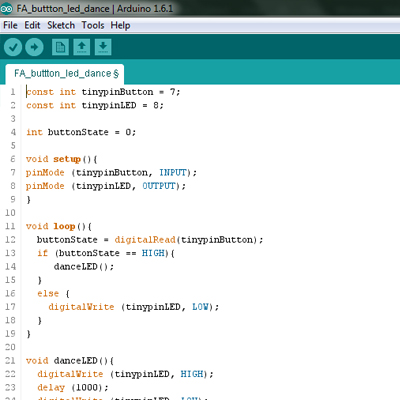
When it came to programming the actual board using the Arduino IDE, I followed the instructions given in a tutorial on High-Low Tech. This page links to the Atmel ATtiny library for Arduino, explains how to install it, and how to set up the parameters for programming. It also shows a very handy diagram showing the parallels between the ATtiny44 and Arduino, needed to put the right pin references into the code.
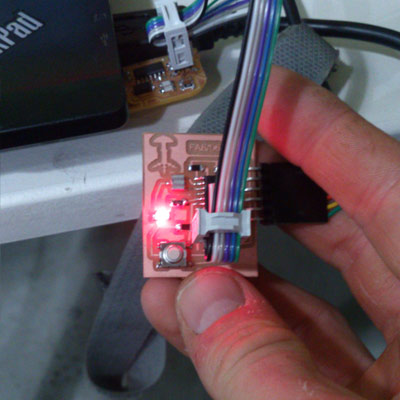
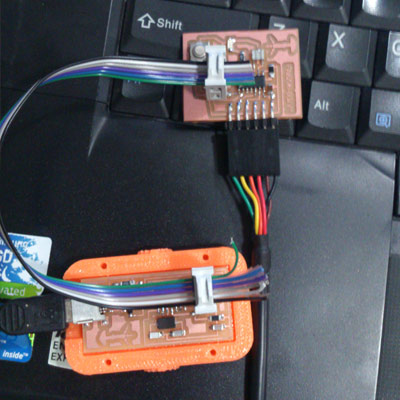
As I mentioned, I was experiencing trouble with my FabISP. My computer would not recognize it, although it did appear when I listed USB devices. After about 2 hours of trying and getting quite frustrated, I decided to use the FabISP of a classmate. This worked instantly, and I pushed the code onto the board. Still in a frustrated vibe, I literally jumped up and shouted out a victory cry when I saw the LED lighting up in the sequence I wrote! It was truly an amazing moment, I saw my whole project coming into sight!
Today, 17-03, I made a new FabISP, and I am preparing a fresh install of Ubuntu on my system. I was having some errors before with both, so I think a fresh start with these will do me well. I am very excited to continue programming and to soon start writing the code for my final project. I have browsed the datasheet for the ATtiny44, but I have not had the time to read it very deeply yet. I will do so, because it is important to know the system I am basing my project upon (or not, depending on the requirements and size of the code).
Files
Click here to download the code used for the blink sequence ARDUINO IDE.