Week 9 - molding and casting
This week assignment was to design a 3D mold, machine it, and cast parts from it
Material test
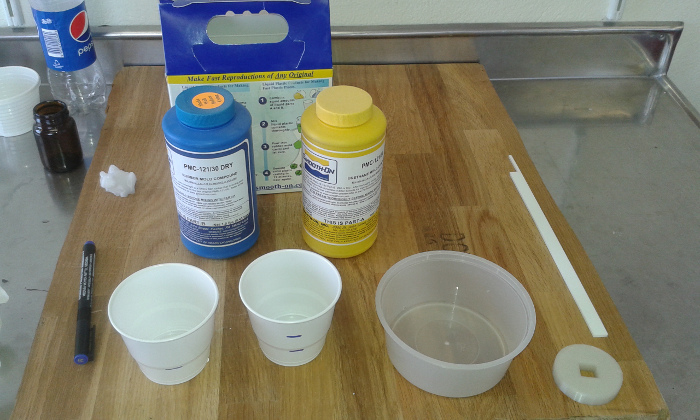
The resin had been around in the lab for some time so I first wanted to test it and see if it would still be usable
The results turned out good. Both resins were good. I also discovered when you don't use molding relise the cast sticks to the mold
CAD Work
Programs:123d design and Rhino
For the assignment I wanted to try to design a button that would be used in the final project I started using 123d design but quickly ran into some problems with the subtraction so I moved to rhino


Machining
macine: roland mdx-20
I used a small milling machine and machinable wax to make the negative mold. I was a little worried that the wax would not hold so I used two layers of double tape that I found was way to much. It was also advised using hot glue but I did not try that.


The machining went well, I used fabmodules as a cam and the feed rate was 20mm/sec


After the machining I found it very hard to get off the plate due to the double layer of double tape.
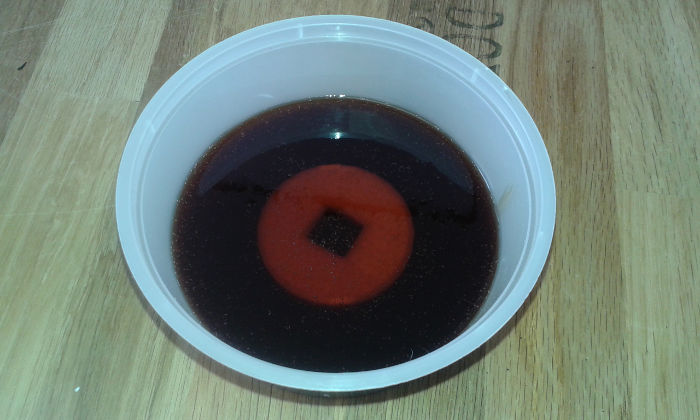
Making the mold
I used a product from smouth to make the mold, the ratio was 1:1 in volume

The yellow stick is left over plexy, it is to hold the mold removal. I let it cure overnight

The next day it had cured well and there was no problem removing it from the wash

The mold was now looking good and next stage was to cast the button.
Casting
For the casting I used a product from smouth.I had created some extra mold to experiment with from the left over resin from the mold making. The ratio was 1:1 by volume.

From previous test of the material I knew I had to use mold release. It creates a layer between the mold and the cast so you can seperate them. It was in a spraycan and was good to use. I also used a pencil after spraying to make it smooth. I could immediately feel the layer forming.

At this stage I had poured the resin in the mold. Being aware of not making bubbles by trying to make the resin flow in a thin line on the lowest point in the mold. I also tilted the mold a little bit so it would fill up any holes

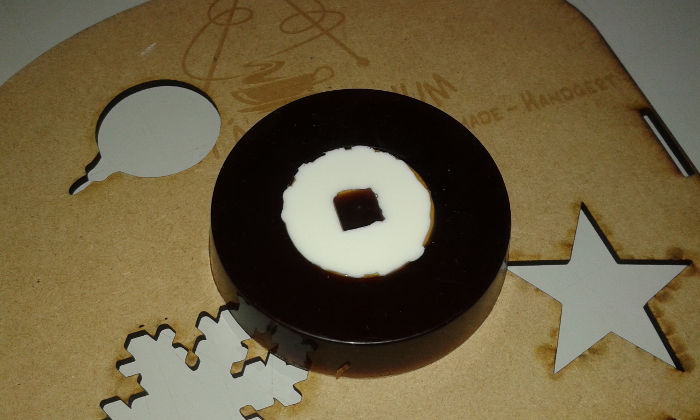
The curing time was said to be 16 minutes but I left it over night since I had been working late. When I returned the resin had turned white.

There was a bit of a leak between the mold layers but it was easily removed by hand, knive and sand paper. I had no problem removing the cast from the mold due to the mold relese.

The end result was good. It looked and worked like a button. It had a curve that was not plane. Probably due to the mold design. Next time I would design the mold walls a bit thicker to avoid it.