Week 5 - 3D Scanning and Printing
Assignment: make something that would be impossible for a cnc machine do.
First go
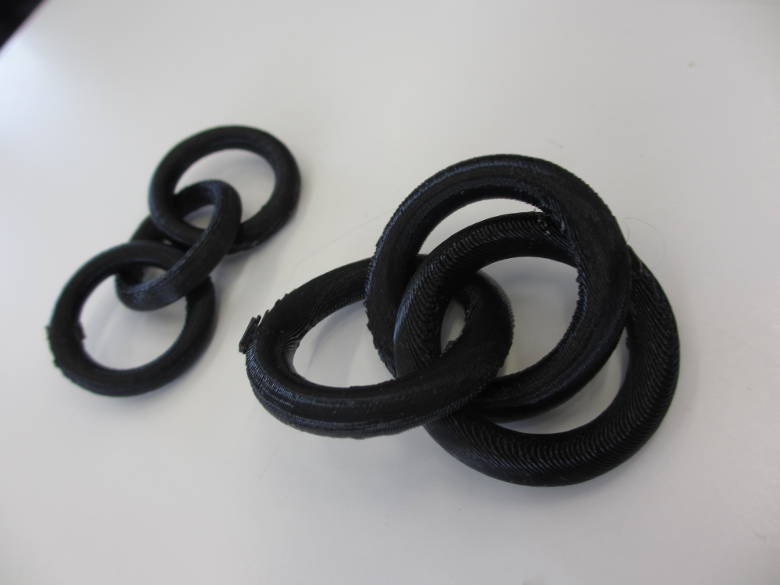
I choose to work in antimony. Since I was new to it I started making a simple chain of torus. Below are photos of the result.
After making it in antimony I printed it out in the makerbot. I found it to be a very simple process and is kind of like using a home printer. I could have rotated the object to make it use less structure and to make the torus texture more similar to one another.
Second go
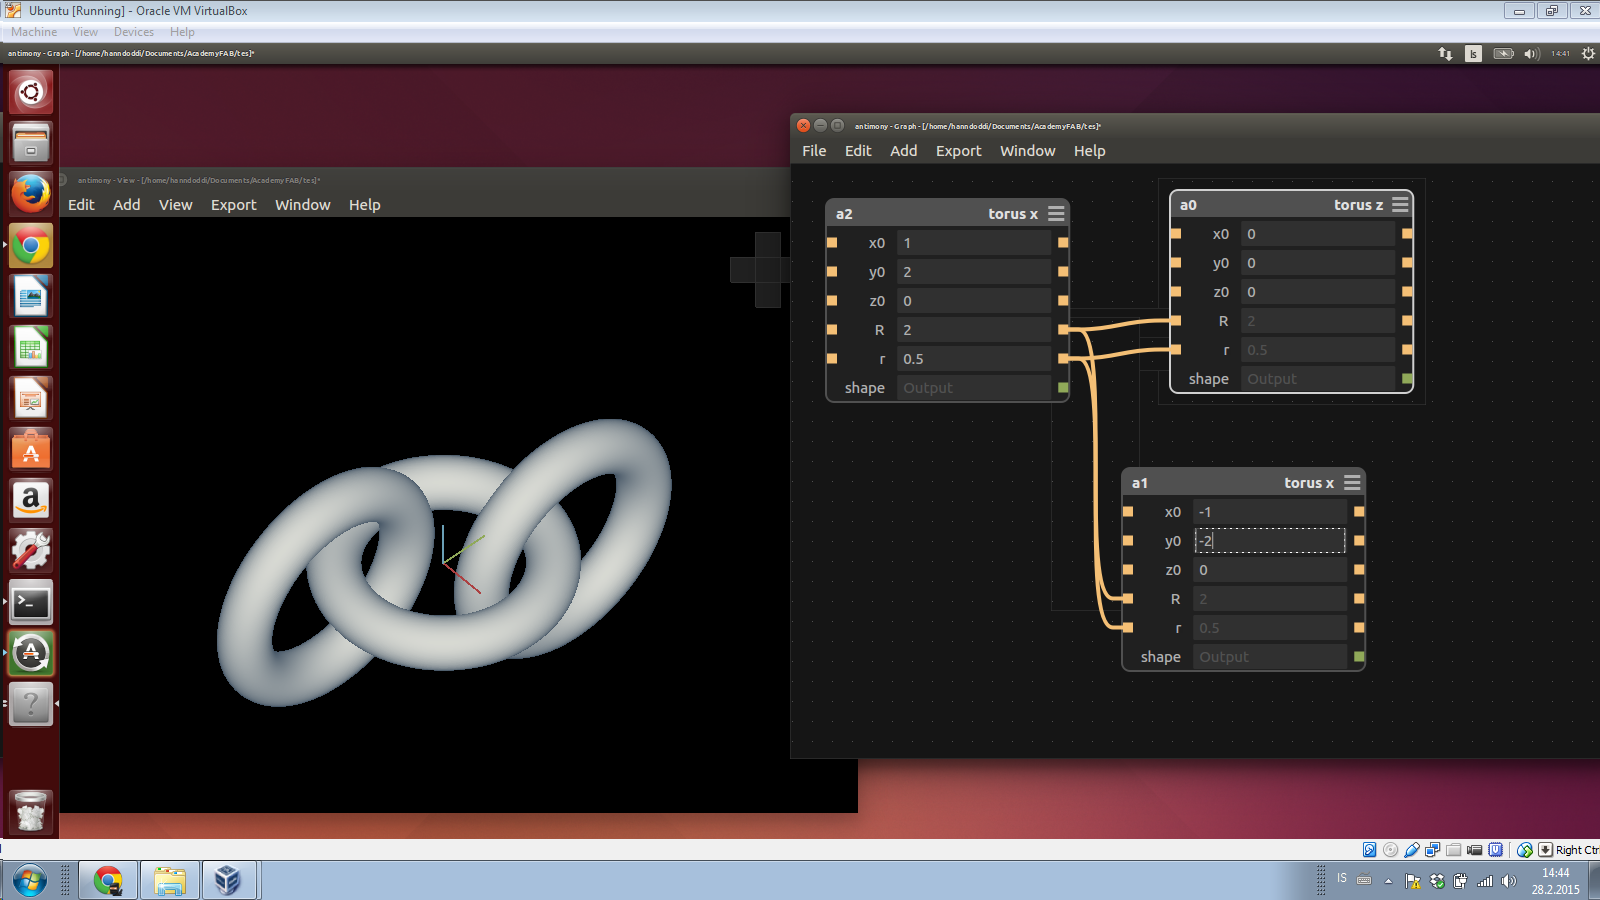
Next up I wanted to make three torus that were interlocked so I found a rotating function in antimony that worked well. I really enjoyed working in antimony.

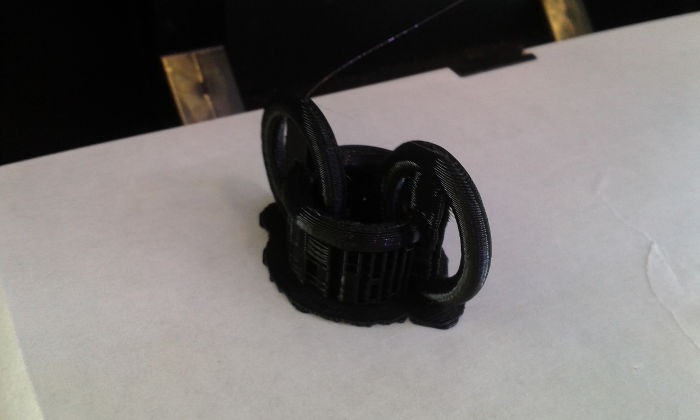
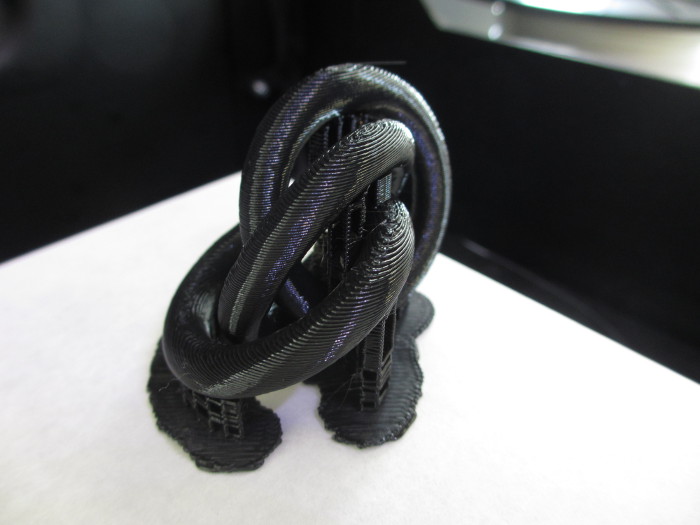
This time I printed the torus a bit larger and I also turned the object to use less structure material and to get an even texture.
Antimony file: interlocking_rings.sb
3D scan
There are many methods to do a 3D scan I tried two one with photos and one method of propping.
123d catch
123d.com has a lot of interesting apps with beginners in mind and simple to get started I wanted to try it out it uses photos from differant angles to make a 3d models. It has nice features like being fast and you also get color texture, it is not so good if you are looking for high precision. They have a smartphone app for the program as well so I got that on my phone.
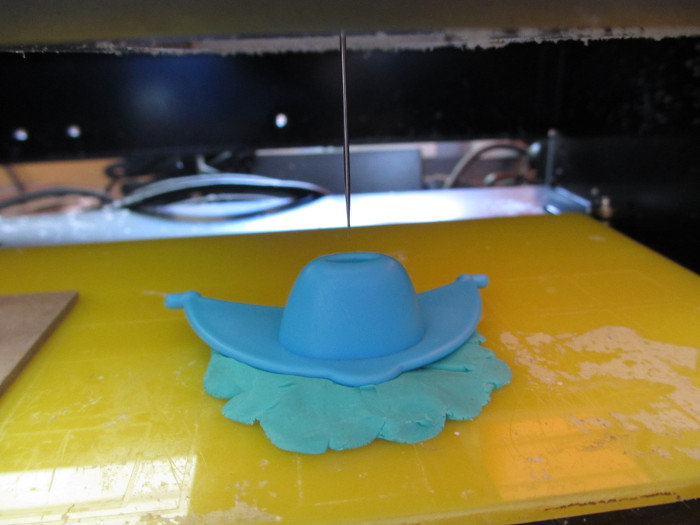
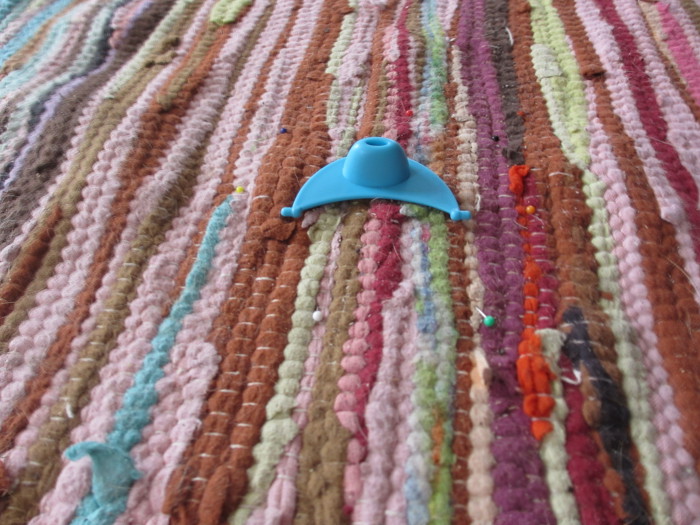 Here is how the scan setup looks like Linda in fab lab Reykjavík has been doing some experiment and I got the idea from her. The idea of the pin heads that might be hard to spot is to make a anchor for the program. The object I chose was just random, it is a cap of a baby drinking bottle.
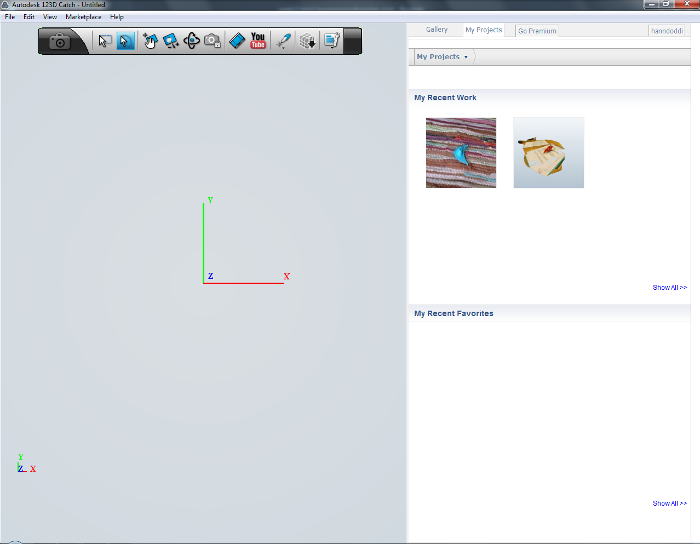 the interface of 123d catch looks nice and it was easy to sync with my phone.
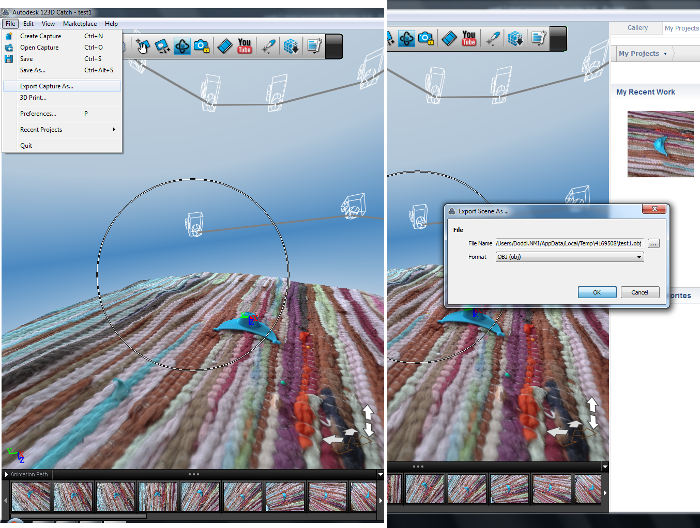 I could export in .obj
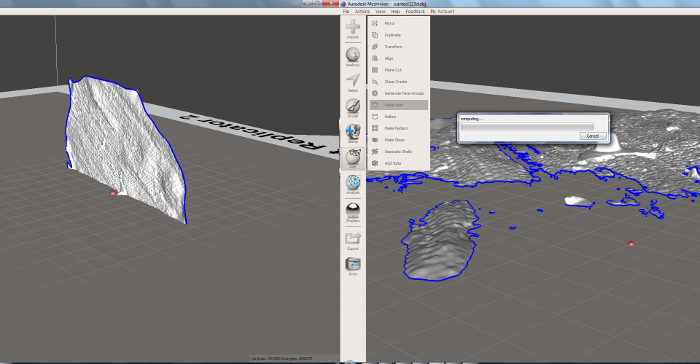 I tried to fix the file in meshmixer but I could not do it in the first go it definitely needs some more practise.
roland modela scanner
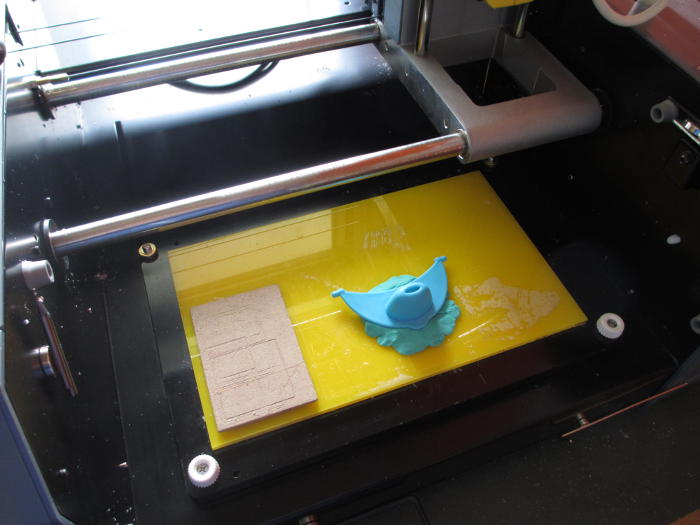
on the roland mdx-20 you can put on a scanning head that uses contact scanning it has a needle connected to a pizzo element that probes the object. It's advantages is that you get high precision however it take a long time and if the thing you are scanning is very precious it does touch the object you end up with a mesh of the object.
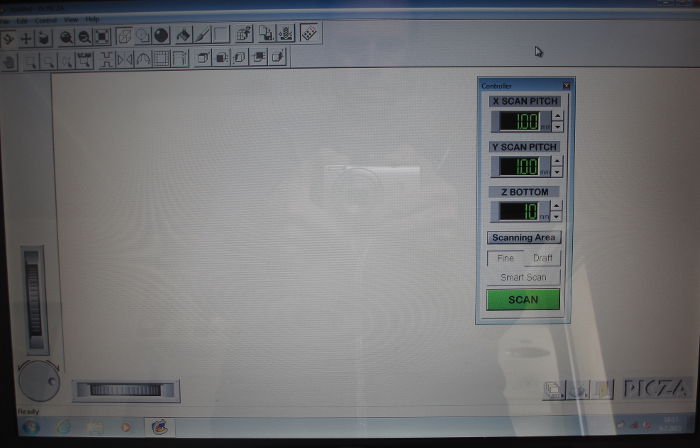 dr. picza is the program that comes with the machine it is the only option I know the program is ok but could use some improvements
 the setup
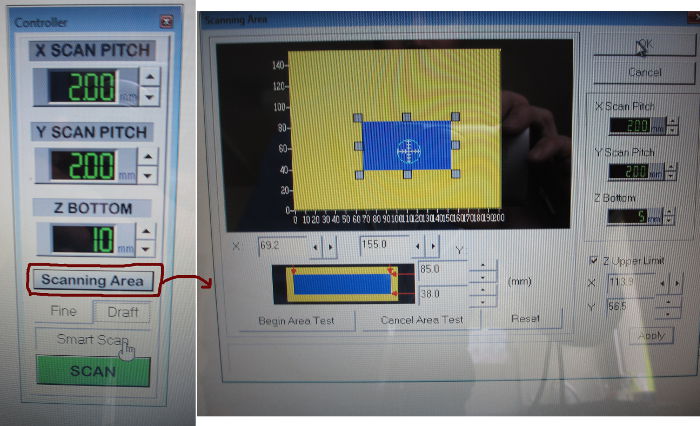 It saves a lot of time being able to put in the scan area if that is not done it will take much more time that really is needed
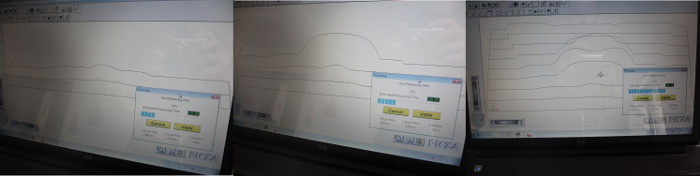 When scanning is on you get a live view over the process which i found nice.
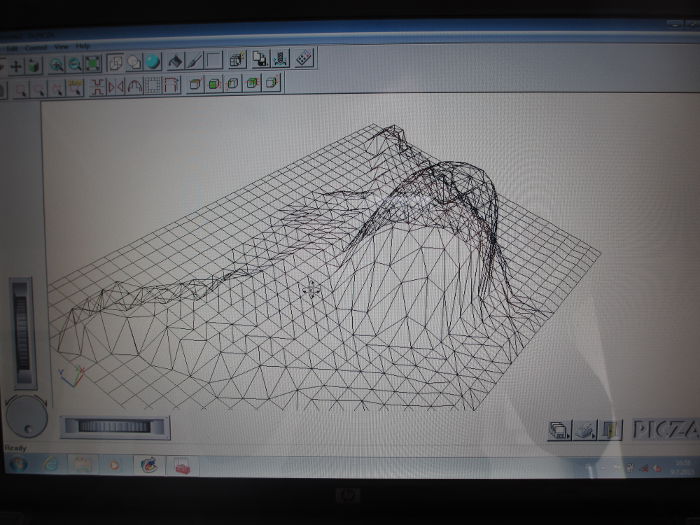 here is the end result after the scanning I scan with 2mm steps on X and Y so i did not expect much detail. It took 30 min to scan
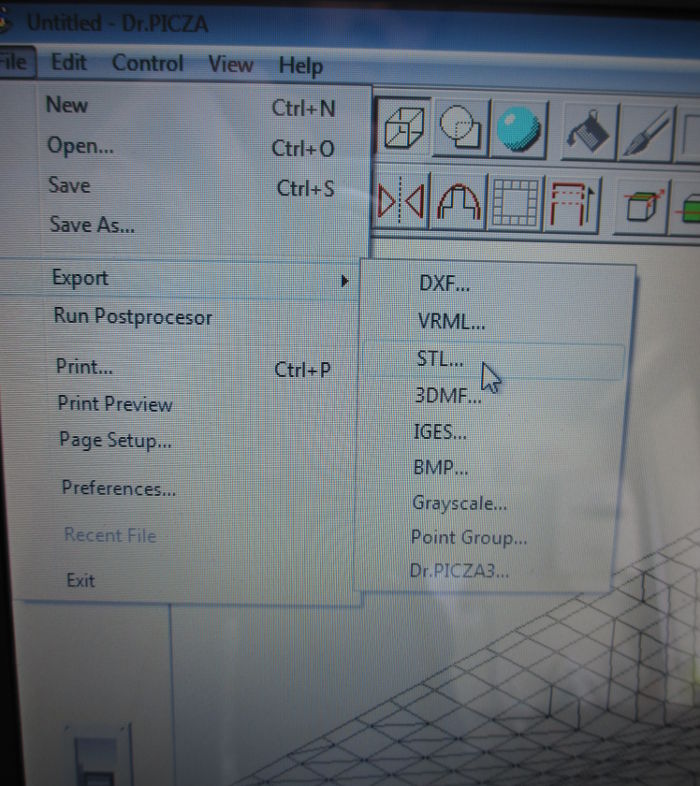 there a couple of exspot formats I exported it as a .stl