Week 13 - Composites
Assignment: create 3D mold and fiber composite parts
CAD Work
For the final project I need to find a way to fasten the phone box to the pole.
program:Rhino
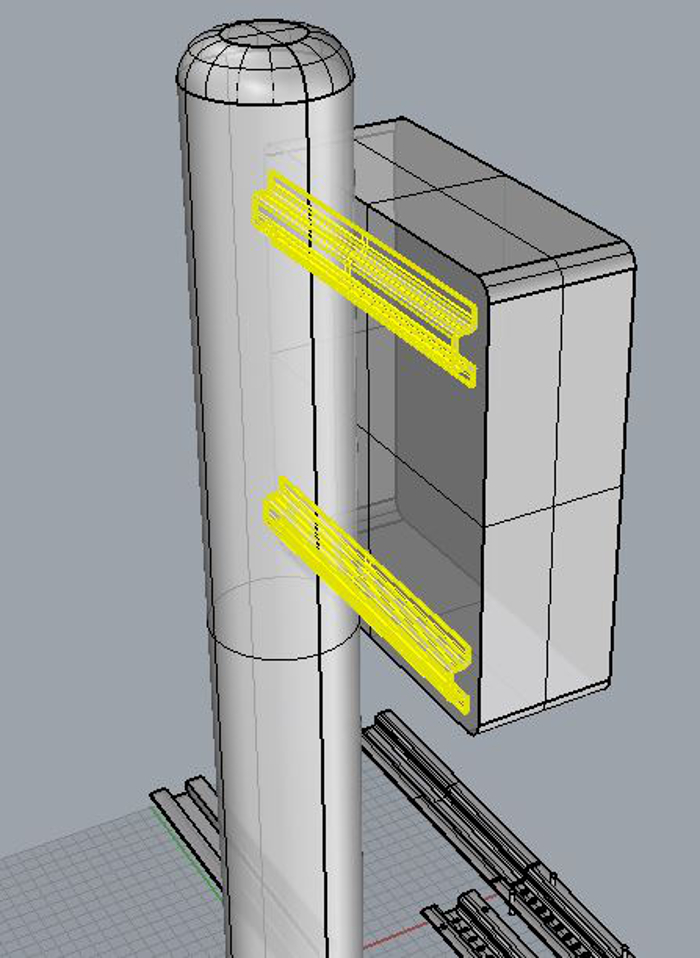
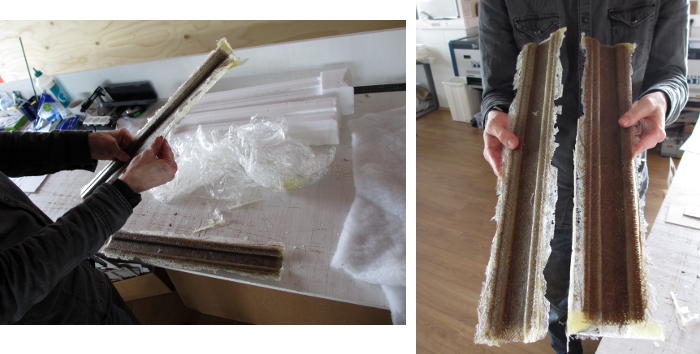
The highlighted items show what I want to make with the composite method. It is a U-shaped bar and the plan is to screw the bar to box and then strap it around the pole. Basically the same function as a metal strap.
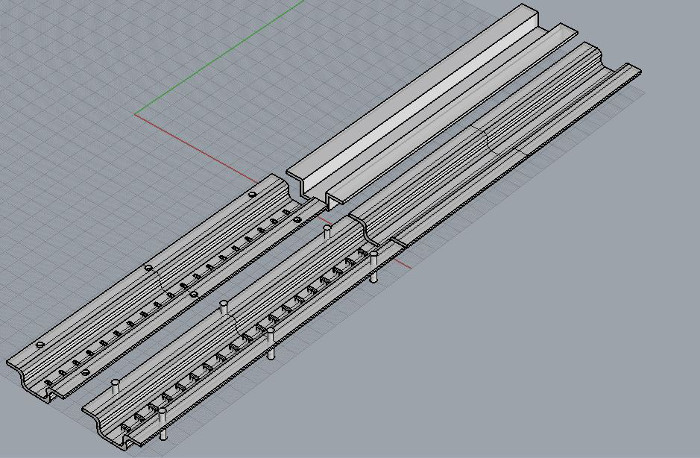
The photo shows the process. The one on the top right (above the red line) is the first drawing and the top left the final design.

The one on the left is the expected outcome of the casted composite and the on on the right is the final result after milling the holes. I am not sure at this moment what to expect in the milling process but from what I have researched it is supposed to work out.

This is the mold which I plan to mill in fome
Milling the foam
Milling was done in the shopbot alpa
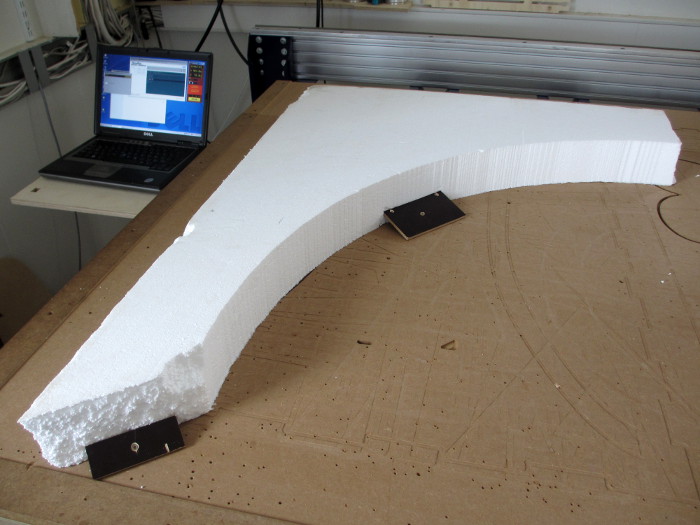
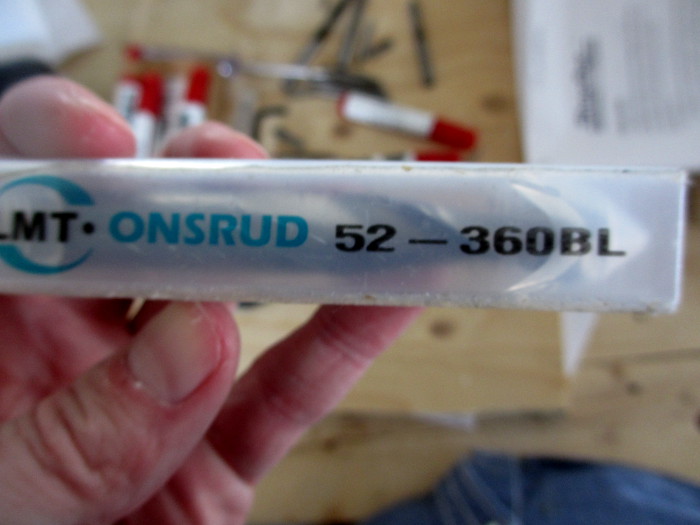
The tool that I use was from Ontrud 52-360
In was cut at 12.000rpm with feed rate 85mm/sec

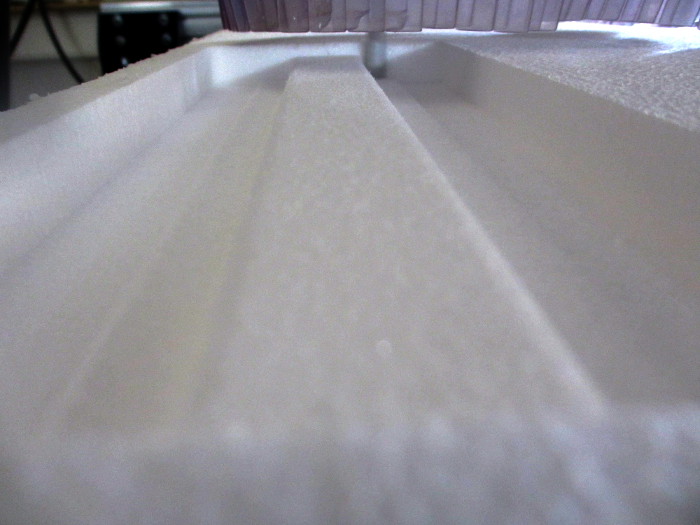
Two photos above show the milling process. After some thought I should have made a cut a round the object I thought it would be easier to cut the foam but it took some time to cut the foam I used a hand saw for that.
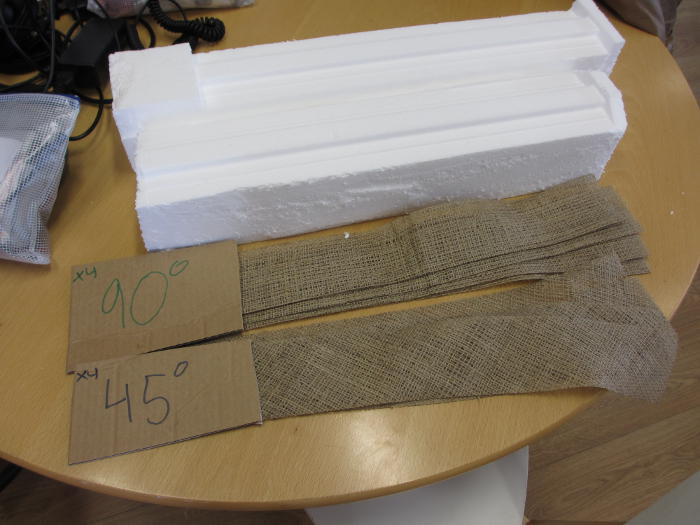
Cutting the burlap
I started by cutting two rectangles, one with the threads going 90° and the other going 45°
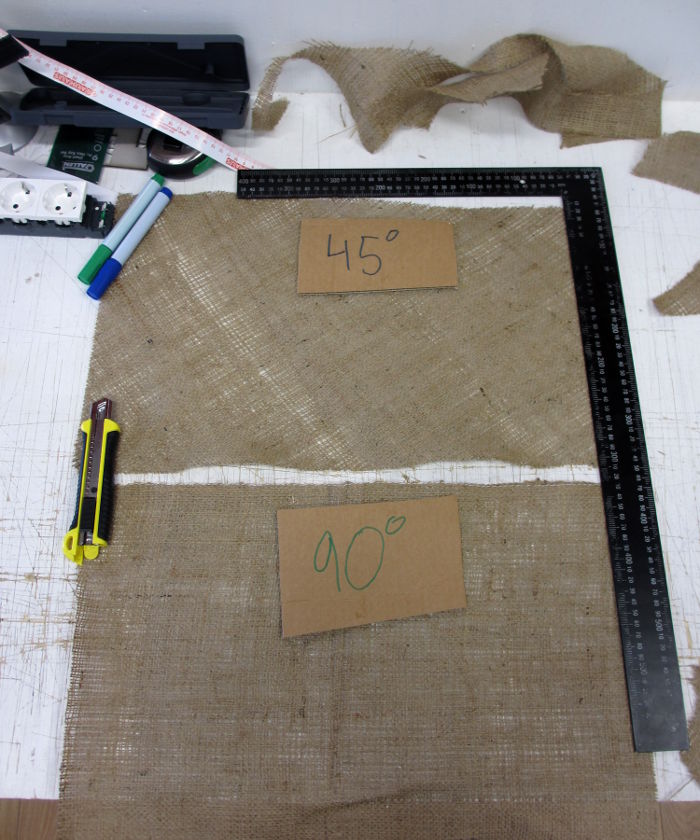
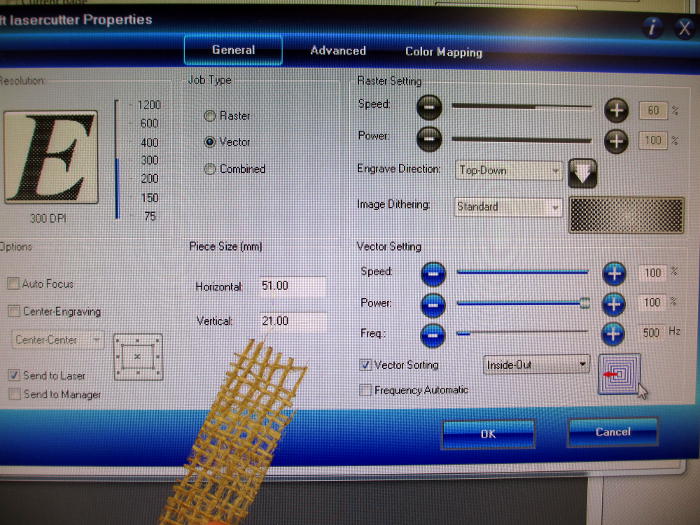
The laser I used is a 40w epilog laser. I used 100% speed and power and freq at 500Hz. There was no problem cutting through. I did have to clamp the burlap since it was so light and to keep it as flat as possible.
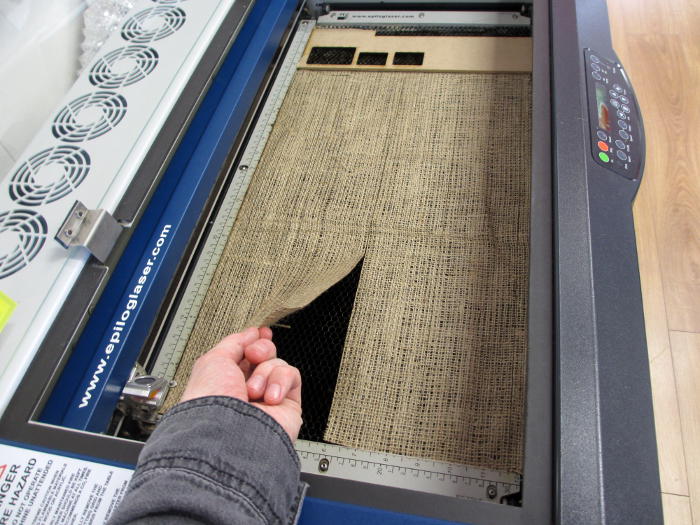
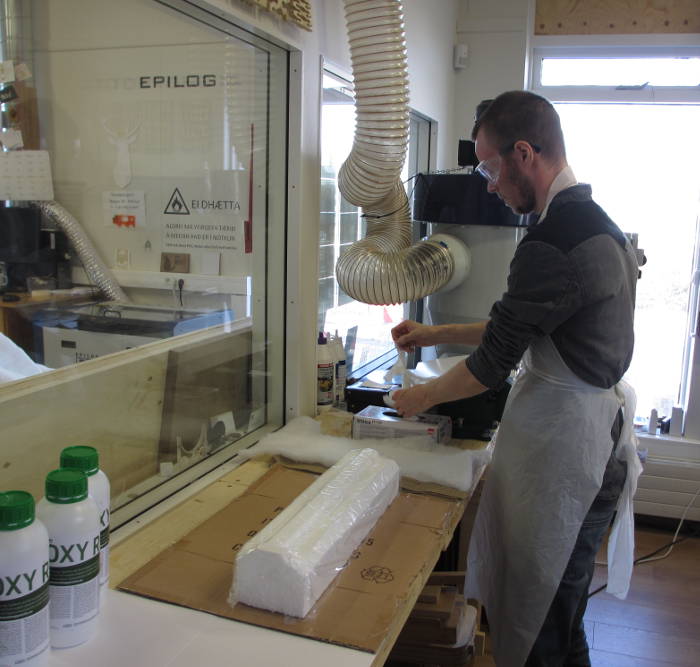
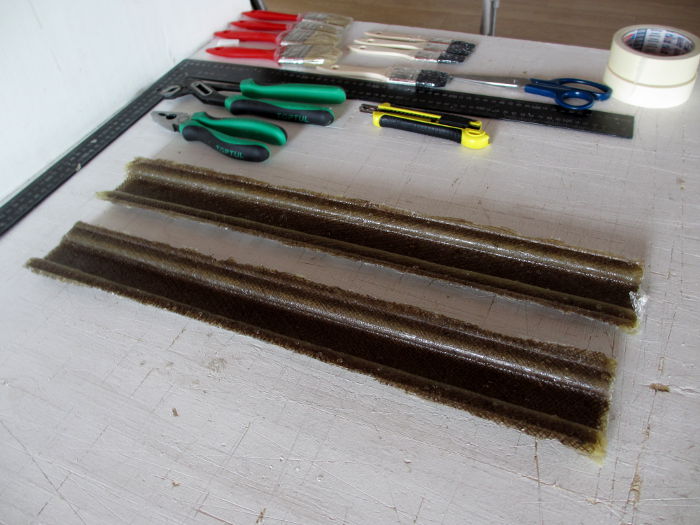
I now had the mold ready and the burlap stripes
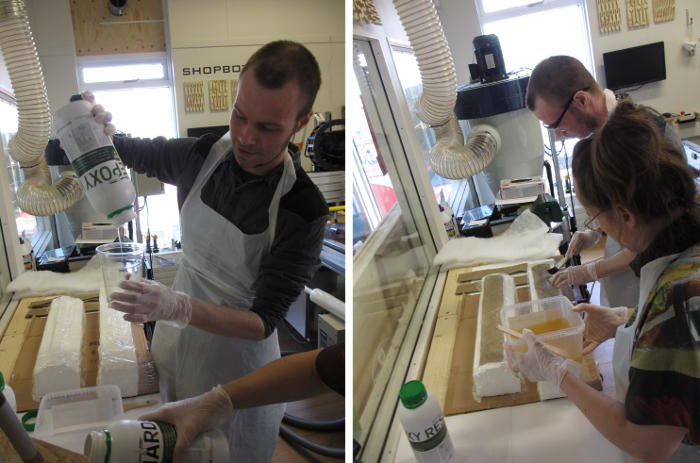
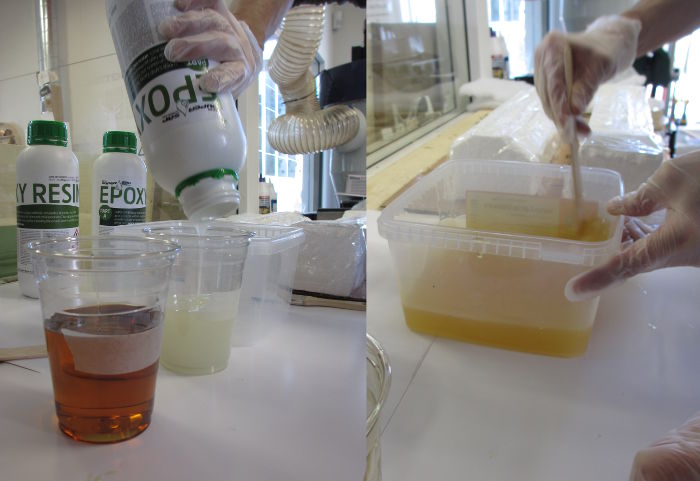
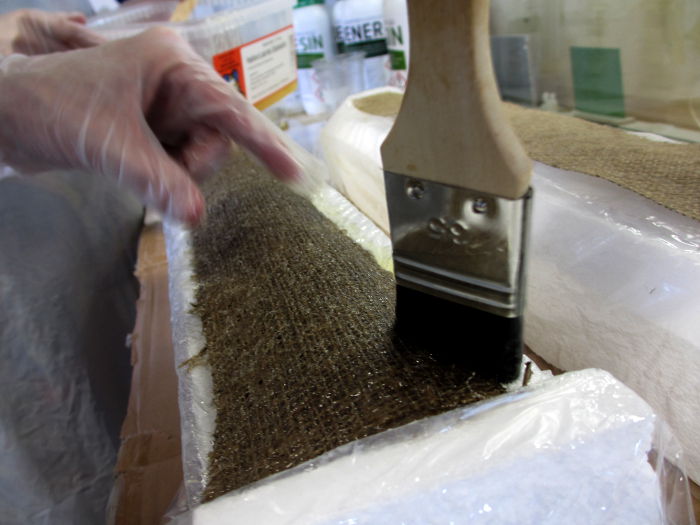
Applying the resin
After talking to my fellow student I found out that this was going to be too hard to do alone especially if you are doing this for the first time. So I got some helping hands.
It is important to have some safety precautions, here is a list of safety equipment and things to keep in mind.

Here is the equipment that was used.
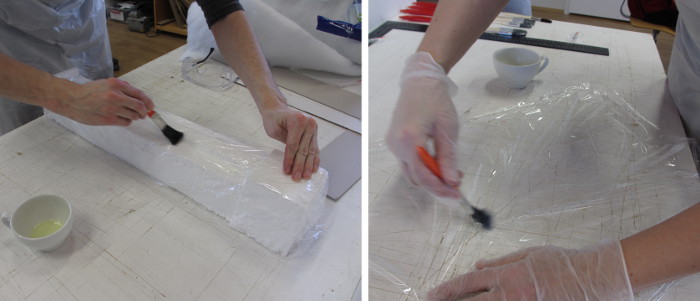
The layers were in this order from the mold to the vacume bag.
1-MOLD 2-PLASTIC film 3-vacelin 4-burlap and epox 5-vacelin 6-coton 7- plastic film with holes 8-vacume bag
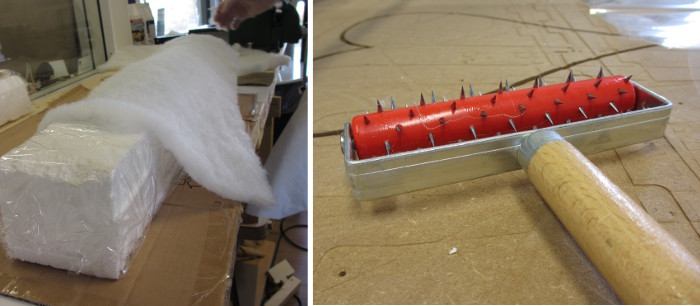
Cotton is used to help with the vacuum. The tool was used to make the holes in the last film to let the vacuum get out.
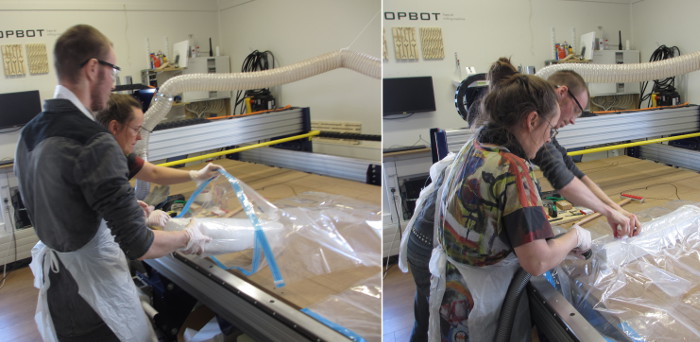
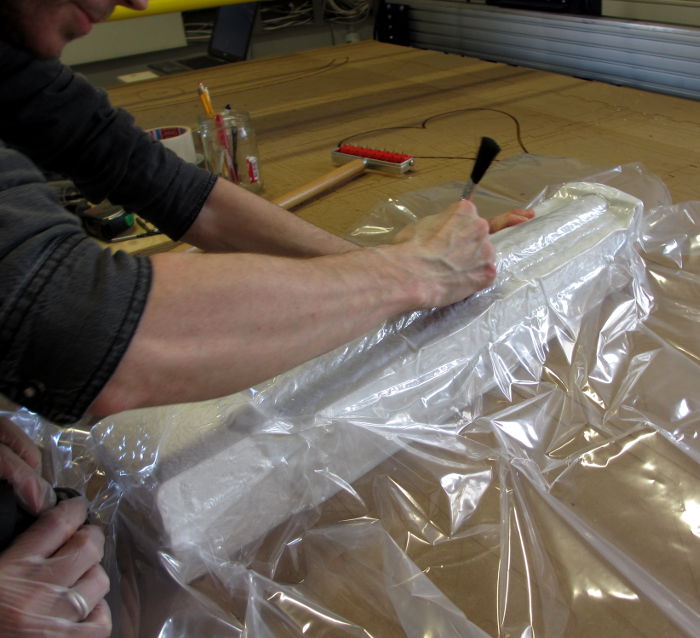
I used a blunt end of a pencil to help get all the vacume out
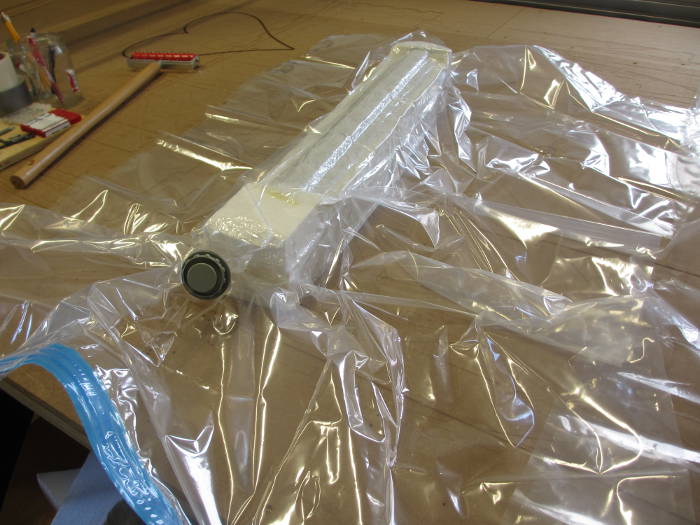
After the vacume stage then it got left to cure over night.
After the curing
The next day I removed the package and everything looked good. It was strong and made a very satisfying sound when you knocked on it.
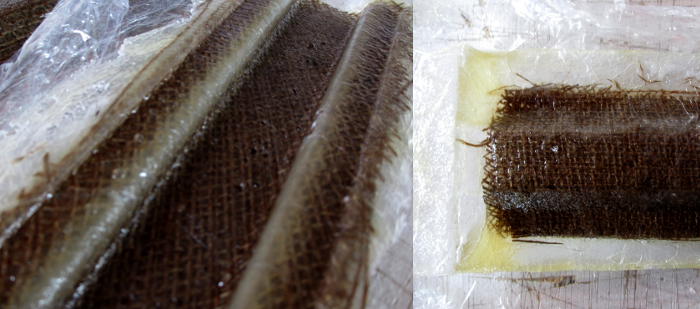
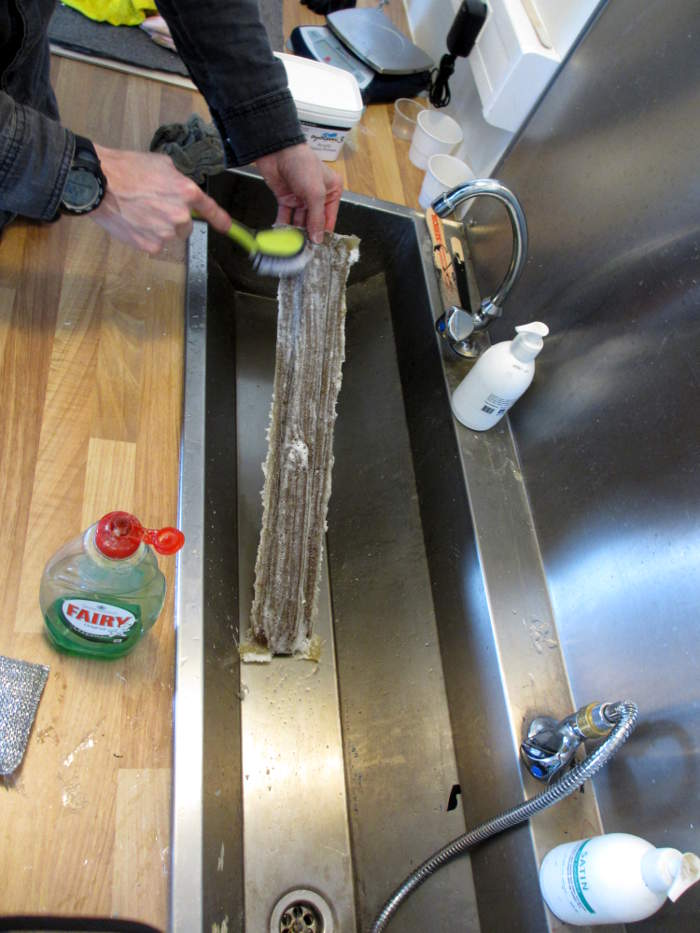
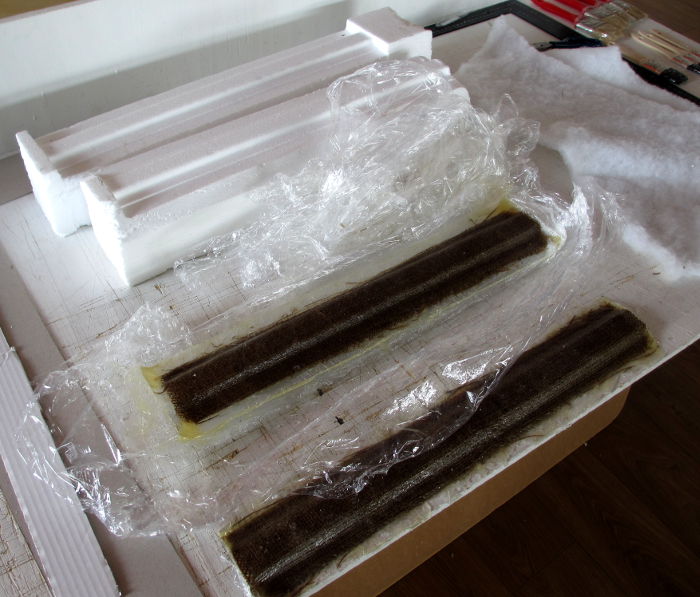
Washing the vaselin off.

In the end the box was smaller so I cut one rail in half with a bandsaw. Cutting the composite was not a problem. I also drilled holes to it and it worked fine.