Week 3 - Computer-Controlled Cutting
Assignment: design and make a press fit kit
KERF TEST
Kerf is how much of the material is removed when cutting. With the laser the kerf it is bit tricky because it varies between material, speed and power of the cut. You can find the kerf by making the machine cut 10 lines and then measure the gap and divide it by 10, then you know the kerf
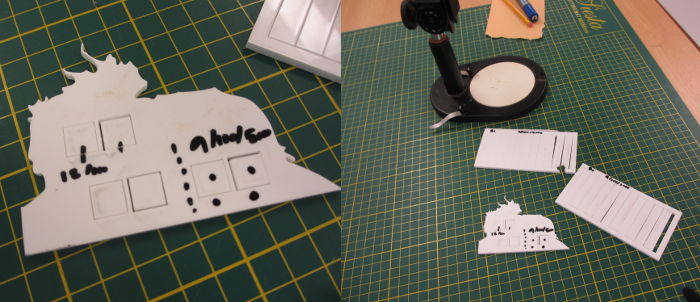
On the left I did a test to offset the the lines of the square by 0,1mm, one is offset on the inside and the other on the outside. Doing that results in a square that fits perfectly in the other one.
The test resulted in a kerf of 0,23mm. It was cut with 9% speed 100% power and frequency of 5000Hz.
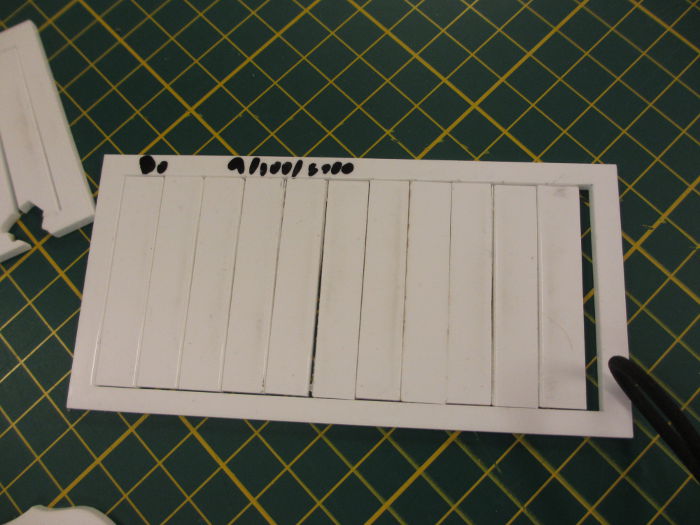
Press Fit design
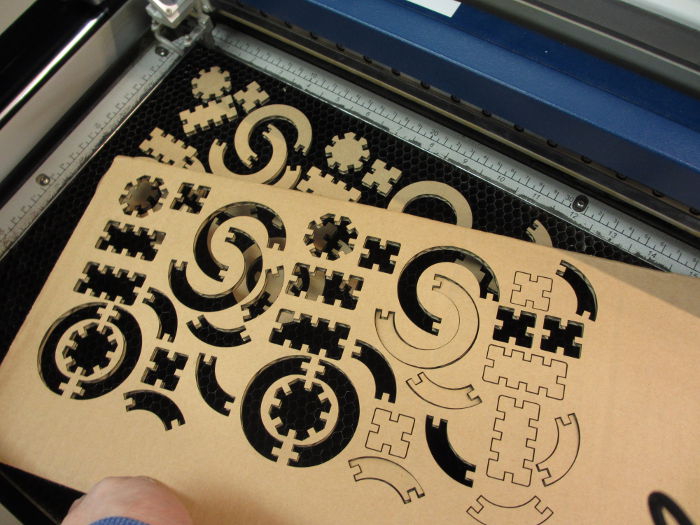
I used inkscape to design the parts. I wanted to try out the method so I made two parts. I used the clone feature of inkscape. I had not learned how to use it and it was very useful.
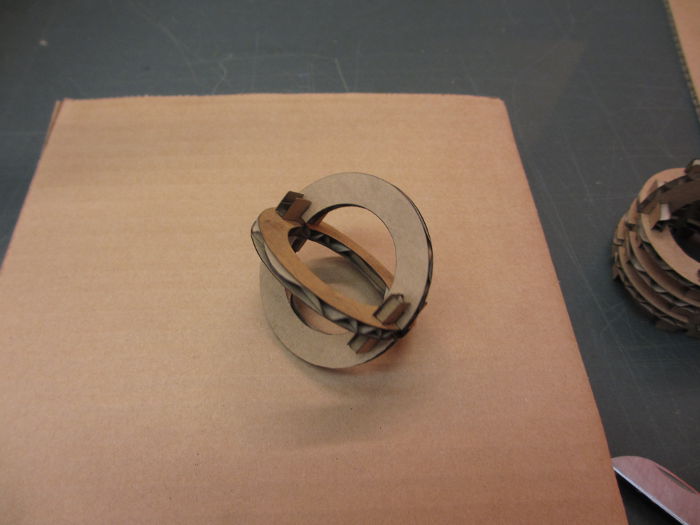
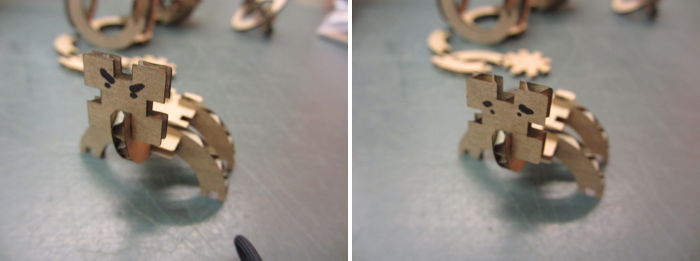
I started by cutting out one set just to see how it would work.
After seeing that everything fitted nicely together I decided to make more parts.
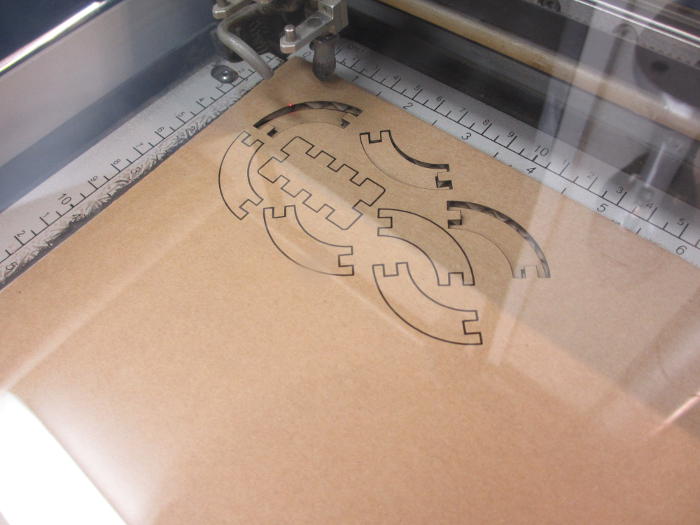
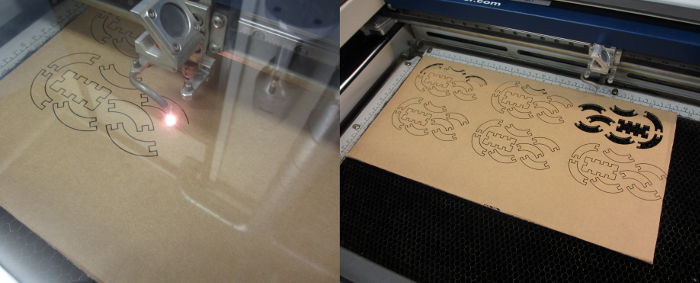
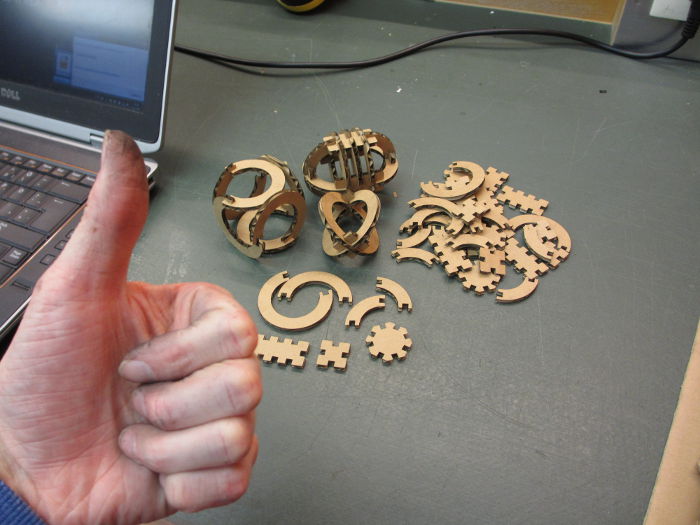
I tried a couple of assemblies and quickly found the need for other parts so I went back to inkscape and designed 5 new parts to add to the kit.
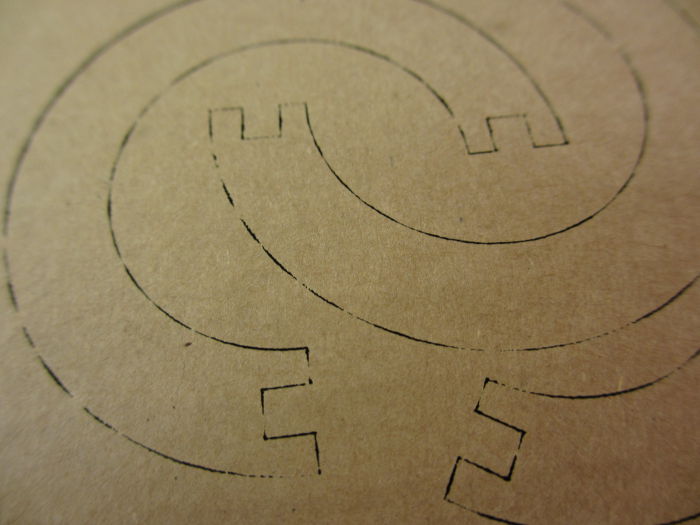
Ran into small problem with the laser, it didn’t cut through but I found out I forgot to take the focus of the beam
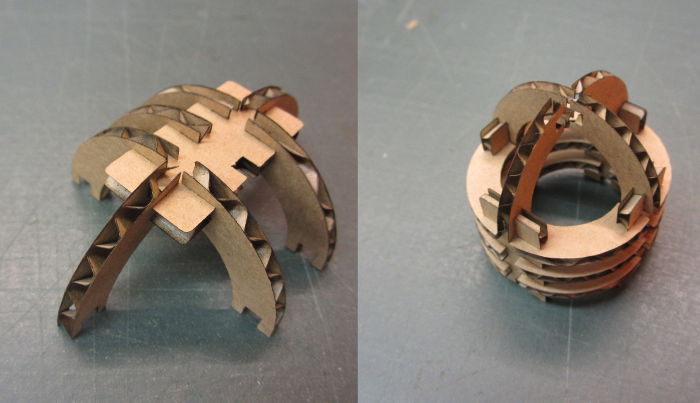
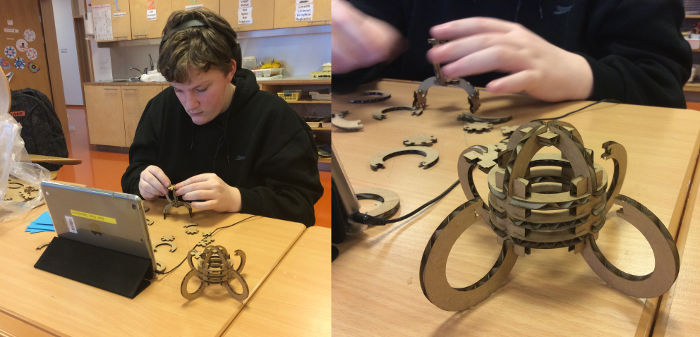
Now I was able to make a lot more forms with the parts. I made a couple.
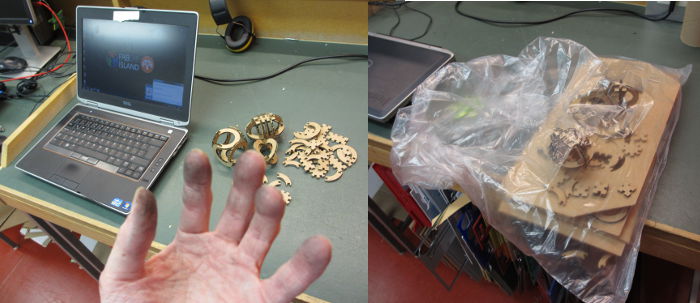
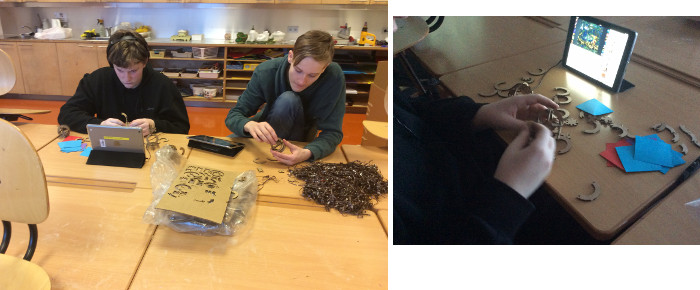
I wanted to see what other people would come up with so I put the kit in a bag and took it home.
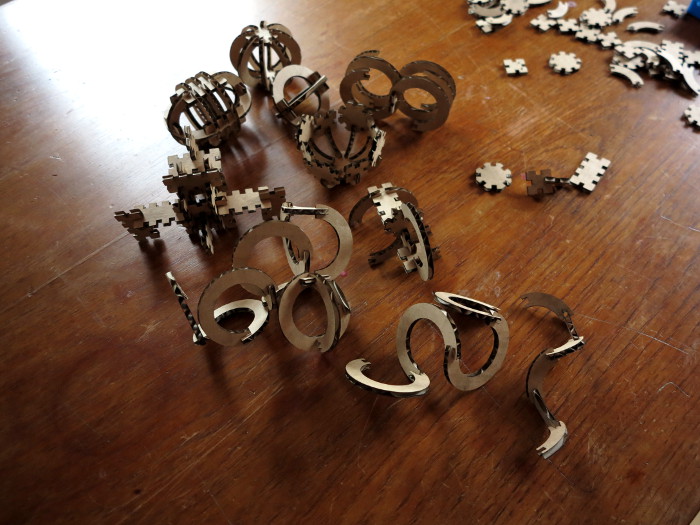
The next morning I let my family play with the kit and here is what they made.
The local school
I took the kit to the local school. I talked to the art teacher who teaches in the fab lab and asked if she would let her students play with the kit.
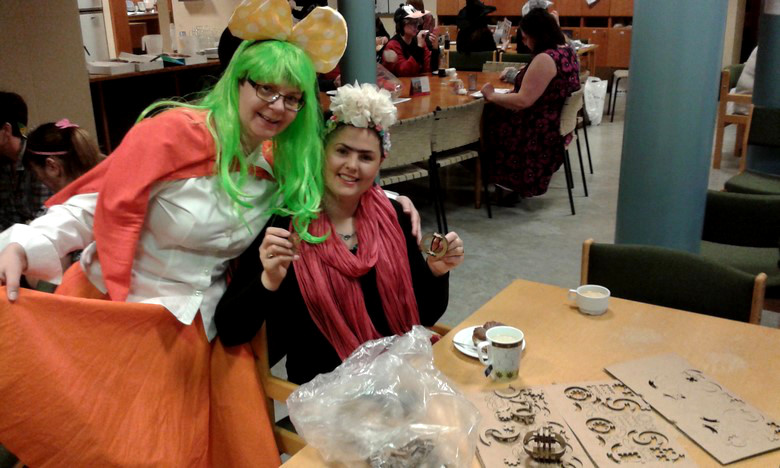 The two teachers at school who teach at the fab lab. There was a costume day at the school.

What I really like about the assignment is how it opens your mind and you can come up with many combinations of things and get creative.
Vinyl cutting
For the Vinyl cutting I decided to make and cut out a logo for the final project.
I made the logo in inkscape because I had connected the I in void and H in phone I needed to fix it so it would not cut through
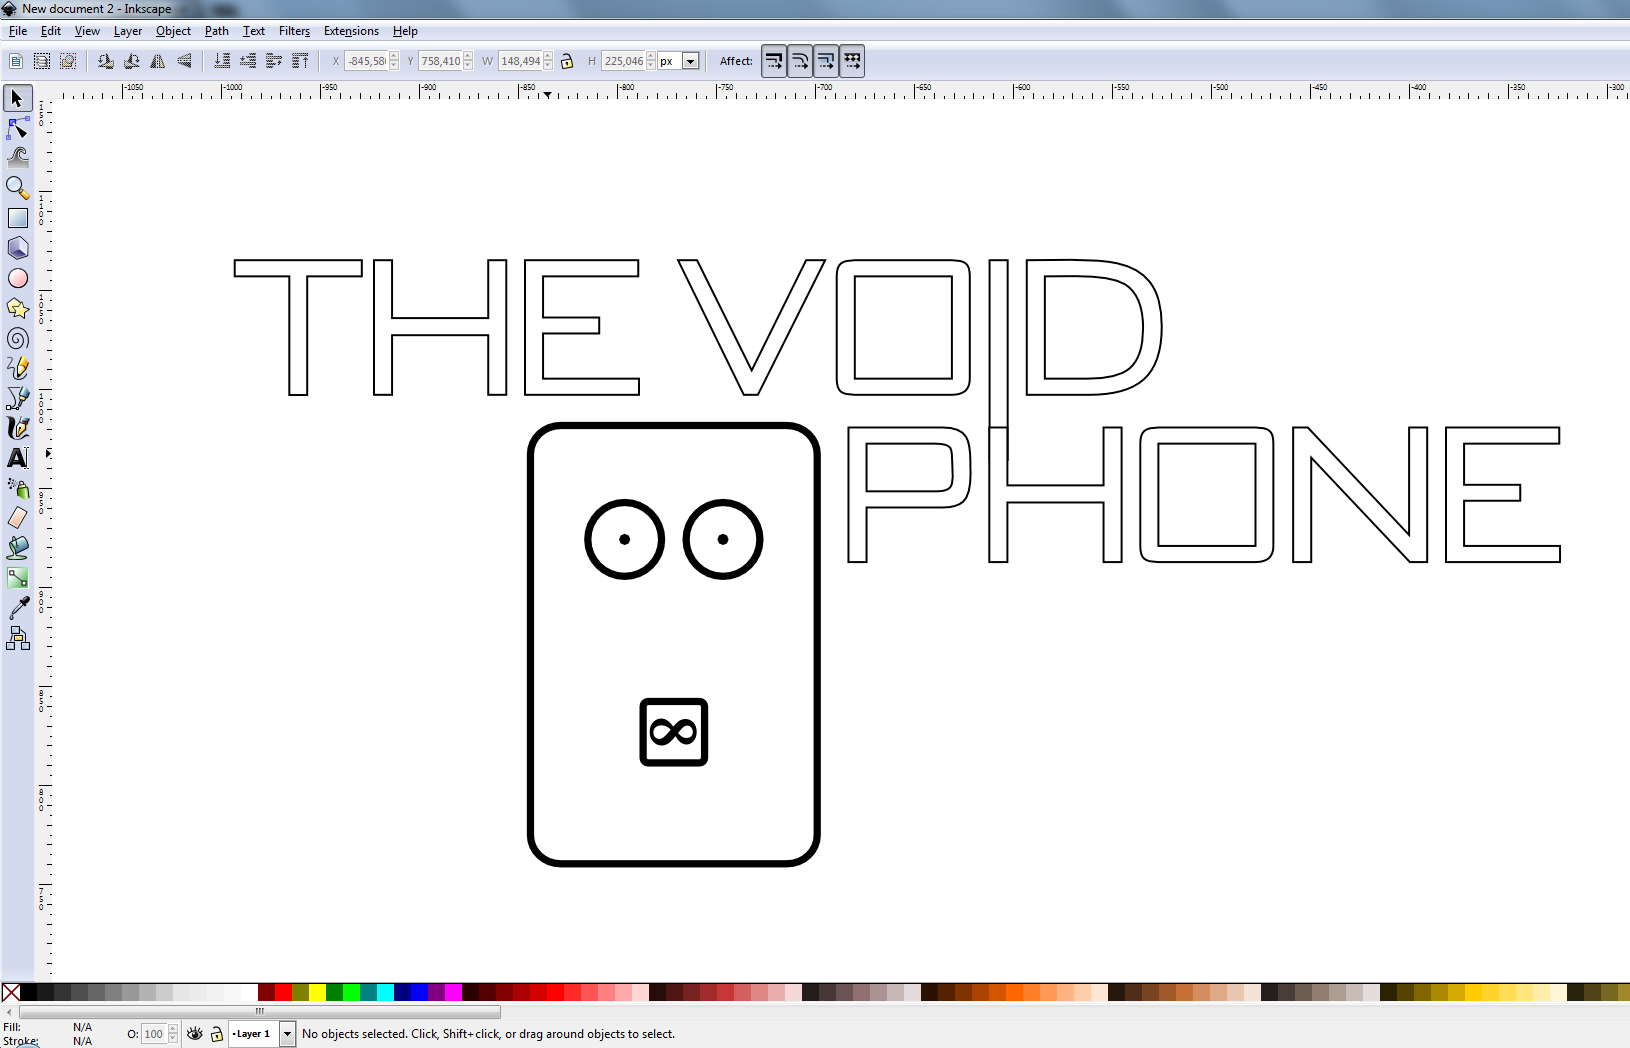
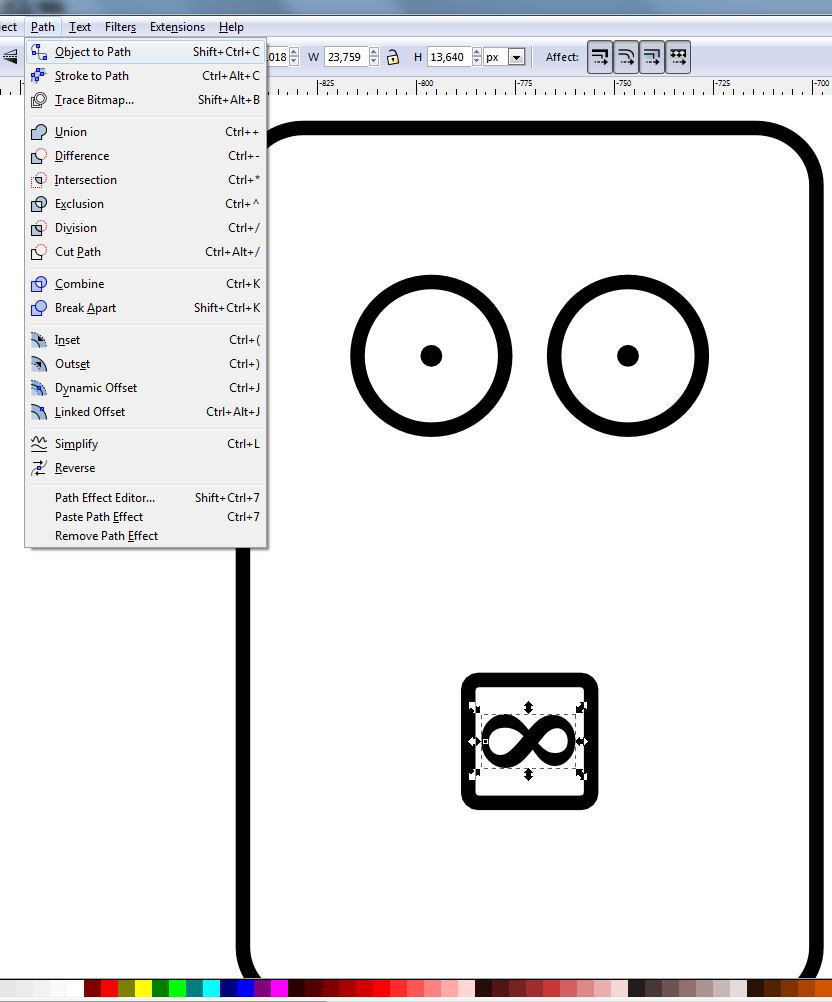 To change the text to path I used the object to path tool
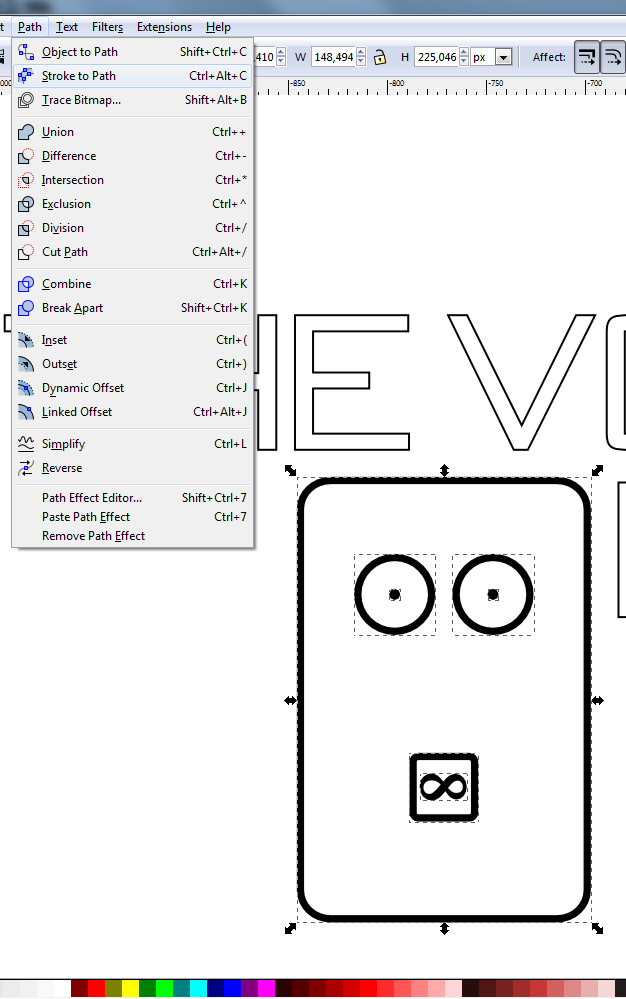 I use stroke to path to make it cut in the edge of the line.
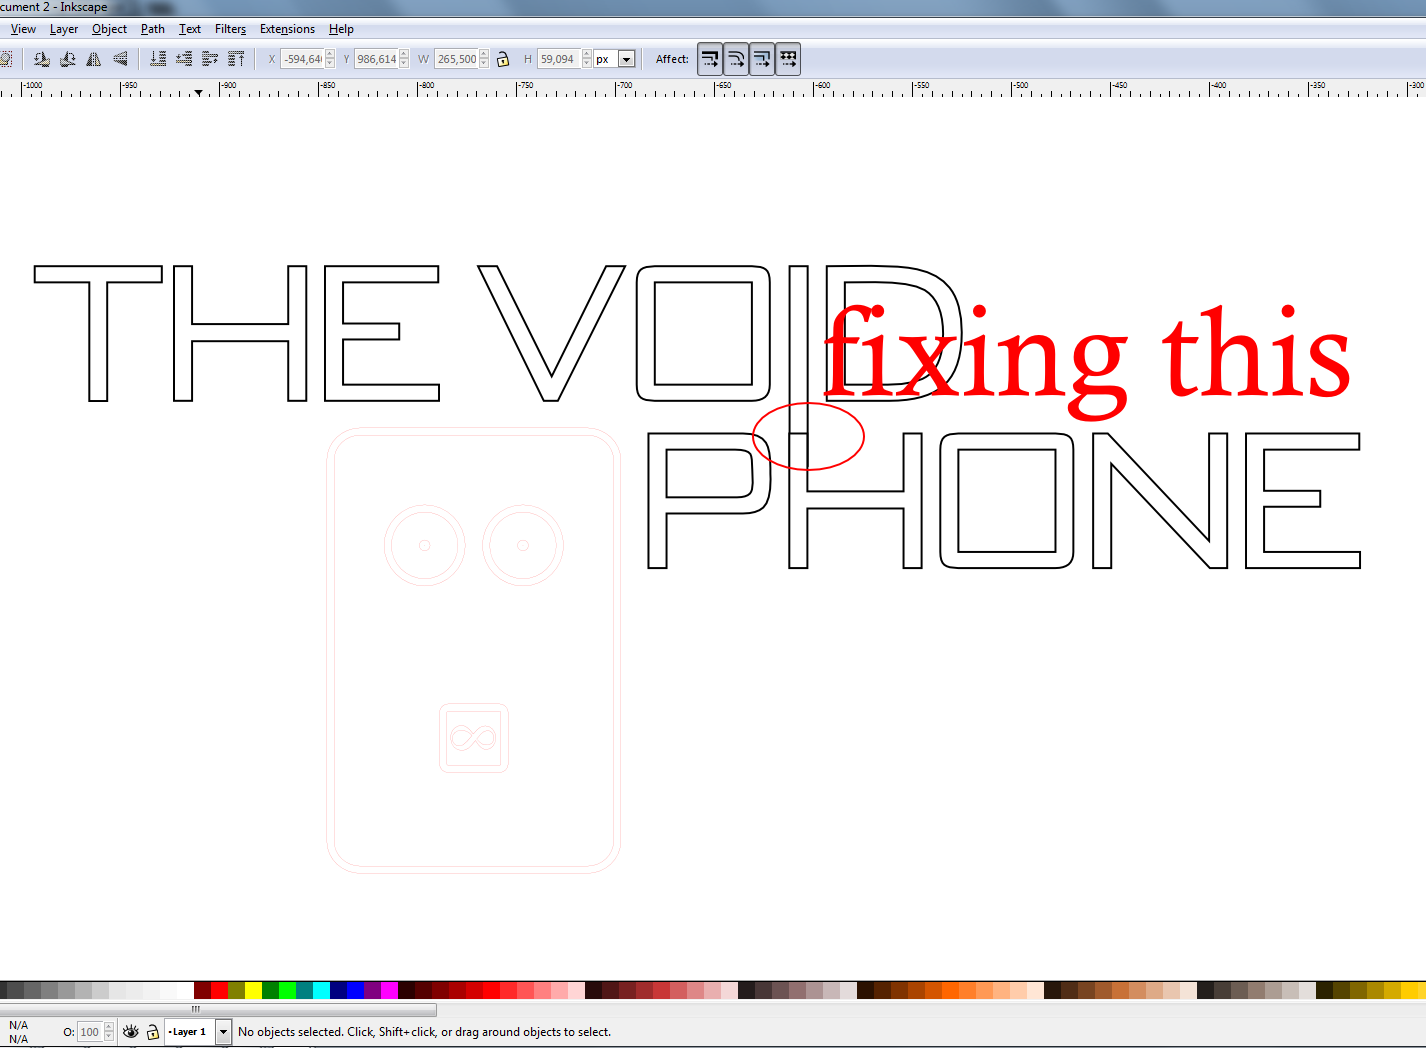 This needed to be fixed so it would be one line
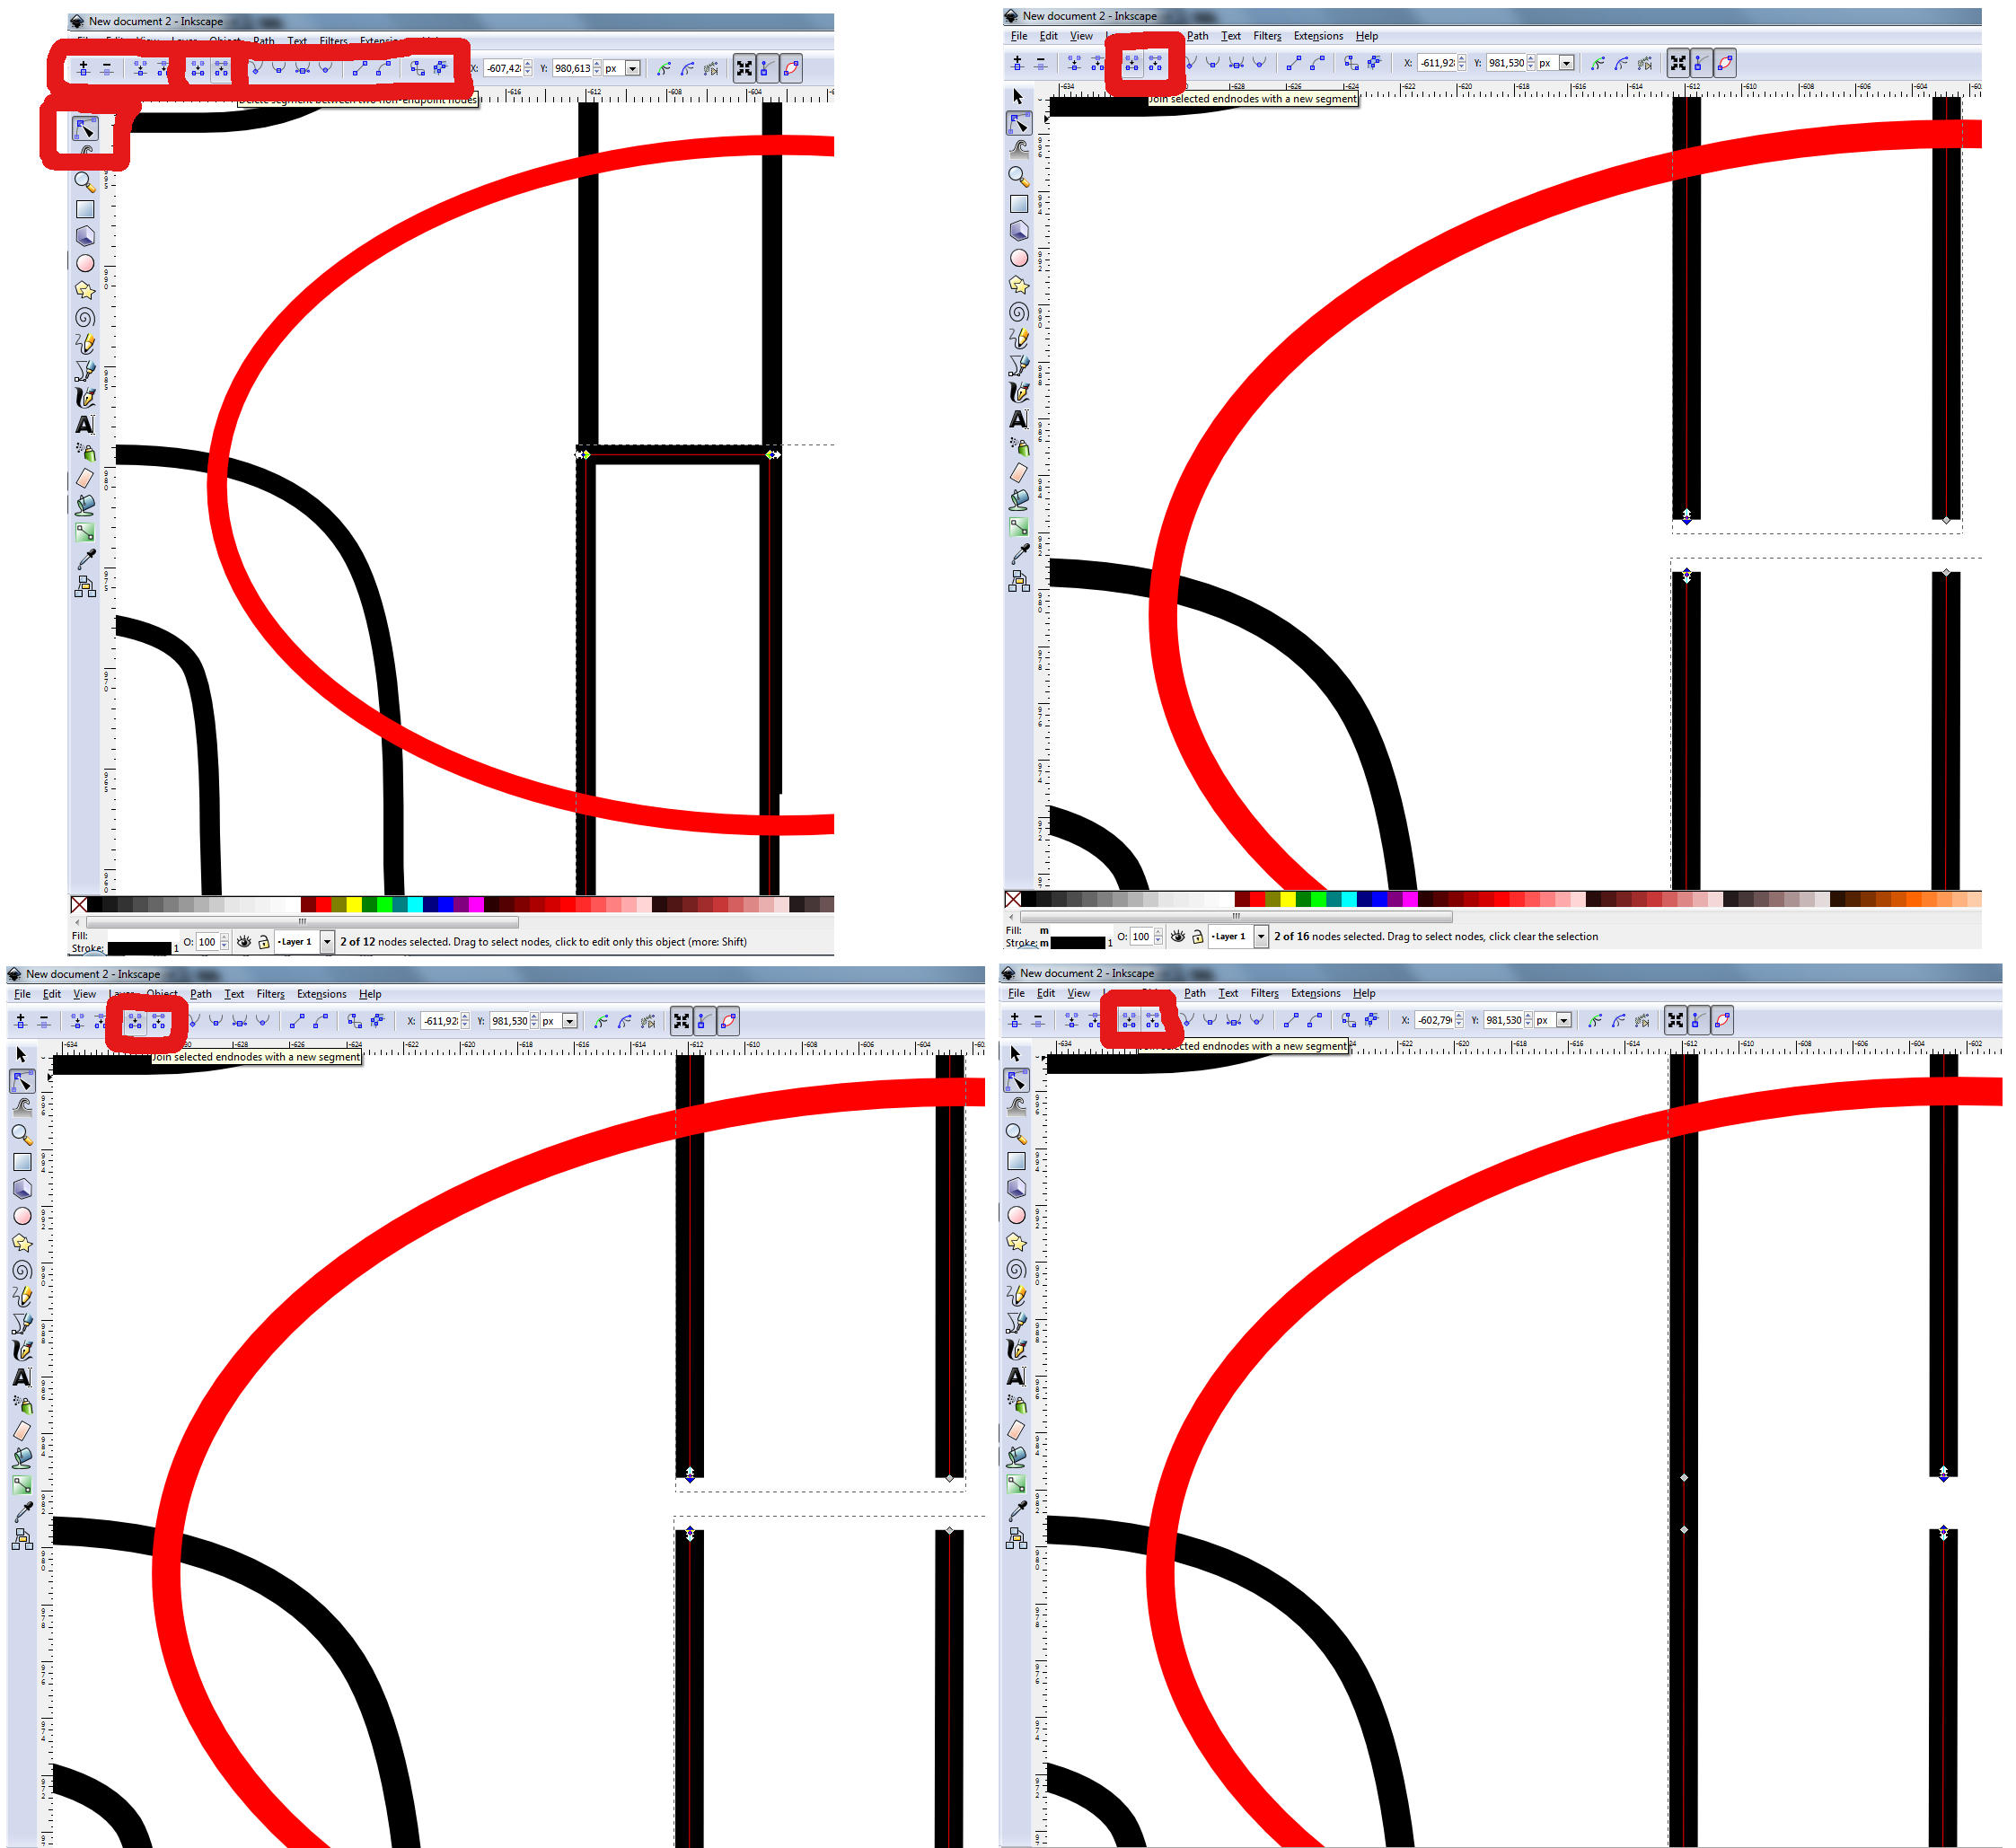 The tool called edit path by nodes(F12 shortcut) is very useful to do this on the top you get the node editing tools.
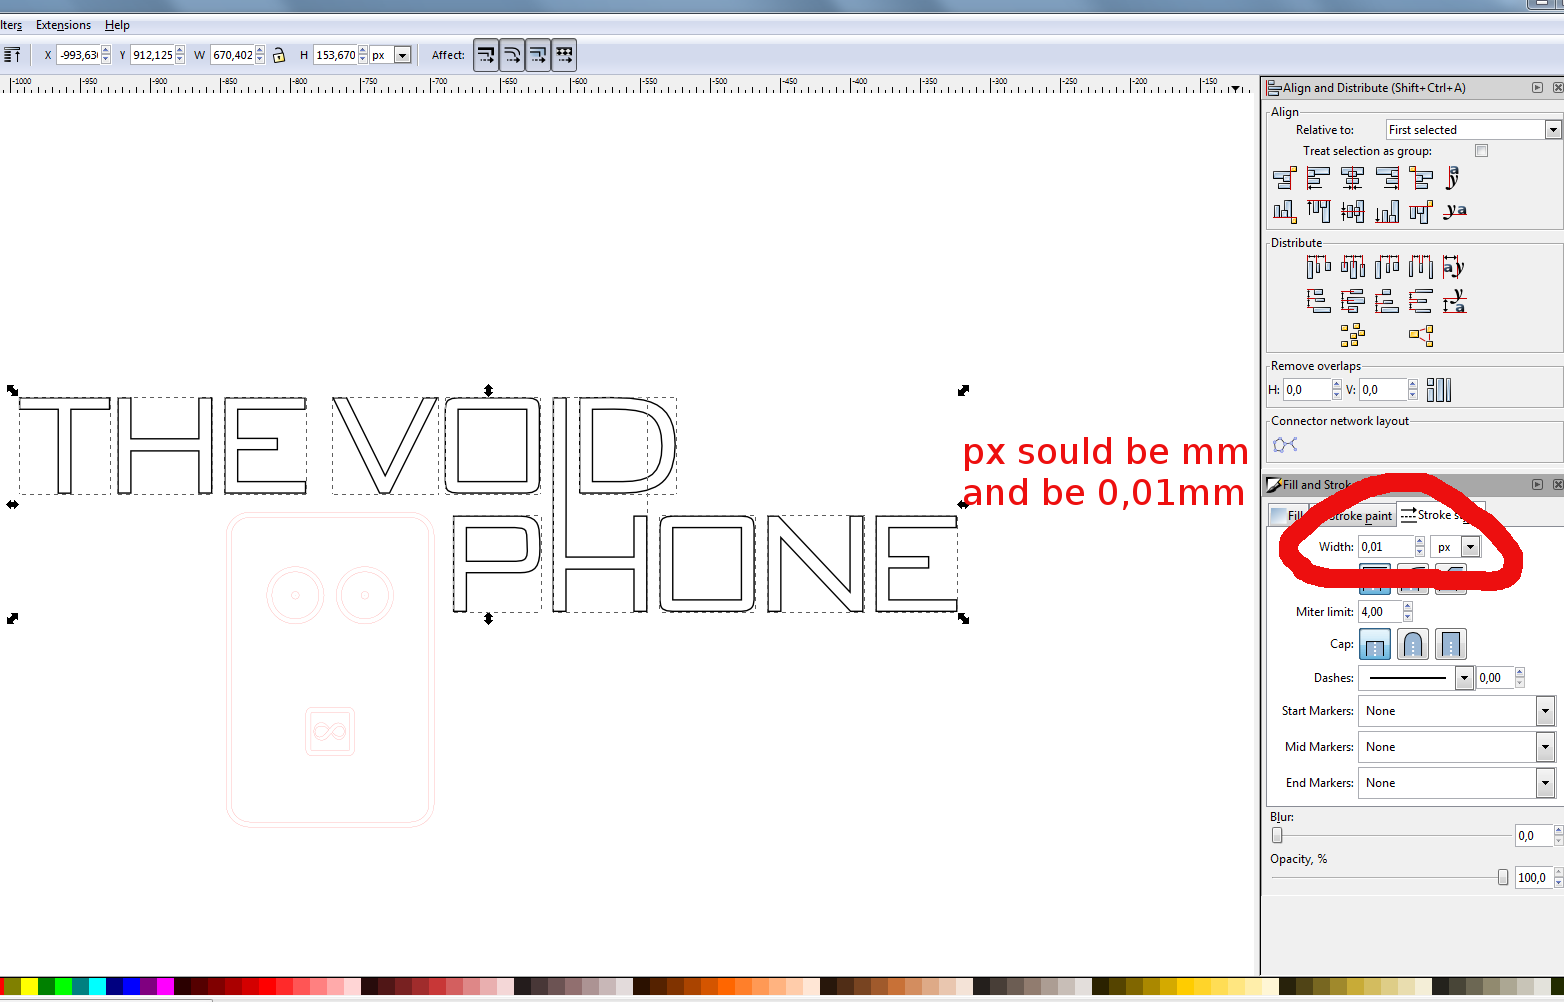 To make the vinyl cut the lines should be 0,01mm
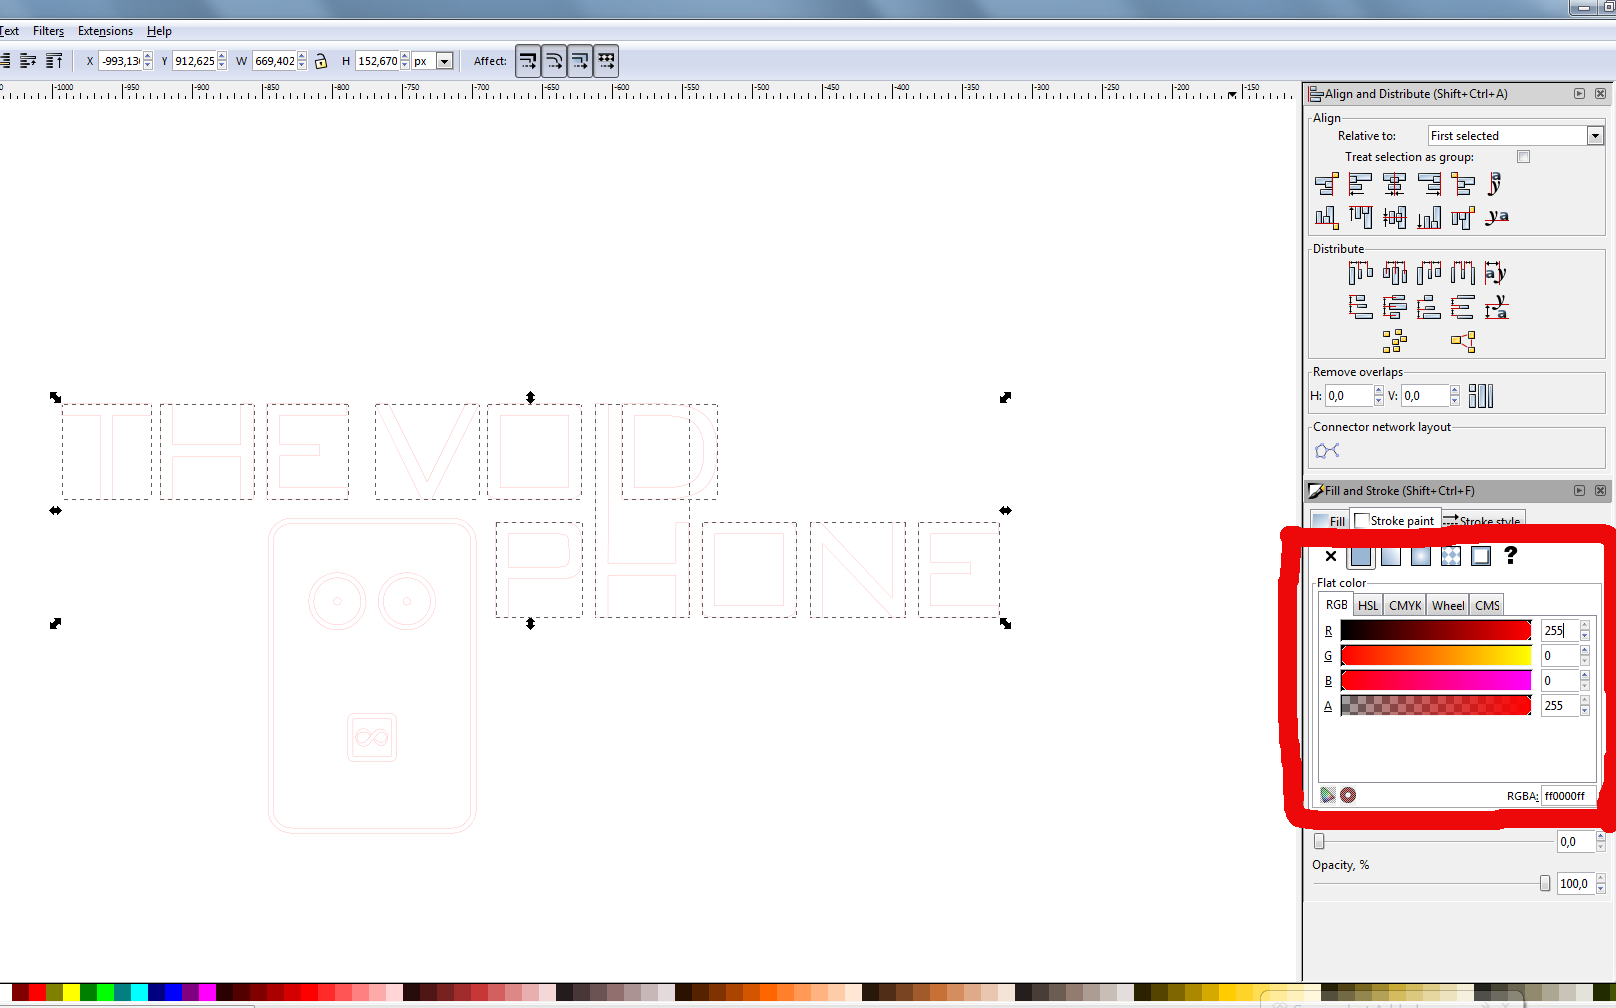 I got in the habit of using red as cut lines I have also seen blue used for cut lines. It is important to make the color value at max 255
 The lines will be barely visible at 0,01mm but you can see them when you zoom in. On photo above I am adjusting the size you can pick a couple of units I usually use mm. It's important to press the lock button between the values if you want to keep the aspect ratio.
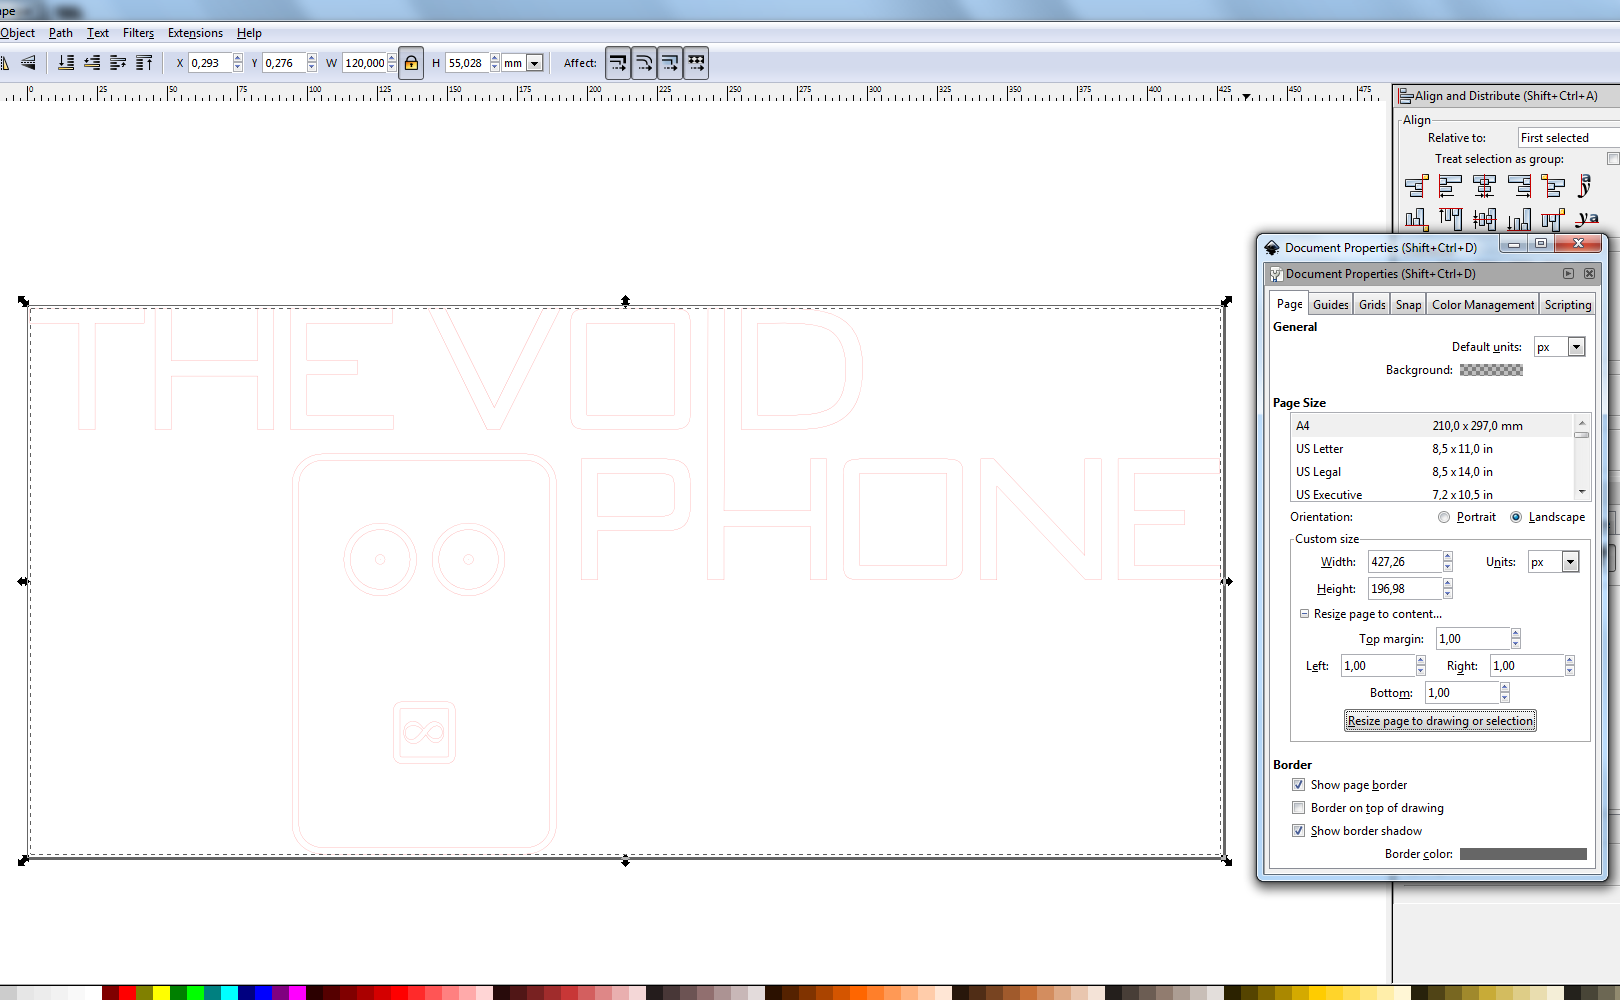 In document properties you can make the page fit the selection you have i added a little bit of margin around to make sure the cutting lines are in the file.
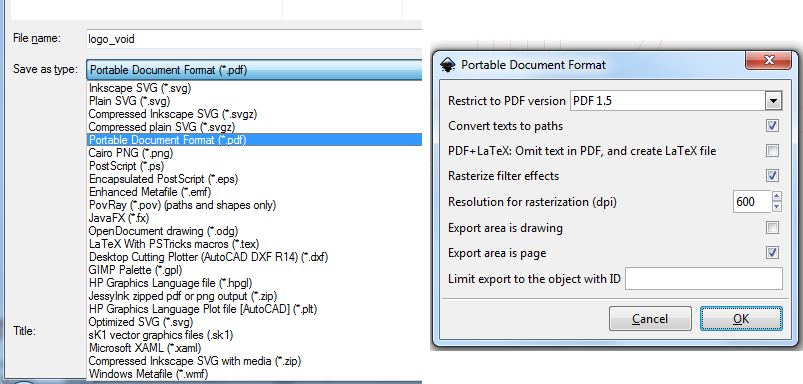 The files was saved as .pdf when you press save you will get a option box.
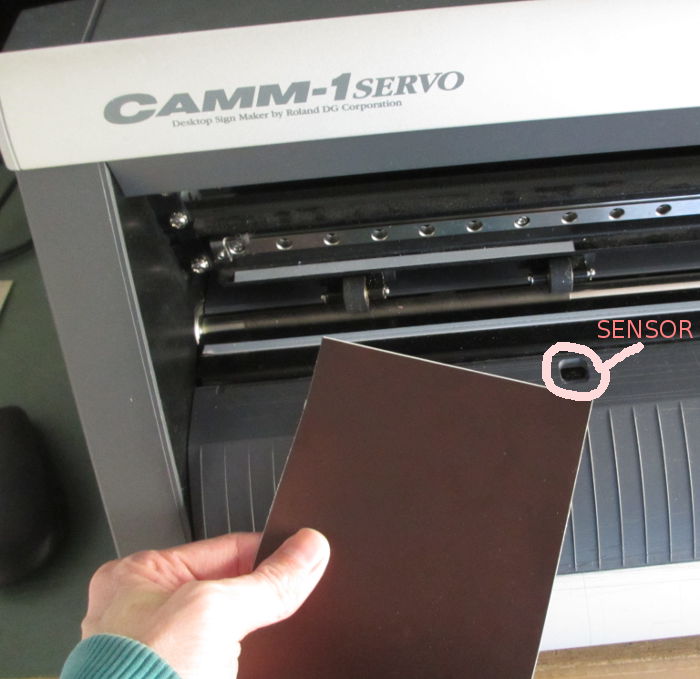 when using the machine you have to sure that the material is over the sensor and that the wheels are in the white area on the rail.
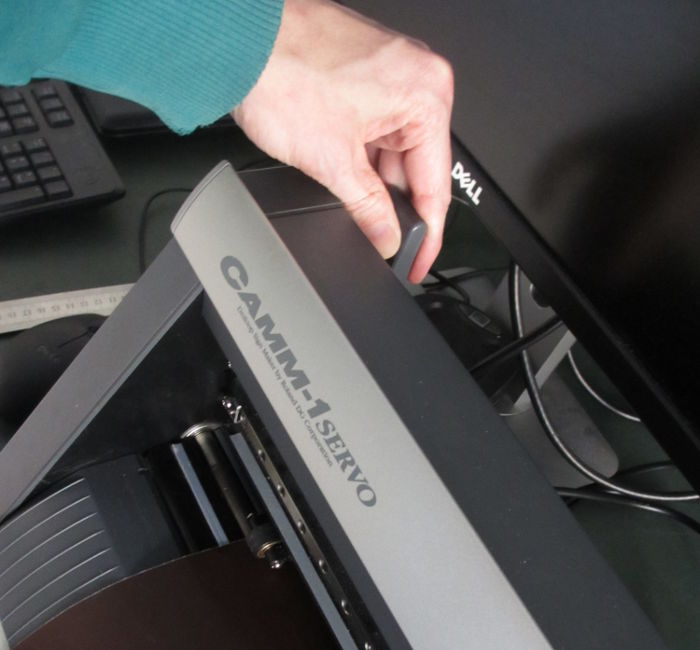 Here is the lever you use to clamp down the material.
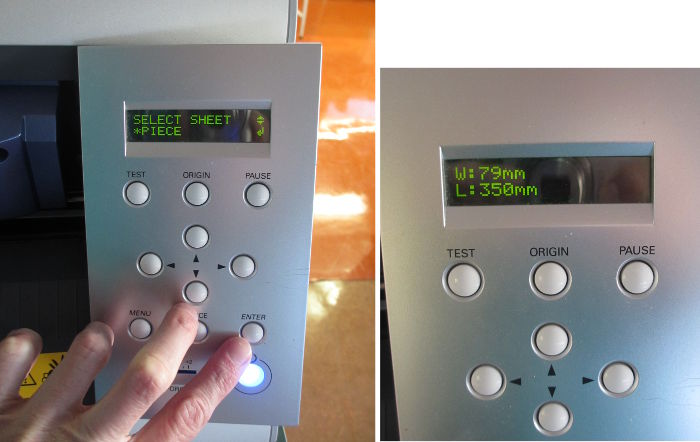 When you turn on the machine you have three choices roll, edge and pies, I used pies. You press enter, then it will measure the material and put the values on the display.
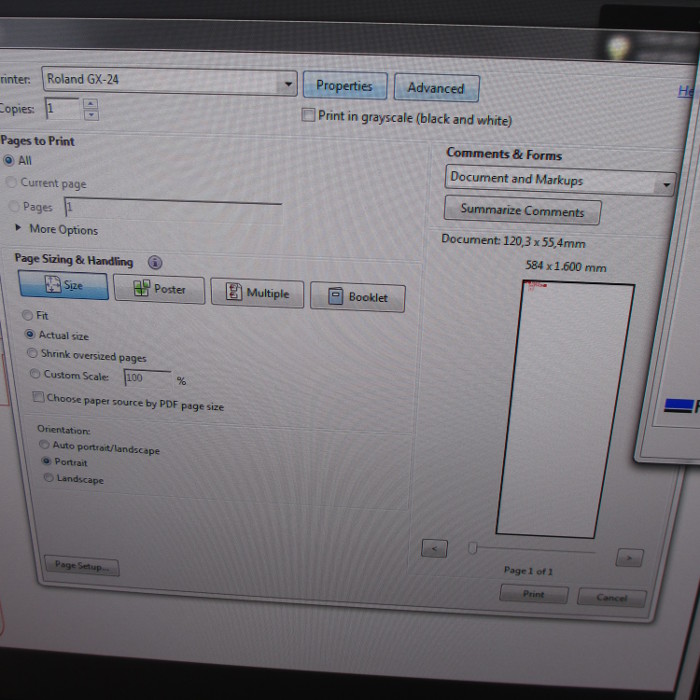 Then you open up the .pdf file and go to printing option there you pick the roland machine and go to properties.
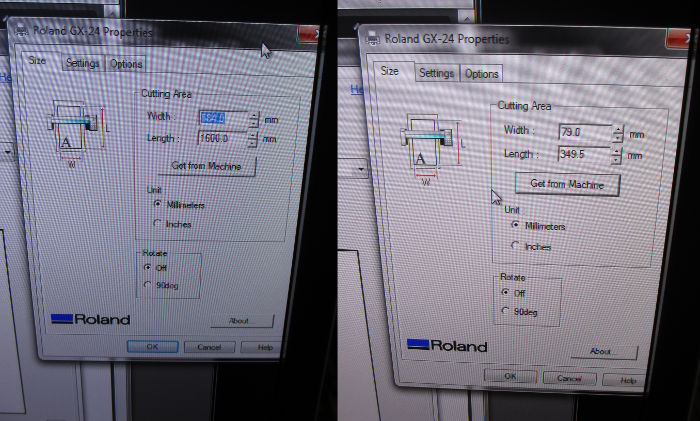 In the properties menu you press "get from machine"and the pc will get the value that the machine has measured.
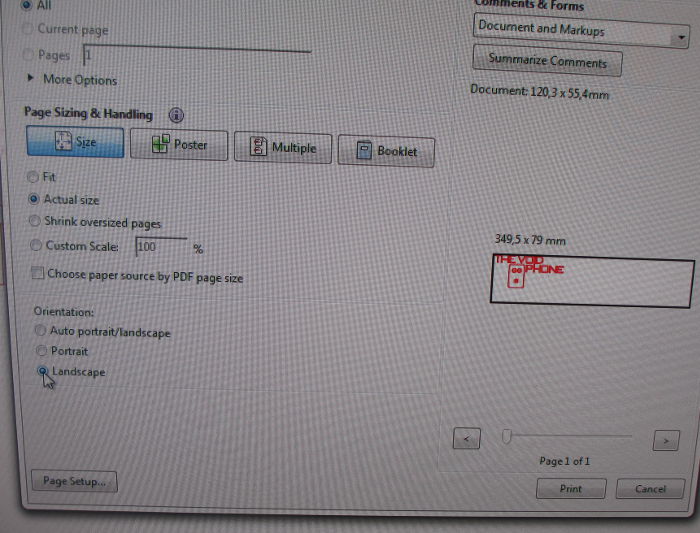 make sure that you have actual size check. In my case I had to turn the file 90° so it would fit the material
 then you press print and be aware that the machine starts straight away cutting.
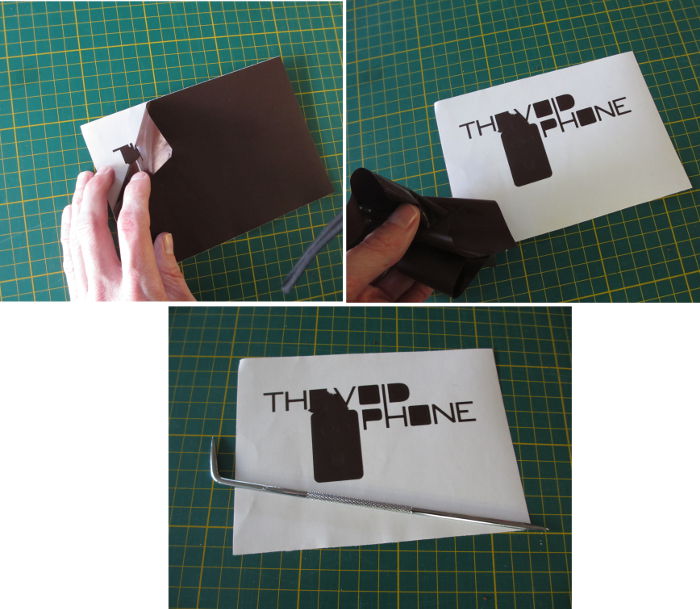 then you take of the material that you don't plan on sticking to the surface. I don't know the name of the tool on the photo but it worked well.
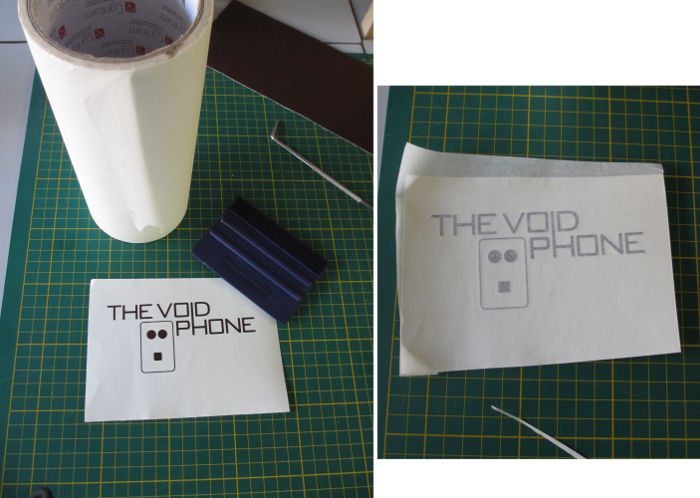 next you apply the transfer film, the purple tool on the photo works very well but you can get by using something similar like stiff and smooth plastic.
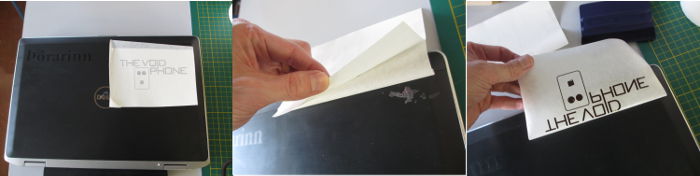 there are a couple of ways you can apply the vinyl on the surface depending on the job. Since it was a small sticker I fastened it on the top then peeled of the cover film and then pressed the transfer film evenly down from the center and out.
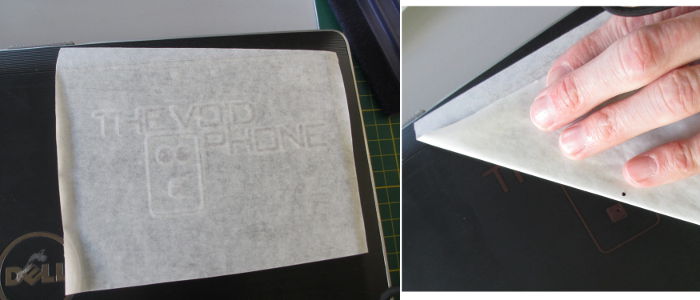 then you peel the transfer film of and the vinil sticker is left behind
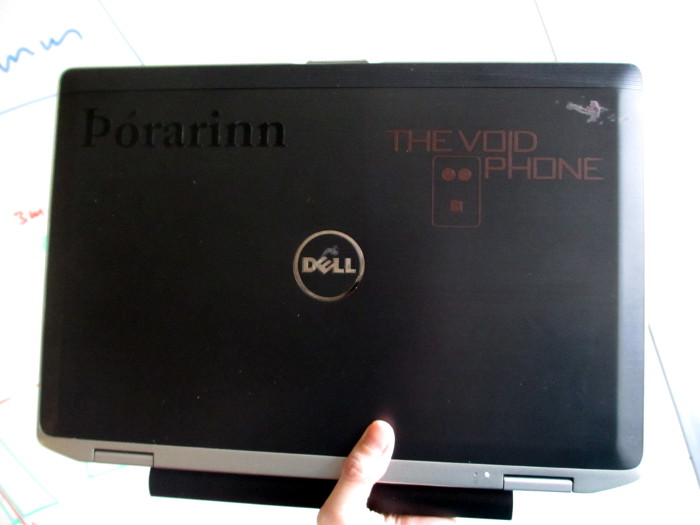 the end result looked ok, some of the details were too small so I did not remove them.