
3D Scanning and Printing
The Material
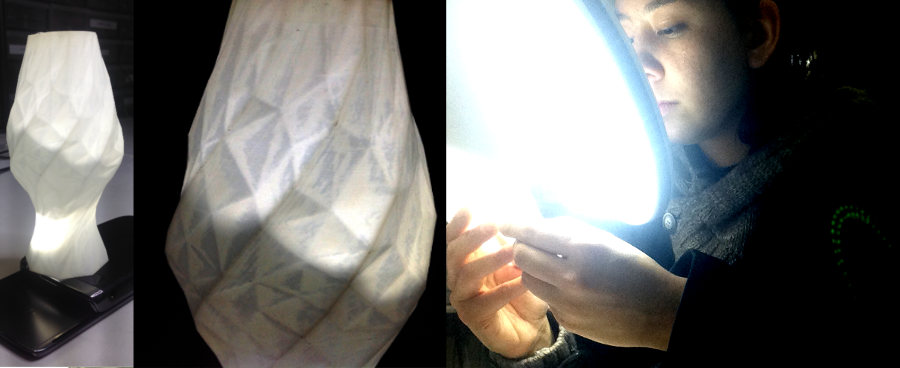

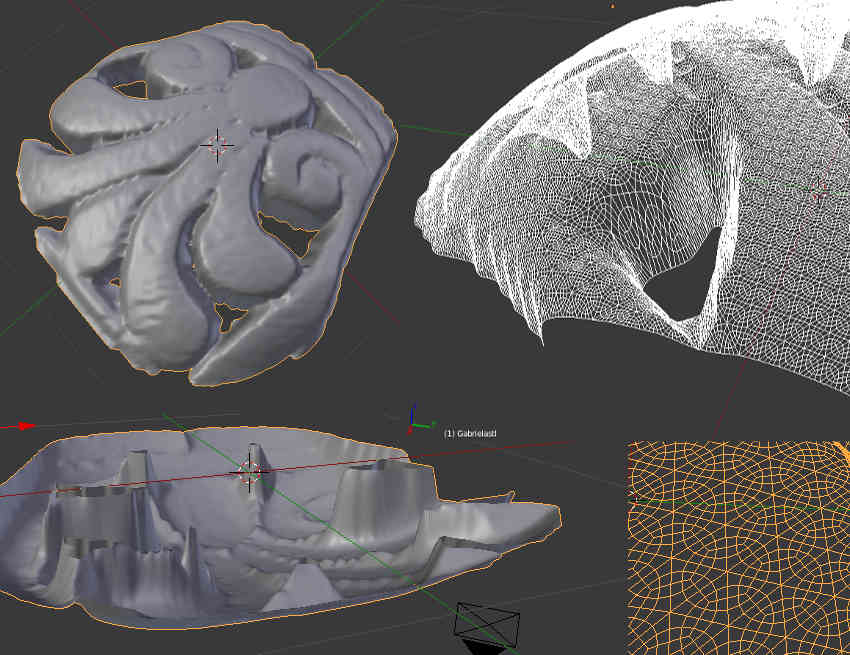
First thing I study the materials of the 3D printers, the patterns that are possible. If I export a file made in a 3D program like Blender, Rhino or SketchUp it will create a triangular mesh i.e. the surface will be made up of triangles, as you can see in the first image.
3D Modelling
I went to see some friends last week and there just so happened to be someone making a clay head of his model.... I asked the sculptor.. "How do you do it? How do you think in 3D?" He told me "If you want to think in 3D, best with your hands. So I bought some clay, and started to do some maquettes. Interestingly with a clay head model it is surprisingly easy with two dextrous hands working in symmetry. I have not found a machine that works like that yet.
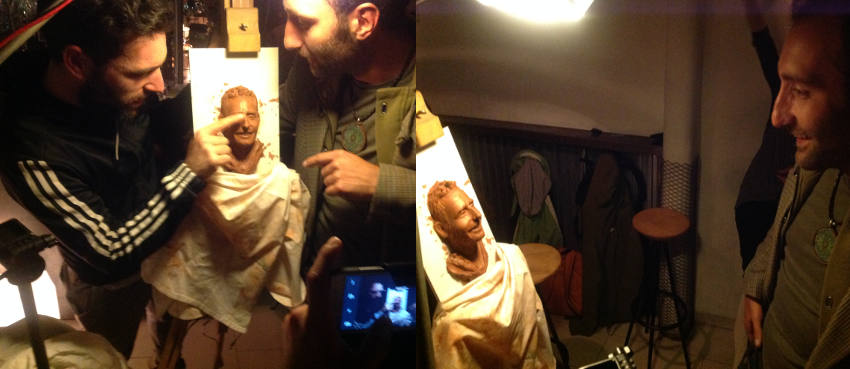
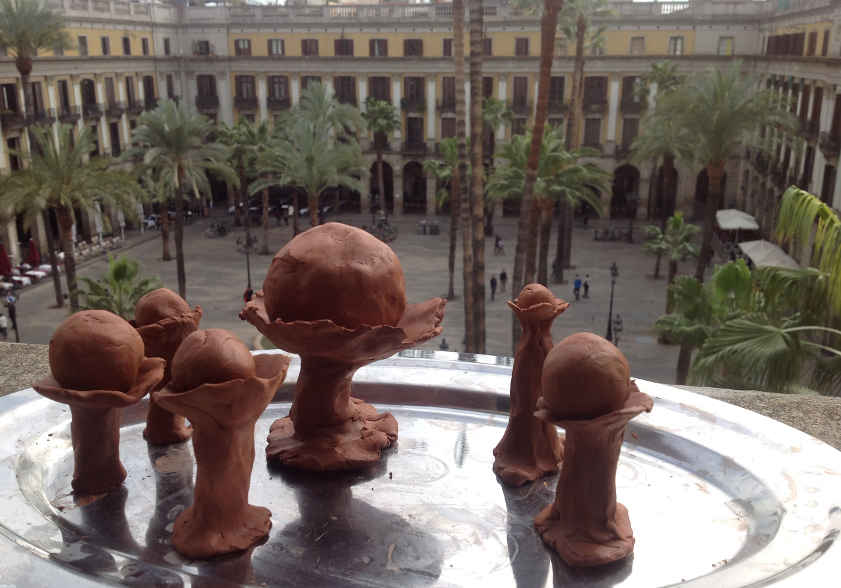
I bought some clay and started doing my own clay modelling.
Preparing the 3D Object for Printing
Gif to Stl
As I have quite a few gifs already I really want to convert one of them into a 3D file. So I downloaded
Fab Modules I had first mistakenly downloaded the web version and then when trying to run Fab modules kept getting Error missing ws. Ws for Web Server because it was the web based version.
The gif to stl function was only available on the commandline. N.B Use gif_stl NOT make_gif_stl command ( for some reason there are two but only one works.)
This is what I did on the command line:
$ gif_stl ~/Desktop/PLT.gif ~/Desktop/PLT.stl
command input.gif output.stl
For the command to work well I make sure:
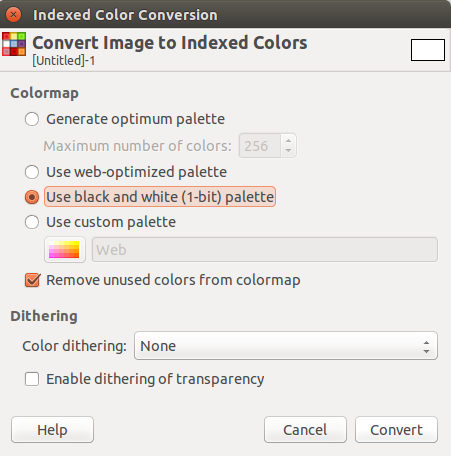
- all the images to make the gif are 1-bit. I do this in Gimp -> Image -> Mode -> Indexed .
- And do not have an Alpha channel.
I could not figure out how to make batch edits to all the photos in my gif... so I changed the images one by one. Afterwards we found the plug-in Bimp to do batch manipulations

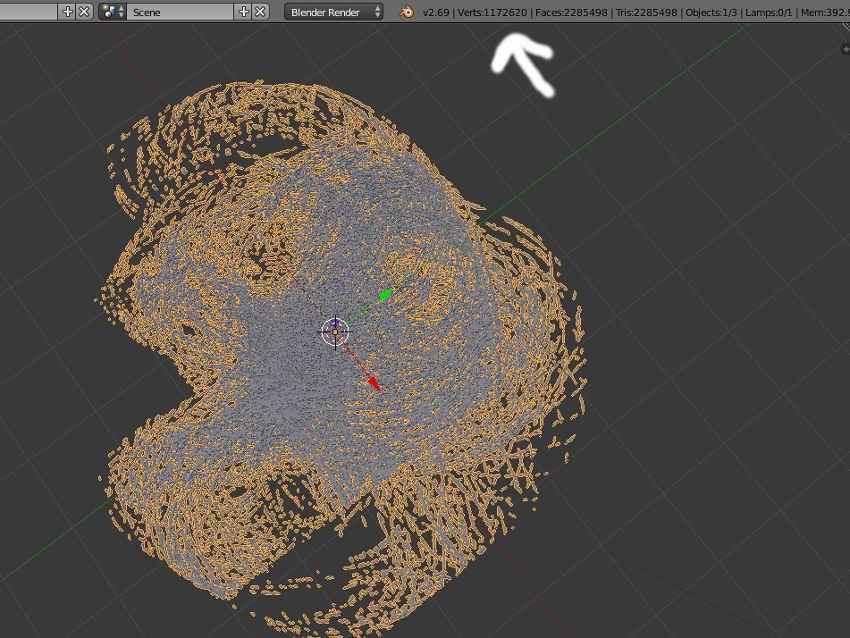
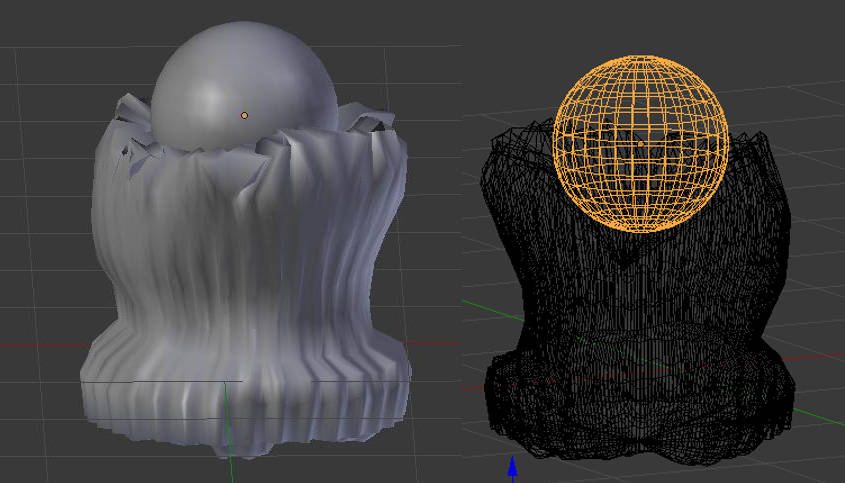
I successfully converted the gif to stl and imported into Blender. However there were way too many vertices making it virtully impossible to work with it on my laptop as it slowed my whole system down. In order to create less vertices I reduced the number of pixels of my input gif. Instead of a gif of 1024 x 768 pixels, I reduced the size to 100 x 75 pixels.
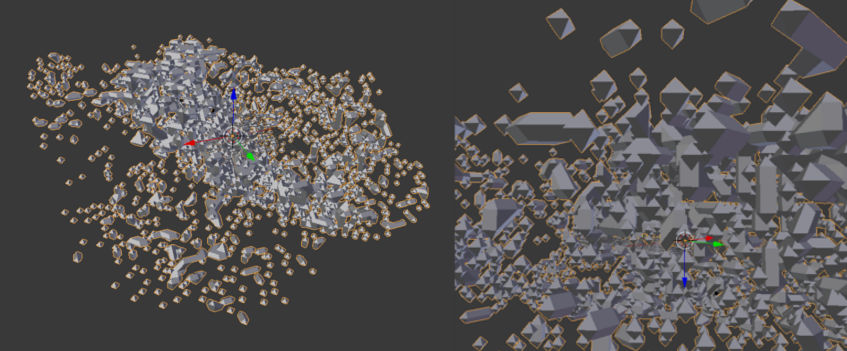
Once I had my stl file I had to make sure that the object (or objects in my case) were solid because 3D printers cannot print faces they can only print volumes
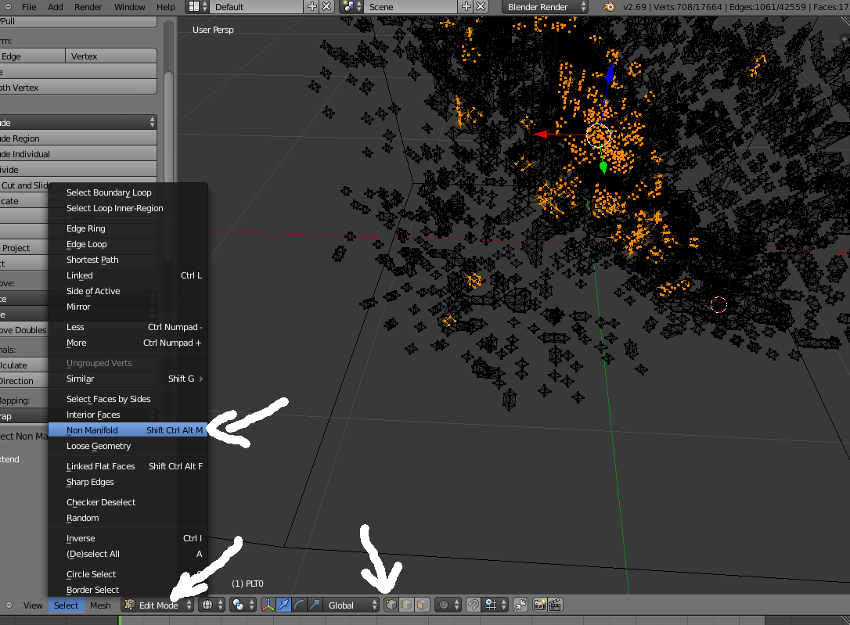
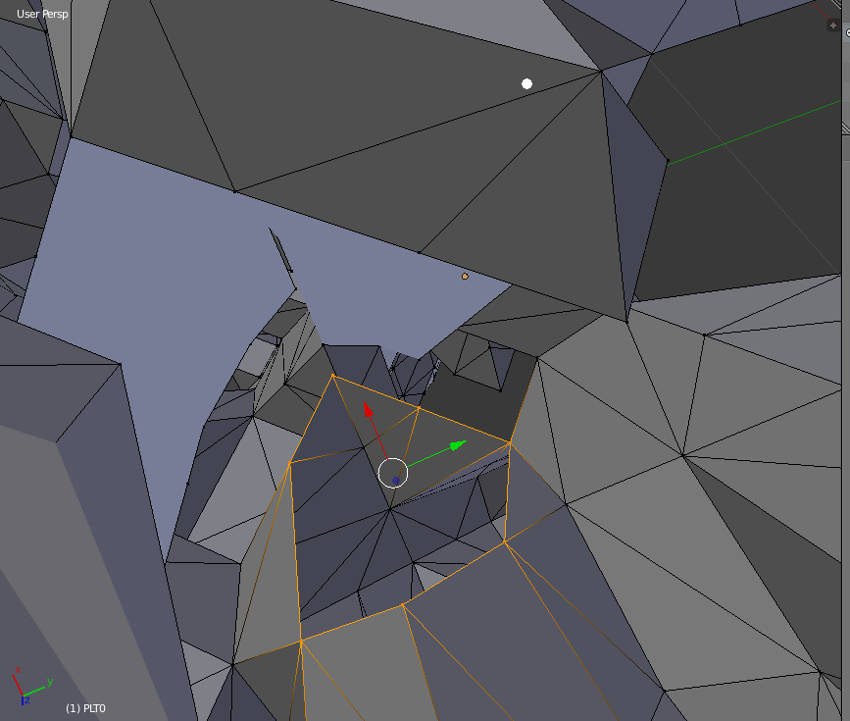
Once I had the problem areas located I had to solve them. This involved deleted faces and/or creating new faces:
- using vertix select and f - key to create a new face between selected vertices
- x - key in face select to delete faces
- . - key to zoom to the point
- l - key to select all linked vertices to problem vertix
- Cntrl i to invert the object and just view the problem area
- Alt h to show all objects again
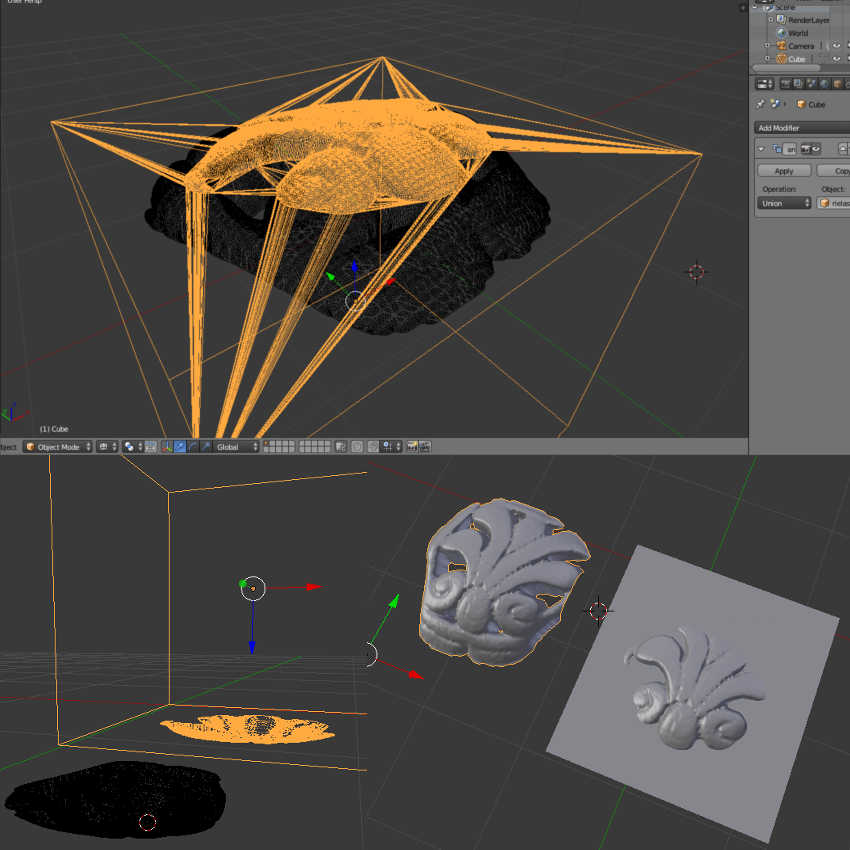
Once I had my objects solved I thought it would be too complicated to print on the 3D printer. So instead I want to make this objects negative space and cut it out of a cube. To do this I need to use the Boolean Difference Modifier.

How to make a Boolean Difference in Blender:
- In object mode select object that will be cut i.e. the positive volume
- Add Modifier in right hand window
- Select Boolean
- Select Operation: Difference
- Select Object that you want to do the cutting i.e. that you want to be the negative space
- Click Apply
- In the graphics pane move your object to reveal the cut out forms
I tried to print this but the negative space inside the cube could not be seen by the 3D printer programs. I tried in Cura and Makerbot and it appears they do not see the negative space inside of a closed form. Still you can download my impossible 3D print form here
3D Scanning
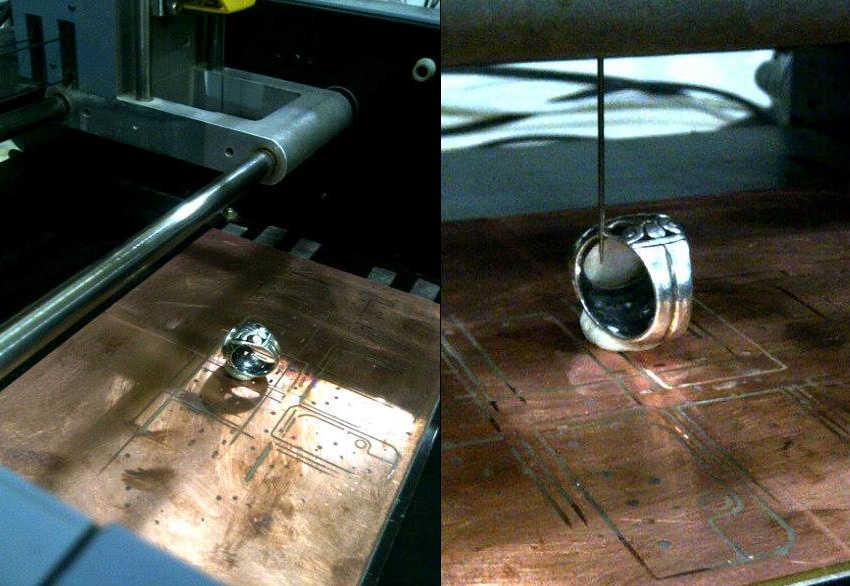
Turns out the Roland is a pretty useful machine. We changed the head so that it now carries a needle with a piezo crystal which is very sensitive. The needle lowers and upon contact with an object records the vector point.
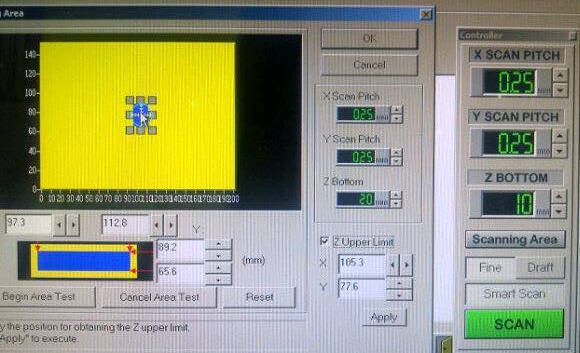
- Define the Scanning area (the blue box) by using the cursor or inputing the x and y values.
- By double-clicking the grey boxes surrounding the blue scan area, you can test where the needle goes.
- Adjust the X and Y-Scan Pitch for the resolution of the image
- Select the cross hair and put in the middle of your scan area
- Double-click the cross hair to check the location and then apply the Z-upper limit to automatically define the Z value of the scan
- Adjust the Z-bottom value to define how far from the bottom the scan will be made
- Click OK and SCAN away
Unfortunately I did not have time to scan the whole object so instead I made a Boolean Union to add my scanned object in relief to a cube which could then be printed
The 3D scan file can be downloaded here
3D Print Take 2
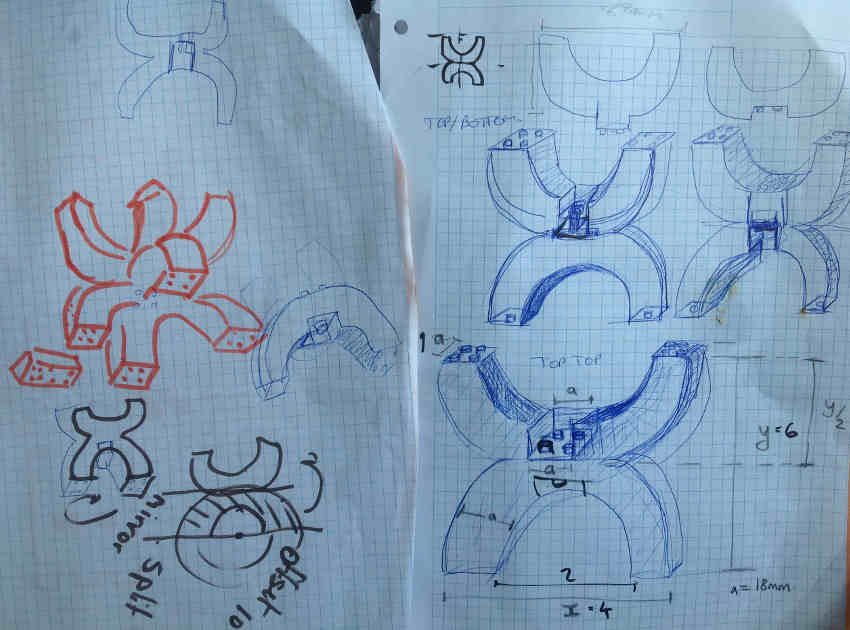
After failing to design something that can be recognized for 3D printing, I started again, this time taking the same form I used in Computer- Controlled Cutting. I designed a modular piece that can be fit into itself in Solidworks. I live very much how solidworks thinks, and would like to continue using this 3D program more in the future.

I used the makerbot to print out the pieces in green PLA. My first iteration had many holes and cyclinders (alike to lego), making it hard for them to fit into each other. I redesigned the piece to have just one hole and cylinder for each joint, for better fitting.
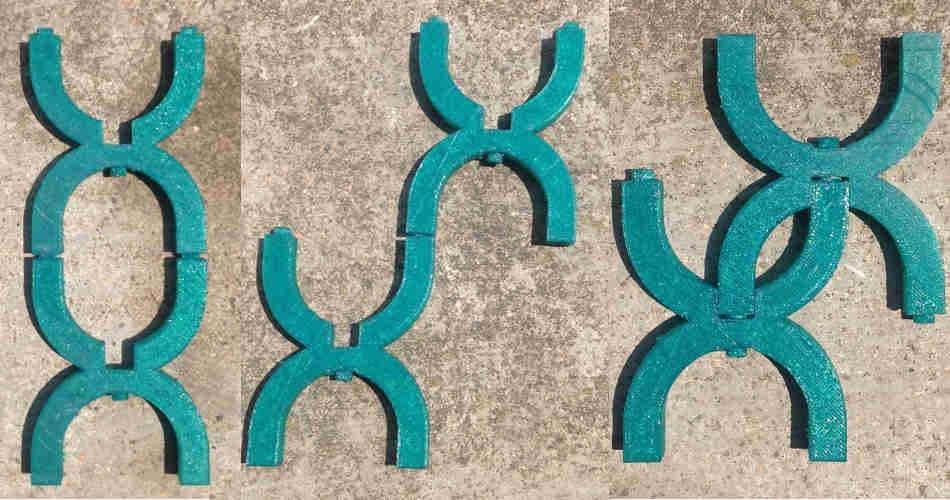
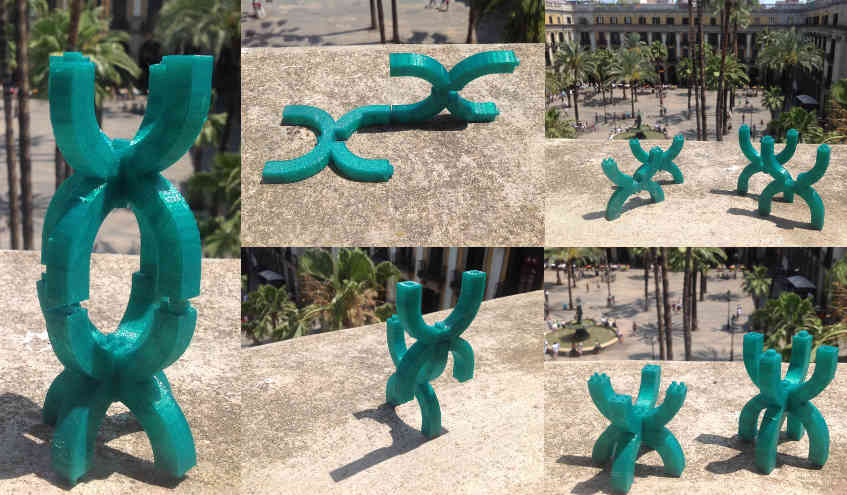
My lego piece can be downloaded here