The Final Project
May 25th, 2011
The Musical Table
This table is a very basic prototype of some of the possiblitities the Interactive Square, our original Fab Academy project, should get. Unfortunately we had some of the, usual, troubles with the electronics so this prototype uses an Arduino Uno chip and a Fluxama Synth Shield instead of our homemade chips.
Production
During the designing and building process of the table, I learned a lot about all the different machines, Open Source Software (I'm really starting to like Inkscape and Blender) and gained some knowledge regarding electronics. I will show you how I made the Musical Table.

The designs for the table where made in Inkscape.
I designed the entire table on paper and in Inkscape. Normally I would use Adobe Illustrator for this, because I have been using it for years now, but it is actually a lot easier to set the right sizes in Inkscape.
We where wondering about the size of the table and decided to keep it small for two reasons: to speed up production and so that we could put it in the kitchen (which isn't very wide).

The designs in PartWorks.
After the designs where finished, I loaded them into PartWorks to create the toolpaths for the ShopBot. It had been a while since I last used it (the Fab Lab Shelve) so Frosti had to assist me with this. It went well with one exception: I put 6mm, the same size as the drill, circles on the edges that where supposed to be 90 degrees because the round drill can't normally cut those. The problem was that I used "Union" on these circles and the edges and PartWorks failed to notice it.
For the second toolpath I drew the circles on a seperate layer before loading it into PartWorks and this fixed the problem.
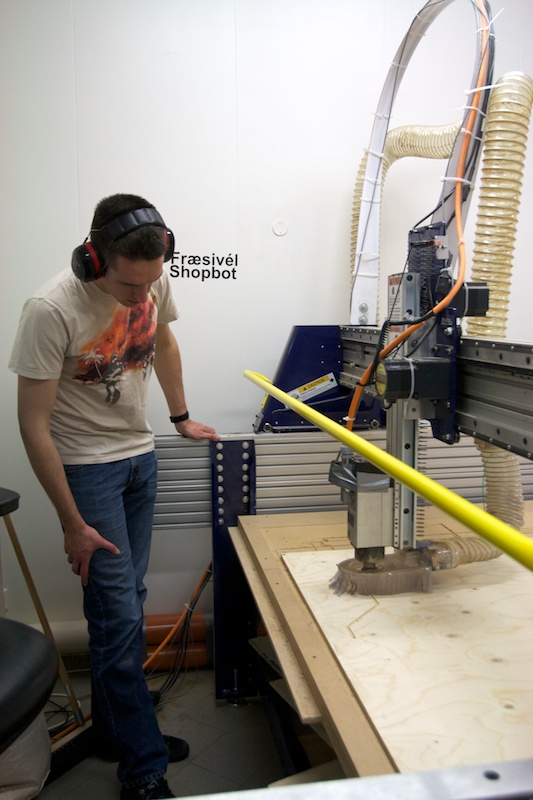
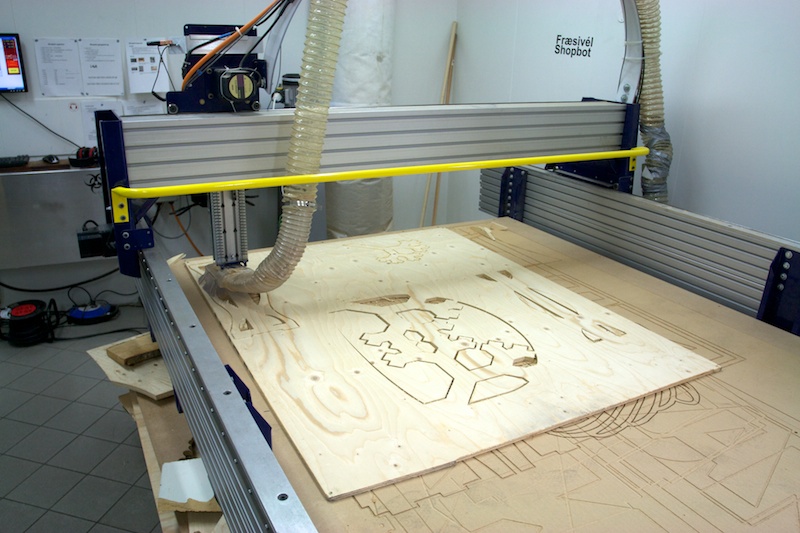
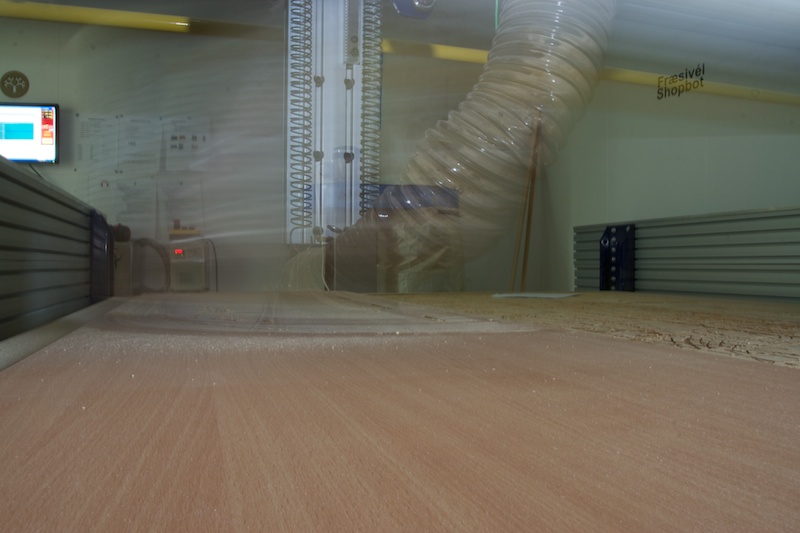

The cutting of the materials.
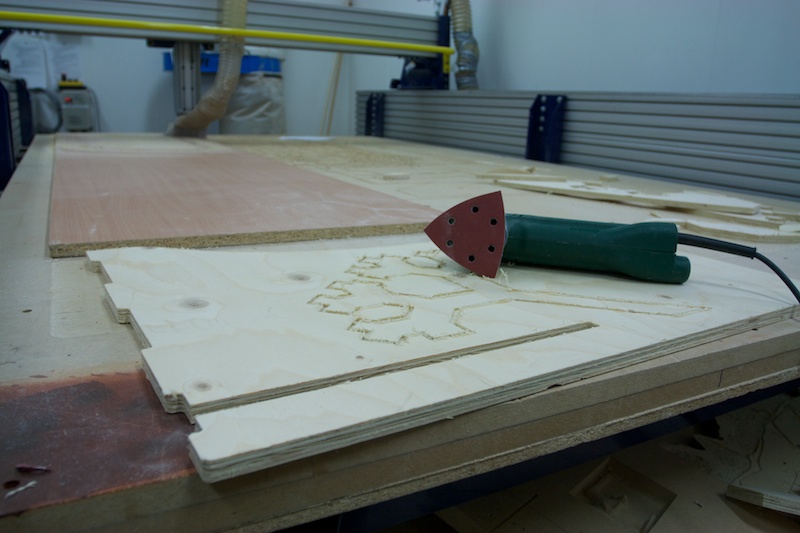
The cutting went pretty smooth. Like I mentioned before, only the 90 degrees corners posed some trouble. I was able to fix that by using a 6mm drill. After that I used a grinder to make the parts fit better and smoothen the sides.


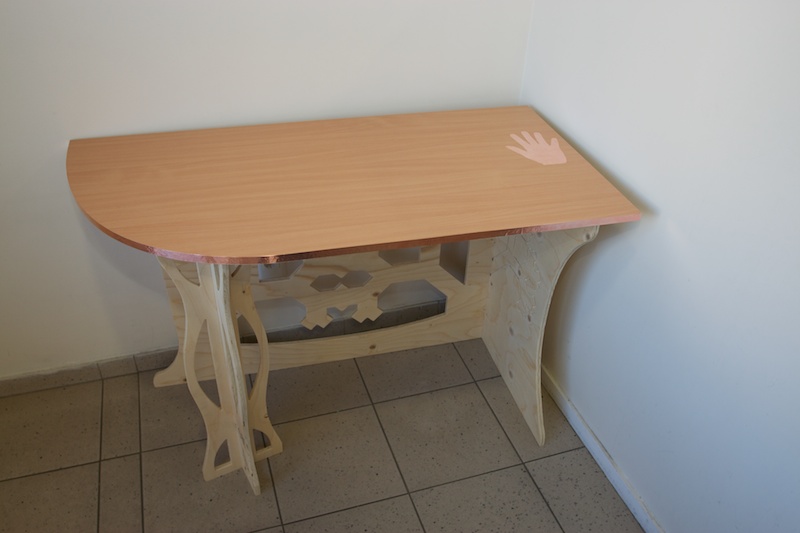
With and without the copper controllers.
I'm pretty happy with how it turned out. The design is pretty simple but not as boring as using regular, straight planks. I also managed to use the Icelandic Innovation Centre's logo in the back without it being too obvious.
Electronics
Despite the fact that we where planning on creating our own electronics, time and lack of knowledge on my part got in the way. That's why we are using the Arduino for the moment, to at least show you a little bit about our planned possibilities.
The person who sits down at the table spots the hand-shaped copper on the table and puts his hand there. He will also notice the copper strip surrounding the entire table.
The idea was that the sound would change wherever the copper ring around the table was touched. By placing your hand on the hand-shaped sticker, it would act as a ground.
At the moment, the tone does not change depending on the location. It just changes when you make contact between the two copper parts.
The Files
If you want to see the files I made for this project, you can see them here: