
Take a Look at the Four Main Sections of This Project
Followe a Git tutorial in order to build my own website
Plan and sketch a potential final project
Use 3D and 2D computer aided design software

Test laser cutter and create construction kit
Final Slide

Final Video
Summary of Project
In this assignment, since I am a physics major, I was searching to find a project that I could not only incorporate what I learned over the past eighteen weeks, but include some knowledge in physics as well. What I came up with was a 3D printed model rocket with an electrical ignition that was designed by me. During the course of the project, I 3D printed multiple parts that would fit together to form a model rocket. When creating this, I needed to make sure that not only did the payload I was planning to insert fit within the specified dimensions, but the parachute, engine, and wadding as well. What resulted was a rocket that might have been a little too heavy, but I just changed what engine I planned on using so that it could get a good amount of lift into the air. I also ended up 3D printing a control box that was fitted with a 4 digit 7 segment display, a piezo buzzer, two LEDs, a keylock switch, a regular switch, and a button. This would serve as the means to launch the rocket in the air.
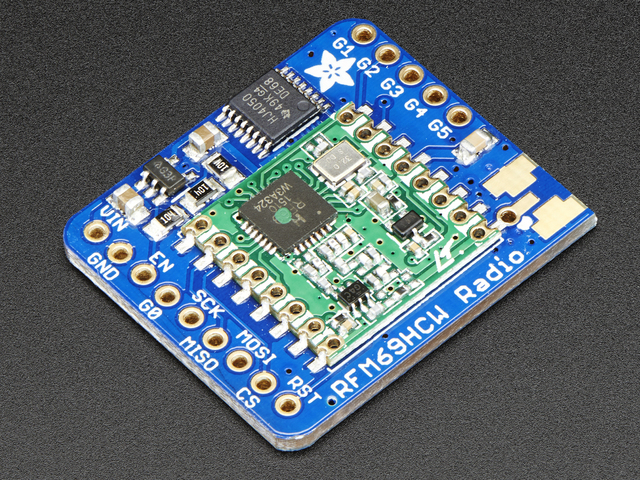
Next I designed and milled out three PCBs that would stand as the basis of the electronics of my project. I planned on using two RFM69 radio chips to communicate data between my rocket, and ground control. Inside the rocket there would be a PCB that contained not only an RFM69 chip but an accelerometer as well. The RMF chip inside the rocket would then relay data down to another board with an RFM chip installed that would relay the data to the serial monitor on my computer. The final board would be stationed inside the launch console and would control all devices in the box as well as the ignition.
Finally I used the vinyl cutter to create some decals that could be placed on my 3D printed objects. In order to contrive some interesting designs, I decided that I needed to come up with a fitting name for my very own model rocket. What I came up with ended up being known as the “Polylactic Phenex”. I then proceeded to cut a phoenix design and I ended up situating it on the control module.
Licensing
The license that I ended up going with was the Attribution-NonCommercial 4.0 International (CC BY-NC 4.0) license
Previous Weeks Where I Worked on Final
Check out Week 10
Check out Week 12
Check out Week 16
Check out Week 17
Work Done by Others
3D printing model rockets is no new thing and has been done by many people before me. Some projects that have been done before that have inspired me is an Arduino controlled rocket launcher which can be found here. As well as another stand that collects data on thrust and other values that can be found here. One of my physics proffesors, Prof. Goodman, also had a project similar to what I'm doing. His github can be found here.
Links
Link for the Slide
Link for the Video
Othe Files can be found in the specified sections above