8. Computer controlled machining
This week I made my very own piece of furniture using the infamous ShopBot.
Individual project: make (design+mill+assemble) something big.
Designing
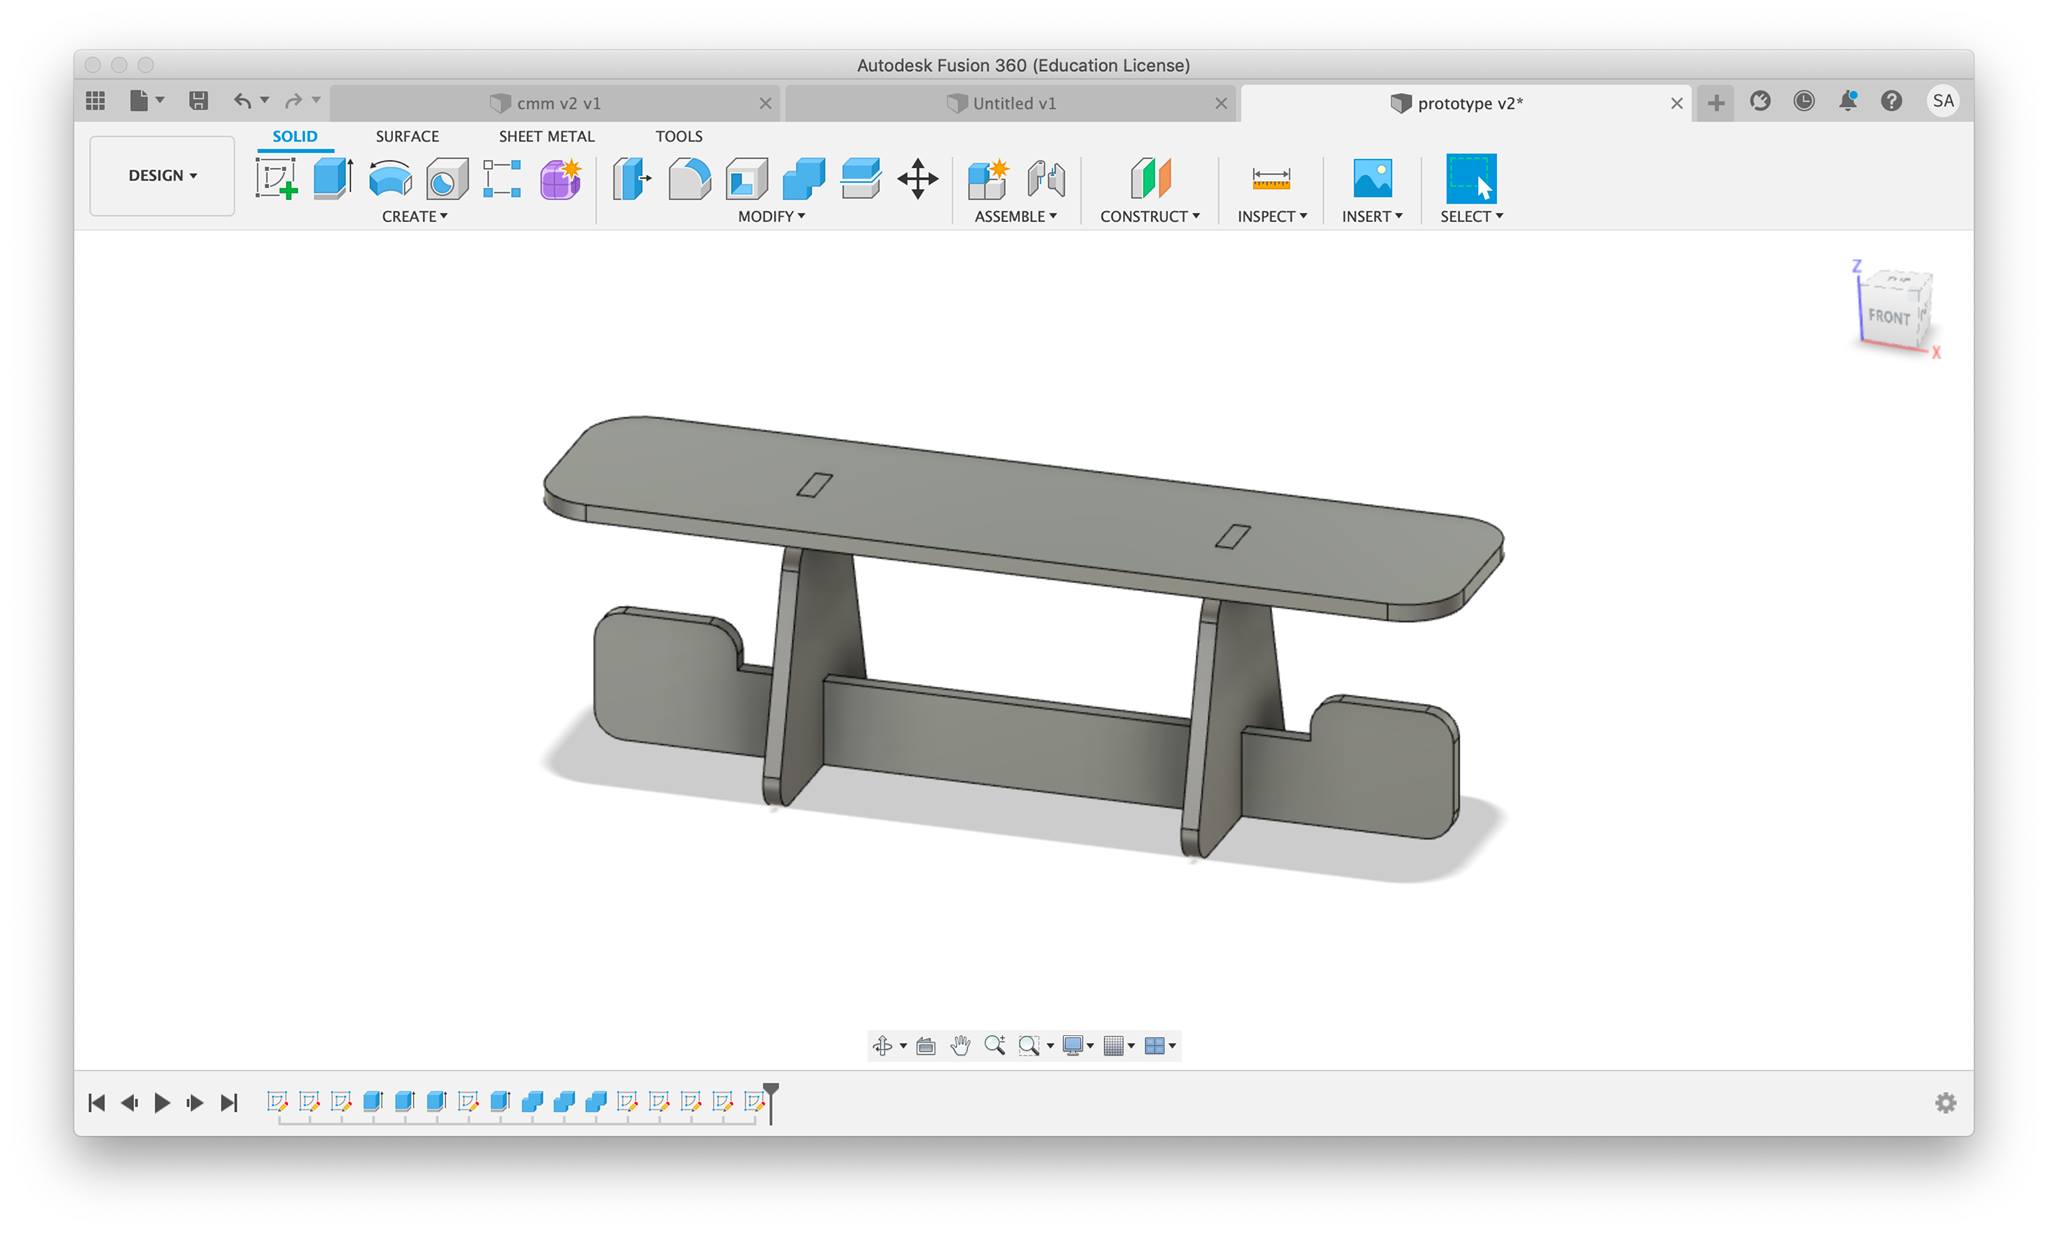
By now we can notice a pattern, every weekly assignment starts with designing, and I am not sure why that was surprising to me although it was quite obvious from the start. I launched Fusion 360 as it is my favorite 3D software yet, and started brainstorming ideas. When I think big and wooden, I instantly think furniture. Besides, I love tables! I have a weird obssession with tables, and its crazy that I could design my own this week.
I started off with a couple sketches, some inspired by the layer chairs online, and some bubbly ones that fit the trendy y2k aesthetic thats been everywhere the past few weeks. Below are the ones I’ve come up with:
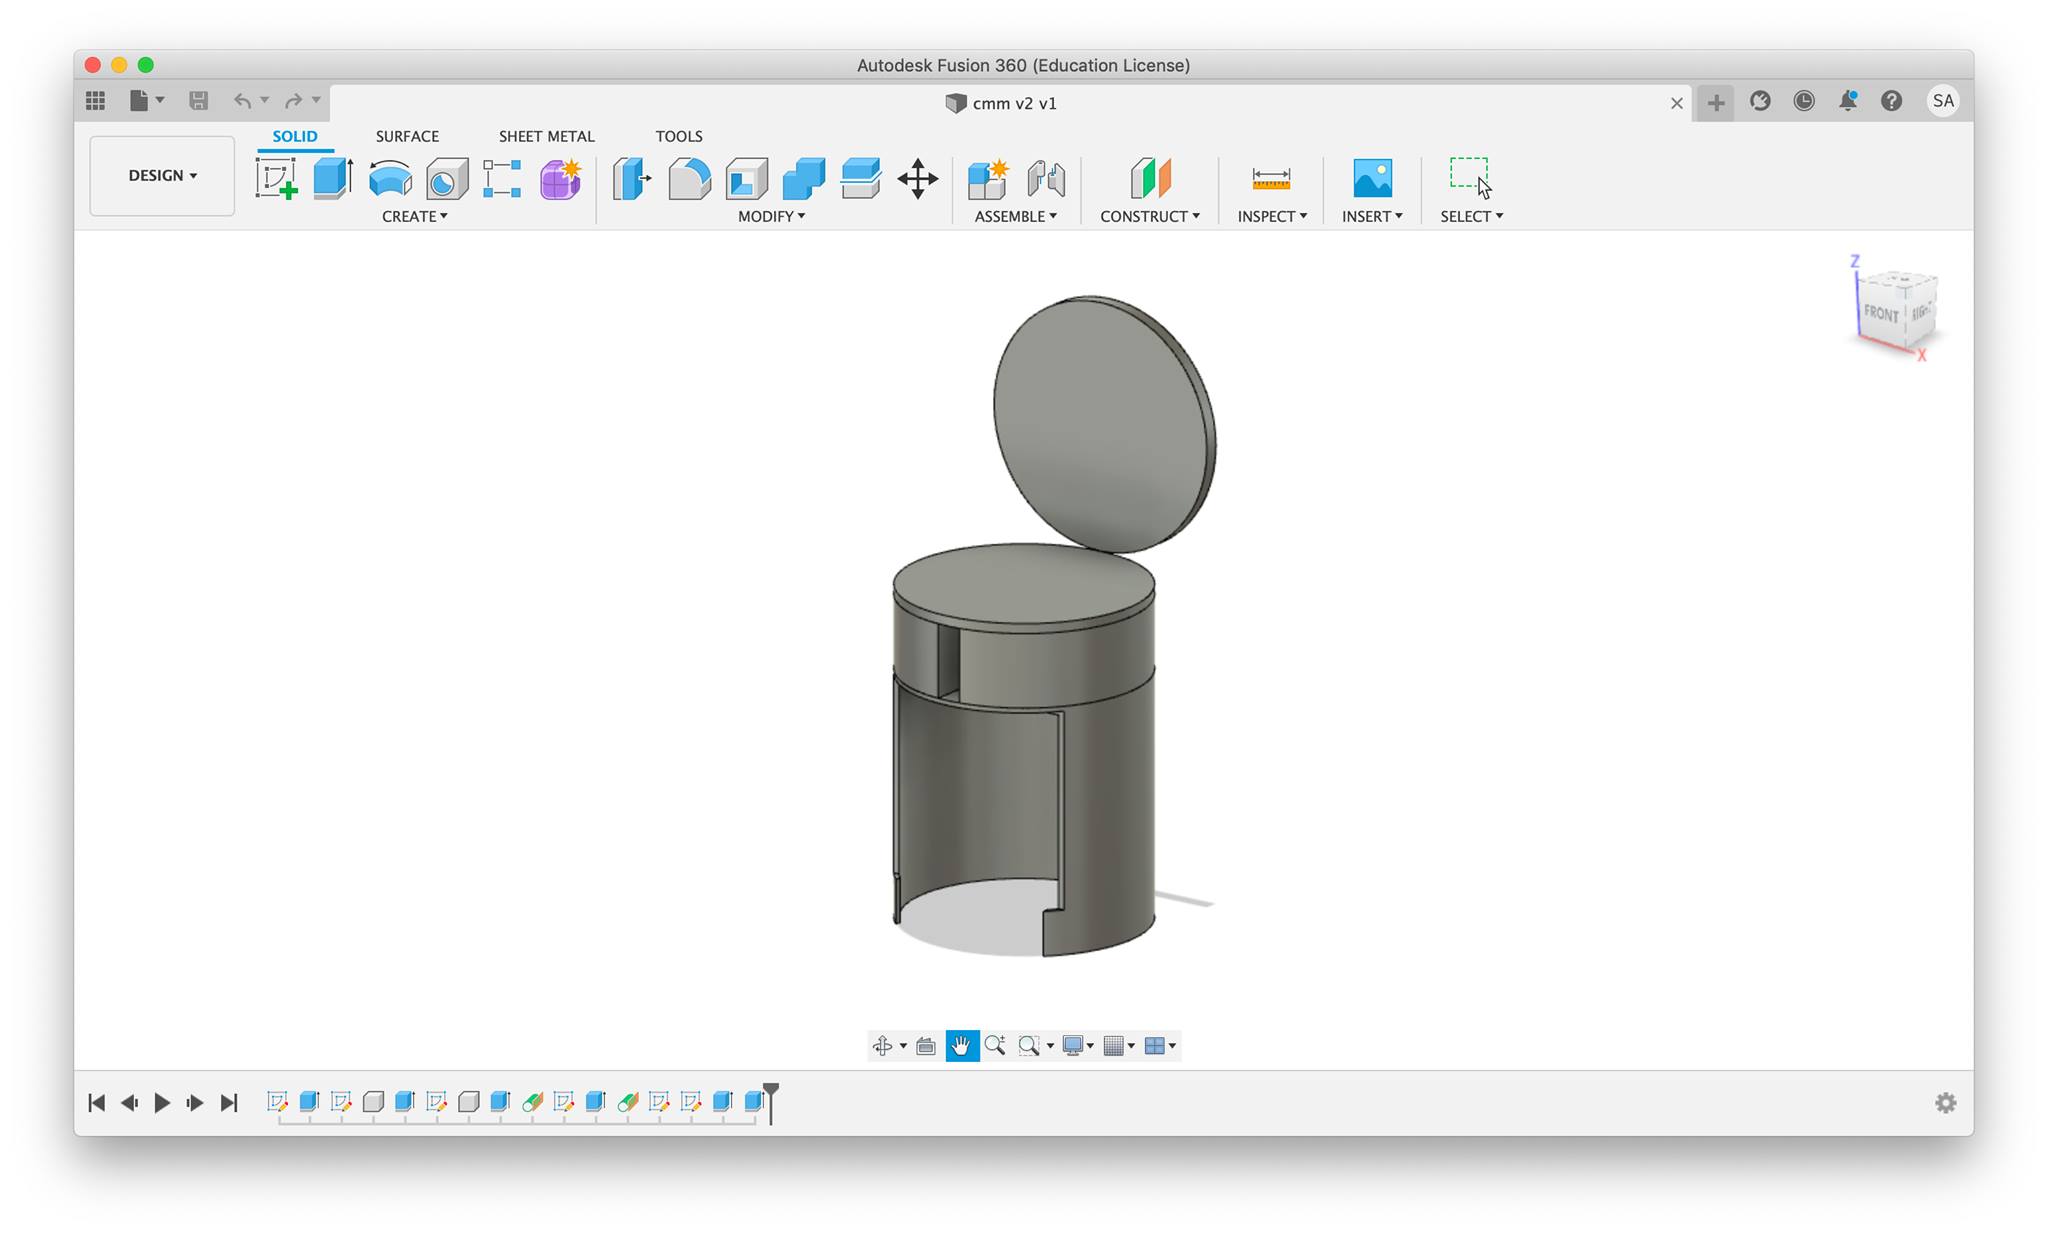
This one is honestly my favorite. It was inspired by the vintage vanities by Luigo Massoni, especially the one on this link. However, I don’t think this could be done by a router.
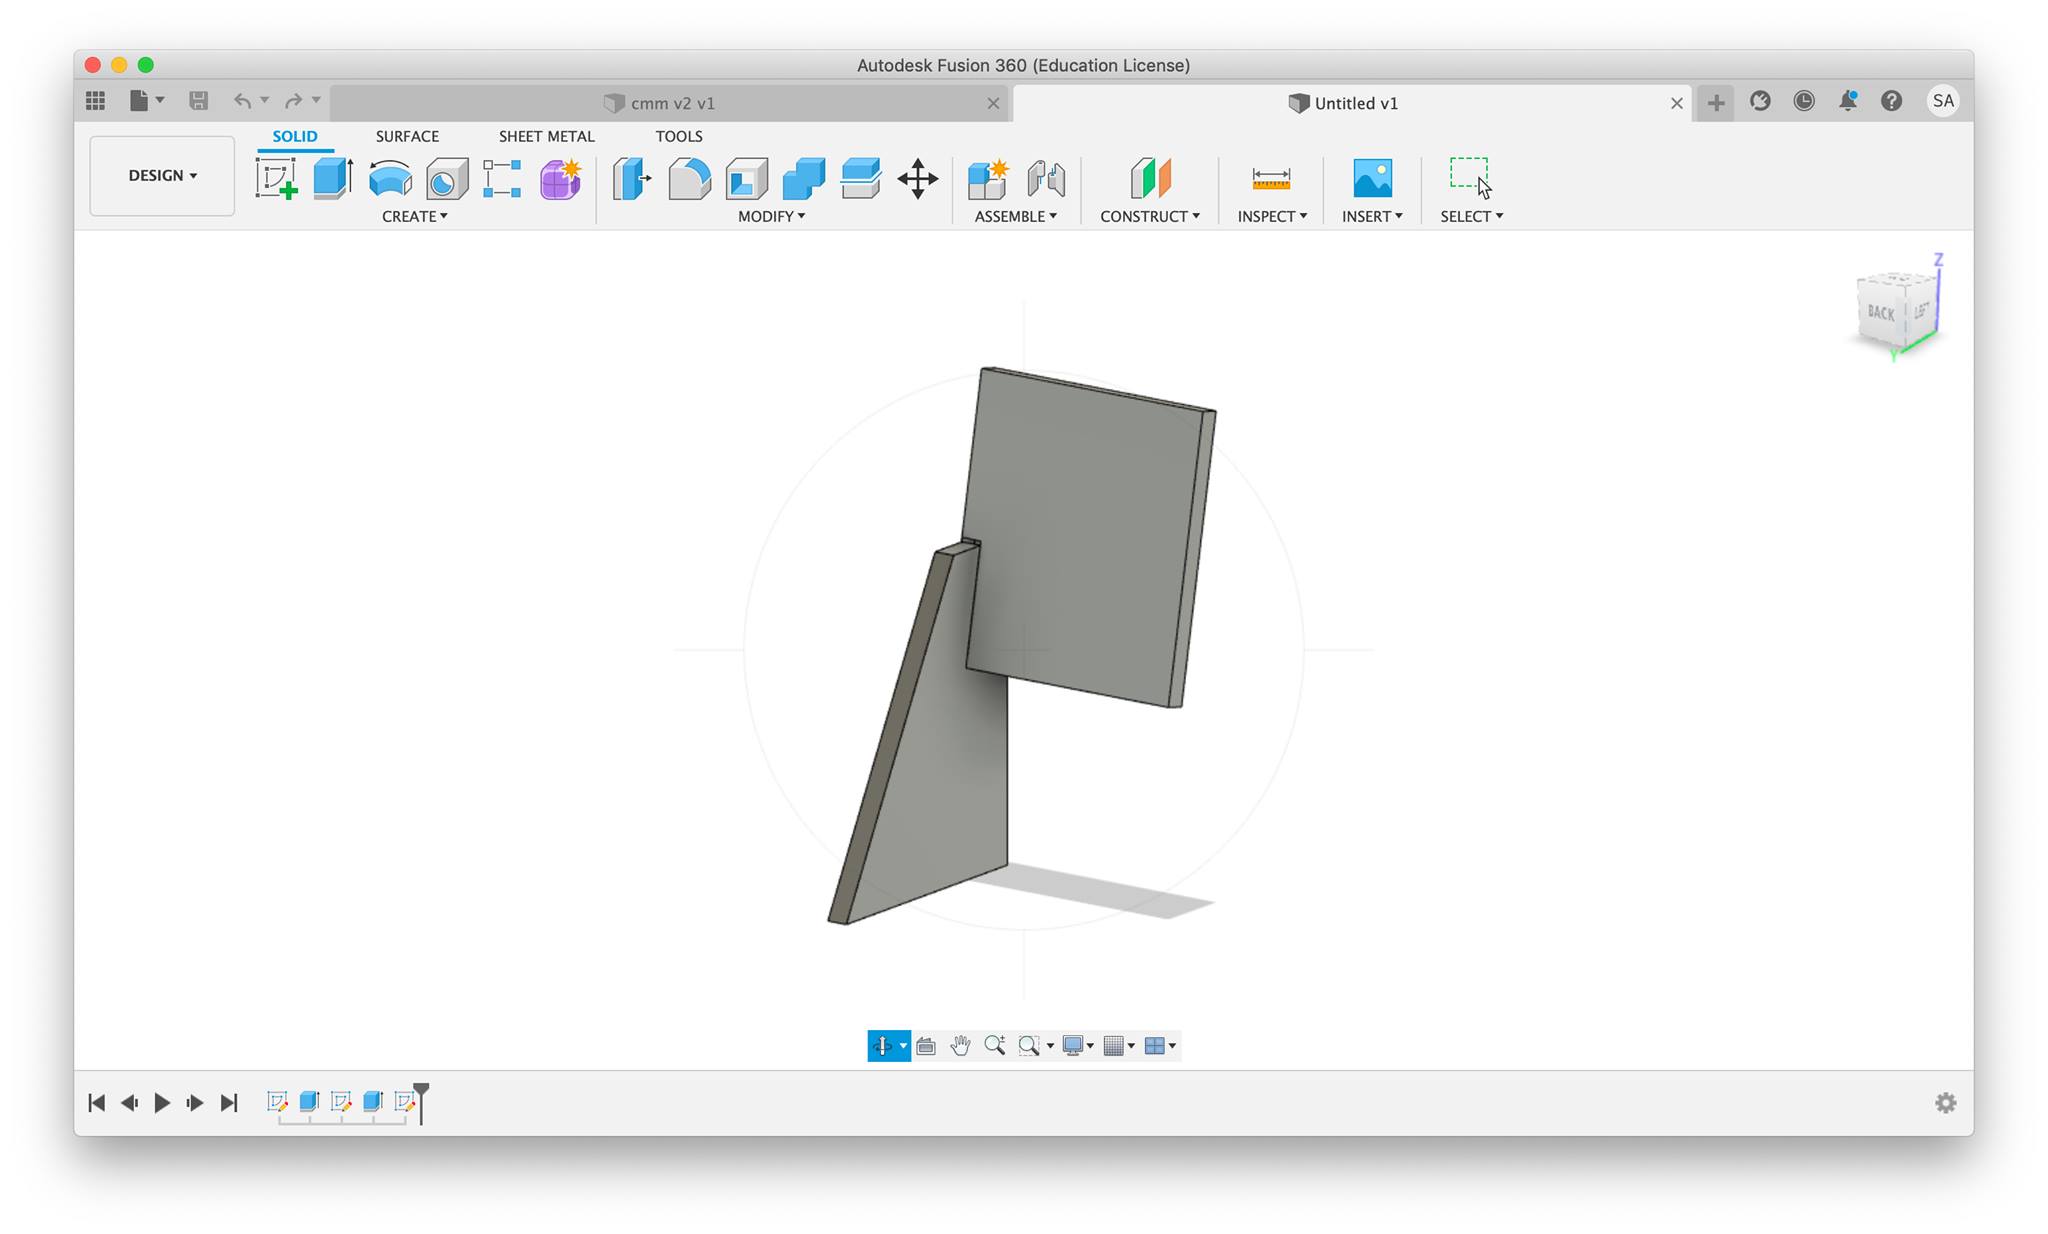
This one I find very cool, it is a chair made with only three bodies, but while designing it I realized it was very impractical, so I didn’t even bother completing it.
With regards to this one, it was my first table, and I wanted to have something minimal but bubbly. I was thinking more about the final product and how cool it would look after I painted it with different colors. I actually pursued this idea as seen by the next sketch.
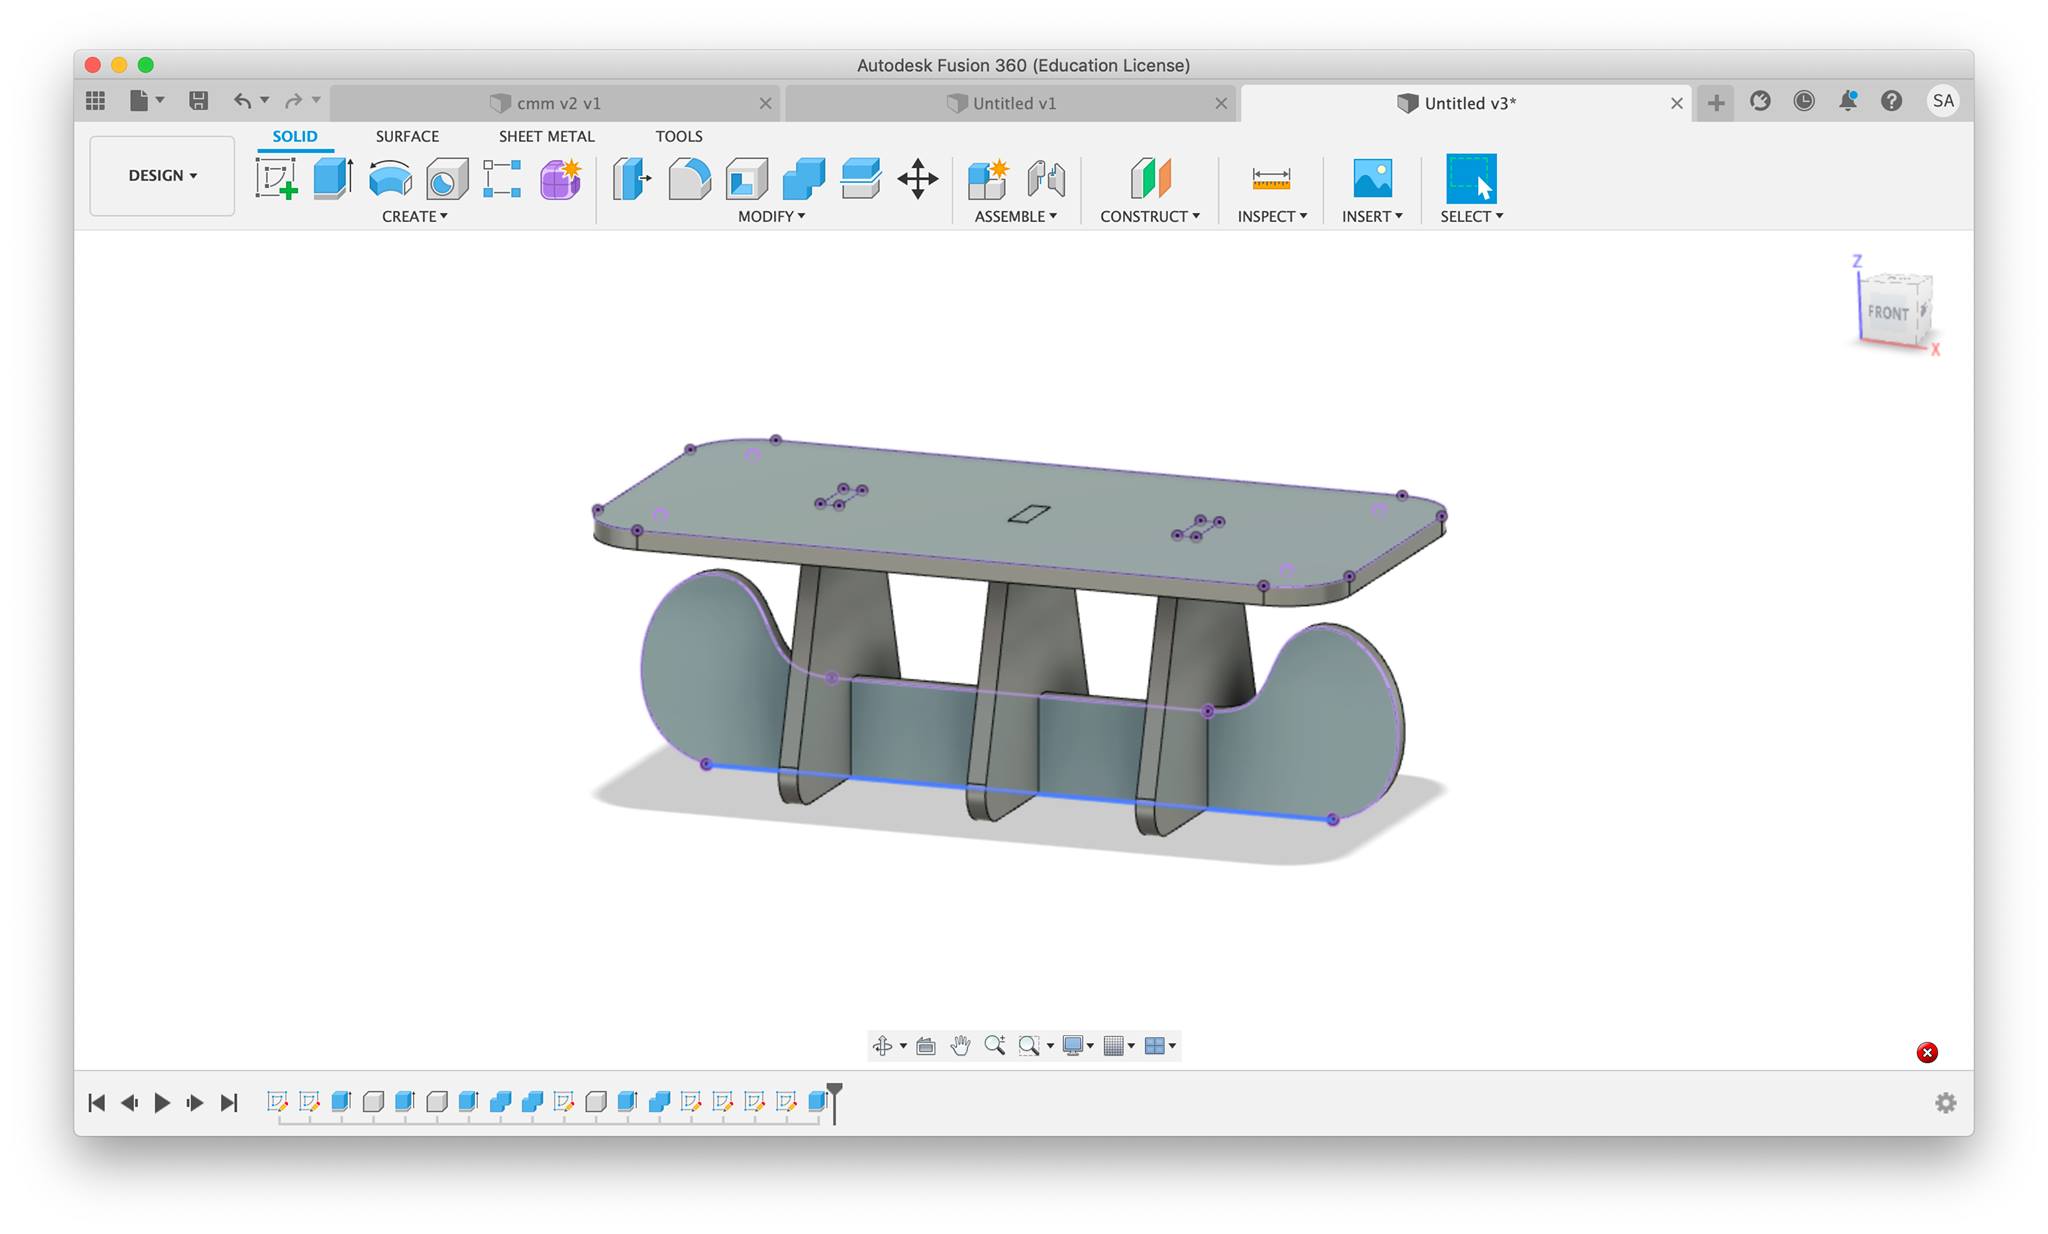
As I mentioned, this is an edited version of the previous sketch, and it is also the final one used for this week.
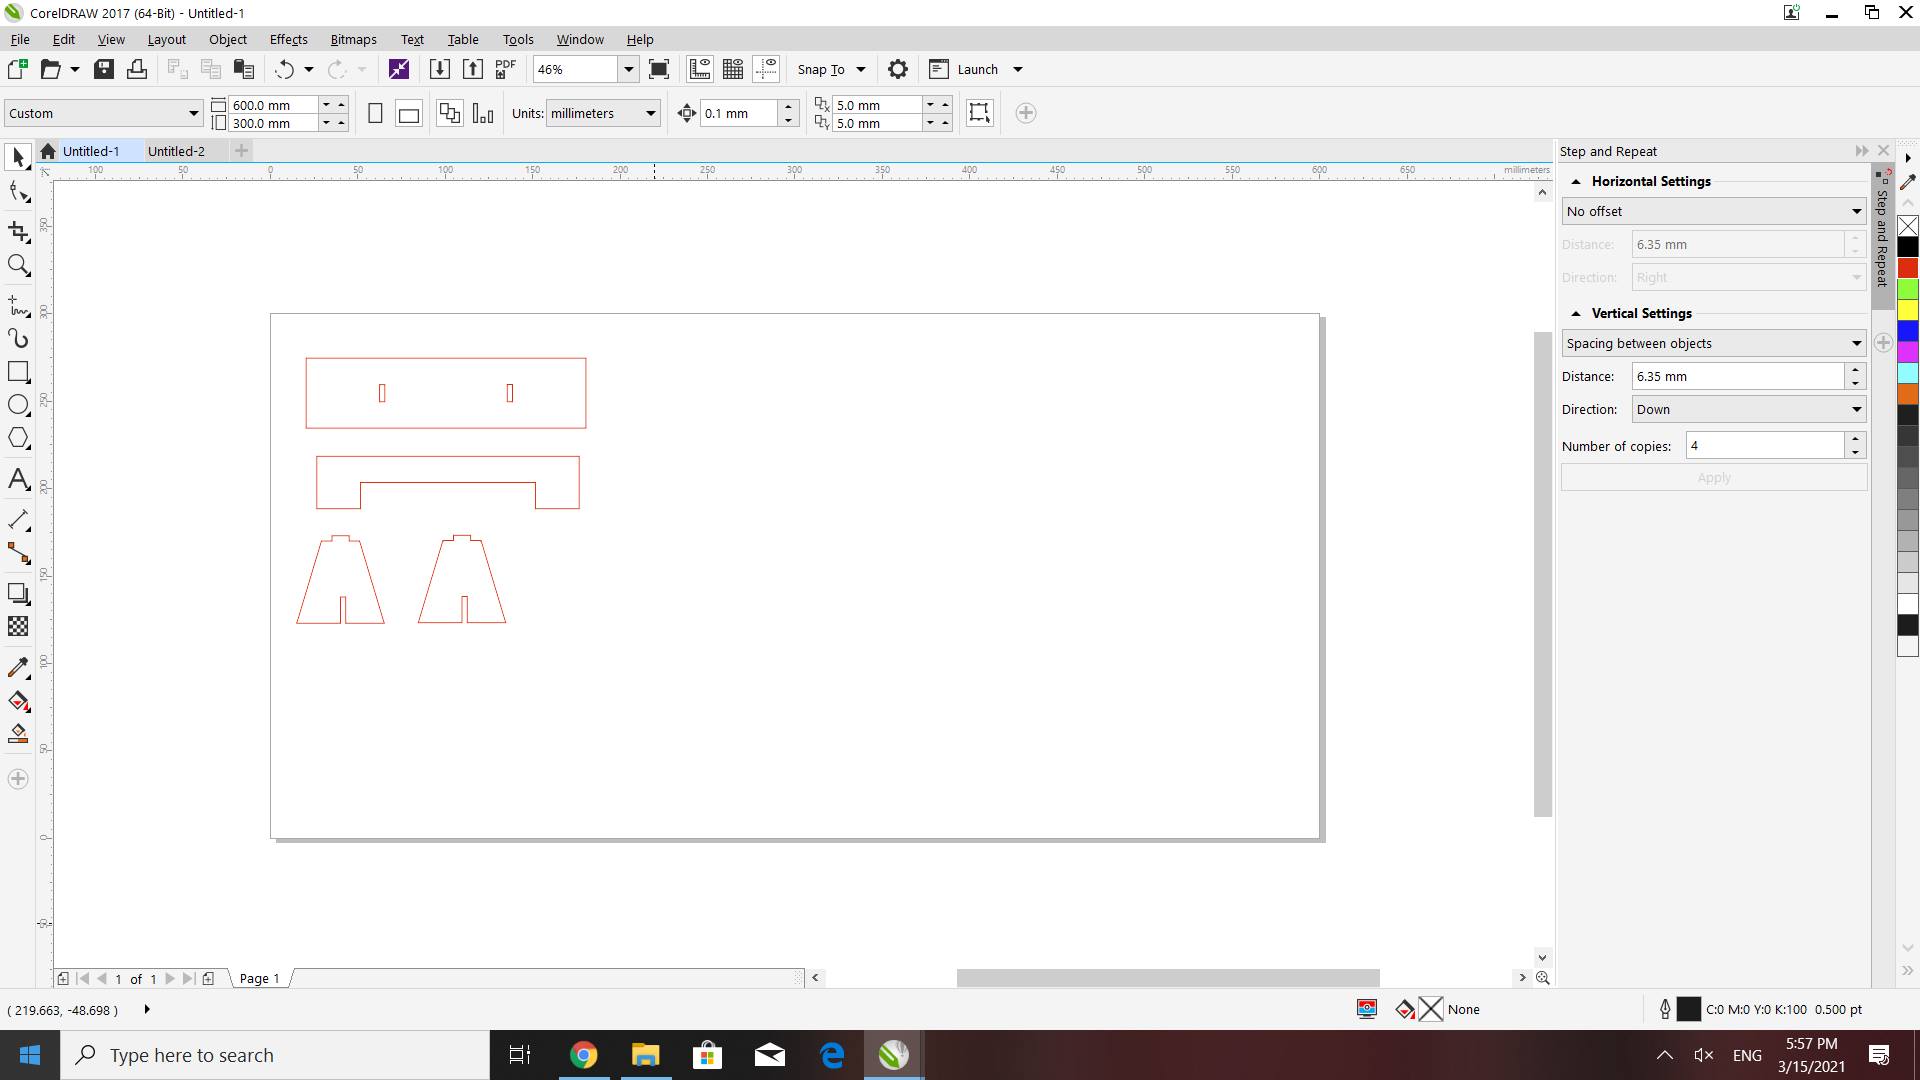
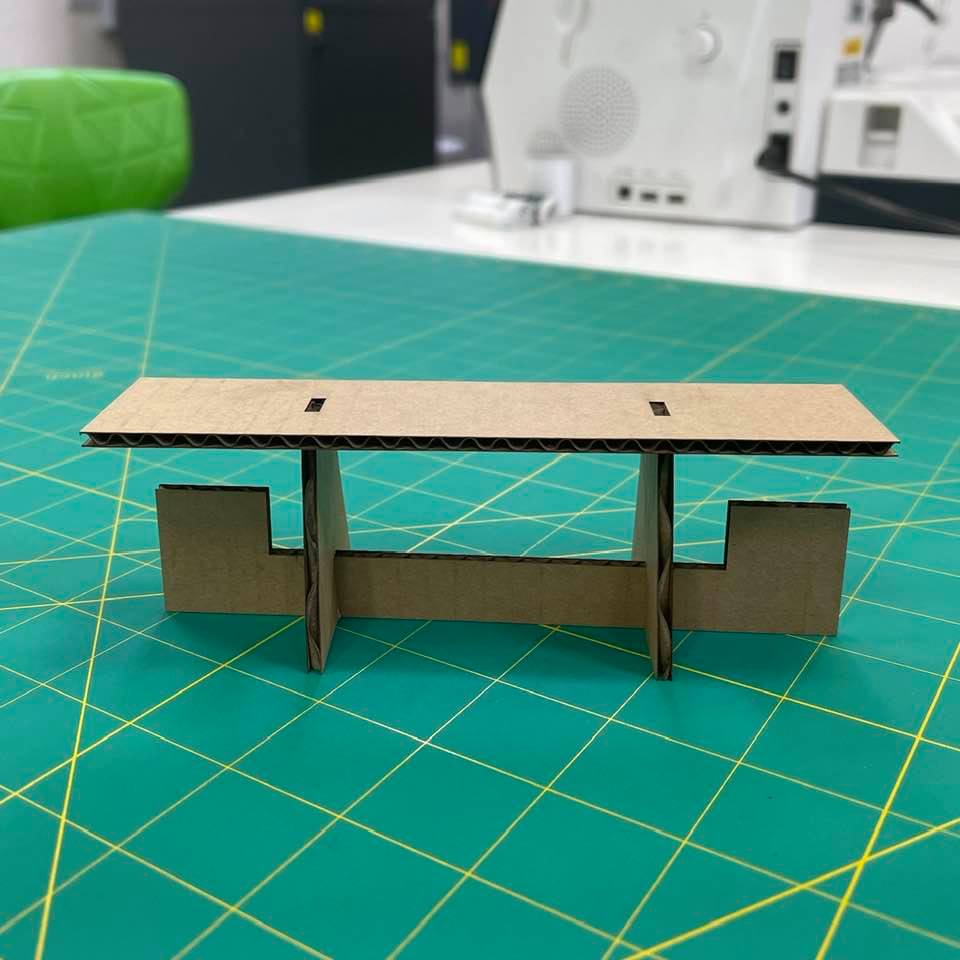
I decided it would be good practice to first test the design’s functionality by cutting it in carboard. I saved the seperate bodies as .dxf files and put them onto a flash drive. I edited them in CorrellDraw to fit the specifications for cutting: hairline thickness + red outline. Then, I cut it using the laser cutter following the instructions in Week 4.
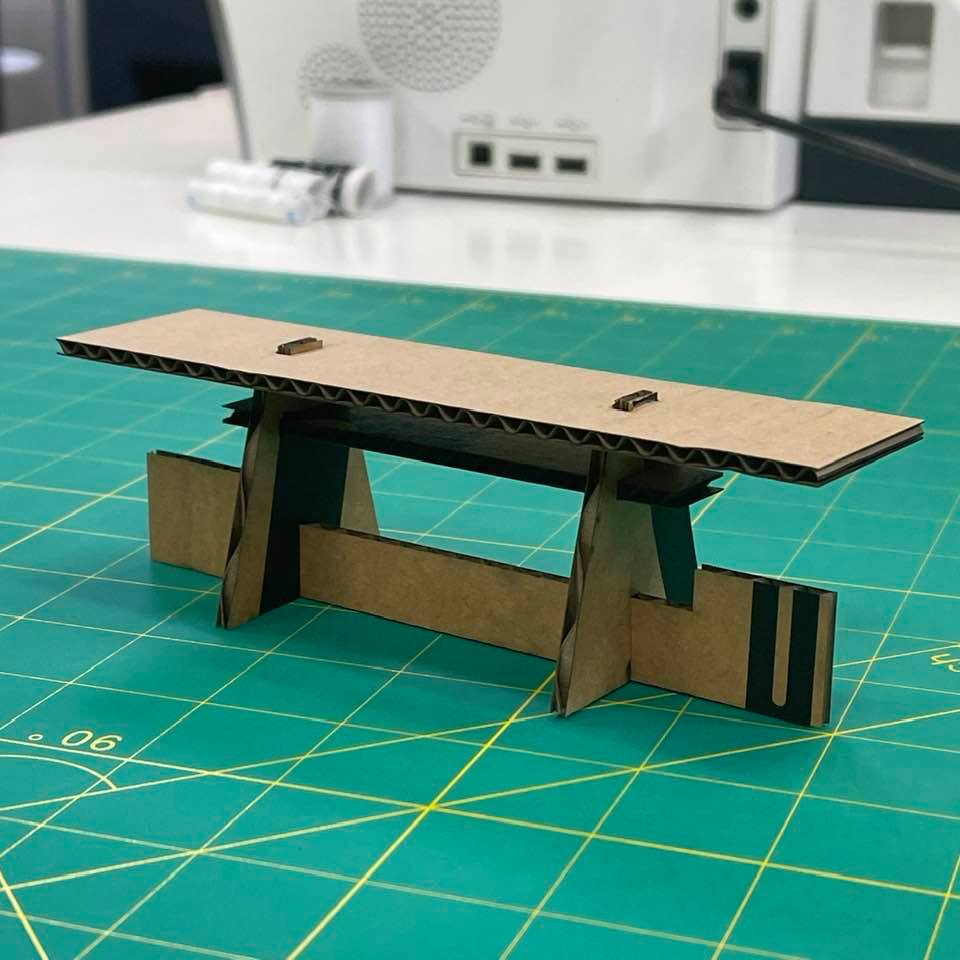
The first laser cut introduced me to two problems: the table top was very easily detached from the middle piece, and the legs weren’t sturdy.
I went back to Fusion, and added a piece of wood simply for aesthetic purposes, and made the connecting pieces deeper so it would become less easy to attach. I also added slots to the bottom piece to make it more sturdy. At this point the final design was ready, but I ended up getting rid of the slab in the middle in the end as it ruined the minimilastic vision I had for the table.
ps. the files laser cut were not the final ones as they do not have the fillet edges, nor do they have the slots in the bottom piece.
Milling
Milling with the Shopbot is something new and I’ve never done anything like it. Thinking about my past endeavors, a shopbot would’ve made many of my ideas possible! I was excited to use the machine, but I heard it was a dangerous one.
Eng. Ahmad Jalal taught us how to use the shopbot and its software, V-craft. I launched the V-craft and set the settings of the bit, yet I didnt change much because the preferences because the kerf and other settings were tested by the lab before and we didn’t want to tamper with them. We did do a kerf test though and found that it was 0.2mm.
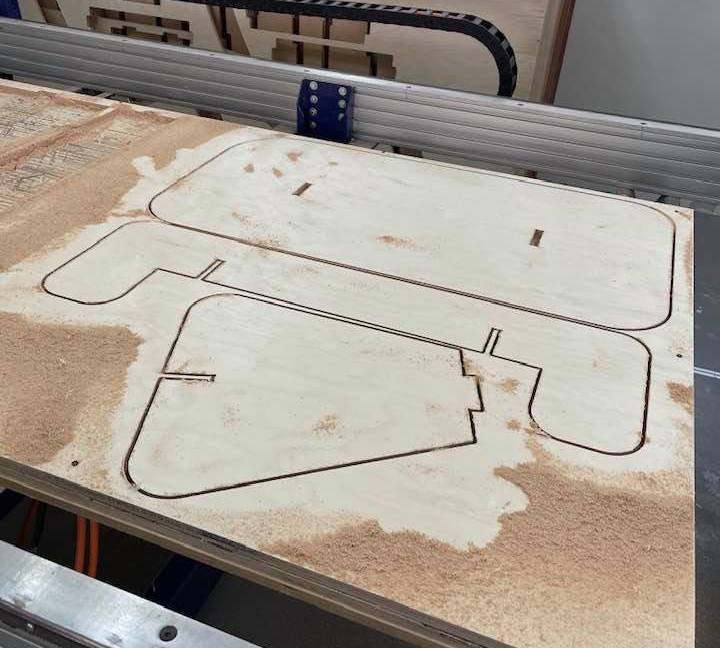
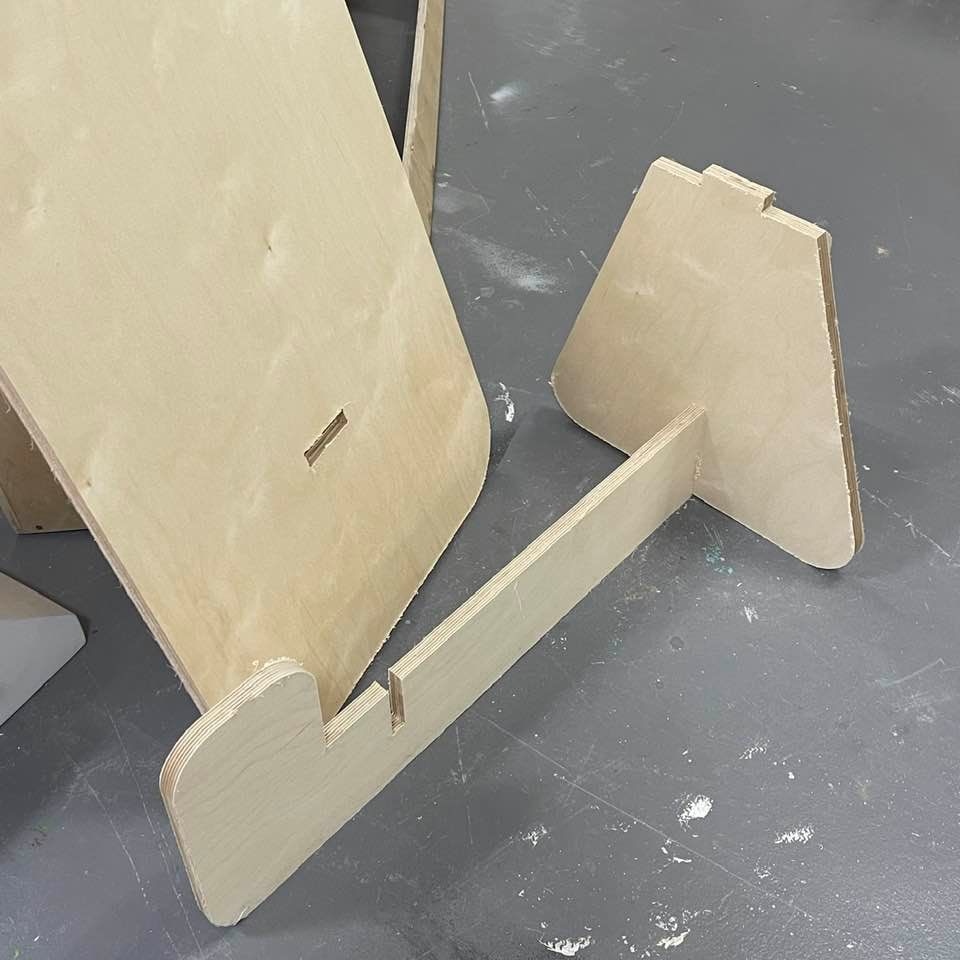
I milled the seperate bodies, and was ready to assemble them!
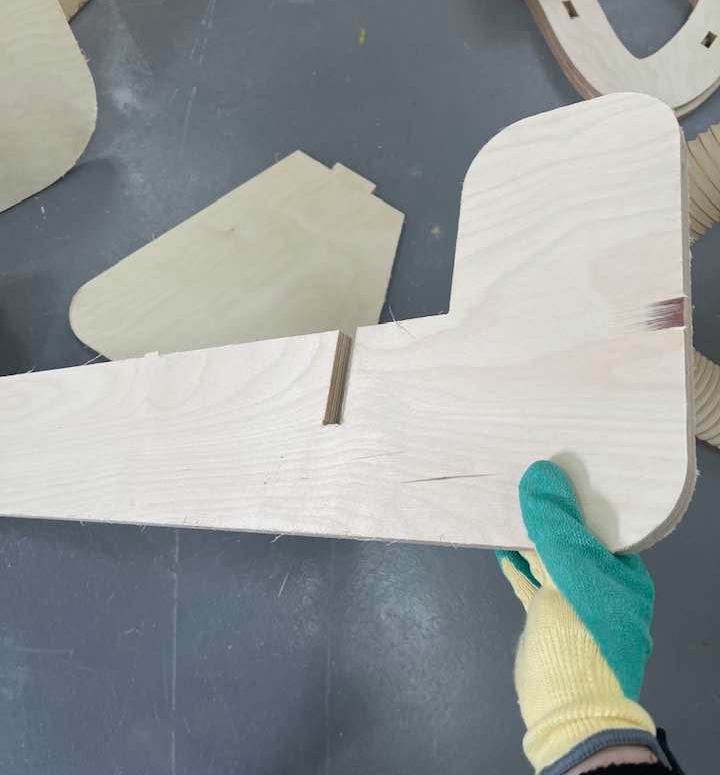
Assembling
All that was left was a lot of sanding to get the edges smooth and putting the pieces together to assemble my design.