3. Computer Aided design
This week I explored 2D and 3D softwares to model my possible final project and some other fun stuff.
Terminology
Raster: A rectangular pattern of parallel scanning lines followed by the electron beam on a television screen or computer monitor. (Oxford Languages)
Vector: A vector graphic is artwork made up of points, lines, and curves that are based upon mathematical equations, rather than a solid colored square pixels. This means that no matter how large or small or how close you zoom in on the image, the lines, curves, and points remain smooth. (VividImage)
2D: Two-dimensional. A two-dimensional shape can be defined as a flat plane figure or a shape that has two dimensions – length and width. (SplashLearn)
3D: Three-dimensional. A three-dimensional shape can be defined as a solid figure or an object or shape that has three dimensions – length, width and height.Unlike two-dimensional shapes, three-dimensional shapes have thickness or depth. (SplashLearn)
Render: Using drawing and or painting to make a realistic image of something from 2D plans. (Quora.com)
Individual Assignment: model (raster, vector, 2D, 3D, render, animate, simulate, …) a possible final project, compress your images and videos, and post it on your class page.
2D Softwares
GIMP (GNU Image Manipulation Program)
I decided to try out GIMP because honestly the name was intriguing. The raster-based software is also an open-source software which is great!
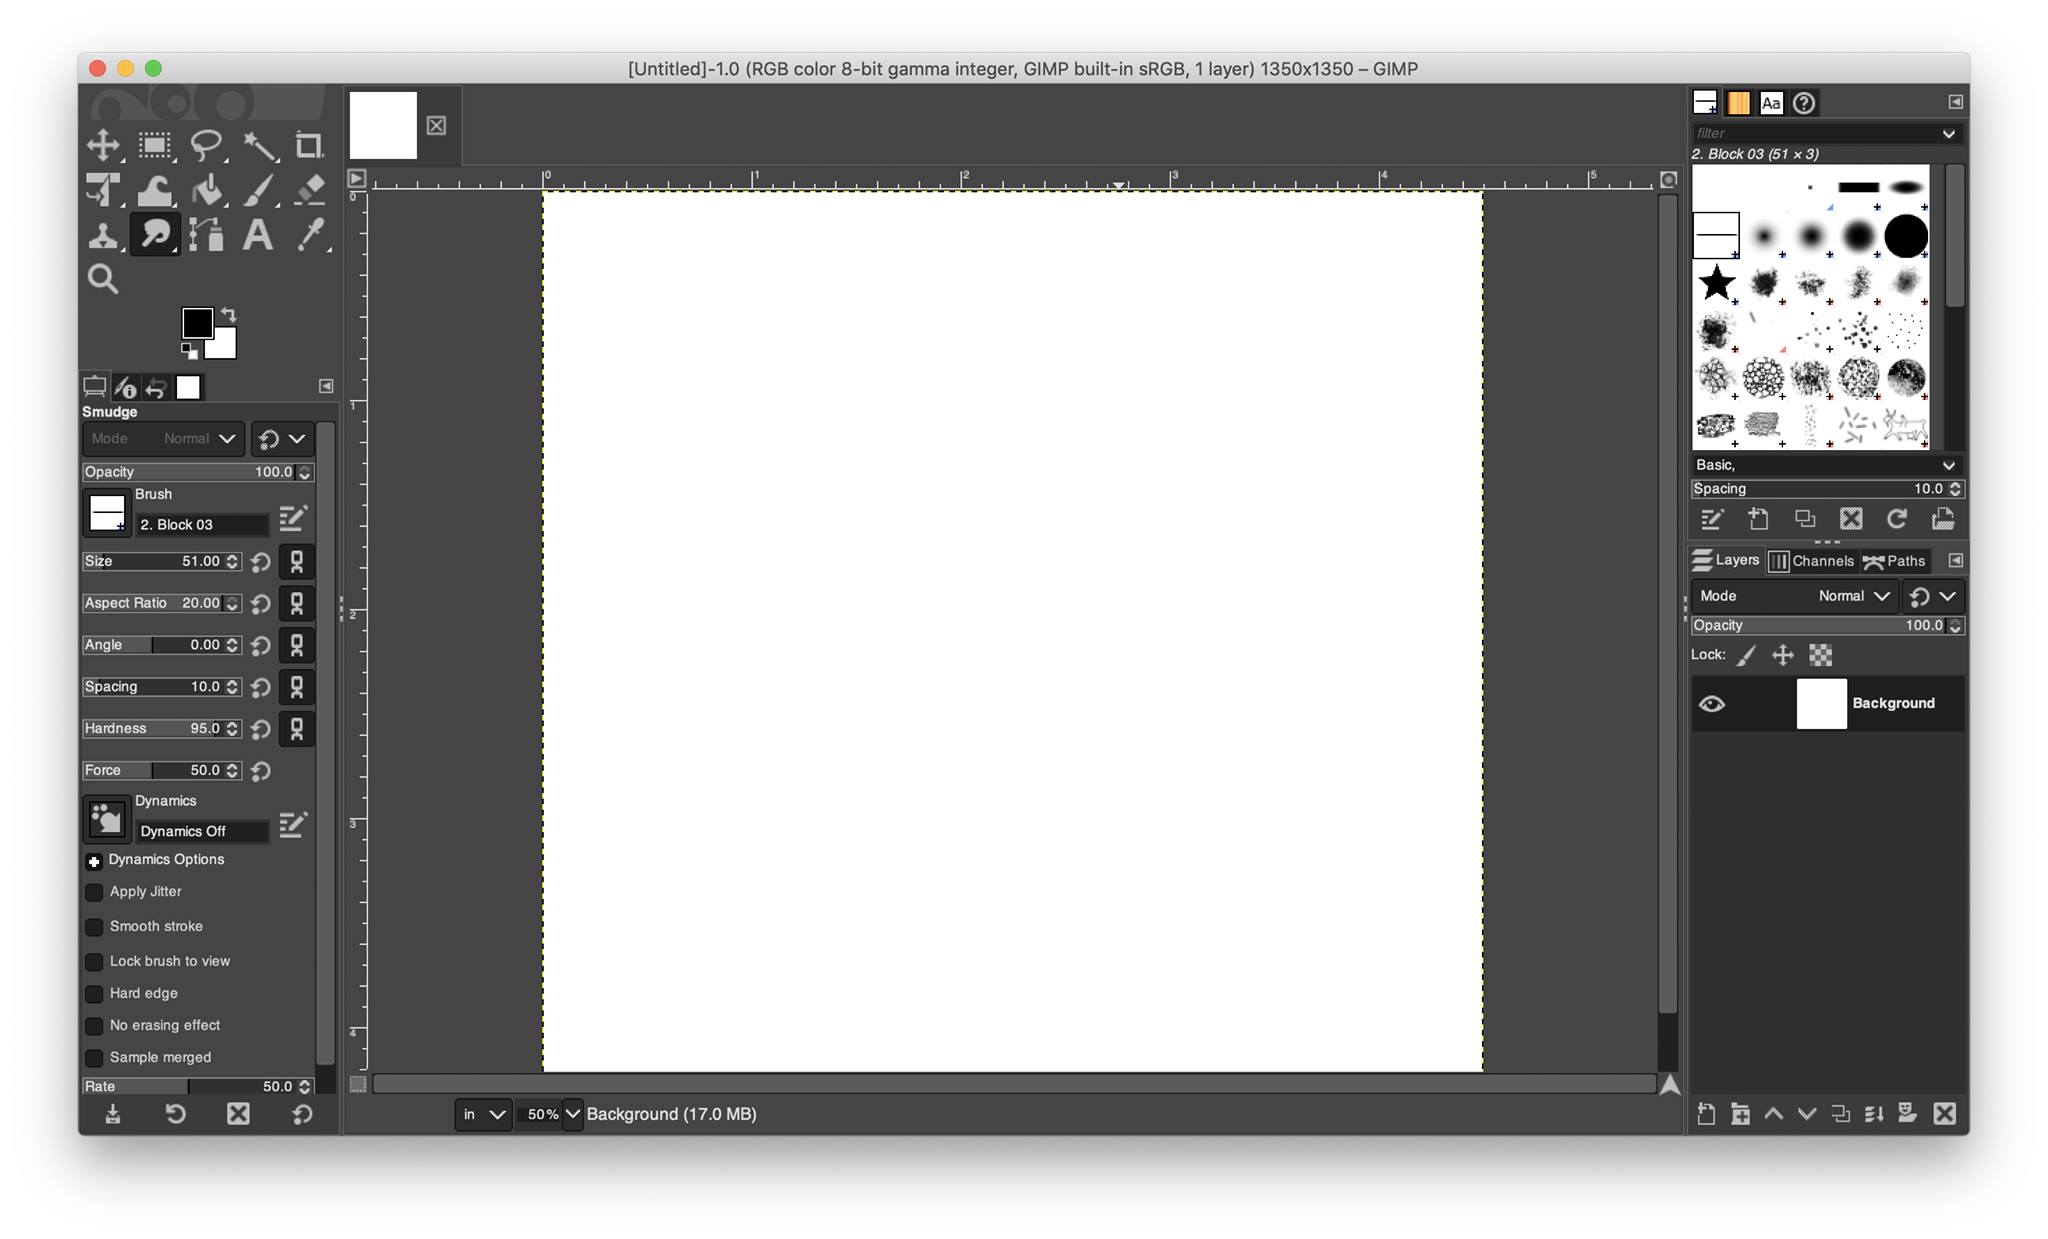
- I installed GIMP using the direct link, created a new composition and utilized the toilet paper template.
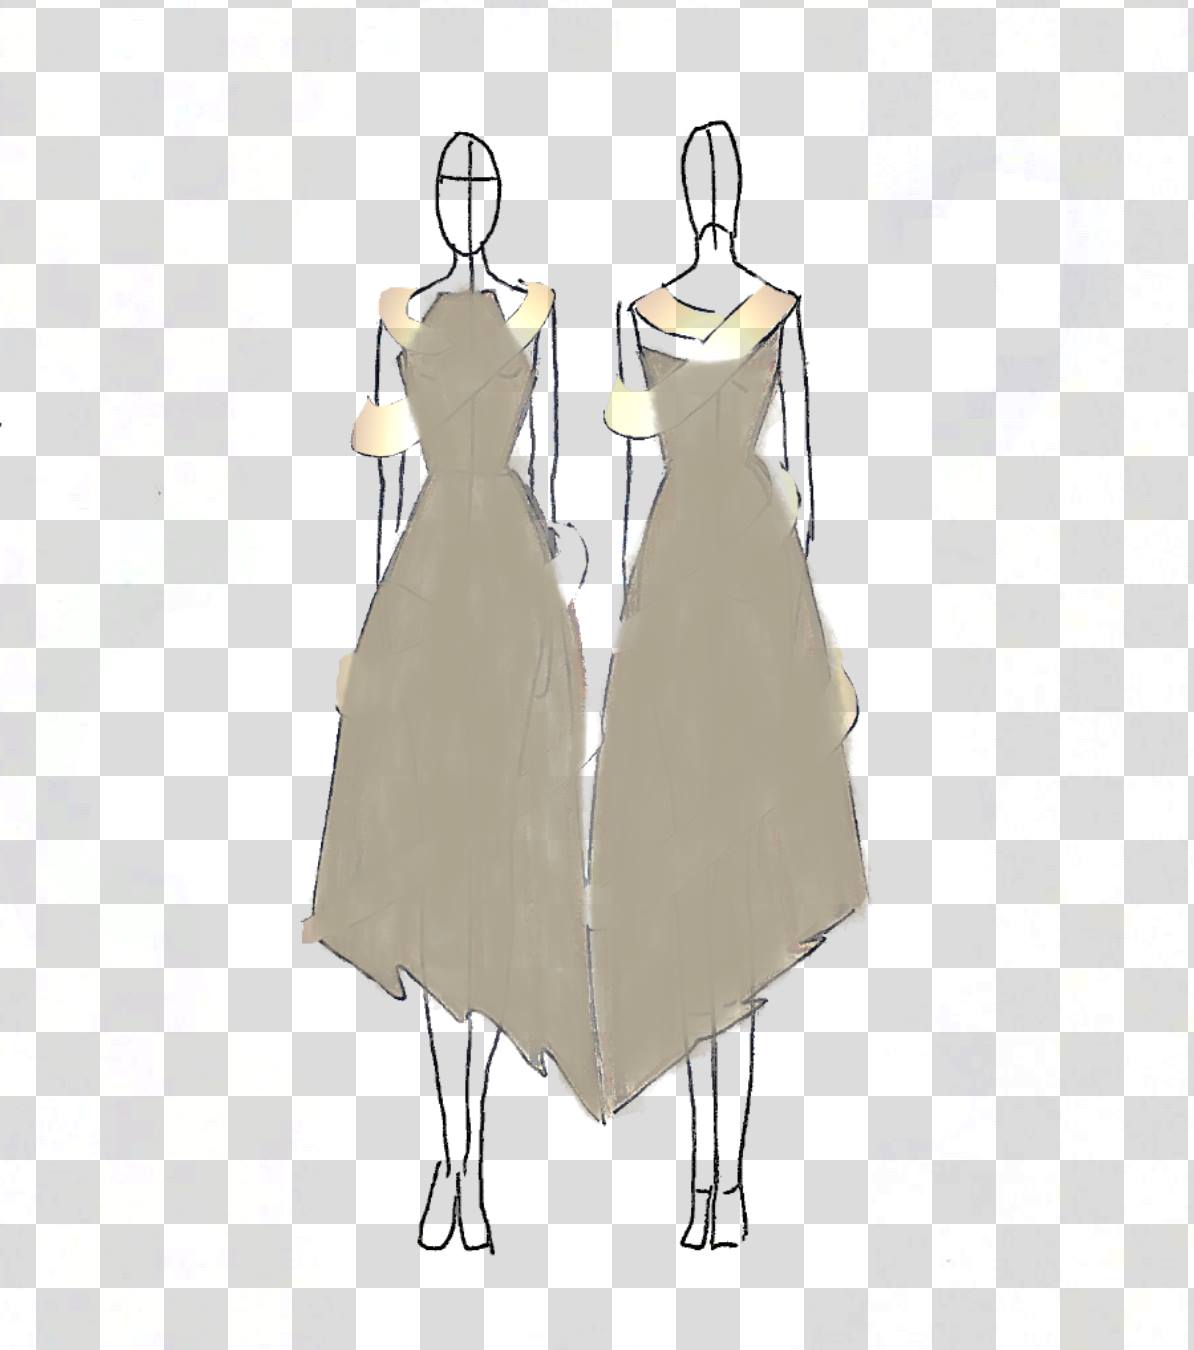
- I decided to test out the software by seeing what it can do to enhance my hand-drawn sketch, so I added the sketch by simply dragging and dropping it into the canvas. I then scaled it to change the size using the scale tool,
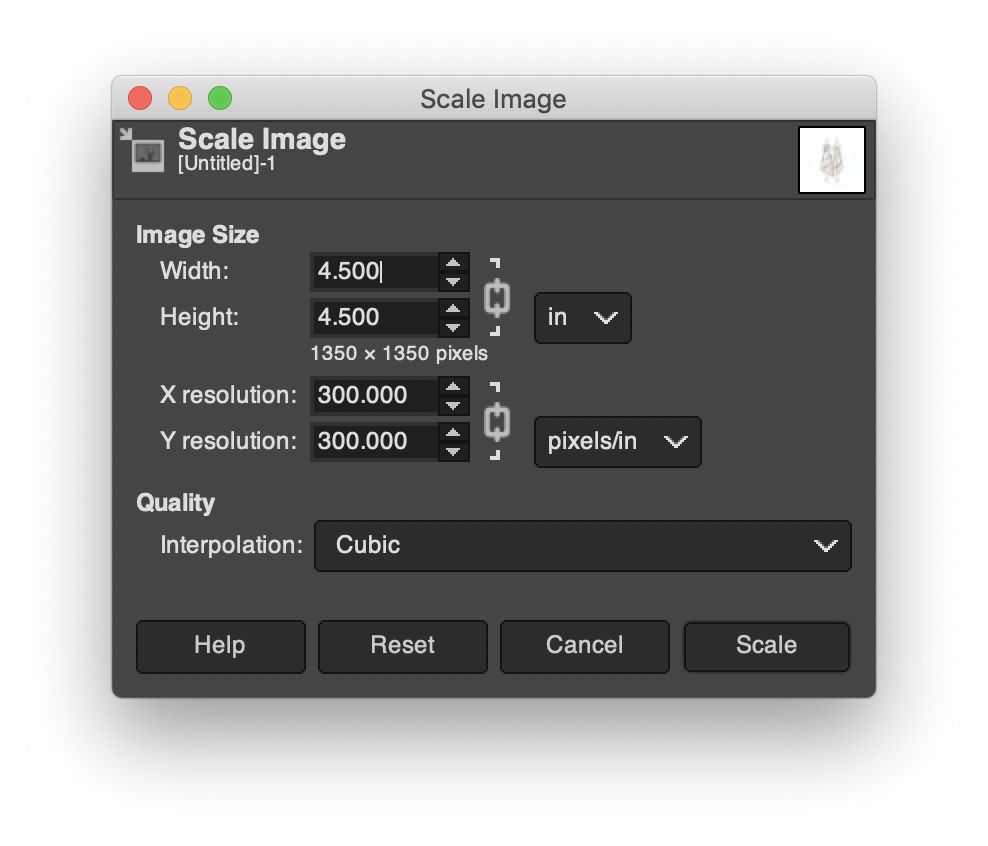
and then alligned it to the center. To get the allignment tools i pressed ‘Q’ on my keyboard.
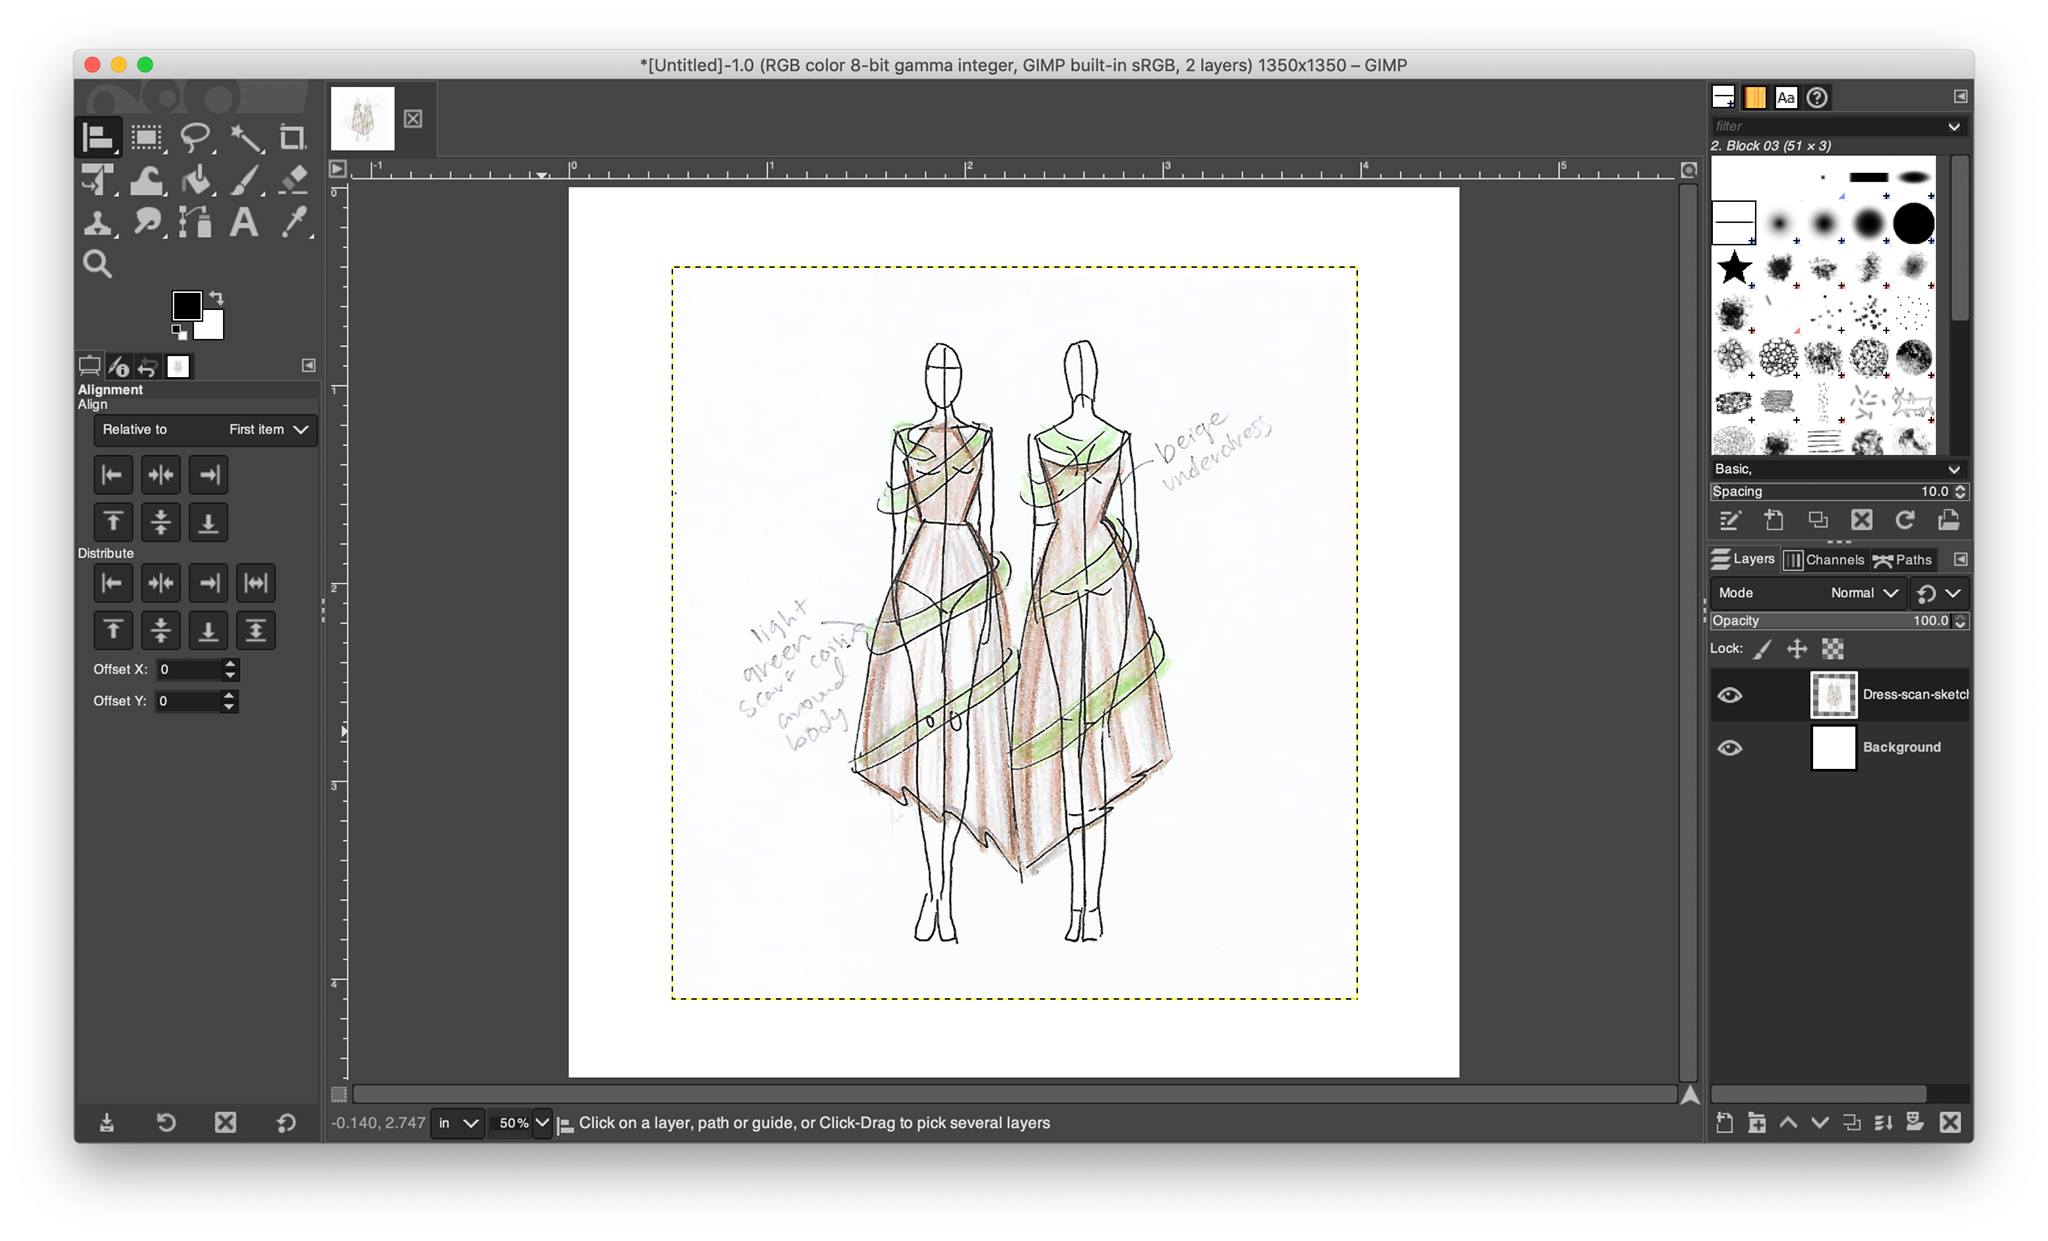
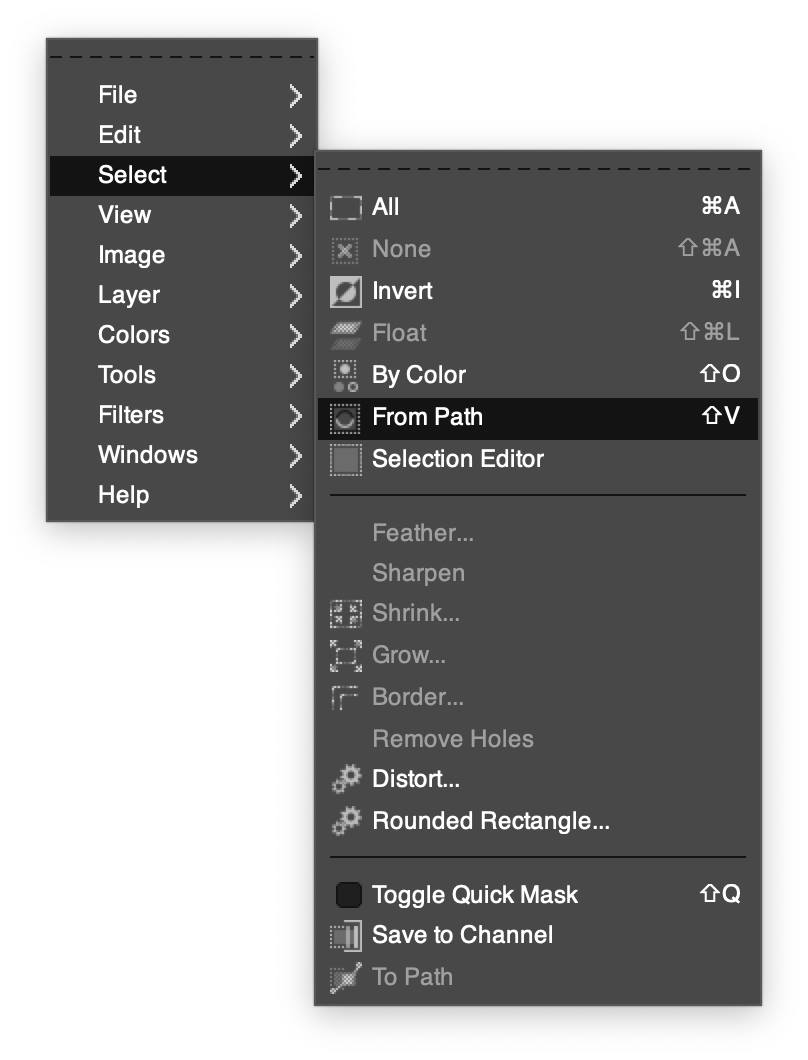
- For starters, I deleted the notes I hand-wrote using the eraser tool. Then, I decided to sharpen the color of the underdress to a color closer to the one I am targetting. So, using the “Path” tool, I started adding the anchor points around the underdress’ edges. (Pro tip: A shortcut to reach this tool is using the letter B on your keyboard.)
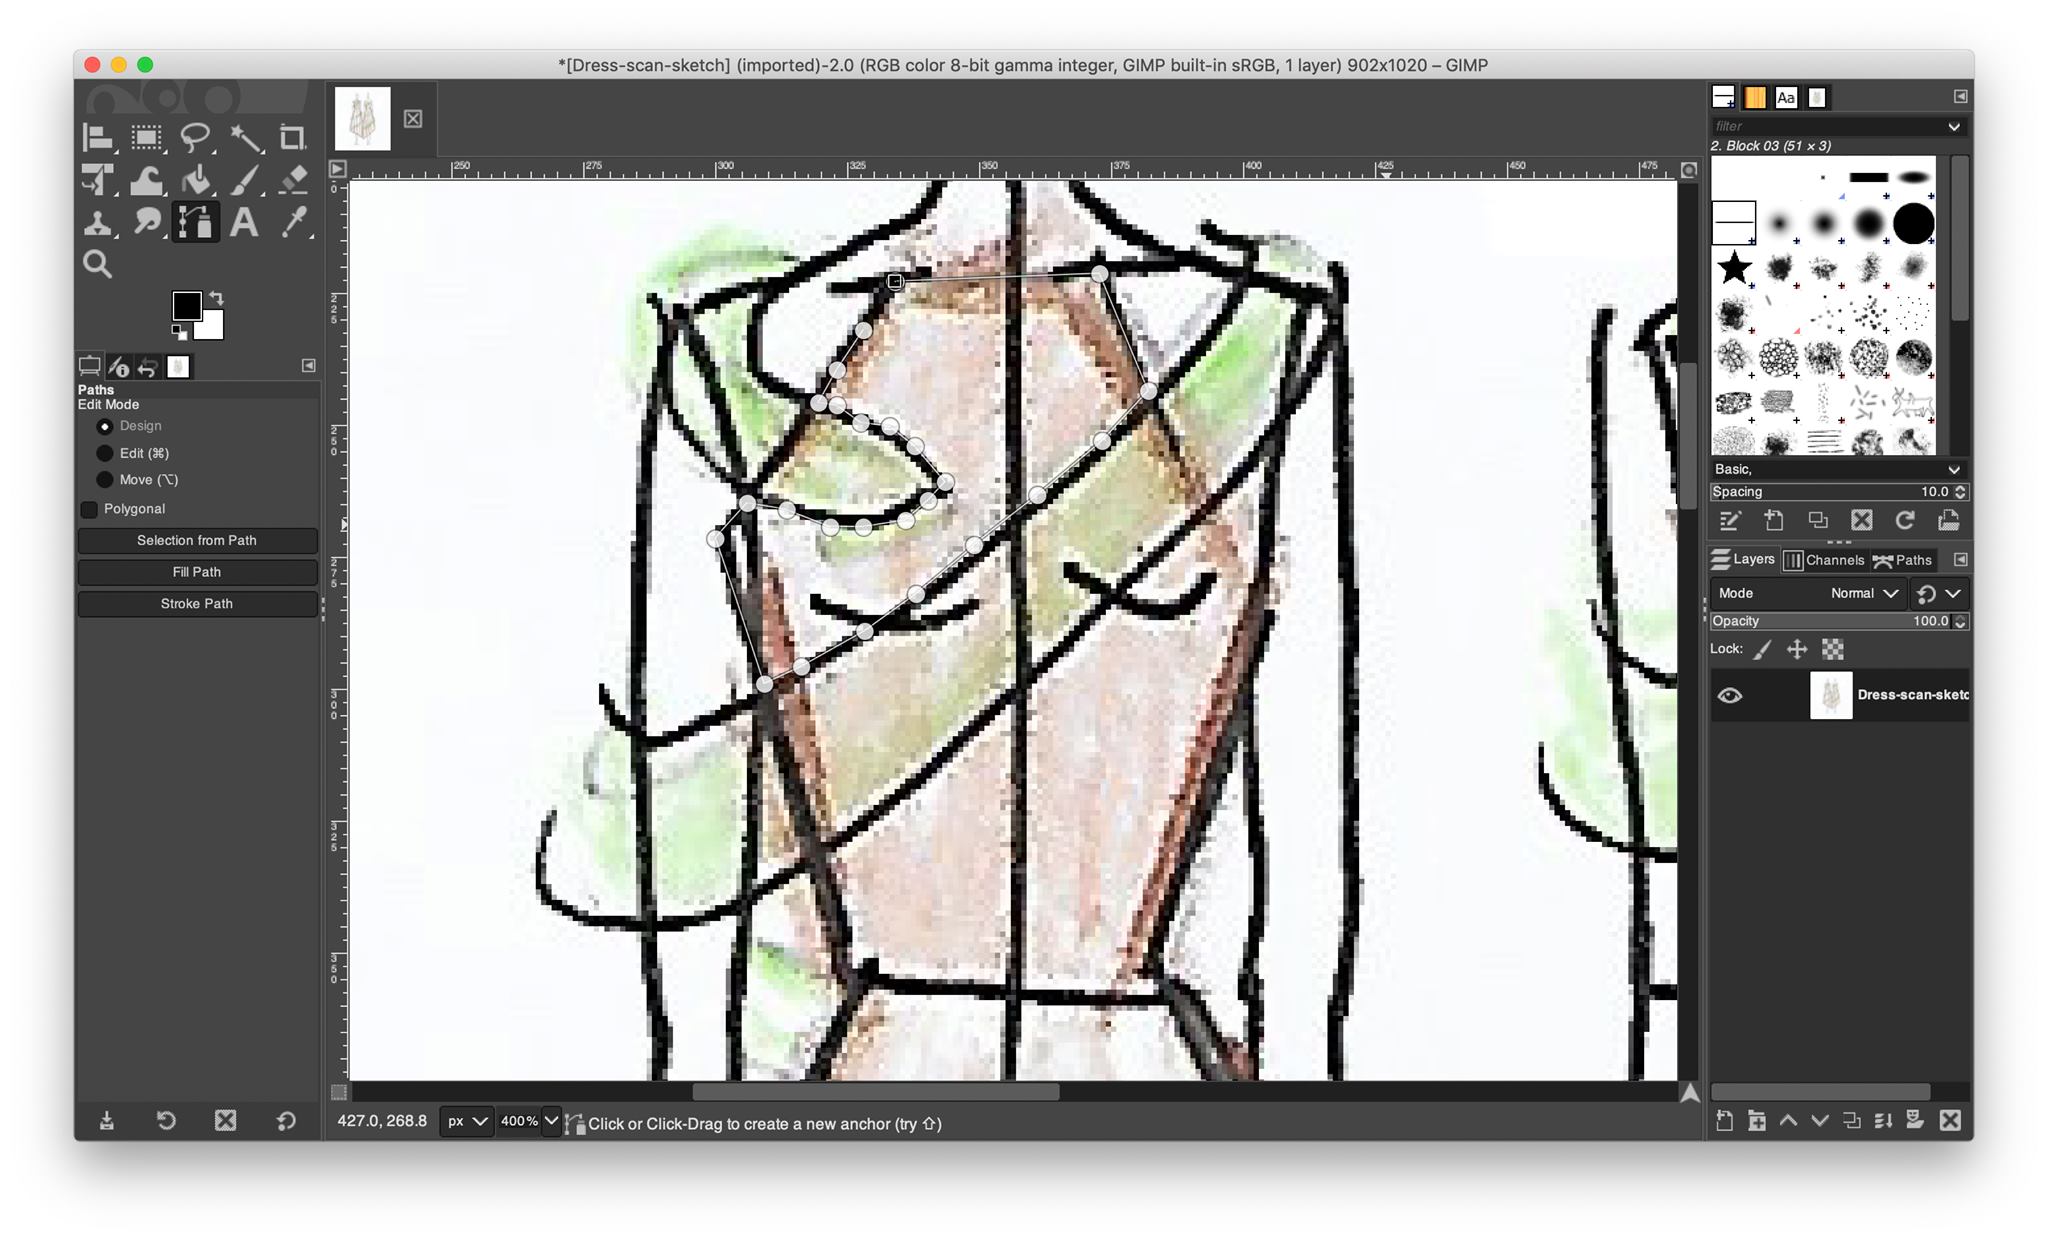
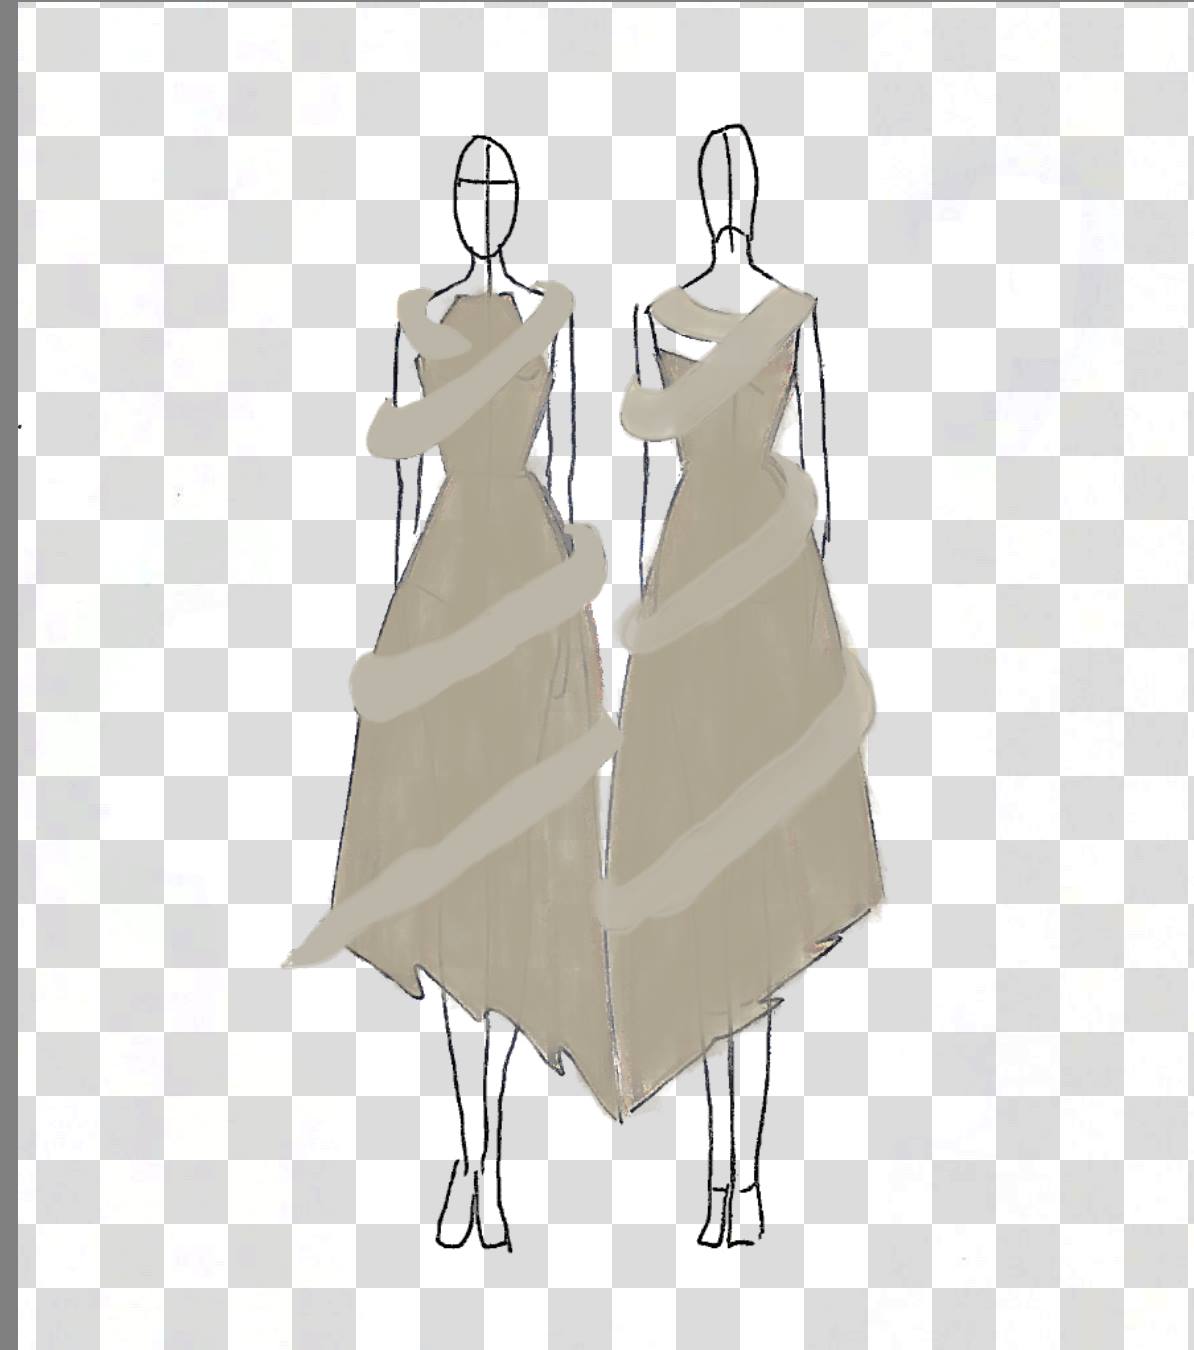
- Now that the path is surrounding the area I want to edit, I right click in the body of the path selection> press select> from path.
- I created a new layer using the layer tools, and then using the paint brush tool, I colored in the selection with a nude shade I aim the dress to follow.
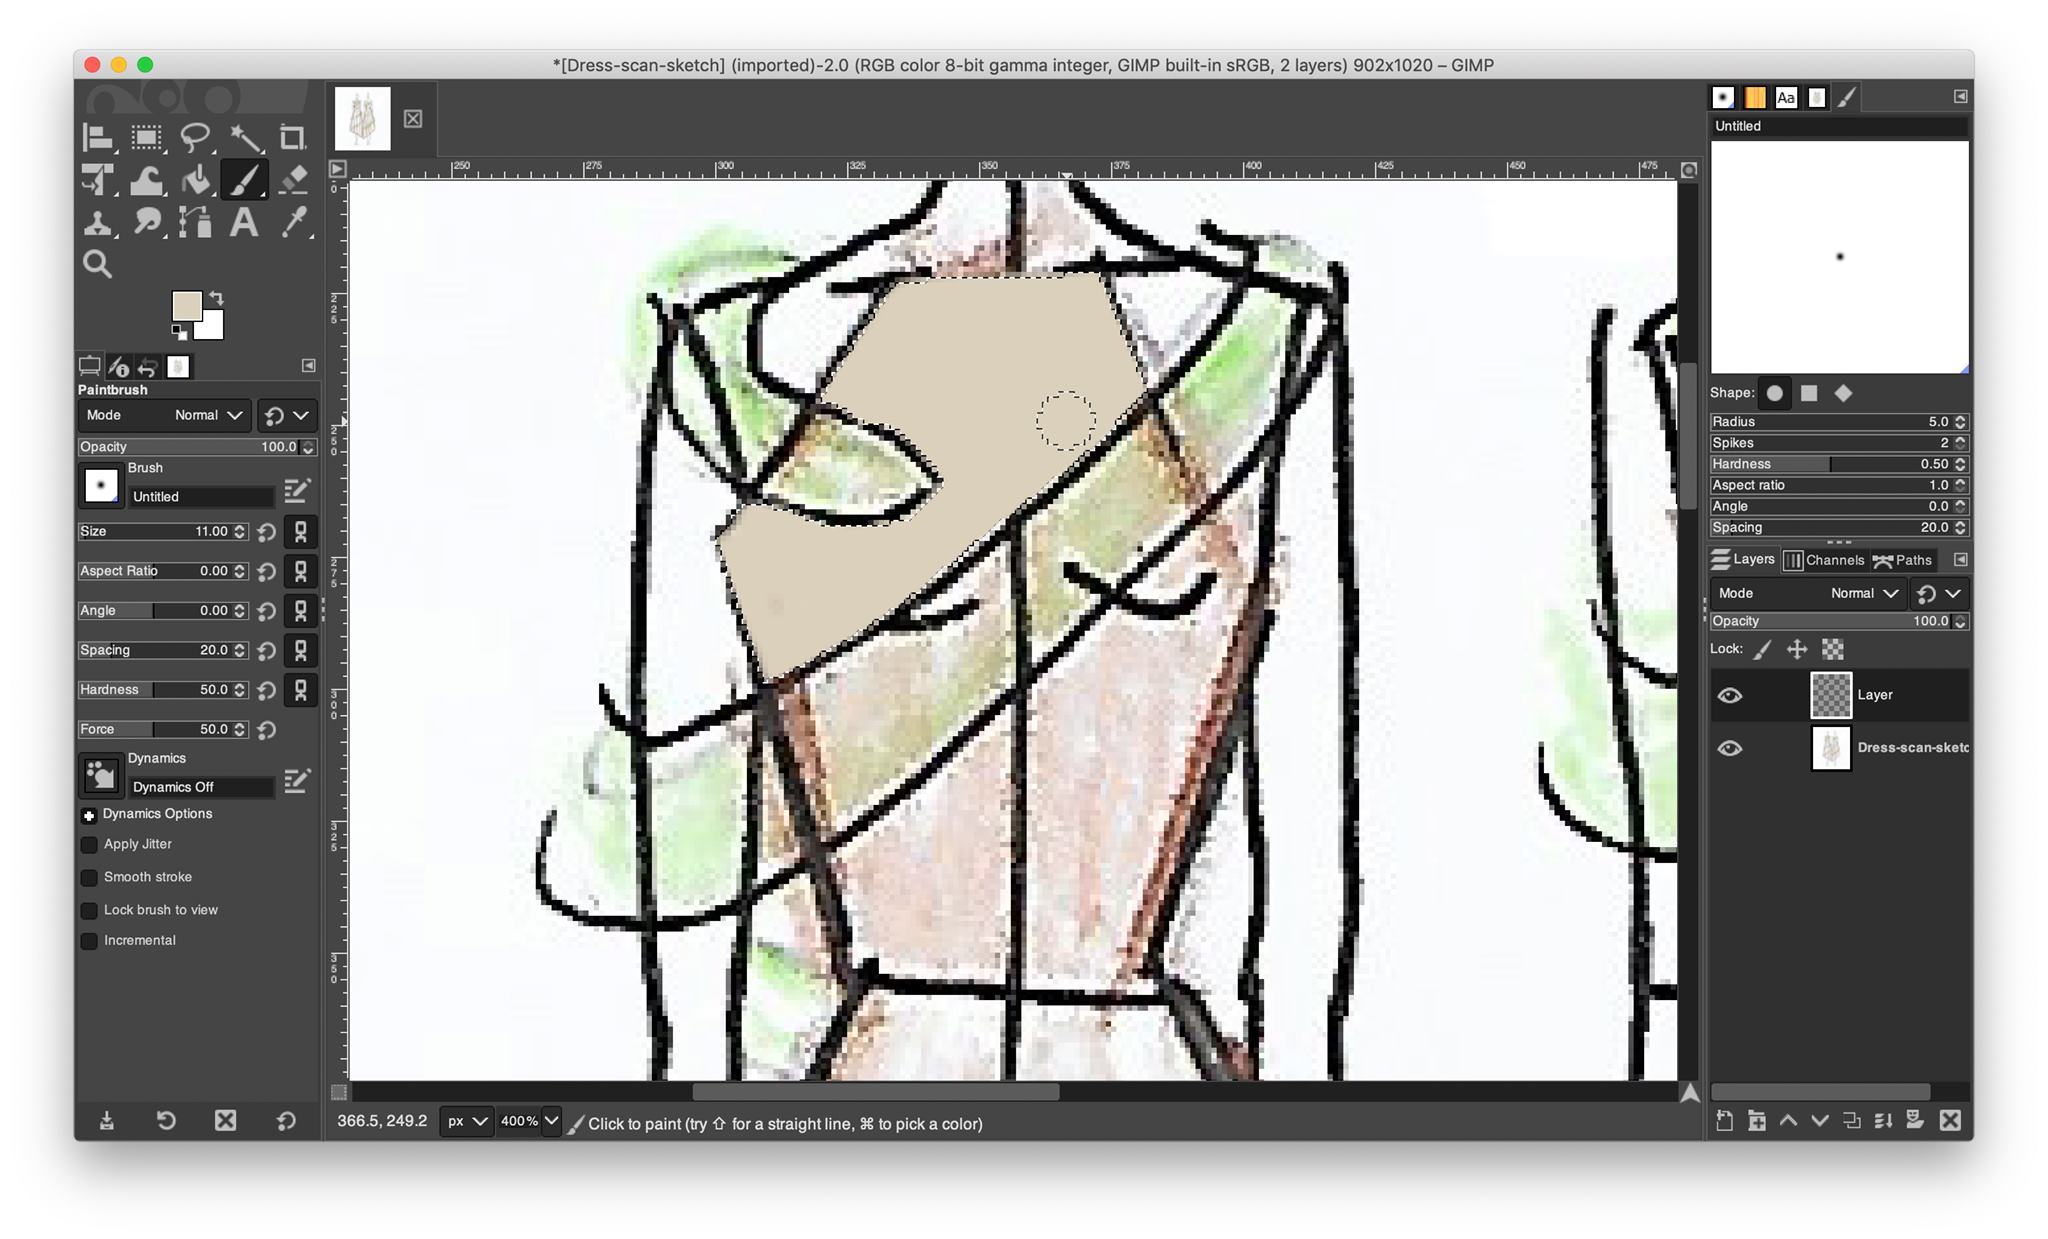
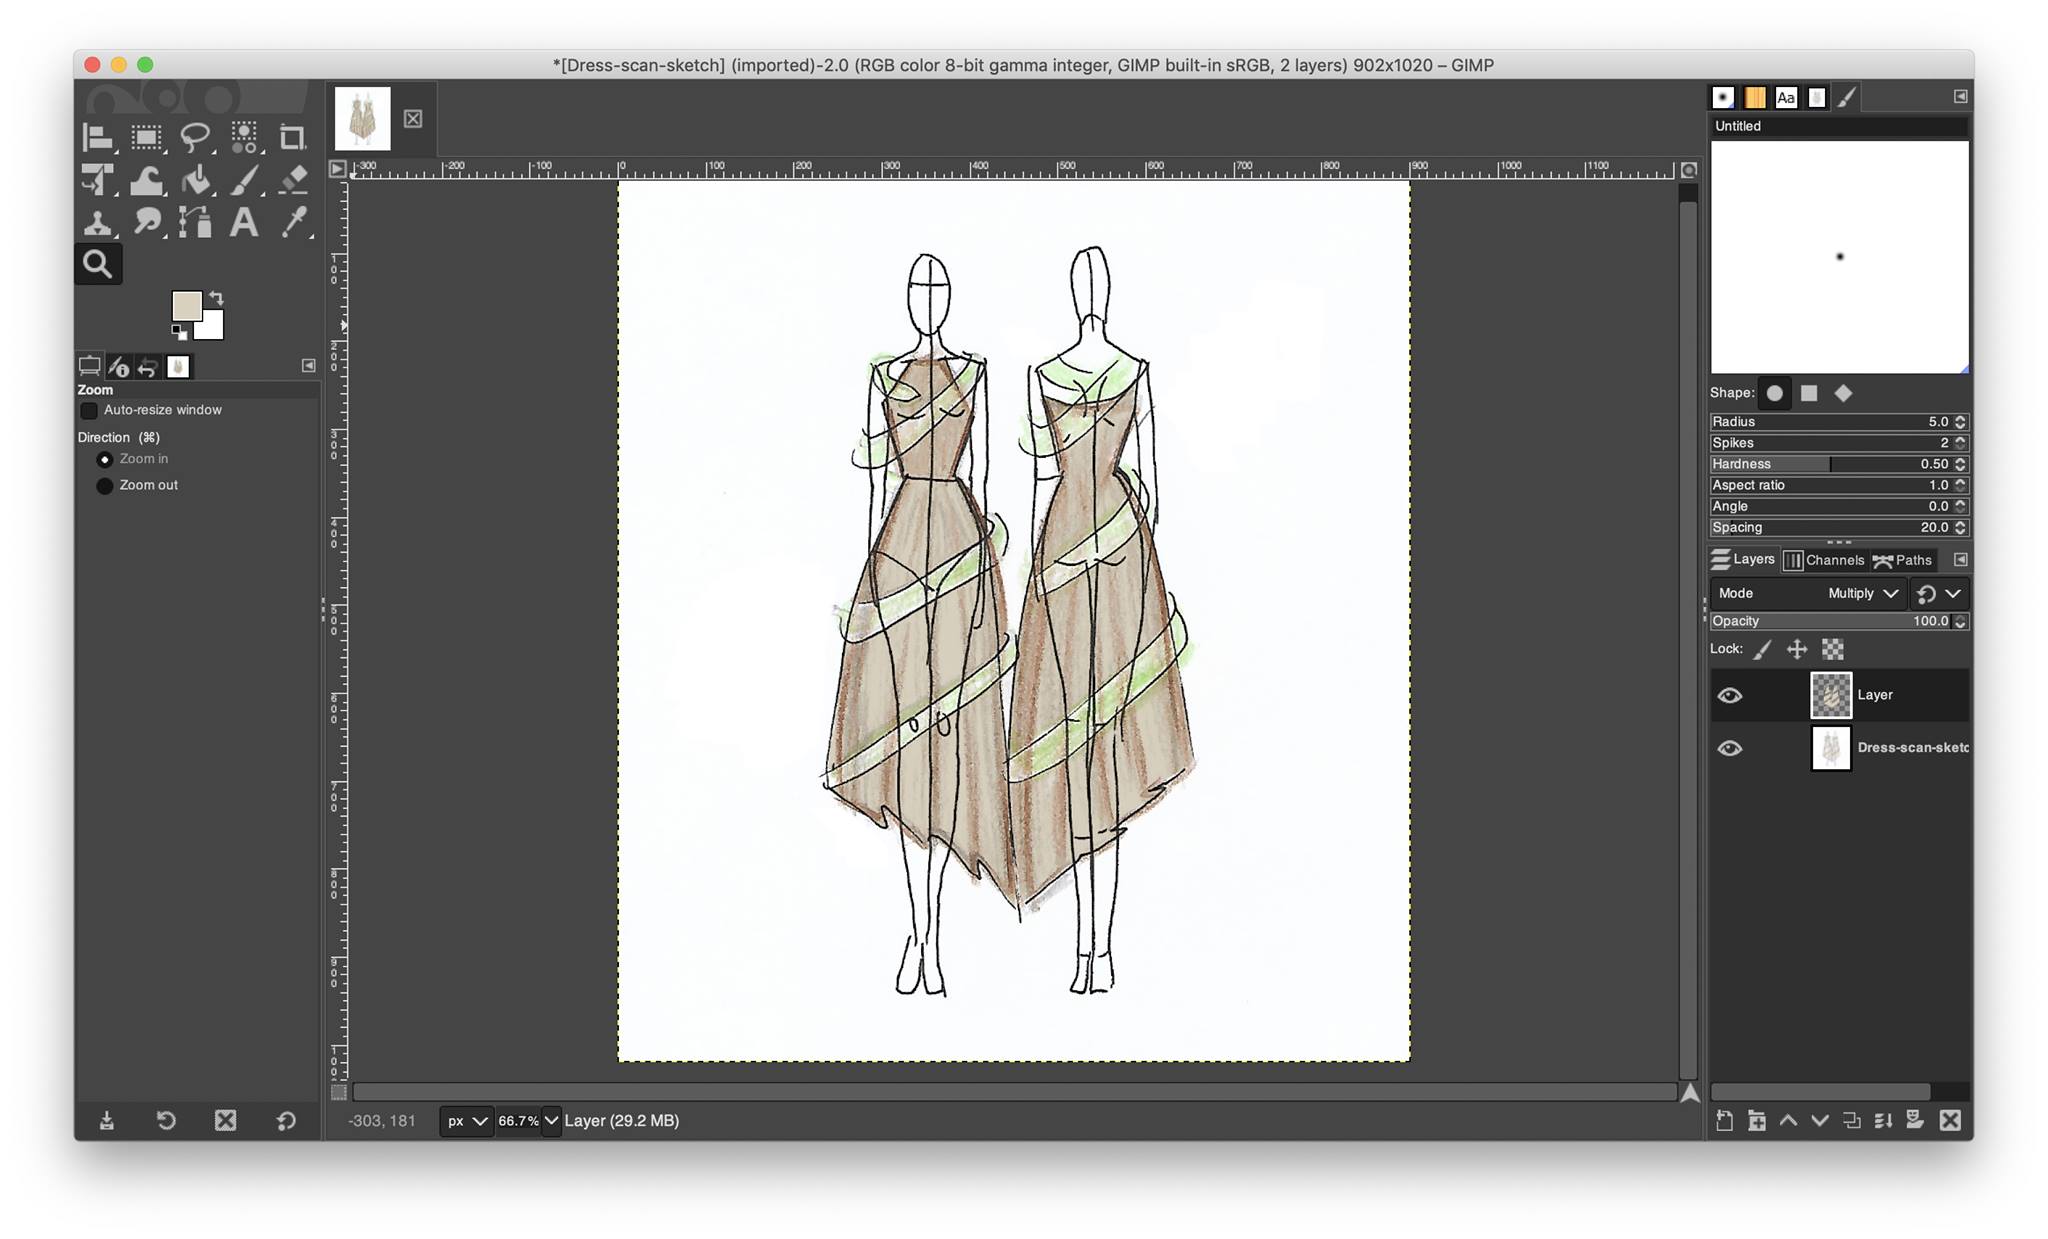
- As is it appears, the coloring was a simple block color on the selected area, to mantain a more realistic look and perserve the shadows, I changed the layer mode to “Multiply”.
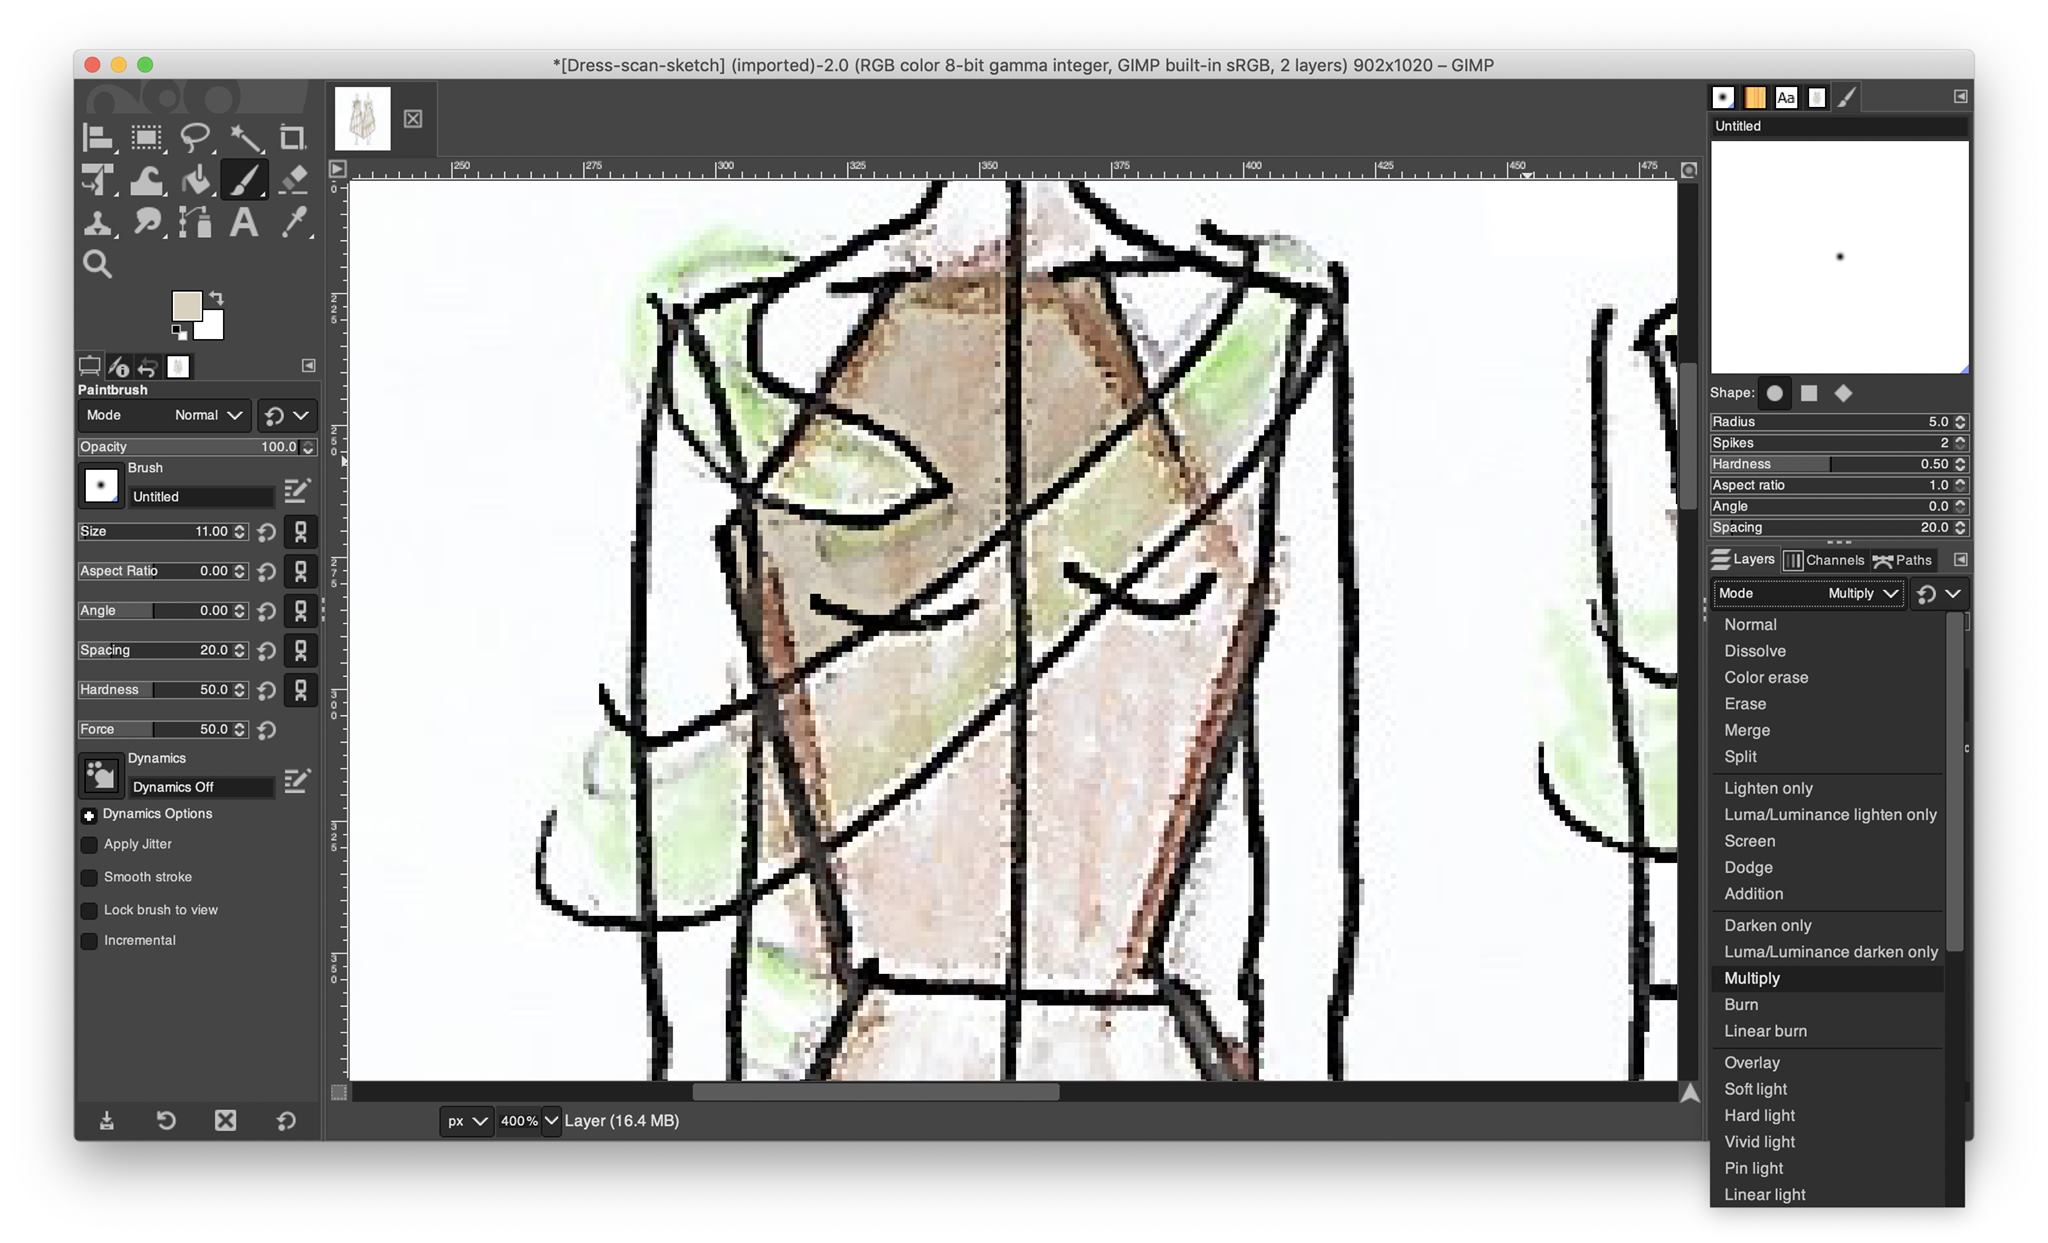
The edited area now has a deeper color and mantains the original sketch’s feel. I repeated this for all parts of the undress, used the eraser tool to sharpen some edges, and this is how it ended up looking.

Krita
I’ve heard alot about this software and how good it was, so I had to try it. I didn’t take the sketch to its maximum potential with GIMP because I wanted to do that with Krita. I stopped after sharpening the sketch and fixing some colors, and I am now going to render the sketch to better visualize the project using Krita.
-
I installed it using the direct link.
-
Krita does not support the xcf file that GIMP produced after saving my project so I used an online XCF to PNG converter to change the file to a supported file (png).
-
I opened the image into Krita, and duplicated the layer two times to have a total of 3.

- I blurred the second layer using Filter> Blur. And I used the following settings:

-
After blurring, I merged down layer 2 onto 1.
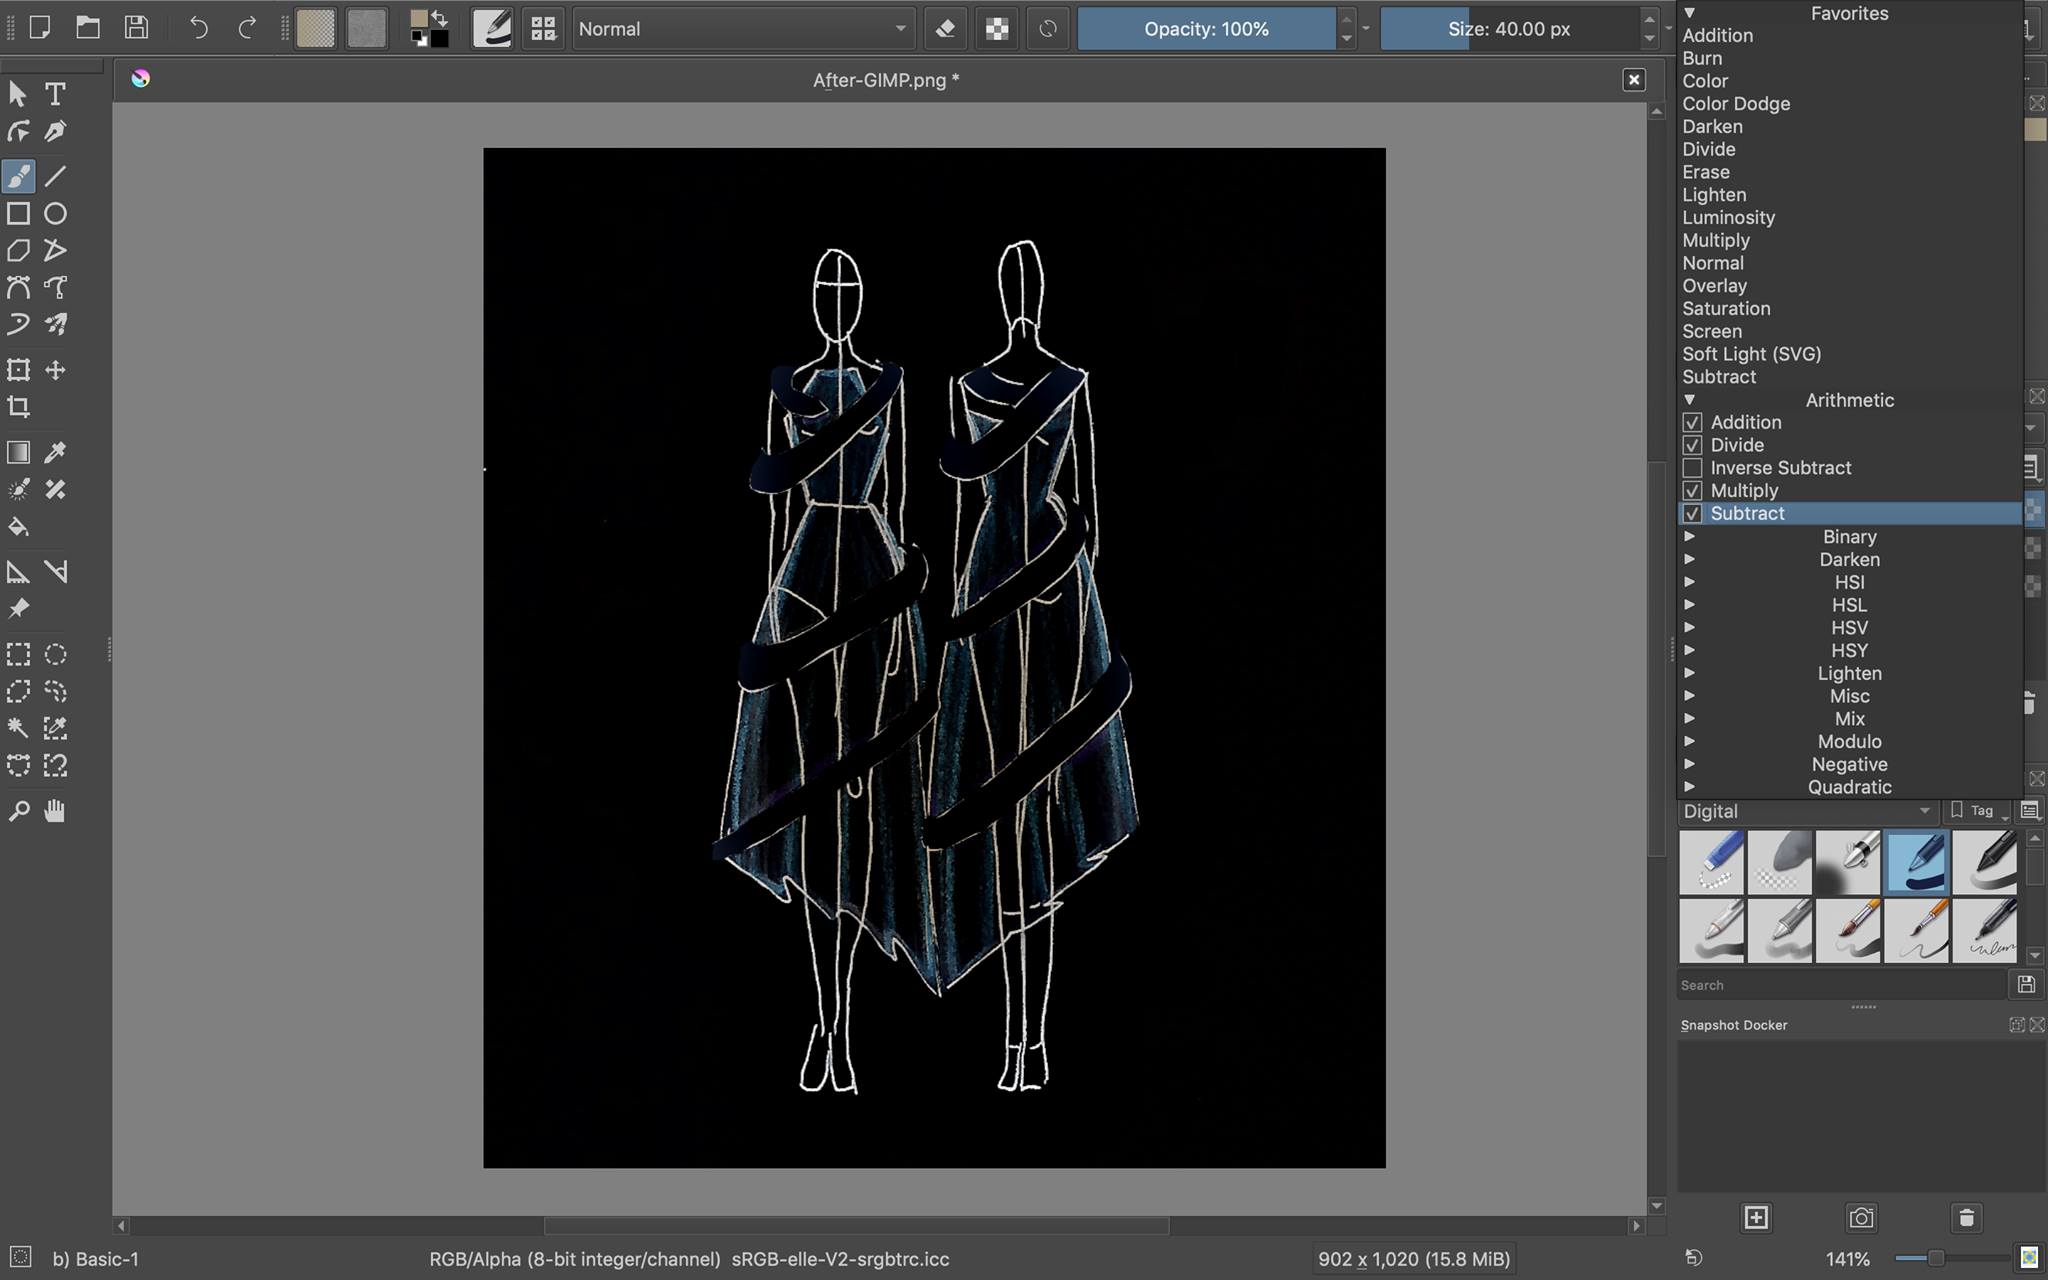
-
I changed the mode of the layer to subtract to get the outlines of my sketch.
- Inverted the layer.
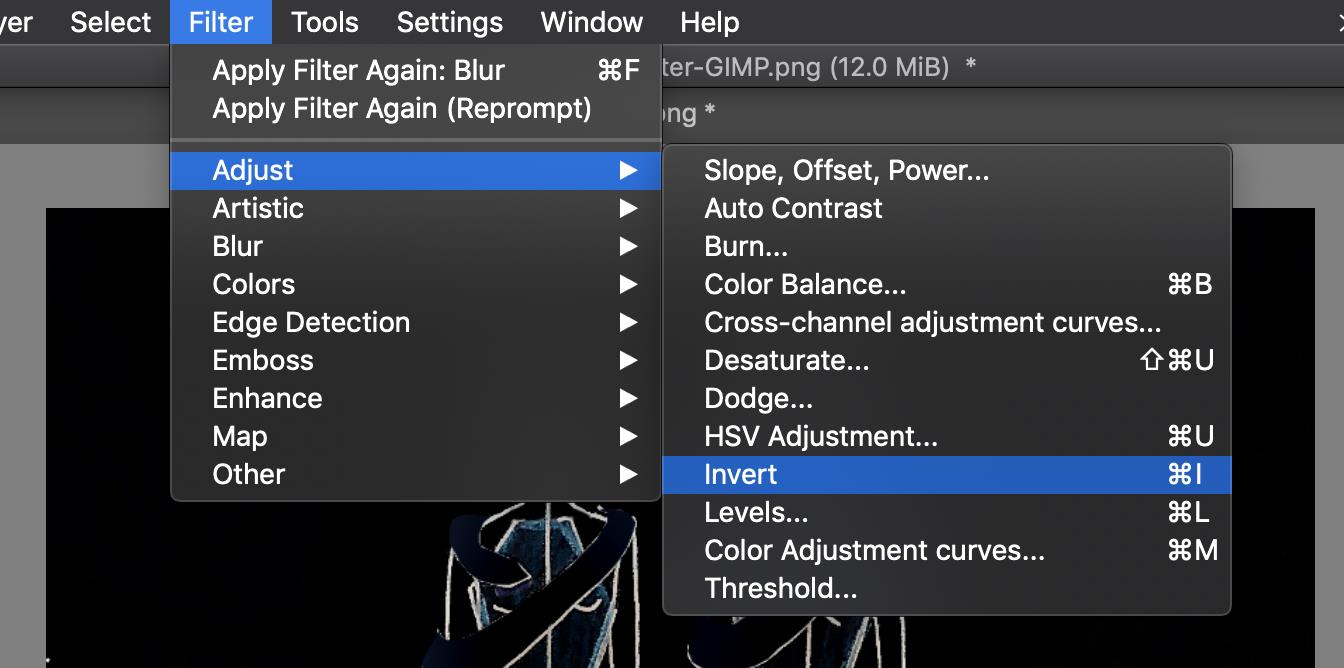
- Adjusted the brightness and contrast curve.
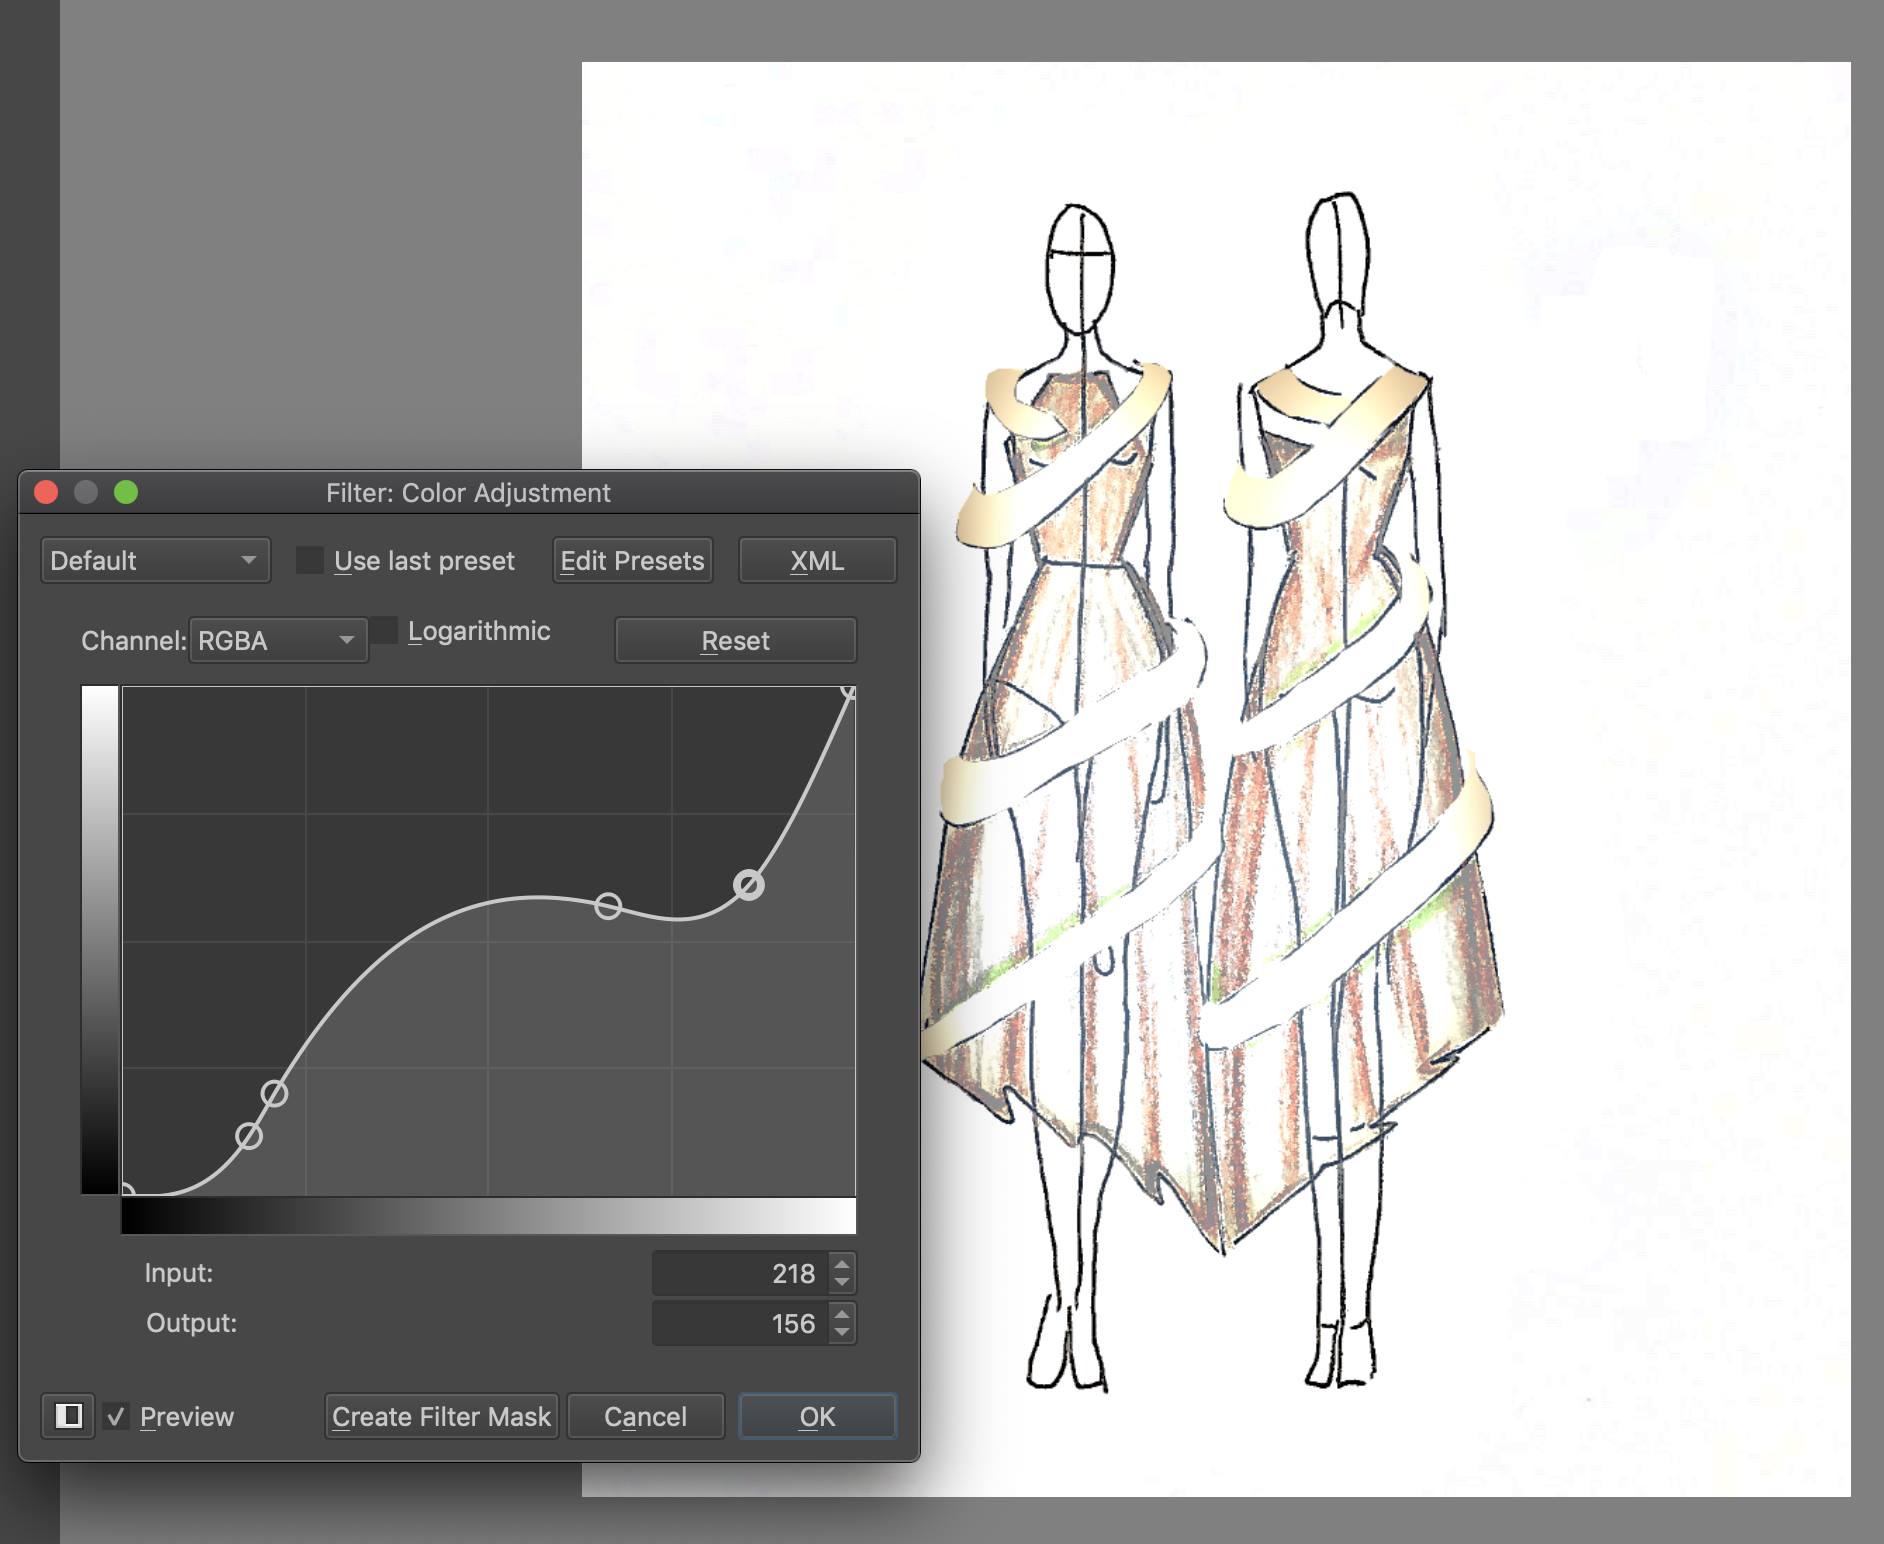
- And then Filter> Colors> Color to Alpha to elimnate the background.
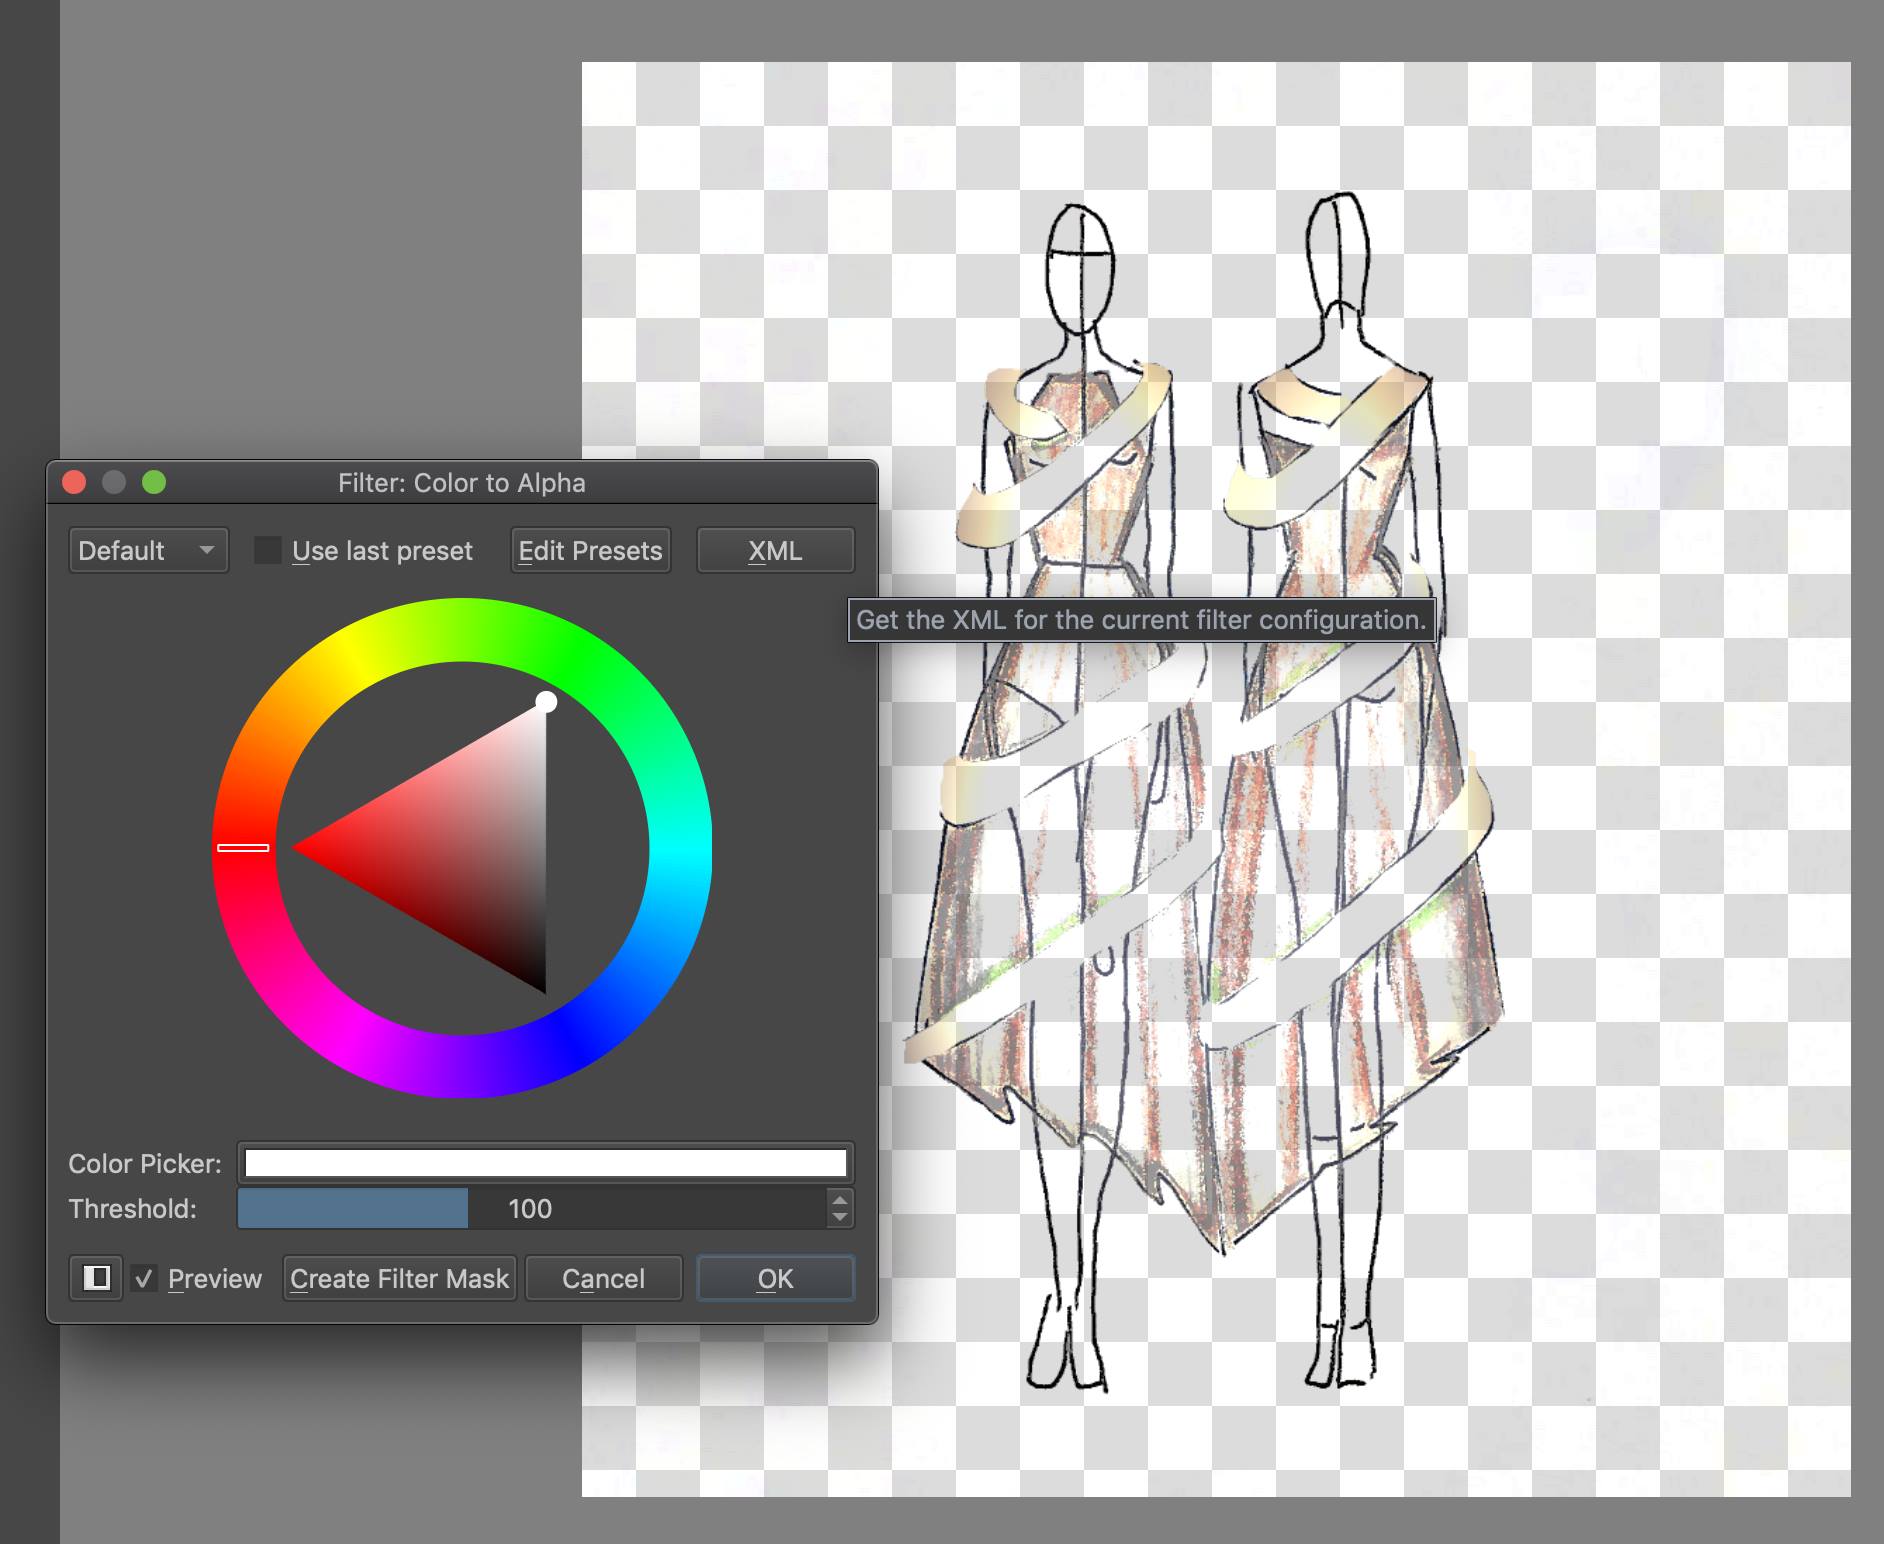
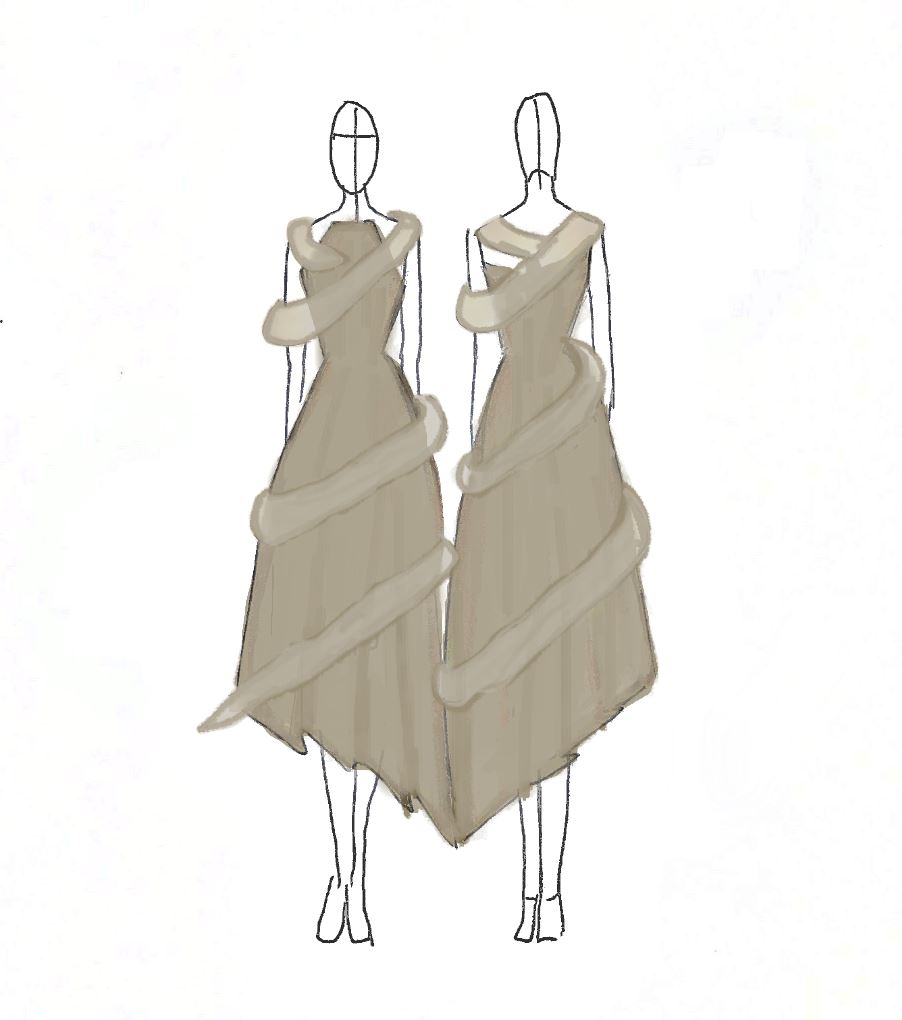
- Then, normally using the brushes I started painting in the underdress,
and the scarf.
- Added shadows by playing with the different brushes and opacities, and I was done.
Adobe Illustrator
GIMP and Krita are both raster-based 2d softwares, so I decided to try a vector-based software, Adobe Illustrator. I will be using it to draw the sewing patterns for my final project that will then be lasercut.
First, I launched the application and created a new document.
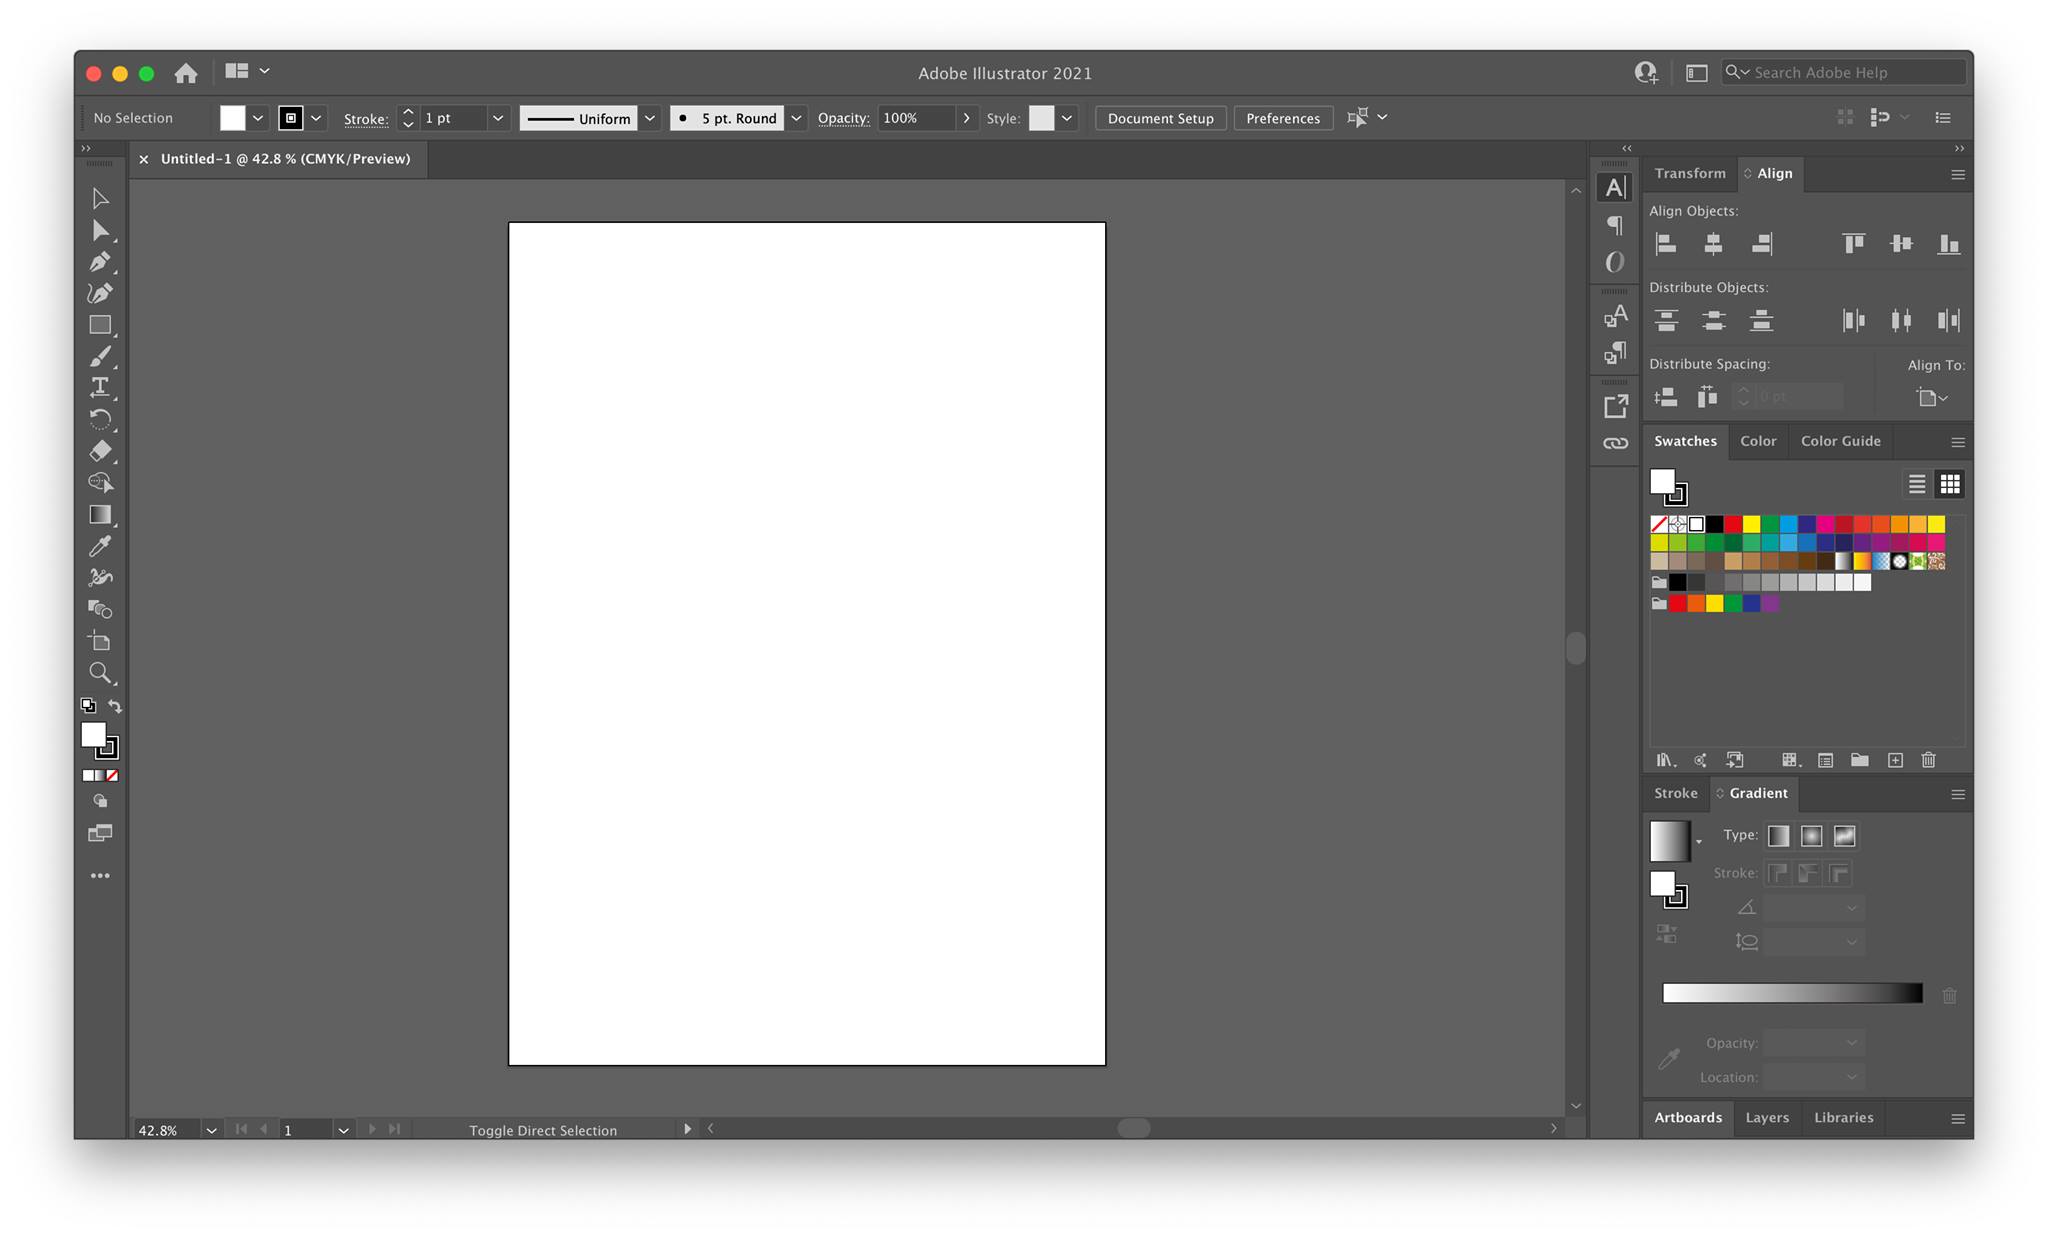
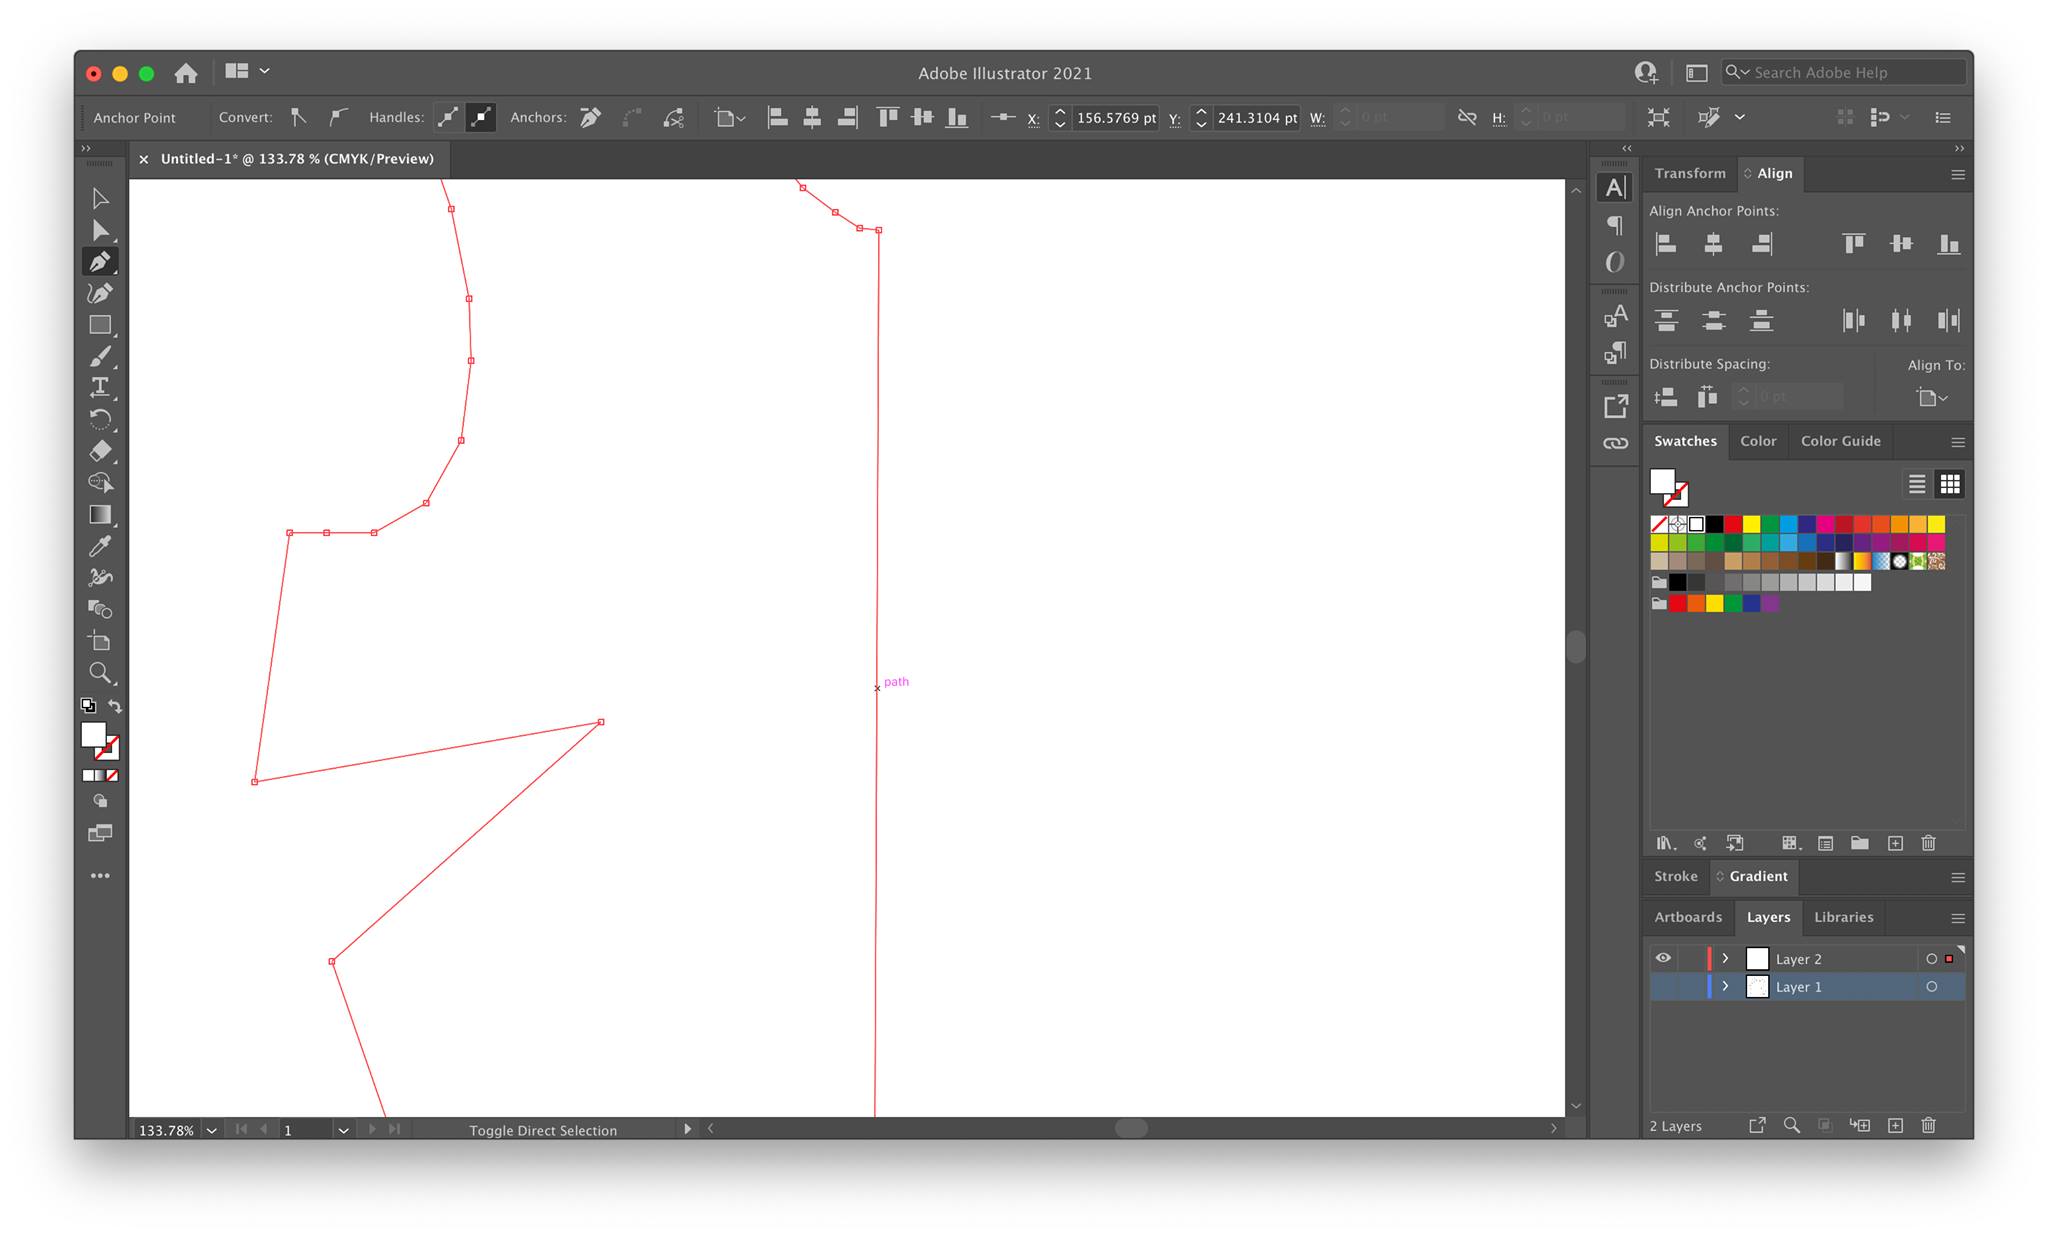
Then, using the pen tool from the side menu, I started plotting dots that will form an example of a top’s pattern with proper dimensions.
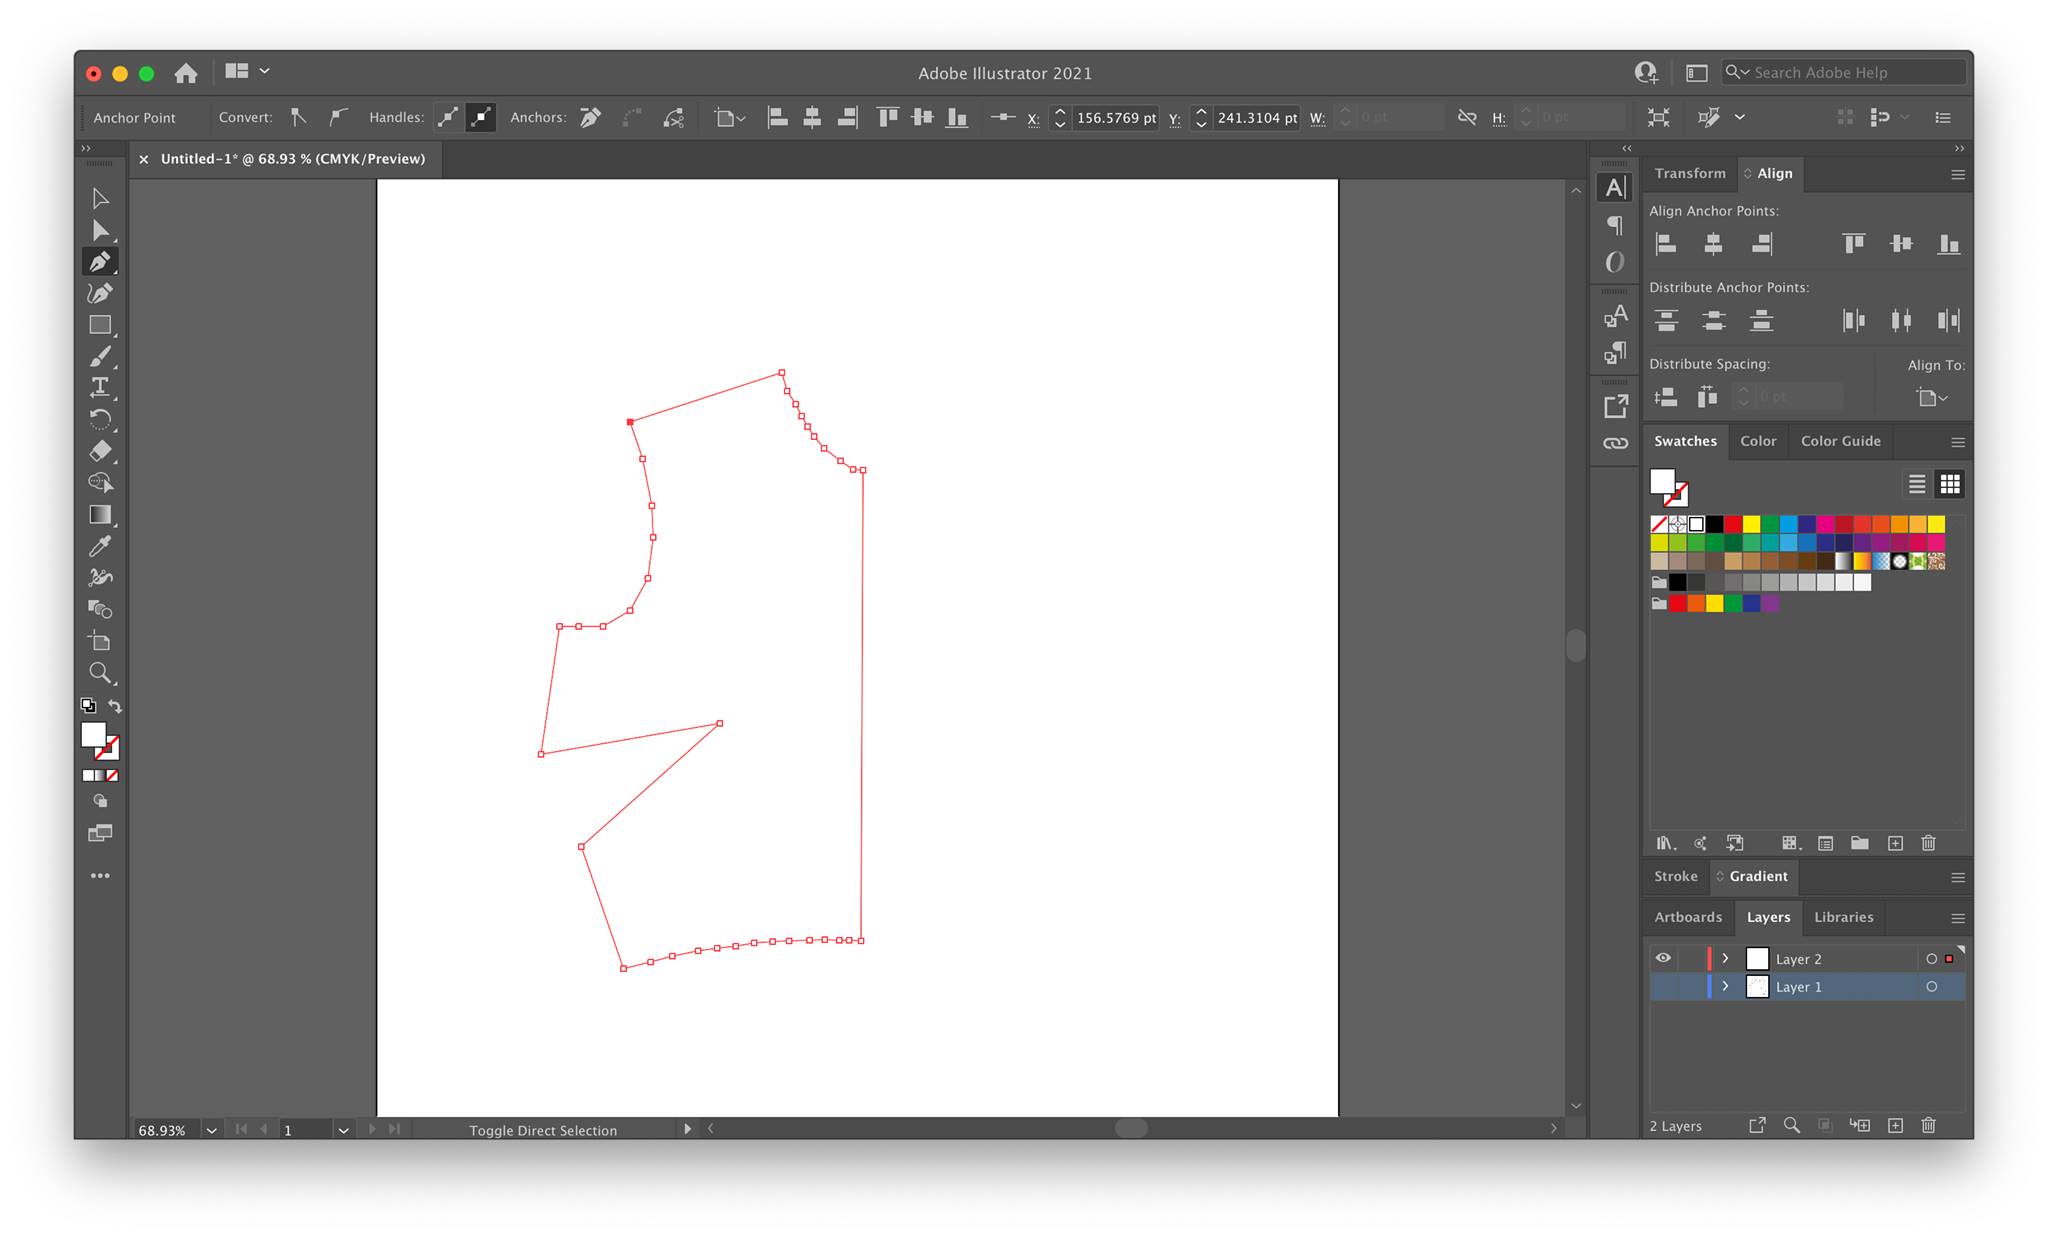
Each of those lines is now a path and the lasercutter will be following them. For my final project, I will be repeating the same process for all the pieces, and it will be documented on my Final Project page upon finishing.
3D Softwares
Fusion 360
- I have no prior experience with 3D softwares, so I decided to try. I had already installed Fusion 360 from Autodesk, so I launched it and created a new file.
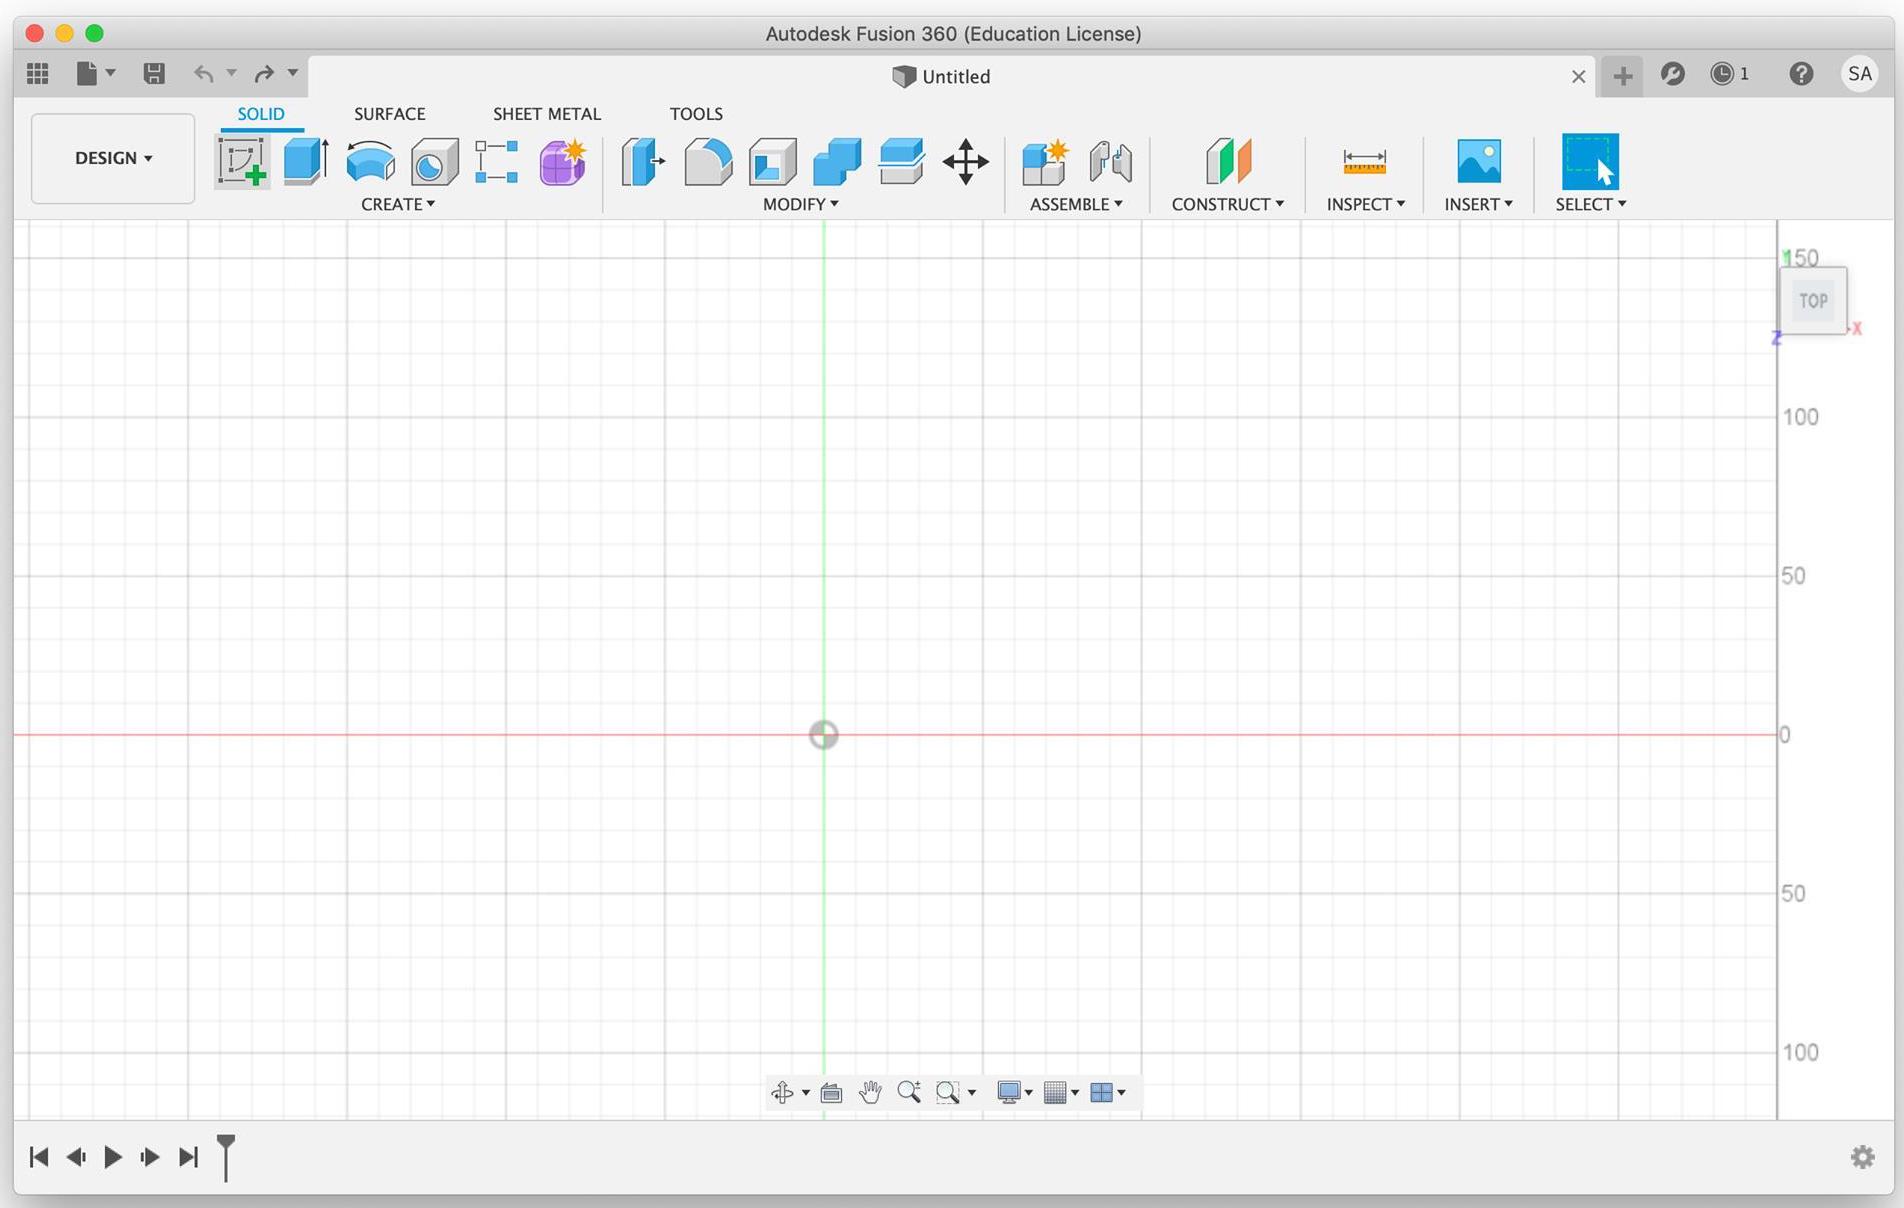
- Then I looked up a beginners tutorial on the internet to learn the basics. The tutorial was recreating this guide:
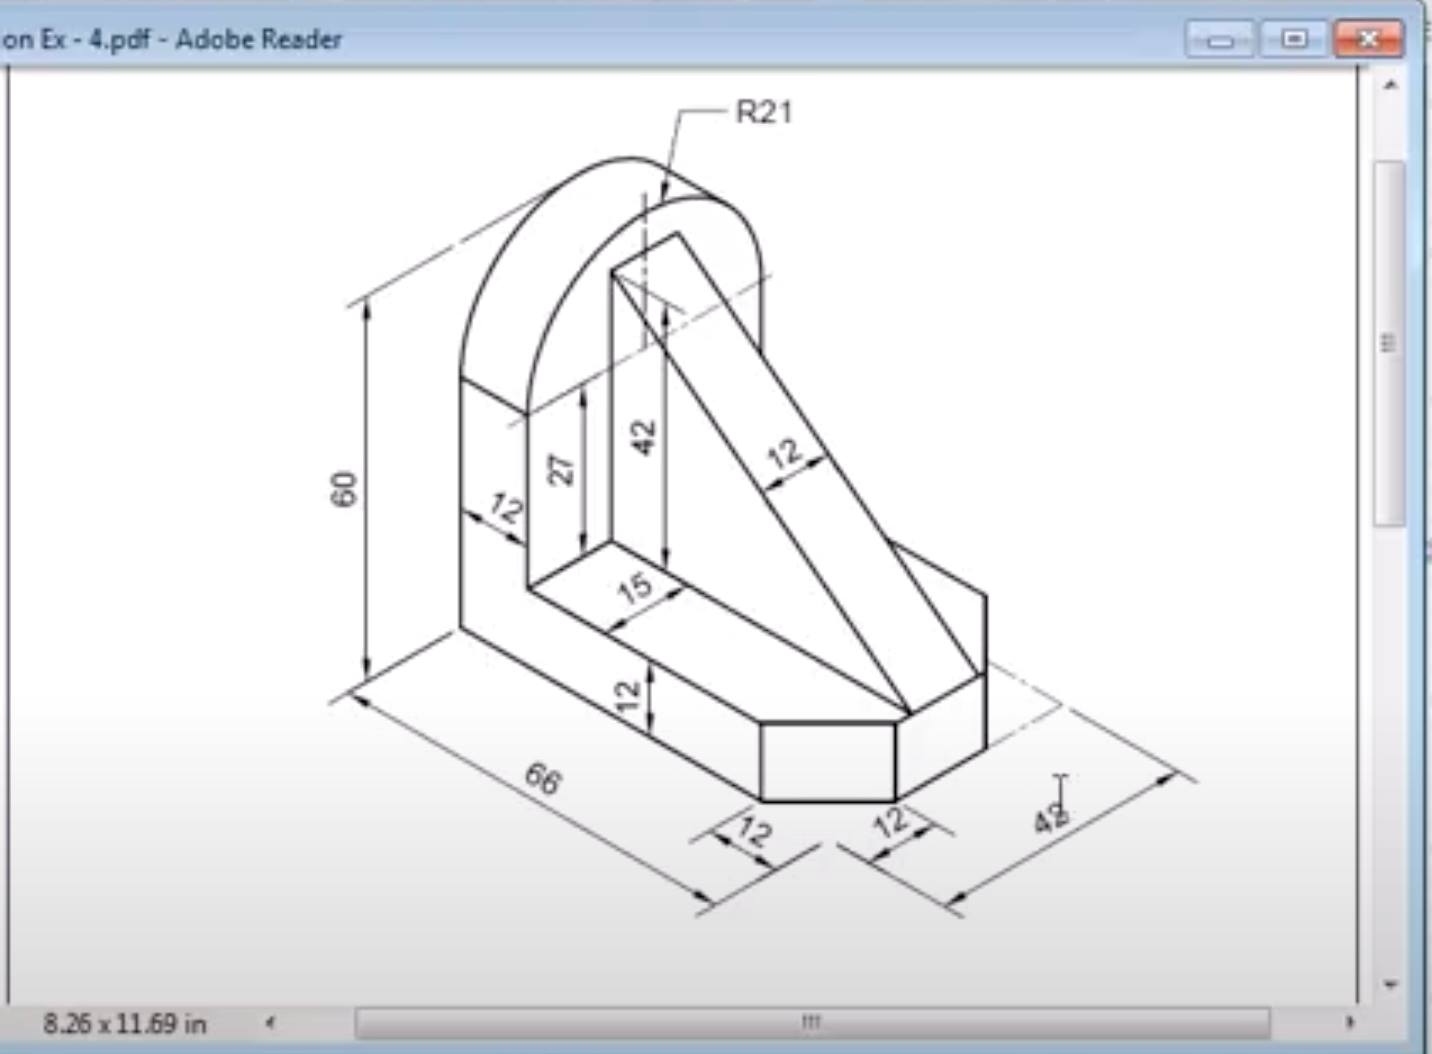
- The tutorial first called for sketching a center rectangle, and I did that using the sketch> rectangle tool. Pressed on the center point to get the rectangle on the center, then I was ready to set the dimensions.
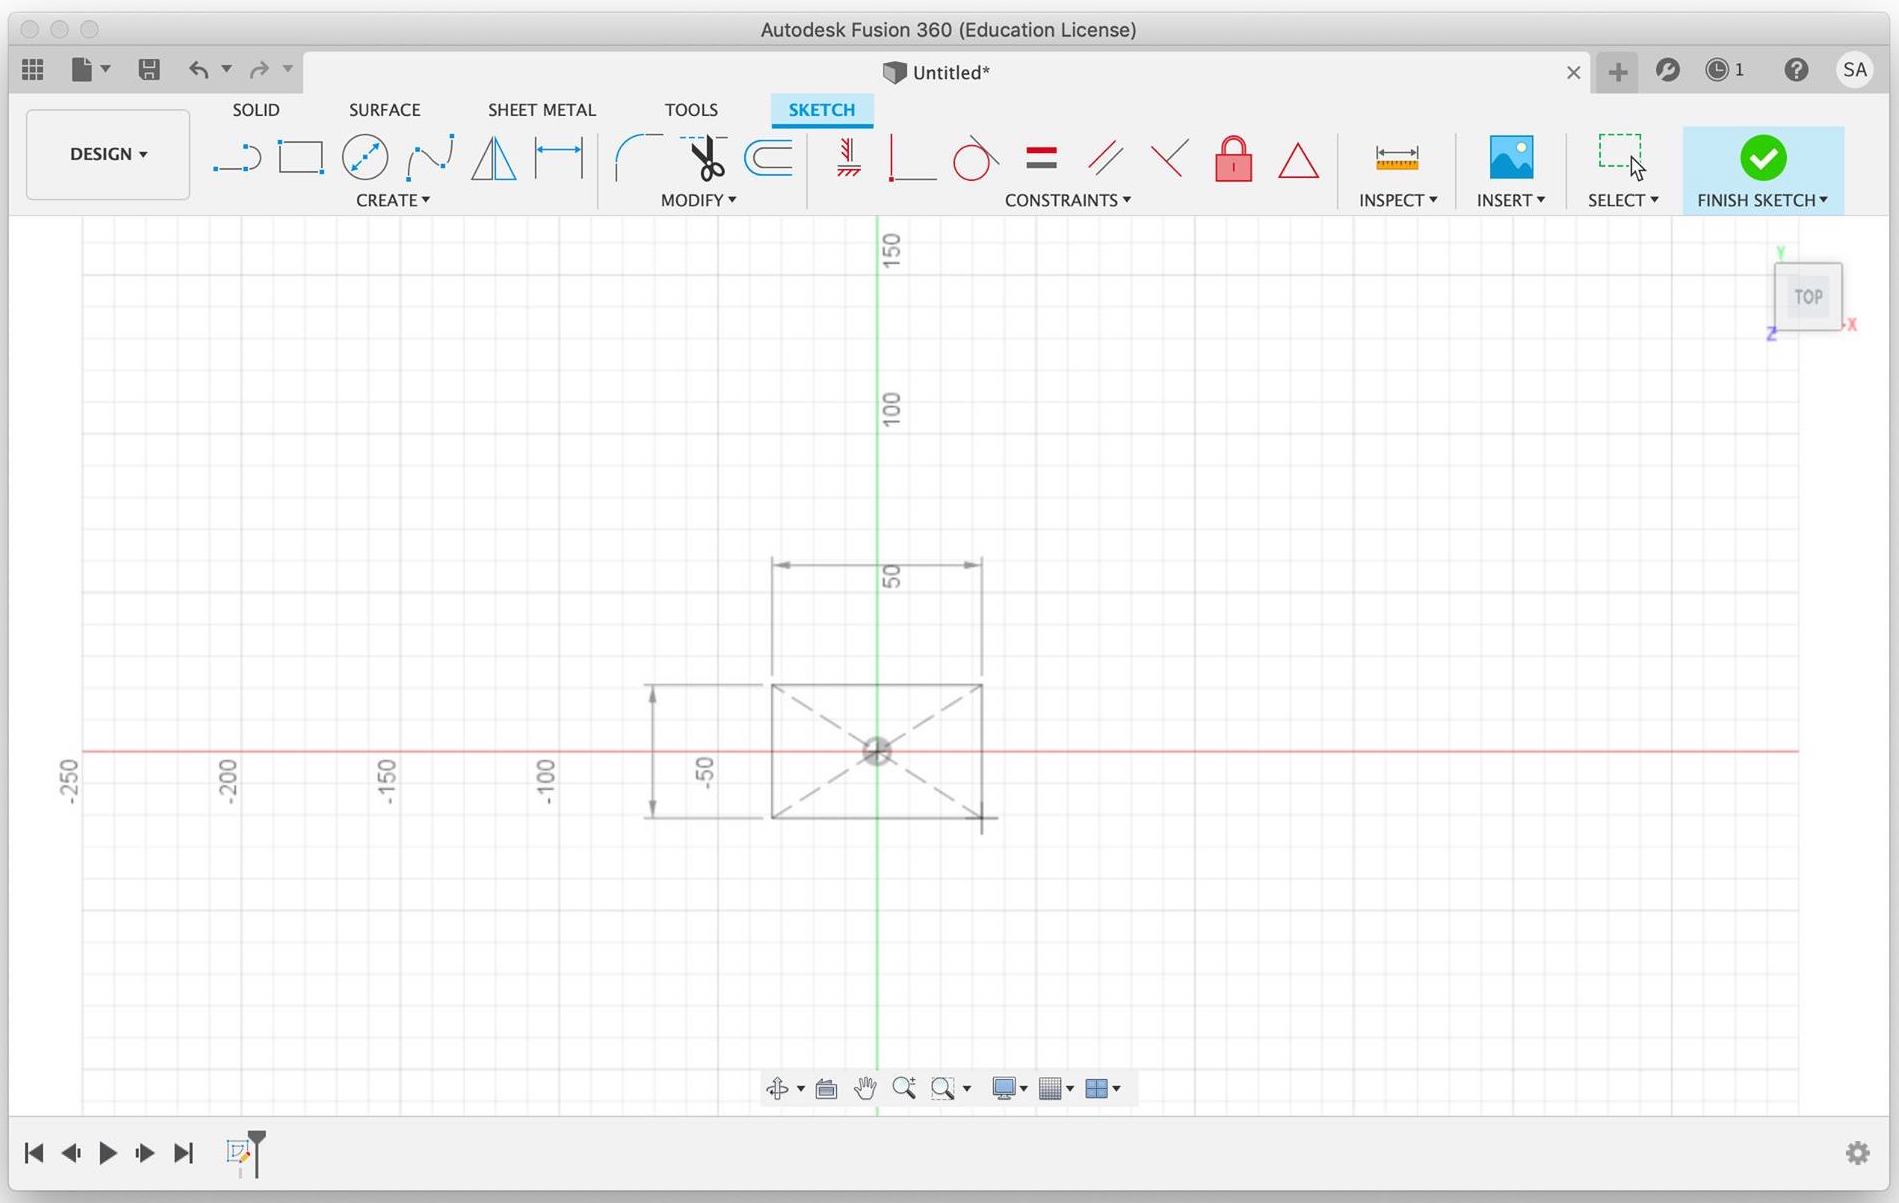
- Based on the guide picture, I adjusted the width and height of the rectangle.
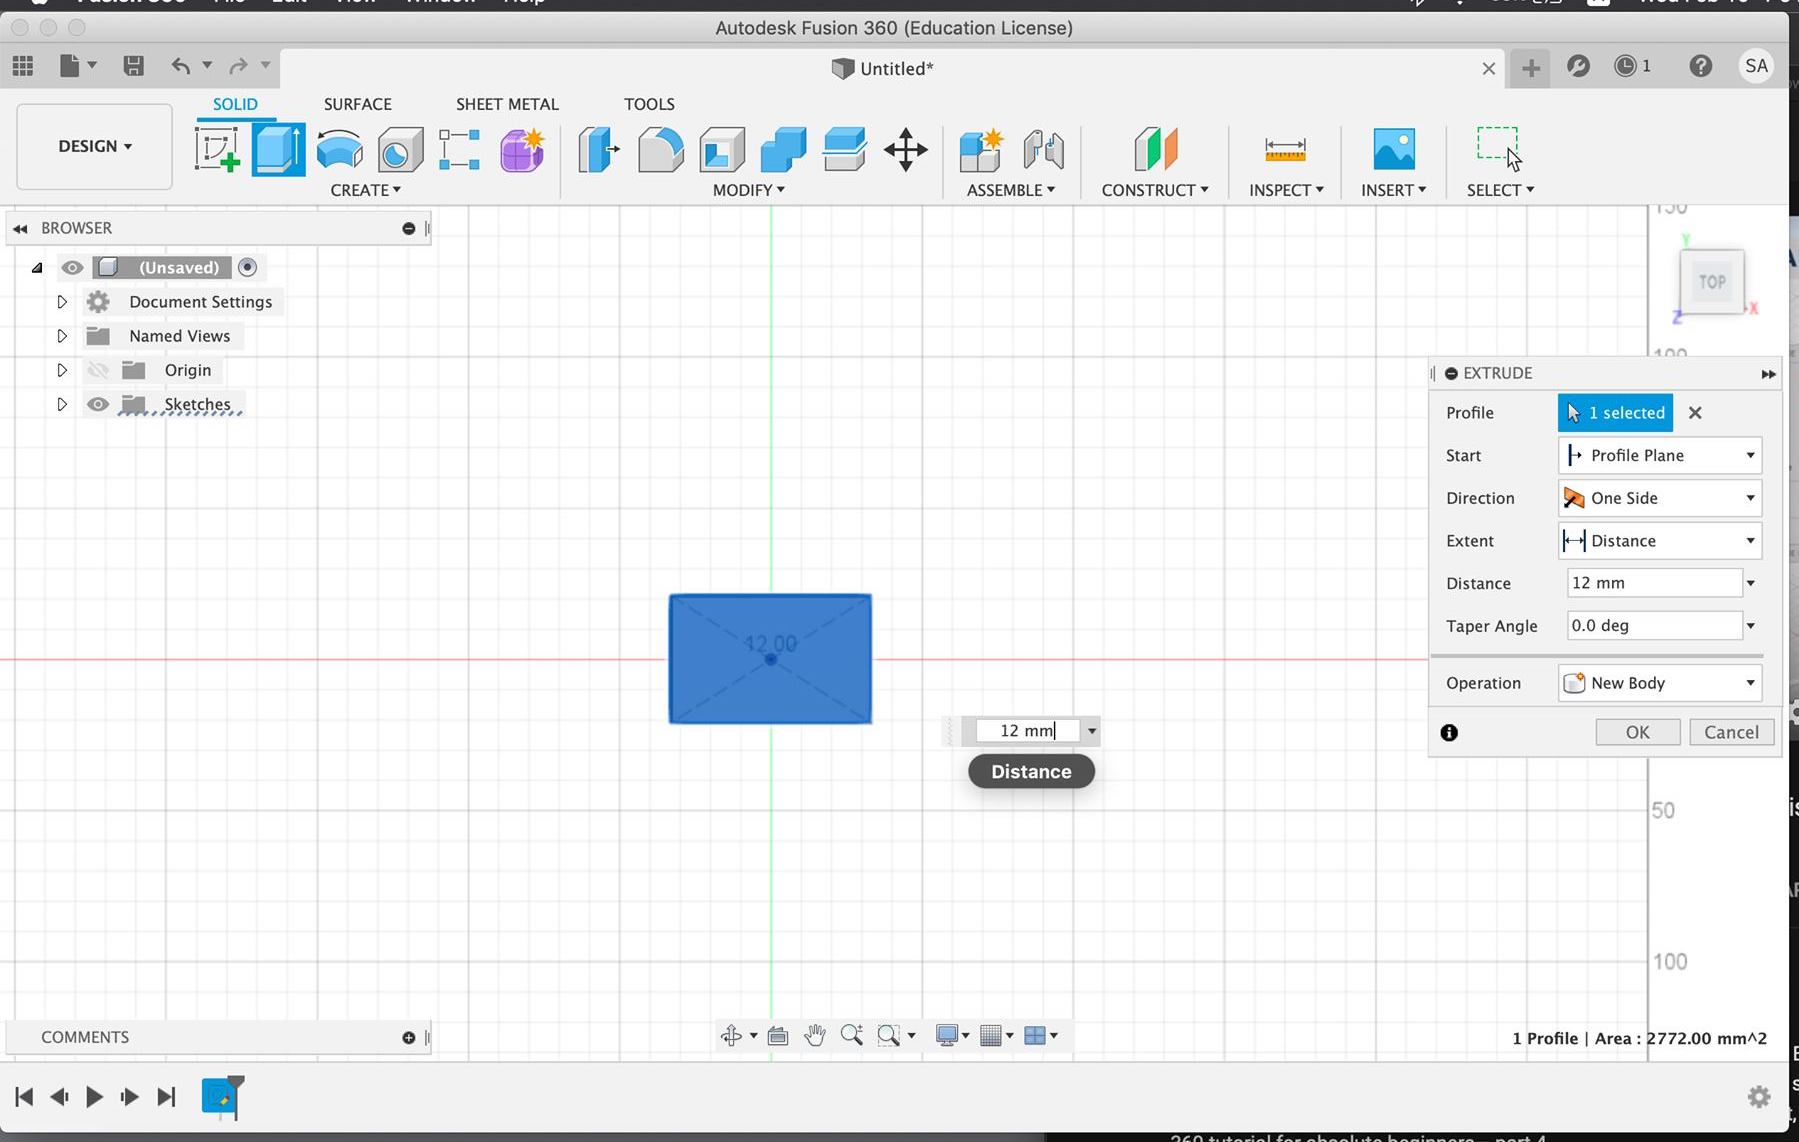
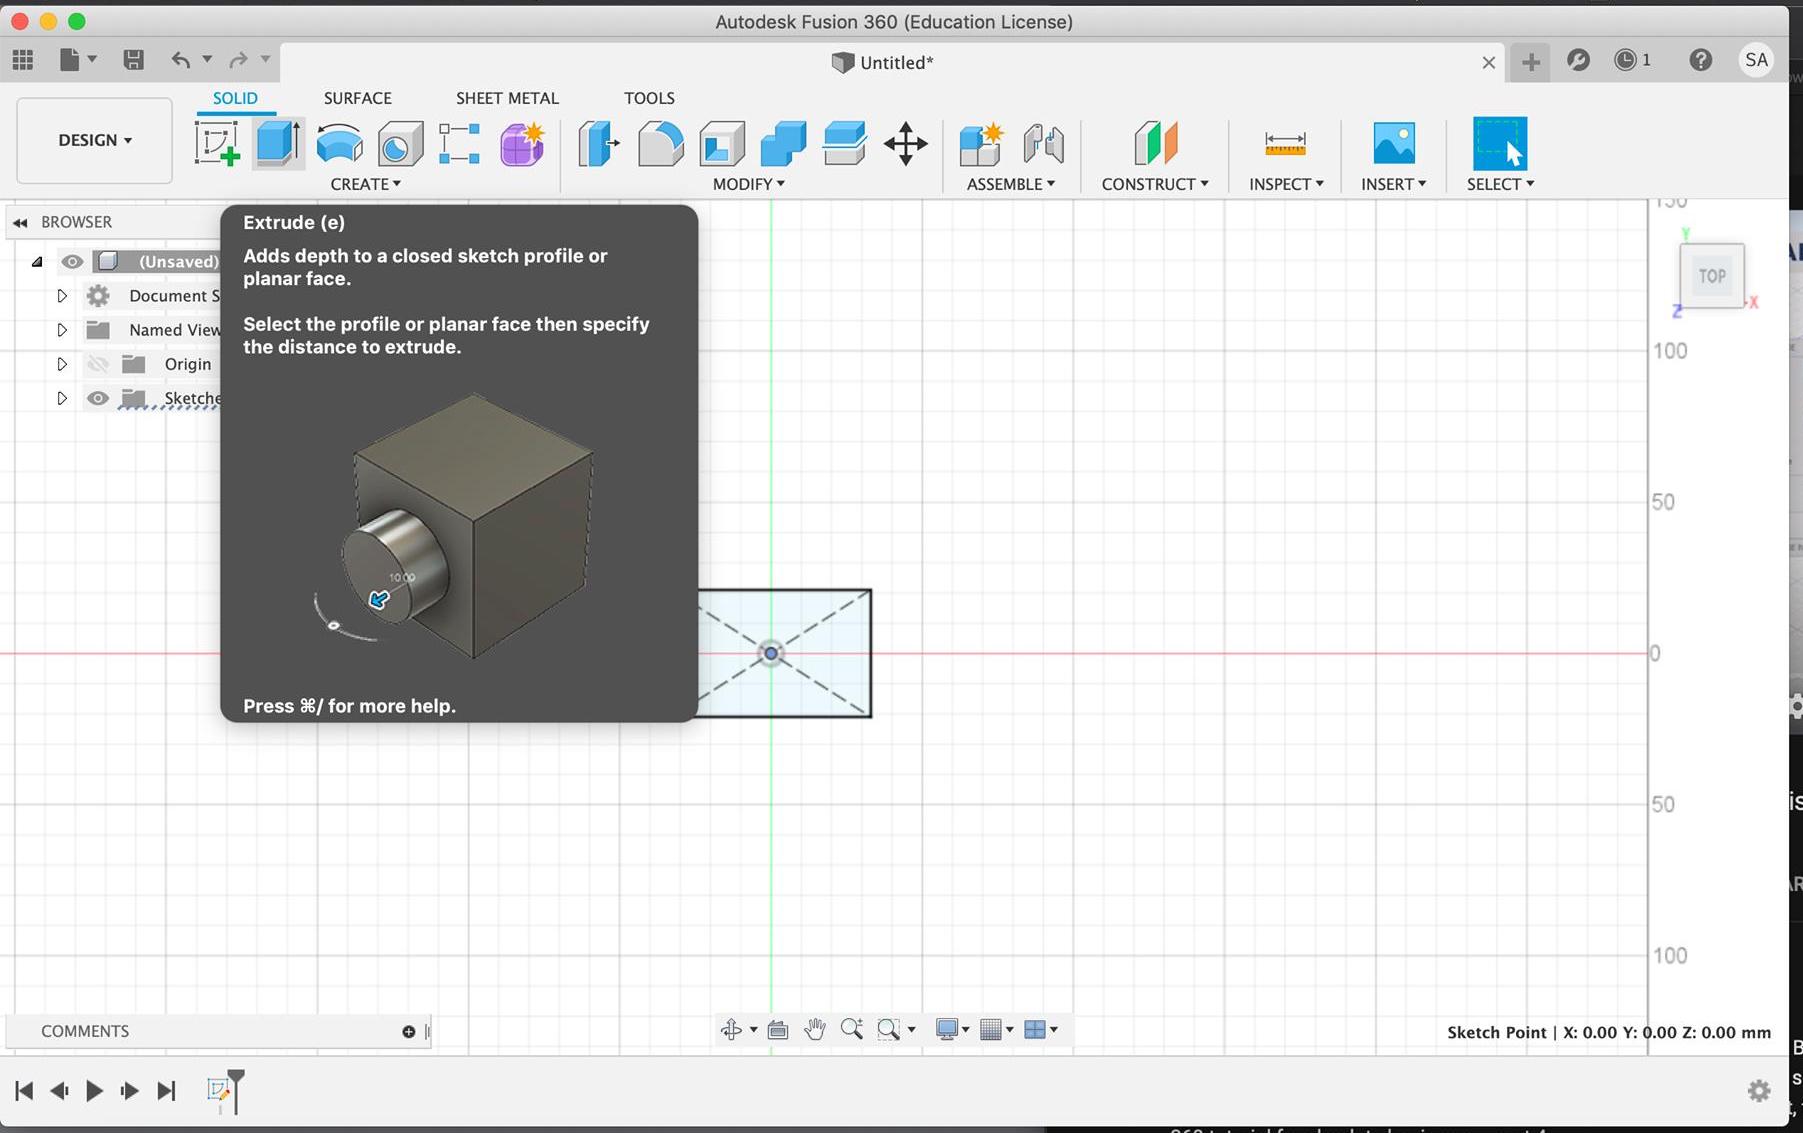
- Then I used the extrude tool to add depth and a third dimension to the sketch.
- Once again, following the guide, I set the dimensions respectively.
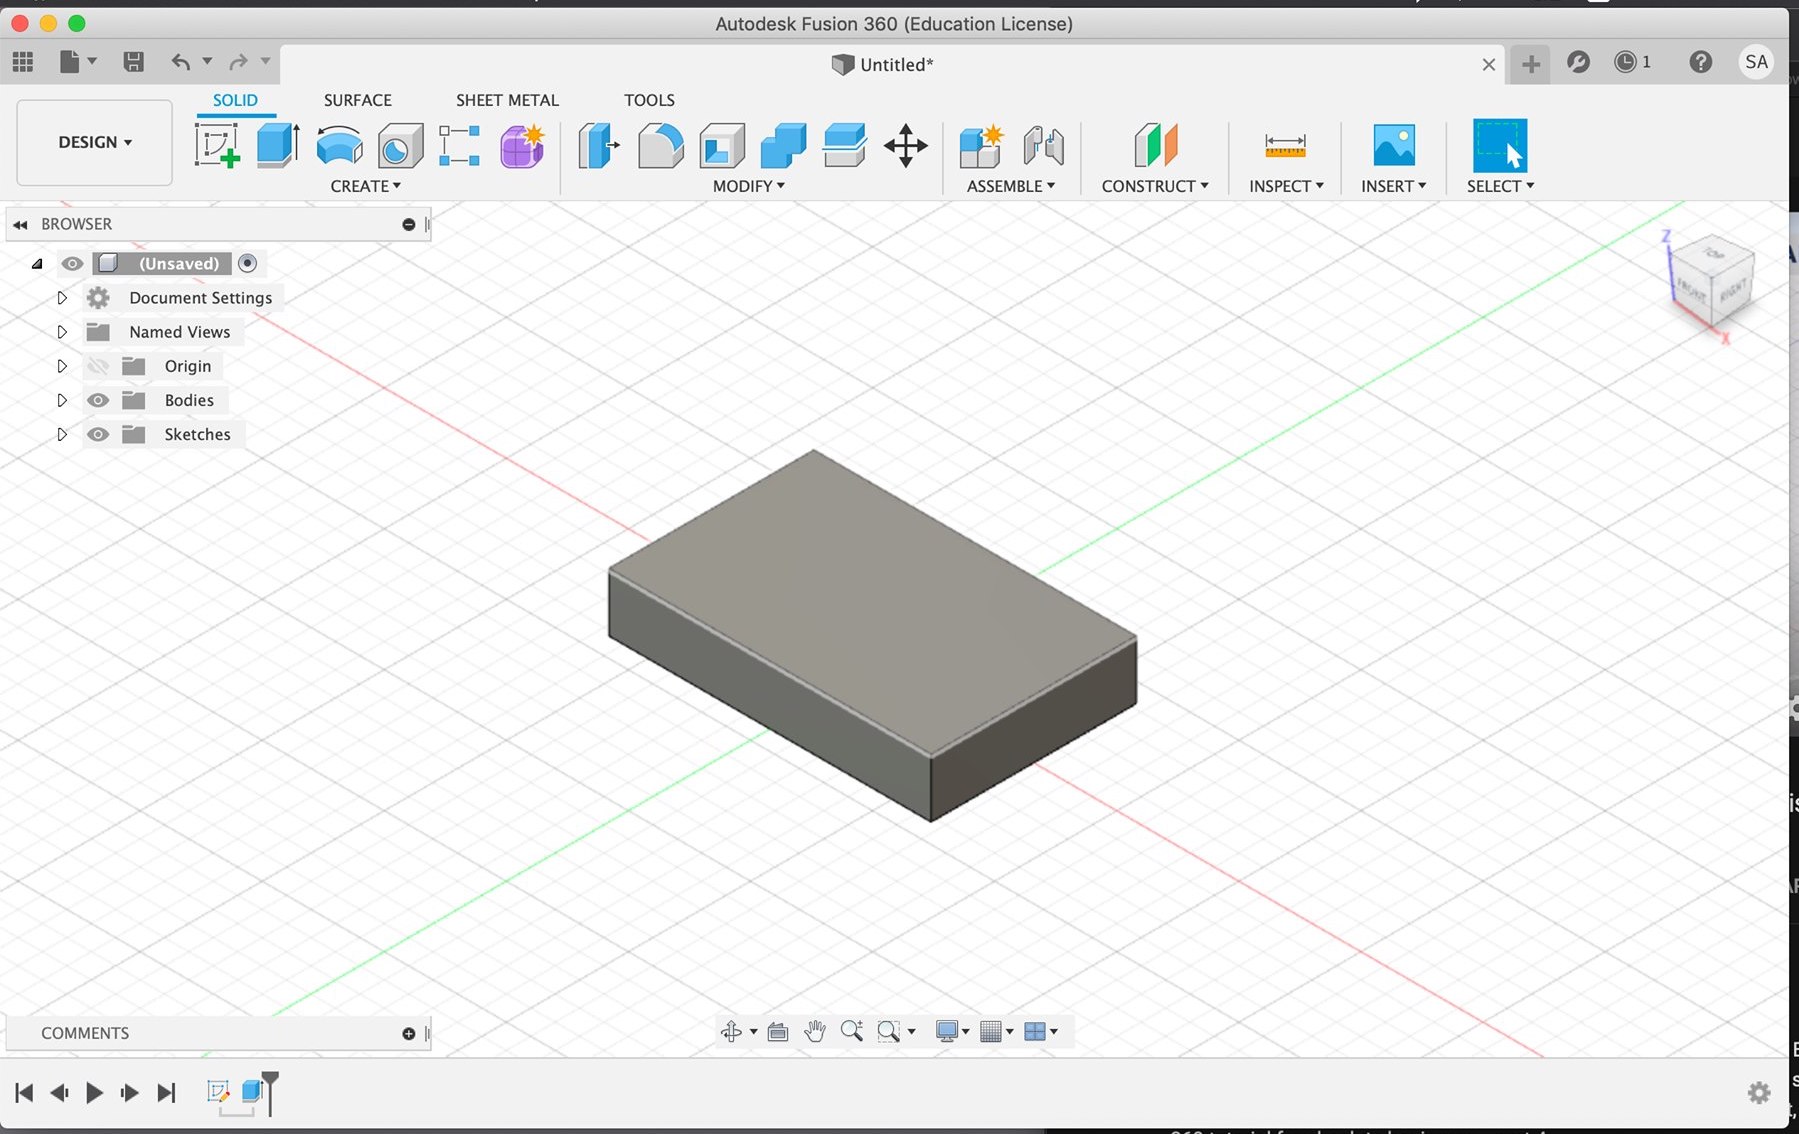
-
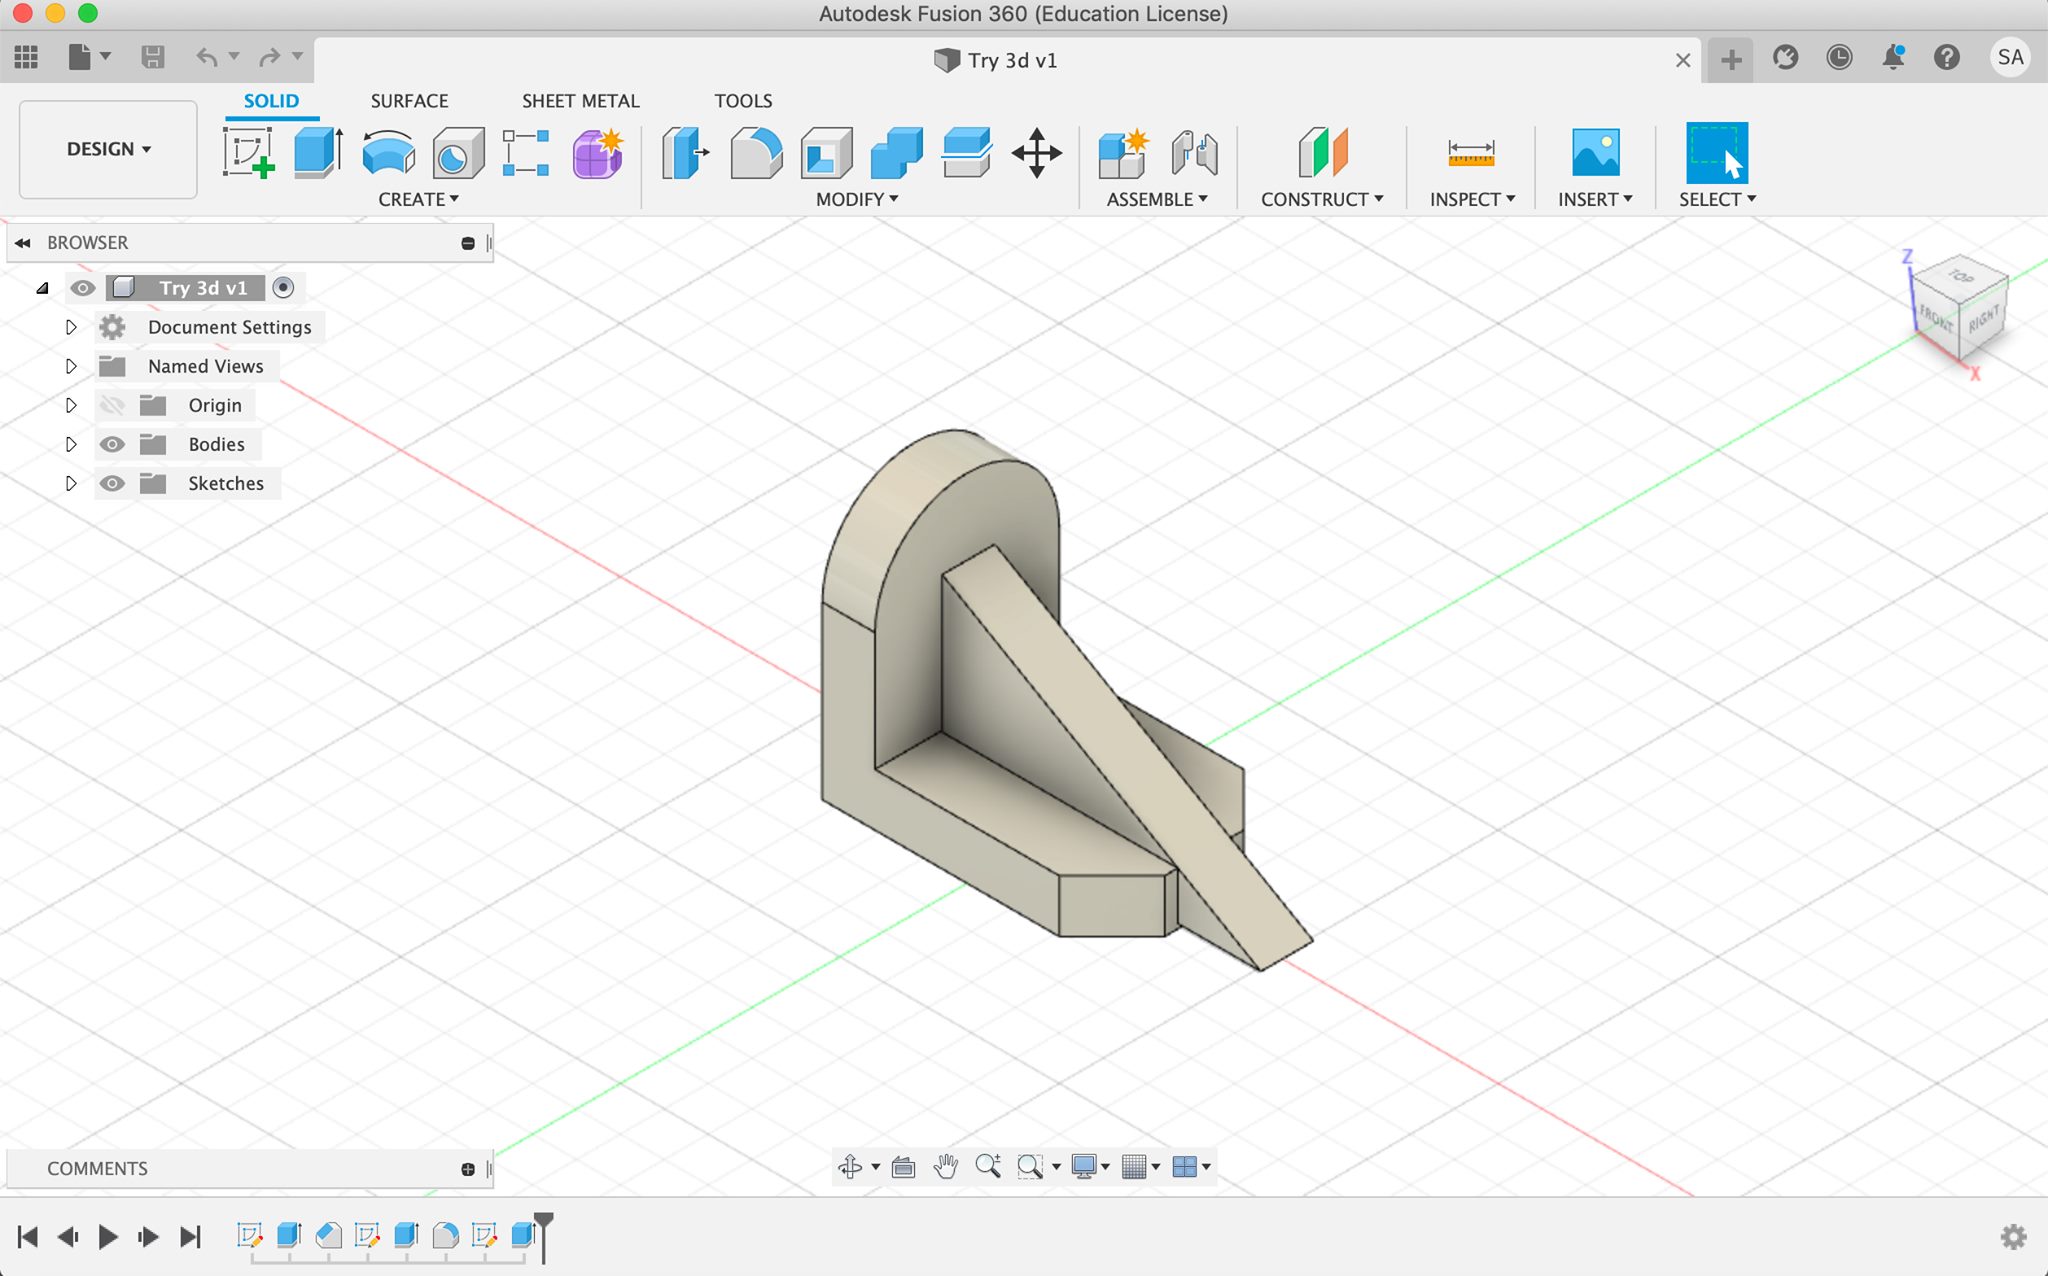
Repeating the same steps for the other parts, I managed to recreate the object in the guide. I used the fillet tool to create an arc, and the line sketch tool to add the triangle part of the object.
-
Here is a quick look into it. (I was following the tutorial step by step, ignoring that would be appreciated :)
- This was the final object. Although I am not certain what it is, I am grateful it led me to practice some of the tools.
Interactive preview
Design Files
The GIMP, Krita, and AI design files were all unsaved trials hence the lack in documentation.