11. Molding and Casting
For molding and casting week, I decided to cast the wheels for my final project. I was originally going to 3D print my wheels, but I realized that most 3D printing materials would not have great traction and would slip. This is a problem because I need precision for my final project.
To start, I designed my wheel in Fusion 360.
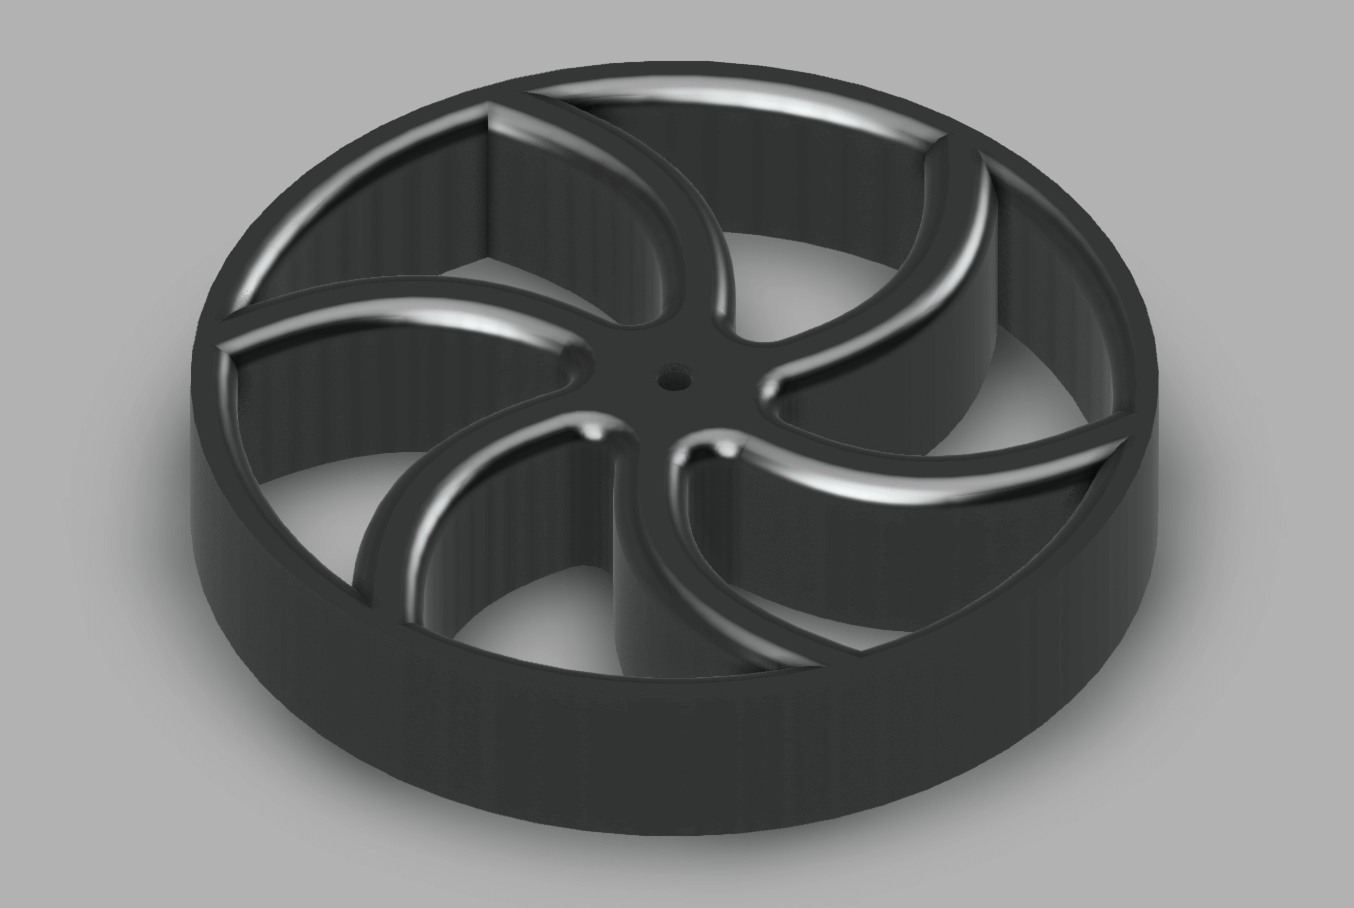
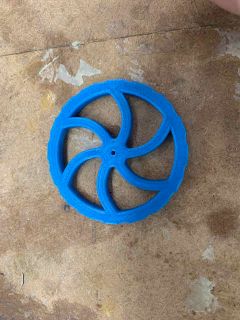
I then 3D printed my wheel at various sizes so I could decide the size of my wheels. I chose to go with a 50 mm size wheel.
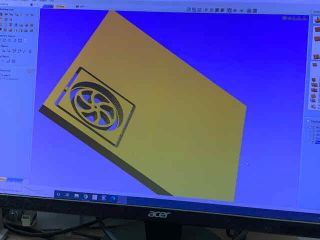
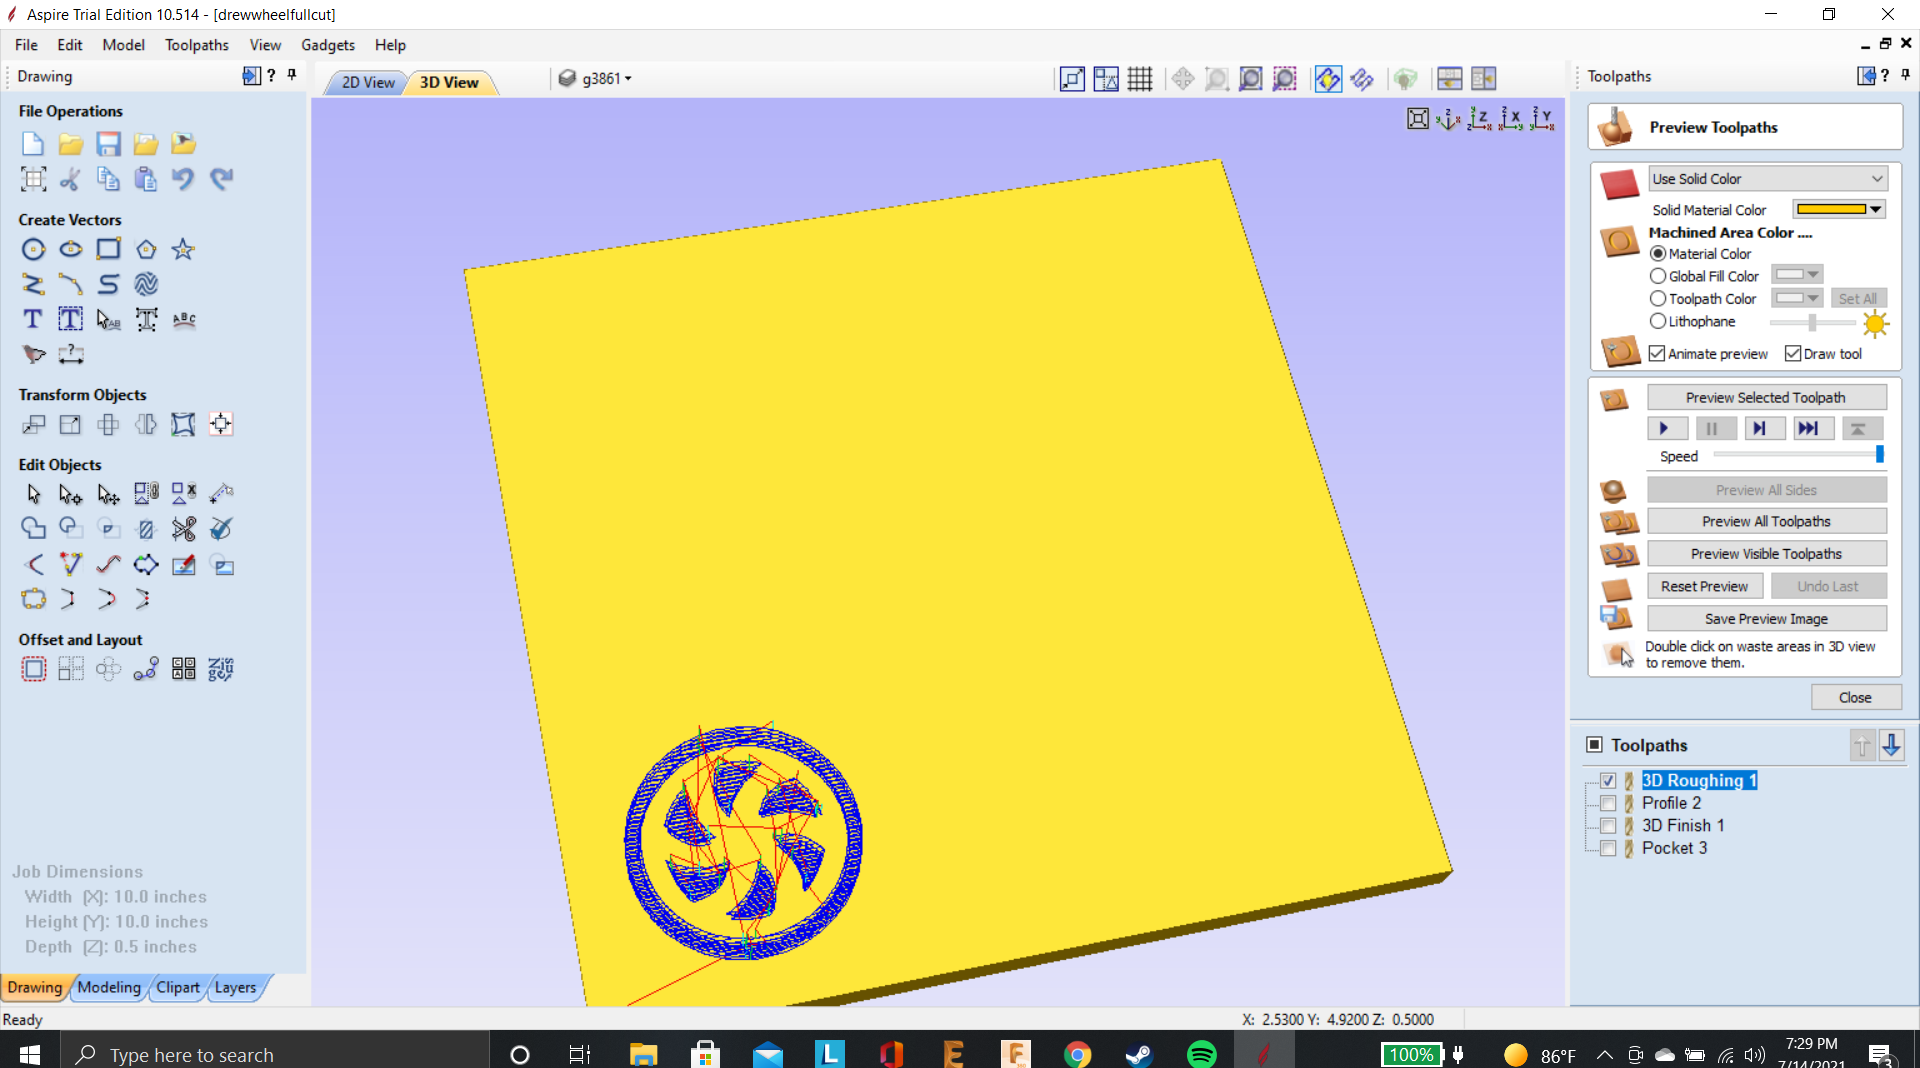
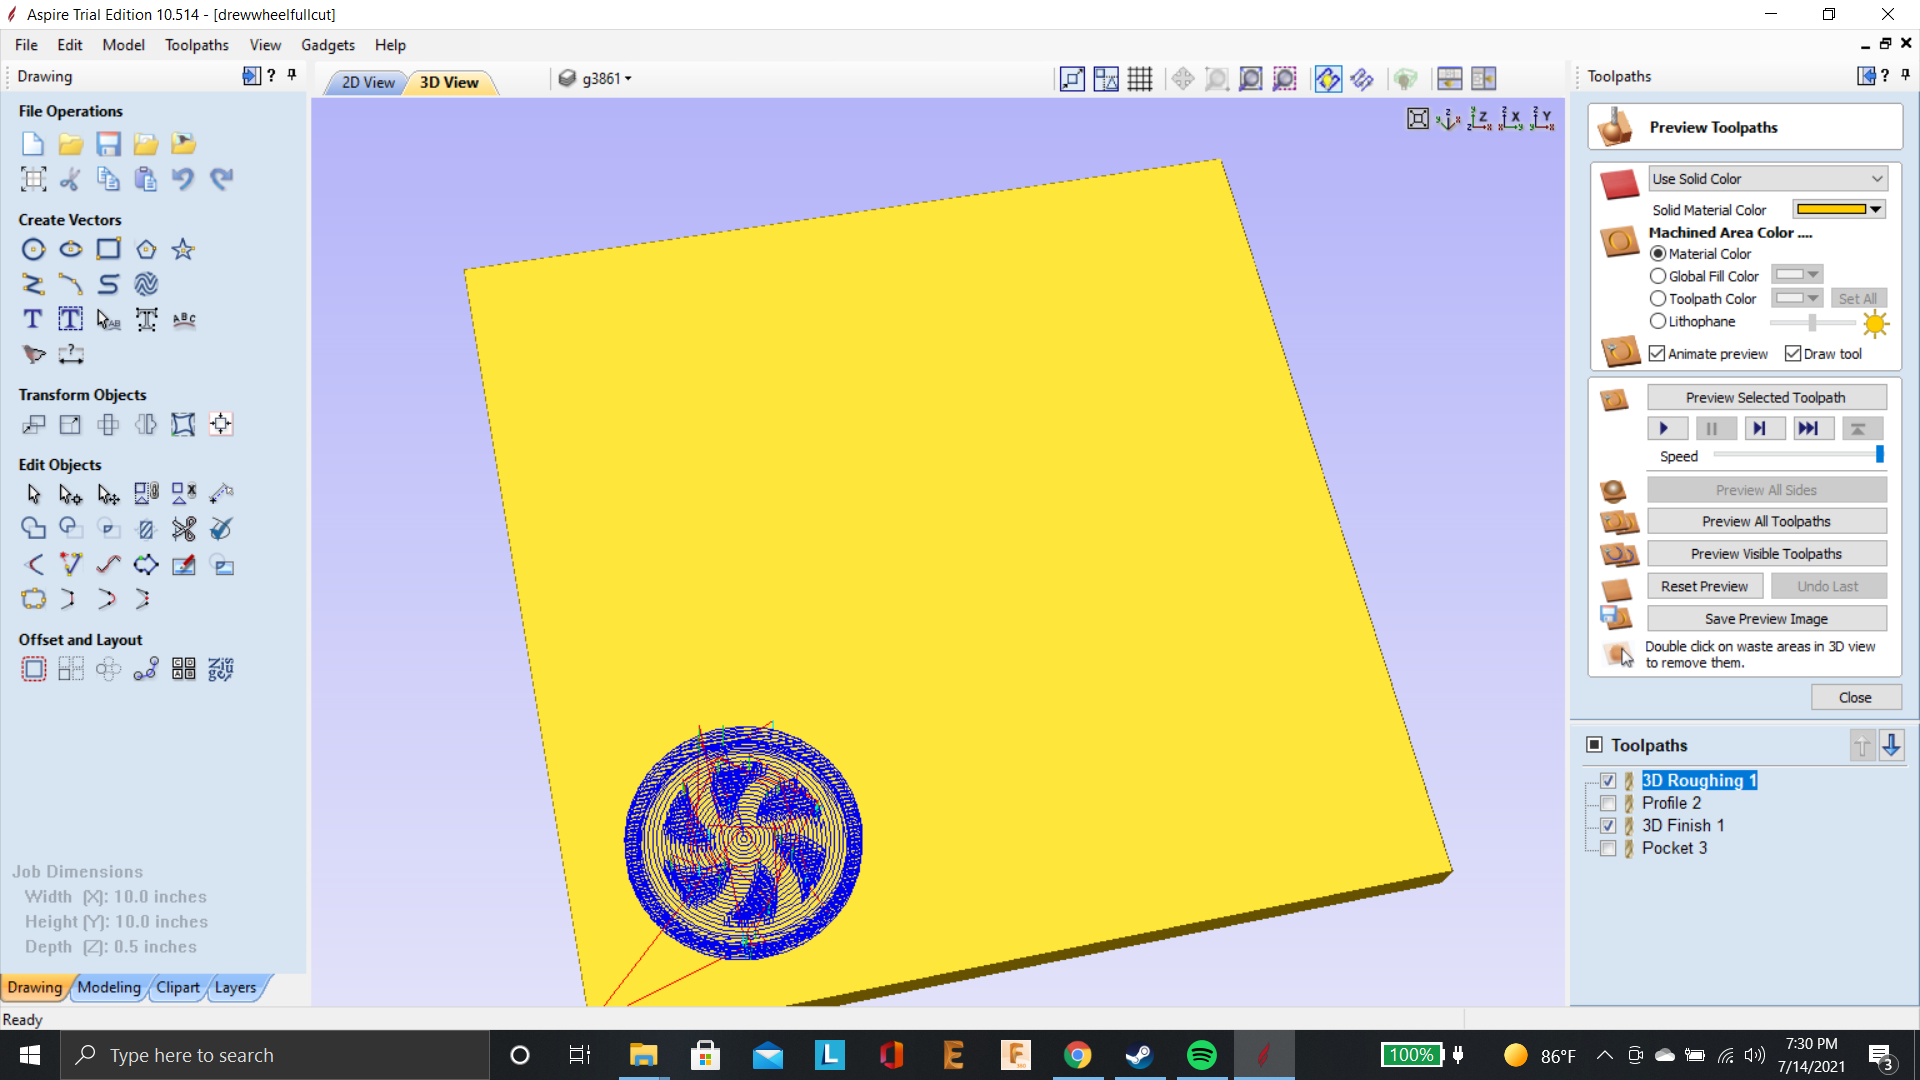
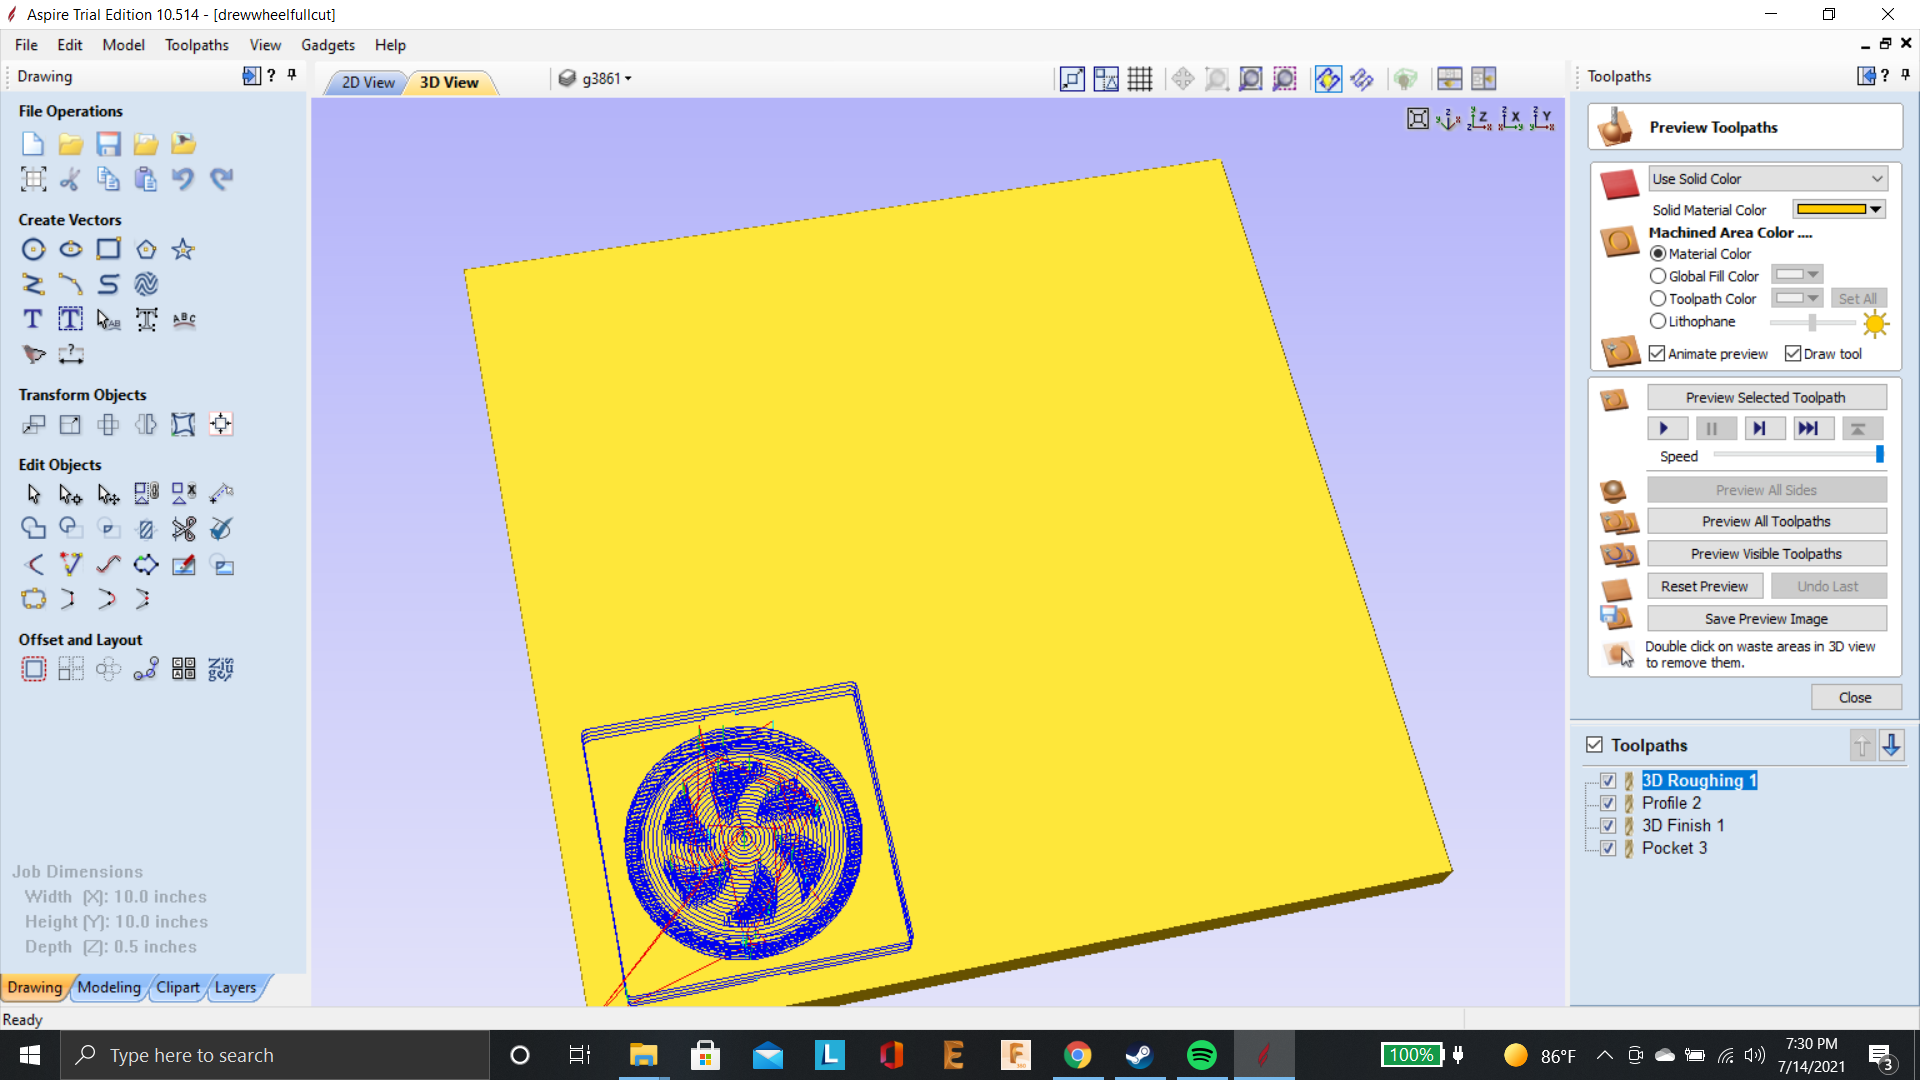
Next, I created the aspire file that I would mill out. I first turned my design into a 2D dxf file, then into an svg file by importing and exporting from Corel Draw. Next, I imported the svg file into aspire and created a component from my svg after extruding my svg by 20 mm. Finally, I created the toolpaths that I would use to mill out the board. I used the rough and finishing toolpath tools to generate the toolpaths for the object. I also created a pocket toolpath for the hole in the center that would connect the wheel to a motor and a profile cut that would cut out the mold.

I then proceeded by testing my toolpath with wood. I will be milling with our desktop max shopbot. I couldn’t figure out how to raise my component from the bed, but I realized that I could simply change my z zero while milling my board and use a separate toolpath for the cutout. I set the z zero to half of the difference between the thickness of my material and wheel, which came out to about .07 inches. It wasn’t very thick, but it would do.
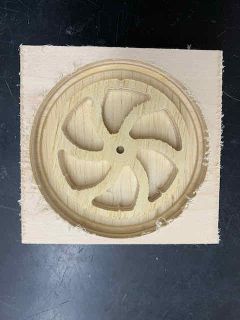
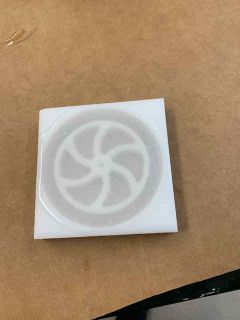
Since I knew my wood test would work, I then cut it out in the material that would hold my mold. I used the same process to cut it out, setting the z zero to .07 then 0 to cut it out.
Unfortunately, I had a few problems that resulted in a rough cut. It wasn’t very clear on camera, but there were a number of flat planes that made up the curvature of the wheel. The first problem was that I had used the 1/8 flat end mill instead of the ball end mill, but I set my toolpath to the 1/8 flat end mill, so this wasn’t the main problem. The main problem was actually the use of a fit point spline and other curved features for the shape of the wheel. For some reason, the fit point spline and circle when extruded looked like a bunch of planes that were trying to resemble a curve. I’m not sure why Fusion 360 renders splines in this way, but my mold is already milled out, so I will continue with the casting process.

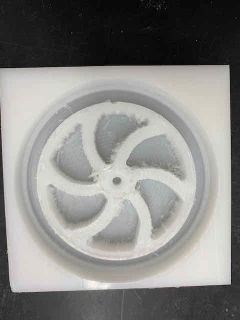
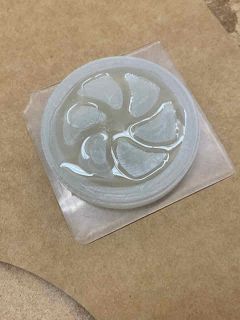
I tried sanding it down with sandpaper, but I couldn’t reach the inside of my mold very well. I then tried to use a Dremel to clean it up. I cleaned up most of the issues, but I ended up scraping away a bit too much in some areas. The mold is still functional, so I continued and cast the mold using the dragon skin material.
Dragonskin is a good material for casting- it is very flexible and soft compared to some other materials. However, it does slide a little bit, but it should work for my wheel.
The cast set after about 75 minutes, but I let it sit for a few hours before taking it out. To set the cast, I first sprayed a releasing agent to my mold. Next, I used 2 cups to approximate an equal proportion of the two parts for dragon skin- A and B. I overestimated how much I would need, so there was a bit too much leftover. I then mixed the two cups together and poured the result into the cast. Finally, I tapped and jostled the mold around to release any air bubbles trapped inside.
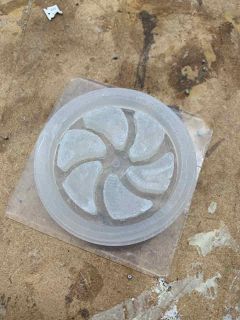
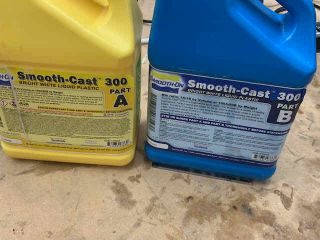
The mold turned out fairly well, so I continued with my cast. I used Smooth-Cast 300 for my material. I followed a similar procedure to the dragon skin. Smooth-Cast 300 has a set time of about 5 minutes, so I had to be reasonably fast. I first poured equal proportions of both parts A and B, then mixed them together for about 30 seconds and poured the mold in. Finally, I tapped the mold to remove excess air bubbles and let it sit for a few minutes.
Unfortunately, I was too eager to take out my cast, and the mold had not fully hardened yet. This led to severe warpage that pretty much ruined the wheel.
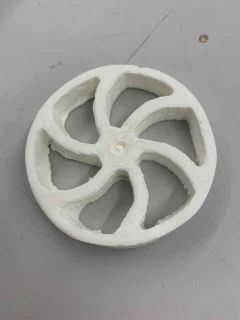
I recast with the same material, and this time waited for more time. The wheel came out with much fewer warpage
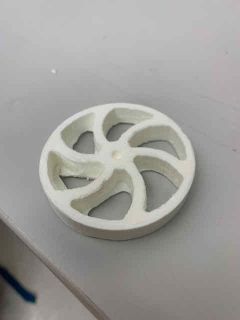
For my final project, I will likely coat the wheels in rubber in order to increase their traction, since I found that my wheel did not have great traction.
Better Images of Toolpaths
Group Assignment
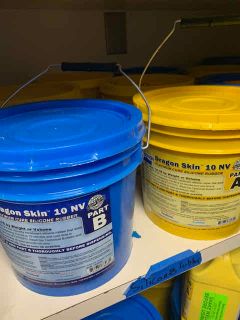
This week’s group assignment was to review safety data sheets and to test several different molding materials. We tested the soft materials Dragon Skin and 20T from Smooth-On, and the hard material Smooth-Cast 300.
Our group documentation can be found on our lab’s group site.
All my files can be found in this zip file.