This week we had to define our own assignment and discribe what we did.
As I tried to build my own injection molding machine in the Molding and Casting Week, I thought I gave it another try and then try to use 3d printed molds for creating things.
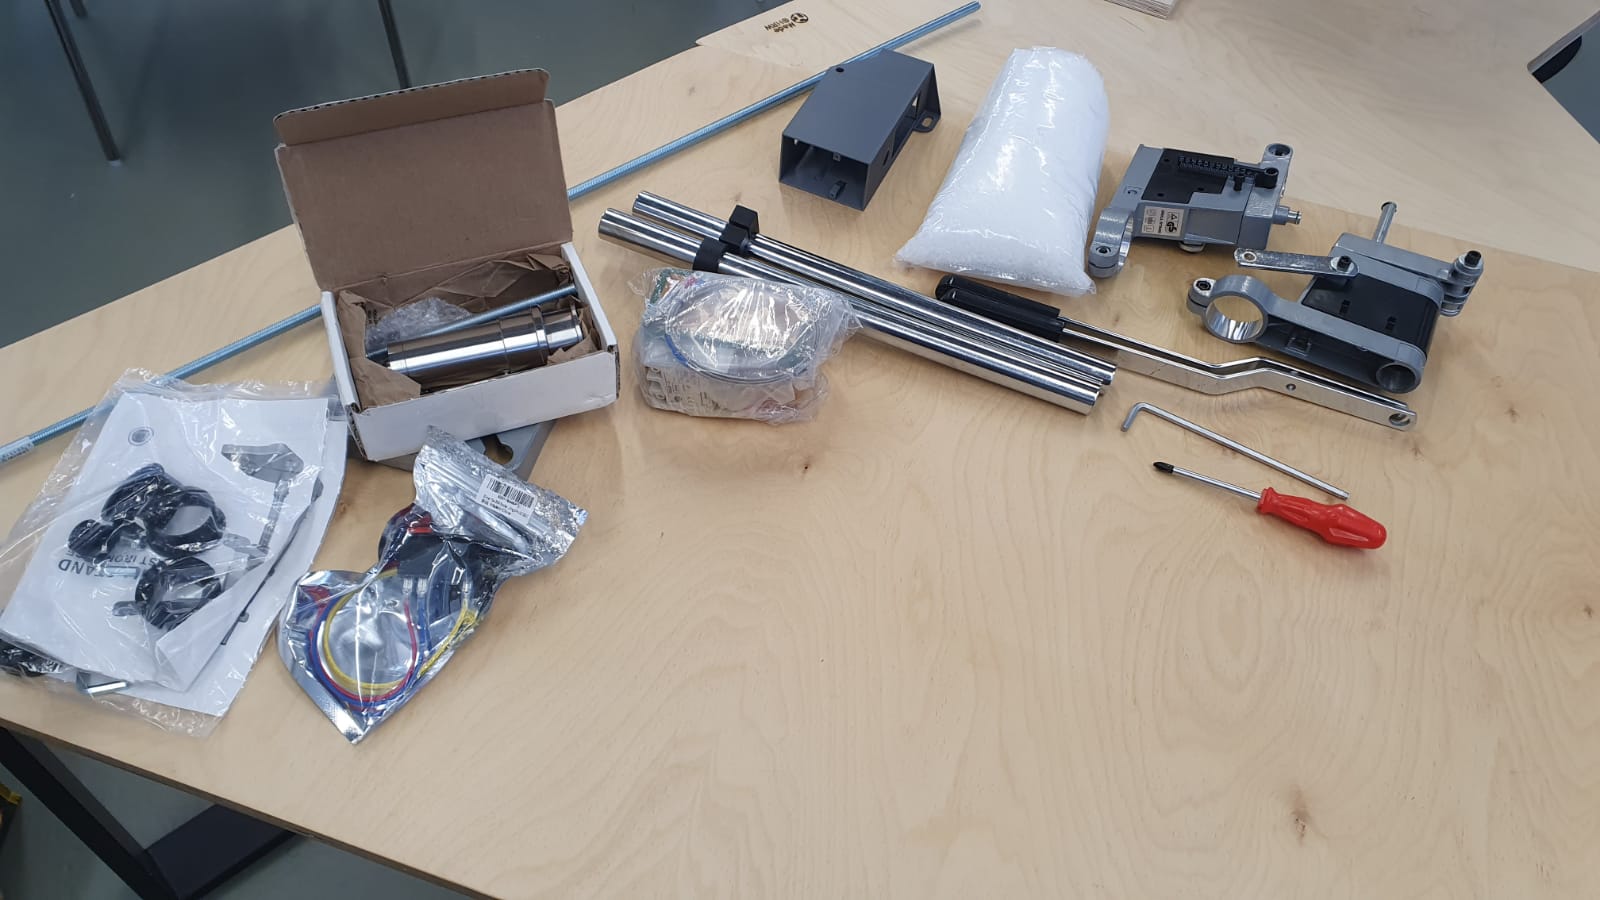
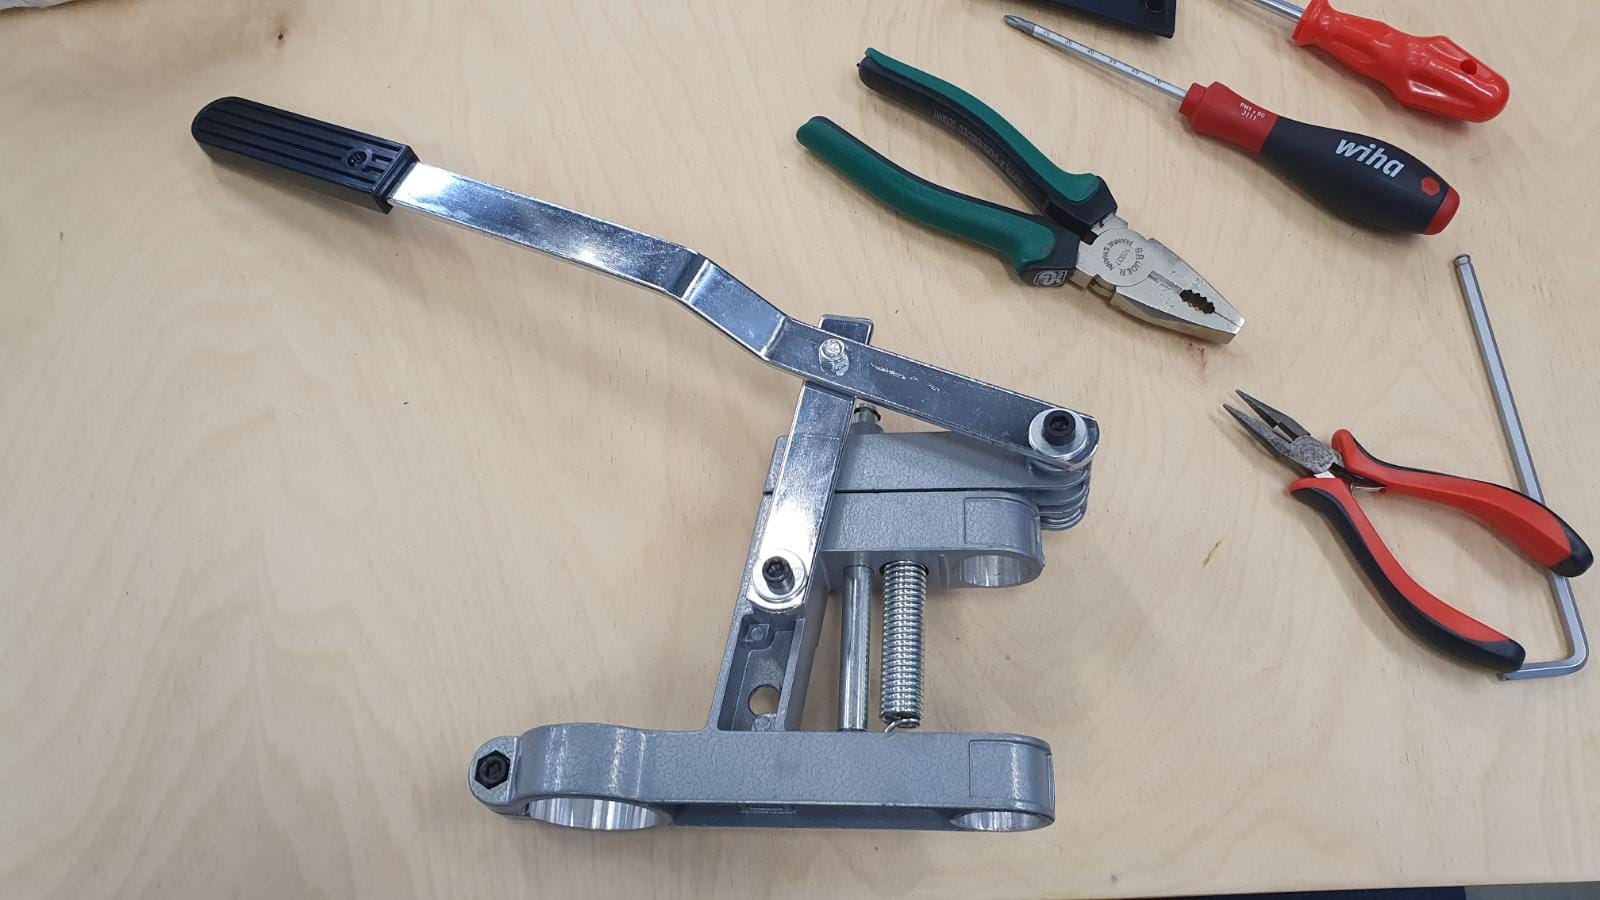
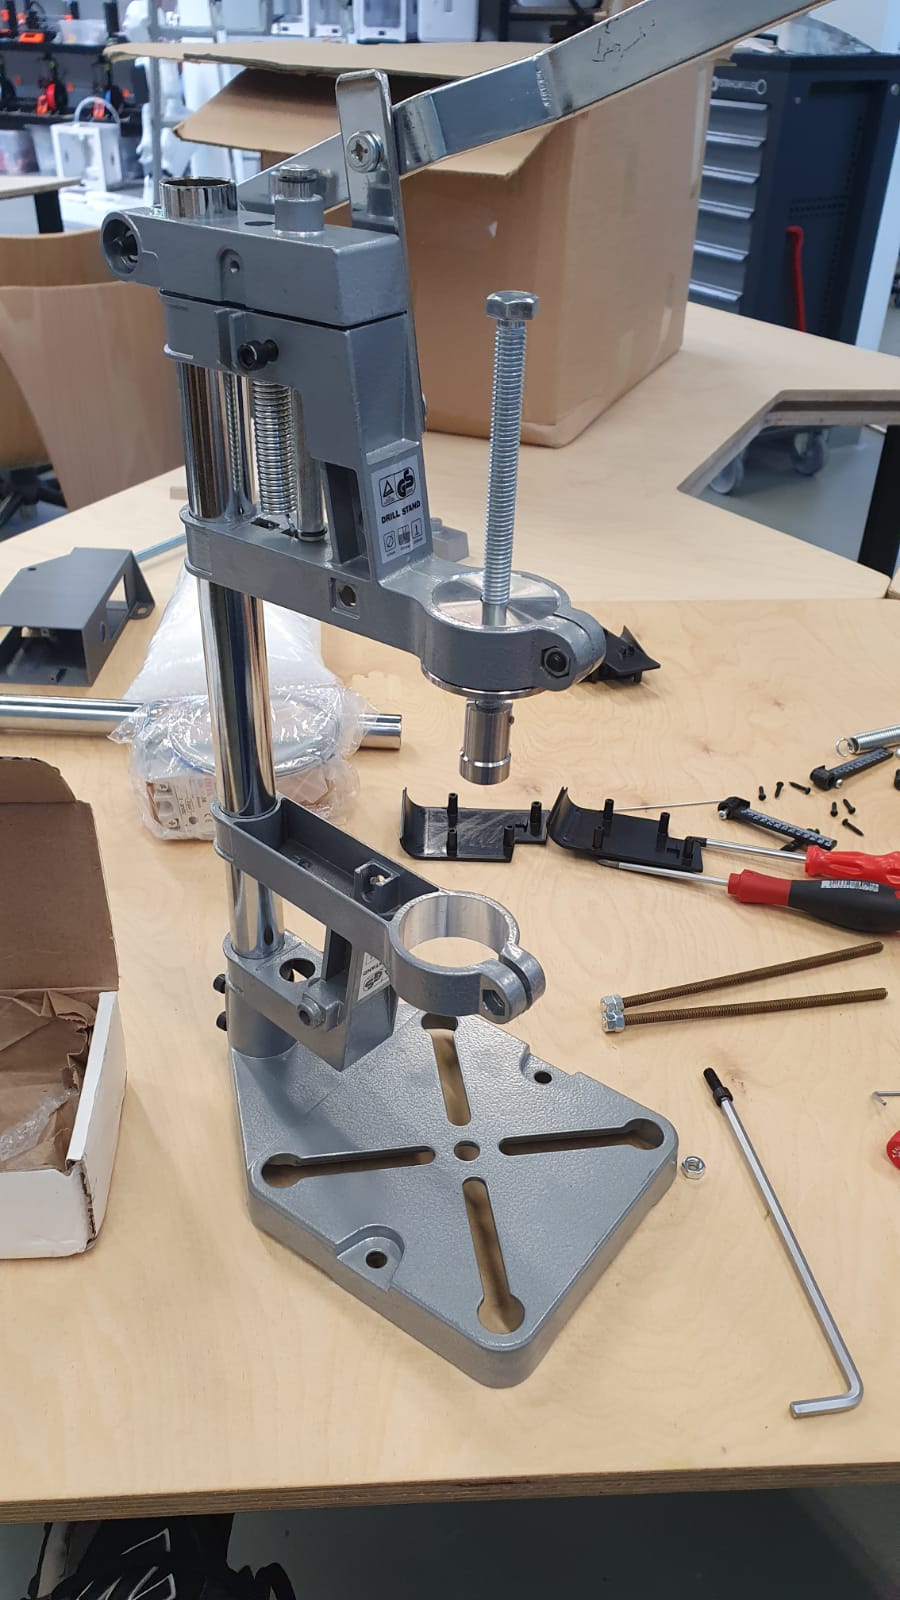
As said in the molding and casting week gathered all the components to build my own Buster Beagle 3D injection molding machine.
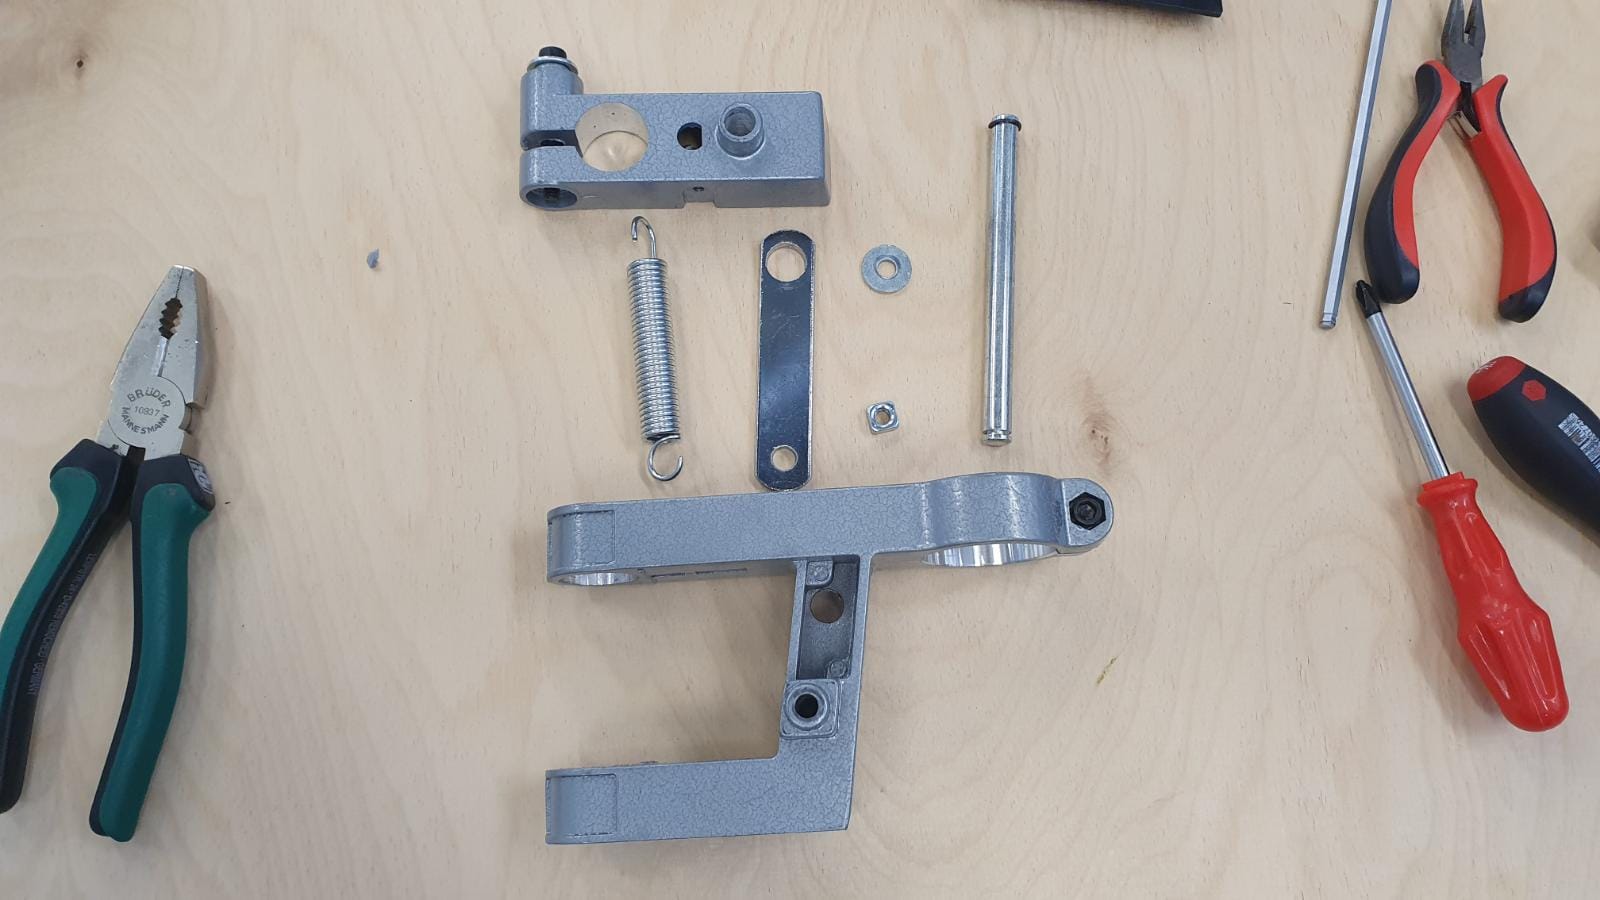
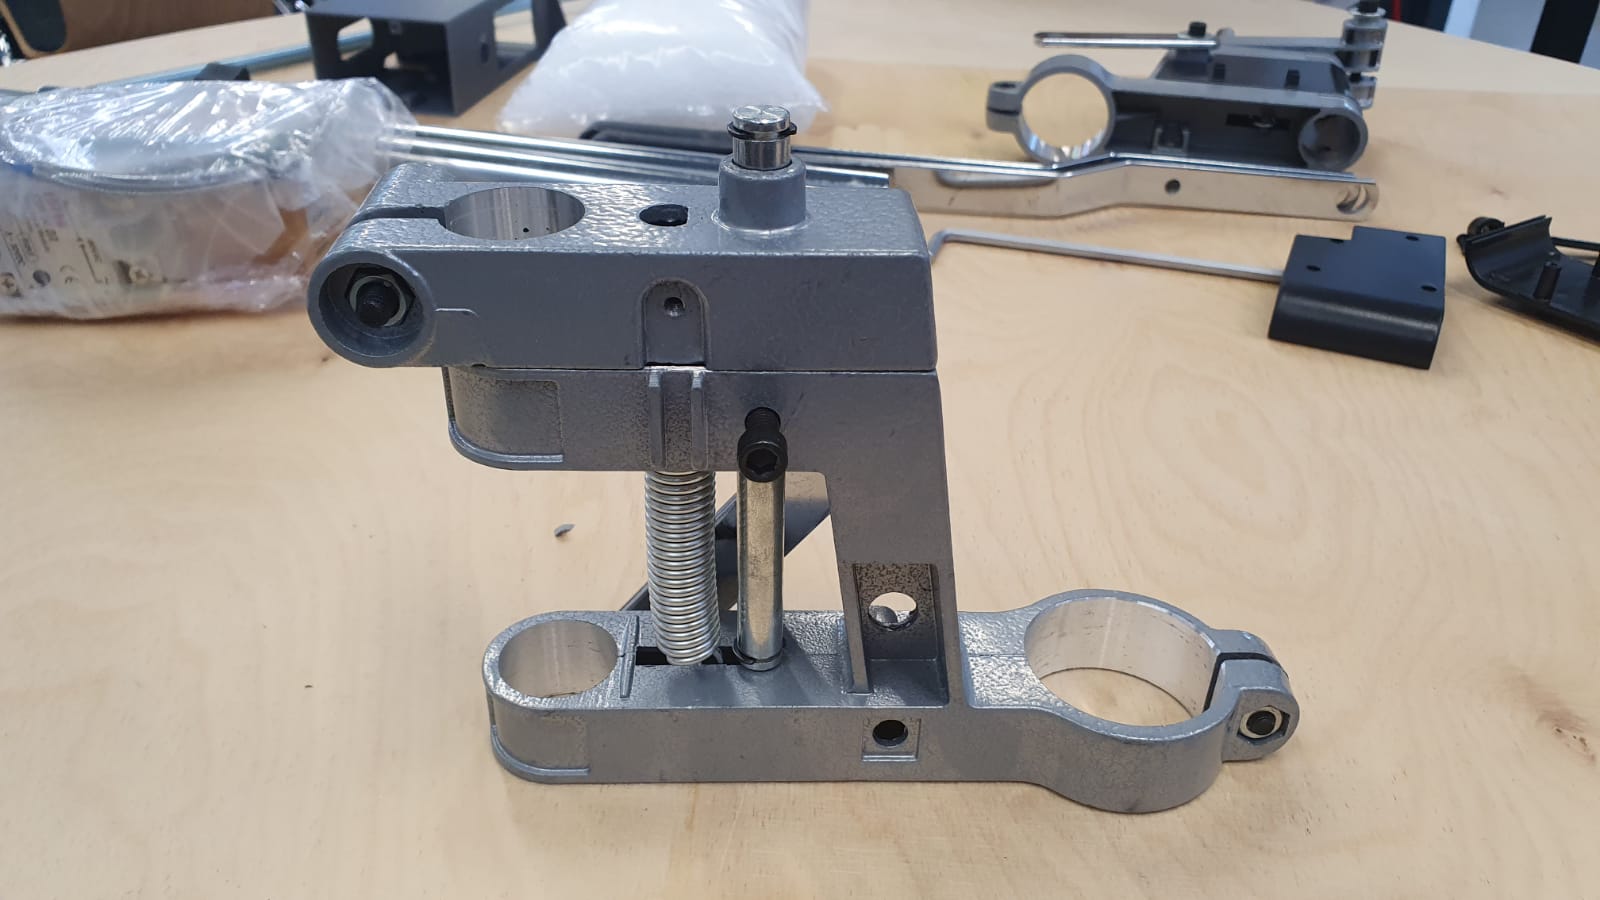
I used this Youtube tutorial in combination with the wiring diagram provided oh this Thingiverse page build it step by step.
Here are some pictures of the build process:
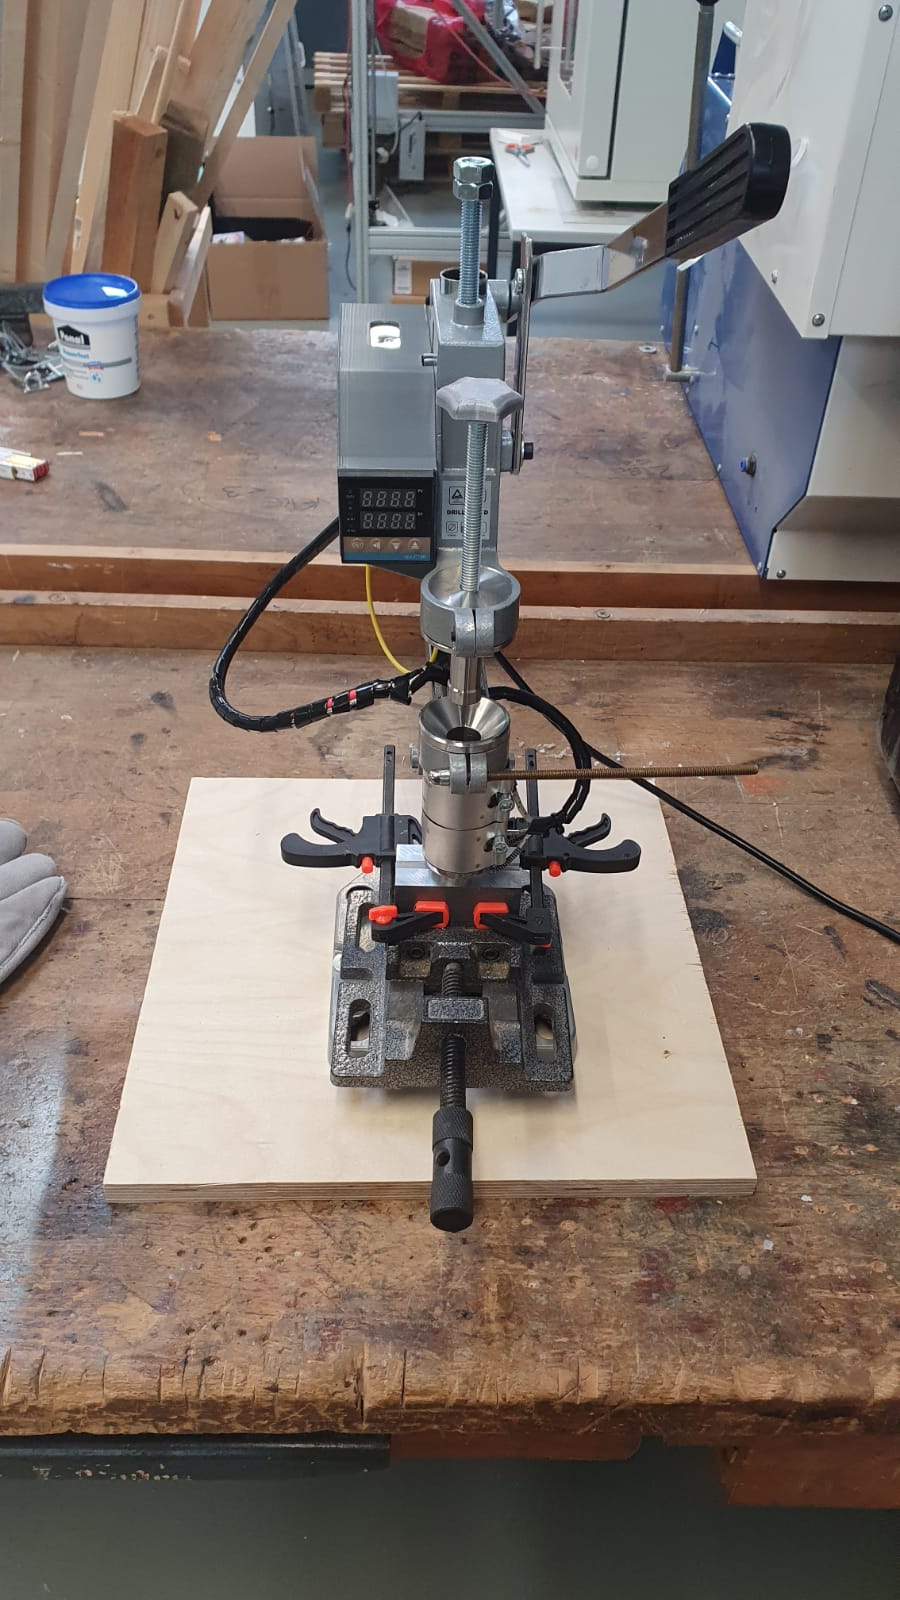
The finisehd injection modling machine looked quite promising, so next I had to desing and print my mold.
For creating the molds I used my Phrozen Trnasform SLA 3D printer. For more informationes about this printer click HERE.
As material I used phrozens own TR-250 LV Resin, which has the neat property of a glas transition point of around 100°C. Therefore it should be capable of withstanding the molten plastics while it is injected.
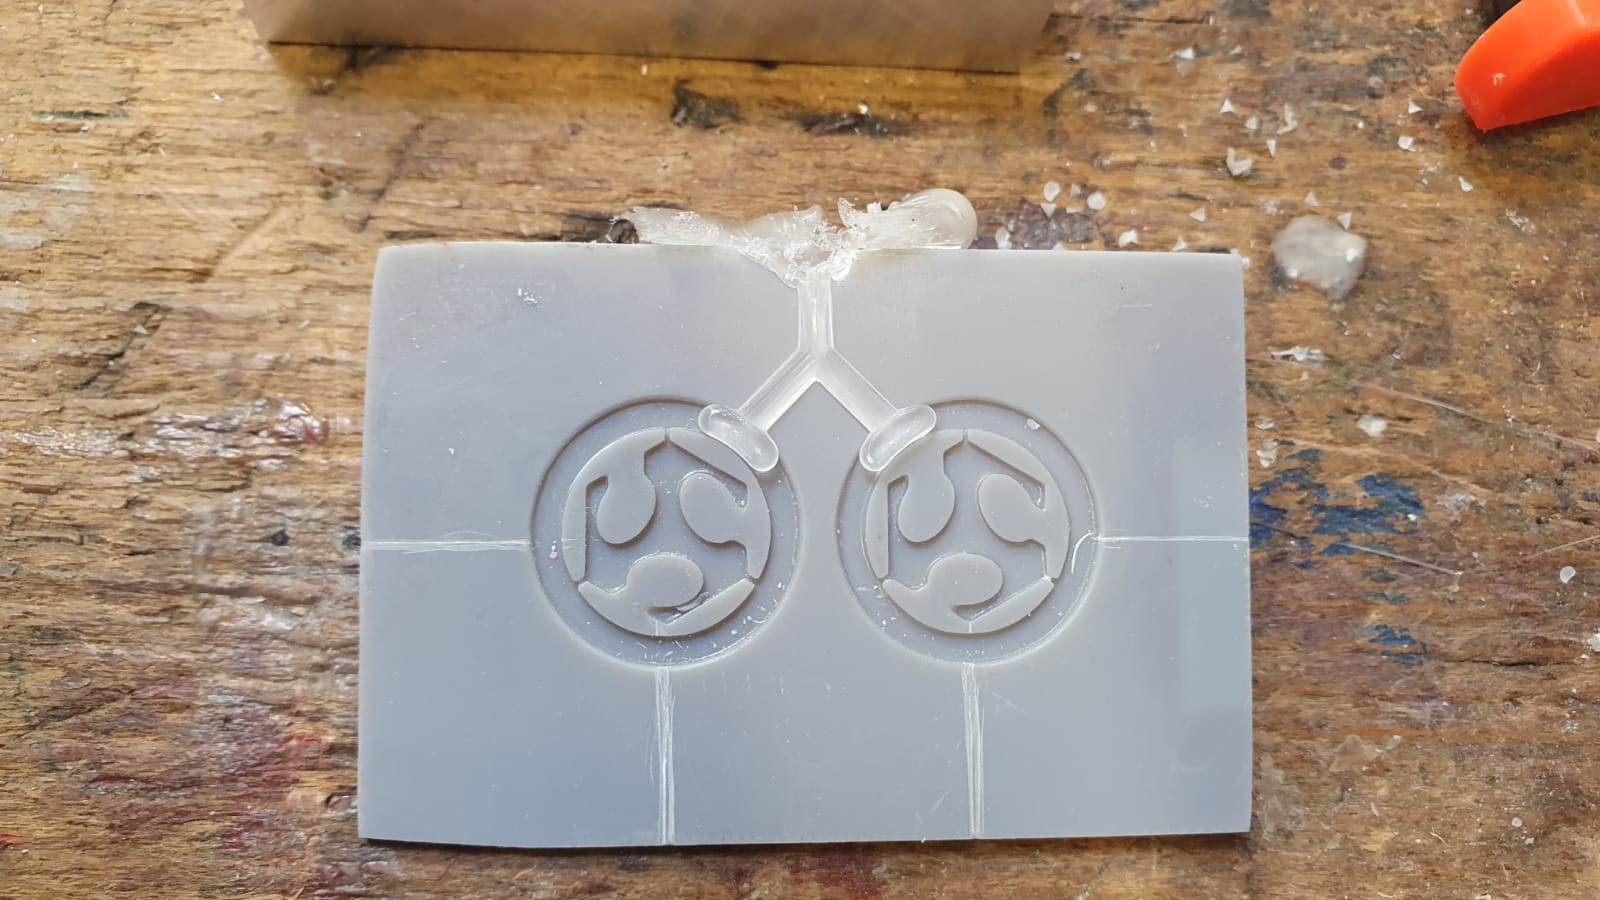
The printed mold-halfs look like this:
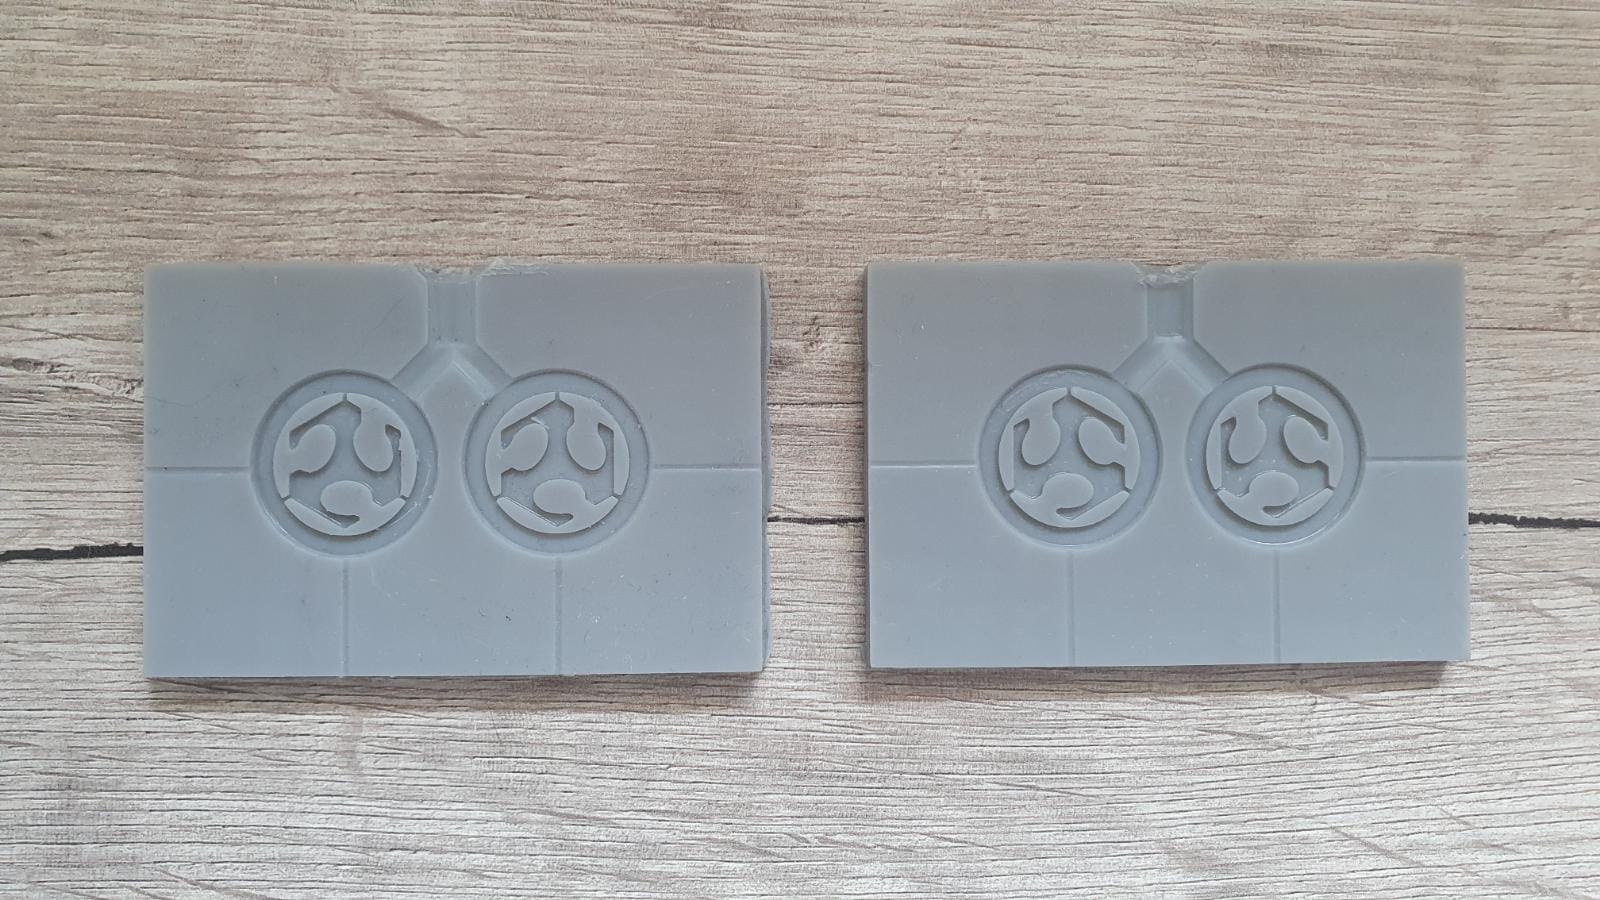
As you can see I designed some funnels for the air to escape while the plastic will be injected.
As material I used plain white polypropylen (pp). This material melts at around 160°C, which the injection molding machine is more than capable enought for.
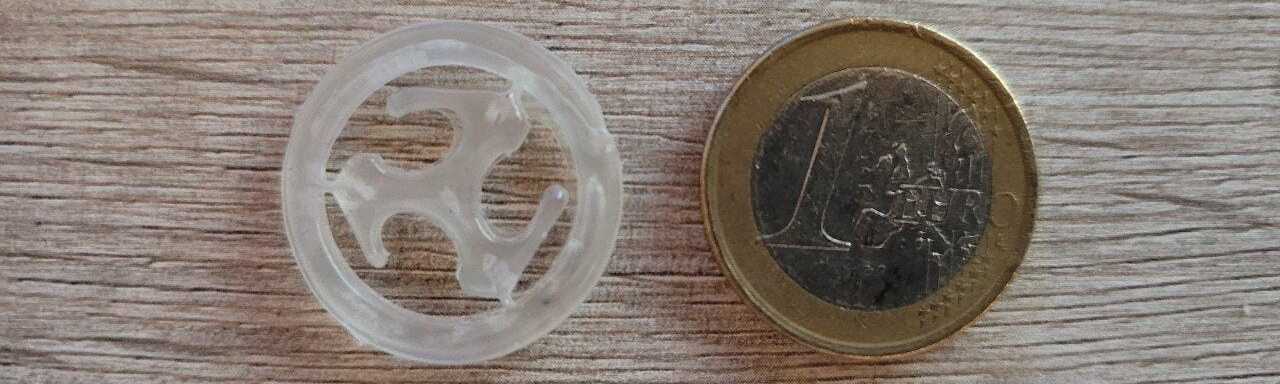
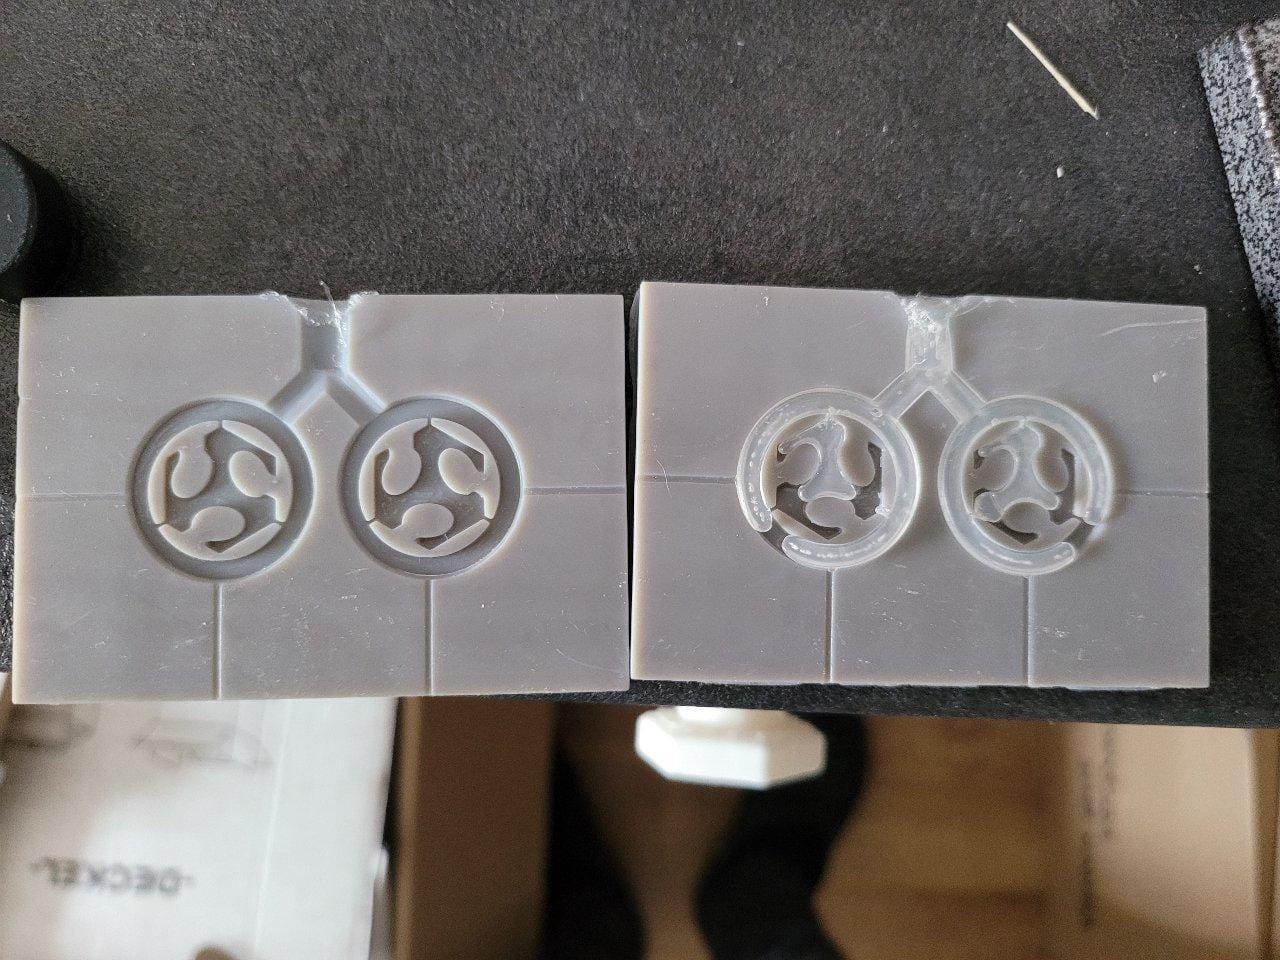
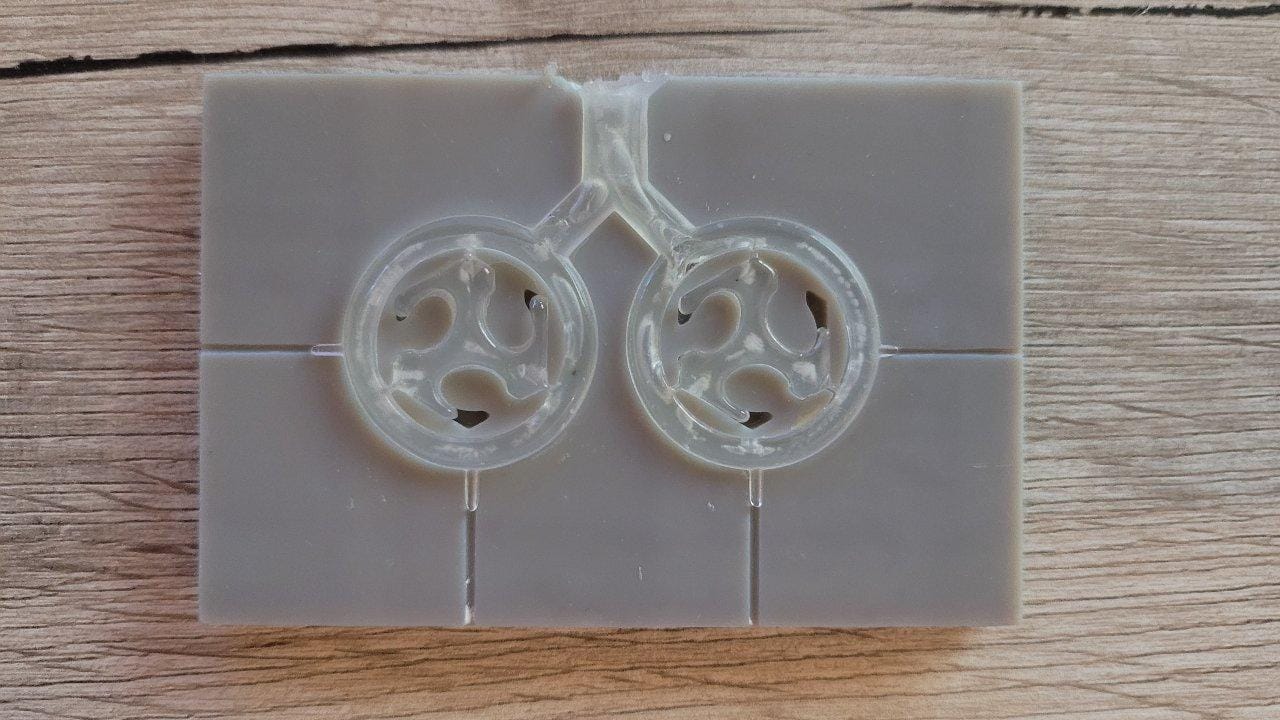
In the following images you will see the progress from my first injection attempt to my final results:.
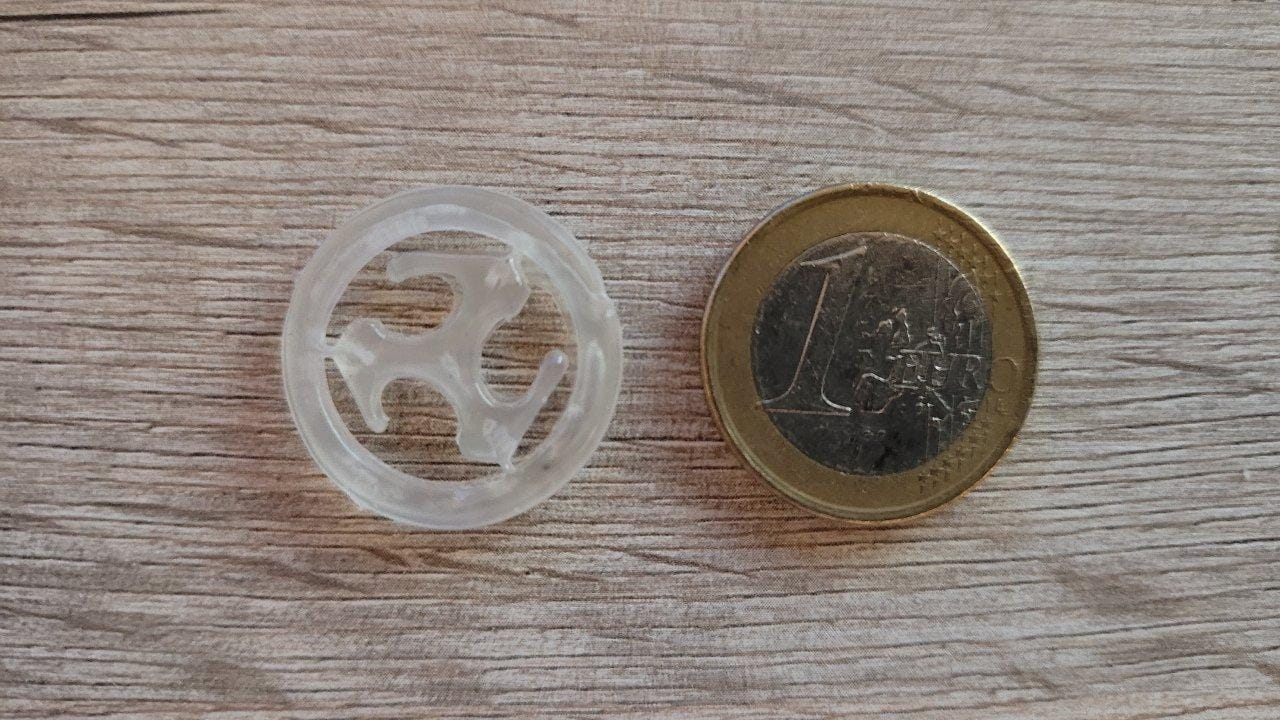
My goal was to create a shopping cart token based on the FabLab Logo. As you can see in the final image it was a success!