
So, since it occurred to me that I may not have written in enough detail last week, I will change that this week.
This week, the task was to visualize the drawing of my Final Project in different 2D and 3D programs.
For 2D drawings I usually use Inkscape or Adobe Illustrator, so this time I wanted to try out raster-based programs like Gimp or Photoshop.
For each step of my considerations and drawings I planned to use a different programm, so that I could make different experiences. In addition, I borrowed a graphics tablet from a friend, because I have not used this yet and wanted to gain first experiences.
I started with Gimp. Gimp is a free to use raster based drawing program and image editor. Since I have not used Gimp before, I installed it first.
After the installation I installed the drivers for the graphics tablet, a SilverCrest SGT 10.6 A2, and familiarized myself a bit with the device.
I then created a new document in Gimp and started drawing with the tablet. In retrospect, it wasn't a good idea to try both a new program and a new input method, as I had quite a bit of trouble getting comfortable with Gimp and the tablet at first.
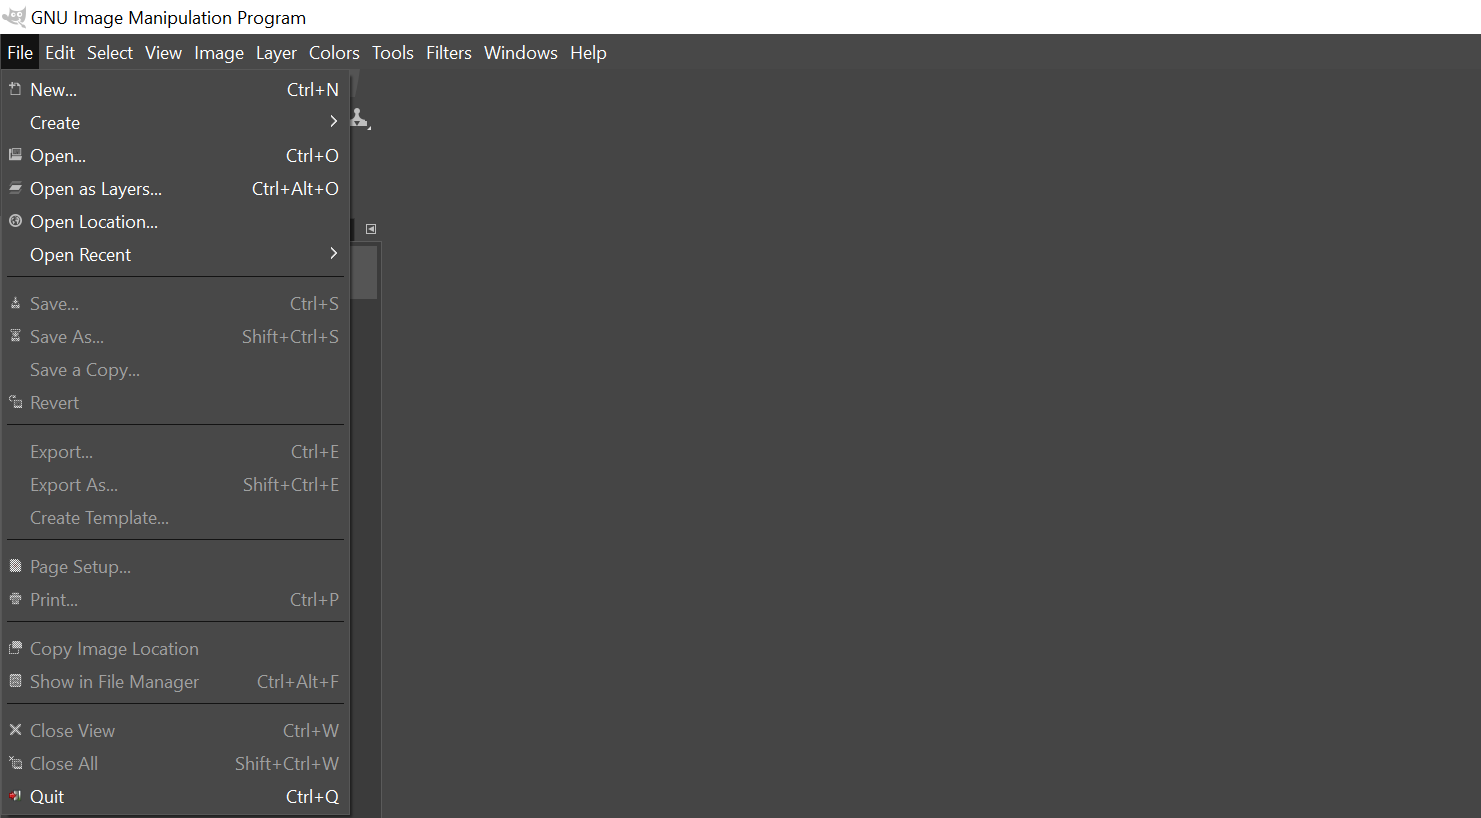
First I opend a new project:
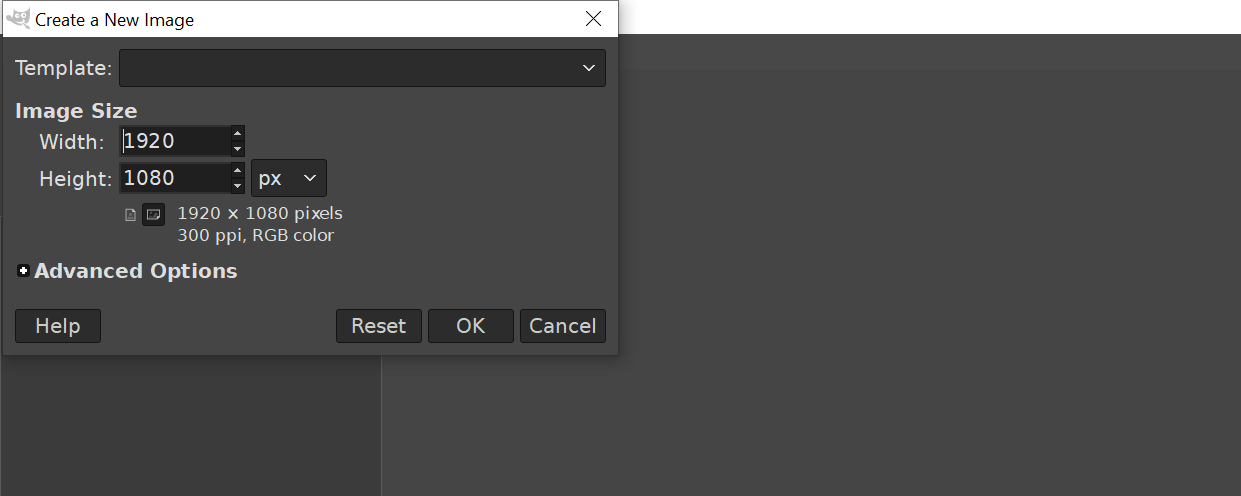
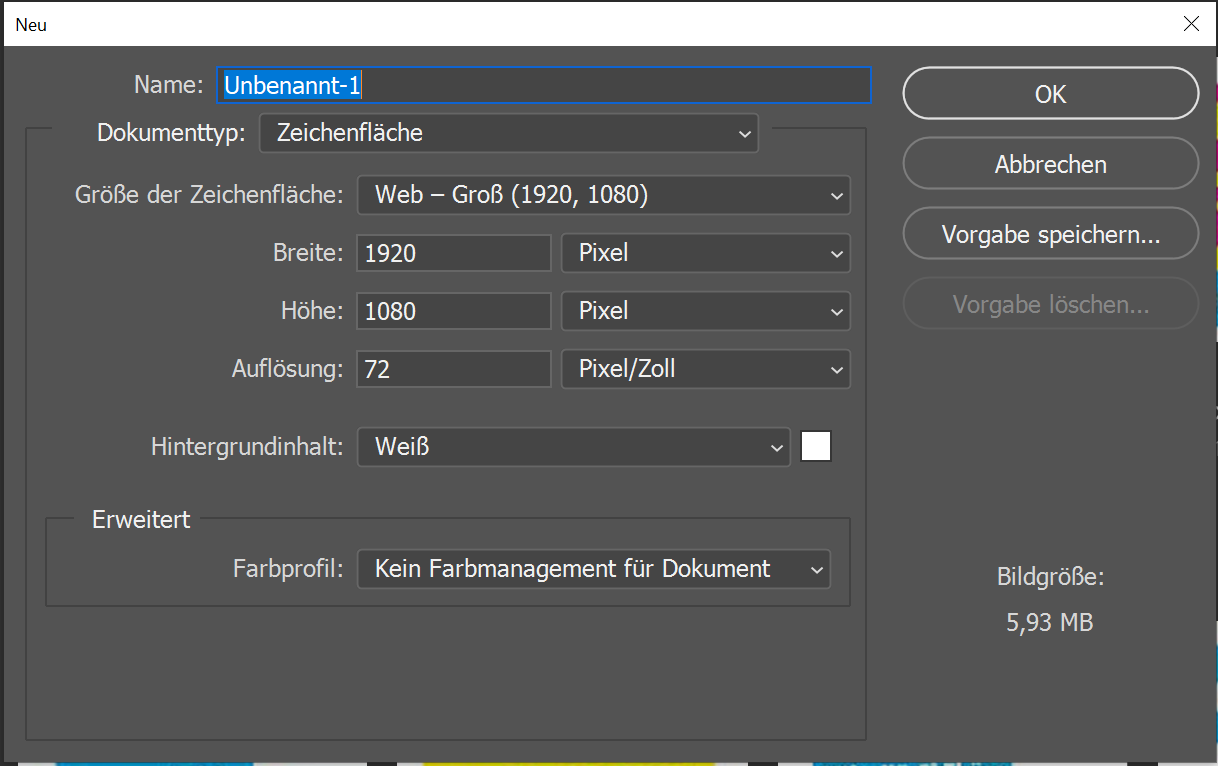
Then I set the settings for my template:
Then I started drawing:
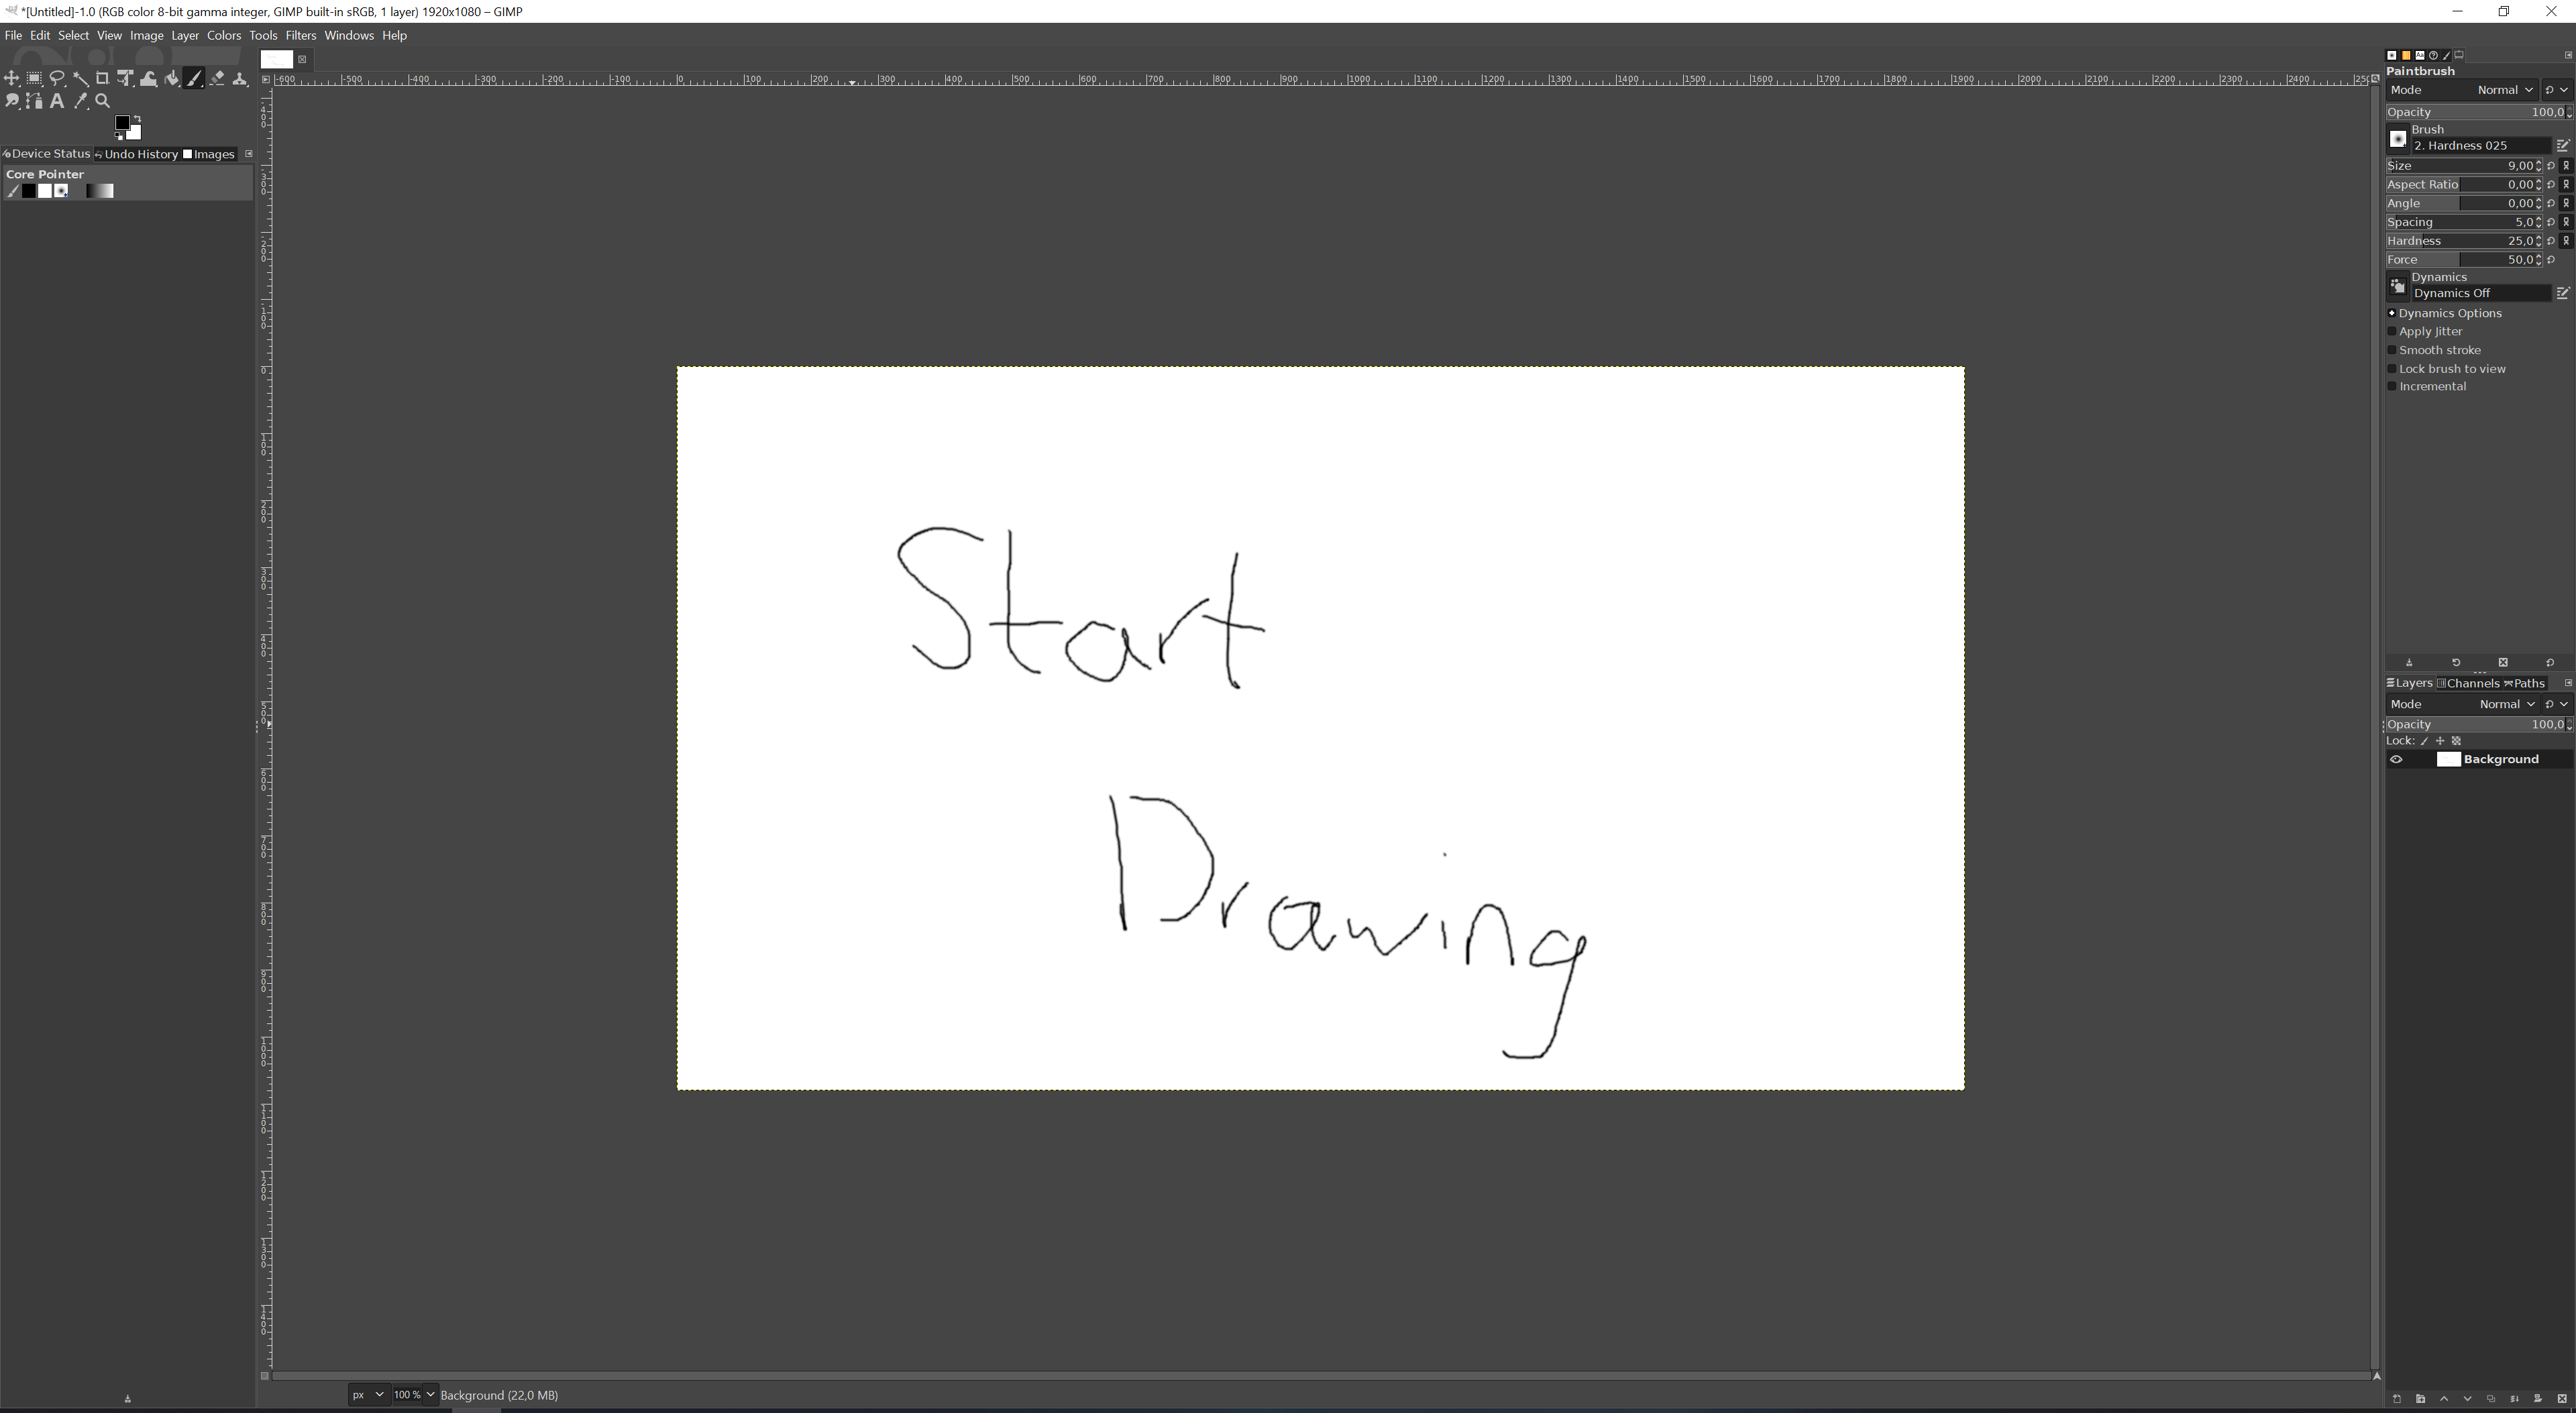
However, with enough trial and error and some time, I managed to visualize my first idea.
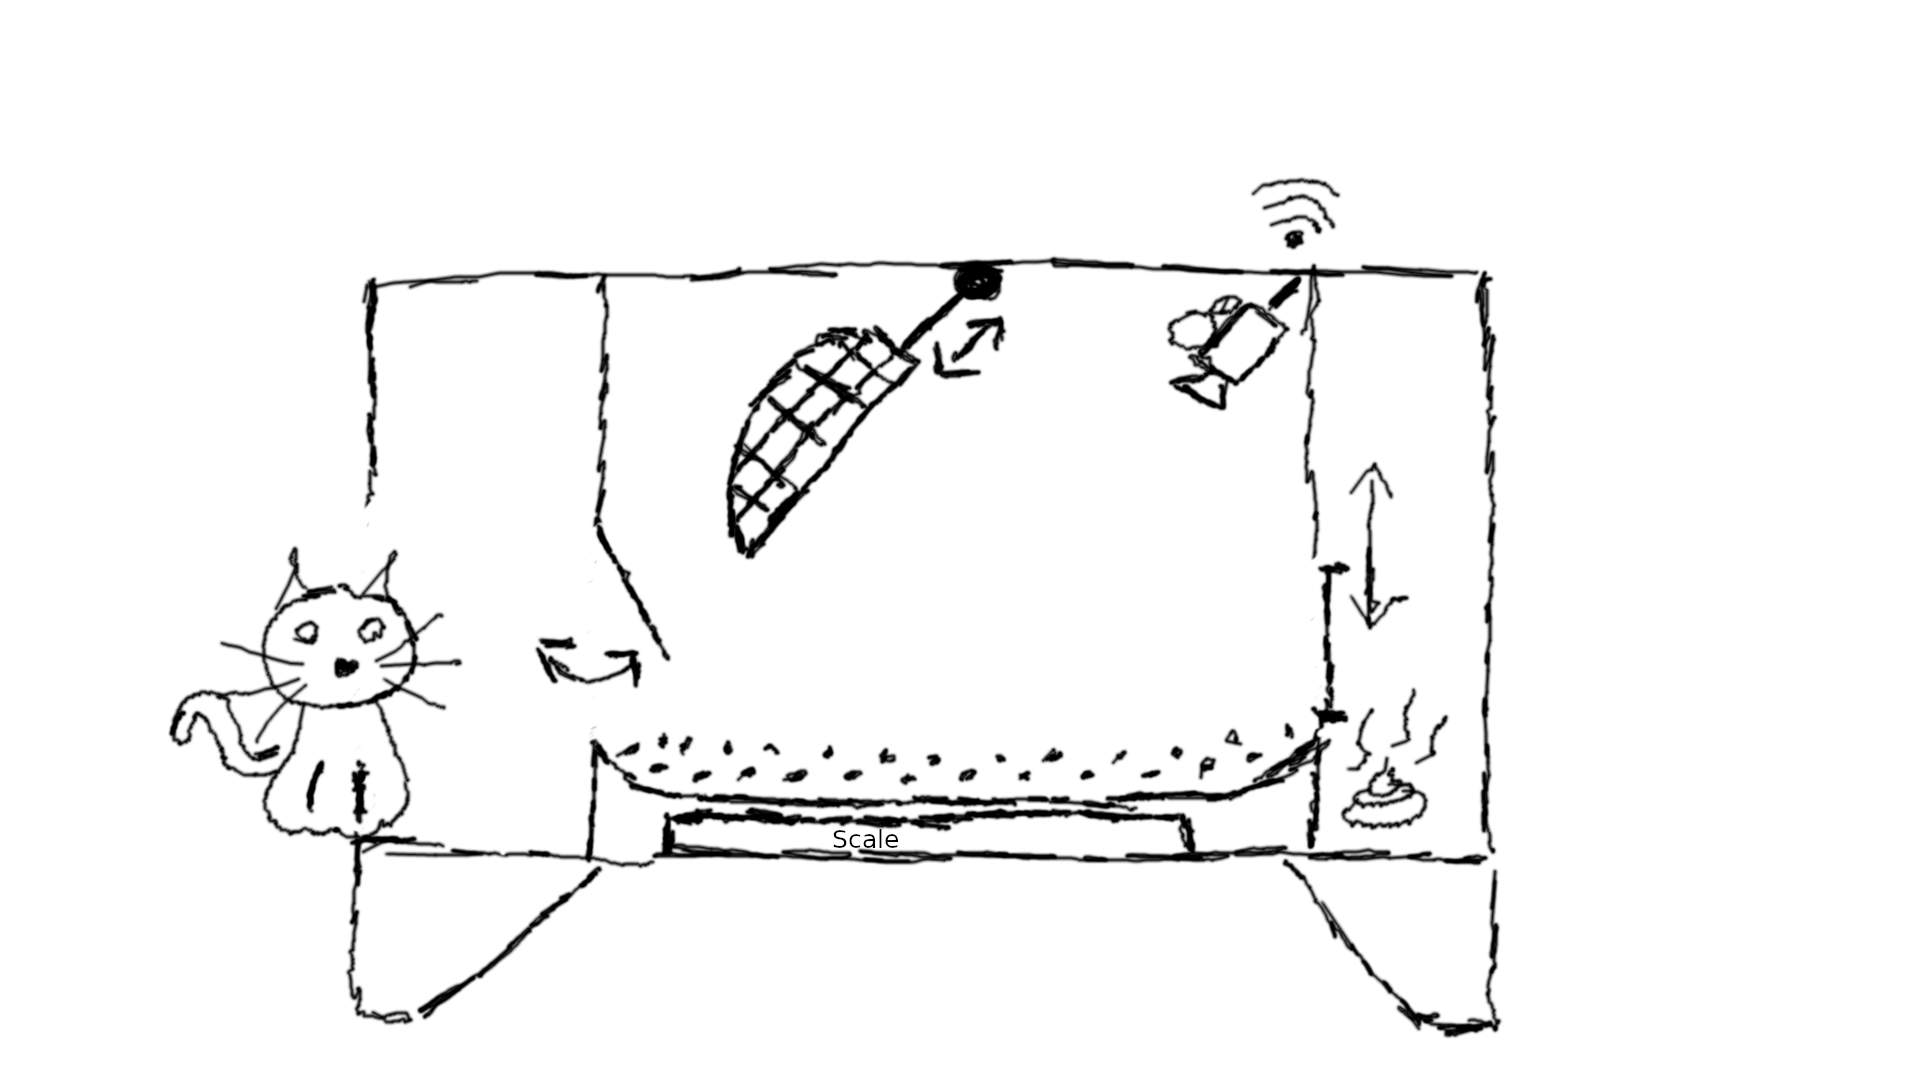
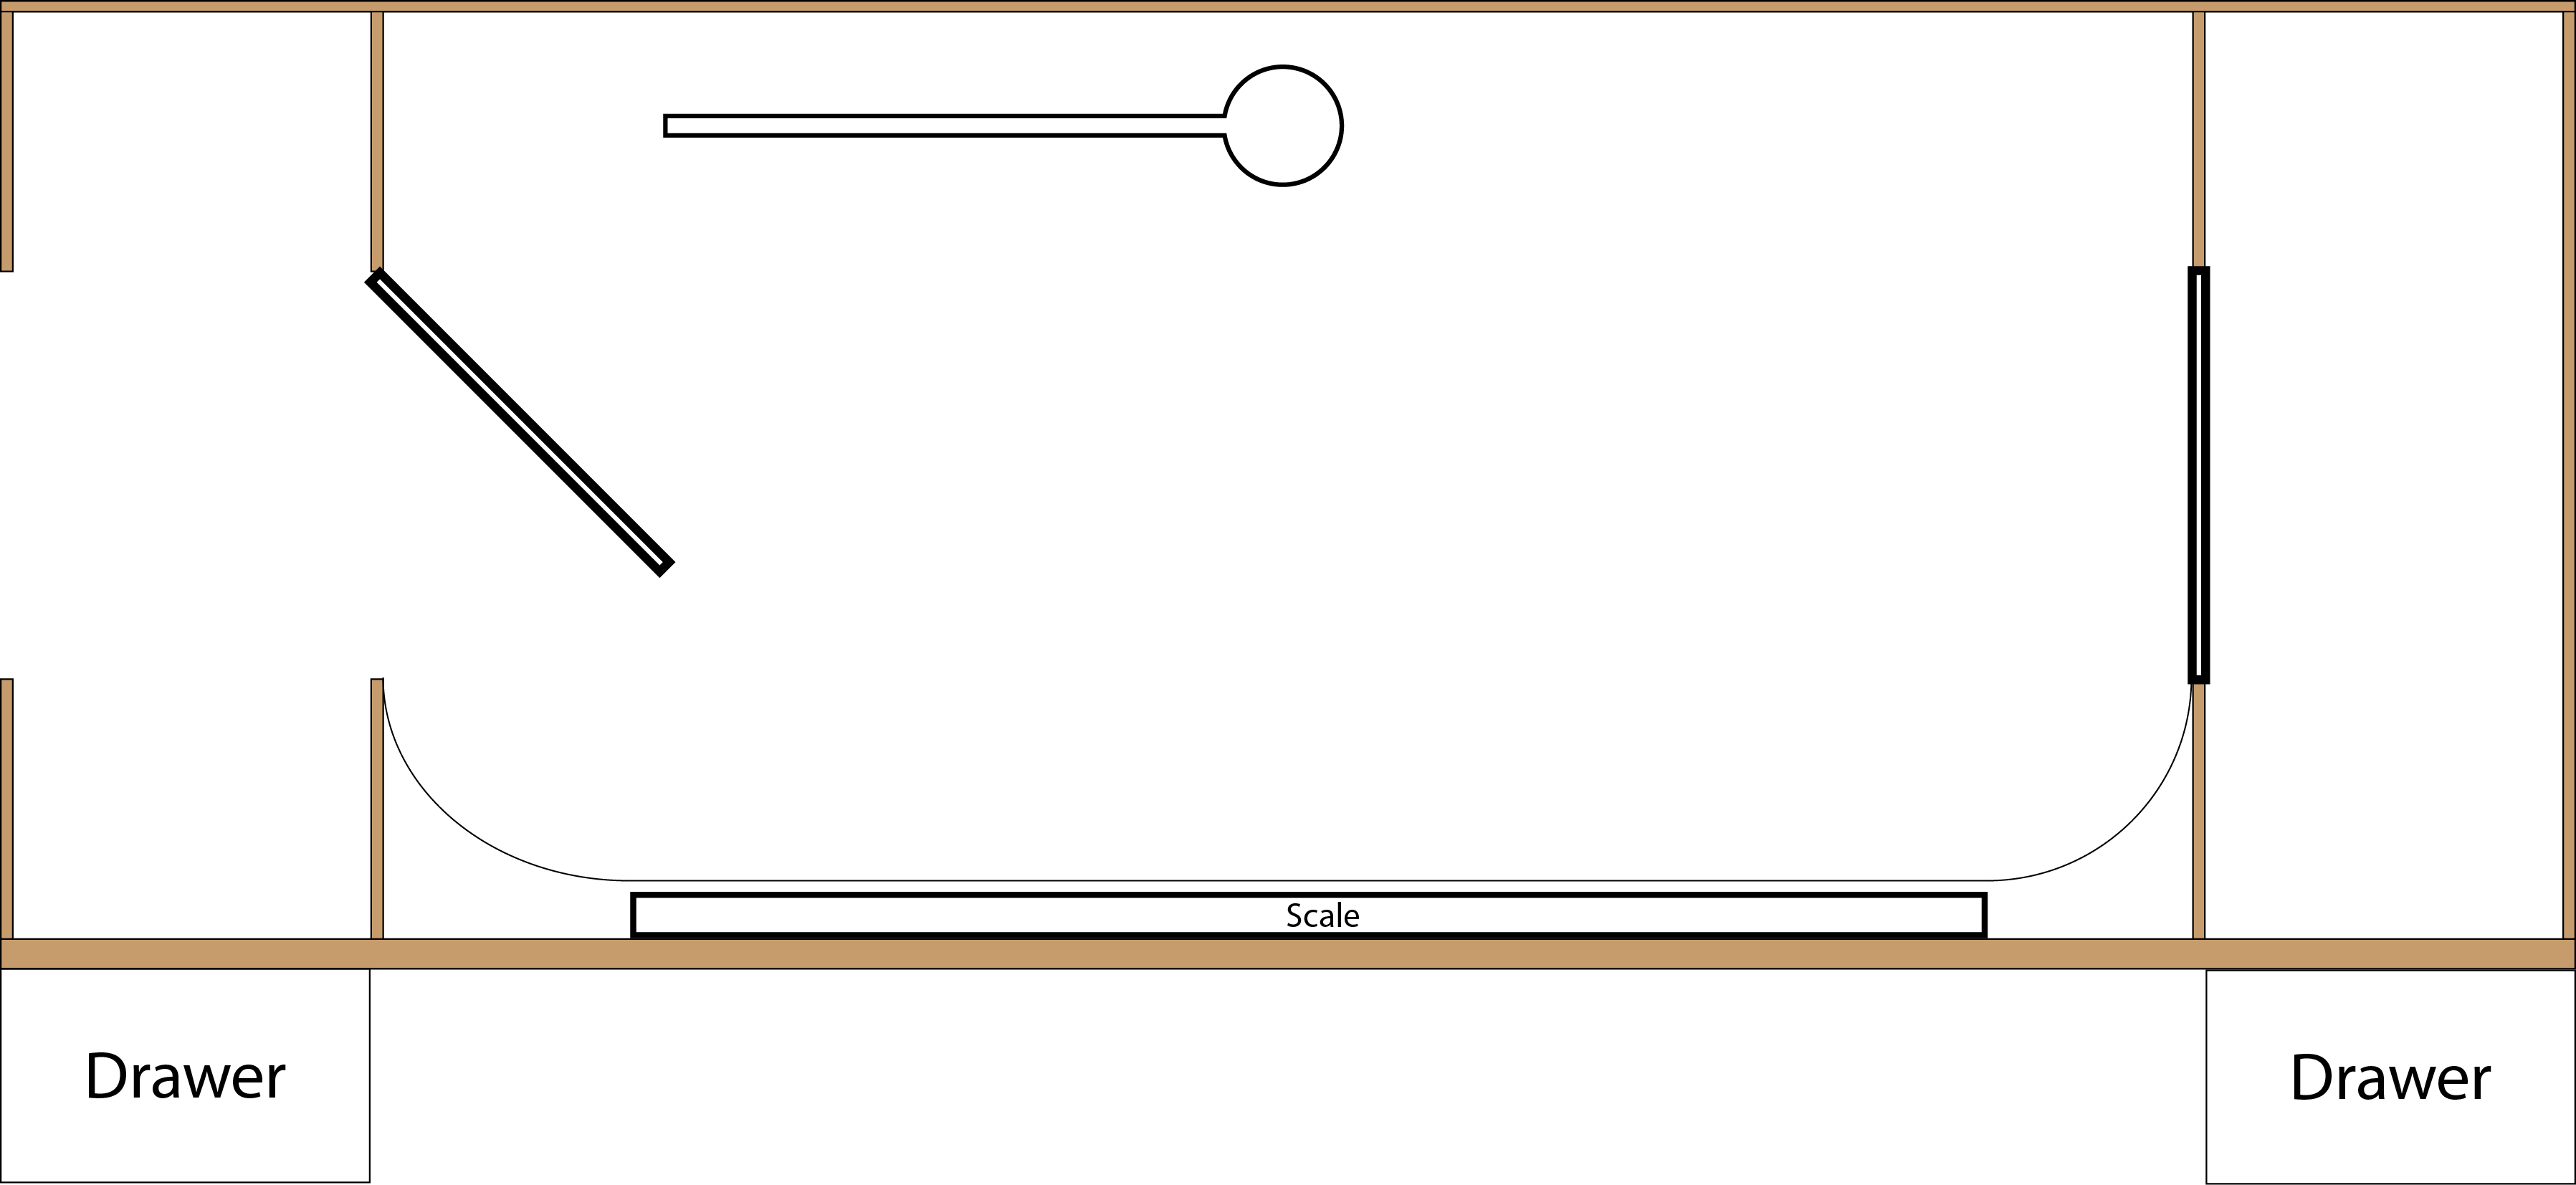
As described last week, as a final project I would like to build a smart litter box that automatically cleans, records the cat's weight and communicates data about my cat's health. So my first idea was to use a kind of excavator shovel for cleaning, a camera to capture the cat, and a scale to measure the weight, as you can see in the image above.
The second thing I did was to try Photoshop.
Since I was already having some problems with the graphics tablet in Gimp, I decided to use Photoshopwith traditional mouse instead.
I did the same as with Gimp, I first started a new project and edited the settings:
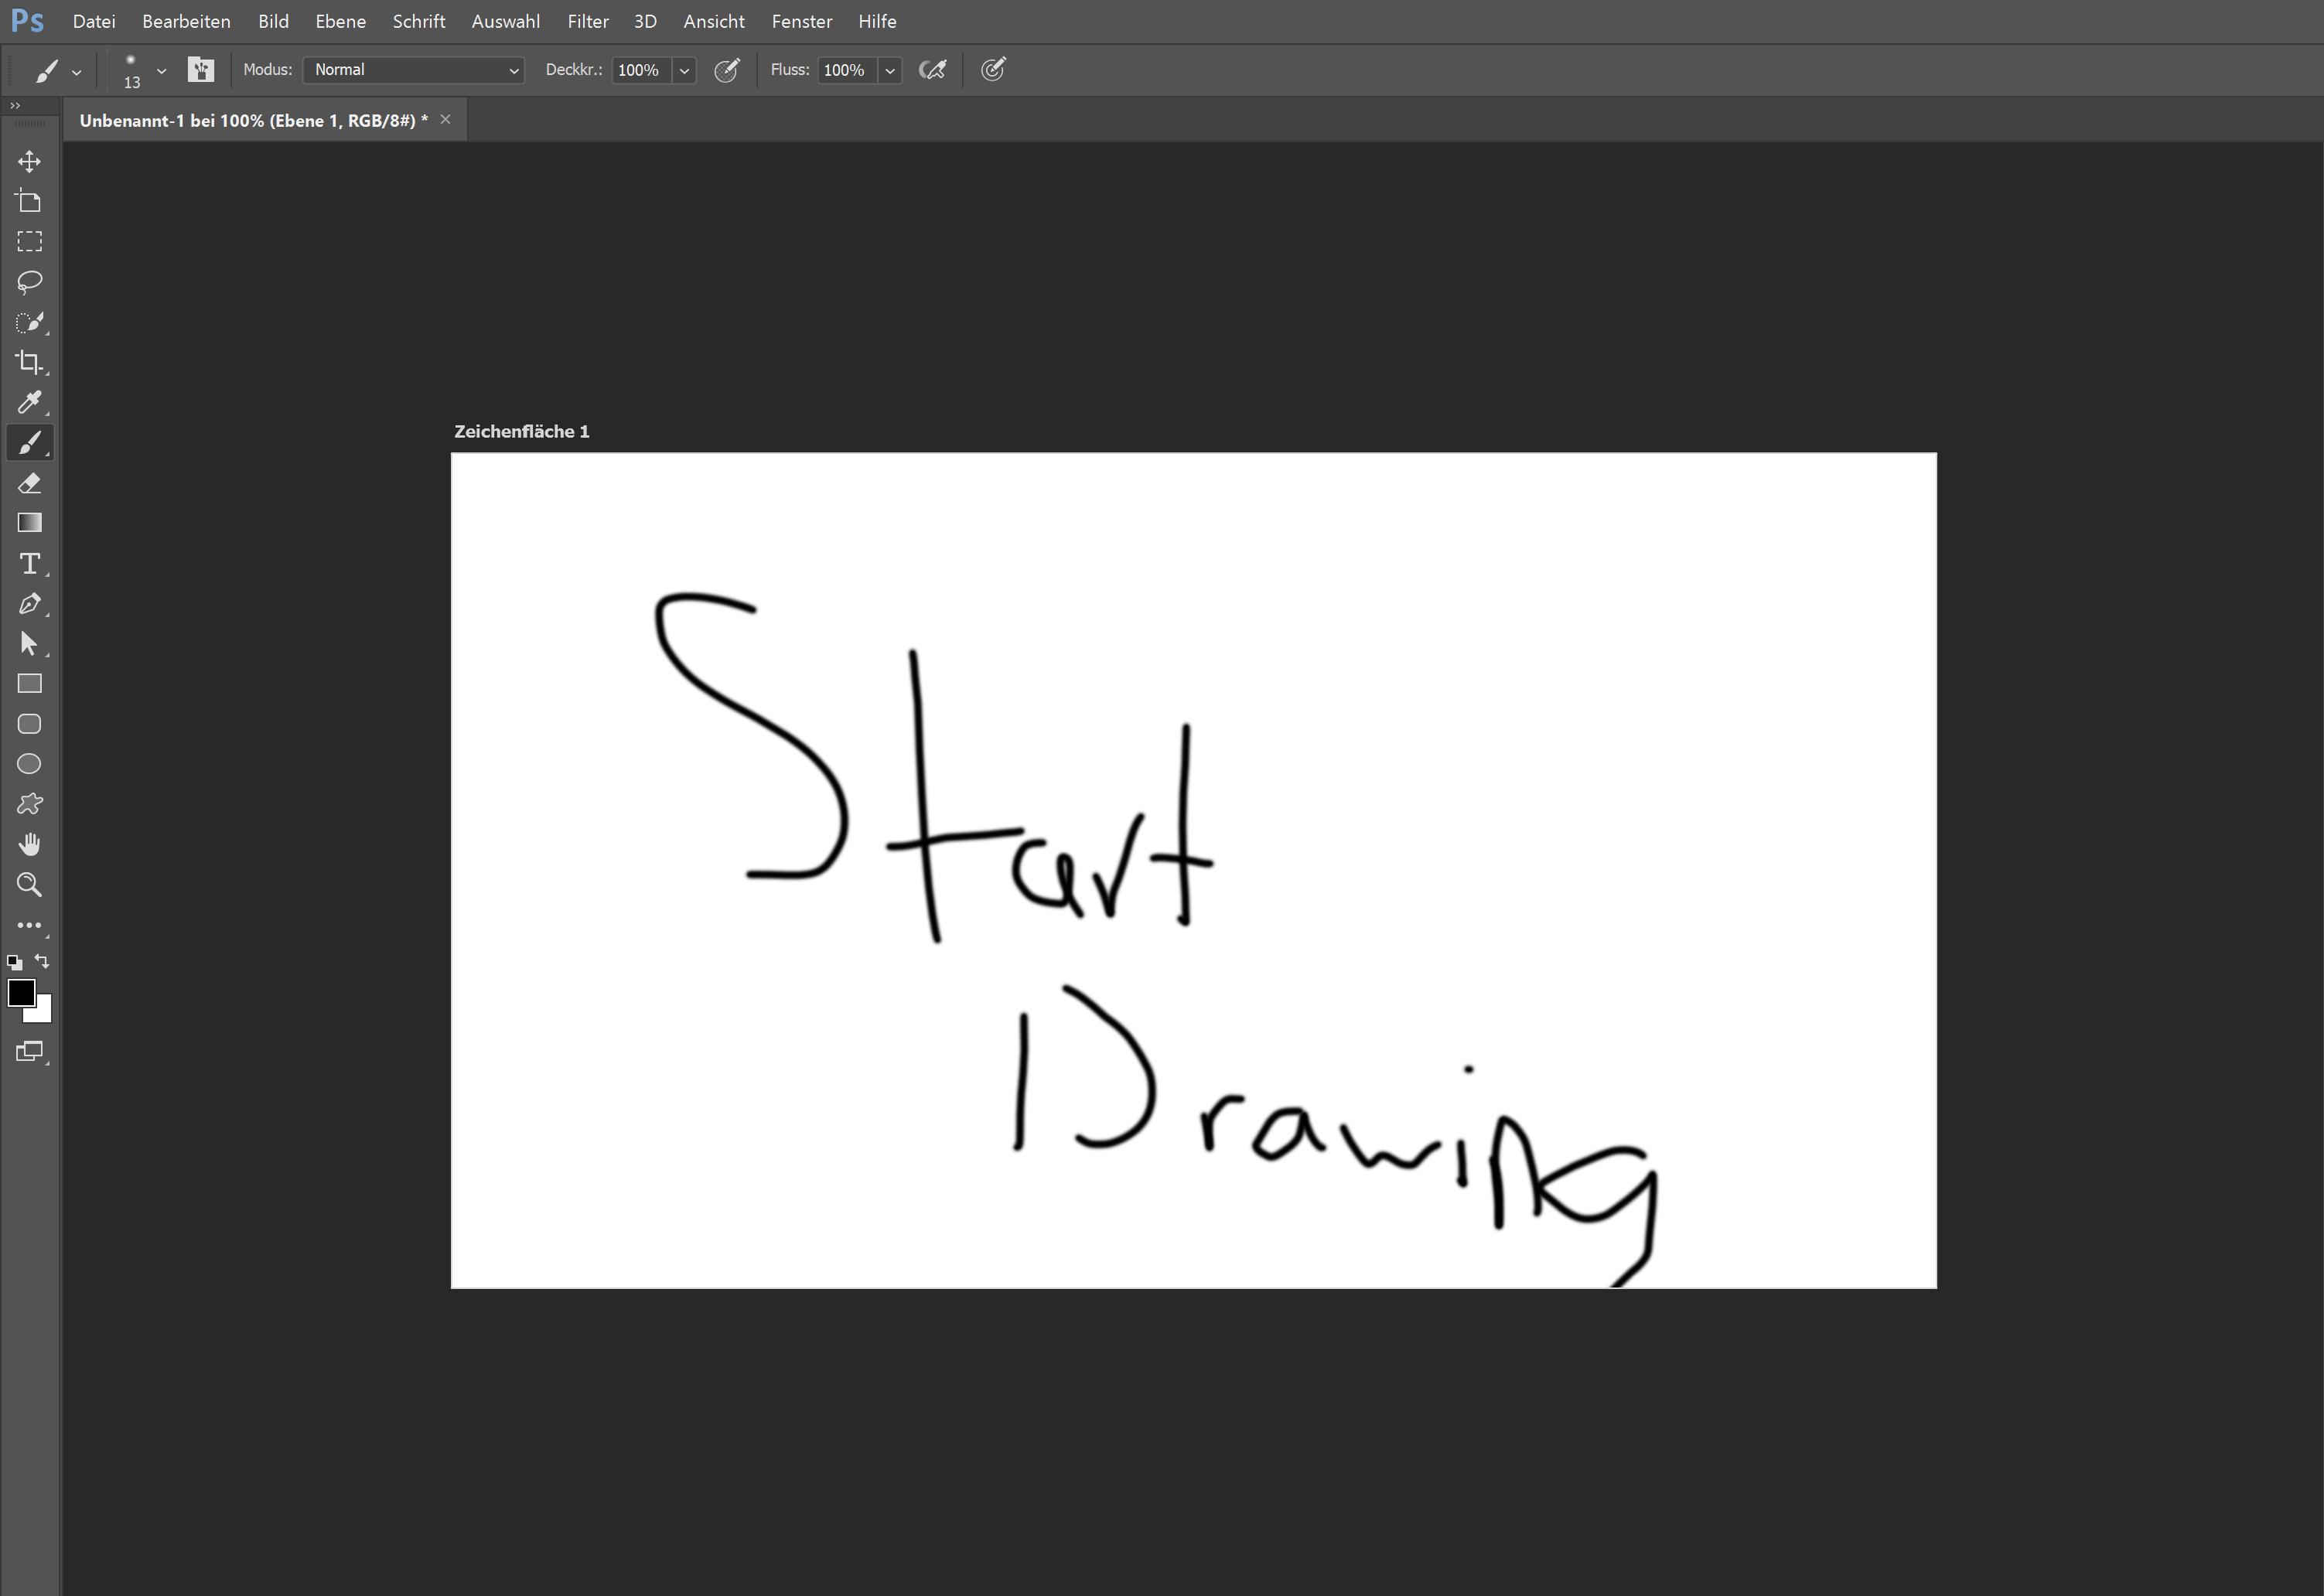
Here you can see the workspace of photoshop:

Then I grab the brush and started drawing:
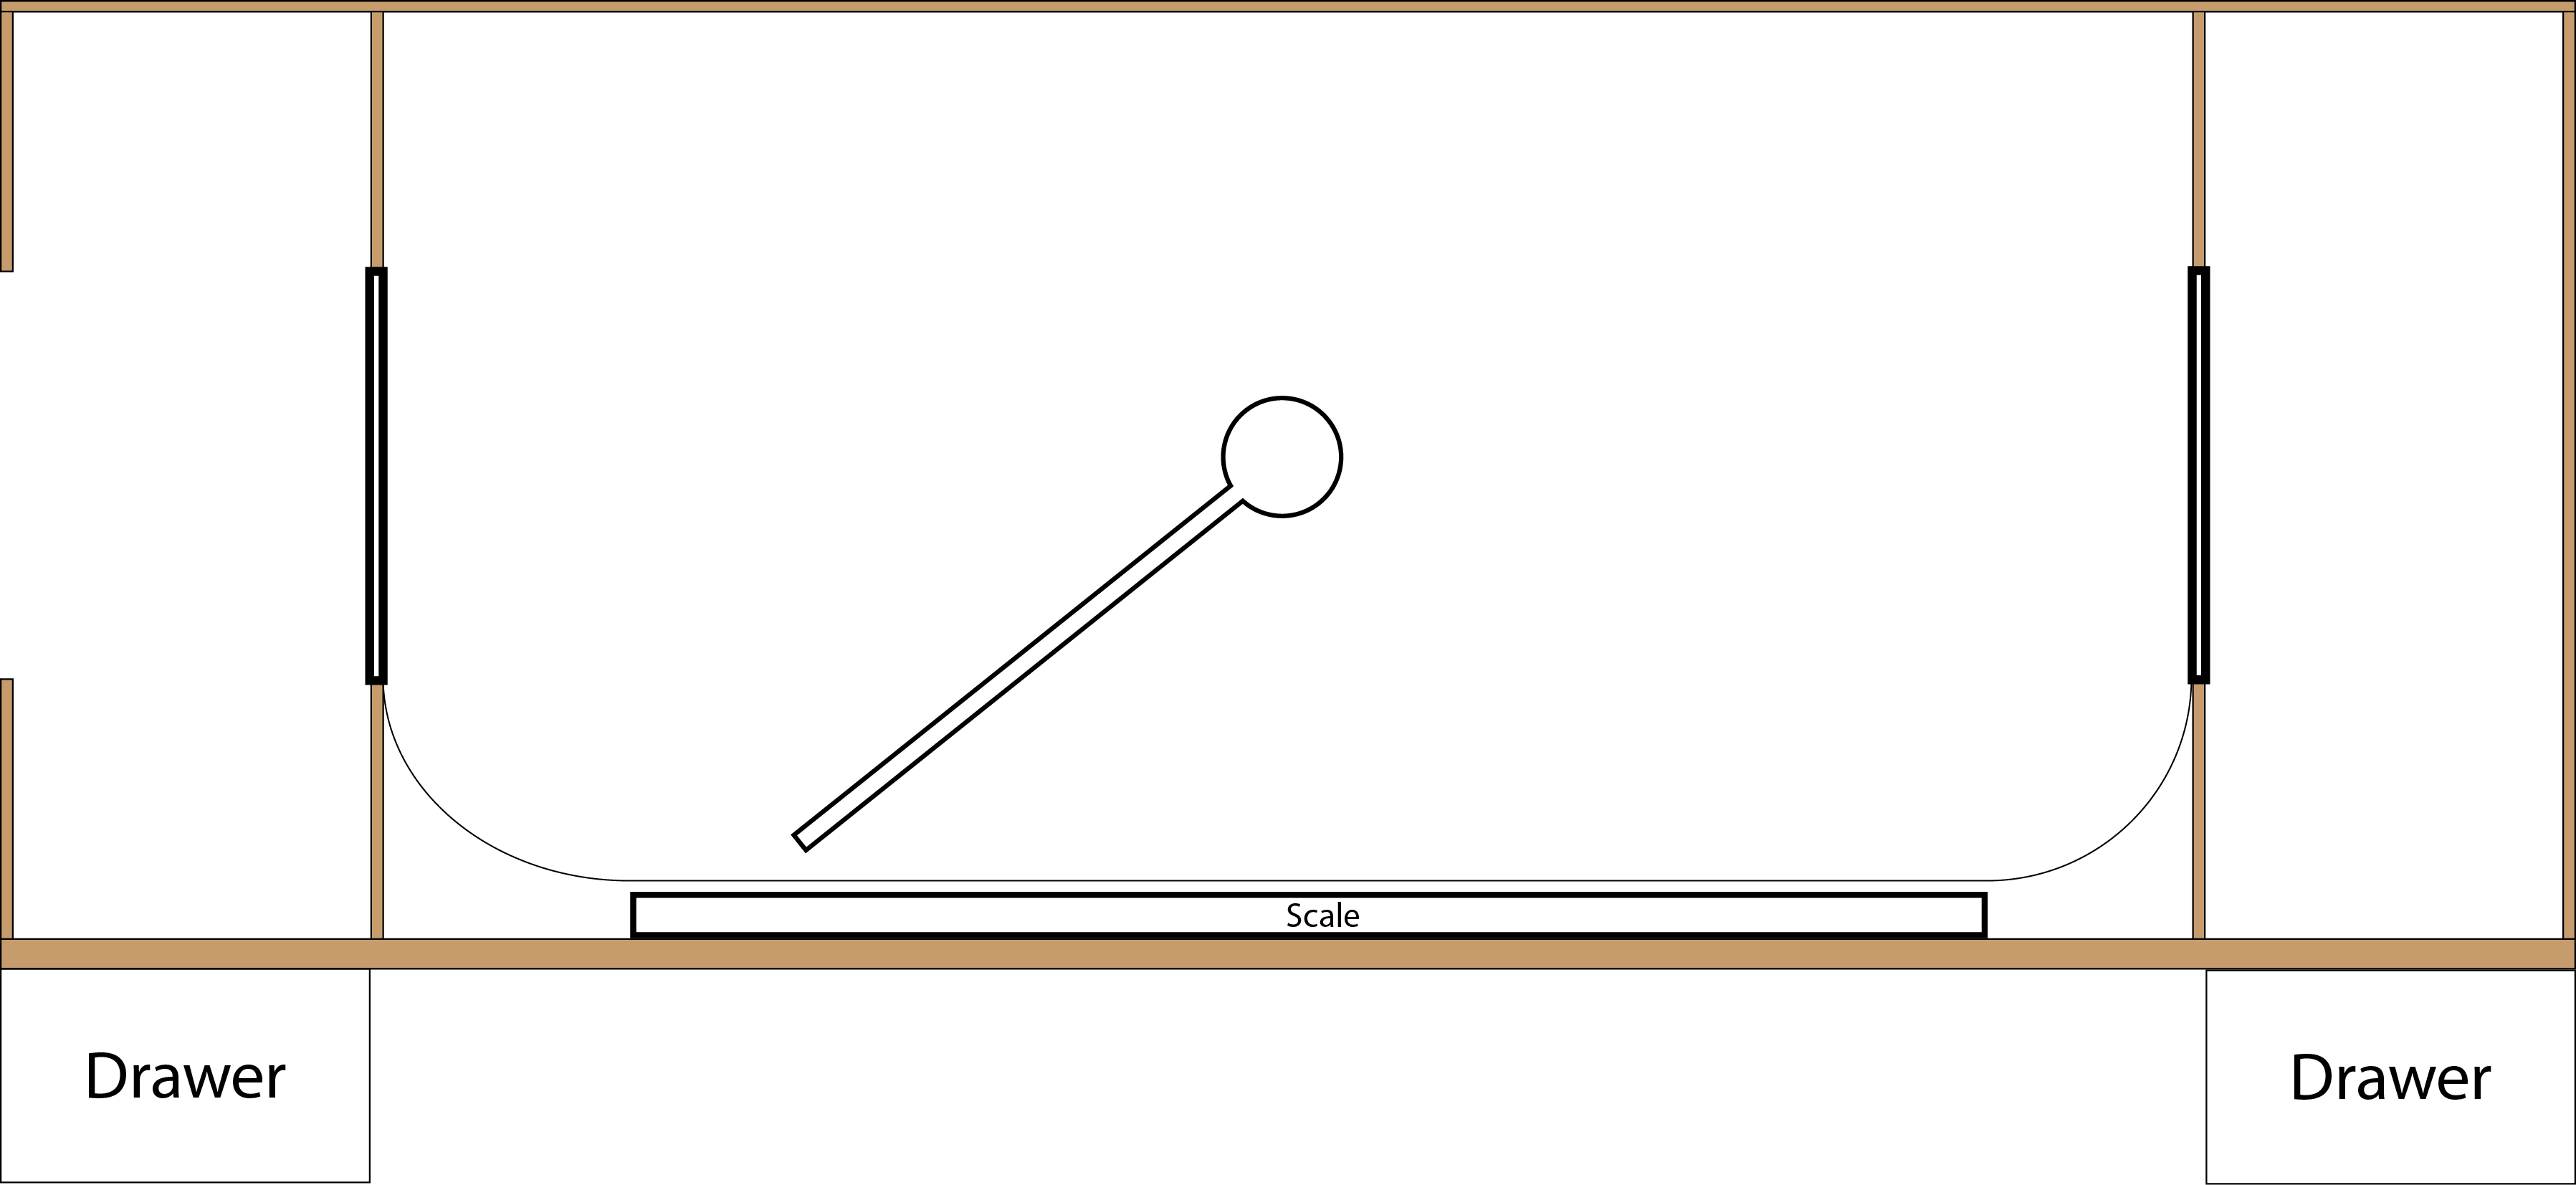
In the second iteration, I replaced the excavator bucket with a strainer that moves up and down vertically.
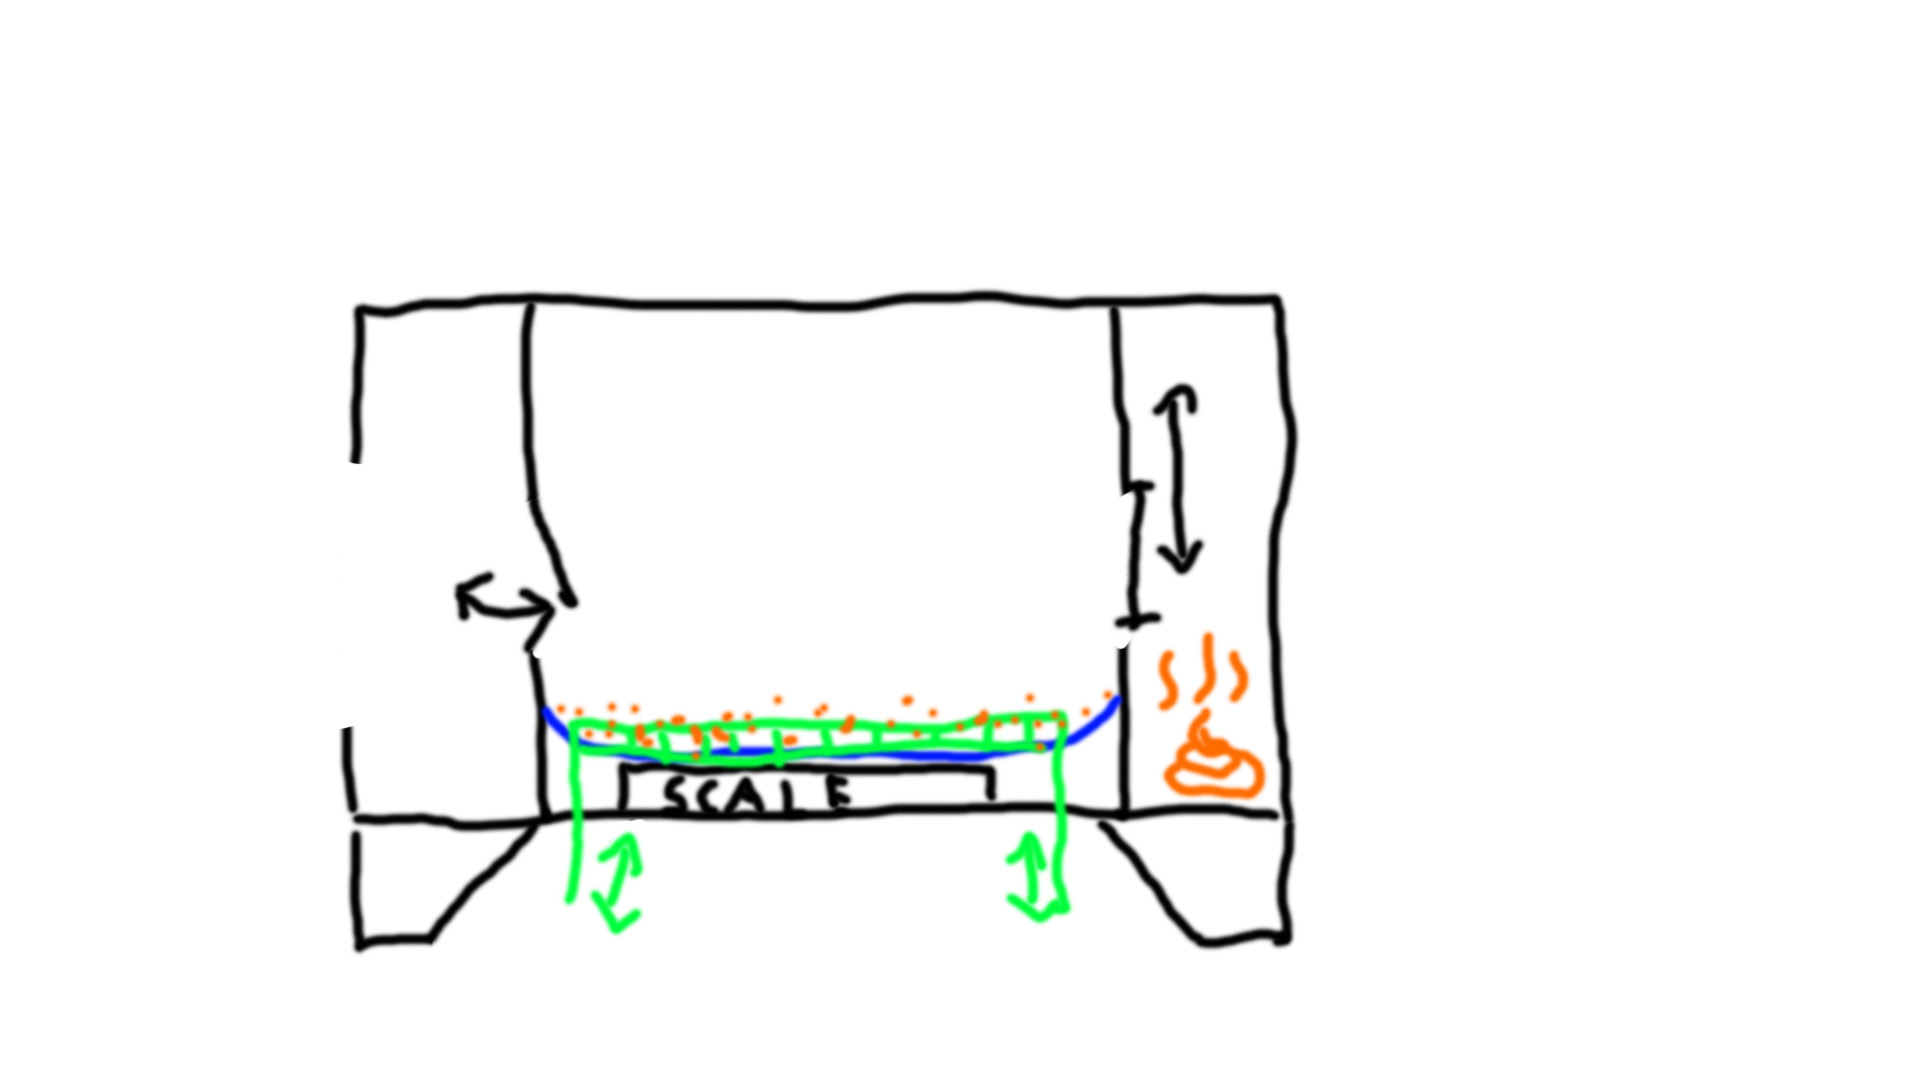
However, since this design has some flaws, I abandoned the idea and went back to some cleaning method that come from the top of the litter box.
What I've learned is that I'm realy not good at drawing sketches and that I should stay with my CAD tools, which I will describe later^^
For raster based programs I used Adobe Illustrator, as I have used it some times before and was quite familiar with it's capeabilities.
As in Photoshop I started with a new project and set up everything beforehand:
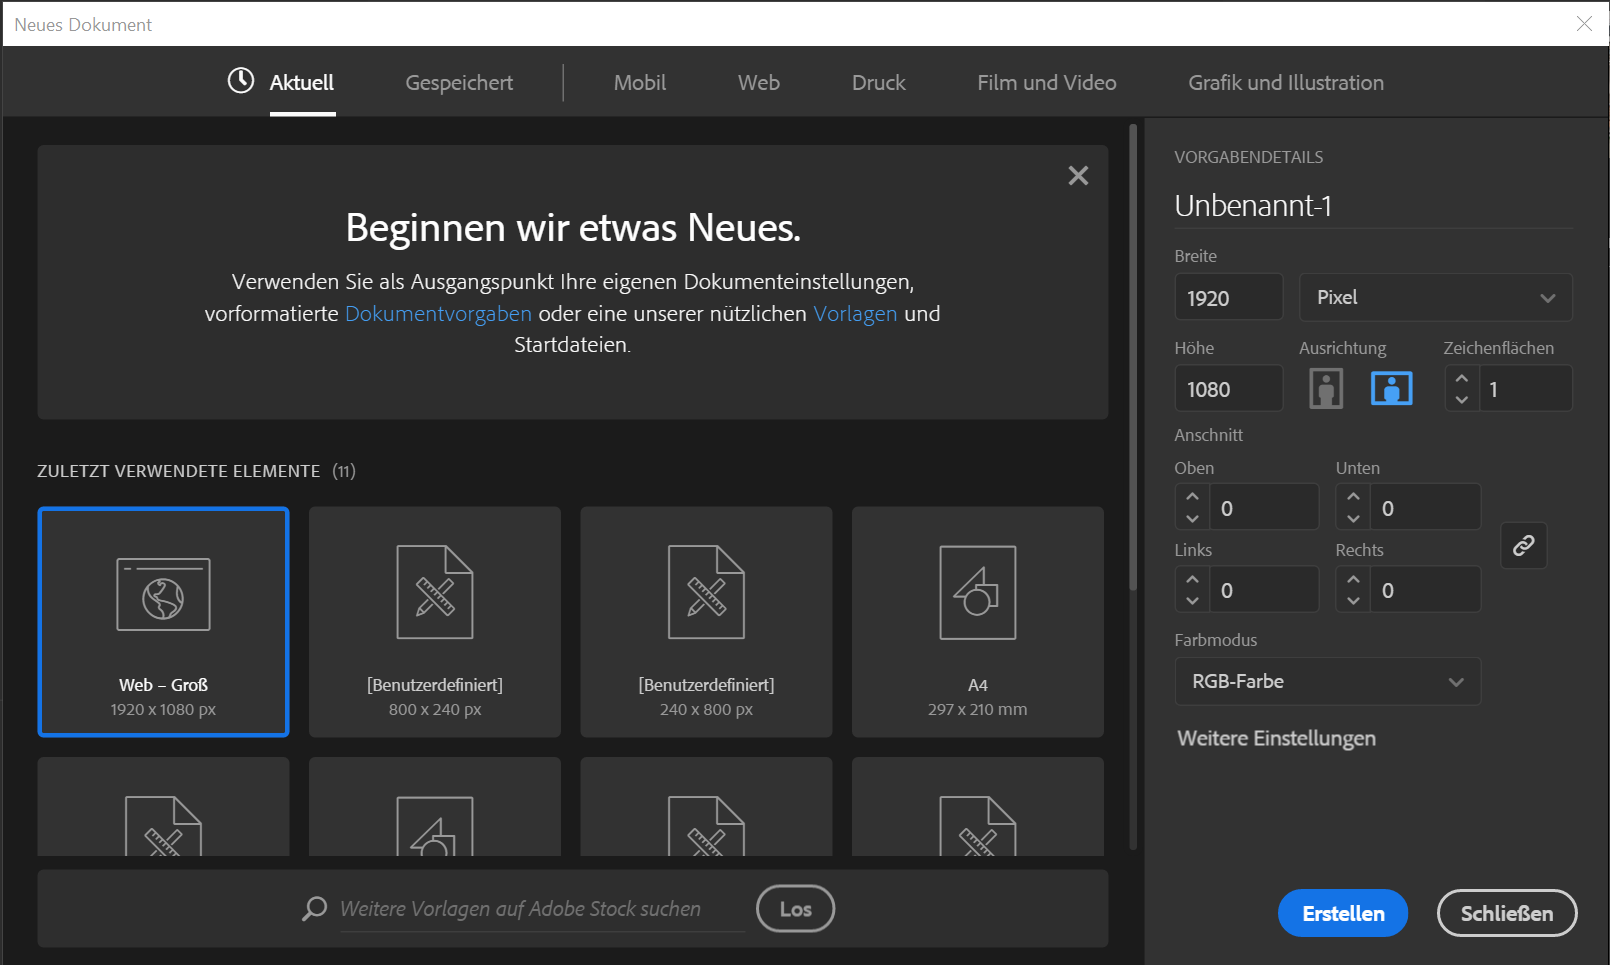
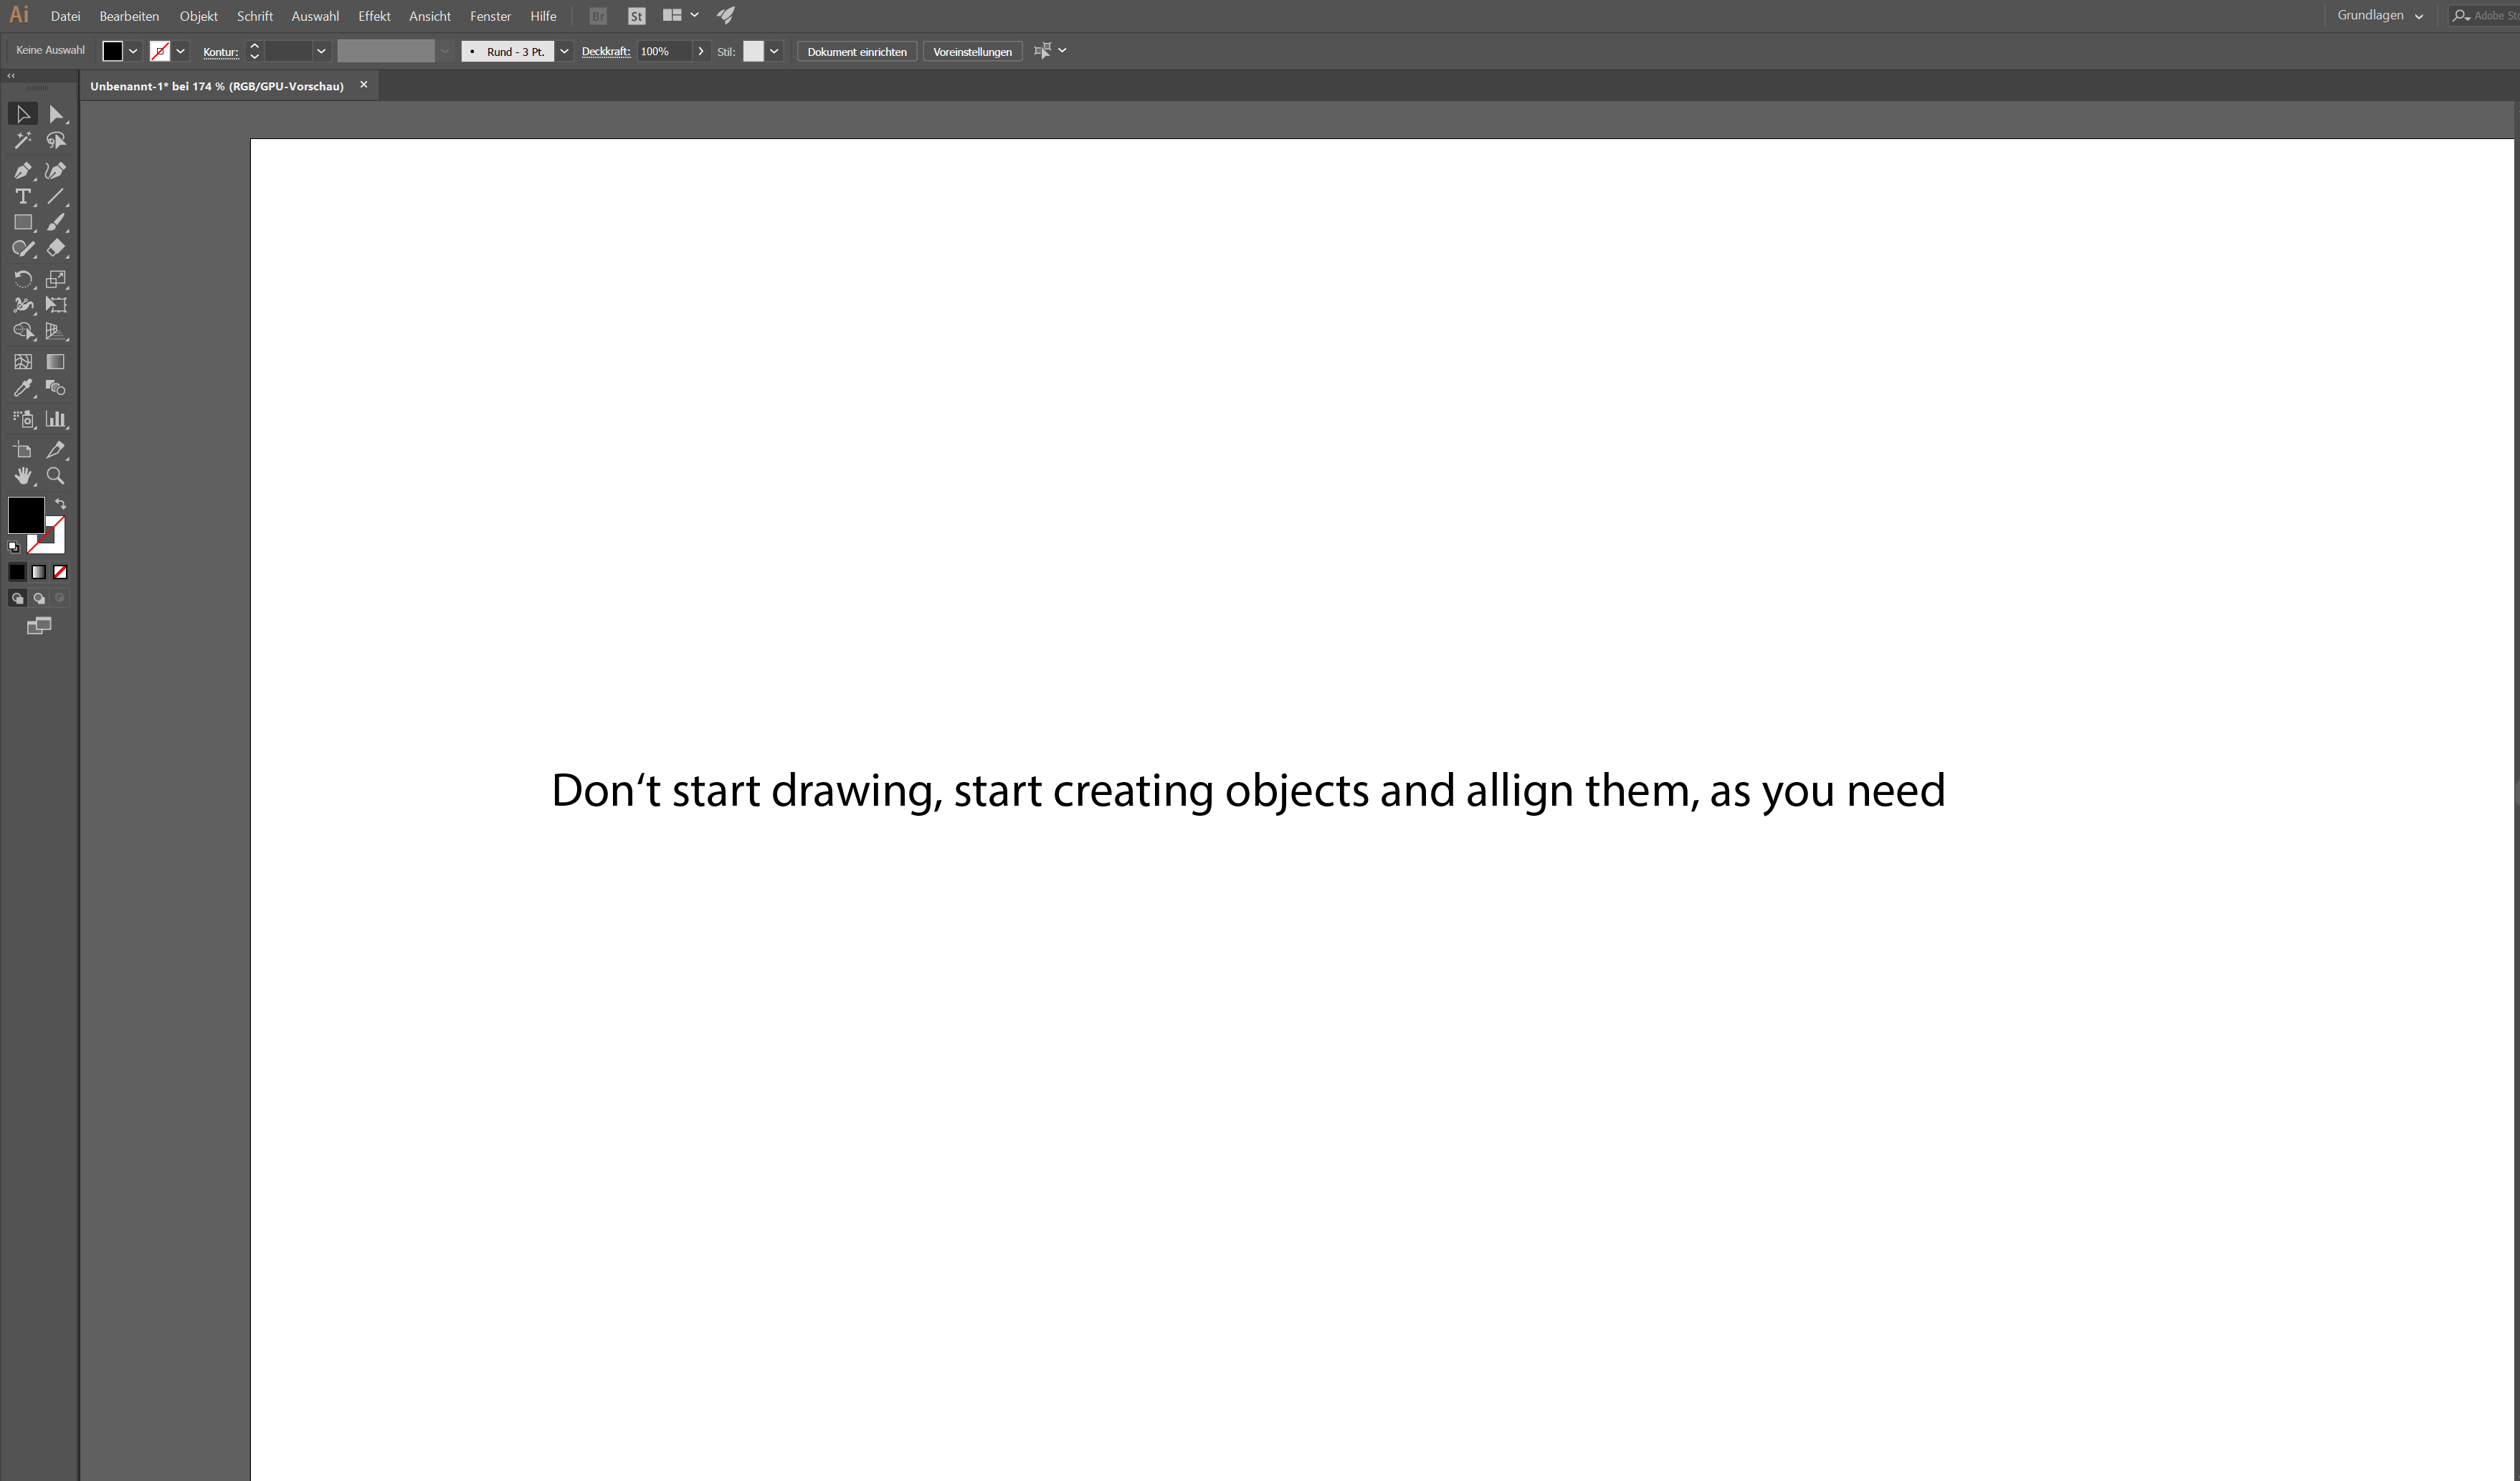
You can clearly see the similarities between the Adobe programms:
Instead of starting to draw I used different tools to create objects, which I can then allign and create my design:
As I was not satisfied with my prevois ideas, I wanted to evaluate a new conncept for the self cleaning mechanism. Instead of using a strainer formed like an excavator shovel I wanted to try something new:
As I was satisfied with my idea I went on and tried to visualize my project in a CAD program. As I used Fusion 360 a lot beforehand, I wanted to start with it and the compare it to FreeCad, as I have never used FreeCad before but heard, that I should be very powerfull.
In Fusion 360 I starte with a first sketch which I scaled to the dimensions of my existing litter box. I want the smart litter box to be as comfortable as the old ones.
In the following Video you can see the step by step evolution of my design:
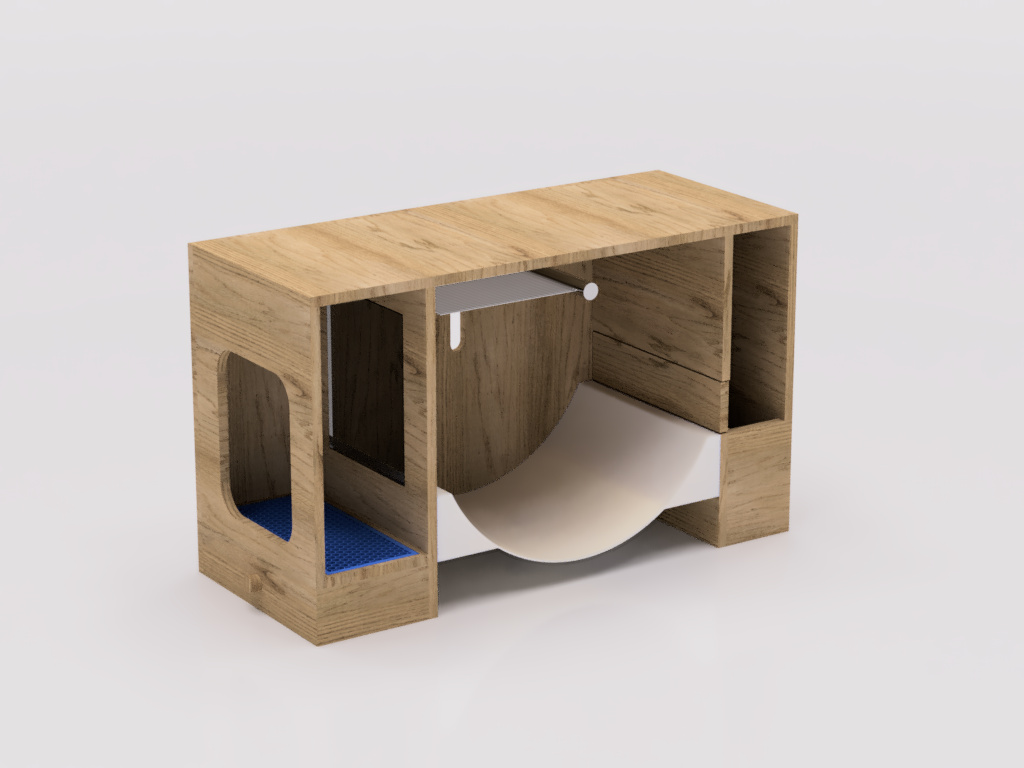
As you can see I simulated the movement of the strainer system. I also designed a filter for the entry, so that the cat litter can fall into the front drawer while the cat exits the litter box.
Then I rendert an image with the build in renderer of Fusion 360, just because I can^^
Next I wanted to create an exact copy of my Fusion 360 design in FreeCad, just so I can compare those to programs.
First I downloaded and installed FreeCad on my Computer. I started it and got the first error code, telling me, that my windows prefferences for seperation of decimal places was wrong and I have to change it to use FreeCad in the first place.
So after a quick google search I found a way to change my decimal seperation operator from a dot to a comma / decomal point.
After this quick fix I could start FreeCad, but the problems didn't end there...
As I have never used FreeCad before and only was familiar with Fusion 360, I found the User Interface very counterintuitive. I opened up youtube for a quick tutorial, so that I at least got to know the basic functions.
I then startet to draw my first sketch, using a lot of constraines, as the tutorial told me, that a sketch with zero freedoms was the goal.
I finished my sketch and the tried to use the pad tool, but I got another error message, telling me that my result has multiple solids. I didn't know what that meant, so I had to search again. I found out, that my sketch had overlaying lines, which FreeCad doesn't allow.
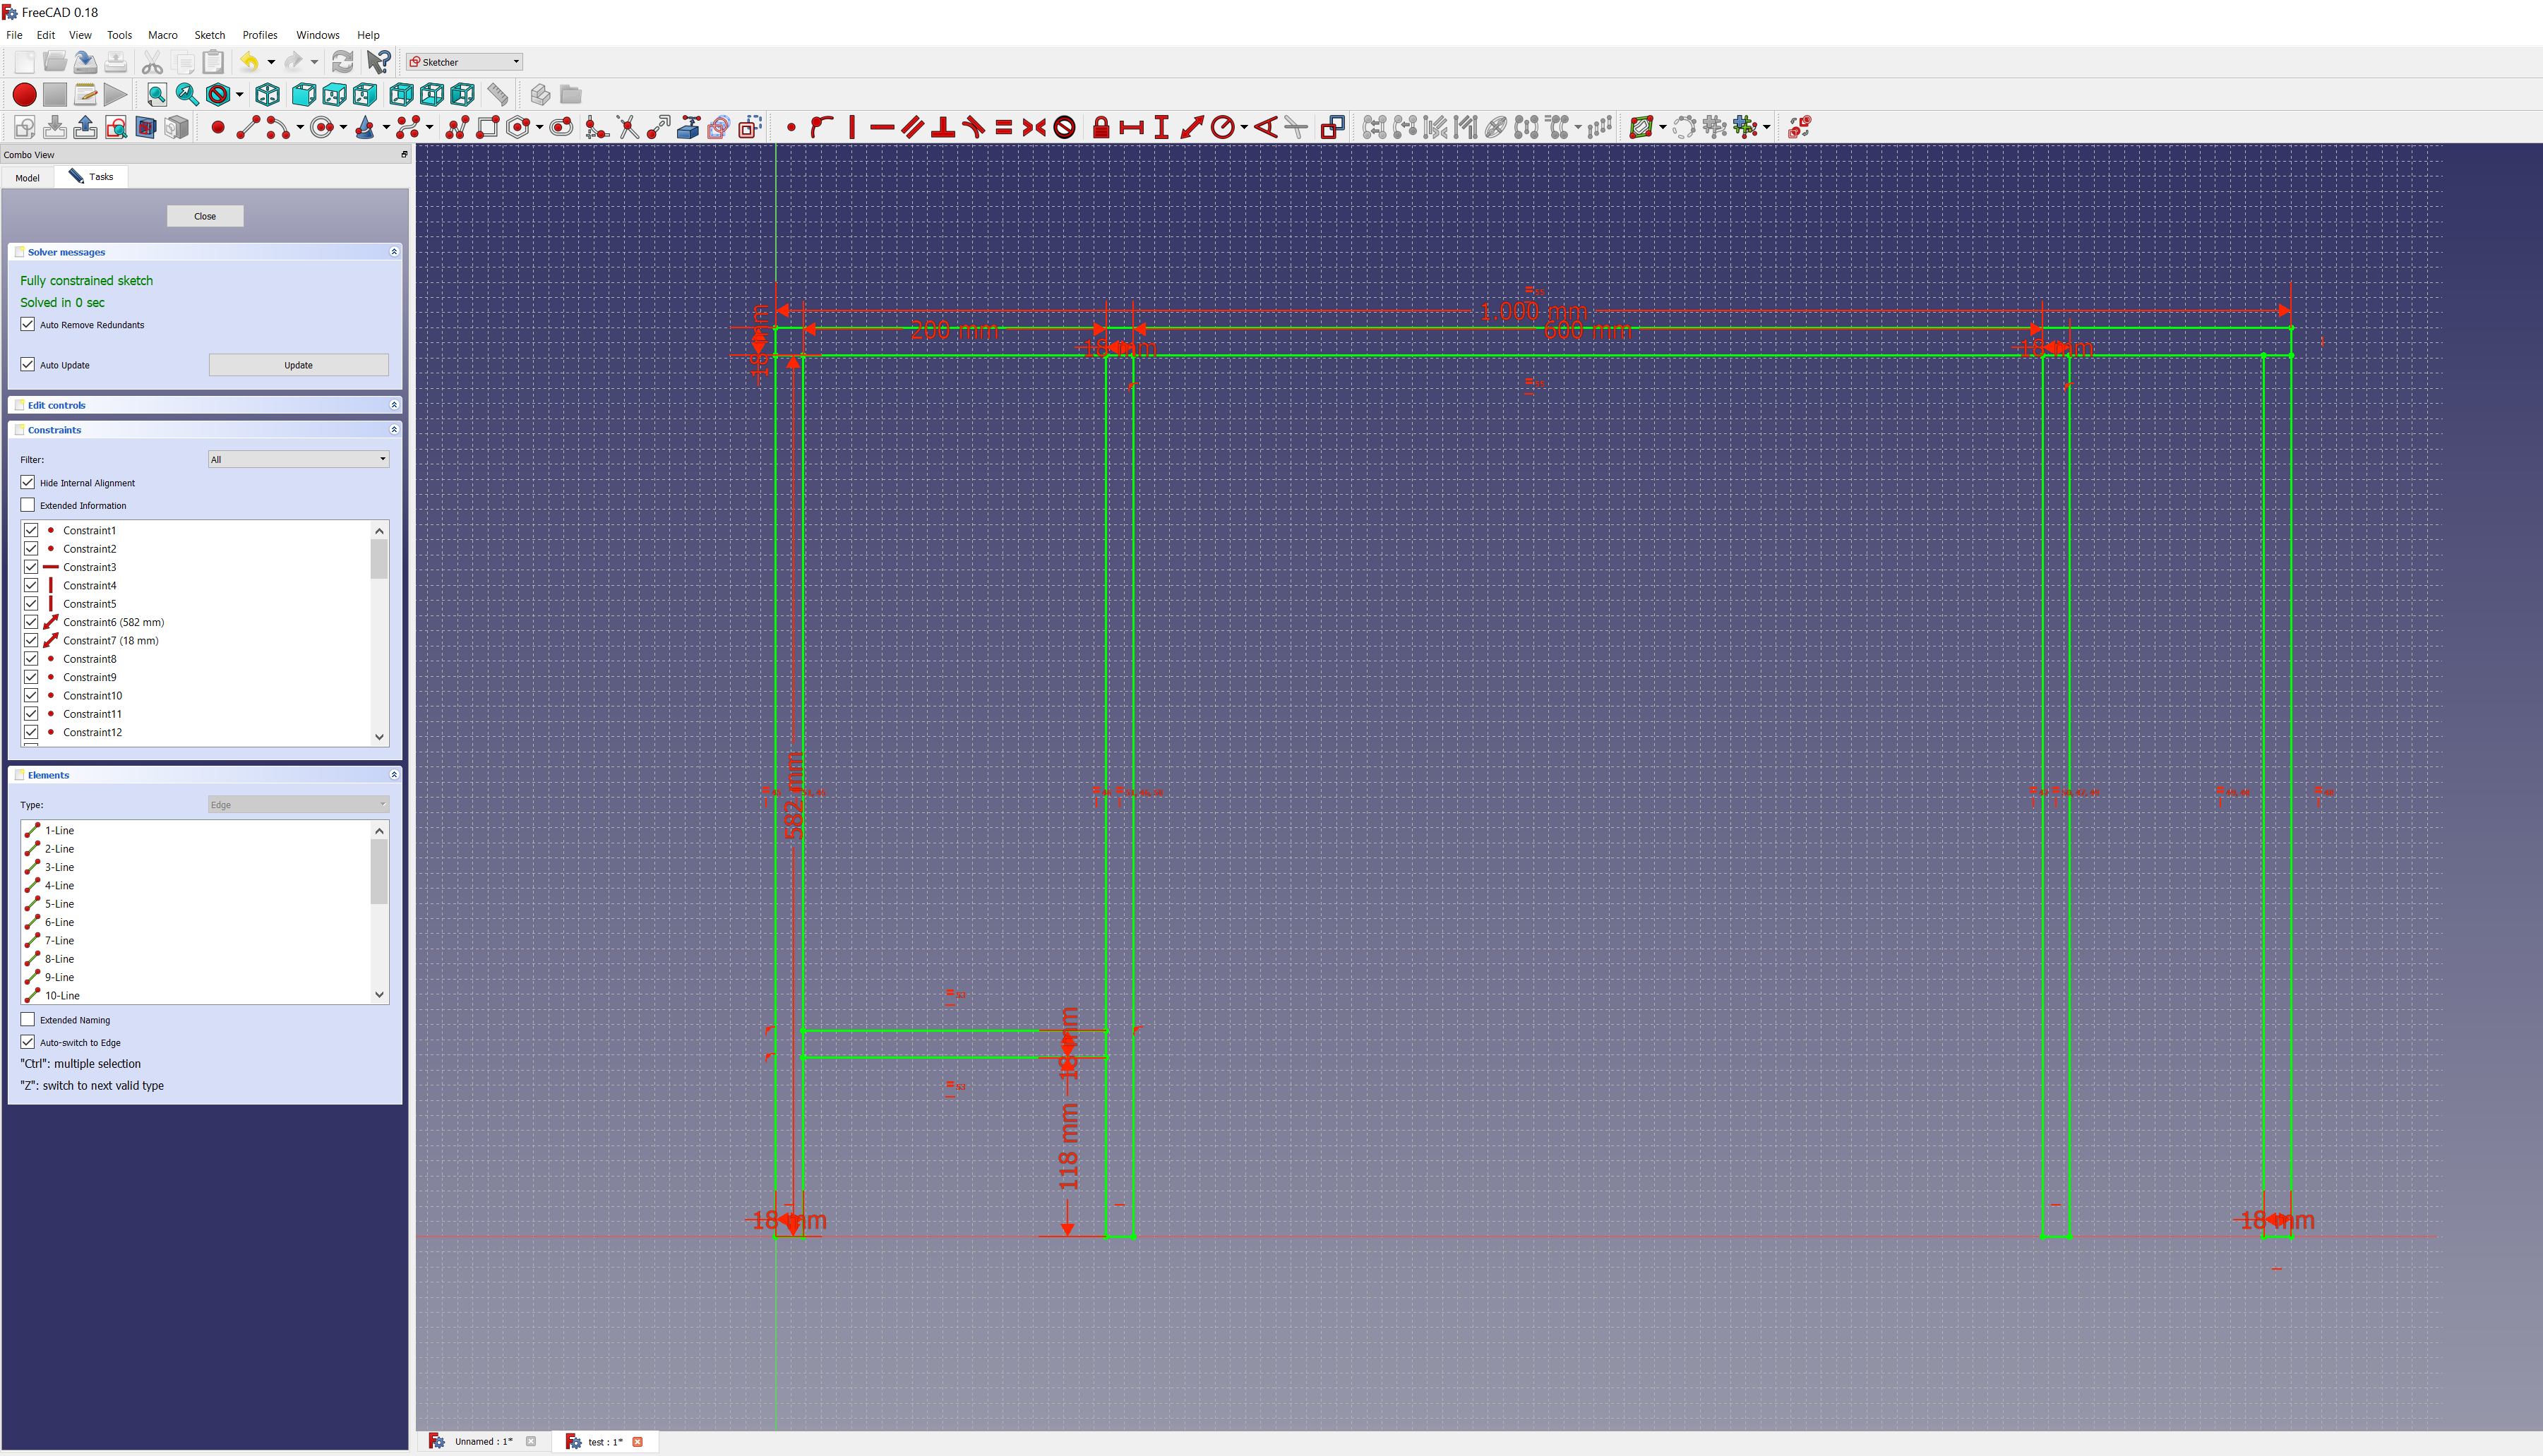
So I got back to the sketch editor and deleted all redundant lines and added a lot more constraines, as I lost a few while deleting the lines. I finished the sketch, tried to use the pad tool again and got the next error message, telling me this:
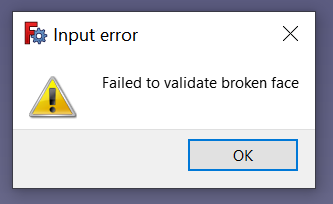
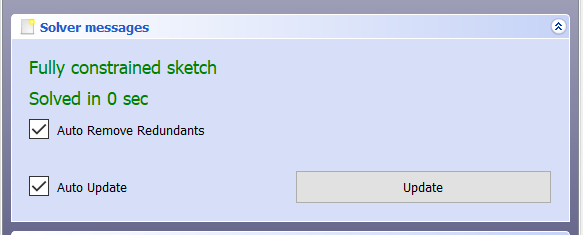
I used my friend google again to fix this problem but couldn't find a solution, because normaly this error occurres when your sketch isn't fully constrained. As you can see in the following image, my sketch was fully constrained but it didn't work:
As I couldn't resolve this error I decided to test Onshape as another CAD Program instead.
Onshape is a browser based CAD program which is free as long as you use it for non profit or education work only. I created an Onshape account and tried the same as in FreeCad, creating a dublicate of my Fusion 360 design to compare them.
On the first look I found Onshape much more intuitive than FreeCad. I was happylie surprised, that a lot of the shortcuts from Fusion 360 did also work in Onshape.
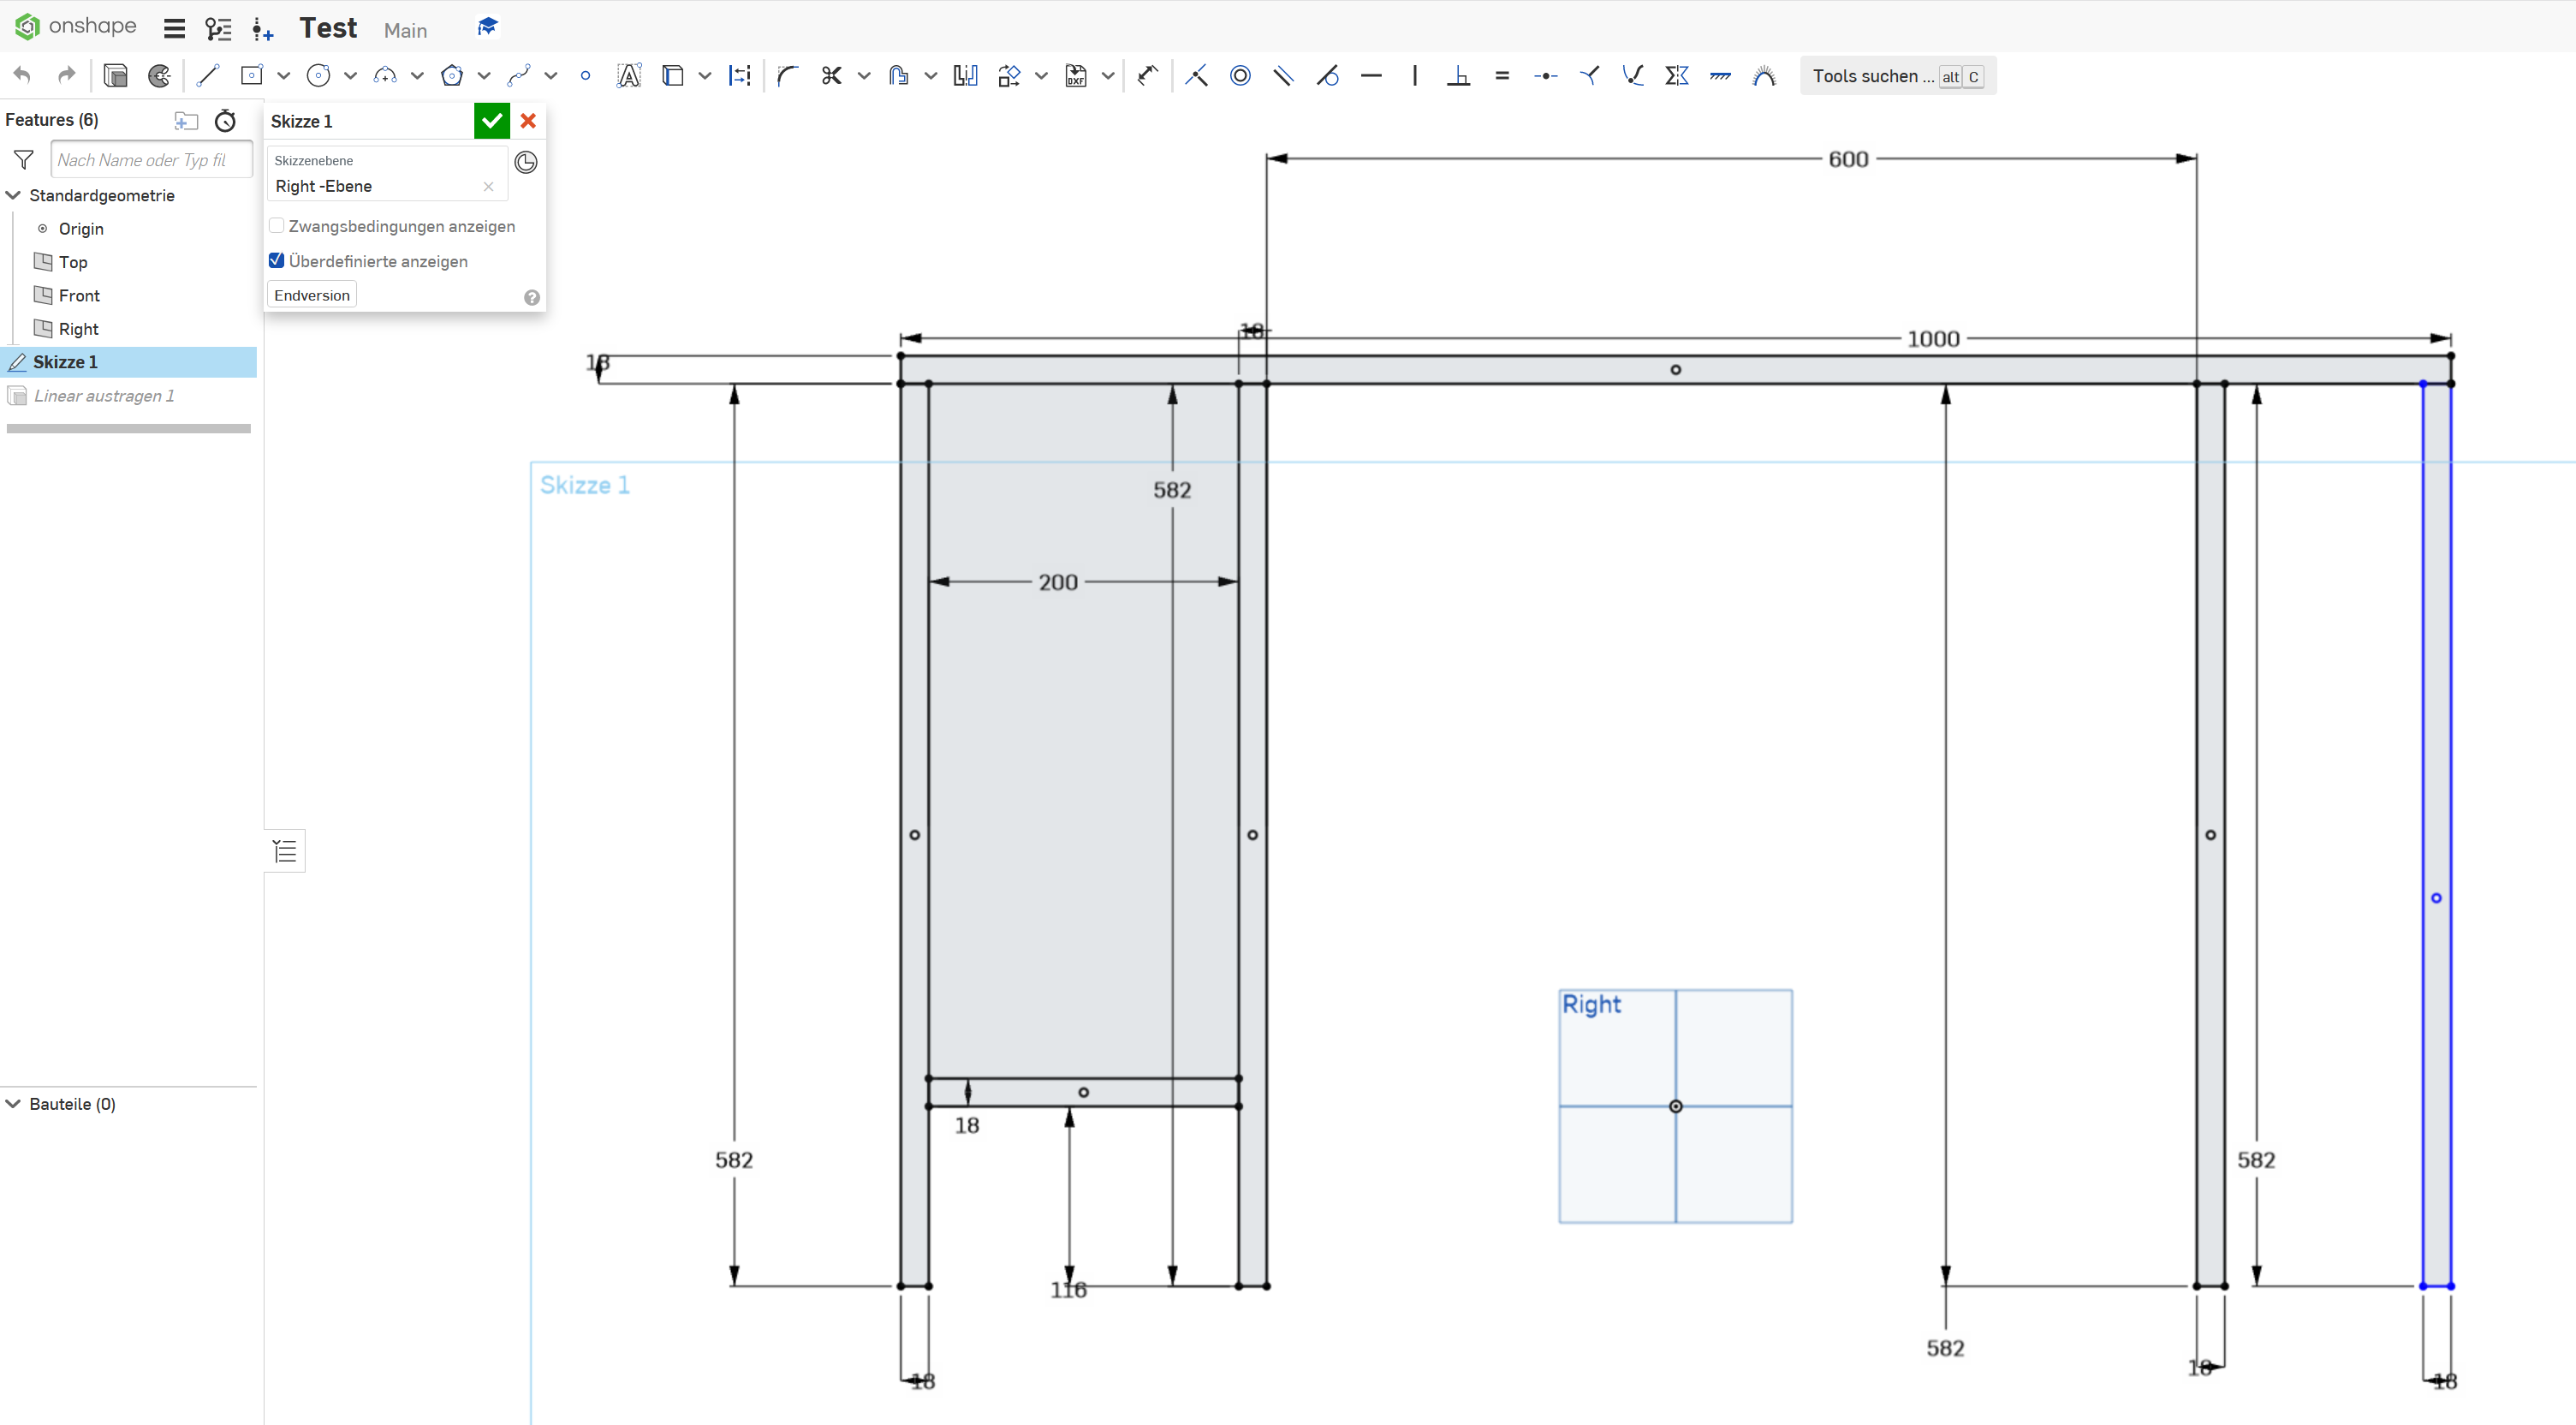
I startet to create the same sketch as I did in FreeCad. As you can see, they look nearly the same:
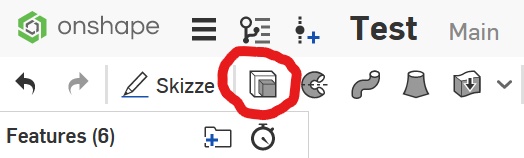
Then I used the extrude function to create a 3D object out of the sketch:
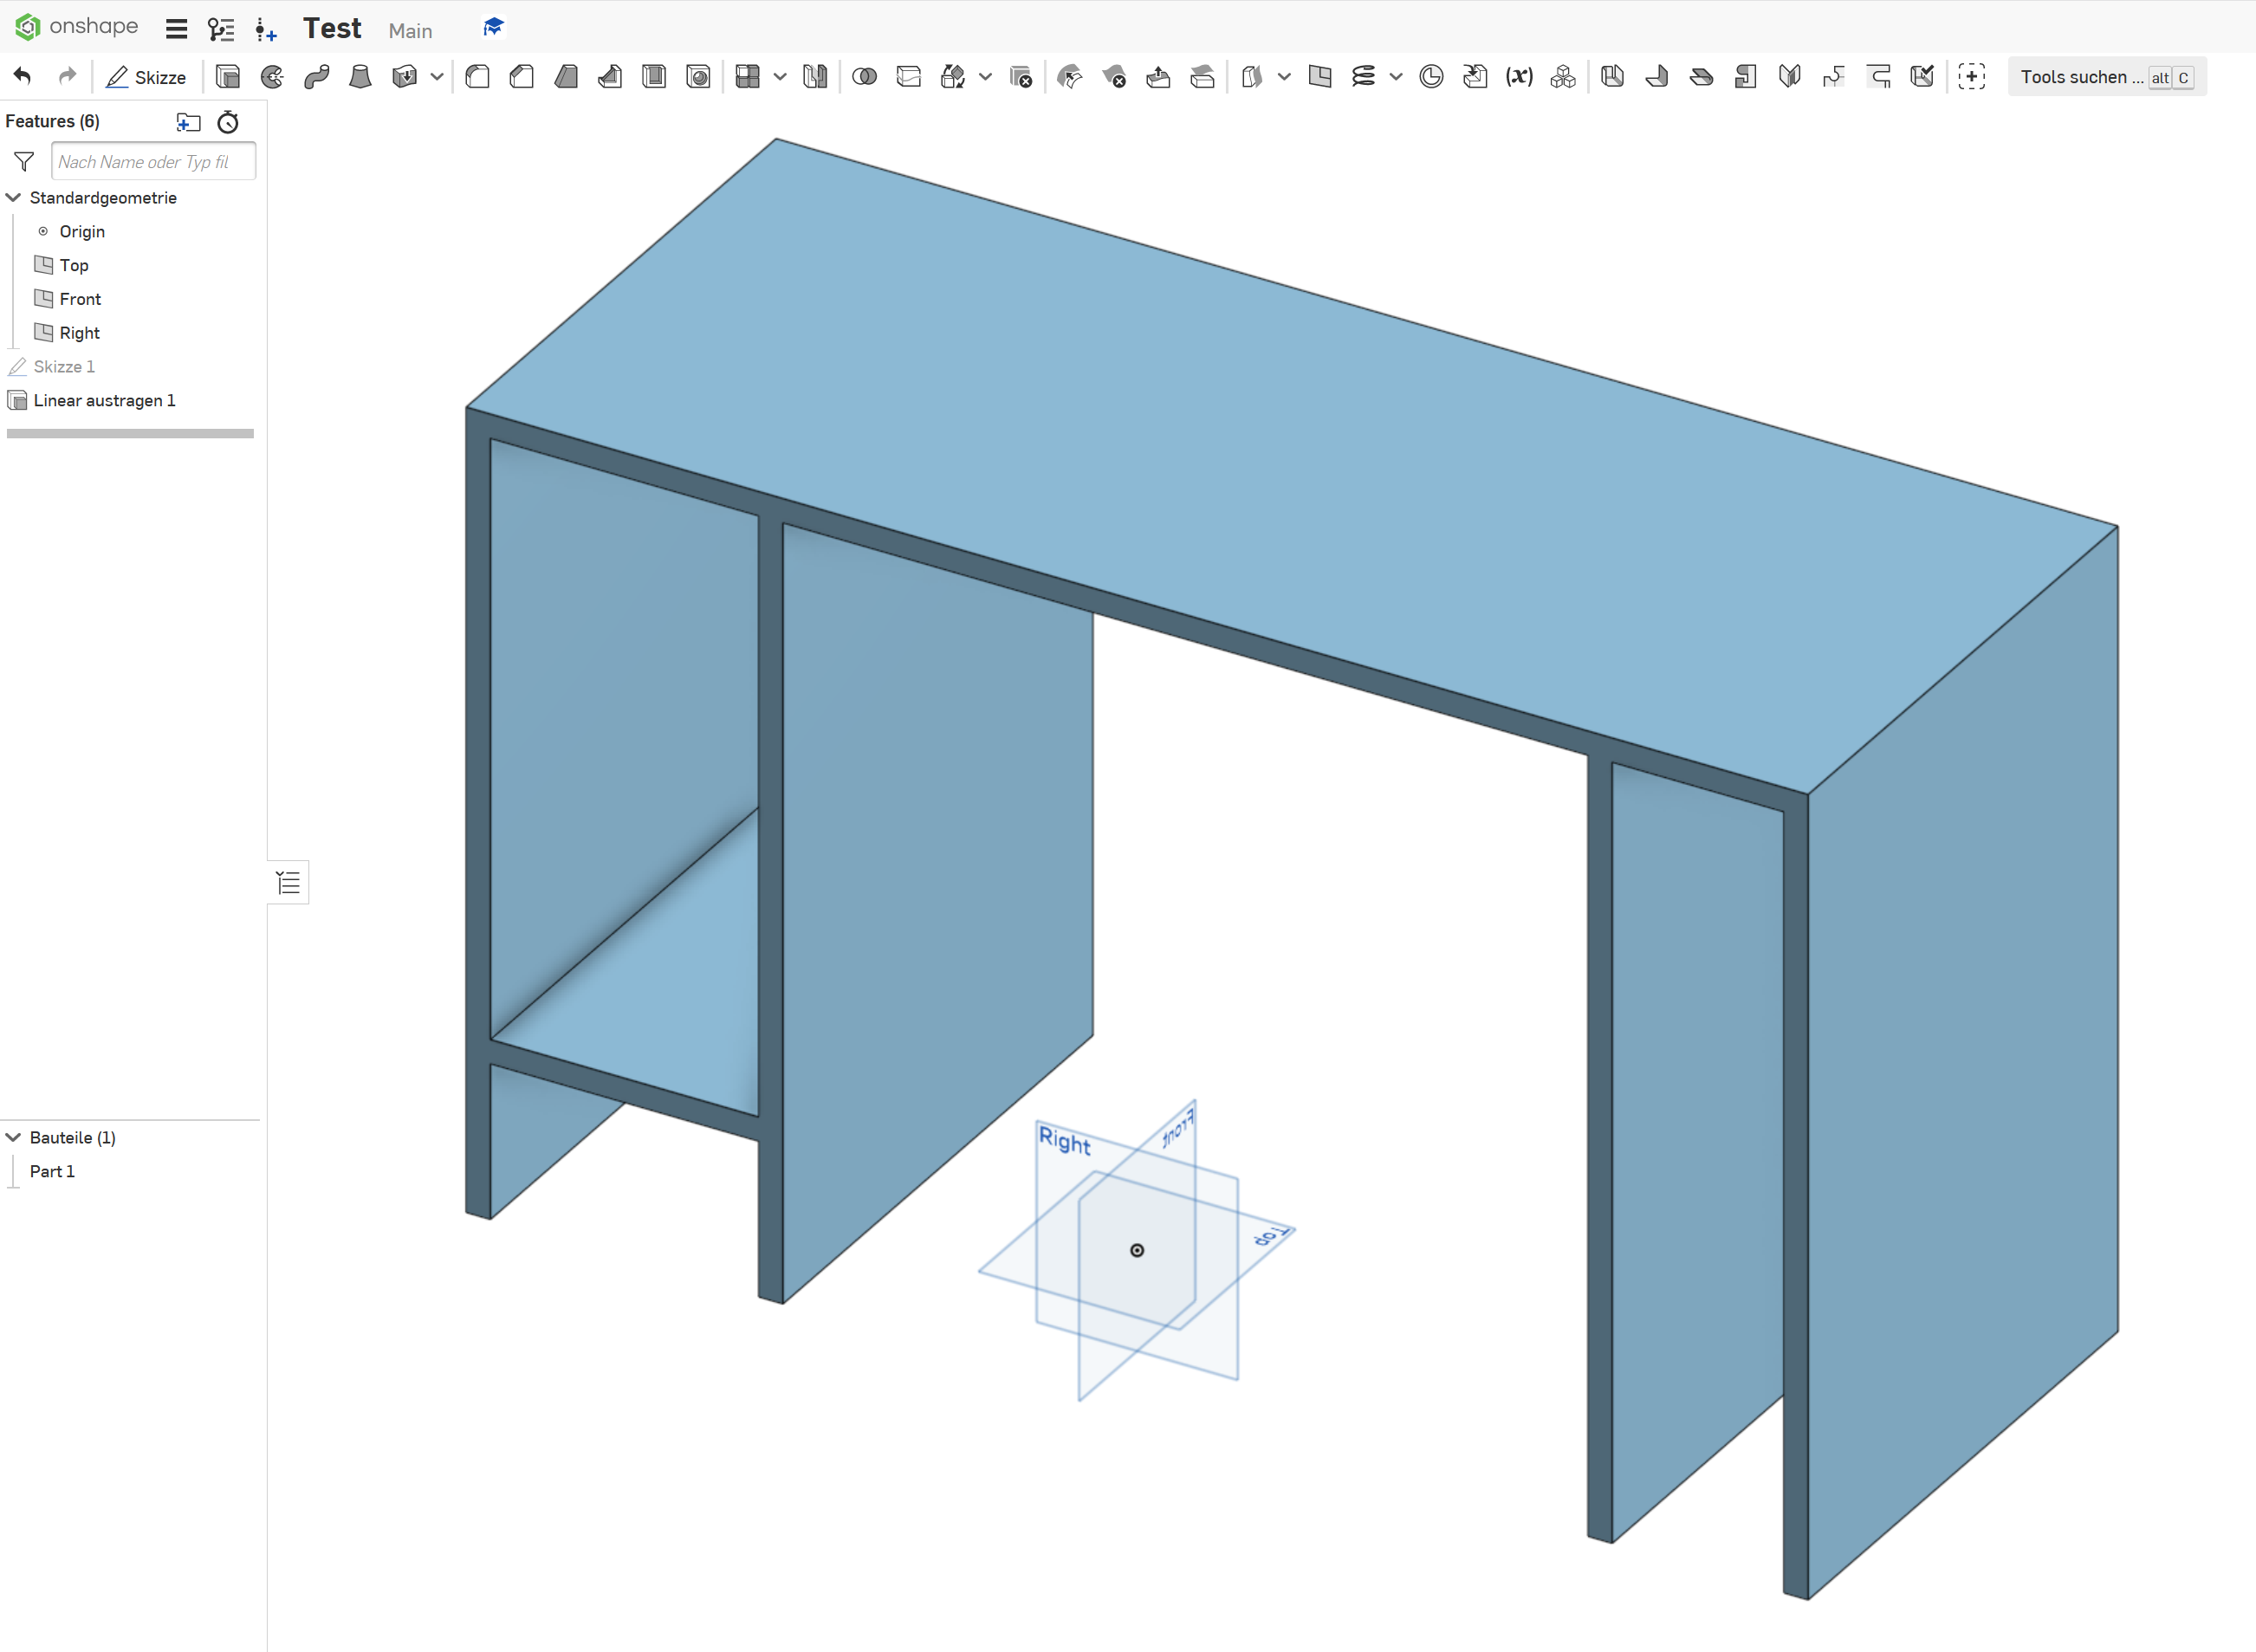
To my delight there was no error message or anything, so I could easily create the 3D object as shown:
I haven't finished the design yet but I was surprised how good Onshape functions for a browser based CAD rpogram. There where minor functions I missed or I had to search in order to get everything to work, so I consider using Onshape more often in the future.