Introduction.
This topic makes mention of various forms and materials that exist and that can be used to create a project, it is very interesting to see all the material that exists in developed countries and thereby promote the development of new creations perhaps based on simple ideas, it is a matter of exploring, spending time and finding where to buy the material.
machines
electrical discharge
machining
5-axis machining
micromachining
waterjet cutter
flatbed
cutter
sheet metal
robotics
arms
construction
inflatable
soft
electronics
pick and
place
programmable
logic
folding
mathematics
form and function
food
printing
gastronomy
materials
synthesis
mechanical
rheological
biotechnology
DIYbio
iGEM
HTGAA
Bio Academy
textiles
fiber processes
knitting
embroidery
Fabricademy
composites
individual assignment
Design and produce something with a digital fabrication process (incorporating computer-aided design and manufacturing) not covered in another assignment, documenting the requirements that your assignment meets, and including everything necessary to reproduce it. Possibilities include (but are not limited to):
Embroidery is an activity that many women have practiced for many years and that is
transmitted from generation to generation in the State of Tabasco in Mexico.
The idea is to create a simple design of a figure to be embroidered on an embroidery
machine.
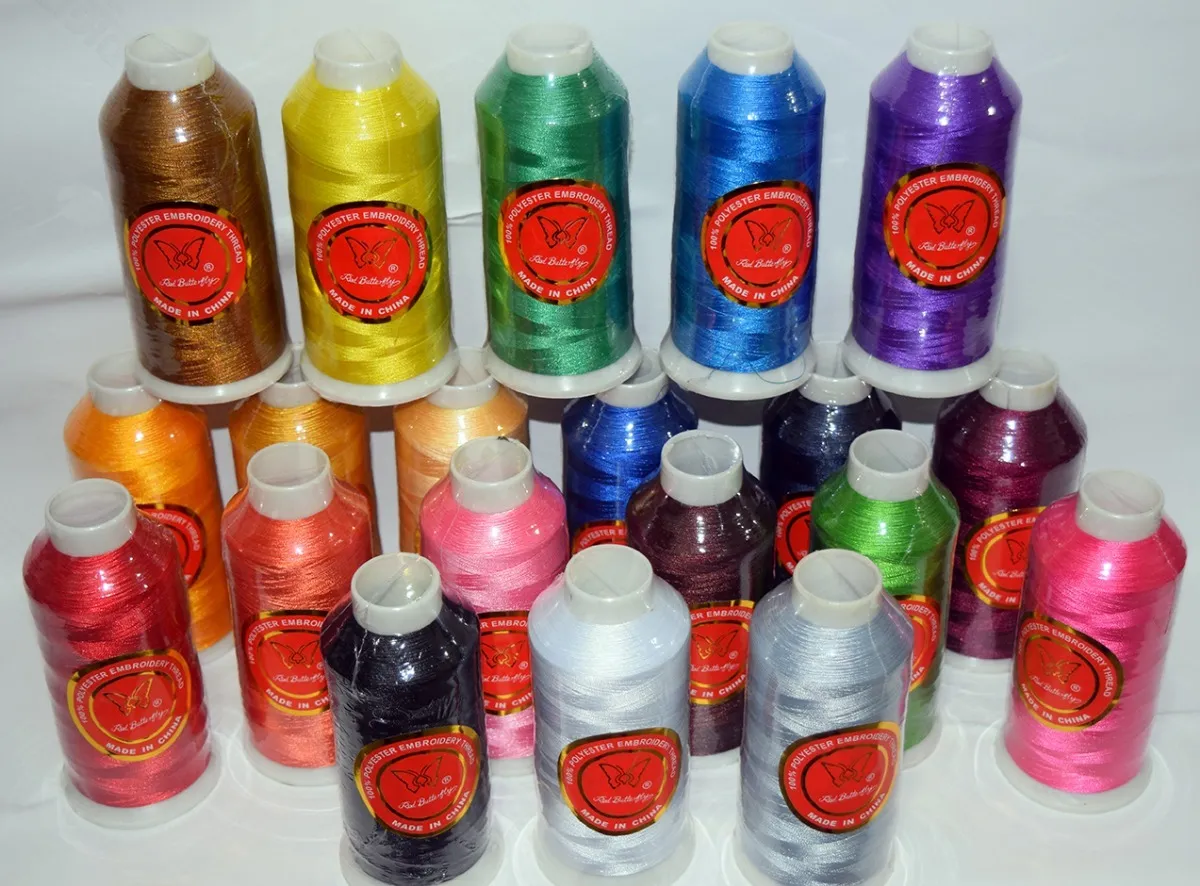
Material required
-
PE810L Semi professional embroidery machine.
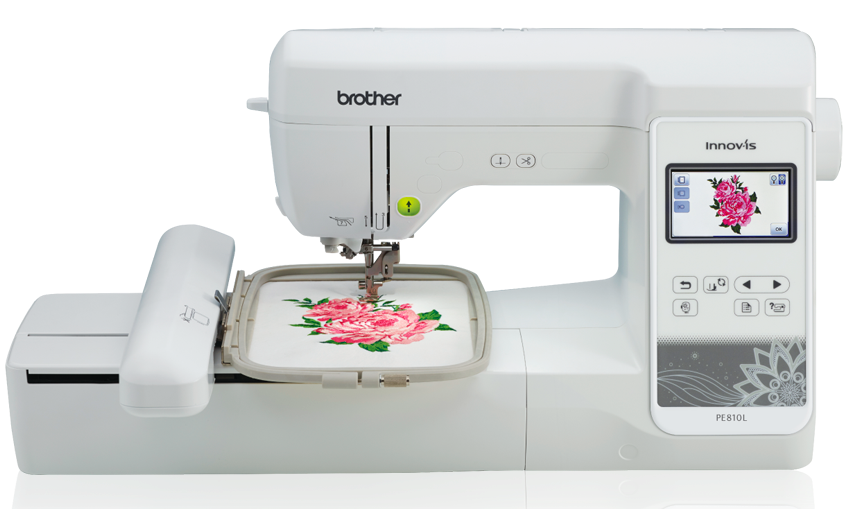
Embroidery machine with 650 stitches per minute, ideal for personalizing garments, blankets, table linen finishes and embroidering shields. The PE810L thanks to its diversity of sources, facilitates work and creativity for the customization of unique projects that will take your business to another level.
Main Features
Up to 650 stitches per min.
Sensor and thread cutter.
Flat embroidery unit.
Embroidery edit function.
USB port.
Led light.
PES and DST matrix format reader.
Includes: 1 embroidery foot, 2 18x13 and 10x10 cm hoops.
-
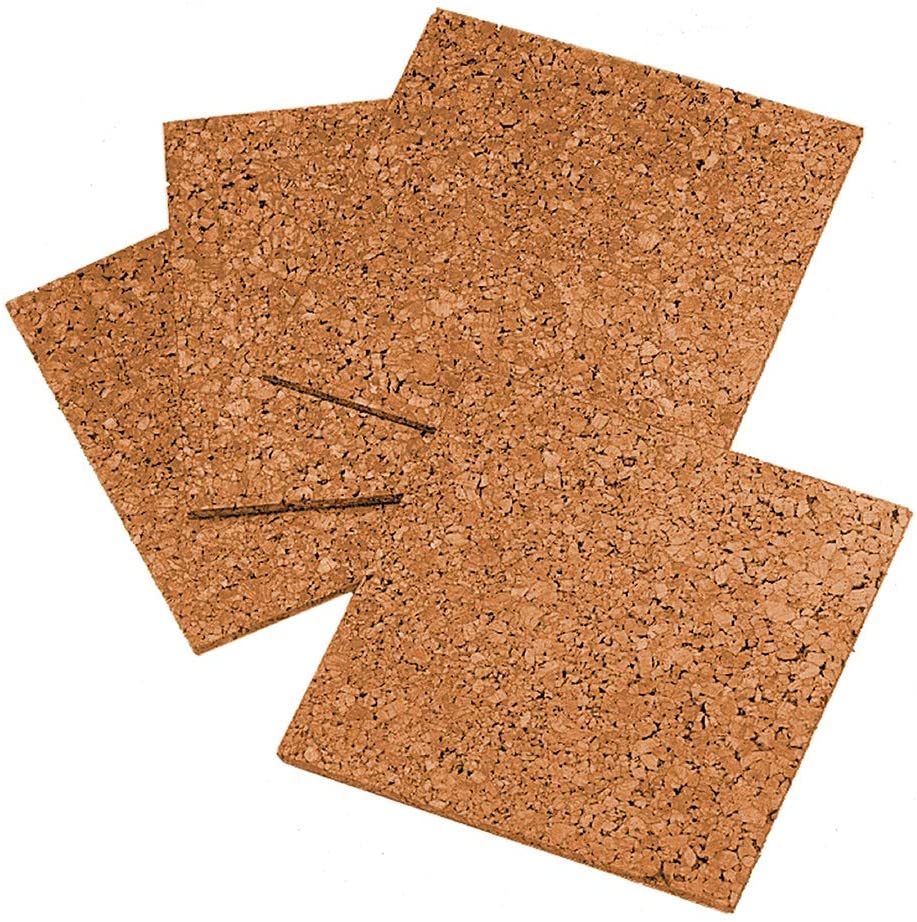
Quartet Cork Tiles, Natural.
-
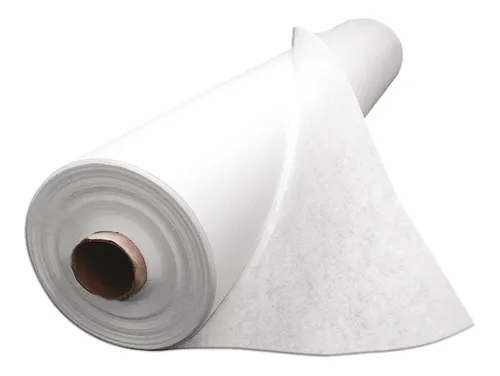
Pellon fabric.
-
Threads for embroidery machines.
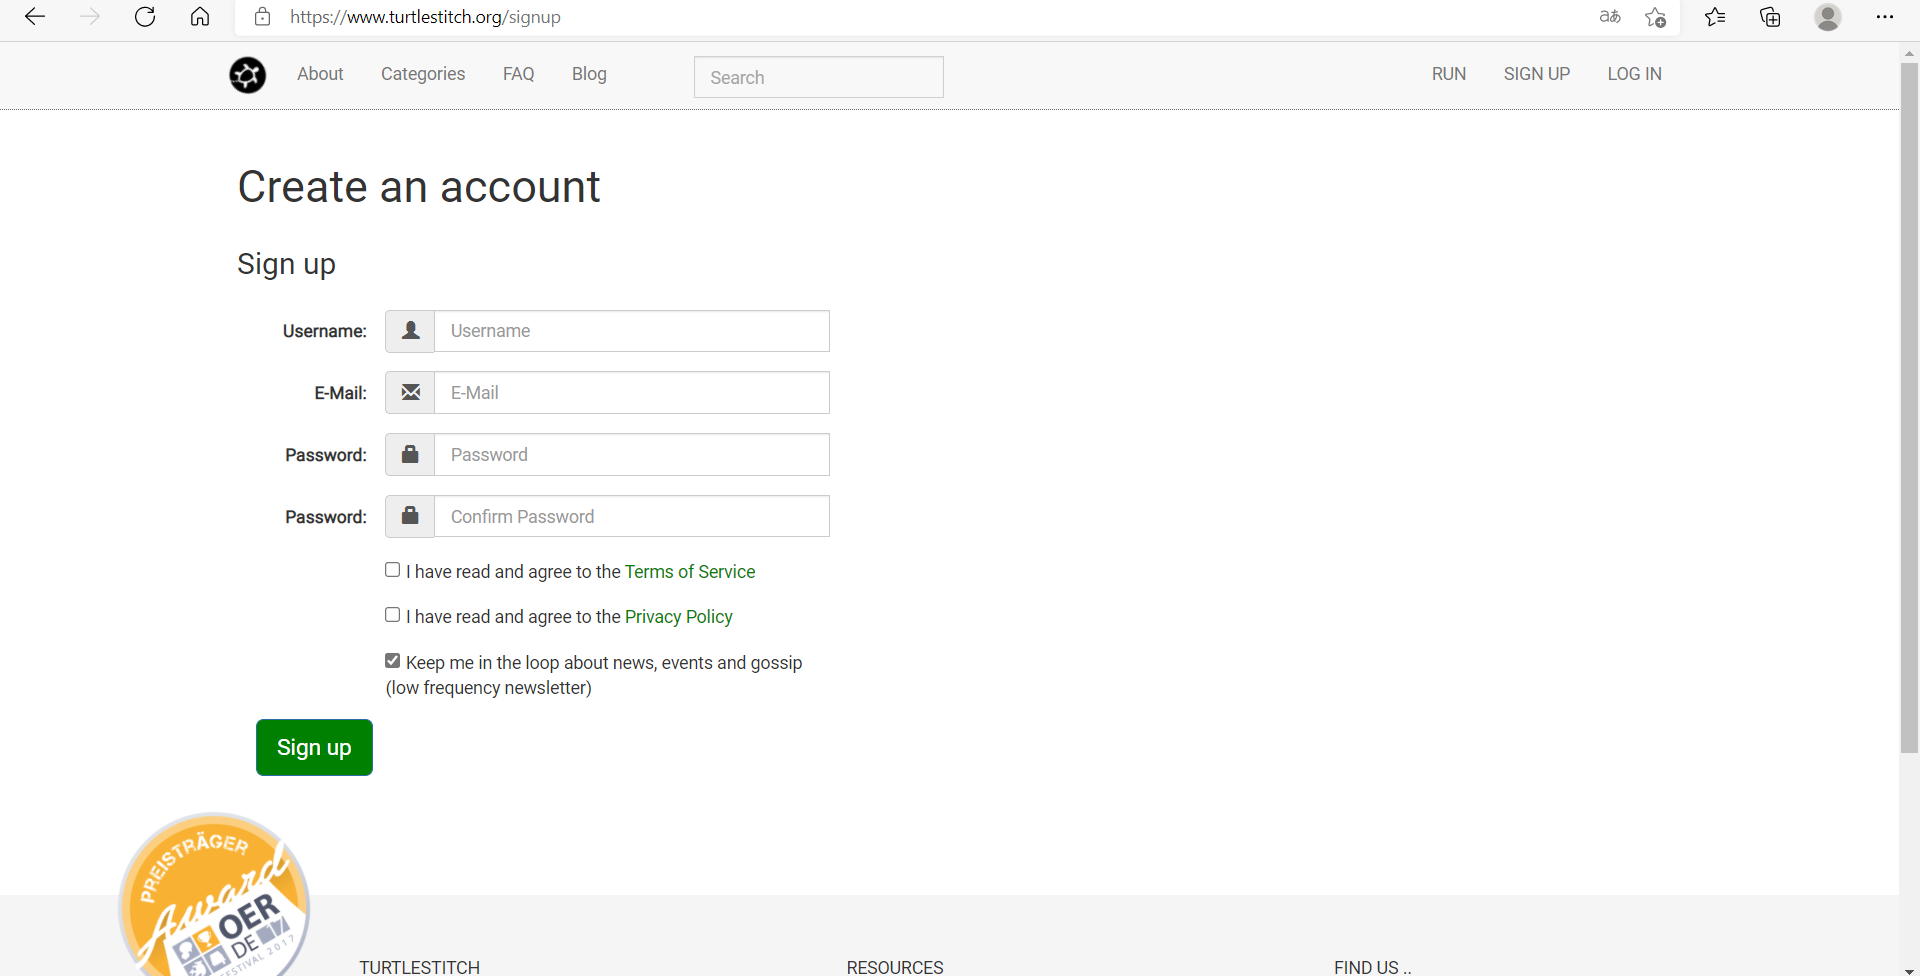
Let's start
-
To make the design I use turtlestitch, it is
a friendly site that allows designs based on drag and drop modules.
Turtlestitch allows teaching programming by intuition or using a more "scientific approach" that includes mathematics, software principles, optimized algorithms, etc.-
For the design to be stored in the cloud it is necessary to create an
account.
Then I extrude it 155 mm. -
Now you have to log in and start designing. To do this, you must first know the
design environment.
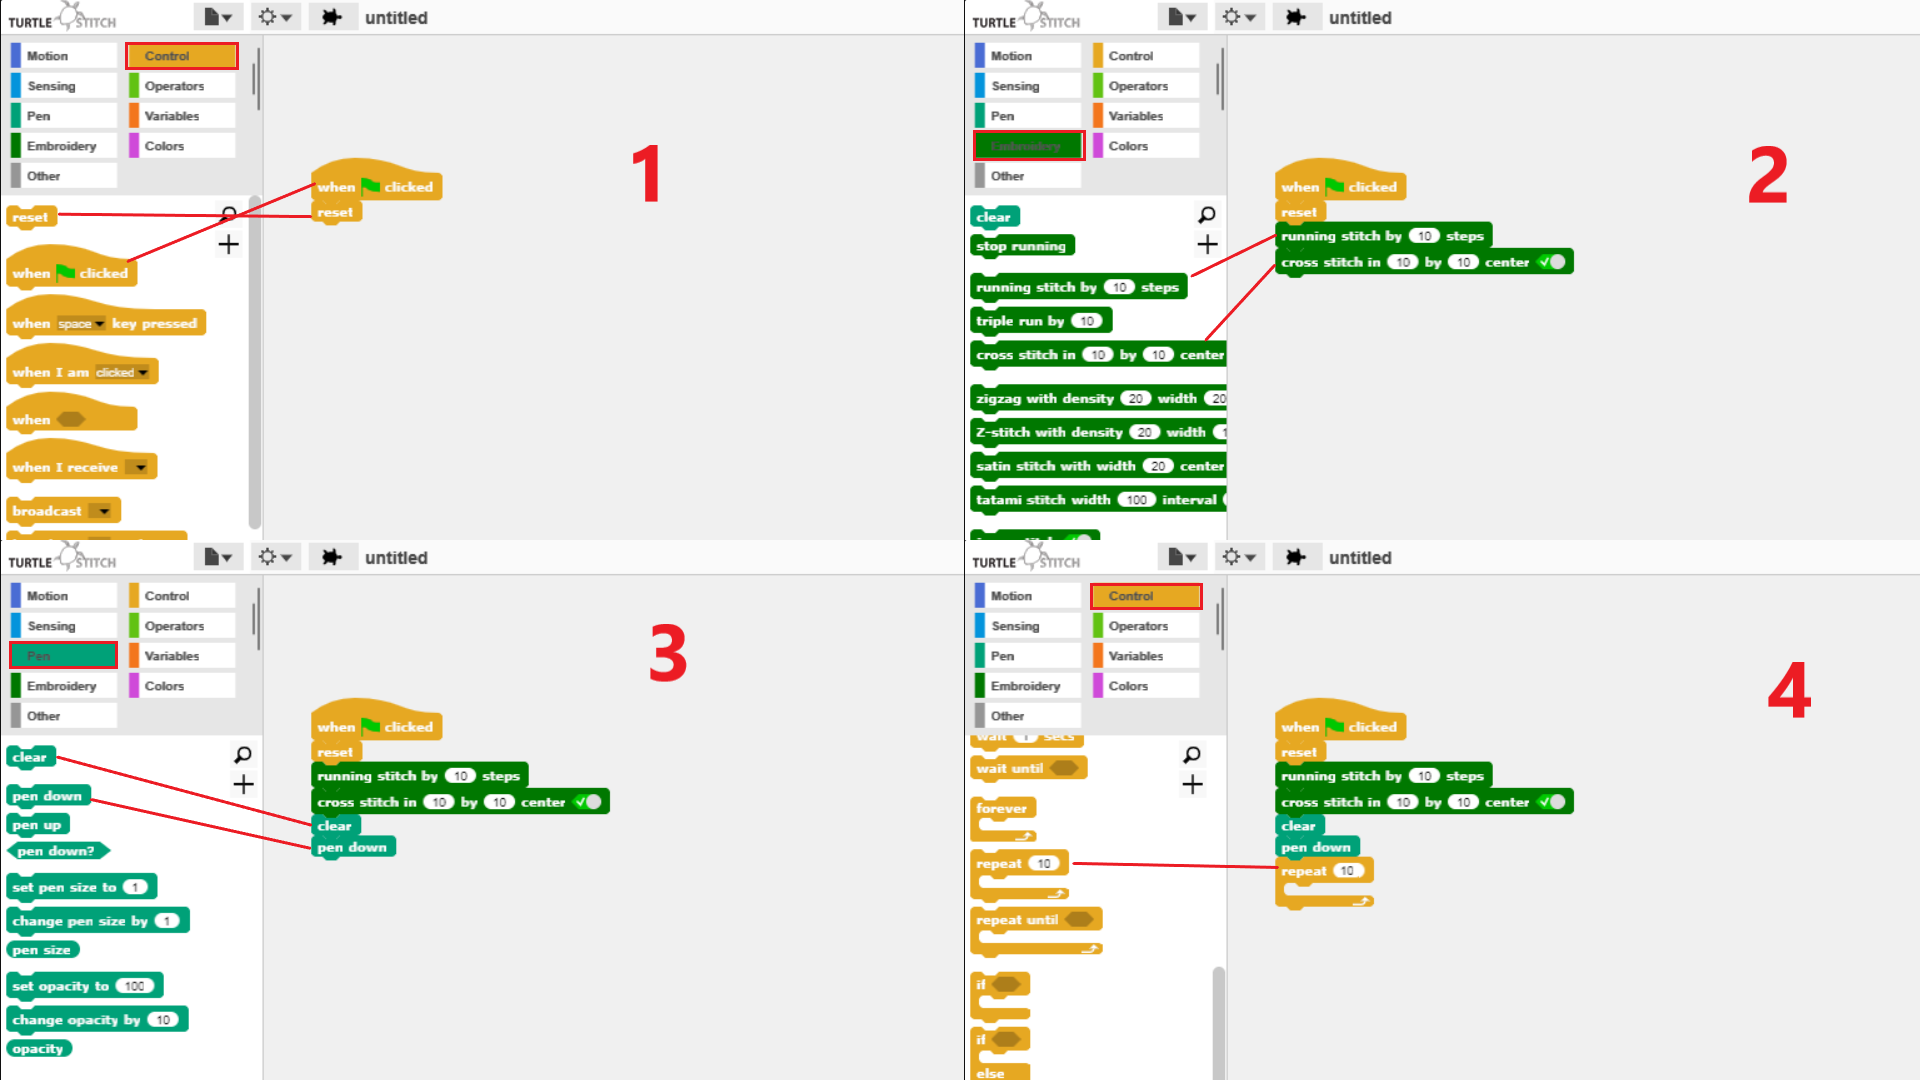
It includes several programming constructs:
output instructions (move, pen up/down, goto, thickline, reset ...)
blocks (i.e. functions and function calls ), with and without arguments
variables ("origin-x" and "origin-y" in the stick block.
simple loops
event ("when clicked")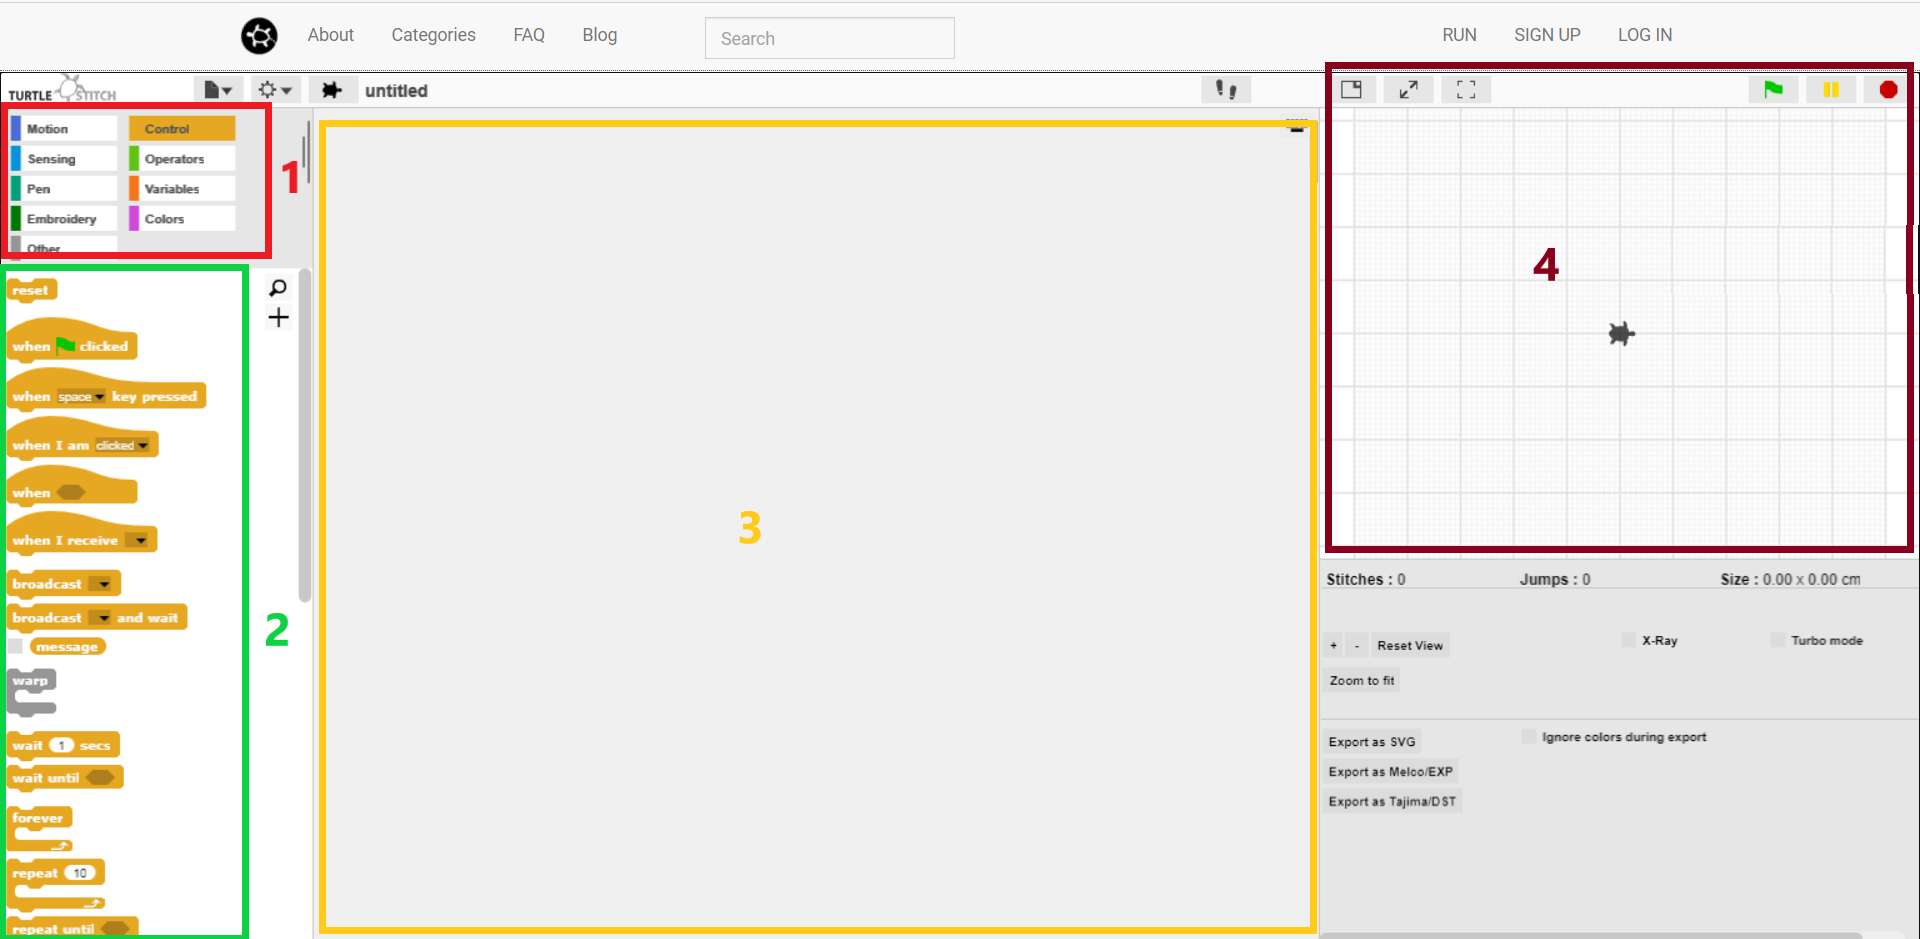
-
The first example consists of drawing a triangle

-
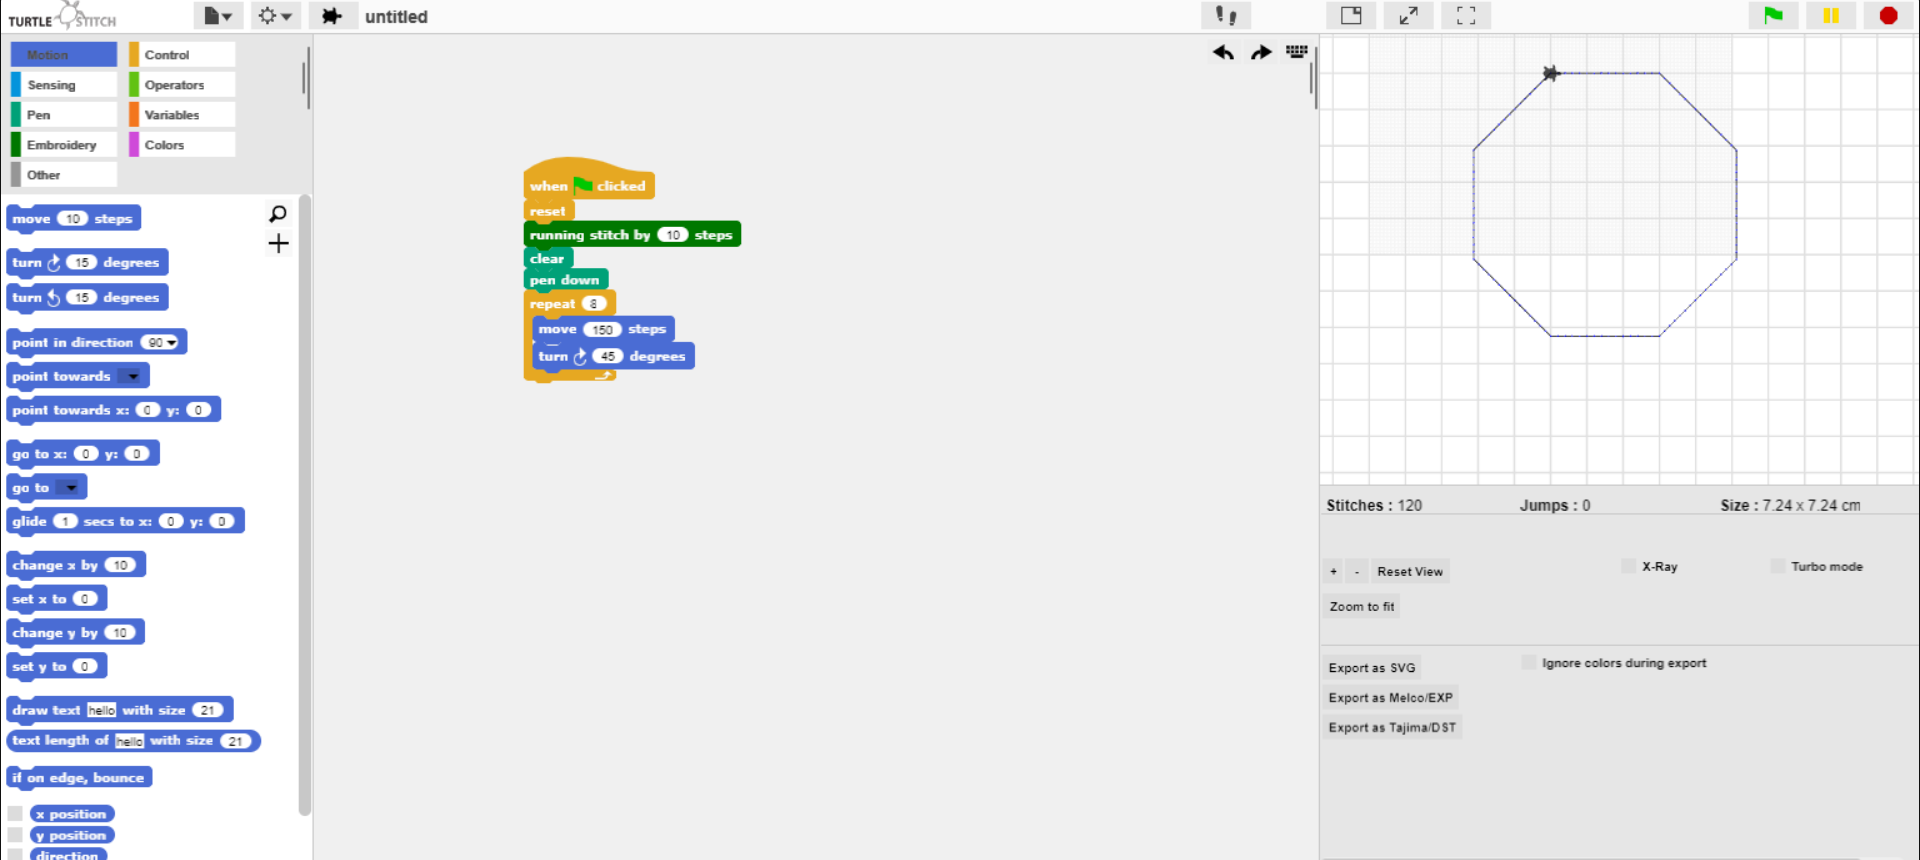
Now I am going to draw an 8-sided figure, it is important to indicate the
degrees of rotation for this case it will be the result of dividing 360 by
8.
Increasing the steps to 150 makes the image larger.
-
For the design to be stored in the cloud it is necessary to create an
account.
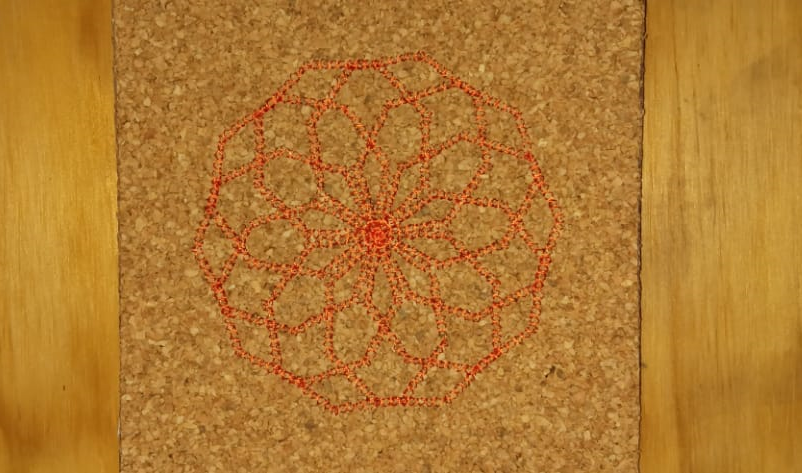
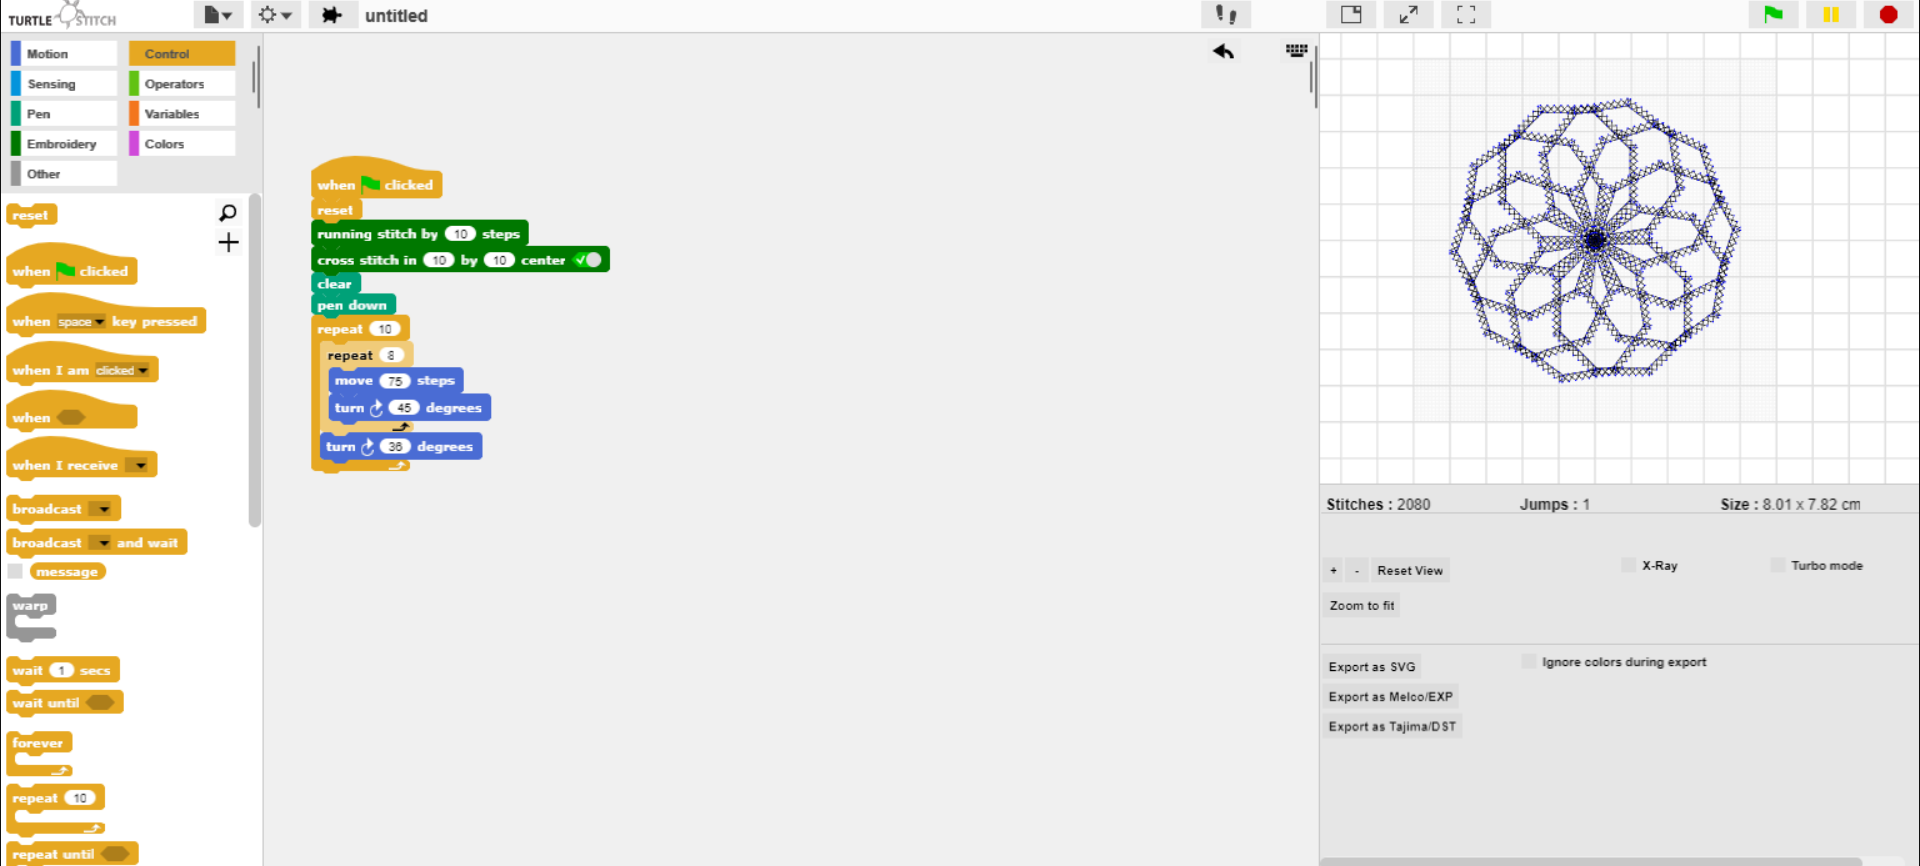
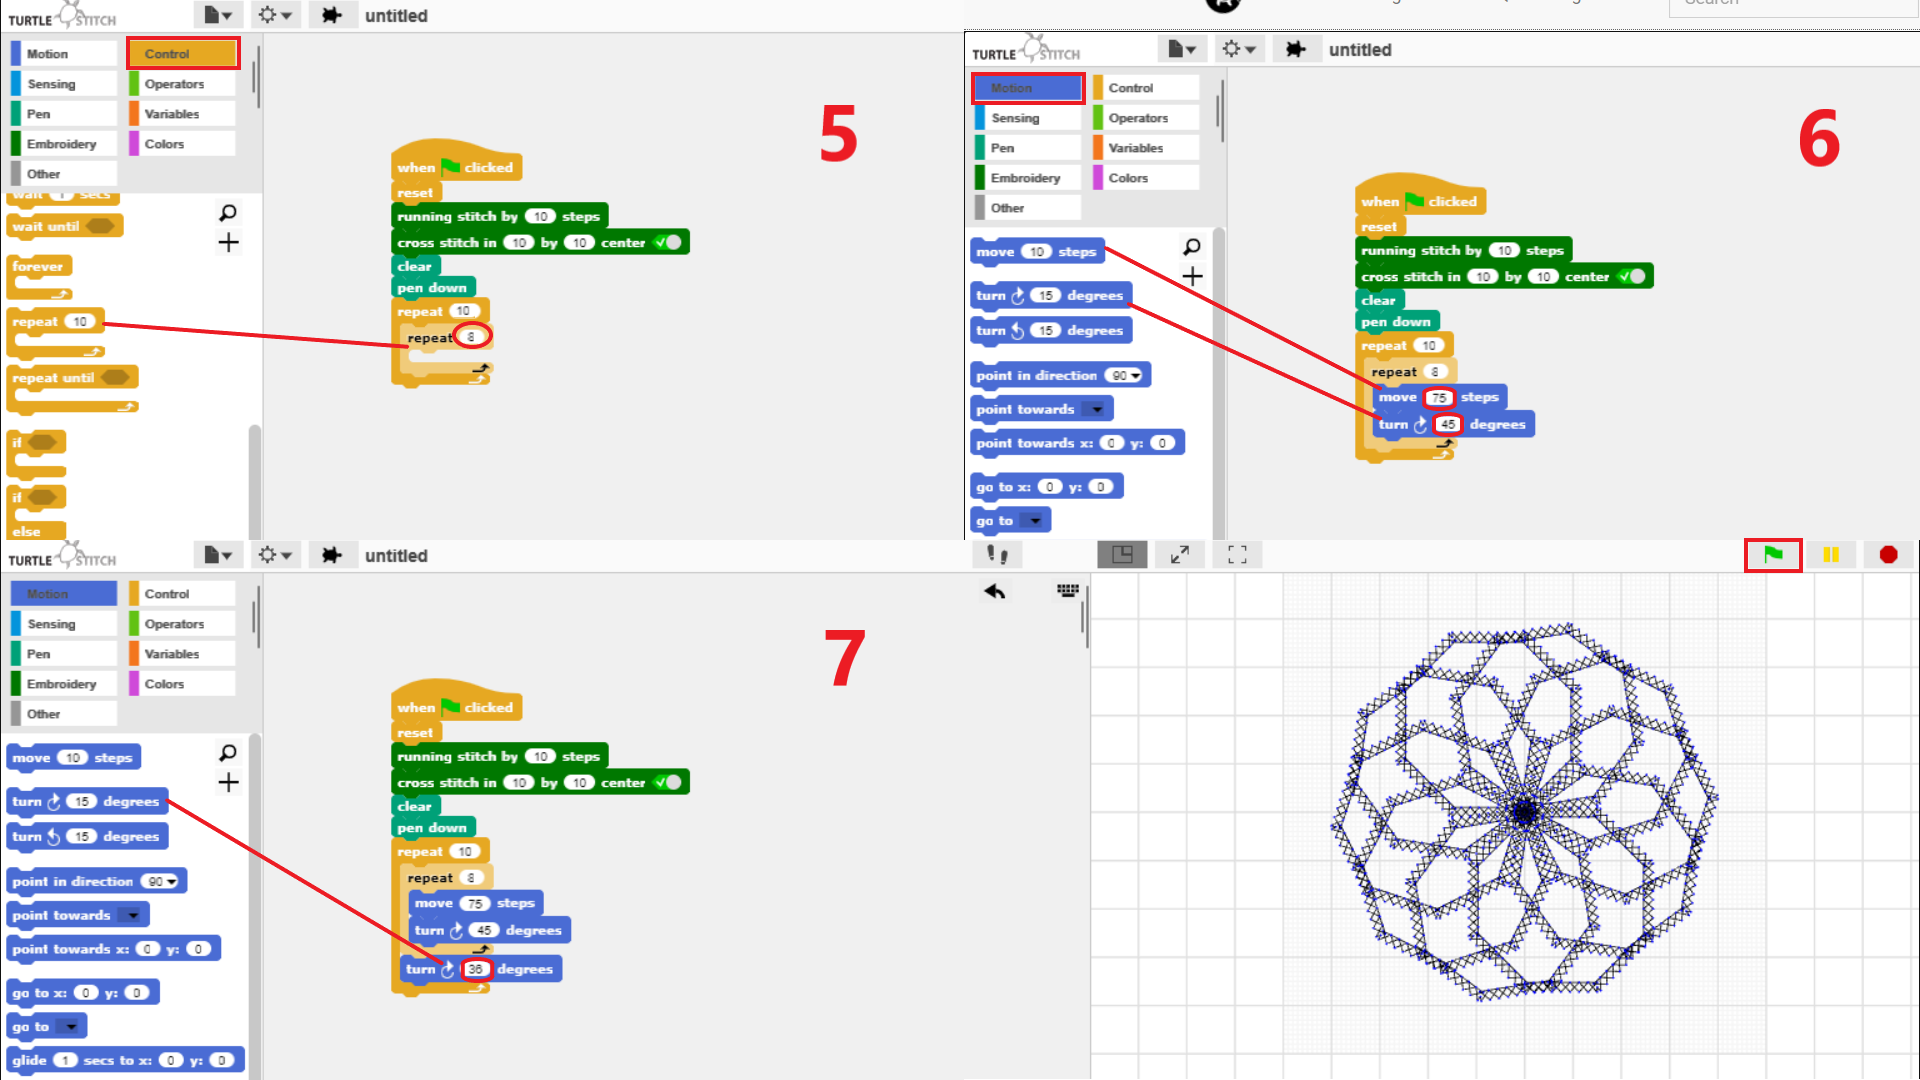
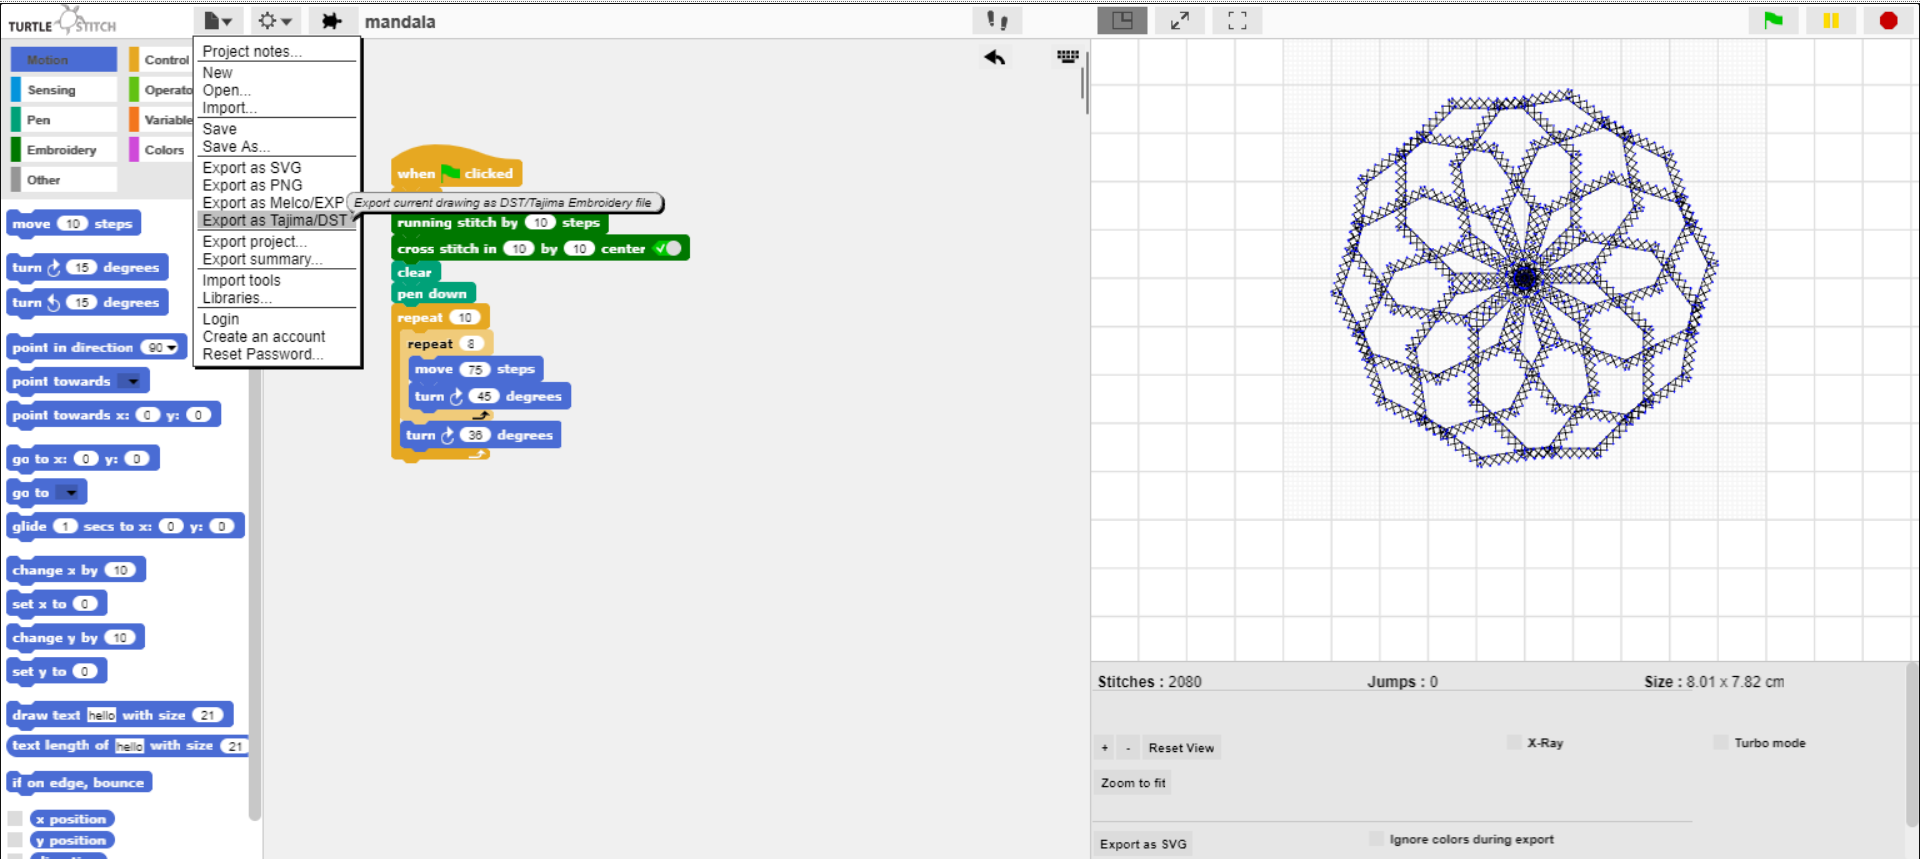
Now I'm going to draw a mandala.
-
Steps taken to draw the mandala.
-
As shown in the images, the design is intuitive, it is a matter of practice to know the
function of each element, at the end to visualize the drawing you just have to click on
the first element added or on the green flag (image on the bottom side left).
-
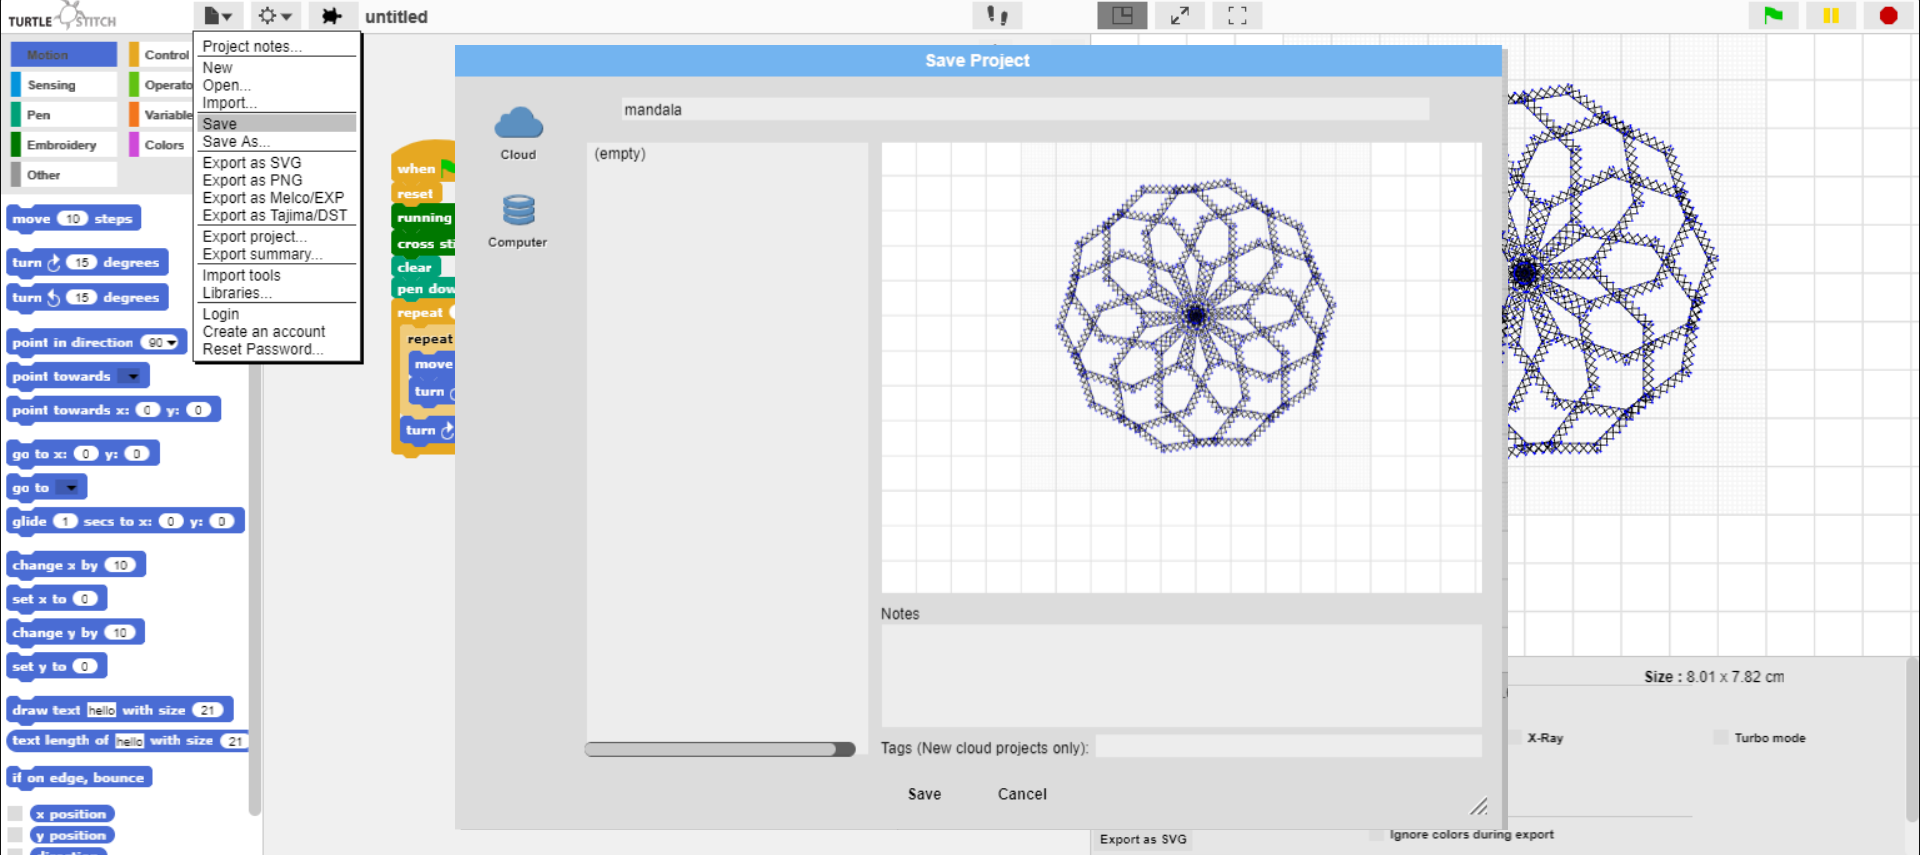
It is necessary to save the drawing, click on the first icon and select save.
-
There are several options to export, the design, how it will be used for embroidery I
will export it to dst format
-
To attach the cork fabric to the frame it is necessary to use pellon fabric and add it using an adhesive pencil.
The previously made design must be copied to a USB memory to load it into the embroidery machine, you must insert the memory into the machine and use the memory key located on the panel of the machine.
The thread is placed, the hoop is positioned correctly and prevents it from moving during the embroidery process. When using the hoop plastic embroidery page, align the reference lines on the embroidery page with fabric markings. Then lay the fabric in the frame making sure it fits correctly aligned.
Insert the embroidery page into the ring inside the rack, and then place it on top of the fabric with the line center of the embroidery page aligned with the reference lines (drawn on the fabric) of the first section of the drawing to be to sew.
Attach the hoop to the embroidery machine and then use the functions of machine layout adjustment and align the needle position with the intersection of the lines drawn on the fabric.
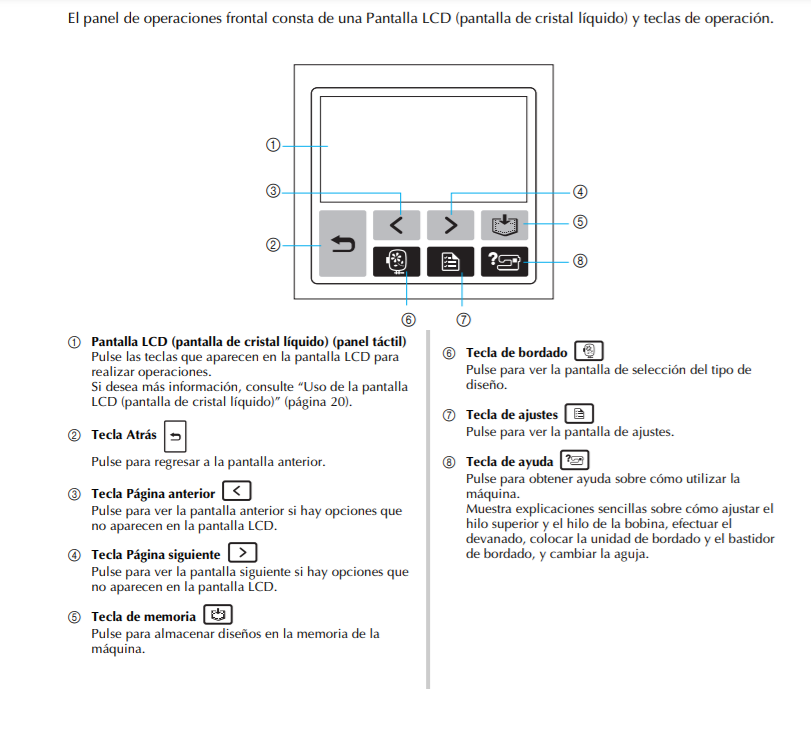
When embroidery designs are transferred (using usb) to the embroidery machine, they will appear on the machine's screen.
Manual
The front operation panel consists of an LCD screen (liquid crystal display) and operation keys.
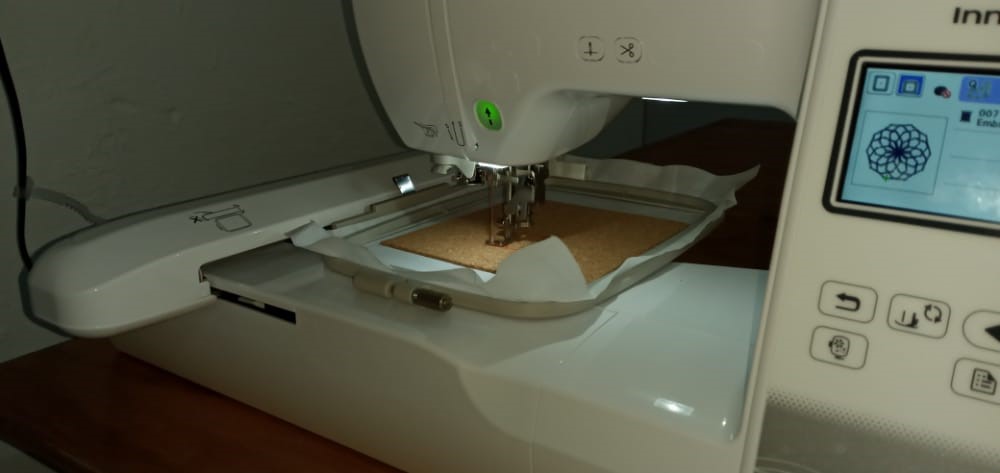
When the machine finishes embroidering, remove the embroidery machine frame and remove the fabric from the frame. -
Mandala embroidery process.
-
Finally the embroidery that I start as an image is ready.