Week 6 : 3D Scanning and Printing
This weeks group assignment is to find out the design rules of the 3D printer in our lab
Ultimaker Cura 2+
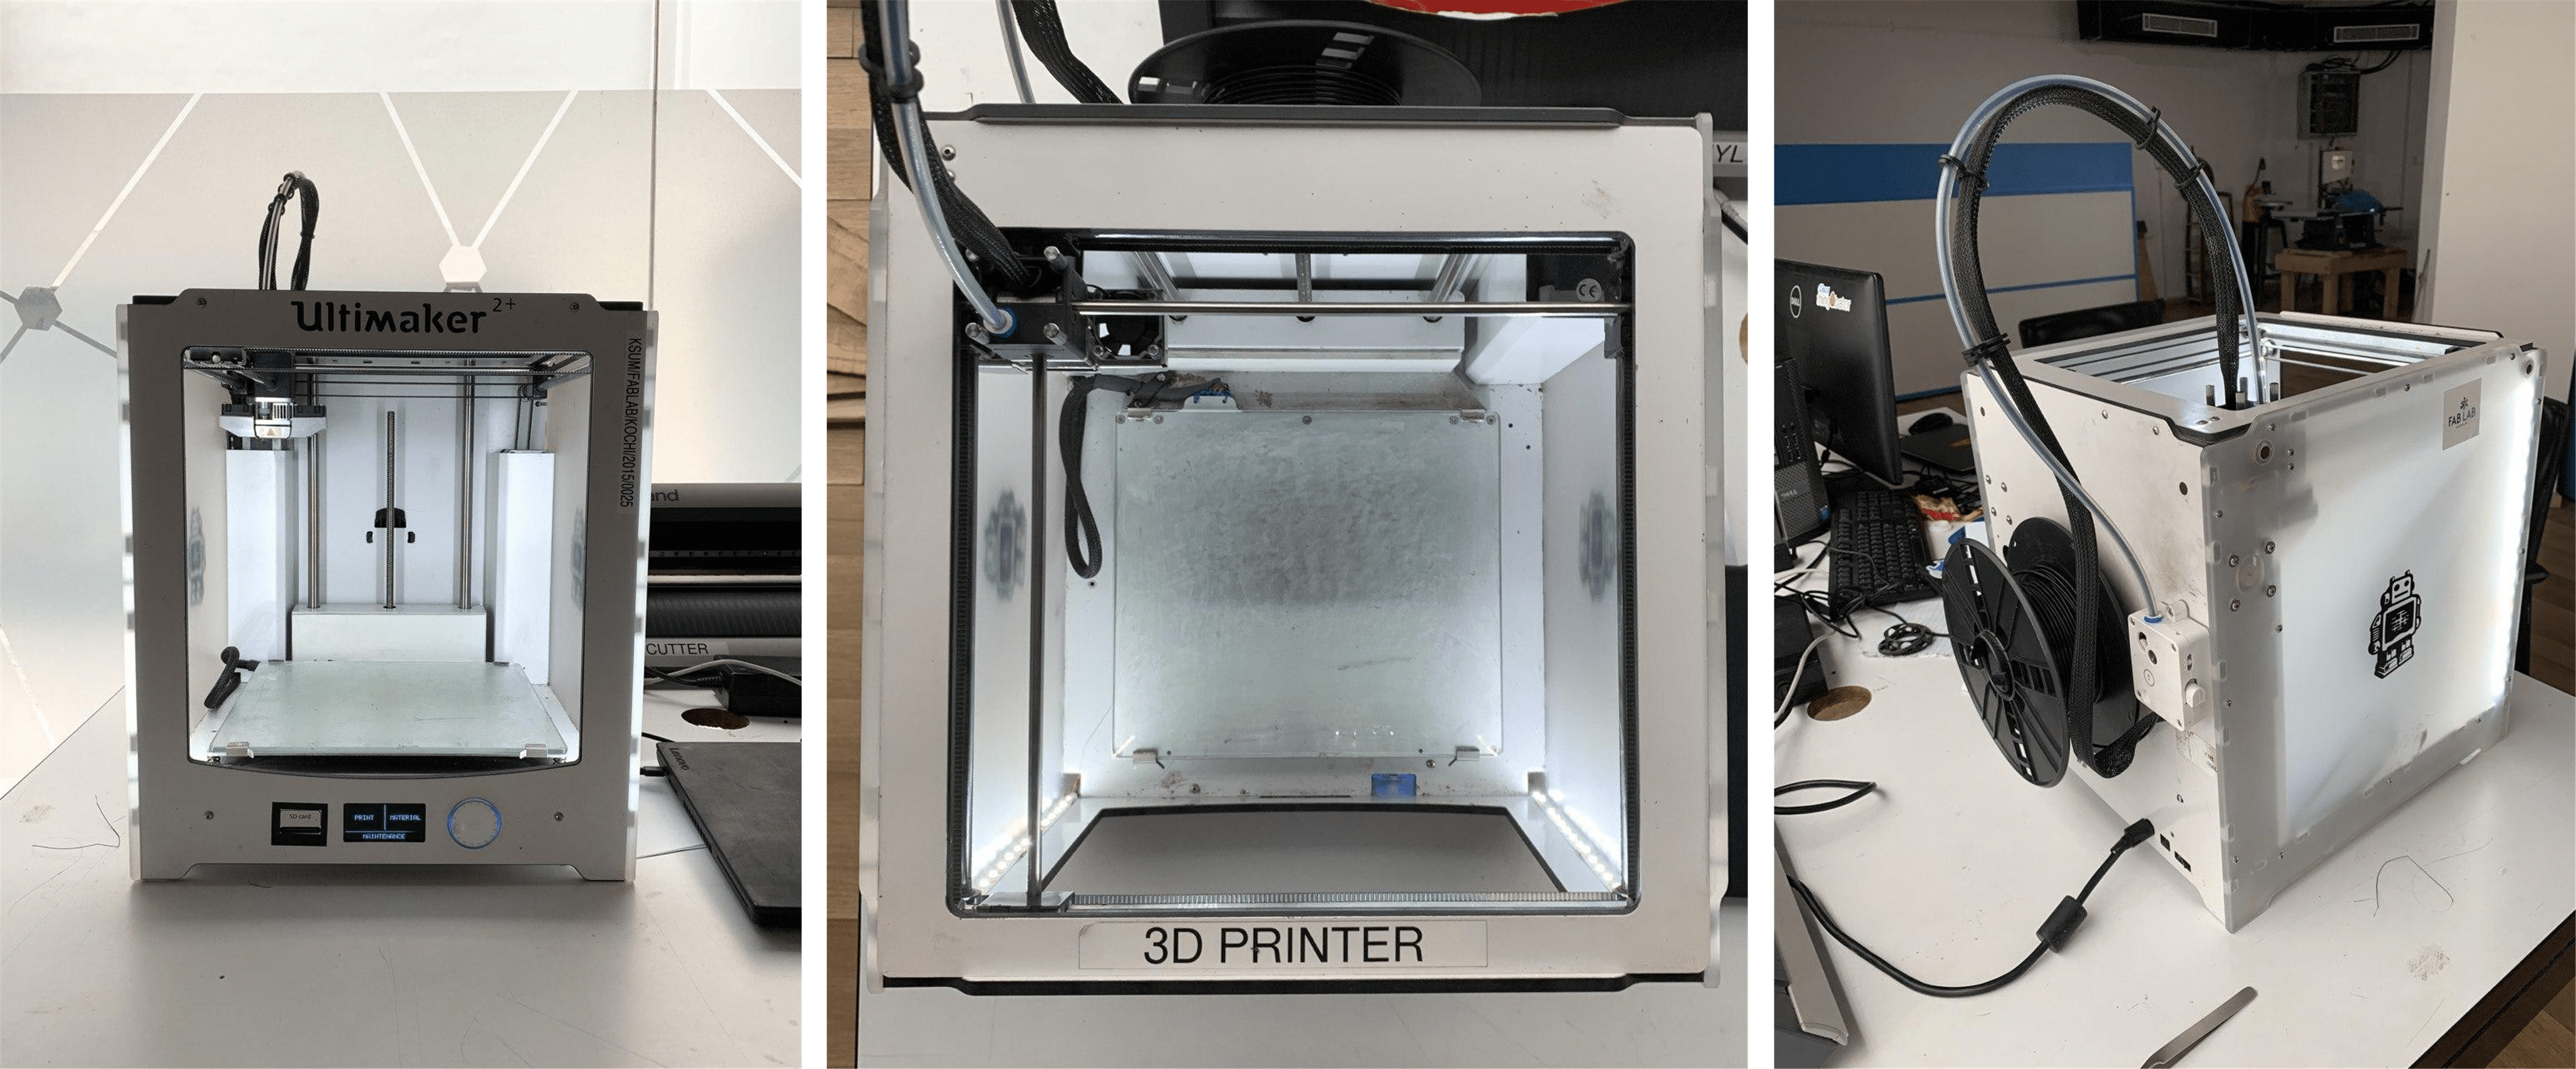
The 3D Printer in our lab is a Cura Ultimaker 2+. At the front there is a SD card slot, a small screen and a rotatable button for navigation and selection. The power switch is placed at the back, and also the filament roll is mounted at the back. The extruder can move along the X-axis & Y-axis and the bed moves in the Z-axis. This machine has an option for mounting a second extruder. It has got a layer resolution upto 20 microns.
Printer Specification
1)Build volume : 22.3cm x 22.3cm x 30.5cm
2)Print speed : 30mm/s - 300mm/s
3)Travel speed : 30mm/s - 350mm/s
4)Filament diameter : 2.85mm
5)Nozzle diameter : 0.4mm
6)Nozzle temperature : 180-260 degree celcius
7)Bed temperature : 50-100 degree celcius
8)Printer Technology : Fused Filament Fabrication (FFF)
Design Rule Test
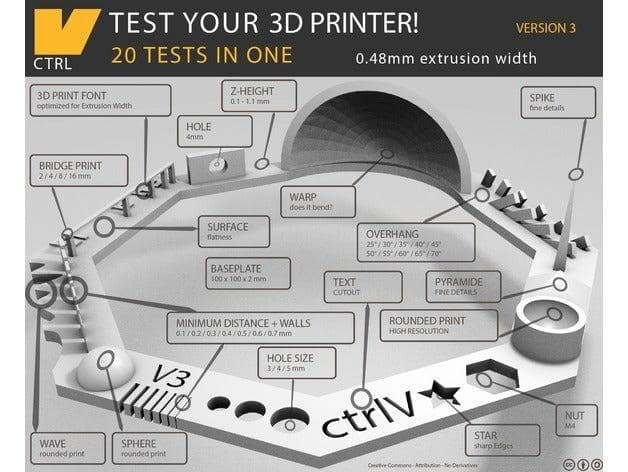
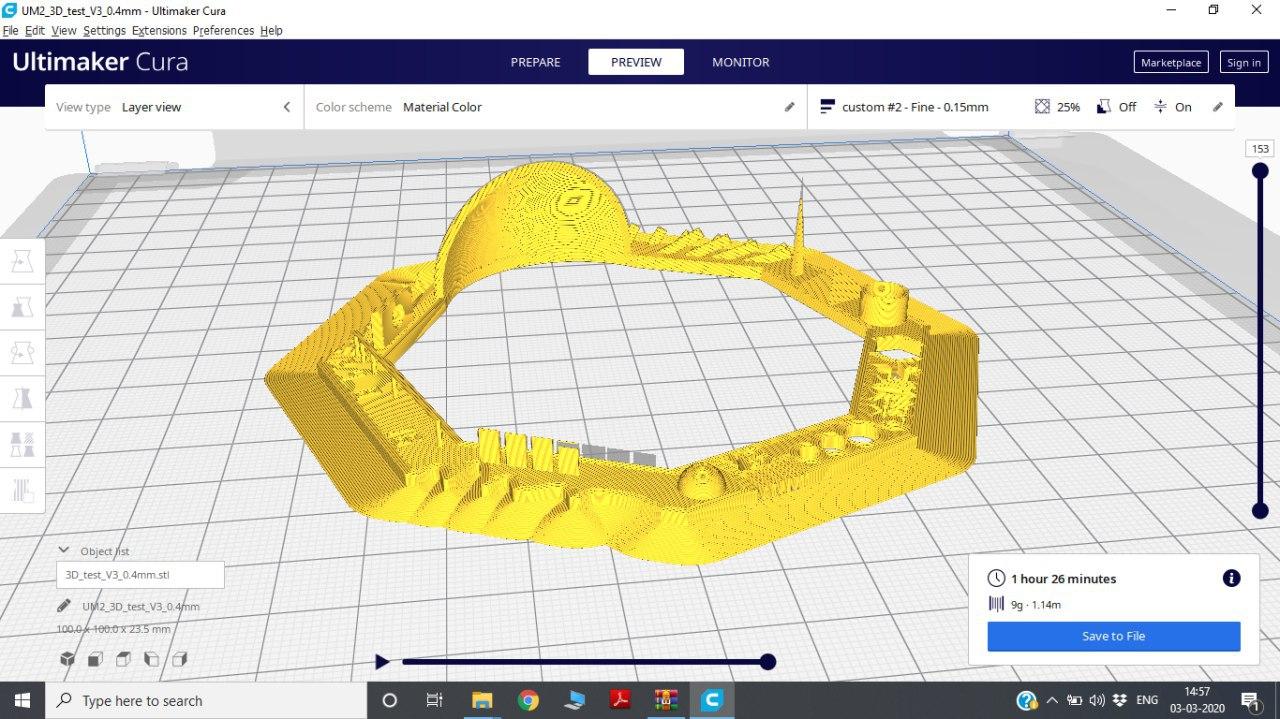
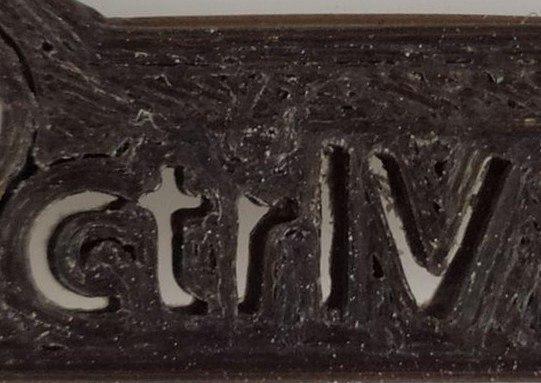
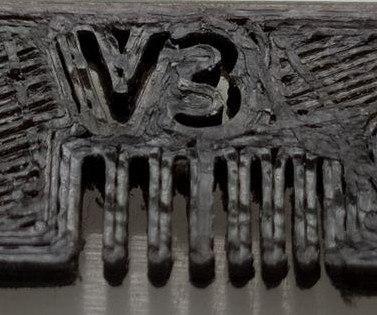
For testing the design rules of the 3D printer we chose to print the file "Test your 3D printer! v3 by ctrlV" from Thingiverse.
After downloading the file, we uploaded it into the Ultimaker Cura slicing software.
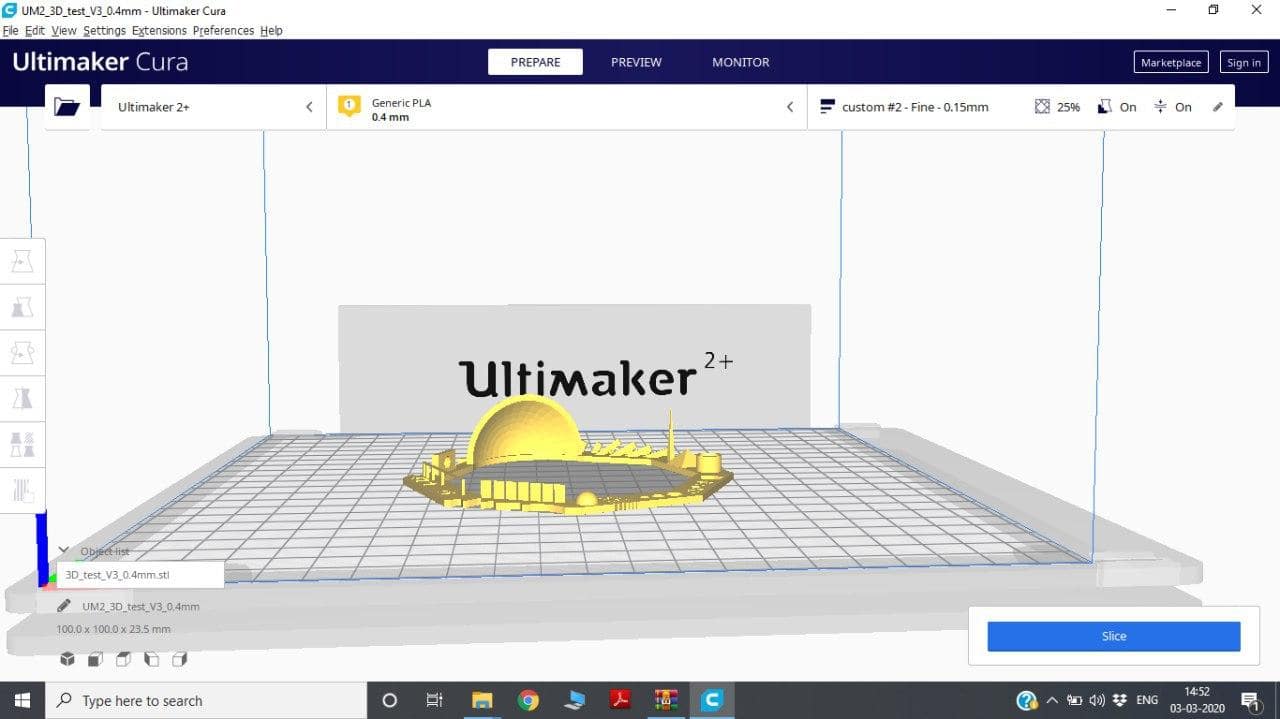
We set the printer to the following setting.
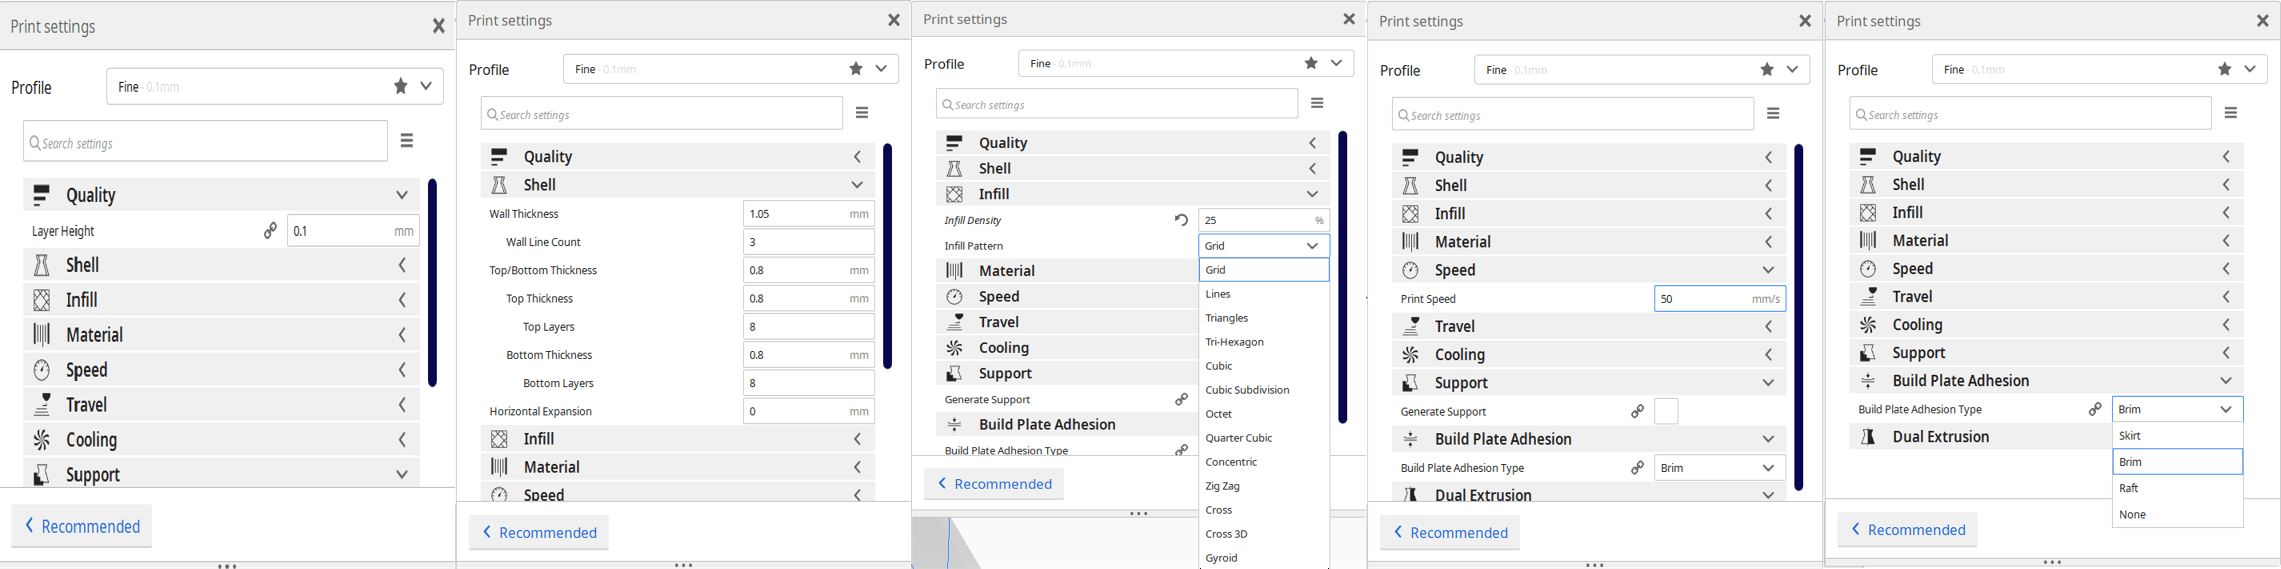
Click the slice button at bottom right corner. Now the software will slice the object into layers and also generates the gcodes for printing each layer. The software also show the time required for printing and the amount of filament required.
Then we saved the file into the SD card and gave it for printing. The printer will take sometime to reach the required temperature. When the nozzle (210 degree celcius) and the bed (50 degree celcius) reach the specified temperature it will automaticaly start printing.
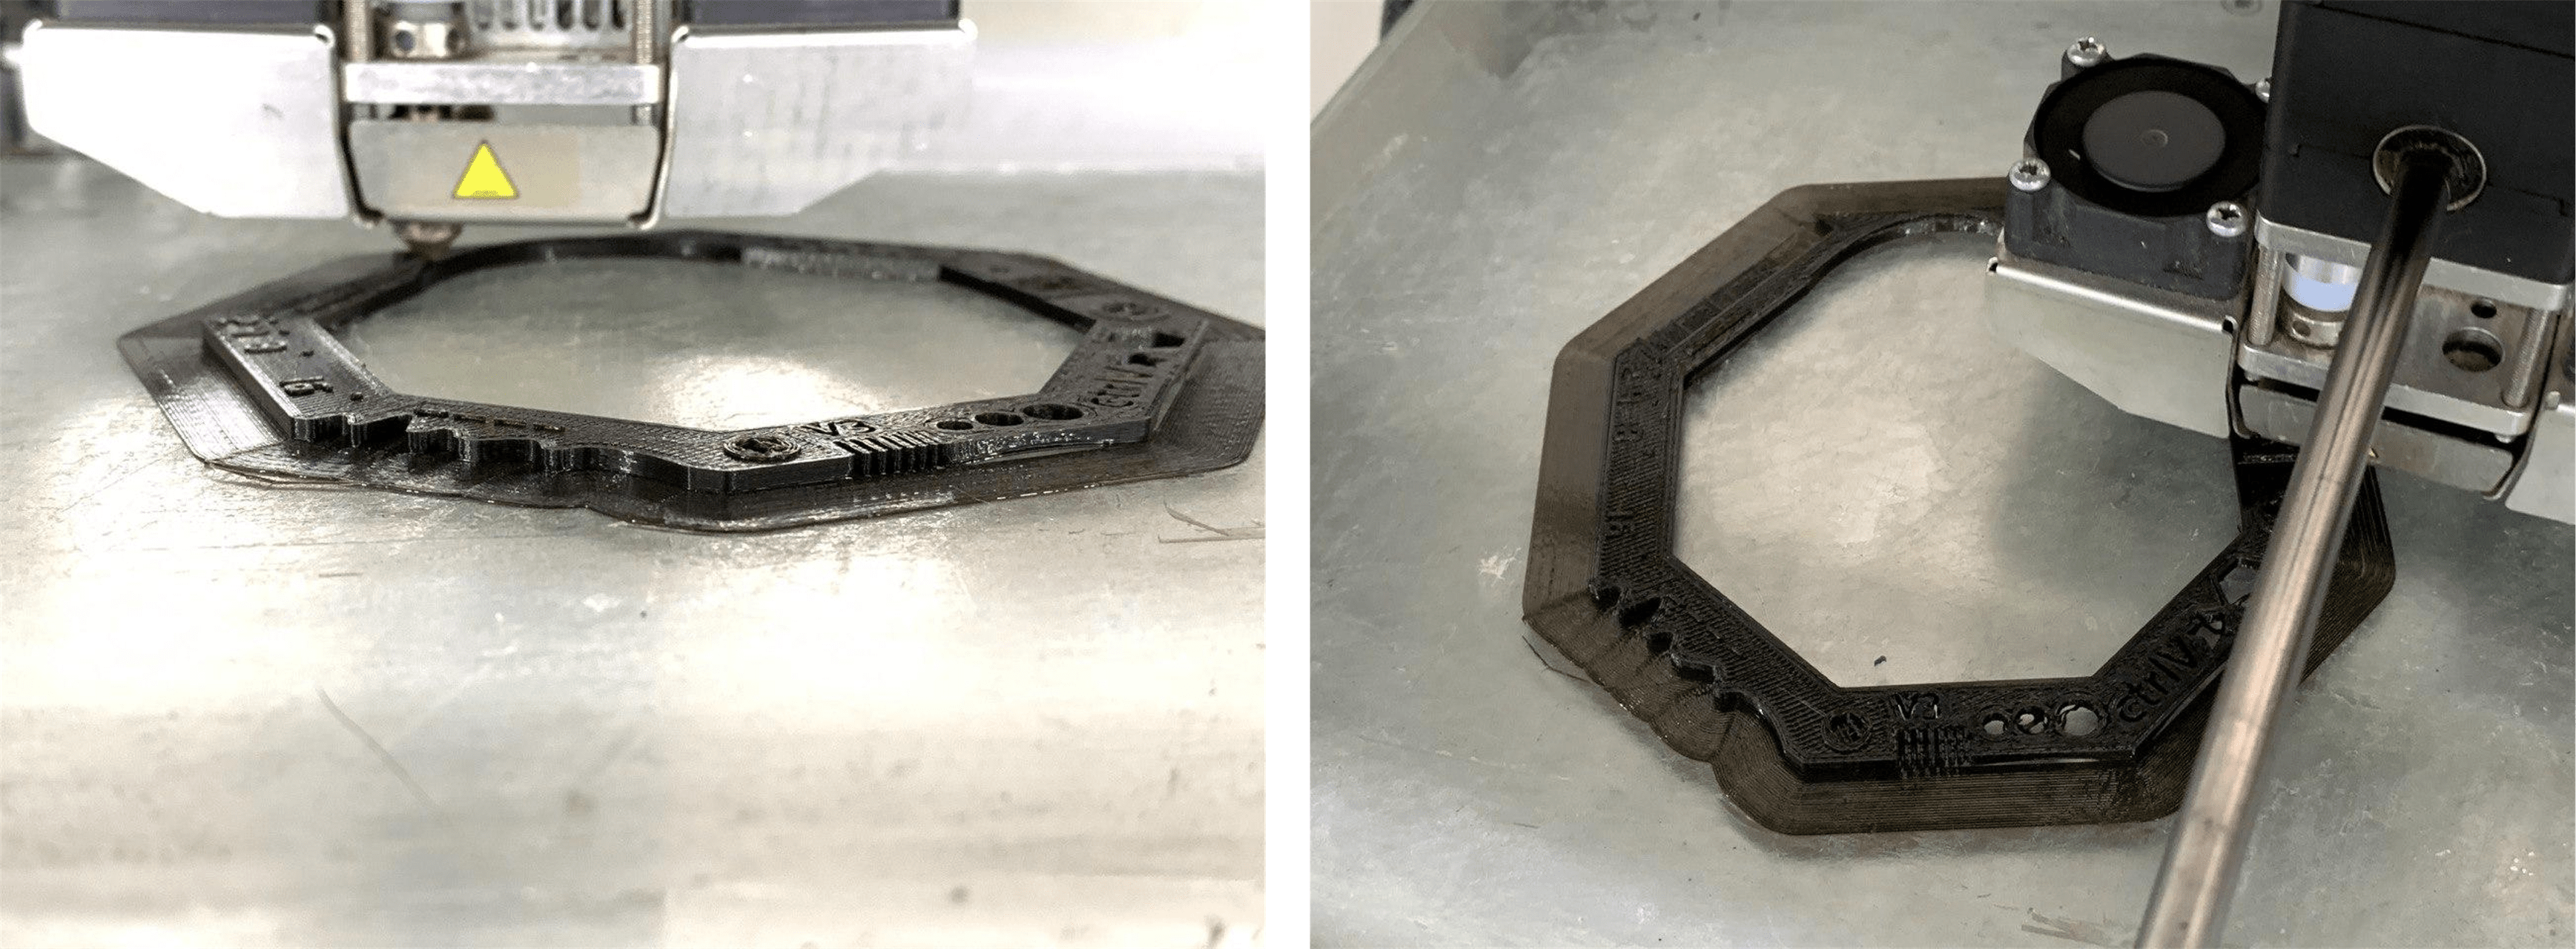
This is the final print out we got. It looks good and clear, but we need to measure it to find how accurate it is.
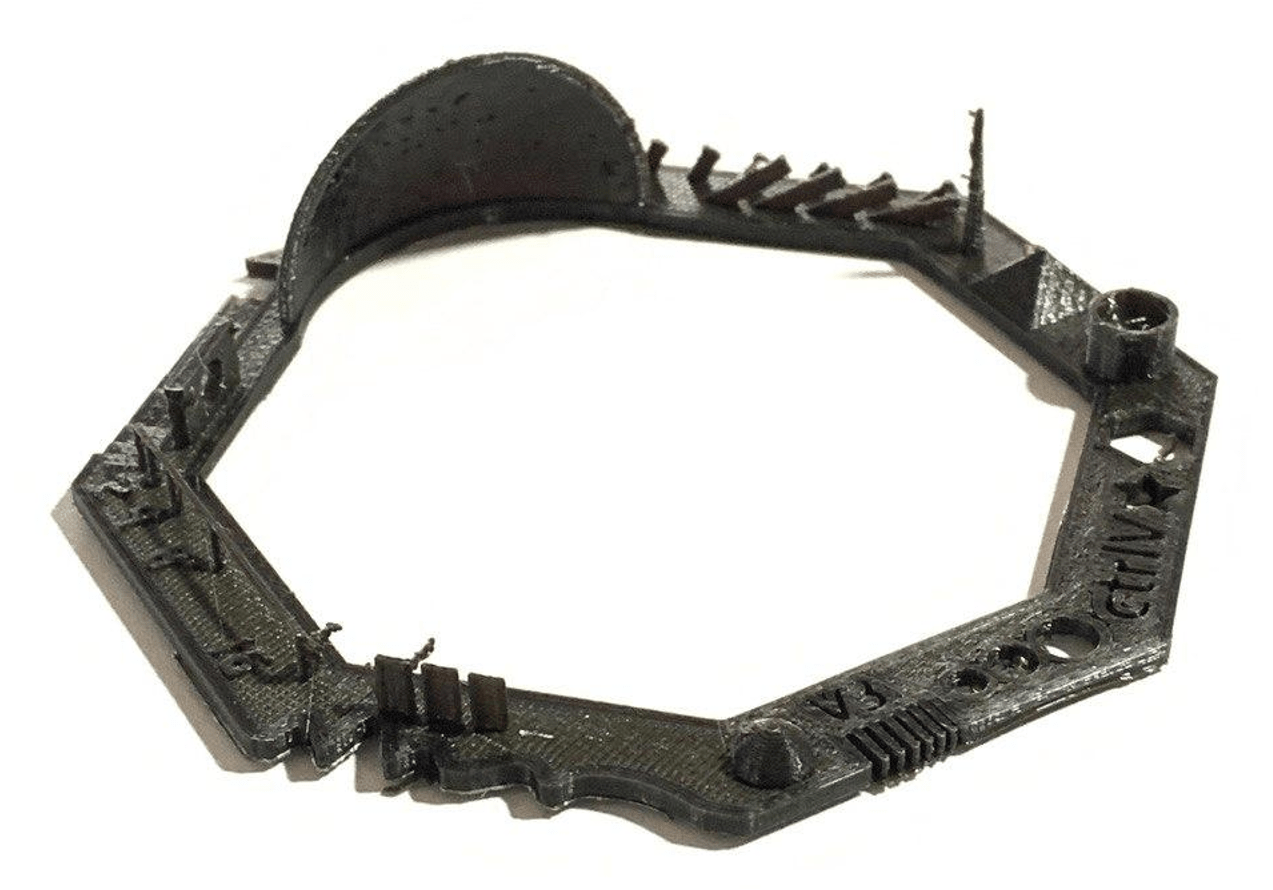
Print Comparison
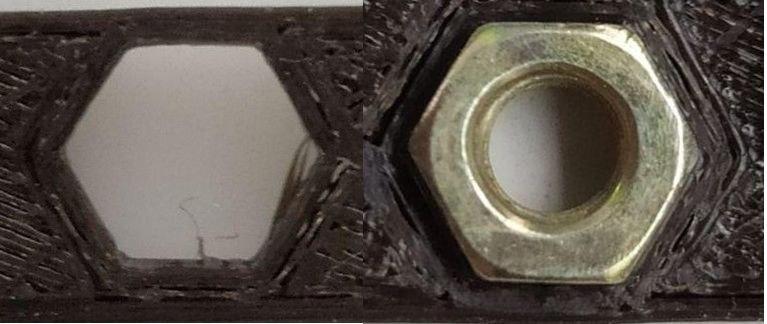
1) M4 nut should fit perfectly :
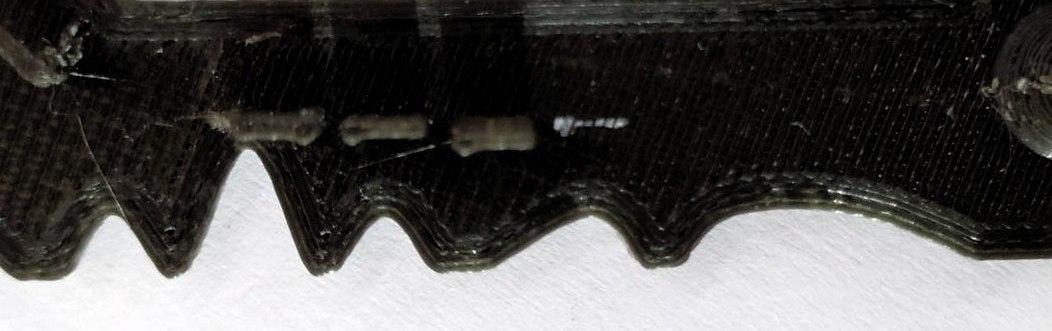
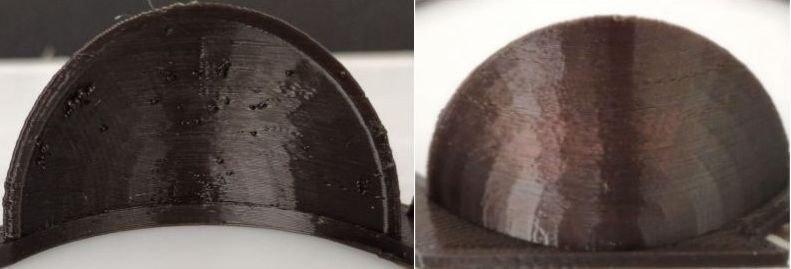
2) Wave, rounded print :
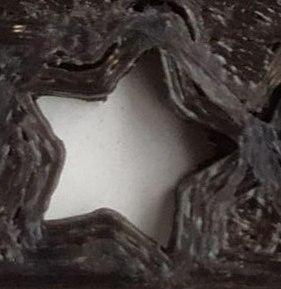
3) Star, sharp edges :
4) Name, complex shapes :
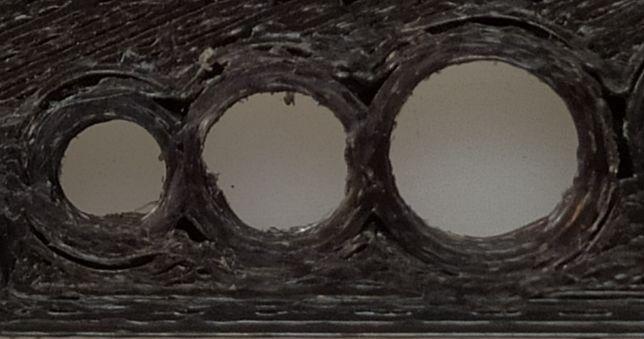
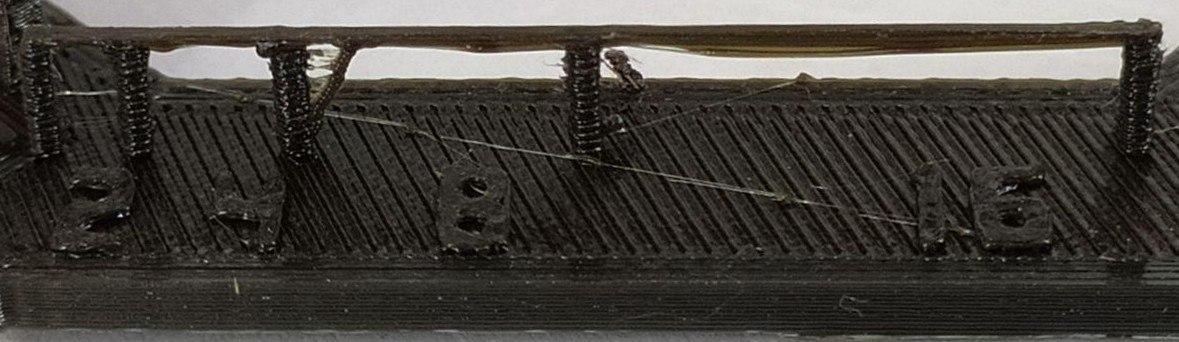
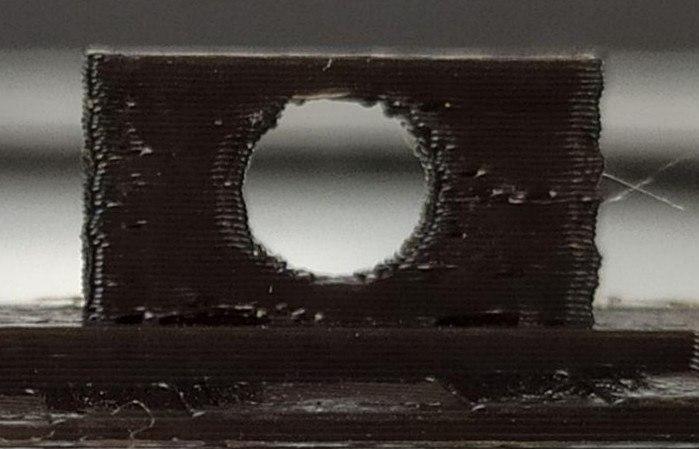
5) Holes, size: 3, 4, 5mm :
6) Minimal distance: 0.1, 0.2, 0.3, 0.4, 0.5, 0.6, 0.7 :
7) Z height: 0.1, 0.2, 0.3, 0.4, 0.5, 0.6, 0.7, 0.8, 0.9, 1.0, 1.1mm :
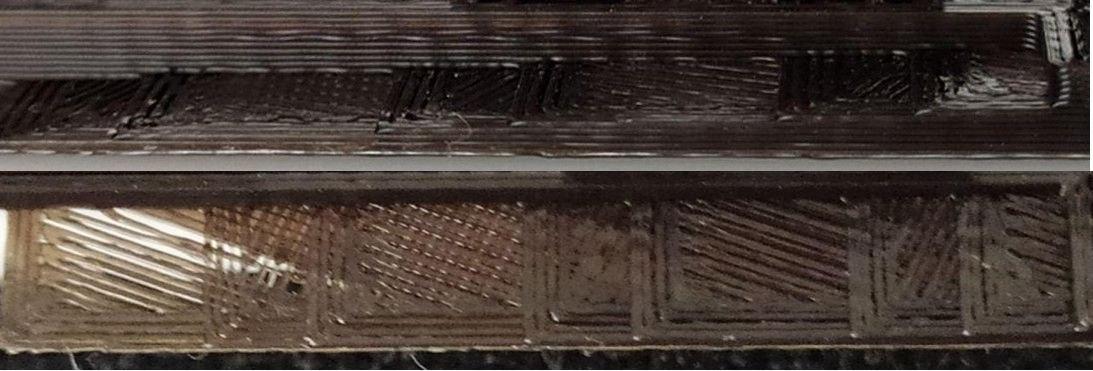
8) Wall thickness: 0.1, 0.2, 0.3, 0.4, 0.5, 0.6, 0.7mm :
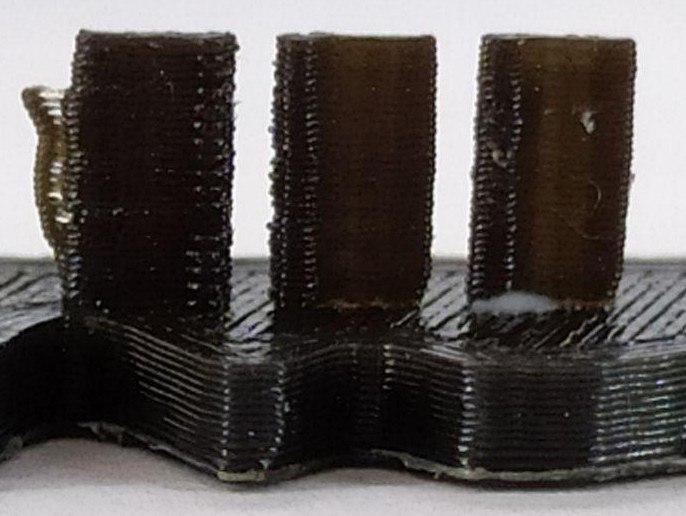
9) Bridge print: 2, 4, 8, 16mm :
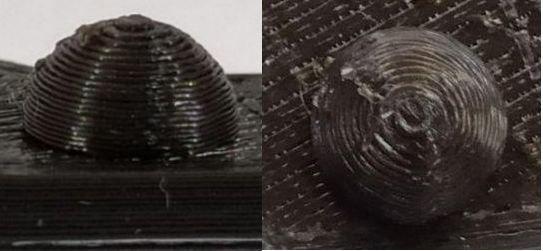
10) Sphere, rounded print, 4.8mm height :
11) Sphere mix, 7mm height :
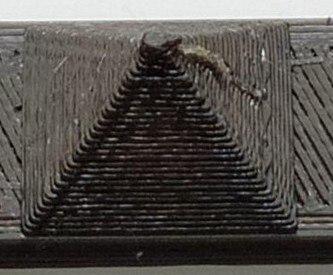
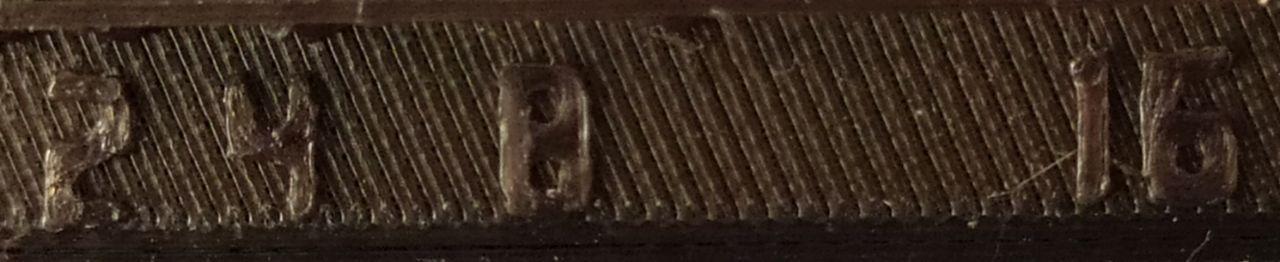
12) Pyramid, 7mm height :
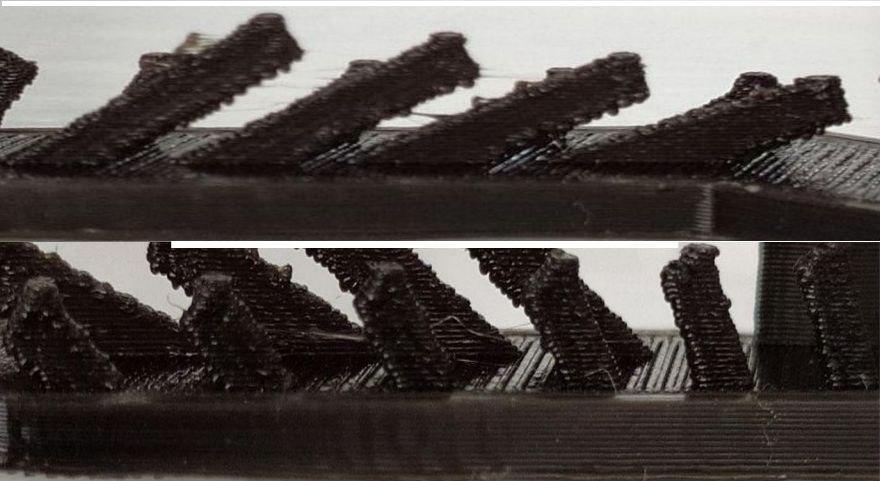
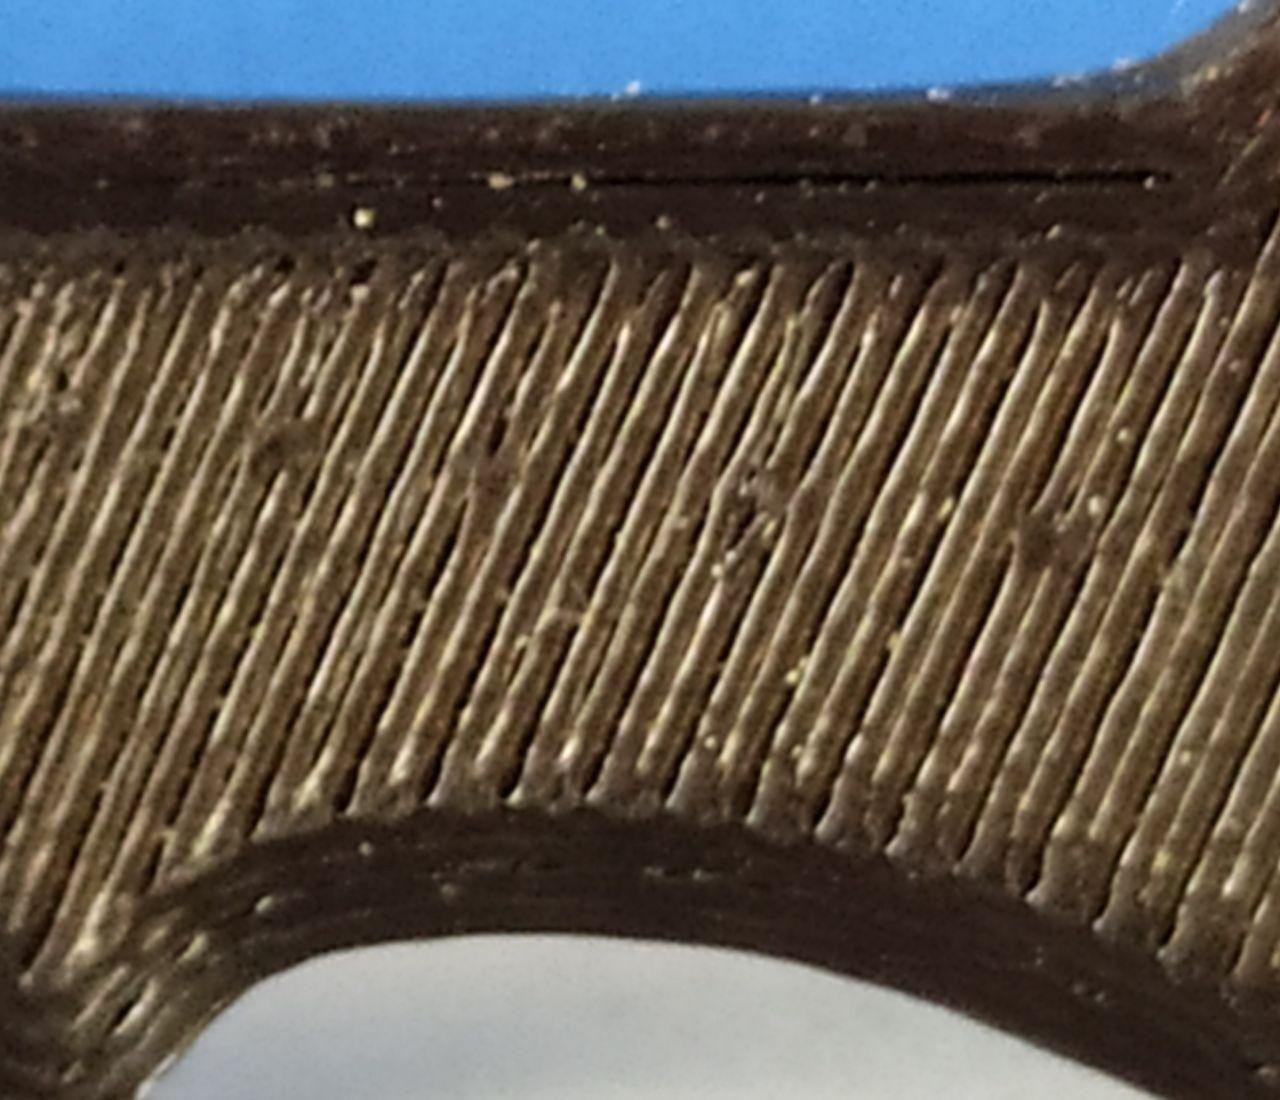
13) Overhang angle: 25, 30, 35, 40, 45, 50, 55, 60, 65, 70 :
14) Warp, does it bend? :
15) 3D print font, optimized for 3D printing :
16) Surface flatness :
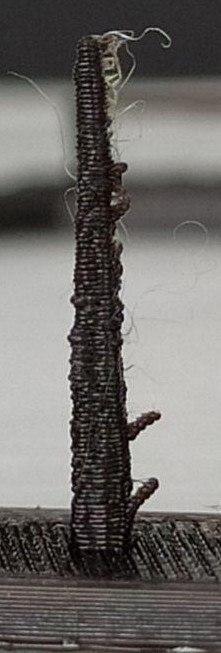
17) Spike, 21mm height from bottom :
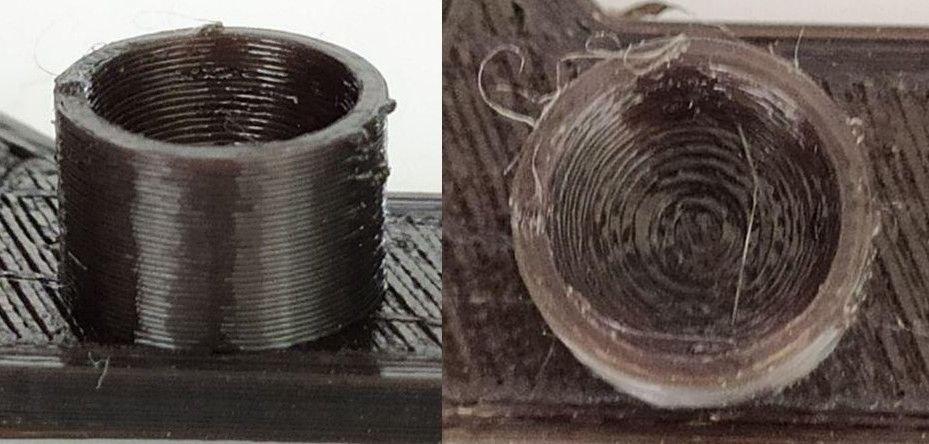
18) Hole in wall, 4mm dia :
Powered by w3.css