Week 15 : Interface and Application Programming
This weeks group assignment is to compare different programming tools.
Processing
We first tried using Processing. We downloaded it from this [link](https://processing.org/download/support.html)
In processing we tried out Java and Python. It is possible to switch between the languages by simply choosing from the dropdown menu on the top right.

We followed the [tutorial](https://processing.org/tutorials/gettingstarted/) and used a program given there, which is actually the second program.
This program creates black white ellipse design on mouse movements. We changed the colour and the size of the output window.
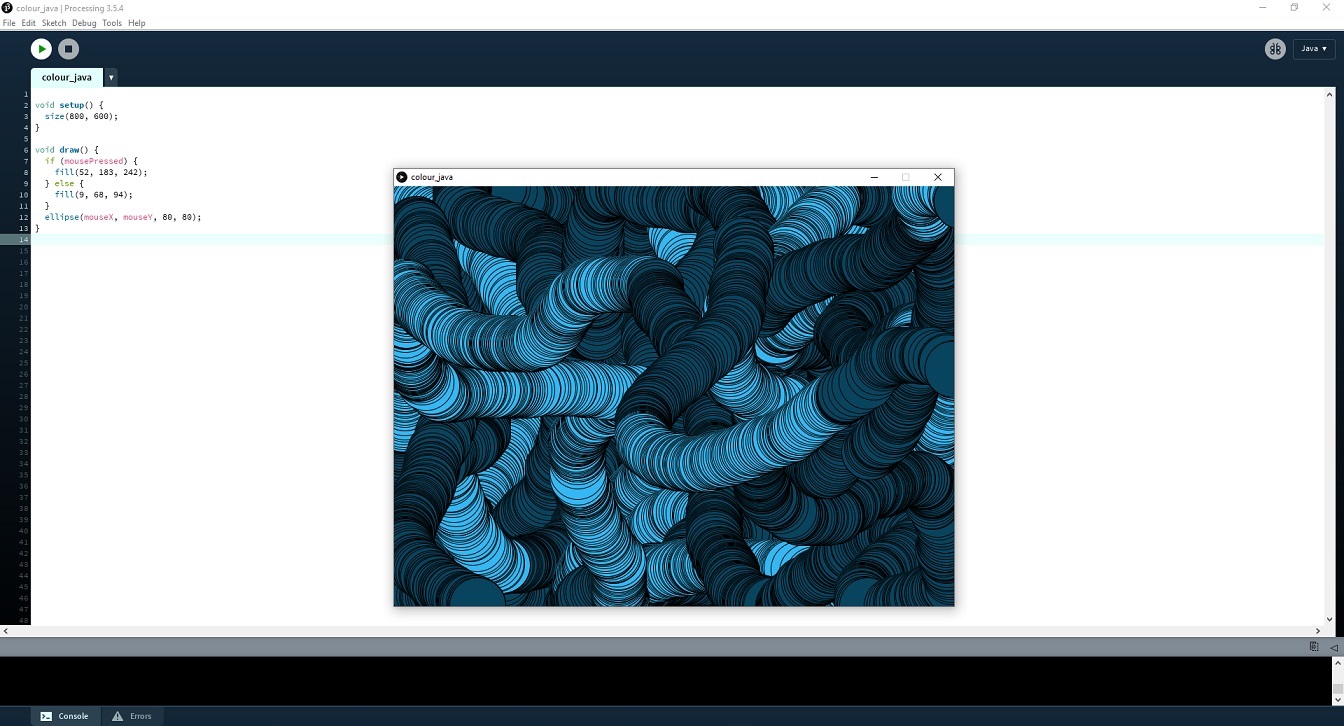
Here is a simple mouse movement program in processing using Java. Ellipses of the colour as of Vidya logo, a light blue, will apppear when the mouse is pressed over the output window and when it simply hover over ellipses of size (80,80)a darker blue will be shown.
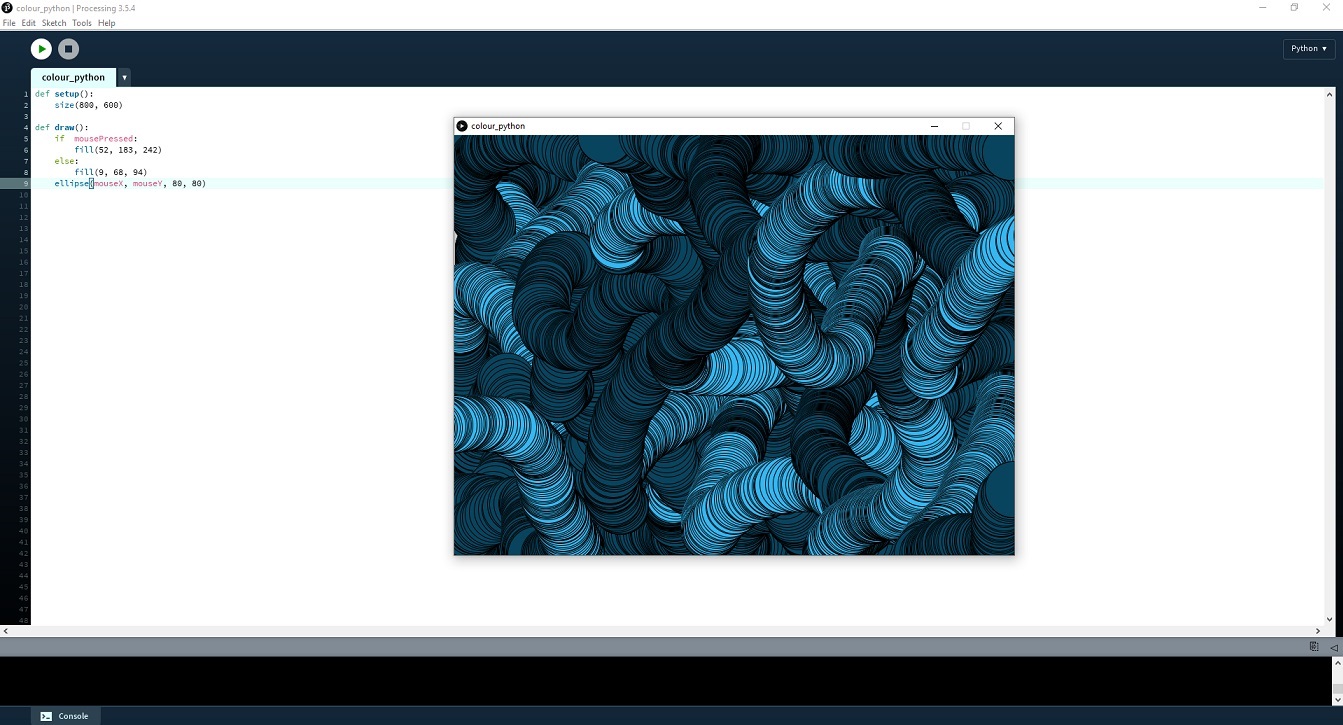
Here the same program code is changed to be used in Python. Note the syntax difference between the two.
Node-Red
Install [Node-RED](https://nodered.org/)
Node-RED is a powerful open source tool for building Internet of Things (IoT) applications with the goal of simplifying the programming component.
It uses visual programming that allows you to connect code blocks, known as nodes, together to perform a task.
We followed [this](https://www.techunits.com/topics/setup-guides/step-by-step-guide-to-install-node-red-on-ubuntu-18-04-lts/) tutorial to install it.
Step 1: Update the system
This code updated the package lists for upgrades for packages that needed upgrading, as well as new packages that have just come to the repositories.
  $ sudo apt-get update
  $ sudo apt-get upgrade -y
Step 2: Install Node.js and npm
$ sudo apt-get install nodejs
To check the version of Node.js installed, we used the following command:
$ node --version
Now that the prerequisites were installed, we installed Node-RED.
Step 3: Install Node-RED
$ sudo npm install -g --unsafe-perm node-red node-red-admin
Step 4: Test the installation
Node-RED uses the port :1880 as its default port. So, we allowed the port to be used by the service with the following command:
$ sudo ufw allow 1880
As we were all set we started using Node-RED.
Open a terminal (Ctrl+Alt+T) and type the following command:
$ node-red
Any browser can be installed on the system and hit the url bar with this address, so we used this code.
http://localhost:1880
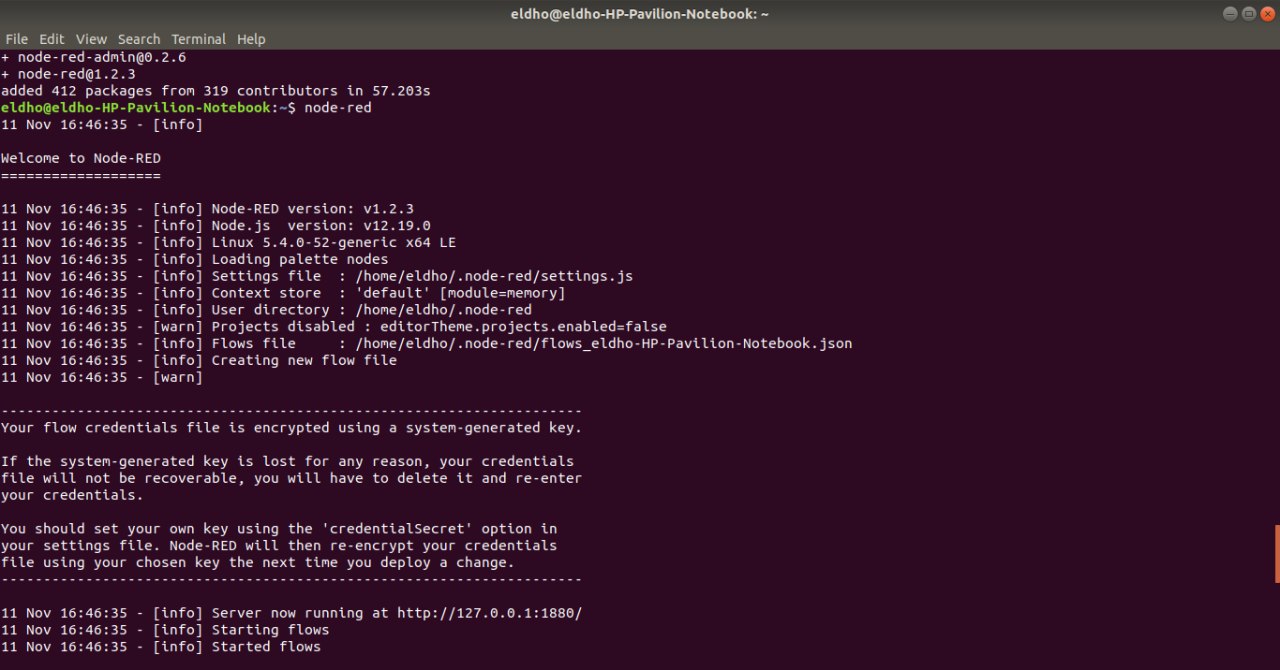
We used the localhostaddress as given in the above image
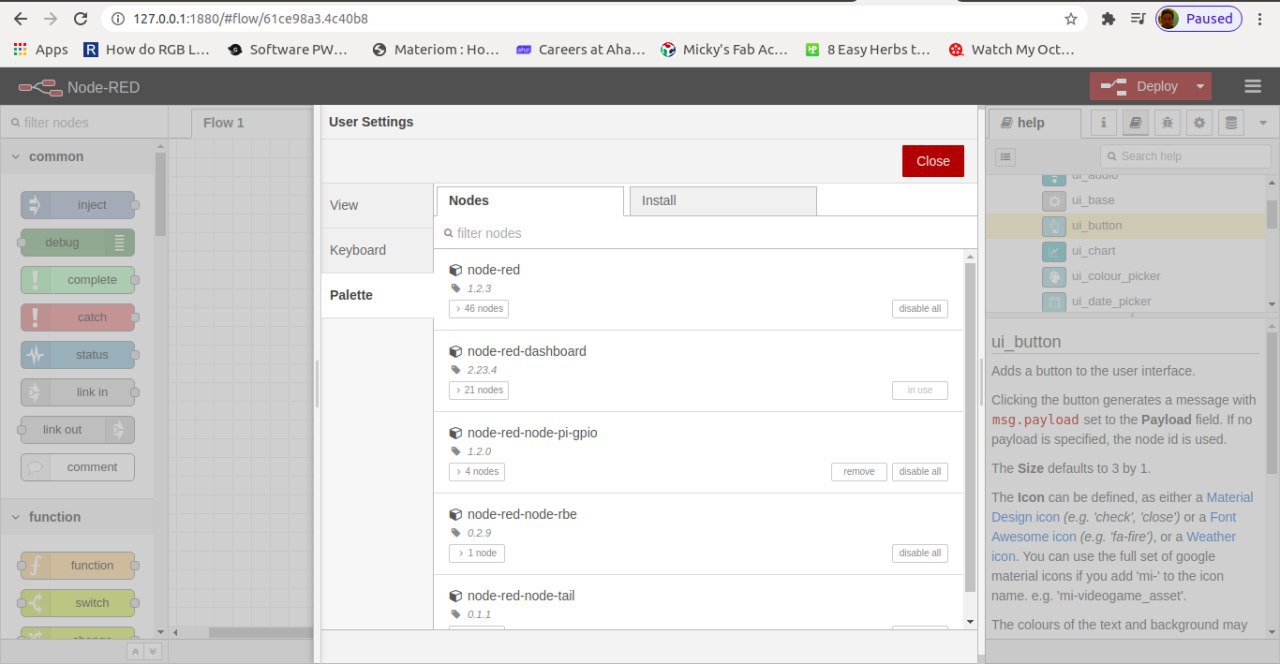
Install Node-RED dashboard
Node-RED Dashboard is a module that provides a set of nodes in Node-RED to quickly create a live data dashboard. We had so much fun using it. We liked that I could make a nice looking UI by dragging and connecting some nodes. We installed it first and checked out how it works. It can be installed through commands.
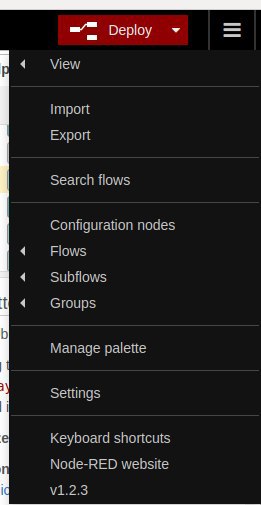
We clicked the Manage palette button and searched dashboard, and installed the package called node-red-dashboard. We found this way easier than using the terminal commands. Once installed, a UI can be created.
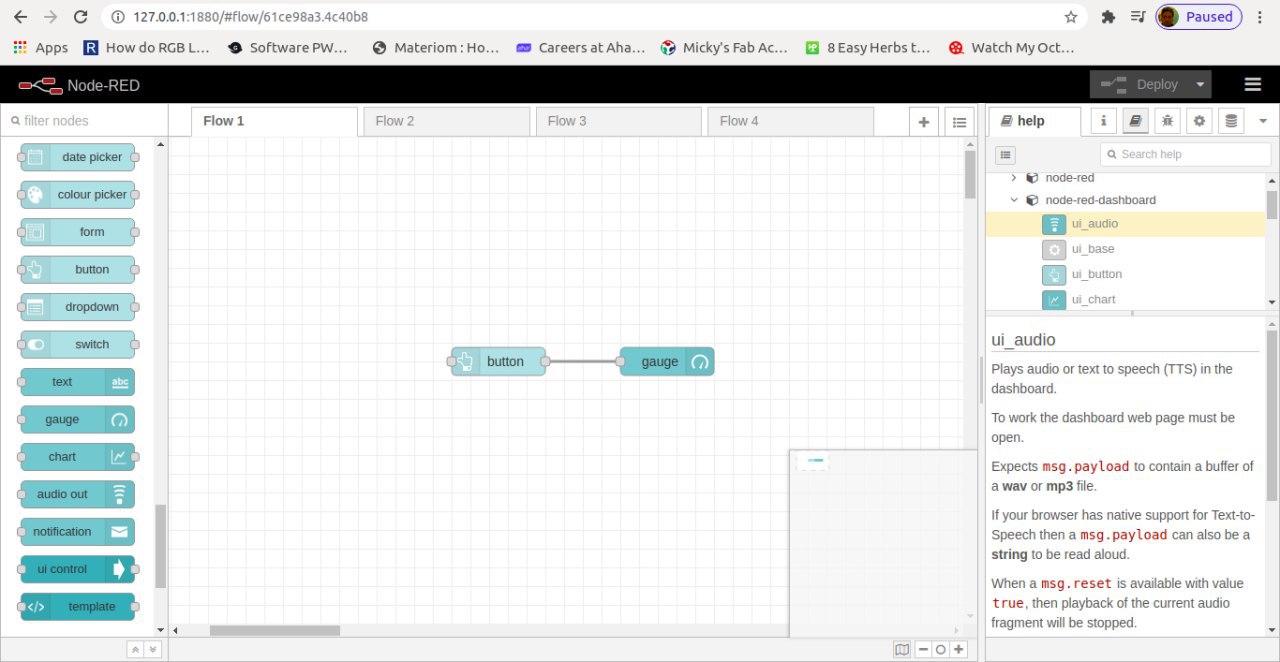
And then, we simply dragged and dropped the nodes from the left side bar.

Now the UI for the flow is created. We could customize the color or the look on the editor as well. It’s very customizable and easy to change.
Powered by w3.css