6. 3D Scanning and printing
Due 2024/02/27
How to use this document
Please refer to instructions in the week02 weblog entry
Conceive
- This week we focus on additive printing and 3D scanning.
- Additive printing is like making a mound of toothpaste on the counter top by squeezing some of it out of a tube.
Assignments
| To do | Done |
|---|---|
| Group assignment: 3D-scanning and printing | ⬇ |
| Test the design rules for your 3D printer(s). | Yes |
| Document your work on the group work page and reflect on your individual page what you learned about characteristics of your printer(s). | Yes |
| Individual assignment: | ⬇ |
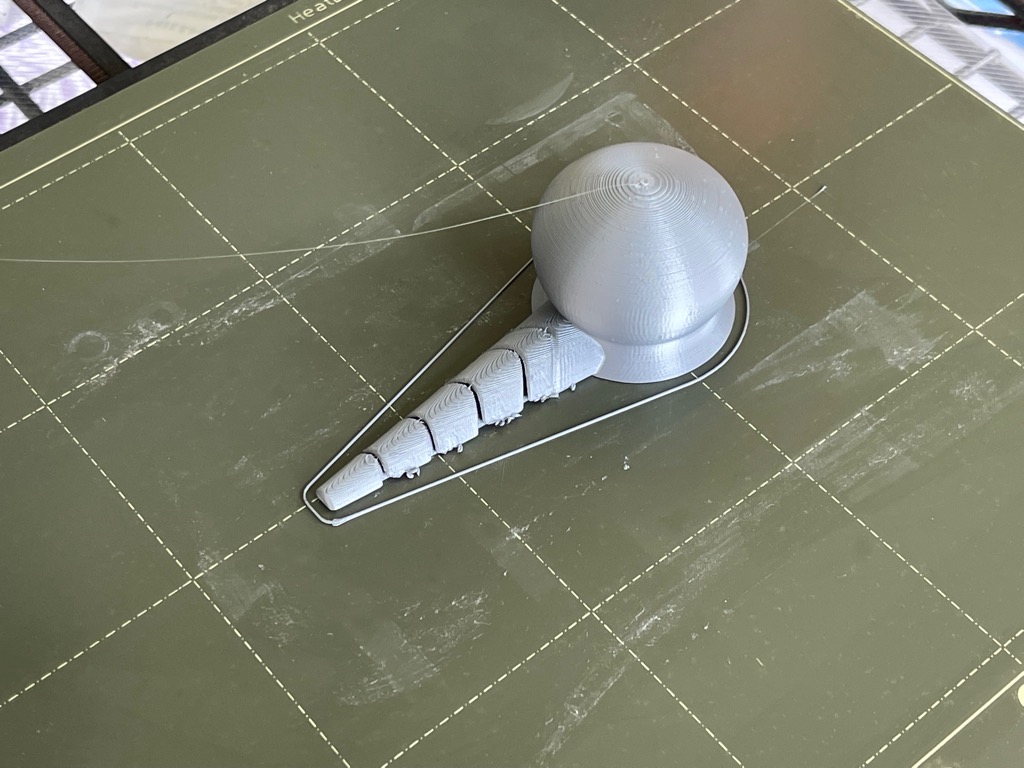
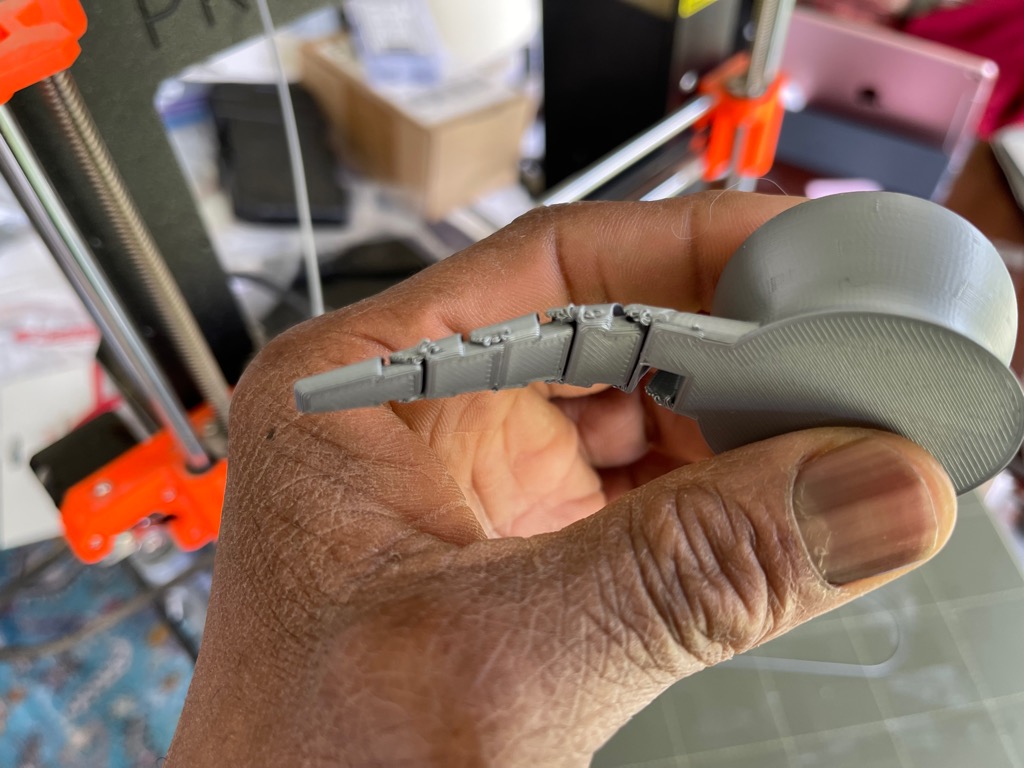
| Design and 3D print an object (small, few cm3, limited by printer time) that could not be easily made subtractively. | Yes |
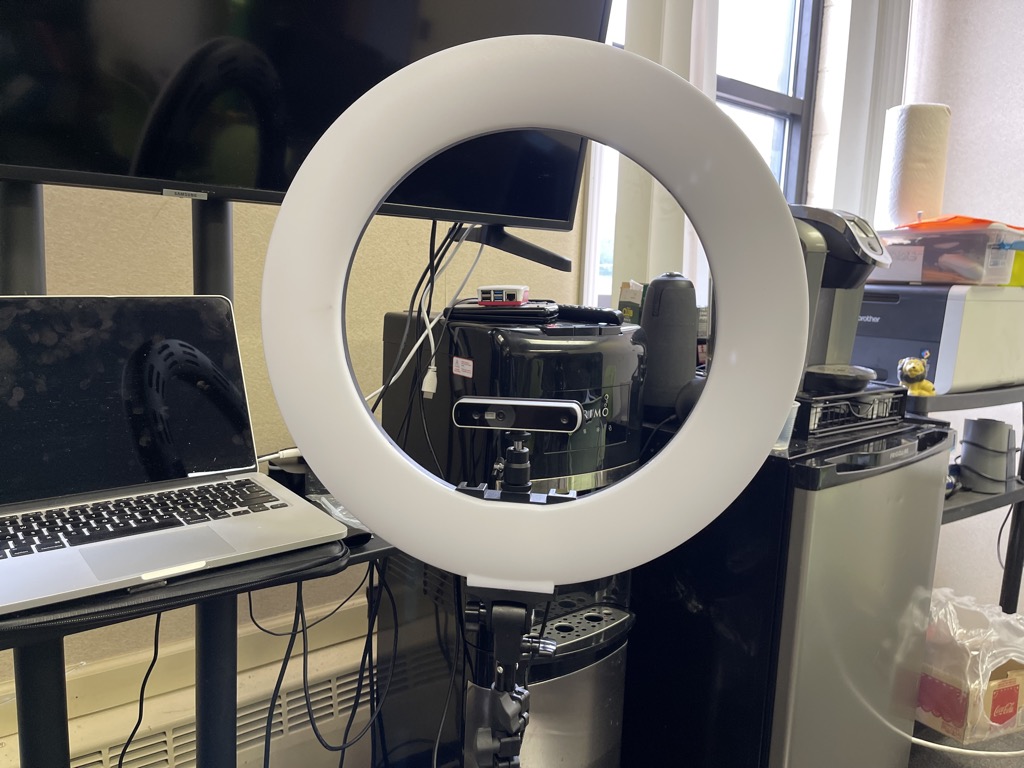
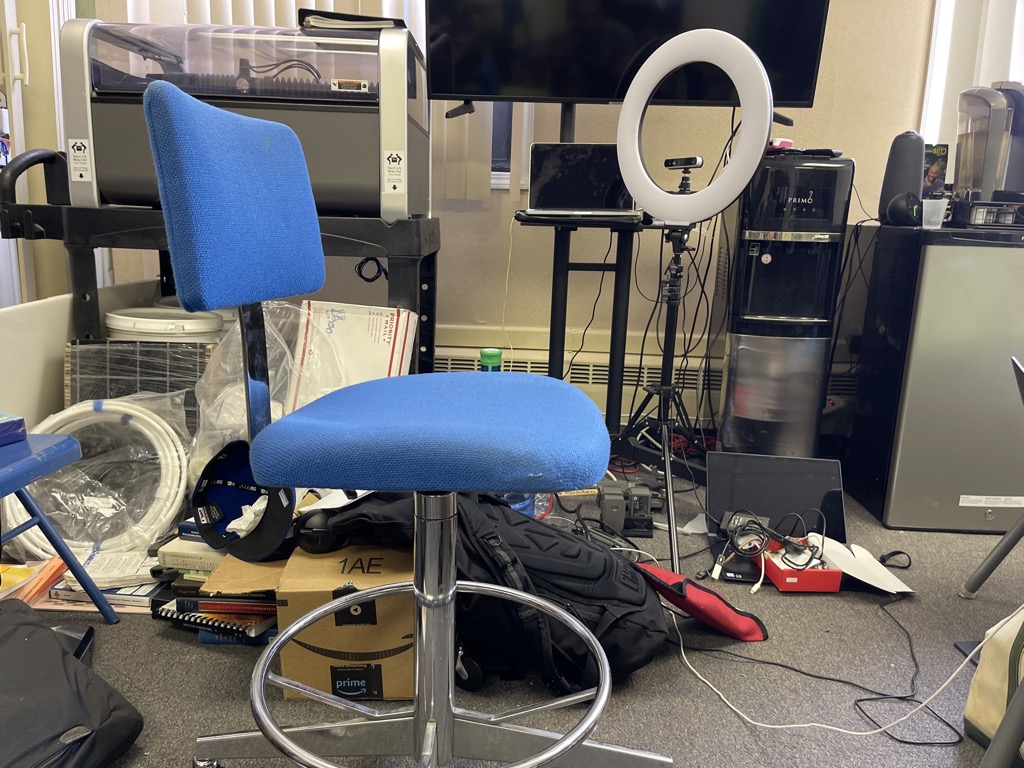
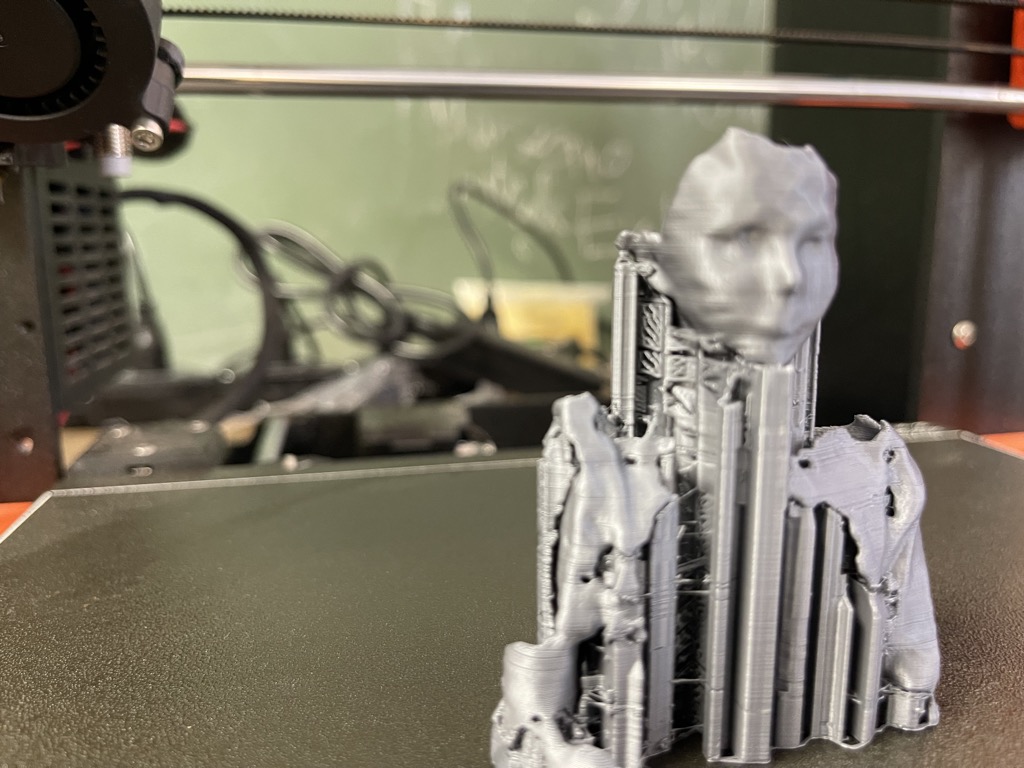
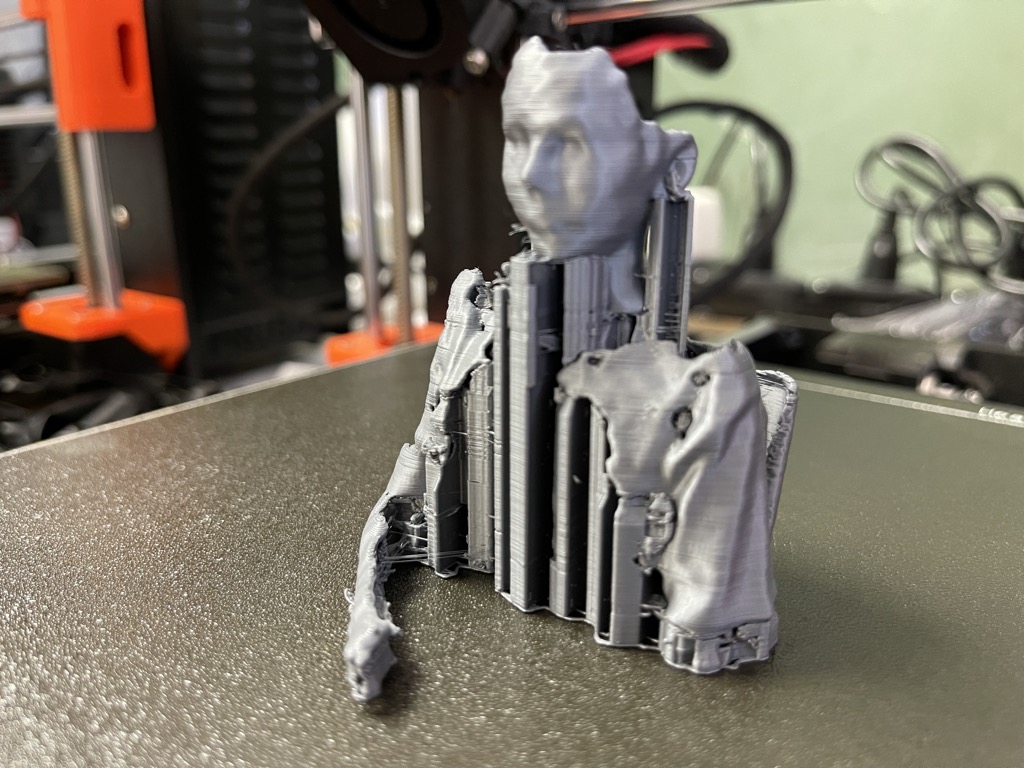
| 3D scan an object (and optionally print it) | Yes |
Learning outcomes
| To do | Done |
|---|---|
| Identify the advantages and limitations of 3D printing. | No |
| Apply design methods and production processes to show your understanding of 3D printing. | No |
| Demonstrate how scanning technology can be used to digitize object(s). | No |
Checklist questions
| Have you? | Done |
|---|---|
| Linked to the group assignment page? | Yes |
| Explained what you learned from testing the 3D printers? | No |
| Documented how you designed and 3D printed your object and explained why it could not be easily made subtractively? | No |
| Documented how you scanned an object? | Yes |
| Included your original design files for 3D printing files? | No |
| Included hero shots of your results? | Yes |
*rebase

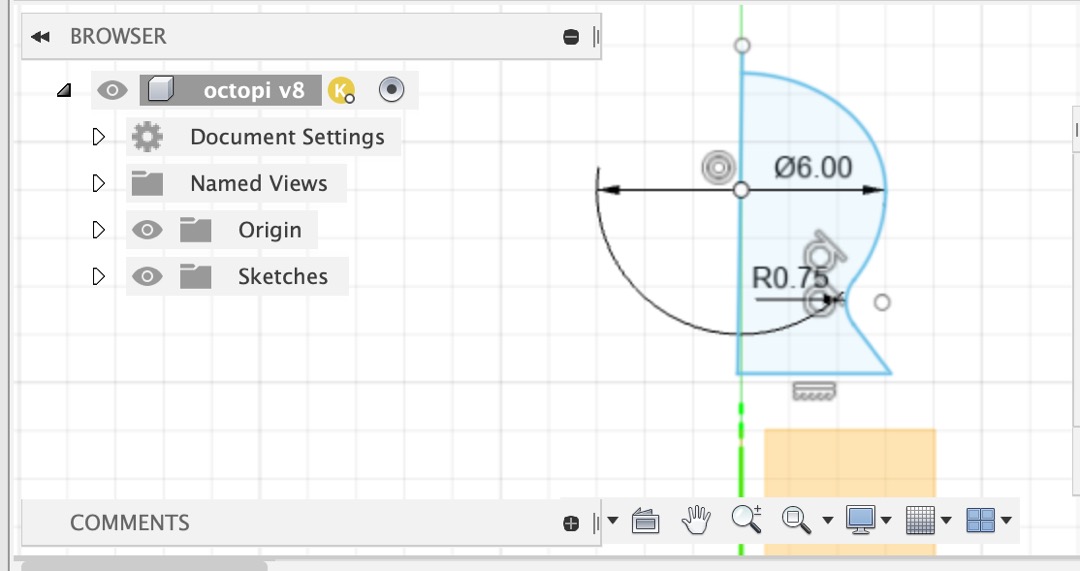
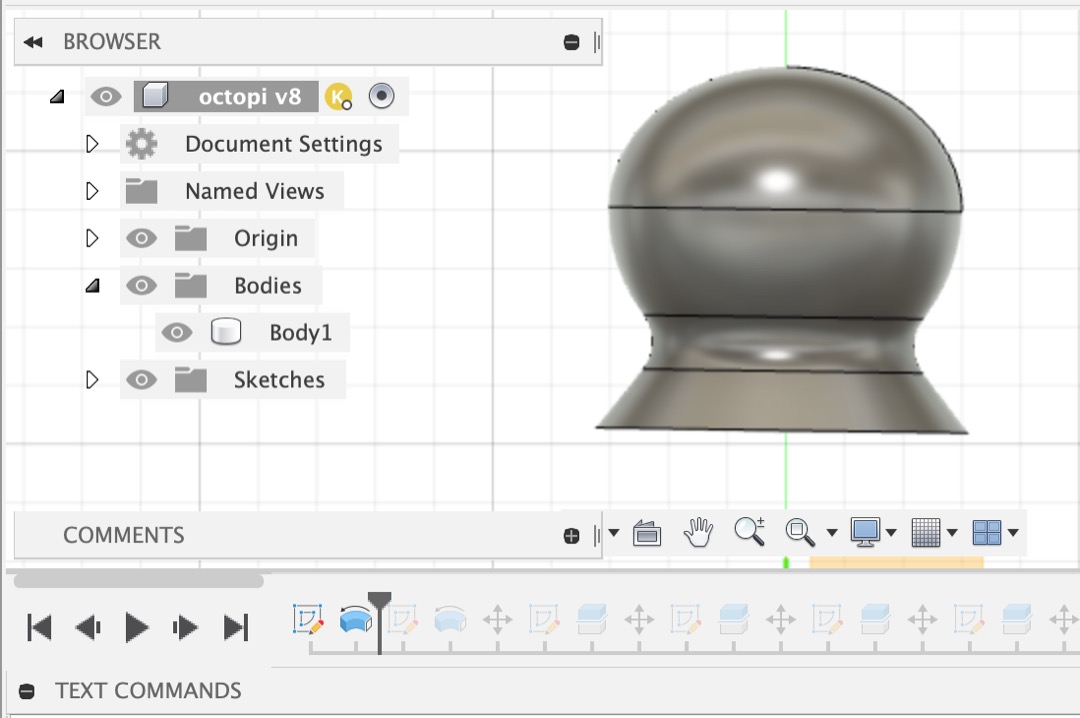
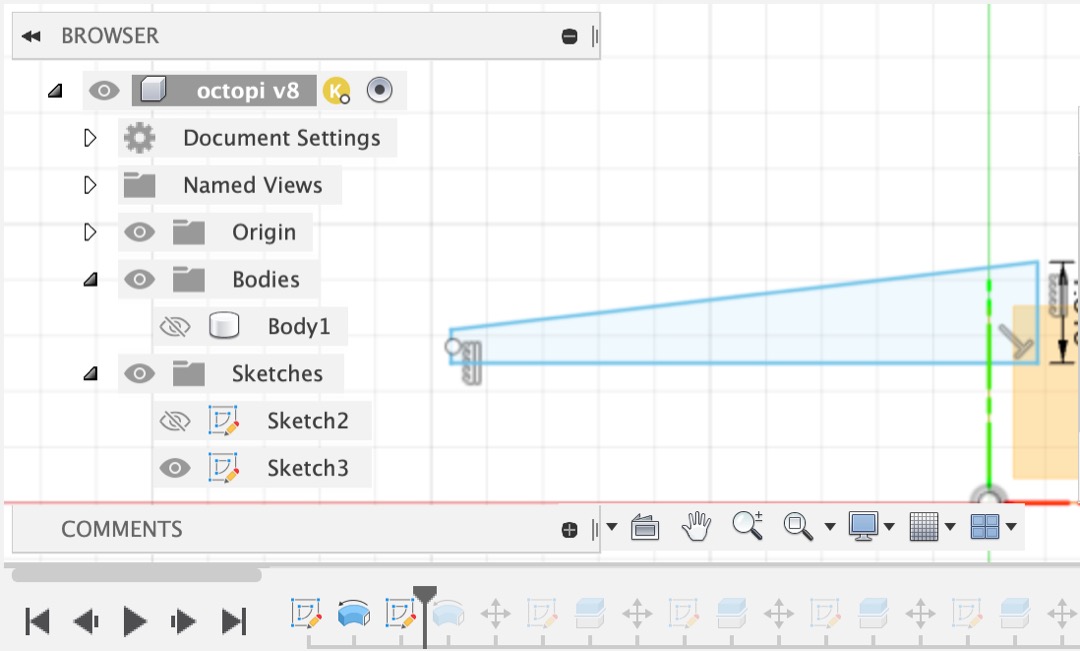

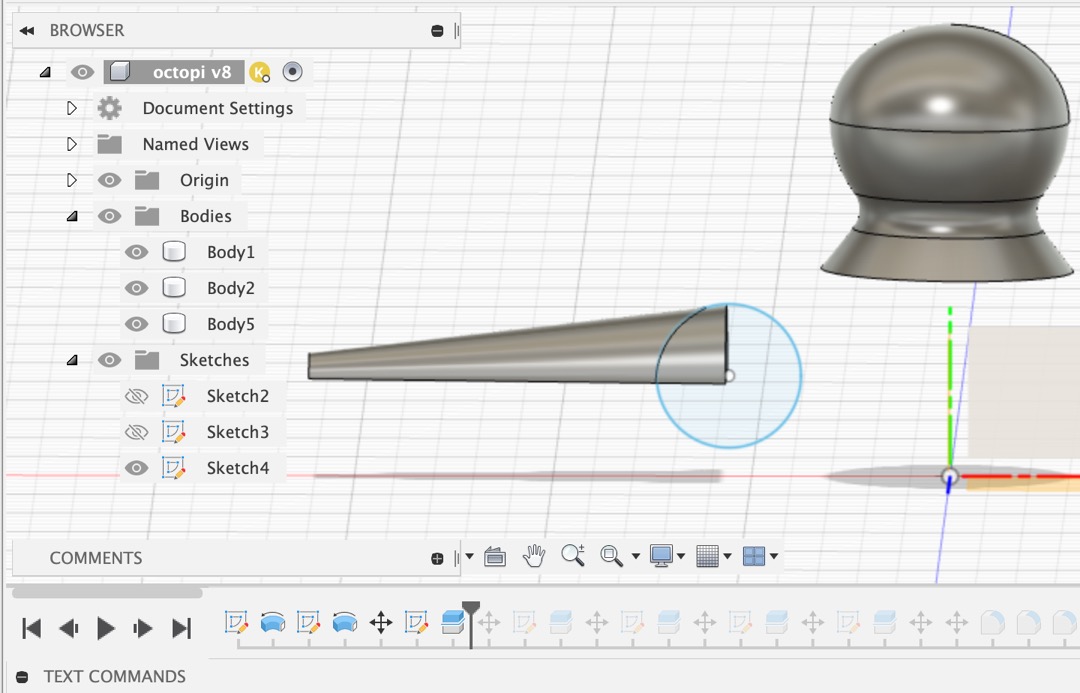

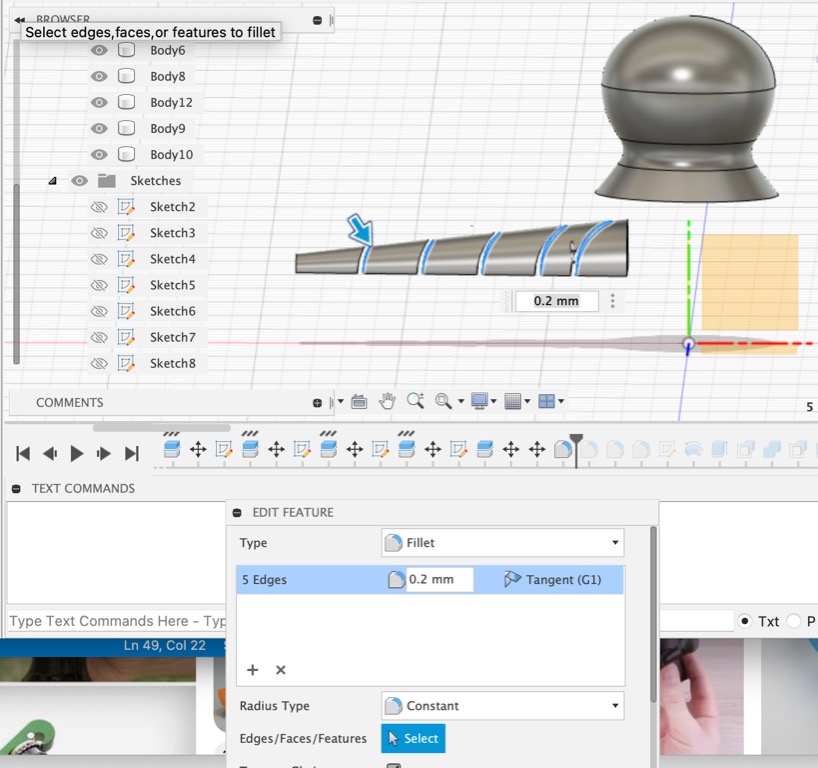
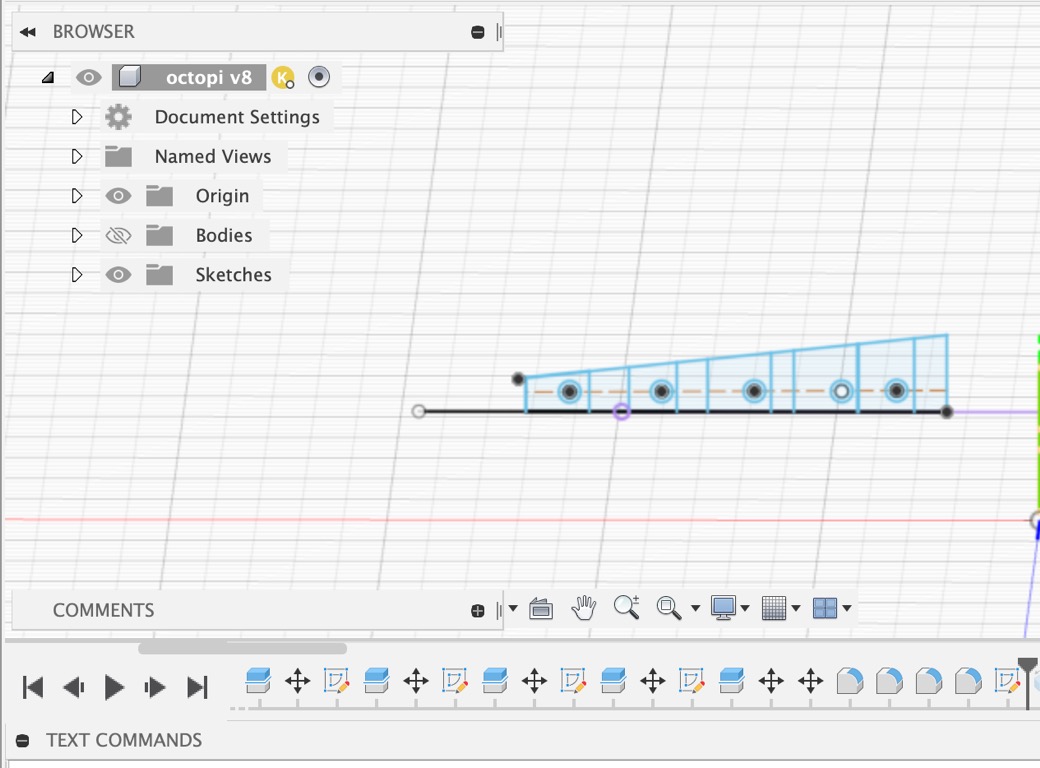
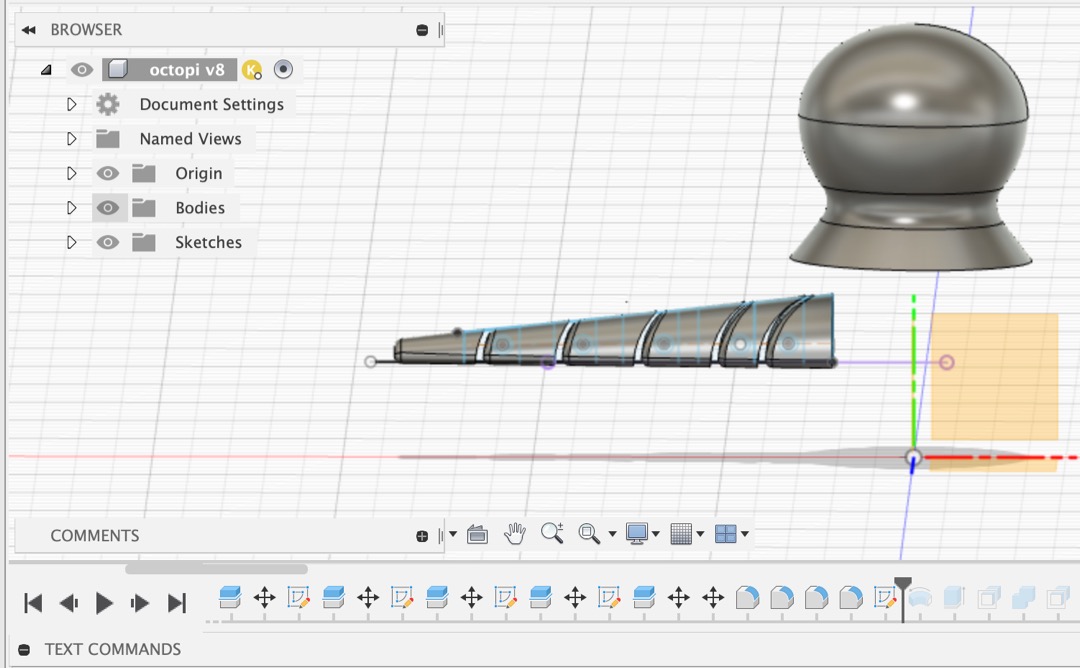
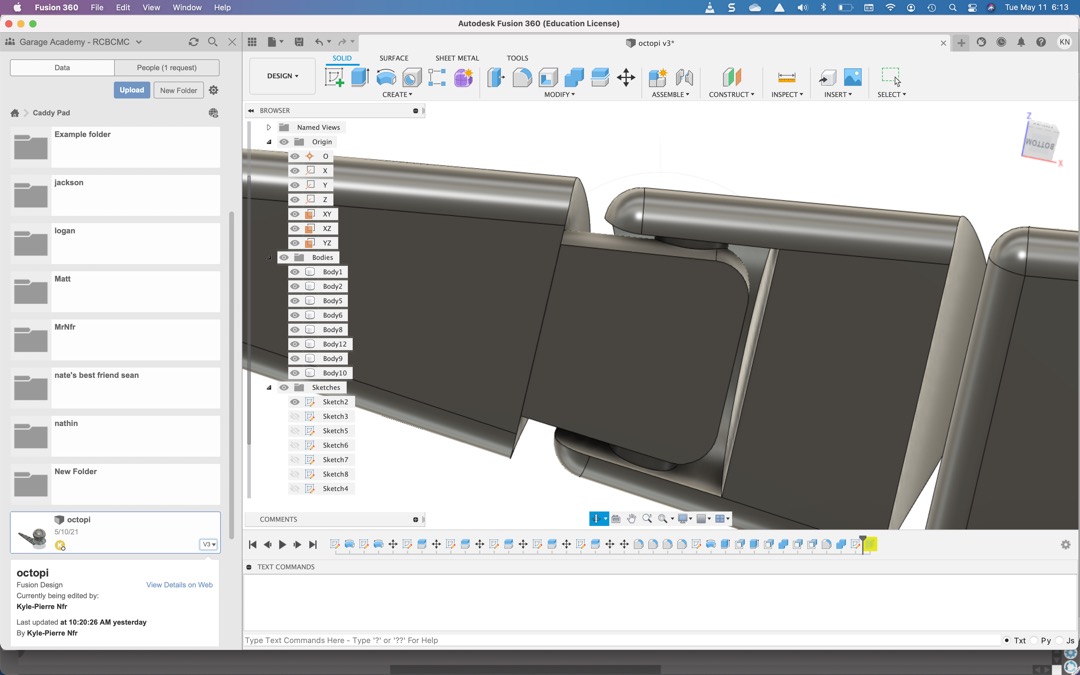
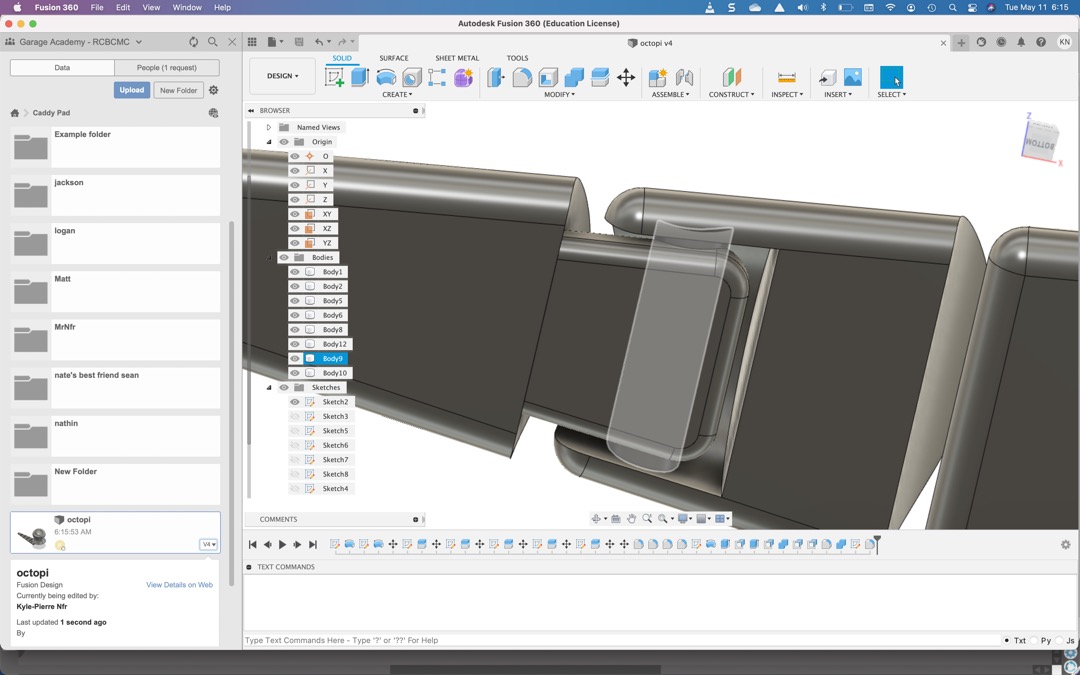
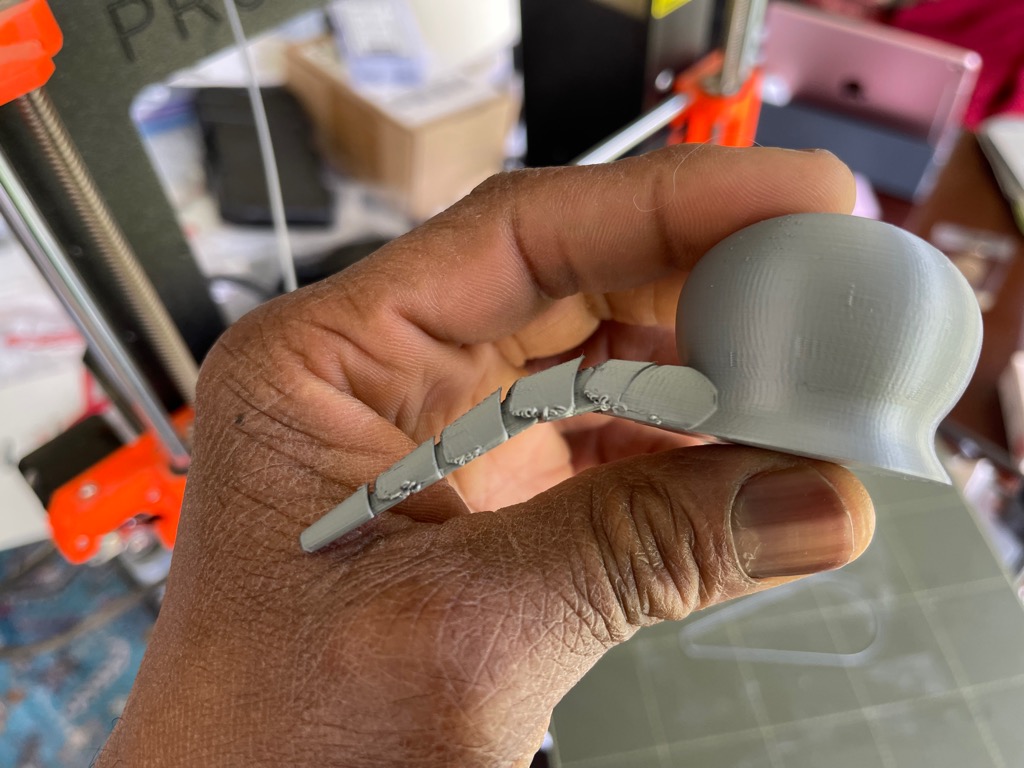
octopi v9 files Fusion 360, STL
- 3D scan an object, try to prepare it for printing (and optionally print it)
Context
- Syllabus FAW06
- Assessment FAW06
- Tutorial FAW06
- Video FAW06
- Review FAW06
- FabAcademy 2021 Documents
- FabAcademy Home Page
- FabLabs Home Page
Comprehend
- 3D printing happens when a machine makes parts from a file by forcing plastic or other material that it melts and forces through a hole.
- Prusa i3 MK3
- Form(durability, rigidity, stability)
- Y axis aluminum extrusion sub frame rigidity and stability
- PETG, 3D printed frame parts add durability
- Magnesium heat bed adds rigidity
- Smooth rods installed parallel to leadscrews* in x and z axes add rigidity.
- https://help.prusa3d.com/en/guide/3-x-axis-assembly_27464
- https://shop.prusa3d.com/en/prusament/802-prusament-petg-jet-black-1kg.html?search_query=petg&results=21
- https://blog.prusaprinters.org/original-prusa-i3-mk3-bloody-smart_7201/#_ga=2.58250346.1371284772.1590970192-1540439993.1590970192
- Function (efficiency, reliability, accuracy)
- Stepper motors allow accurate movement in CNC actions.
- PEI build surface for print reliability
- Leadscrews for print accuracy
- Skewed axes compensation accuracy
- Feed rate efficiency
- Spindle speed efficiency
- Resolution accuracy
- Build volume capacity
- Optical sensor for more reliable filament detection
- Power Panic makes printing more efficient by reducing print restarts.
- https://reprap.org/wiki/PEI_build_surface
- Form(durability, rigidity, stability)
- 3D laser scanning happens when a sensor detects laser light reflected from the surface of an object
- https://www.engineering.com/AdvancedManufacturing/ArticleID/12390/Quality-Basics-How-Does-3D-Laser-Scanning-Work.aspx
Take Caution
- Human
- Machine
- Environment
Calibrate
Control
- Material-machine interface
- Materials
- Fixtures
- Tools
- Machine-controller interface
- Controller-CAM interface
- CAM-design interface
- Design-human interface
- Group assignment
- Test the design rules for your printer(s)
- Document your work and explain what are the limits of your printer(s) (in a group or individually)
Create
- Human-science interface
- Human-industry interface
- Human-art interface
- What assumptions can we break?
- Individual assignment
- Design and 3D print an object (small, few cm^3, limited by printer time) that could not be easily made using subtractive methods.
- 3D scan an object, try to prepare it for printing (and optionally print it)