Computer-Controlled Cutting
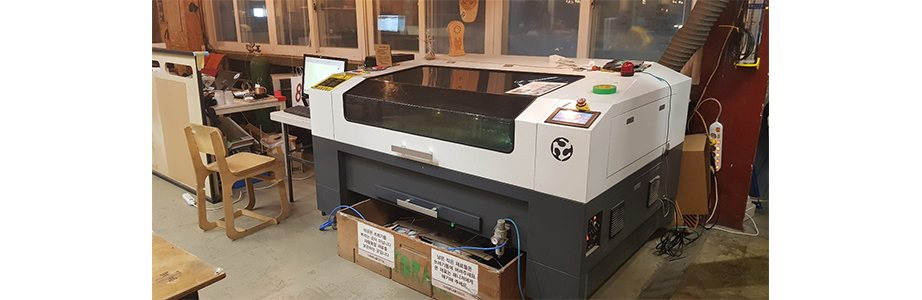
1. Characterize the lasercutter in FabLab Seoul.
Making a website, cutting woods on the lasercutter, ... Everything I do in FabAcademy is a whole new challenge!
As I love collecting small, cute design goods like stickers and DIY kits, I always wanted to make those stuffs for myself.
So I was really excited to learn how to use a laser cutter and a vinyl cutter last week! ... though I didn't do anything with the vinylcutter(spend whole time playing with a laser cutter...)
The lasercutter in FabLab Seoul is CO2 lasercutter. According to the explanation on Wikipedia, the carbon dioxide laser (CO2 laser) is one of the most useful lasers. It is the highest-power continuous wave laser that are currently available. Also quite efficient: the ratio of output power to pump power can be as large as 20%. The CO2 laser produces a beam of infrared light with the principal wavelength bands centering on 9.4 and 10.6 micrometers (μm).
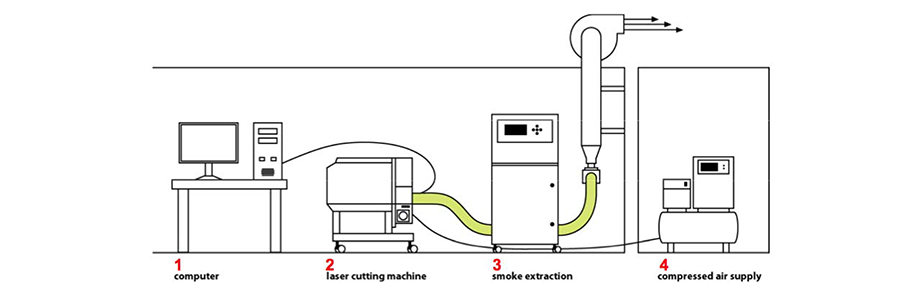
We can cut or engrave some materials on a laser cutter. The work process is as follows:
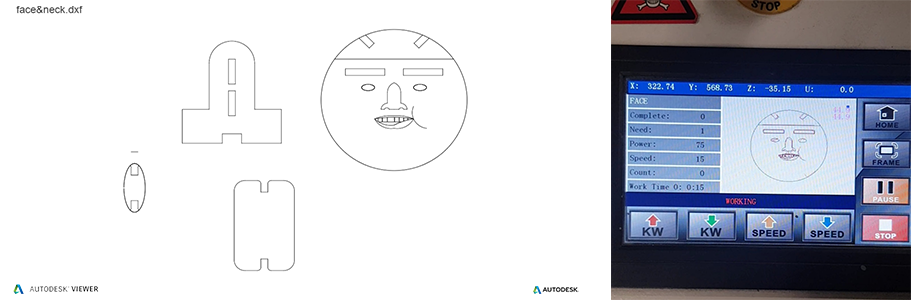
1. Save your design as dxf files.
2. Set the speed and power of a laser cutter: If you want to engrave, you should higher the speed and lower the power.
3. Adjust the distance between the laser and the surface of a material.
4. Control the position of laser to start cutting.
And these are the materials you can cut on a laser cutter: wood, paper, acryl, PETG, ABS, PP, fabric, leather
Things you can't cut: Inorganic substances(glass, metal), PC, polystyrene
During the laser cutting process, smoke occurs and it smells really bad. Thought the device for smoke extraction is connected to a laser cutter, do not open the laser cutter right after the cutting ends.
2. Make test part(s) that vary cutting settings and dimensions.
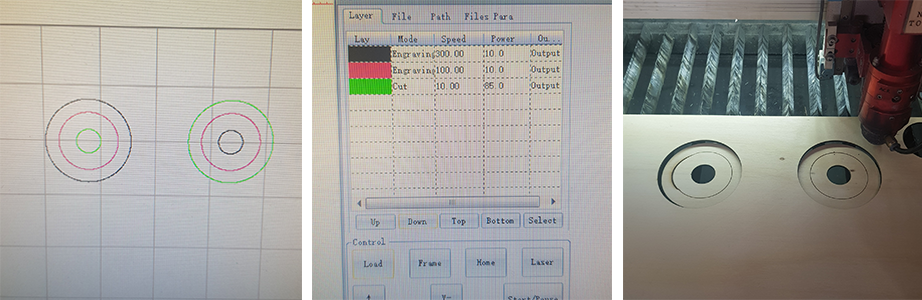
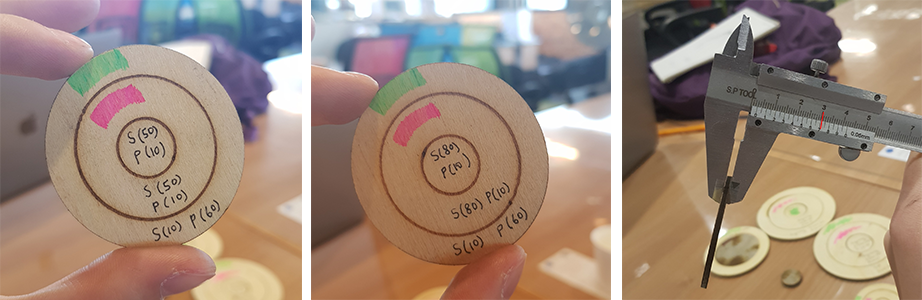
My instructor told me to cut the target-like design on a laser cutter in two different sequences: 1. from inside to outside 2. from outside to inside. By changing the color of the line, I could set the sequence, mode(cut or engrave), speed and power of cutting in detail.
On the first trial, I set very high speed and low power on black(: S(300.00) / P(10.0)) and pink(: S(100.00) / P(10.0)) line, but somehow only the pink line was engraved. As you can see in the picture below, for precise cutting, it is necessary to set the cutting sequence from inside out.
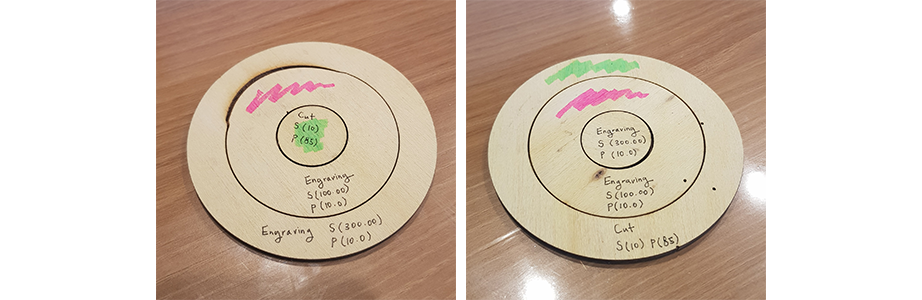
The pictures below shows how the thickness of line changes when the speed of cutting gets faster. To engrave in a strong line, relatively low speed is required. If the cutting speed is fast, the line can partly wiggle.
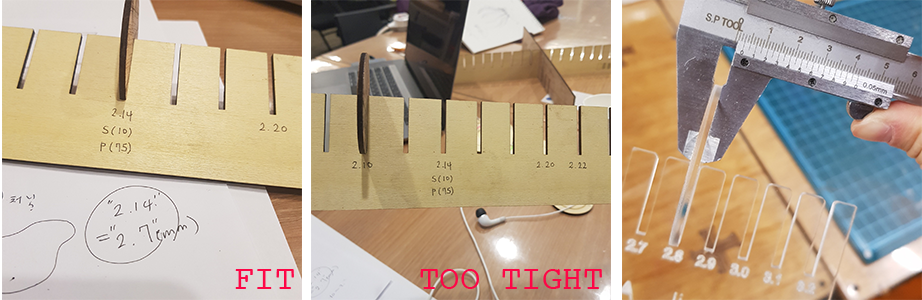
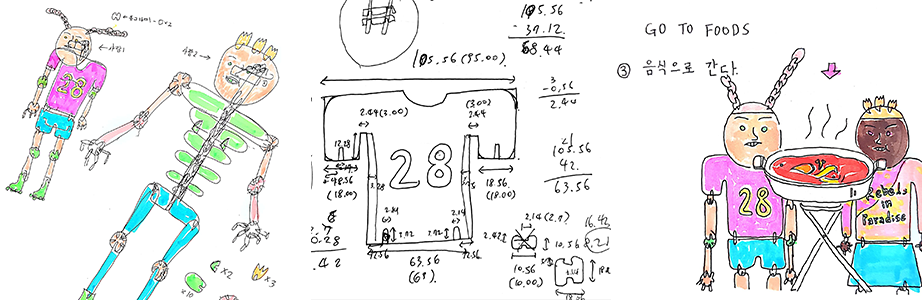
To practice using a laser cutter, I used a thin plywood - and I decided to use the same material for a parametric press-fit construction kit. I measured the thickness of the material with calipers, and it was about 2.7 mm(red line).
I designed comb-like stuffs to find out the difference between the set value on a structural design and the actual value after the laser cutting. I wanted to know the value that I have to set on the design program when I want an actual value of 2.7mm, which is the thickness of the plywood that I used.
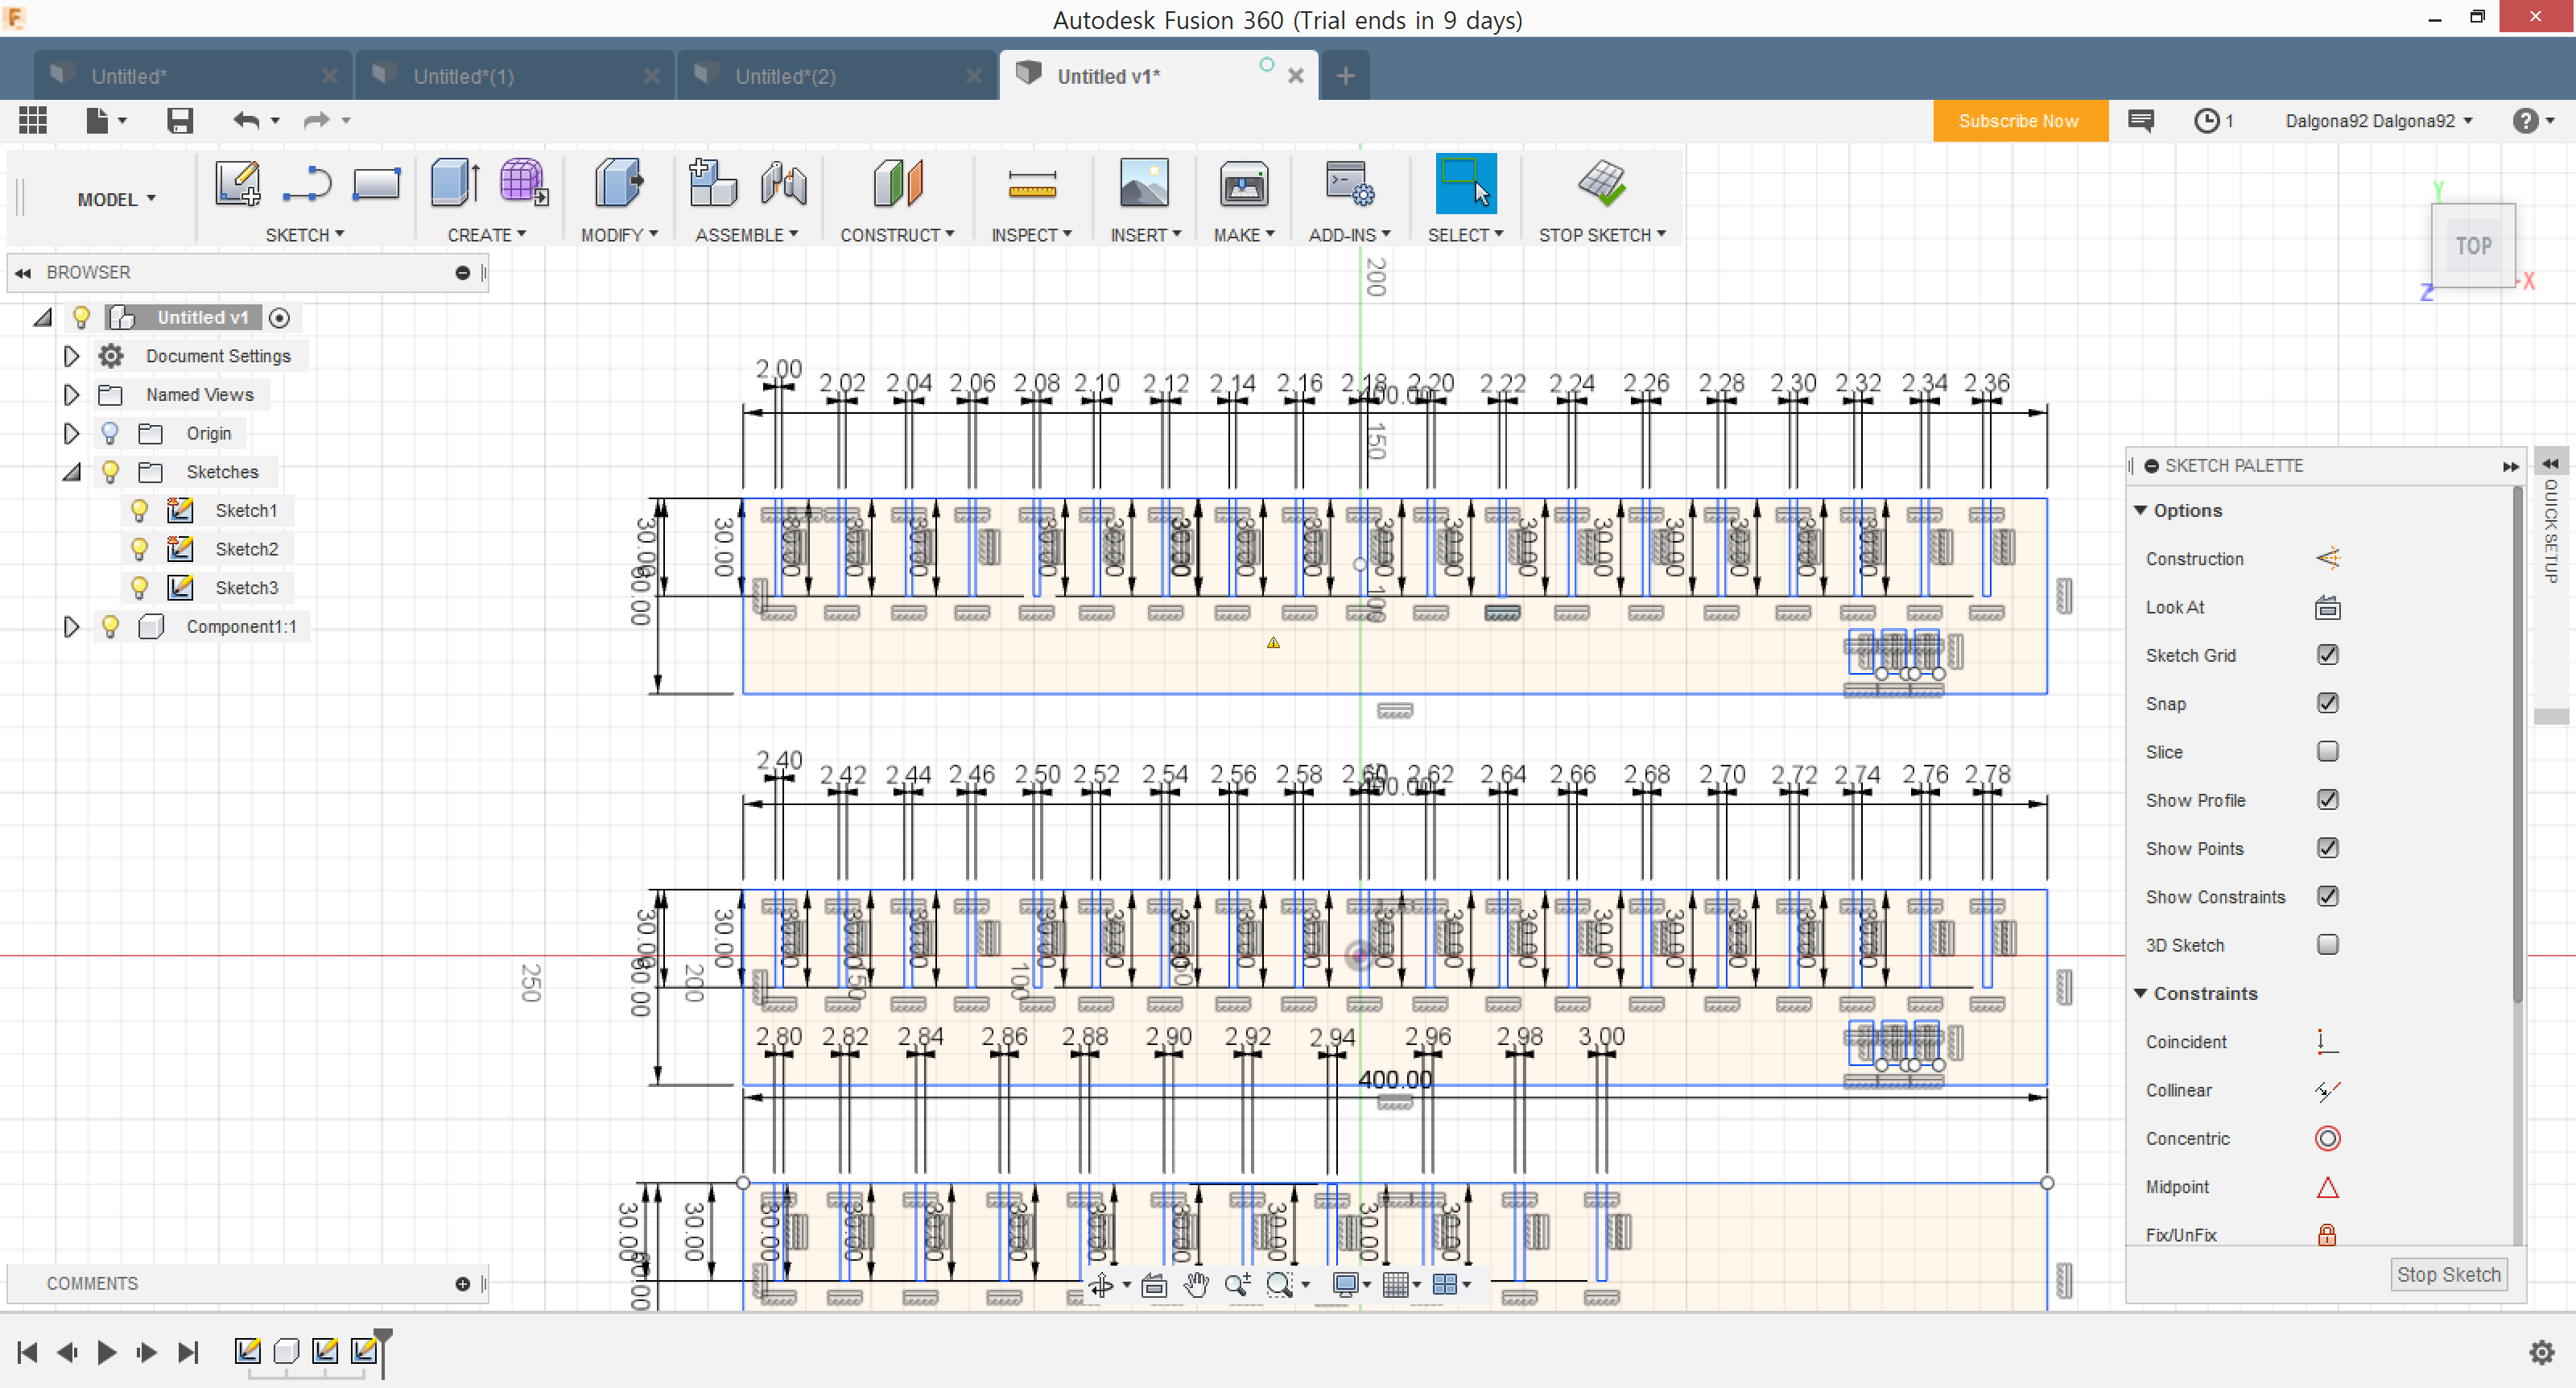
And it turned out that the set value should be 2.14mm to be 2.7mm after the laser cutting. Miriam did the same thing with an acryl and we shared the results as you can see below :-)
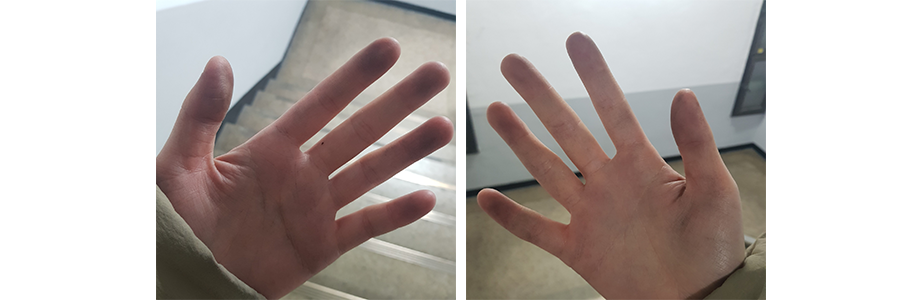
On the way going home after cutting things on a laser cutter for the first time in my life. It was fun but my hands got so dirty.
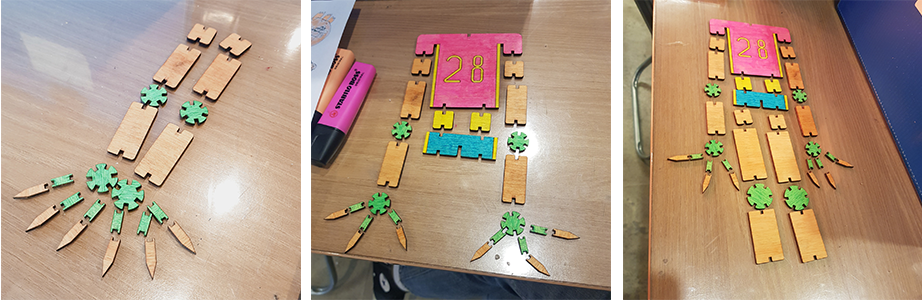
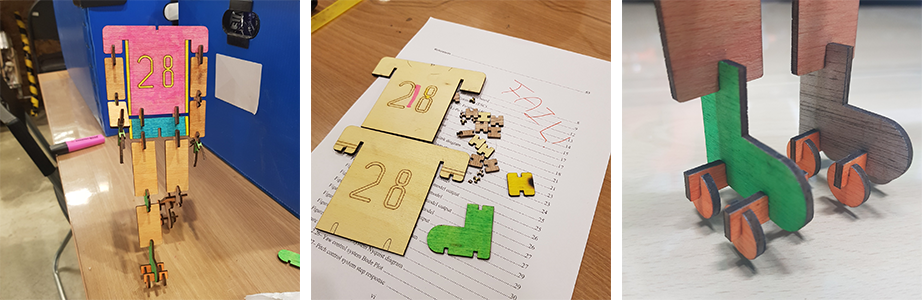
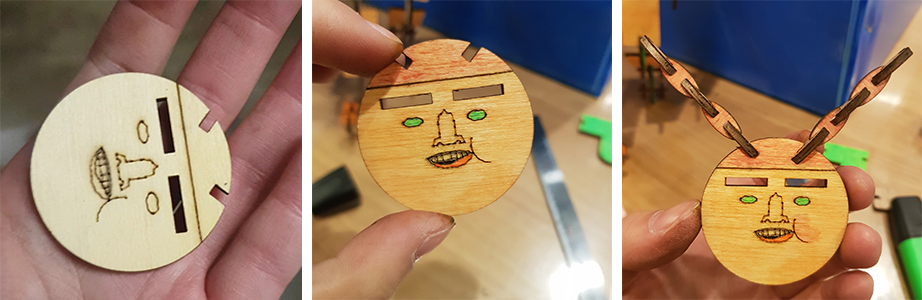
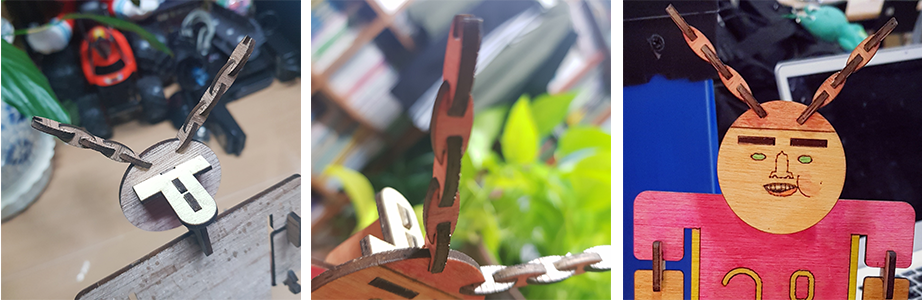
3. Document a parametric press-fit construction kit.
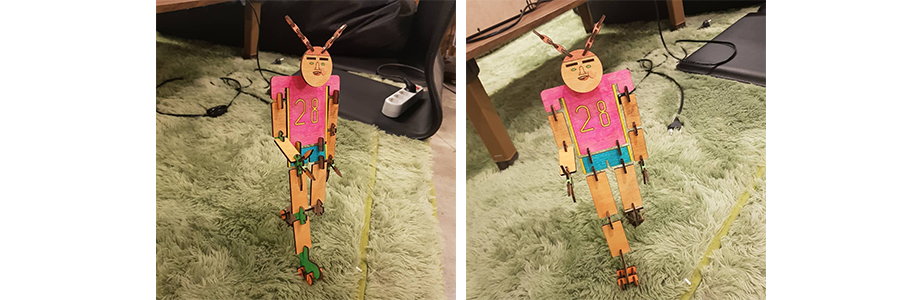
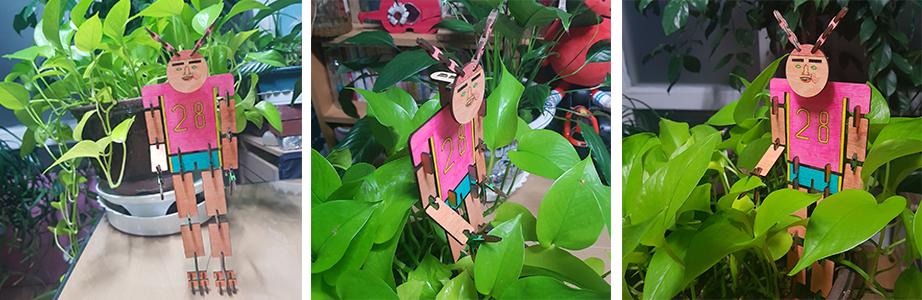
Since it's my first time to make a kit with a laser cutter, I decided to make a rather simple one than the final project, which is basically a drone in kit form. So this is "a girl with a braided pink hair rollerblading around."
4. Result of this week
Download files to make "a girl with a braided pink hair rollerblading around."
◾ "arm.dxf"
◾ "clothes.dxf"
◾ "face&neck.dxf"
◾ "finger.dxf"
◾ "joint.dxf"
◾ "leg.dxf"
◾ "rollerblade.dxf"