Computer-Controlled Cutting
Machine:
Laser Cutting Machine LC 1390S | Cutting Machine- The G.WEIKE LC1390S
Vinyl Cutter Silhouette Cameo 3 | Cutting Machine
Assignment of the week:
● Group Assignment:
○ Characterize your laser cutter, making test part(s) that vary cutting settings and dimensions.
● Individual Assignment:
○ Cut something on the vinyl cutter.
○ Design, lasercut, and document a parametric press-fit construction kit, accounting for the laser cutter kerf, which can
be assembled in multiple ways.
To do this assignment, refer to the following tutorials provided in the following pages and Fab Foundation links:
1. Introduction to laser cutting.
2. Press-Fit Construction Tips
3. Press-Fit Inkscape
4. Vinyl Cutter
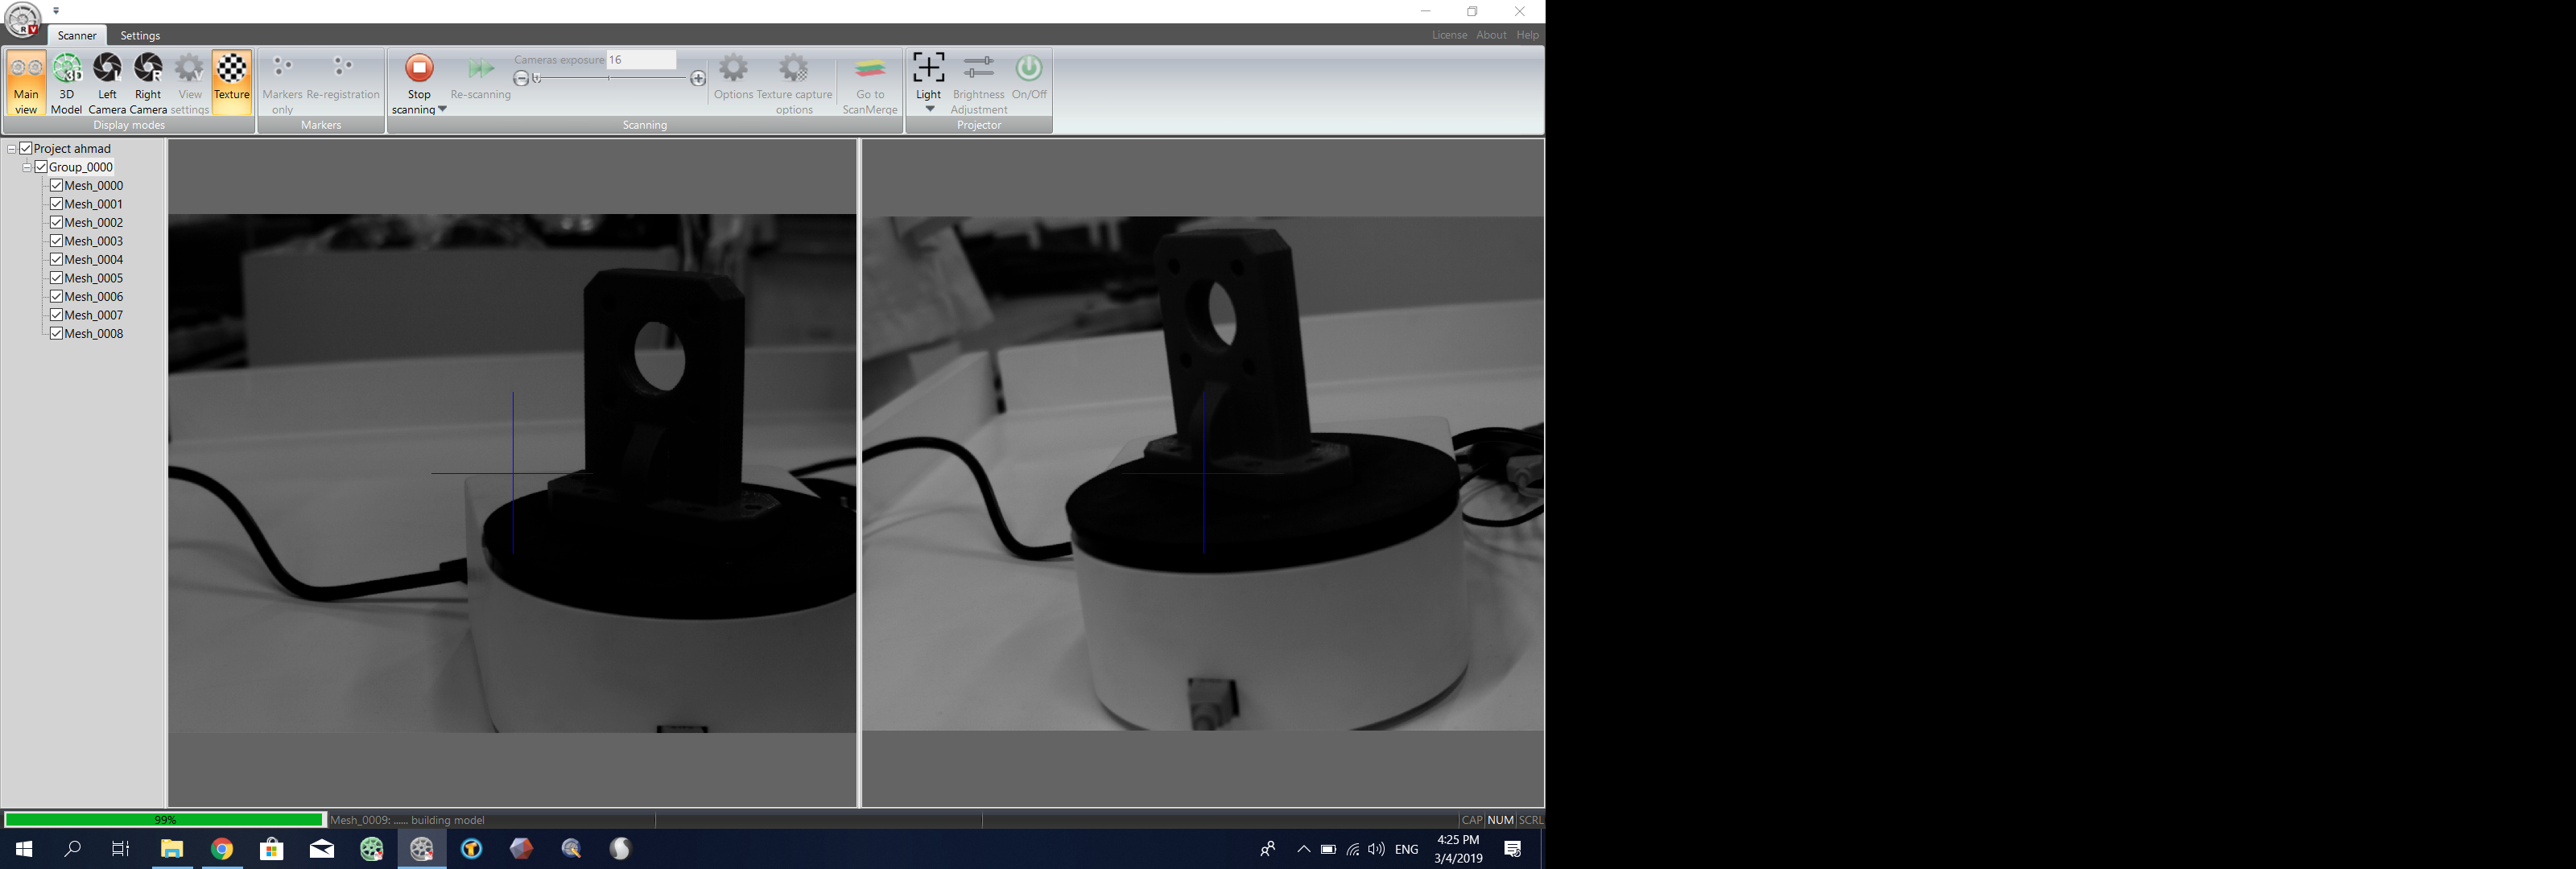
MACHINE DESCRIPTION
The G.WEIKE LC1390S is a high precision laser cutting machine that focuses a high energy laser beam onto a material resulting in a
high quality and dimensionally accurate cut. The laser cutter can be used to cut, etch, engrave, drill and to cut a variety of materials.
Generally laser cutting machines contain a carbon dioxide (CO2) laser that produces invisible laser radiation at a wavelength of
10600nm in the infrared spectrum.
The LC1390S has a maximum cutting area of 1300 x 900 mm, uses laser power of 800 W and operates at 110-220V - 50 and 60 Hz
AC supplies. The machine has a very thin focal point of 0.2mm width, this makes the machine highly precise and convenient for all
kinds of precision instrument industries. Unlike other milling technologies, laser cutting is superior due to the cleanliness of material
cutting which leads to material saving from being lost while milling. Furthermore, it has a very fast cutting speed of 0-24000 mm/min
which greatly minimizes the time needed for cutting. http://www.gwklaser.com/pdf/LC1390.pdf
VINYL Cutting Prototype:
Vinyl Machine:
In order to try the vinyl machine, I downloaded ready design and I wanted to make a gift to surprise my wife ,so I decided to cut it in metallic vinyl and then apply it on blank T-shirt.
I opened the file on Silhouette Studio and I send it to cut to the Silhouette Cameo 3 via printer driver.
MACHINE DESCRIPTION
The Silhouette Cameo 3 is a fully integrated desktop cutting system. It is used to cut over 100 different materials including vinyl, paper,
cardstock, fabric and other materials up to 12 inches x 12 inches (The dimensions of the cutting mat). Moreover, the Cameo 3 has a dualcarriage for multi-tool and it has a self-adjusting AutoBlade that can cut materials up to 2mm thick. Additionally, it is compatible with
Print & Cut and PixScan technology. Therefore, it can be used to create printed pieces of art.
The Silhouette Cameo 3 cutting machine comes with the Silhouette Studio software, power cable and USB cable, 12- Inch cutting mat,
AutoBlade cutting blade and markers. For more details, check the following:
https://45c5pz3jeuoy37ymbmpauzad-wpengine.netdna-ssl.com/wp-content/uploads/2017/03/cameo-3-user-manual.pdf
https://www.youtube.com/watch?v=Z6kqQ40F54c
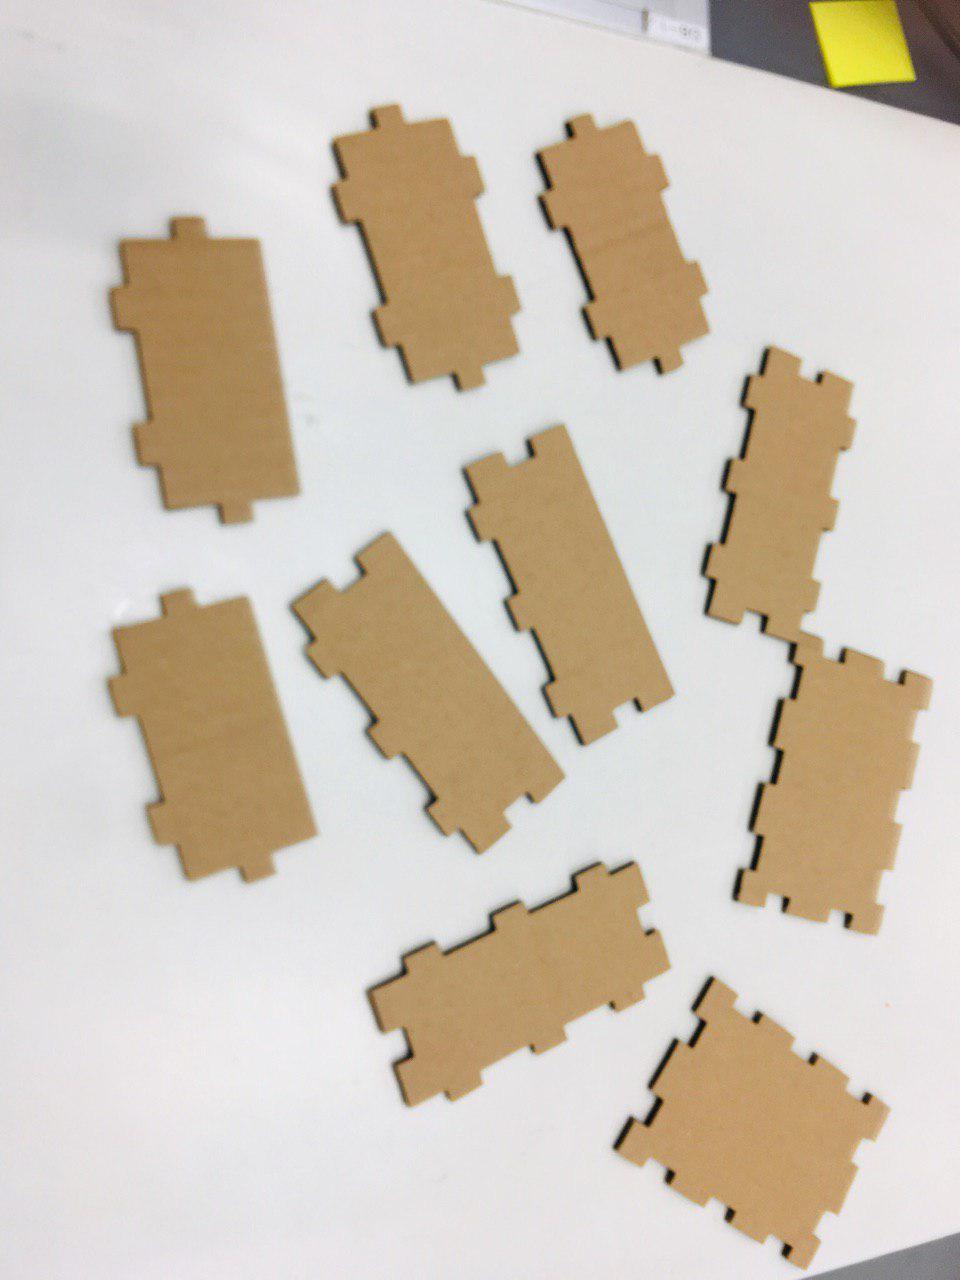
Design, lasercut, and document a parametric press-fit construction kit, accounting for the laser cutter kerf, which can be assembled in multiple ways
Parametric Press-Fit Prototype (Individual and multiple Pieces :
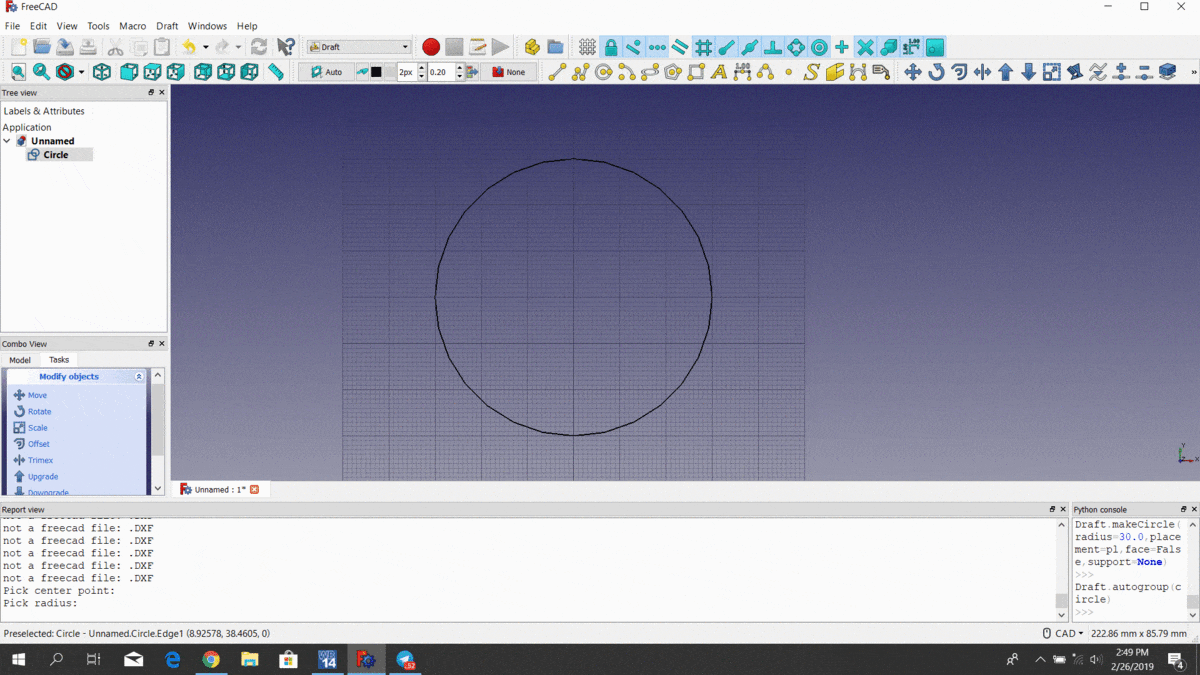
For the individual assignment we had to design, make and document a press-fit construction kit, so I start making the piece in freecad
Once we finished to design the press-fit piece, we export the the file to DXF to be able to open it in the software for laser cutting machine and send it to cut.
Group Assignment:
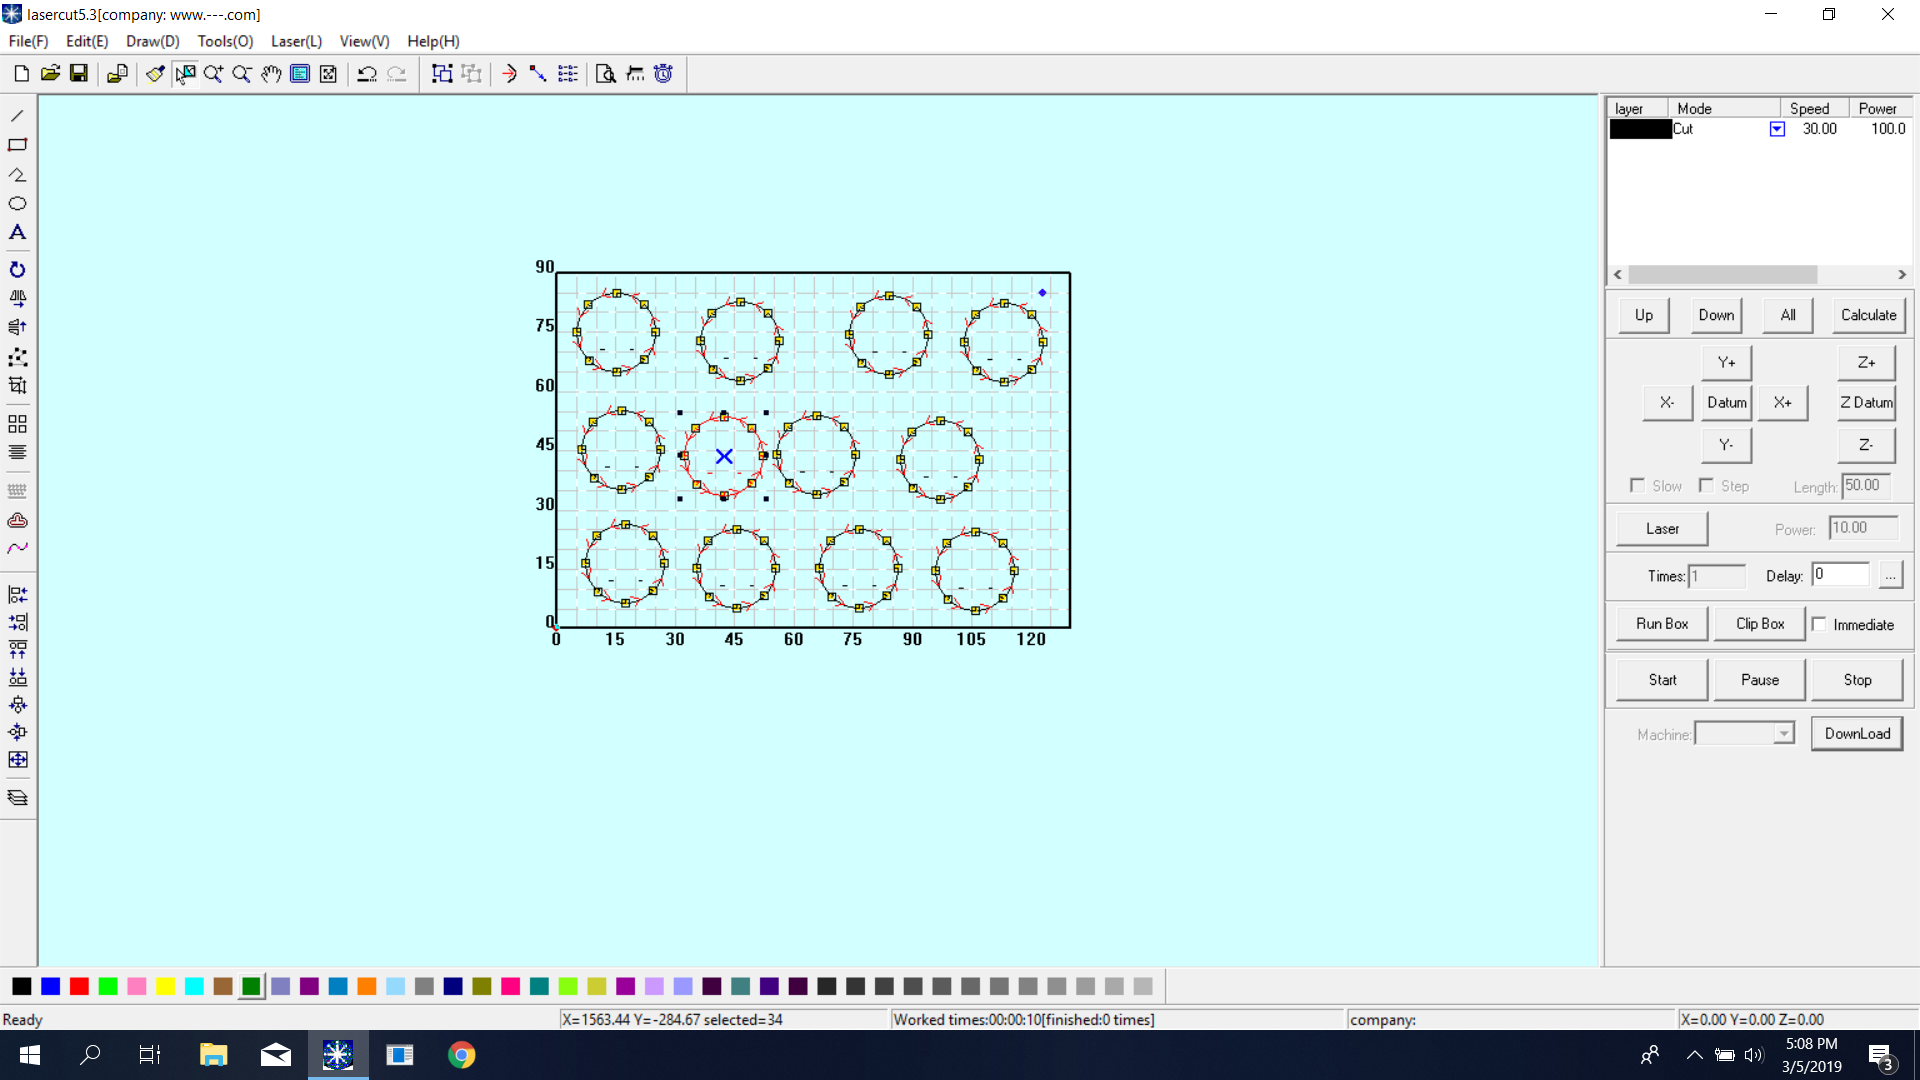
Characterize your laser cutter, making test part(s) that vary cutting settings and dimensions.
Lacer Cutting :
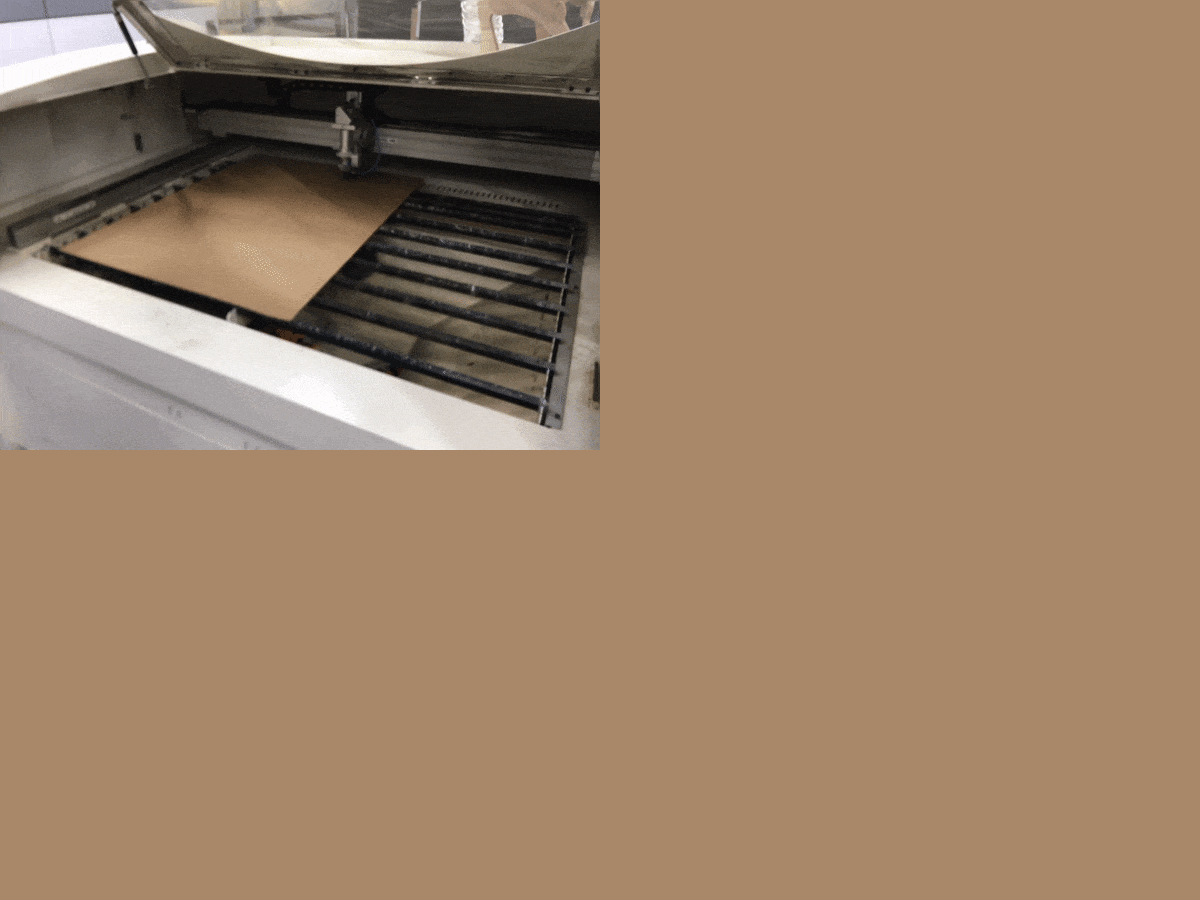
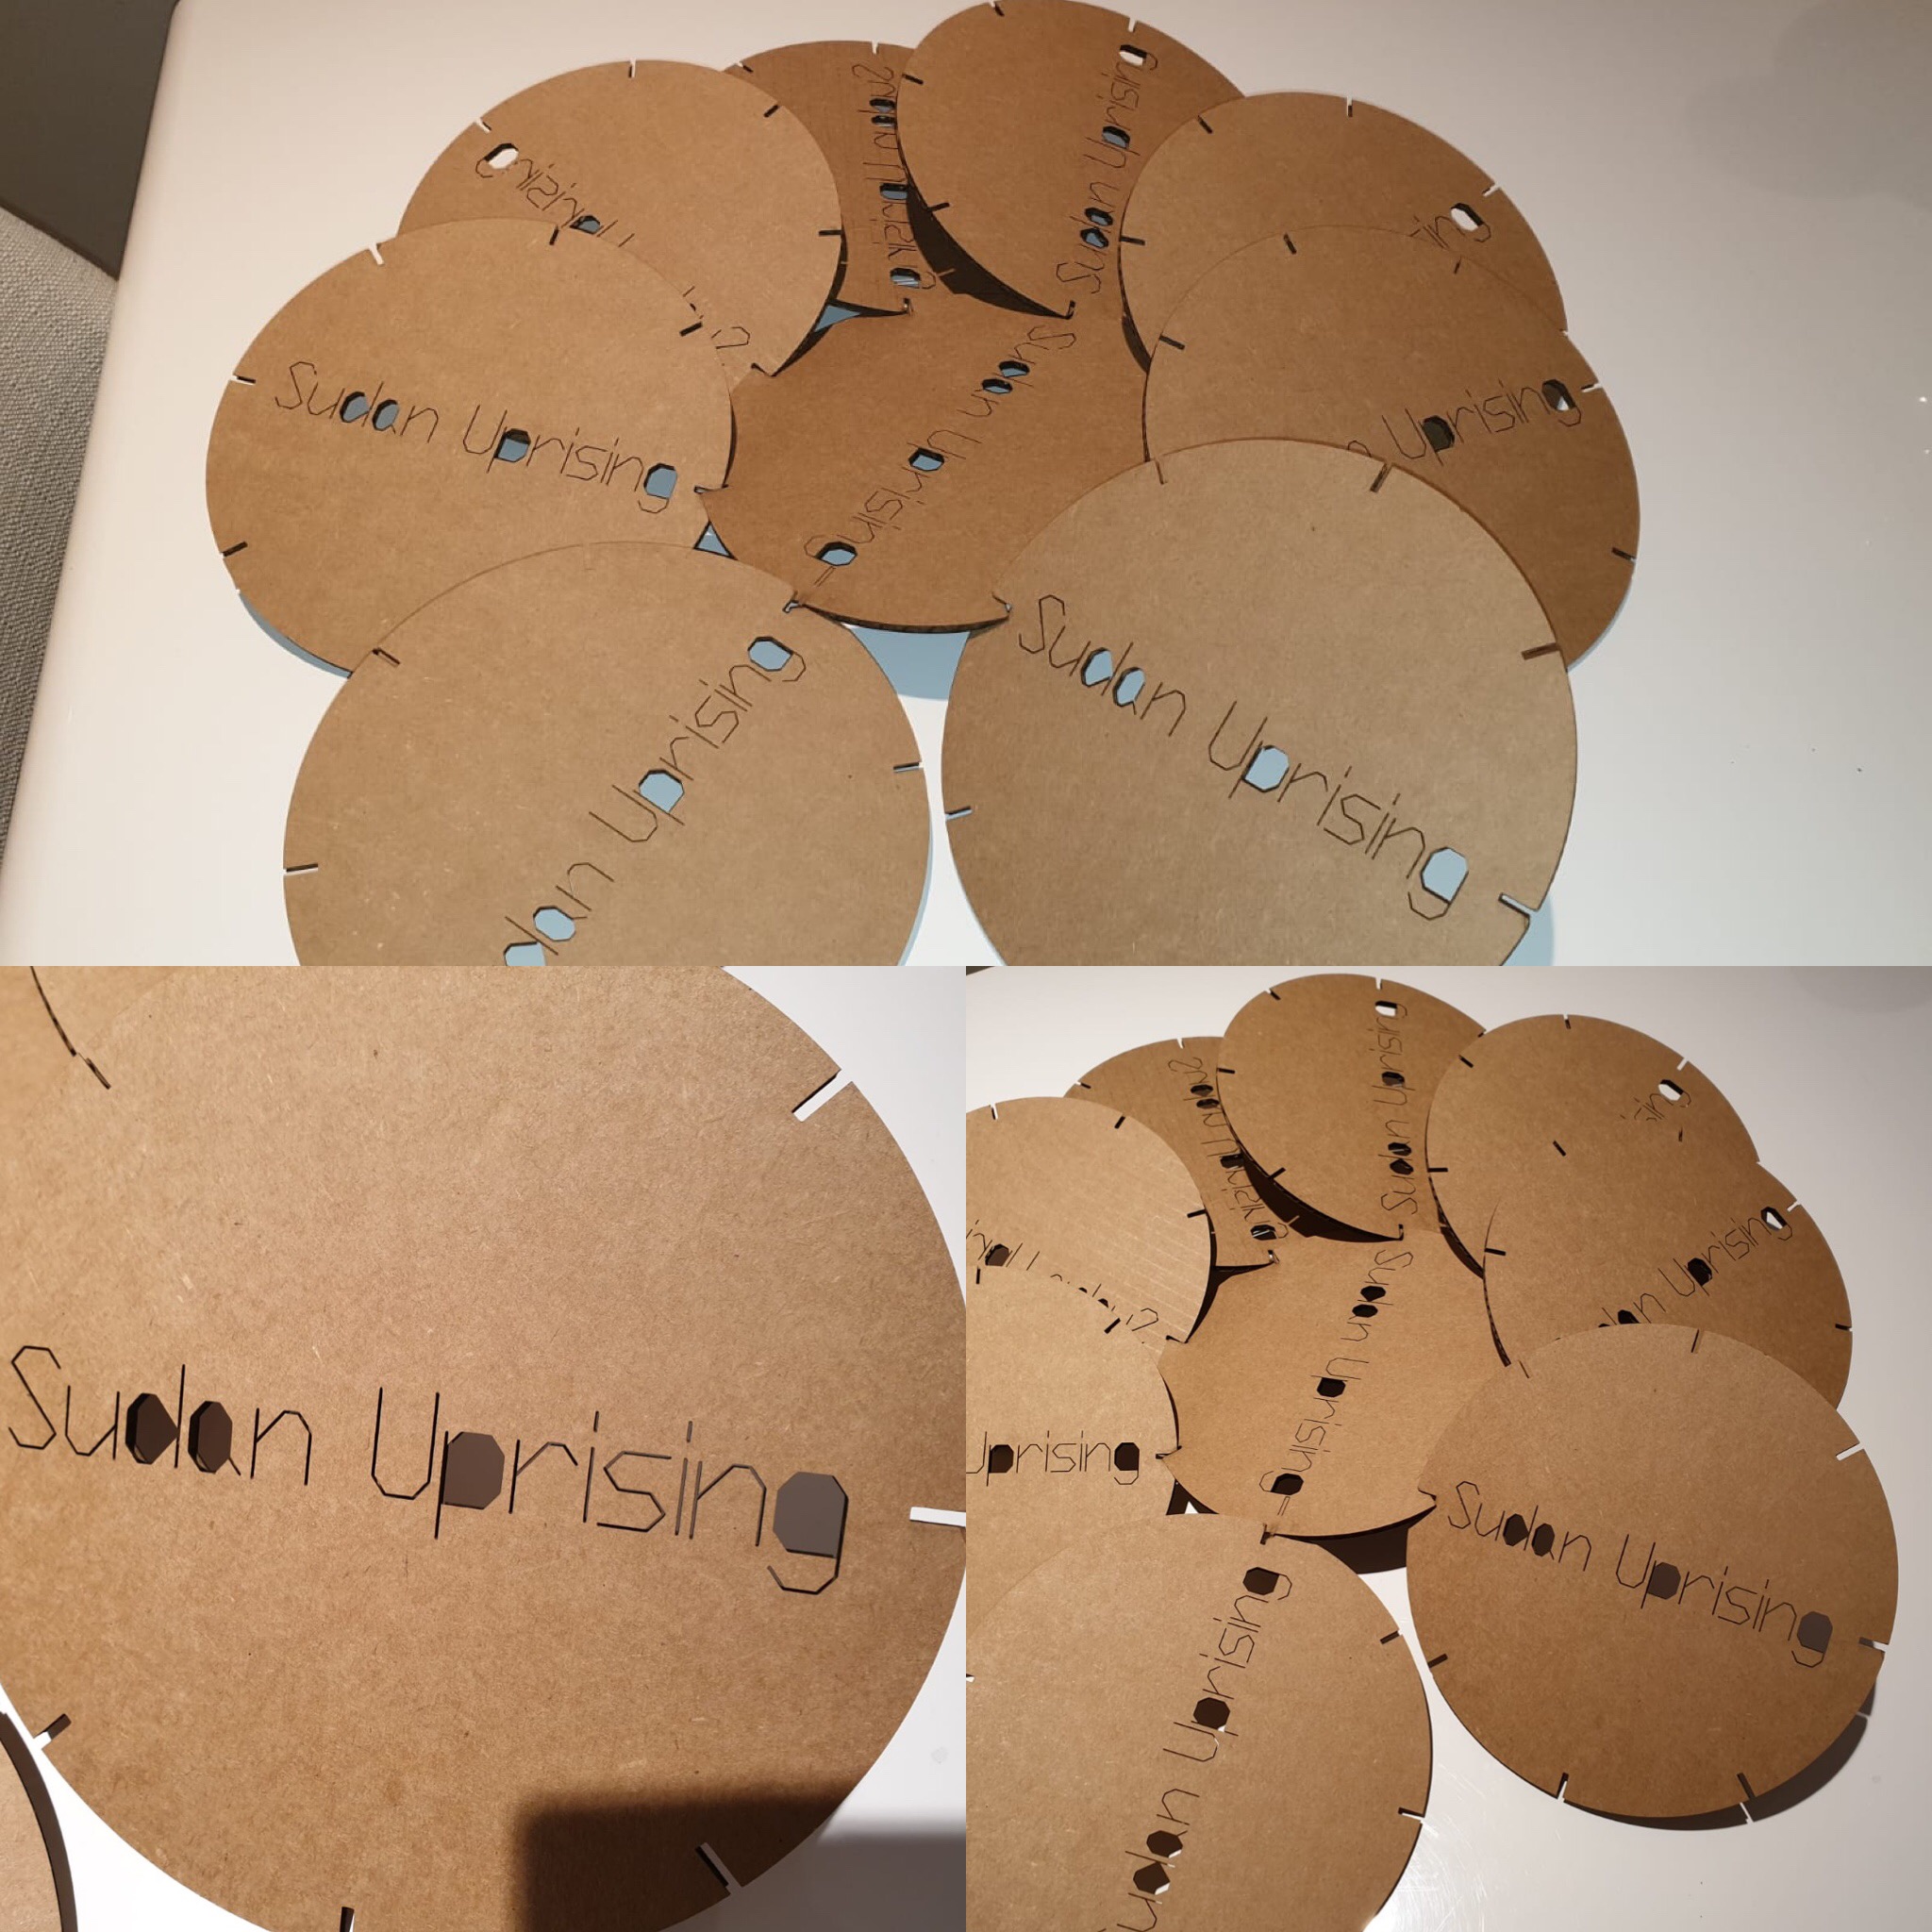
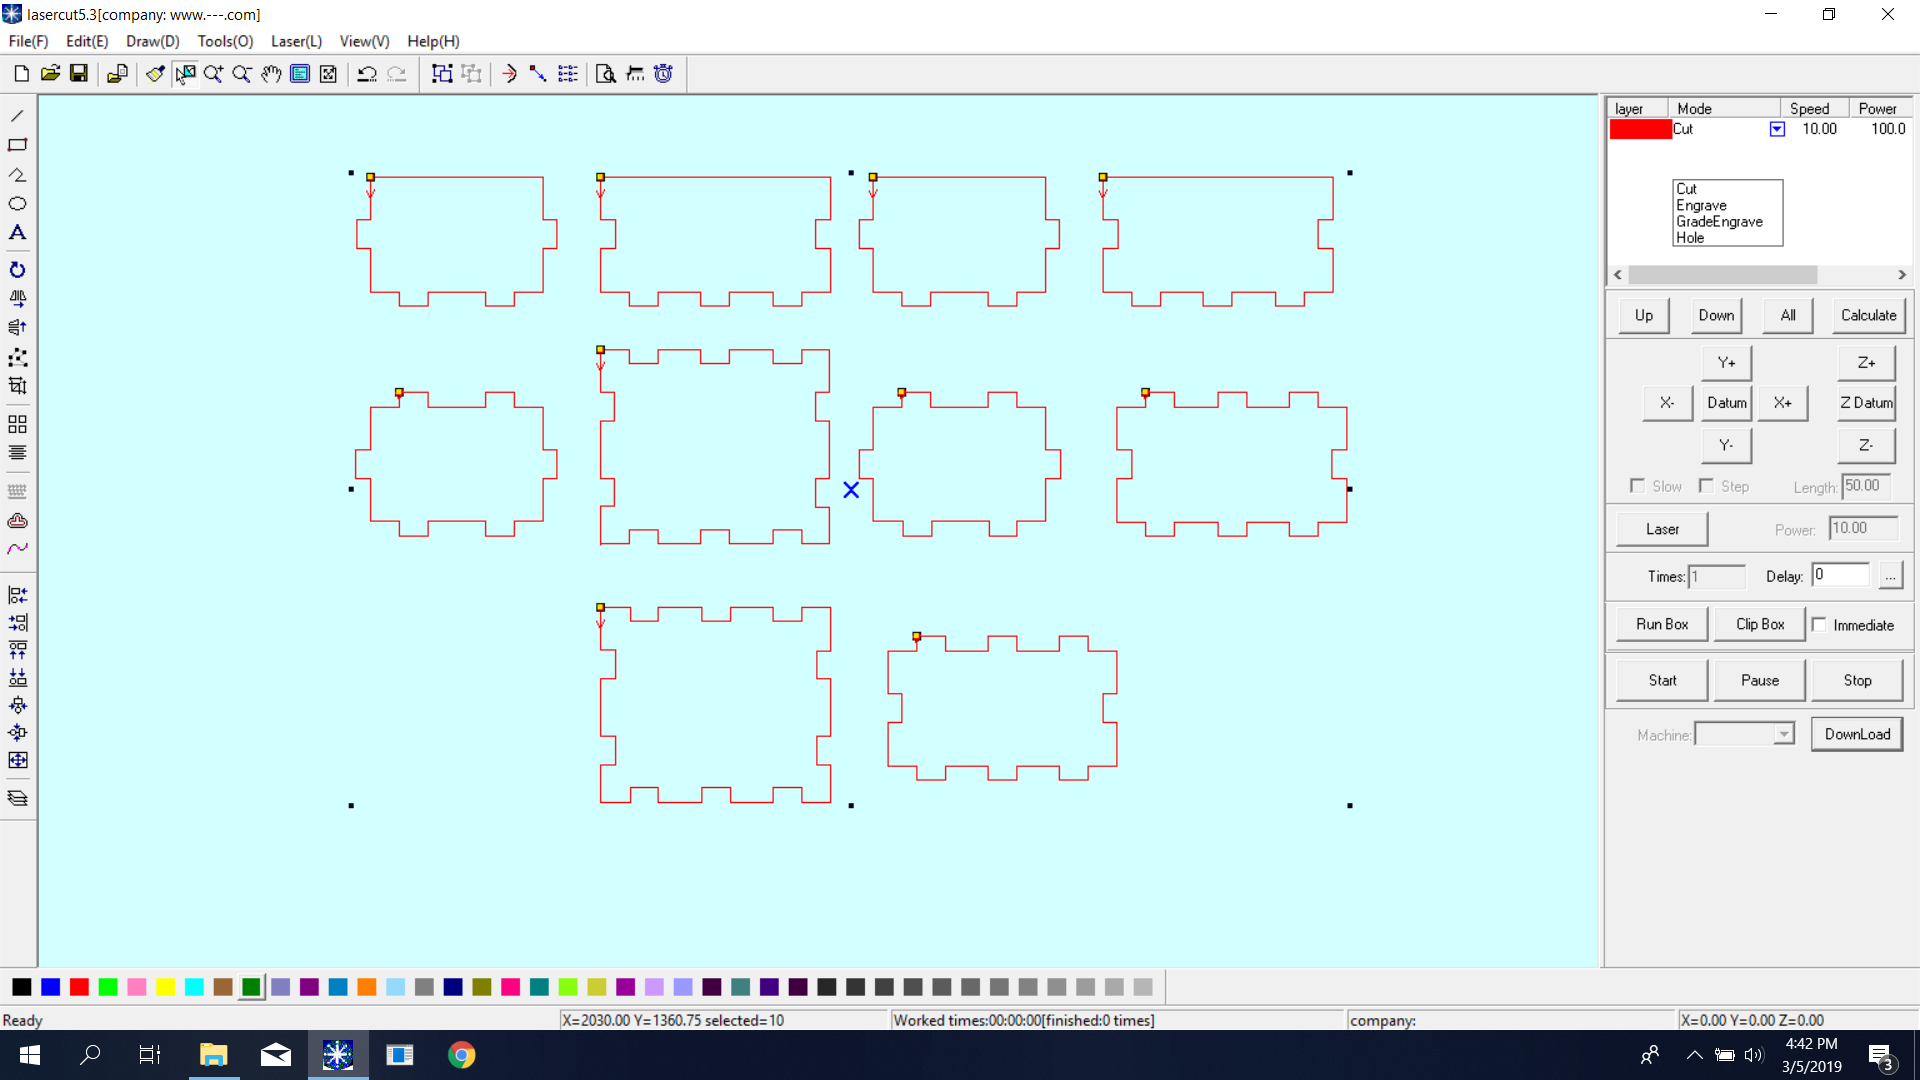
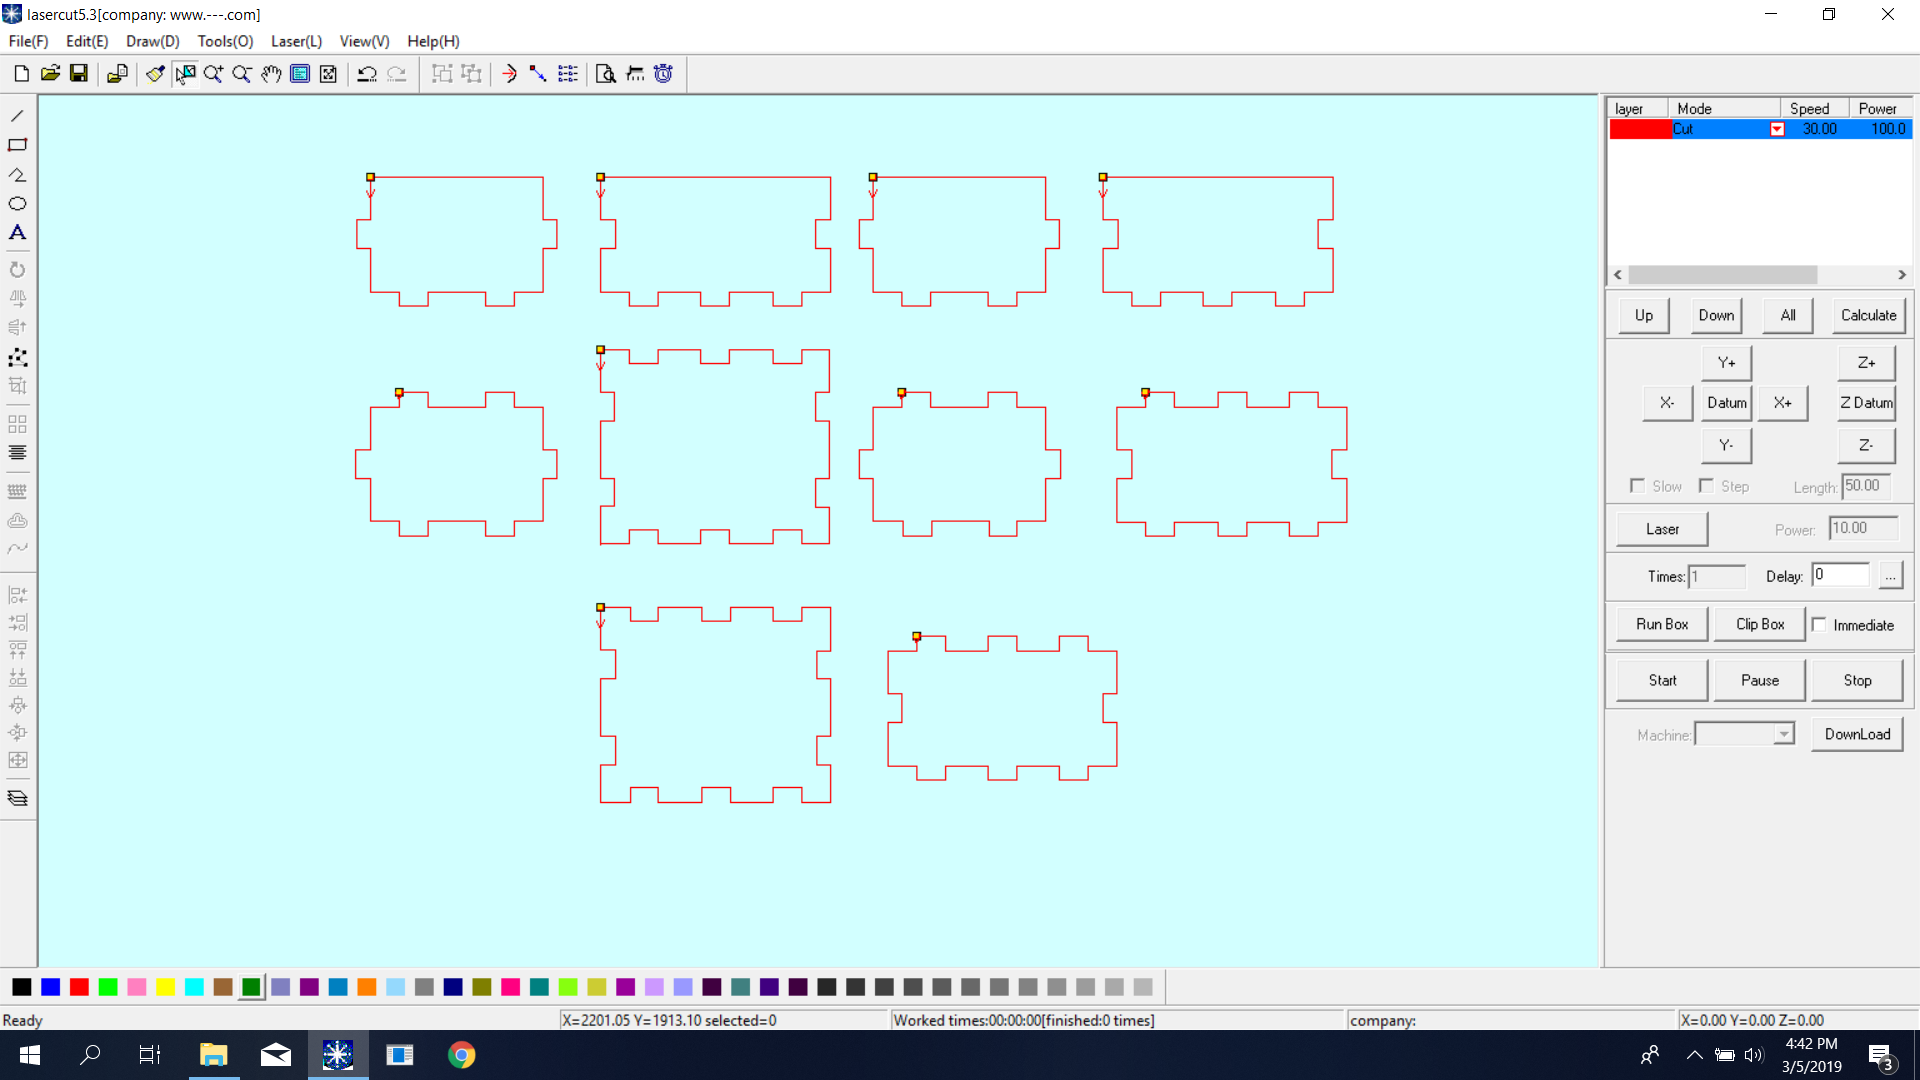
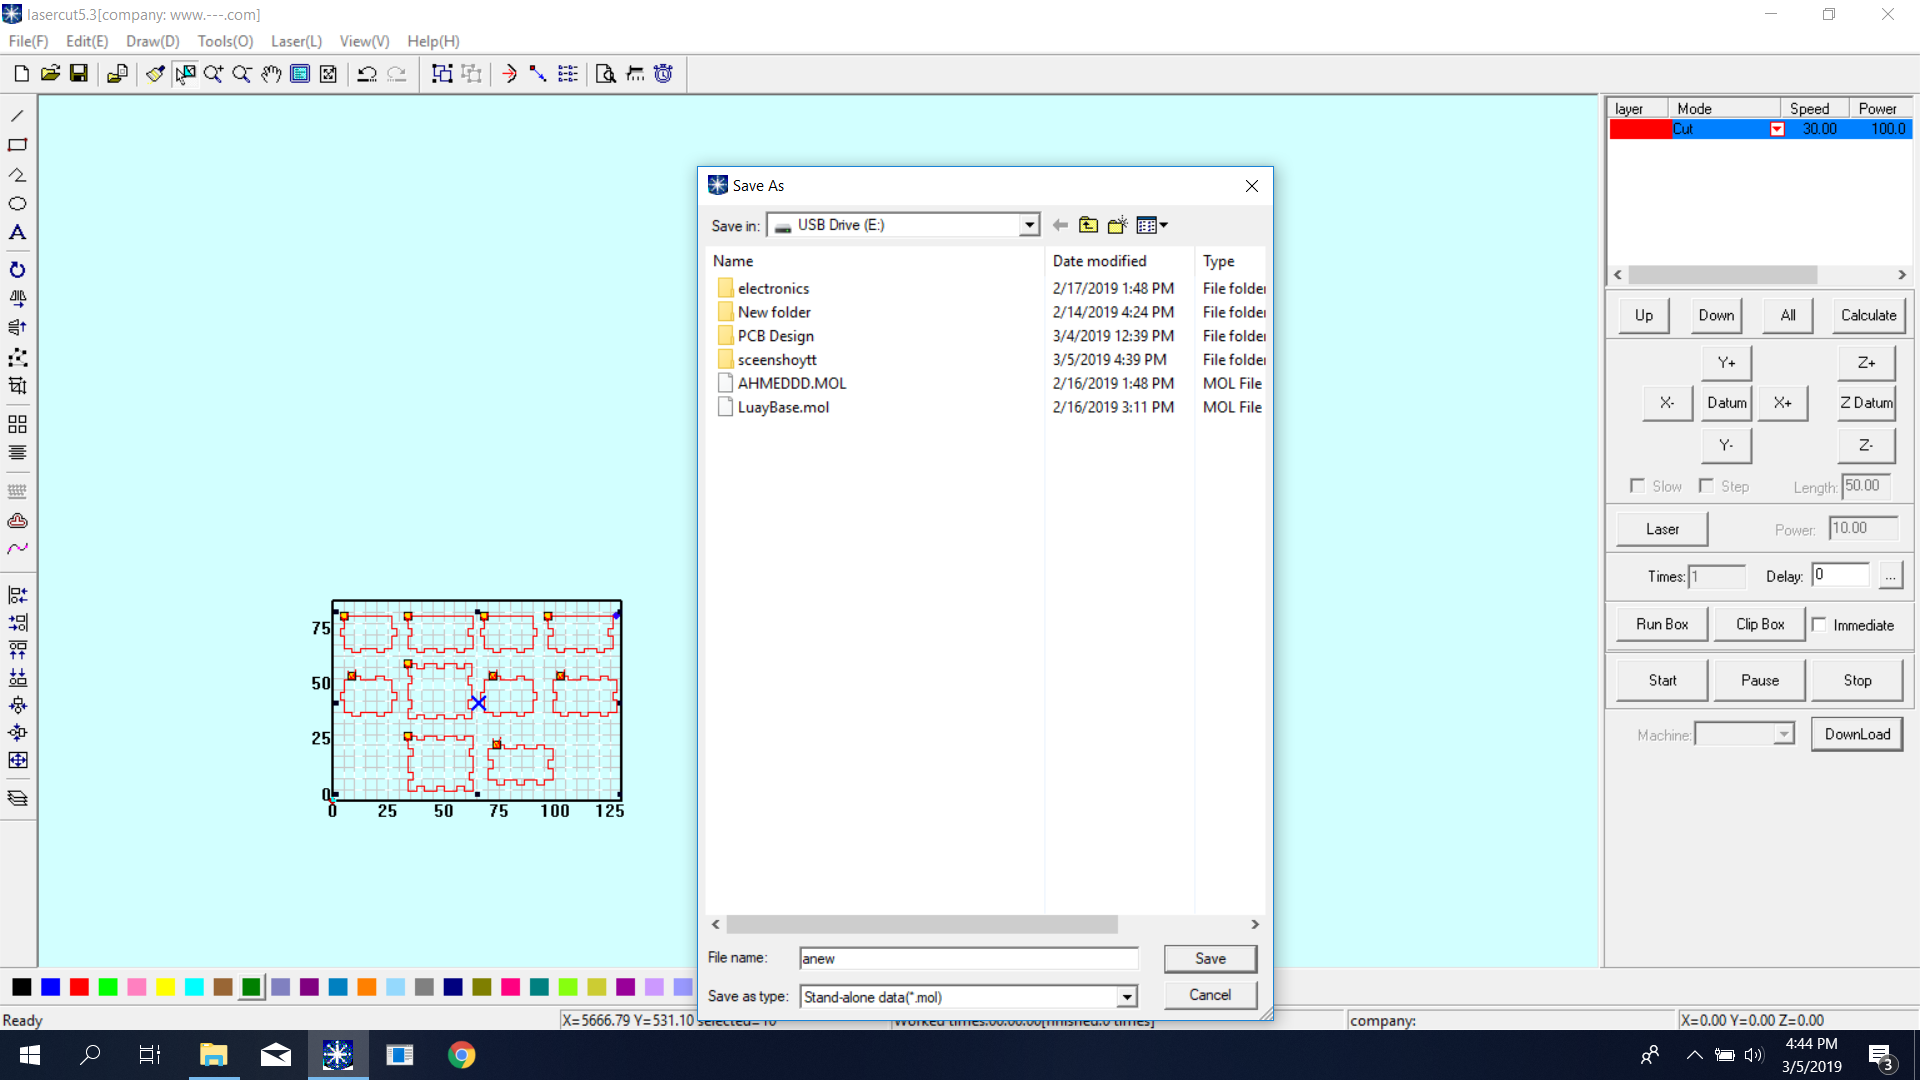
For laser cutting I used a Laser Cutting Machine LC 1390S | Cutting Machine- The G.WEIKE LC1390S , we opened the PDF file in CorelDraw and changed the color outlines to RGB Red (R 255, G 0, B 0) and the thickness must be“thin” or 0.011 pt.
I sent the layout via printer driver to the laser machine and define the size and material to use, in my case I used 3mm cardboard. The software controlling the laser is JobControl. The settings to cut were Power: 70 and Speed: 3.0 with 5000 Hz, I just needed 1 pass and air assistant Off to avoid the risk of have burn edges.
Once I had all the pieces cut, next step was assembly and construct, the size of each cardboard piece is 4 x 4 cm and the cardboard thickness is 3 mm. Here is the result.

I had couple of trials in printing the box I designed in the assignment 2 for computer aided design but since the design was not parametric I had issue with the final pieces after I cut it them using the lacer cutting machine