Week 09. Embedded programming
13.03.19 Class
I have this class with delay since I have seen it again during the break since I am working on the programming of my final project. During this class, Neil explains how to program microcontrollers, specifically attiny. The first thing that shows us is a classification of micros for its architecture, then explains the memory and the types of memories that can have, the following are the peripherals that can accept each one, as inputs or outputs. After this, it explains the size of the message or bit that each processor can contain, receive or send, its communication. explains the microprocessors by families and also explains the main vendors or distributors of microcontrollers.
From this it shows us tutorials about AVR and it explains the datasheets that each microcontroller has supplied by the manufacturer, which we have to read and in which everything related to the selected micro appears.
It also teaches us tools to treat microcontrollers like clamps etc. explains to us about the programmers with the FabISP that we produce in the week of electronics production. After this, it explains the way to program through the terminal and also explains different programs for the different inputs and outputs that can be used. Finally, he summarizes everything and tells us a little about the different plates that exist in the market again, going back to the table he explains at the beginning.
Week planification
Like every week, I've planned it in Excel according to what I'm going to do every day. Although this week I will go more hurried since I have a trip of three days.
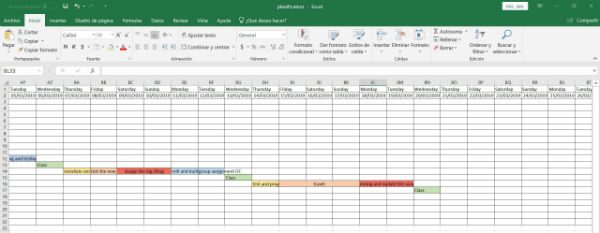
Therefore, I will take advantage of it and during the trip I will read the data sheet of attiny and when I arrive on Sunday I will be full with the programming of the plate, on Monday I will continue with it and during Monday night and on Tuesday I will upload all the information collected throughout the week.
Group assignment
I have not done it yet since in my fablab I do not have any other type of board with different architecture and I am waiting to receive a raspberry to start trying another type of board.
After several weeks we have joined the four comrades of the fabacademy in remote in the European fablab to do the group assignments that we have delayed.
For this assignment of embedded programming we have selected a board called microbit, this card contains: a microUSB connector, a battery connector, 20-pin connector, accelerometer and compass, bluetooth antenna, ARM CPU 16K RAM with bluetooth, 25 leds, sensor light and temperature, 3 analog / digital inputs / outputs, 2 programmable buttons, 3V and GND. This board can be programmed by blocks online.
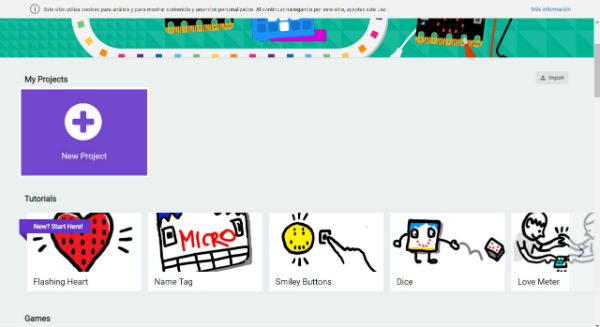 We have made a first test program, in which a text appears when we turn on the microbit, an X sign appears when we press a button and another sign appears when we press the other button on the plate.
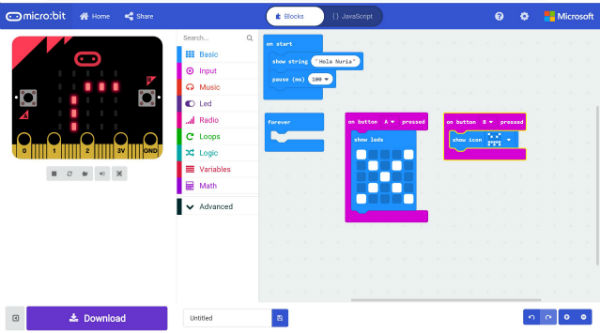 After preparing the blocks of this program, we give you to download and copy the file to the microbit board that appears when we connect it via USB to the computer.
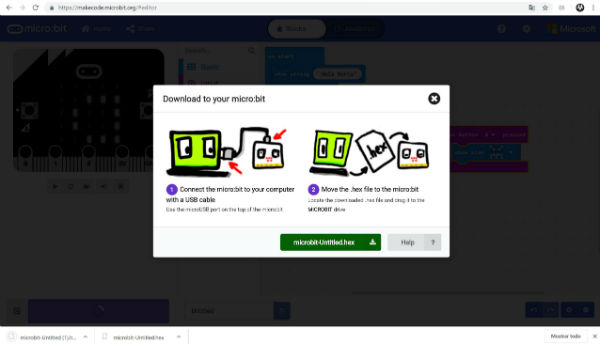
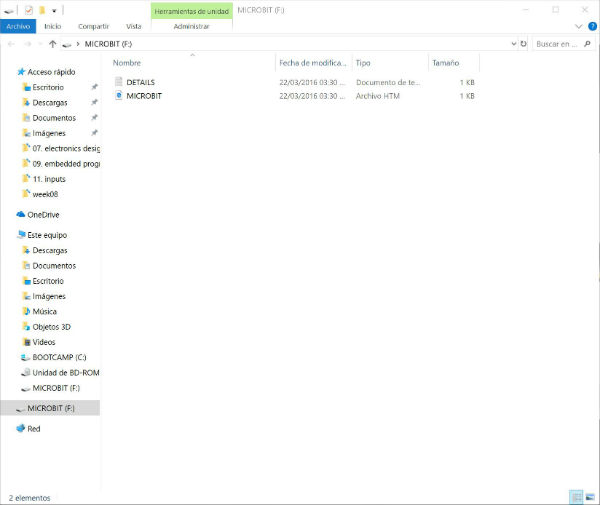 After this we prepare another program to finish, which we associate with the accelerometer that carries the microbit board internally and when it undergoes an acceleration of 8g we have associated it with a text: Hello!
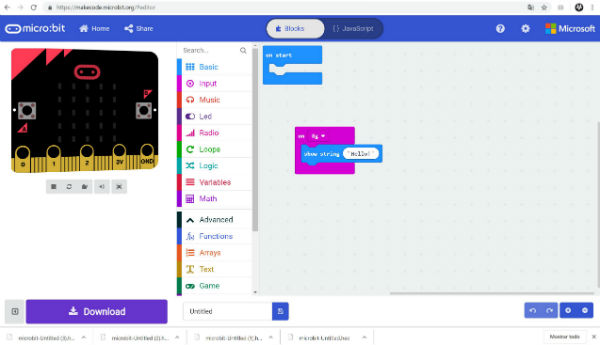 Below, we can see two videos of the programs made.
Individual assignment
Before I started programming and working with the attiny44 microcontroller I read the datasheet of it to know what each pin refers to and to what signal each of these corresponds. Next I show the pinout of the microcontroller and explain each important pin of the same.
The power supply and the ground are on the pin of VCC and GND.
Control pins are Miso: Master Data input -the data comes into the micro-controller- and Mosi: Master Data output -the data comes out to the micro-controller.
SCL/SCK - is a push-pull output driven by the master while SCL is an open drain signal pulled low by the master.
Reset - to reset input.
The other pins are the analog and digital pins which we have to know to connect the diferents inputs and outputs depending on your type.
Another useful thing to know is that works between 1.8 - 5.5 V and it has 16 MHZ to check in Arduino when burn Boot-loader.
Here you can find the Attiny44 microcontroller datasheet.
This week's individual assignment is based on programming the hello-board manufactured in the electronic design assignment. This board consists of a button as input and a led as output. It is a simple plate to start learning to program.
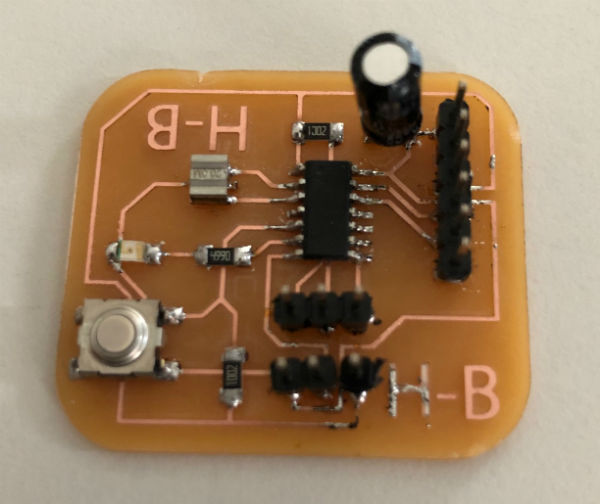
To begin programming I am going to use the Arduino program and the plate first, I am going to program it using the FabISP manufactured in the electronics production assignment. To connect the board to the computer and the program through the programmer I recommend going to the electronic design assignment where I indicate how to perform these steps.
Once I have burned the bootloader of the board and I have the first example to upload, compile, verify and upload. This program is the same one used weeks ago to test the board, the Blink example and works in such a way that only the output, the led, interacts in the program. Simply what it does is that the LED flashes, giving the order to stay on and stay off for as long as you want to put it.
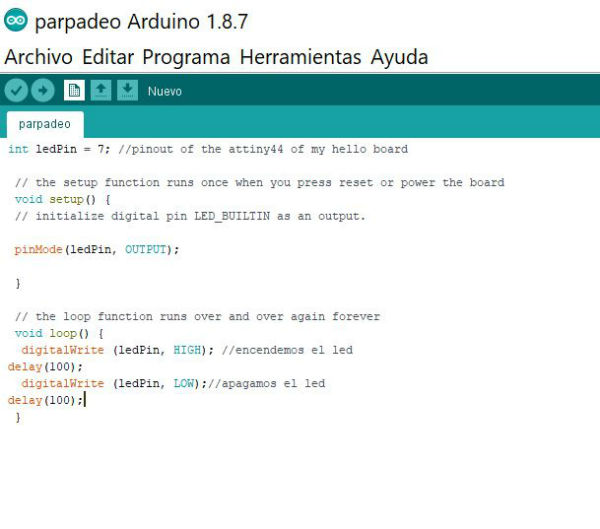
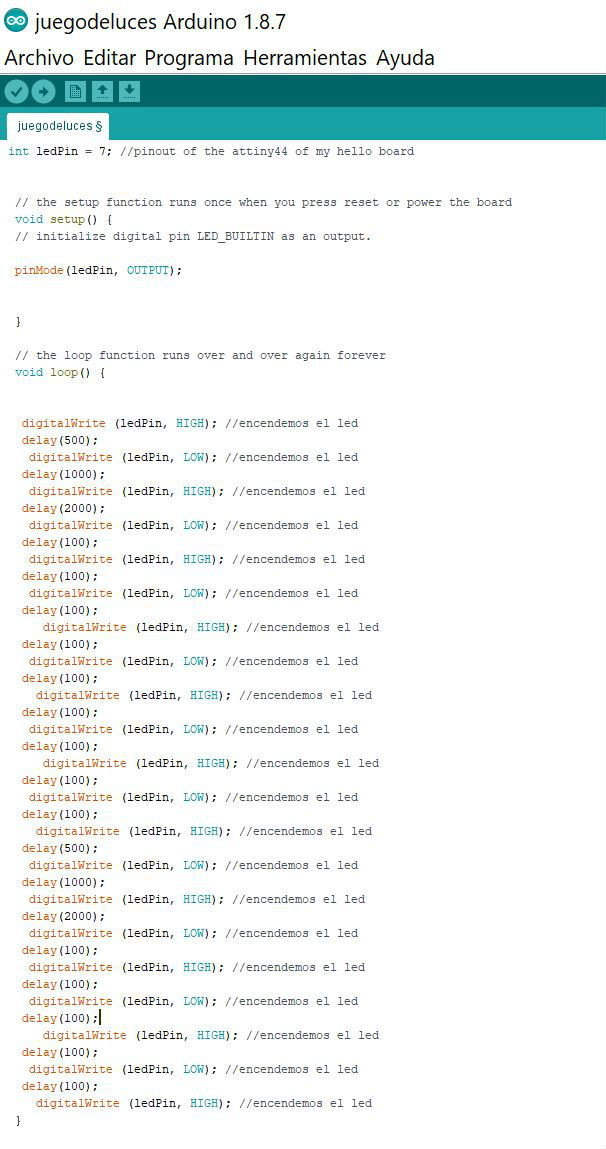
Once this program has worked for me, I have also programmed the led and I have tried to make it play a set of lights by turning on and off the flashing.
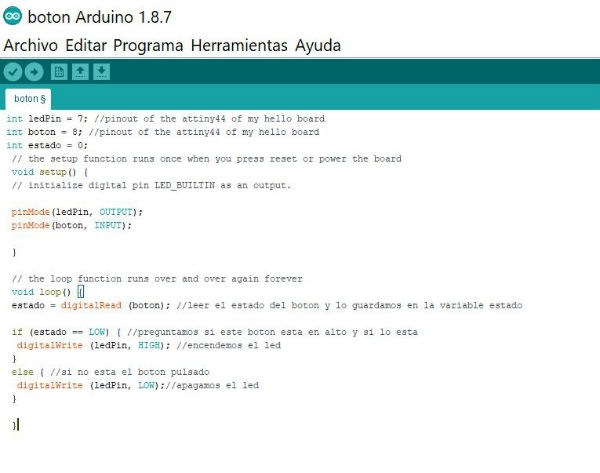
When I have seen that the lights and the control of the time was quite clear I have gone to introduce the input, the button, and the first program I have made has been that the button was turned on and off depending on whether the button was pressed. In this way when I kept it pressed, the LED would turn on and when I let it go the led would go off.
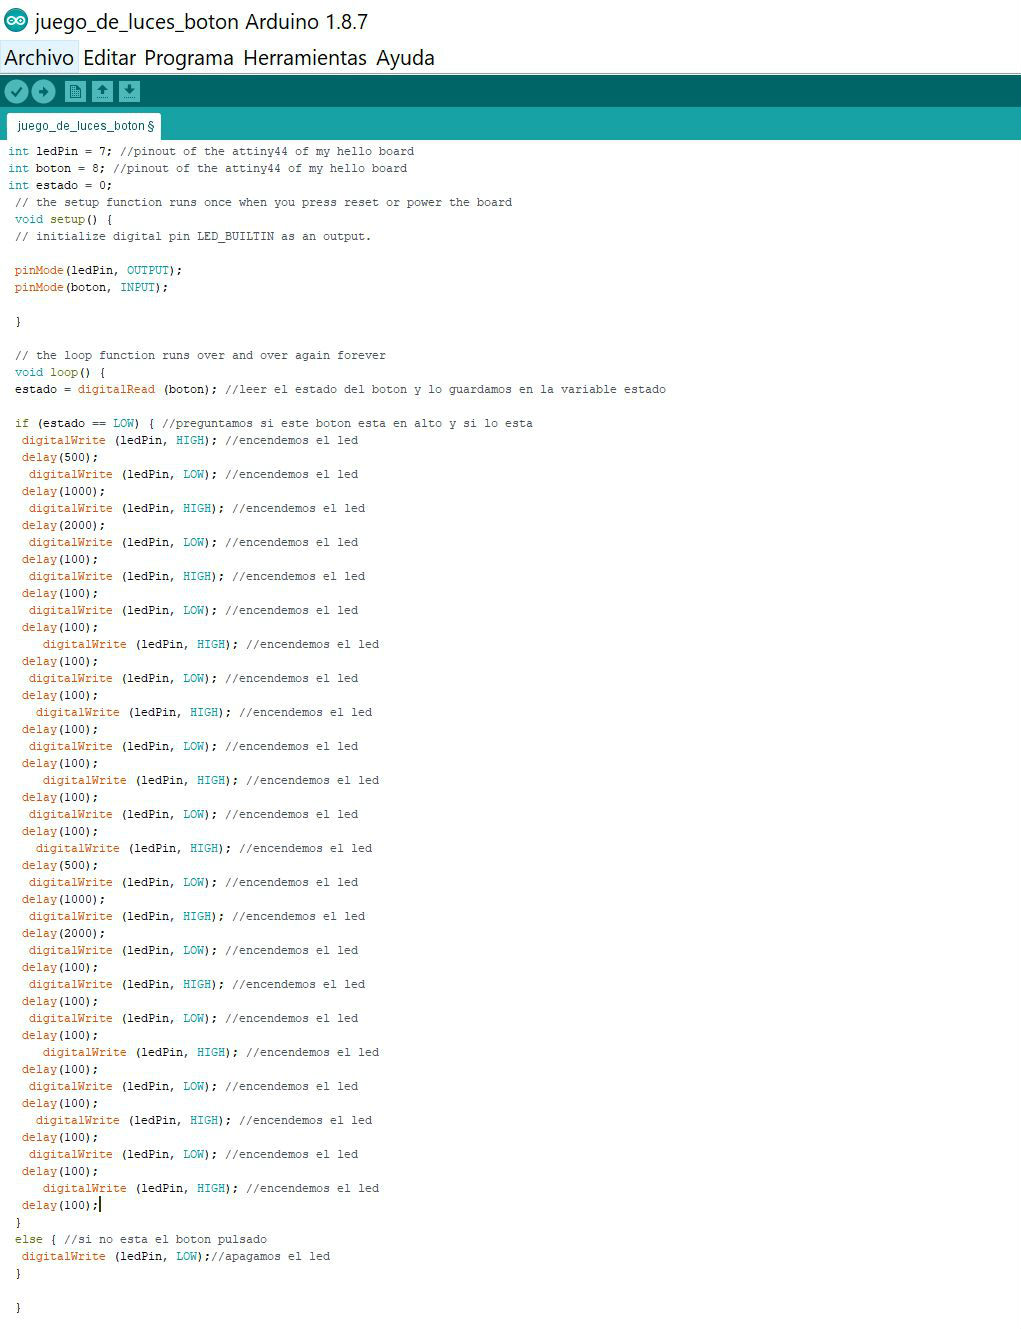
Seeing that this program worked for me, I tried to introduce a set of lights while keeping the button pressed. Therefore, when I pressed the button, the LED flashes.
To finish I made the program through which I turn on the LED by pressing the button once and turn it off if I press it again. This program is more complicated to make and I had to revise one that I had done before. In the end it worked for me and the result is below.
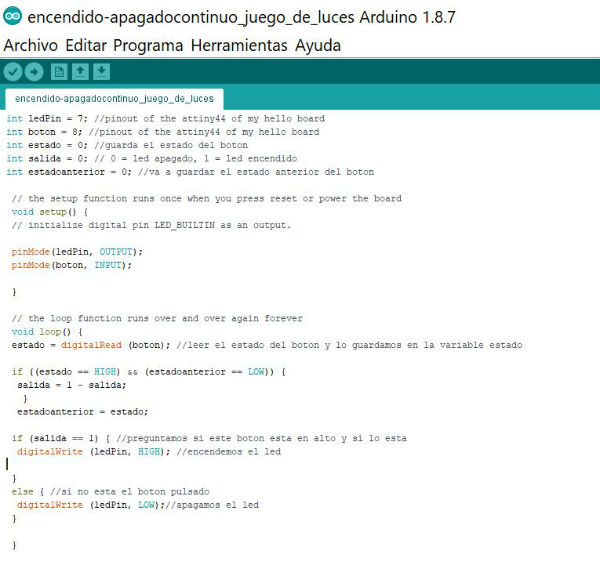
Once all these programs are done, I can only try to program my hello-board from the terminal.
Programming from terminal
To program my board with this method, I have based on the assignment of my fabacademy partner Elena Cardiel, in this link you can access her embbedded programming assignment.First of all I downloaded and instaled Notepad++ how Elena has done, in order to be able to motify the .c and .c.make files. Then I changed the name of the project on the .c.make file according to the name of my .c file and then I changed de pins' numbers according to the connexions that I did between the LED, the button and the ATtiny.
Once this is done I followed the list of steps that elena shows in their assignments, very detailed and very well explained. Obviously I have corrected the errors that she has had before uploading the program to my electronic board and not suffering for the lost time. For this I thank you and congratulate you for her work.
My files
Microbit button
Microbit Hello!
Blink program
Light game program
Button program
Light game button program
Button continuous program
HelloLED.c file
HelloLED.c make file
Conclusions
It has been a busy week for the trip but I think that throughout the fabacademy we are going to learn a lot about programming and I am looking forward to using sensors.
