
Week 03. Computer-aided design
01.30.19 Class
On January 30, Neil has explained the class corresponding to the subject of computer-aided design. During the class he has been explaining the different design programs in both 2D and 3D that are recommended to use for the development of this work. Each program has explained its virtues and its shortcomings. He has also explained other types of programs such as those used for video editing and how to record the screen.
He also explained the assignment of the week, which corresponds to the design of our final project using and testing the different programs explained in the class to opt for the one we like the most to continue using the rest of our academy.
Week planification
Each week I have proposed to plan the week to be able to undertake the work in an orderly manner. For this week I have proposed the following that appears on the Excel sheet.
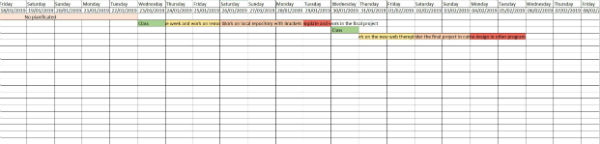
For this week I have proposed the first two days to continue working on the new website that I am creating, to see if I manage to upload it before the weekend. During the weekend I would like to do the modeling and rendering of the final project with the Catia and Keyshot program, which is what I usually use in my work. And the remaining days I want to do the same thing that I designed in Catia with the different programs that I have not worked and that appear in the program to be able to compare them and make the differences and show them to my classmates in my assignment.
Web development
I have continued working on my new website, and I have made great progress. I did not know the html or css language. In order to develop my page on the downloaded template, I have been watching two intensive courses in a YouTube channel that I put the link below. (This course is in Spanish, since my native language is Spanish).
Html and css tutorial
With this learning I have made great advances that I show below, how to generate the pages of the assignments developed so far, the page about me and everything I had generated on the other page so far.
I have not had time to purify it 100% and for that reason I did not want to upload it to gitlab to change it for the old page, so I will continue working with it locally and I will show my progress in the assignements and in the academy in the old page.
When I decide that the new page is ready I will upload it to the remote repository.
Final project design
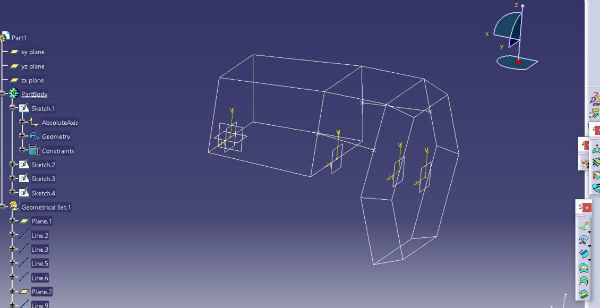
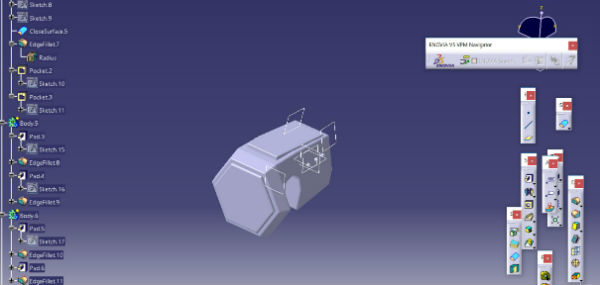
I have decided to start developing my final project in the program that I use better that is Catia. My project is based on two lights, one front and one rear. I have started designing the rear light. My design method in Catia is based on making surfaces and joining them to form solids. To form these surfaces I make structures of lines and points in 2 dimensions that I will then fill with surfaces.
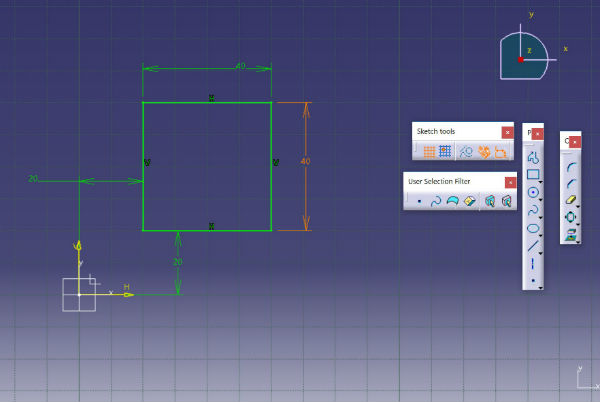
To make these lines I used the sketch module of Catia, which is based like most of the modeling programs, in options such as making lines, points, rectangles, circles, hexagons etc.
The main difference with other programs is that Catia is very restrictive and in the sketches all the measurements of the drawing must be delimited well and also reference well to the axes of coordinates of the model that we are doing. since otherwise the program does not interpret it well and loses the references and therefore loses the pieces.
I have put basic information and the tools about Catia sketch since explaining Catia in depth would give to make a whole course that the student that is willing to learn I am willing to help you.

Once the line structure on 2 dimensions is completed, they are filled with surfaces.
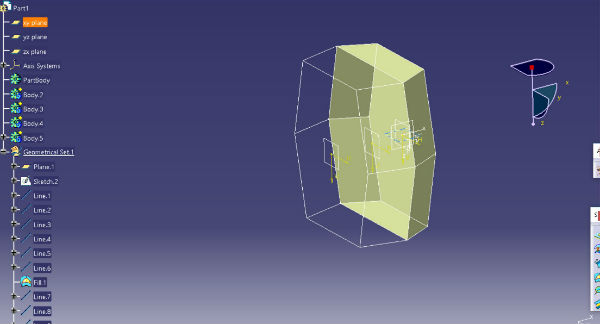
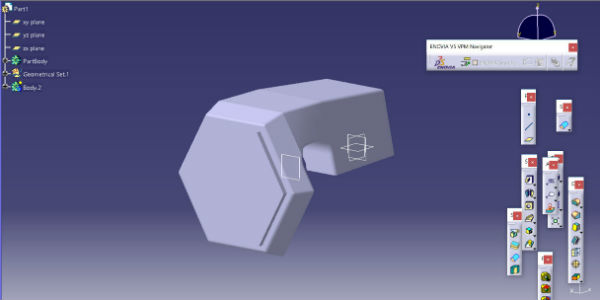
When all the surfaces are made, they are filled with solid wich form the object in 3 dimensions and you can continue working on it. The simplest parts of the model design, are making with sketches and other tools such as Pad or Pocket.
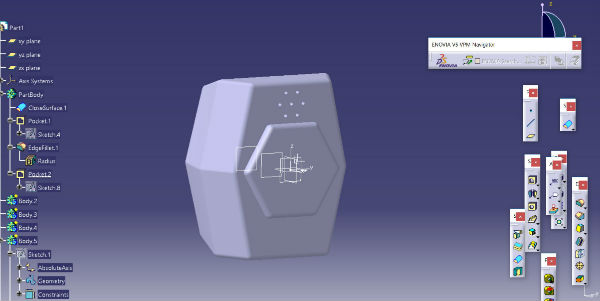
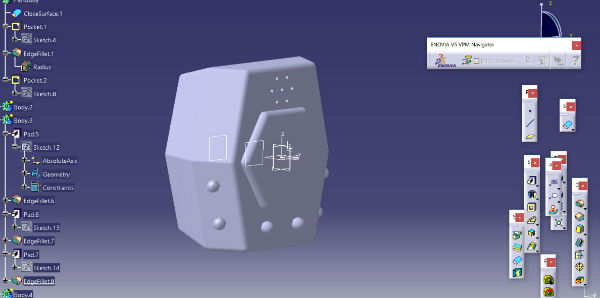
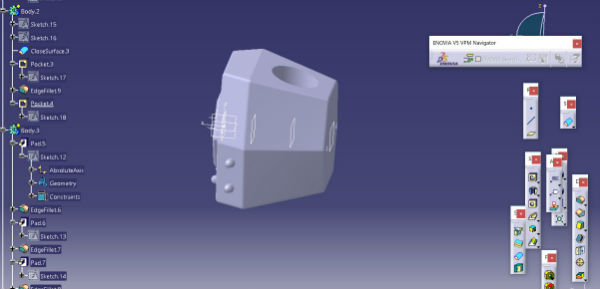
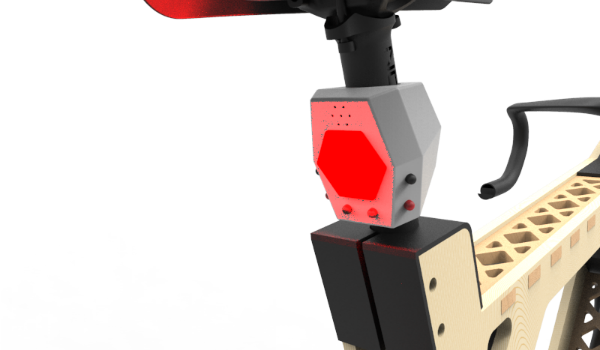
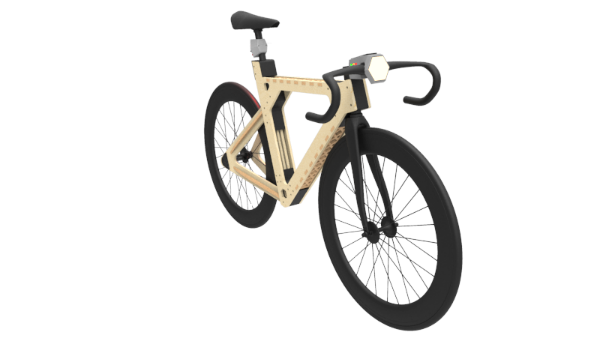
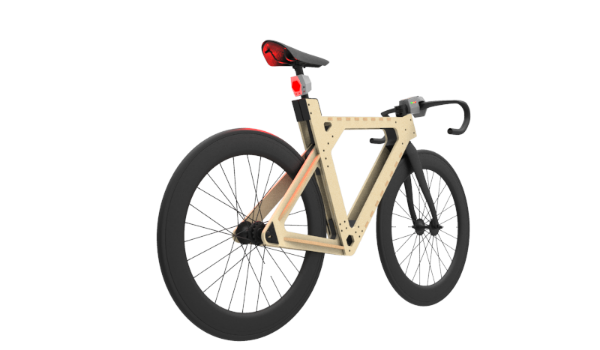
This rear light consists of the box that contains everything, the light with hexagonal shape, holes to let out the sound of the alarms, and three proximity sensors to capture the distance of the cars and warn of the proximity of these. The light is anchored to the seatpost with two screws closing the assembly. In the following photos you can see the finished light.
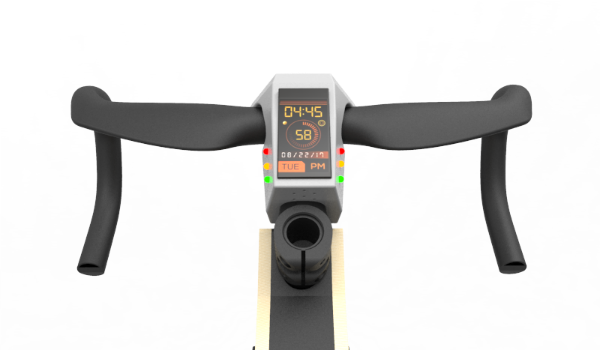
After finishing the rear light, I start designing the front light, the method to follow for its design is the same as the one followed for the rear light, first make a structure of lines and points in 2 dimensions, filling with surfaces, joining these surfaces and filling the joint with solid in 3 dimensions. Then all the details are added with sketches and different work tools with solids. This frontal light will be composed of a light, a sonorous transmitter, a display and several information luminous elements. It will be anchored to the power that holds the handlebar in the front.
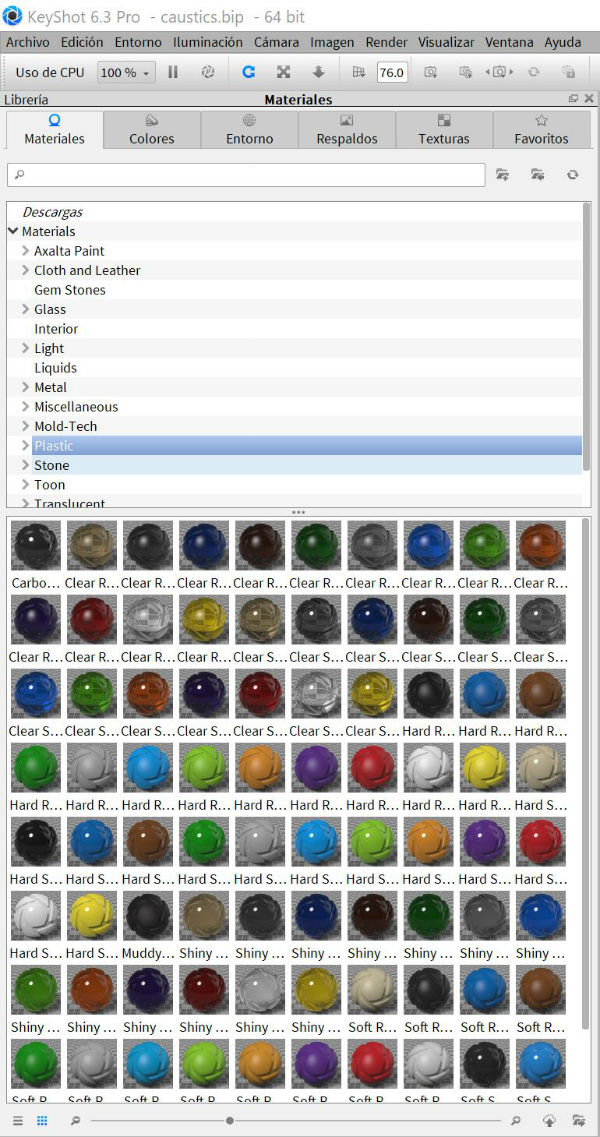
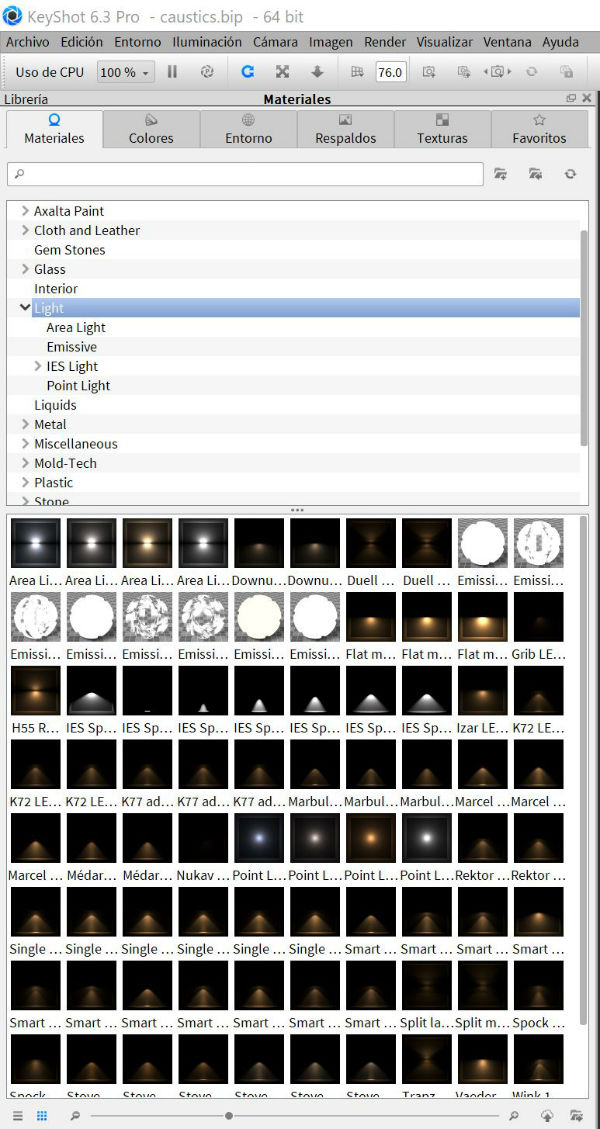
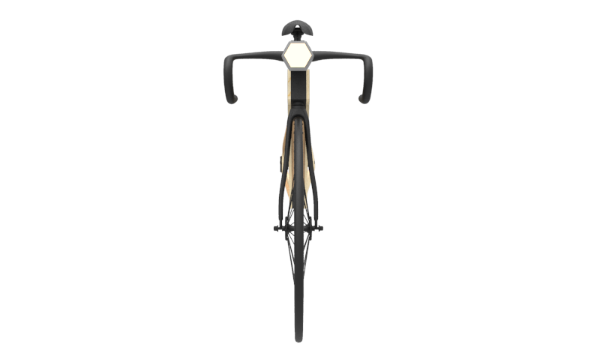
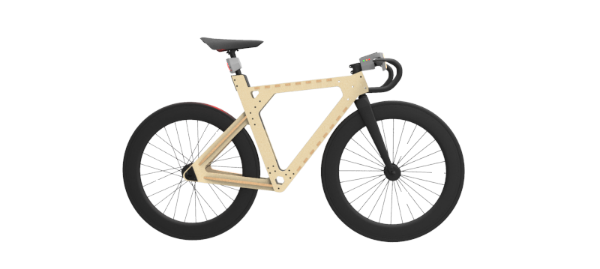
With the two main pieces of my final project designed, I am ready to render these with Keyshot, which is the program I most often use for this type of work. I introduce the model that I already have designed for my bicycle, the Fabbike, on which I will assemble my final project and introduce the materials that I want each component of this one.
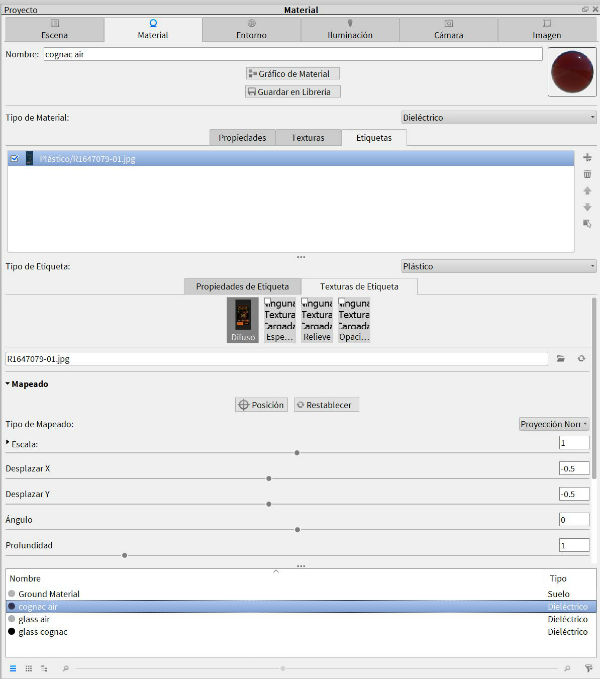
After this the next step is to introduce the materials and colors that you want to assign to each texture of the selected material.
 Once introduced the materials and positioned all the pieces I introduce both lights and I place them in the positions that they occupy. Then I introduce the sticker that I want each element and I start to render, both in photo and in video.
Other programs
Tinkercad: is a free program developed by autodesk in which you can work online. The first impression of this program is that it is a very intuitive and easy to manage program with respect to the design options.
In comparison with Catia, in this program you can only work with objects in three solid dimensions and you can not create surfaces. In addition, when you want to generate complex forms, it is complicated to develop with the simple forms available in the design module.
After trying this program I have decided to continue testing other program until I decide to collect the assignment and upload it to the website.
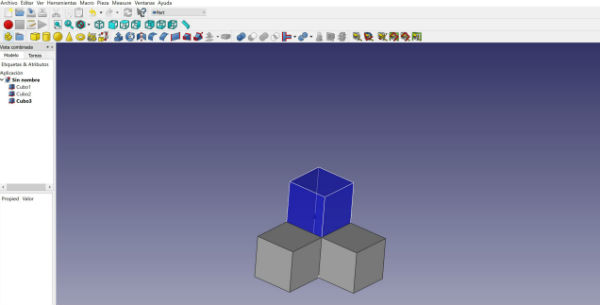
Freecad: this program is also free and open source, but to work with it you have to download it on your computer. It is not as powerful as Catia but it is an internationally developed program that is very practical when multiplatform
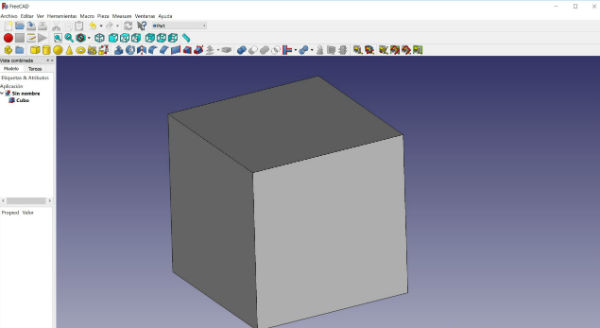
Once I started using it, it seemed like an intuitive program like Tinkercad but much more powerful and with many more options for development and design. I liked it a lot and throughout my training I will continue working with this program. For this week, with all the work I have done, I have not had more time to spend in this program and go deeper into the
I would have liked to have worked and tried other programs, but throughout the weeks of my training I will be scheduled to try one or two programs each of these.
Useful links
My files
Frontlight CATPart
Backlight CATPart
Frontlight
Backlight part 1
Backlight part 2
Backlight part 3
And then i have a lot of extensions to export like: igs, model, stp, 3Dmap, 3Dxml, cgr, hcg, icem, NavRep, vps and wrl
Conclusions
It has been a tough week, in which I had to invest a lot of time in learning HTML and CSS, because as in the previous assignment I said, I am a novelty in programming and I would like to have it checked as soon as possible to be able to program my new Web page.
In addition, I have been able to design my final project and leave it more defined in terms of forms and functions. On the other hand, I have been able to try a couple of design programs that I will continue working on and that I will also complement with new ones.