Charecterizing the Septcraft
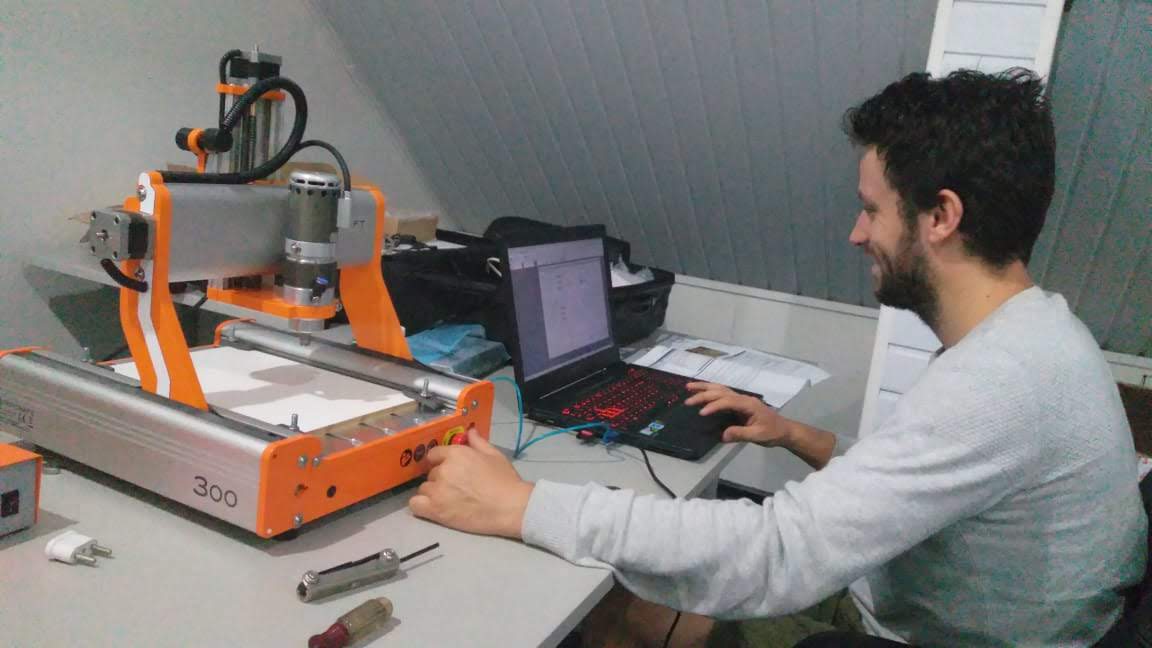
There were several issues with the milling process and this prevented us from making our boards right away.
Due to the issues we had a few broken bits, however we discovered that every bit that was broken milled the PCBs at the right measures.
Sooooo….if any of you have broken bits (we will send the new specs), send them our way.
All jokes aside, we were able to mill the PCBs according to the specs of Neil.
Soldering the PCB boards
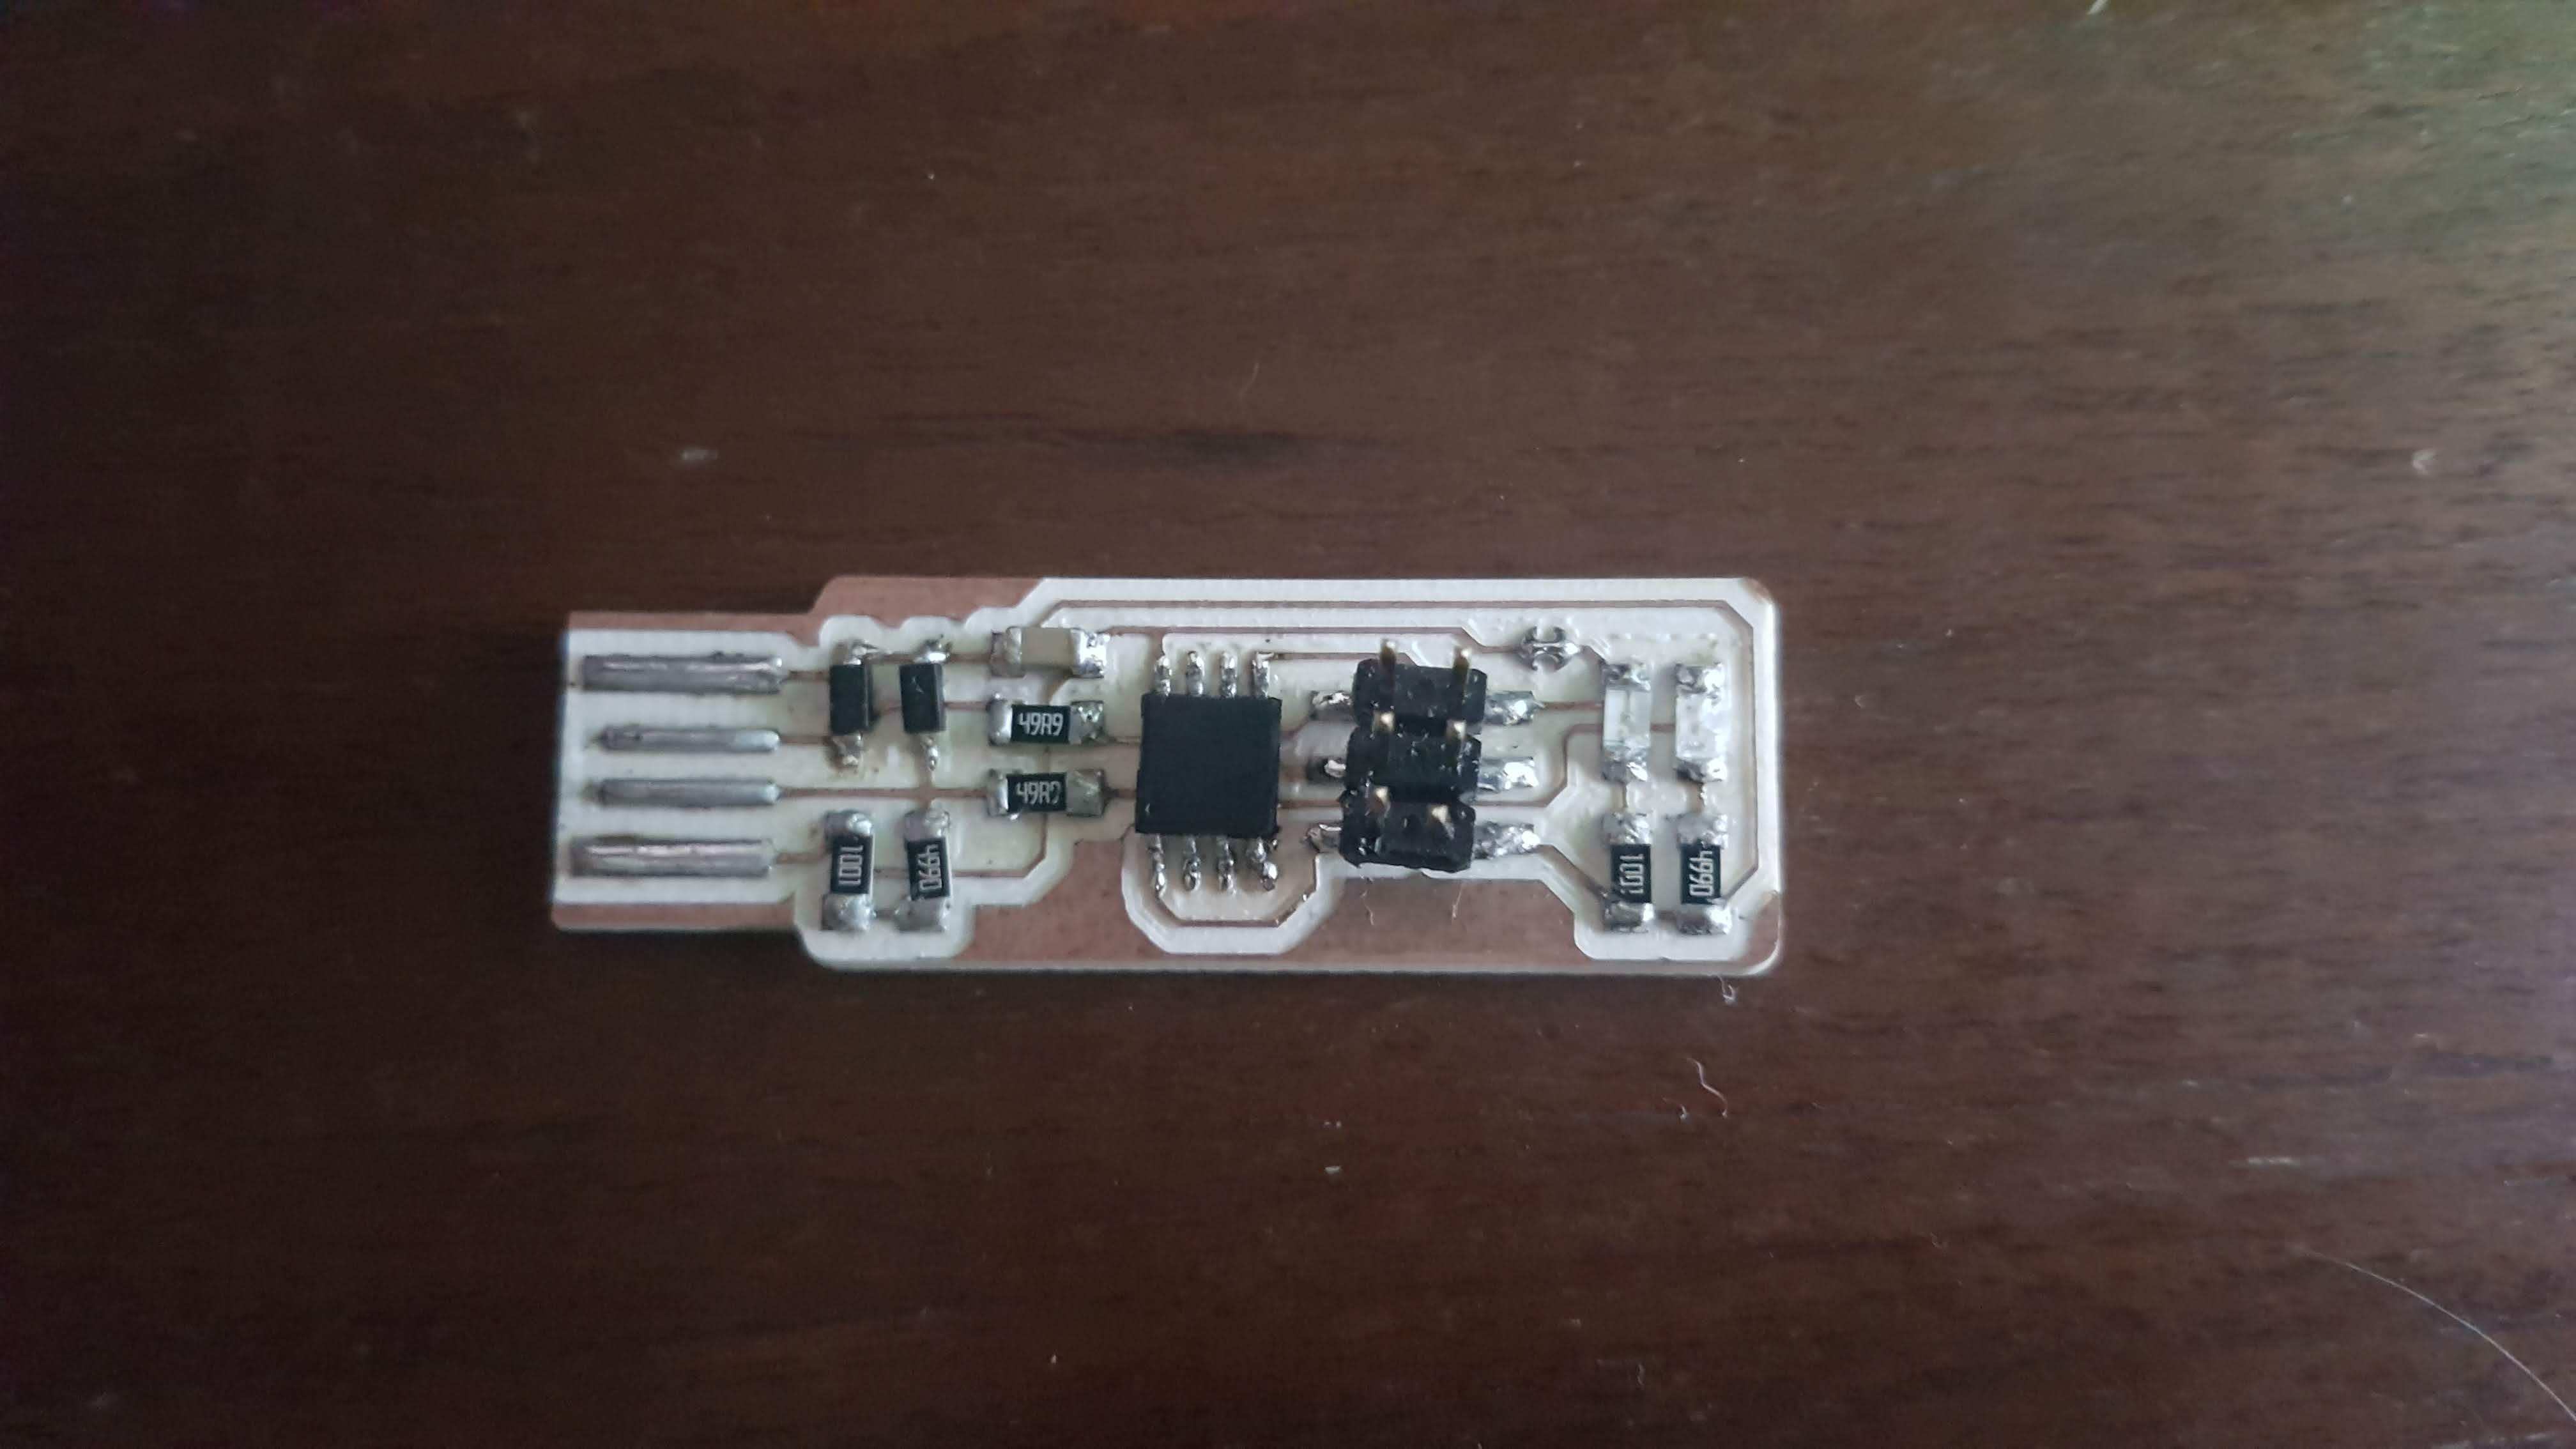
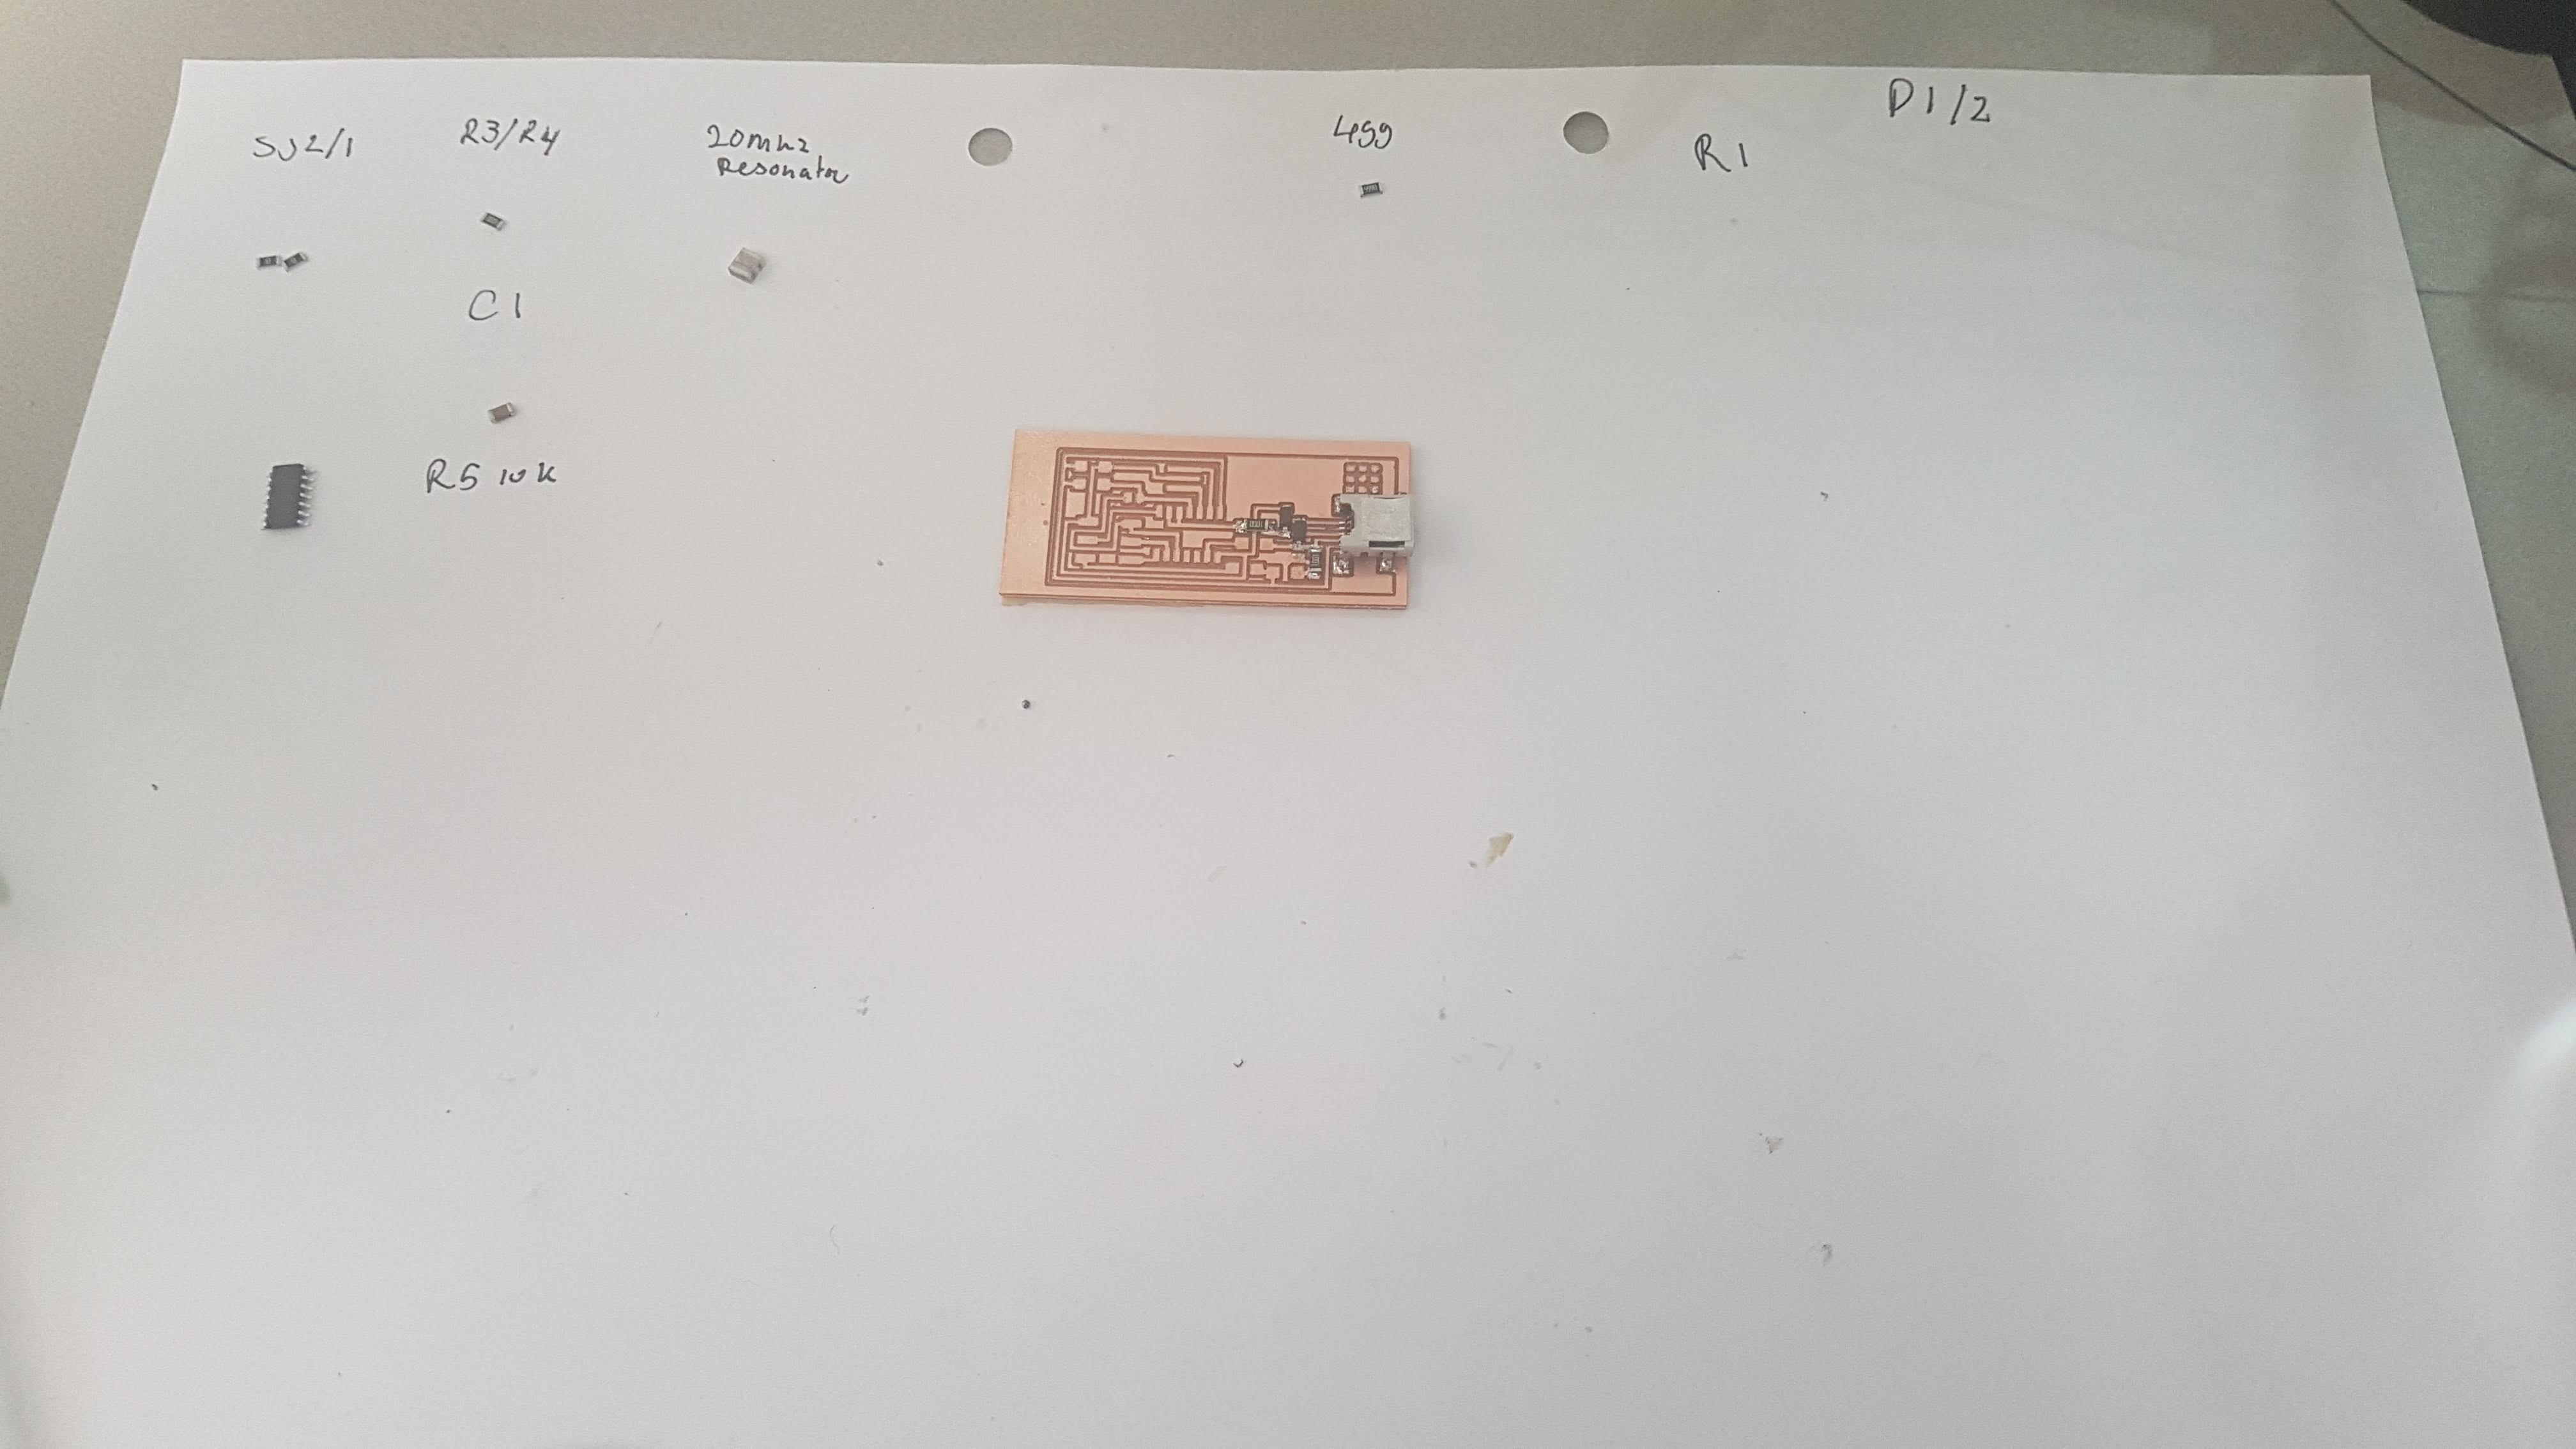
We did manage to mill the pcbs using the broken bits and the end results are certainly from a good quality. We chose the parts we needed to solder on the board using the ATTiny44A MCU. The parts are as following:- MCU: ATiny 44A.
- Diode, x2.
- 1K Resistor.
- 10K Resistor.
- 20MHz Resonator.
- 0 Ohm Resistor, x2. (These 2 will funciotn as a jumper, in order for the PCB to be programmed as a controller)
- 1uF Capacitor.
- 10K Ohm Resistor.
- ATMEL Ice Programmer. (AVR ISP)
Assembling the PCB
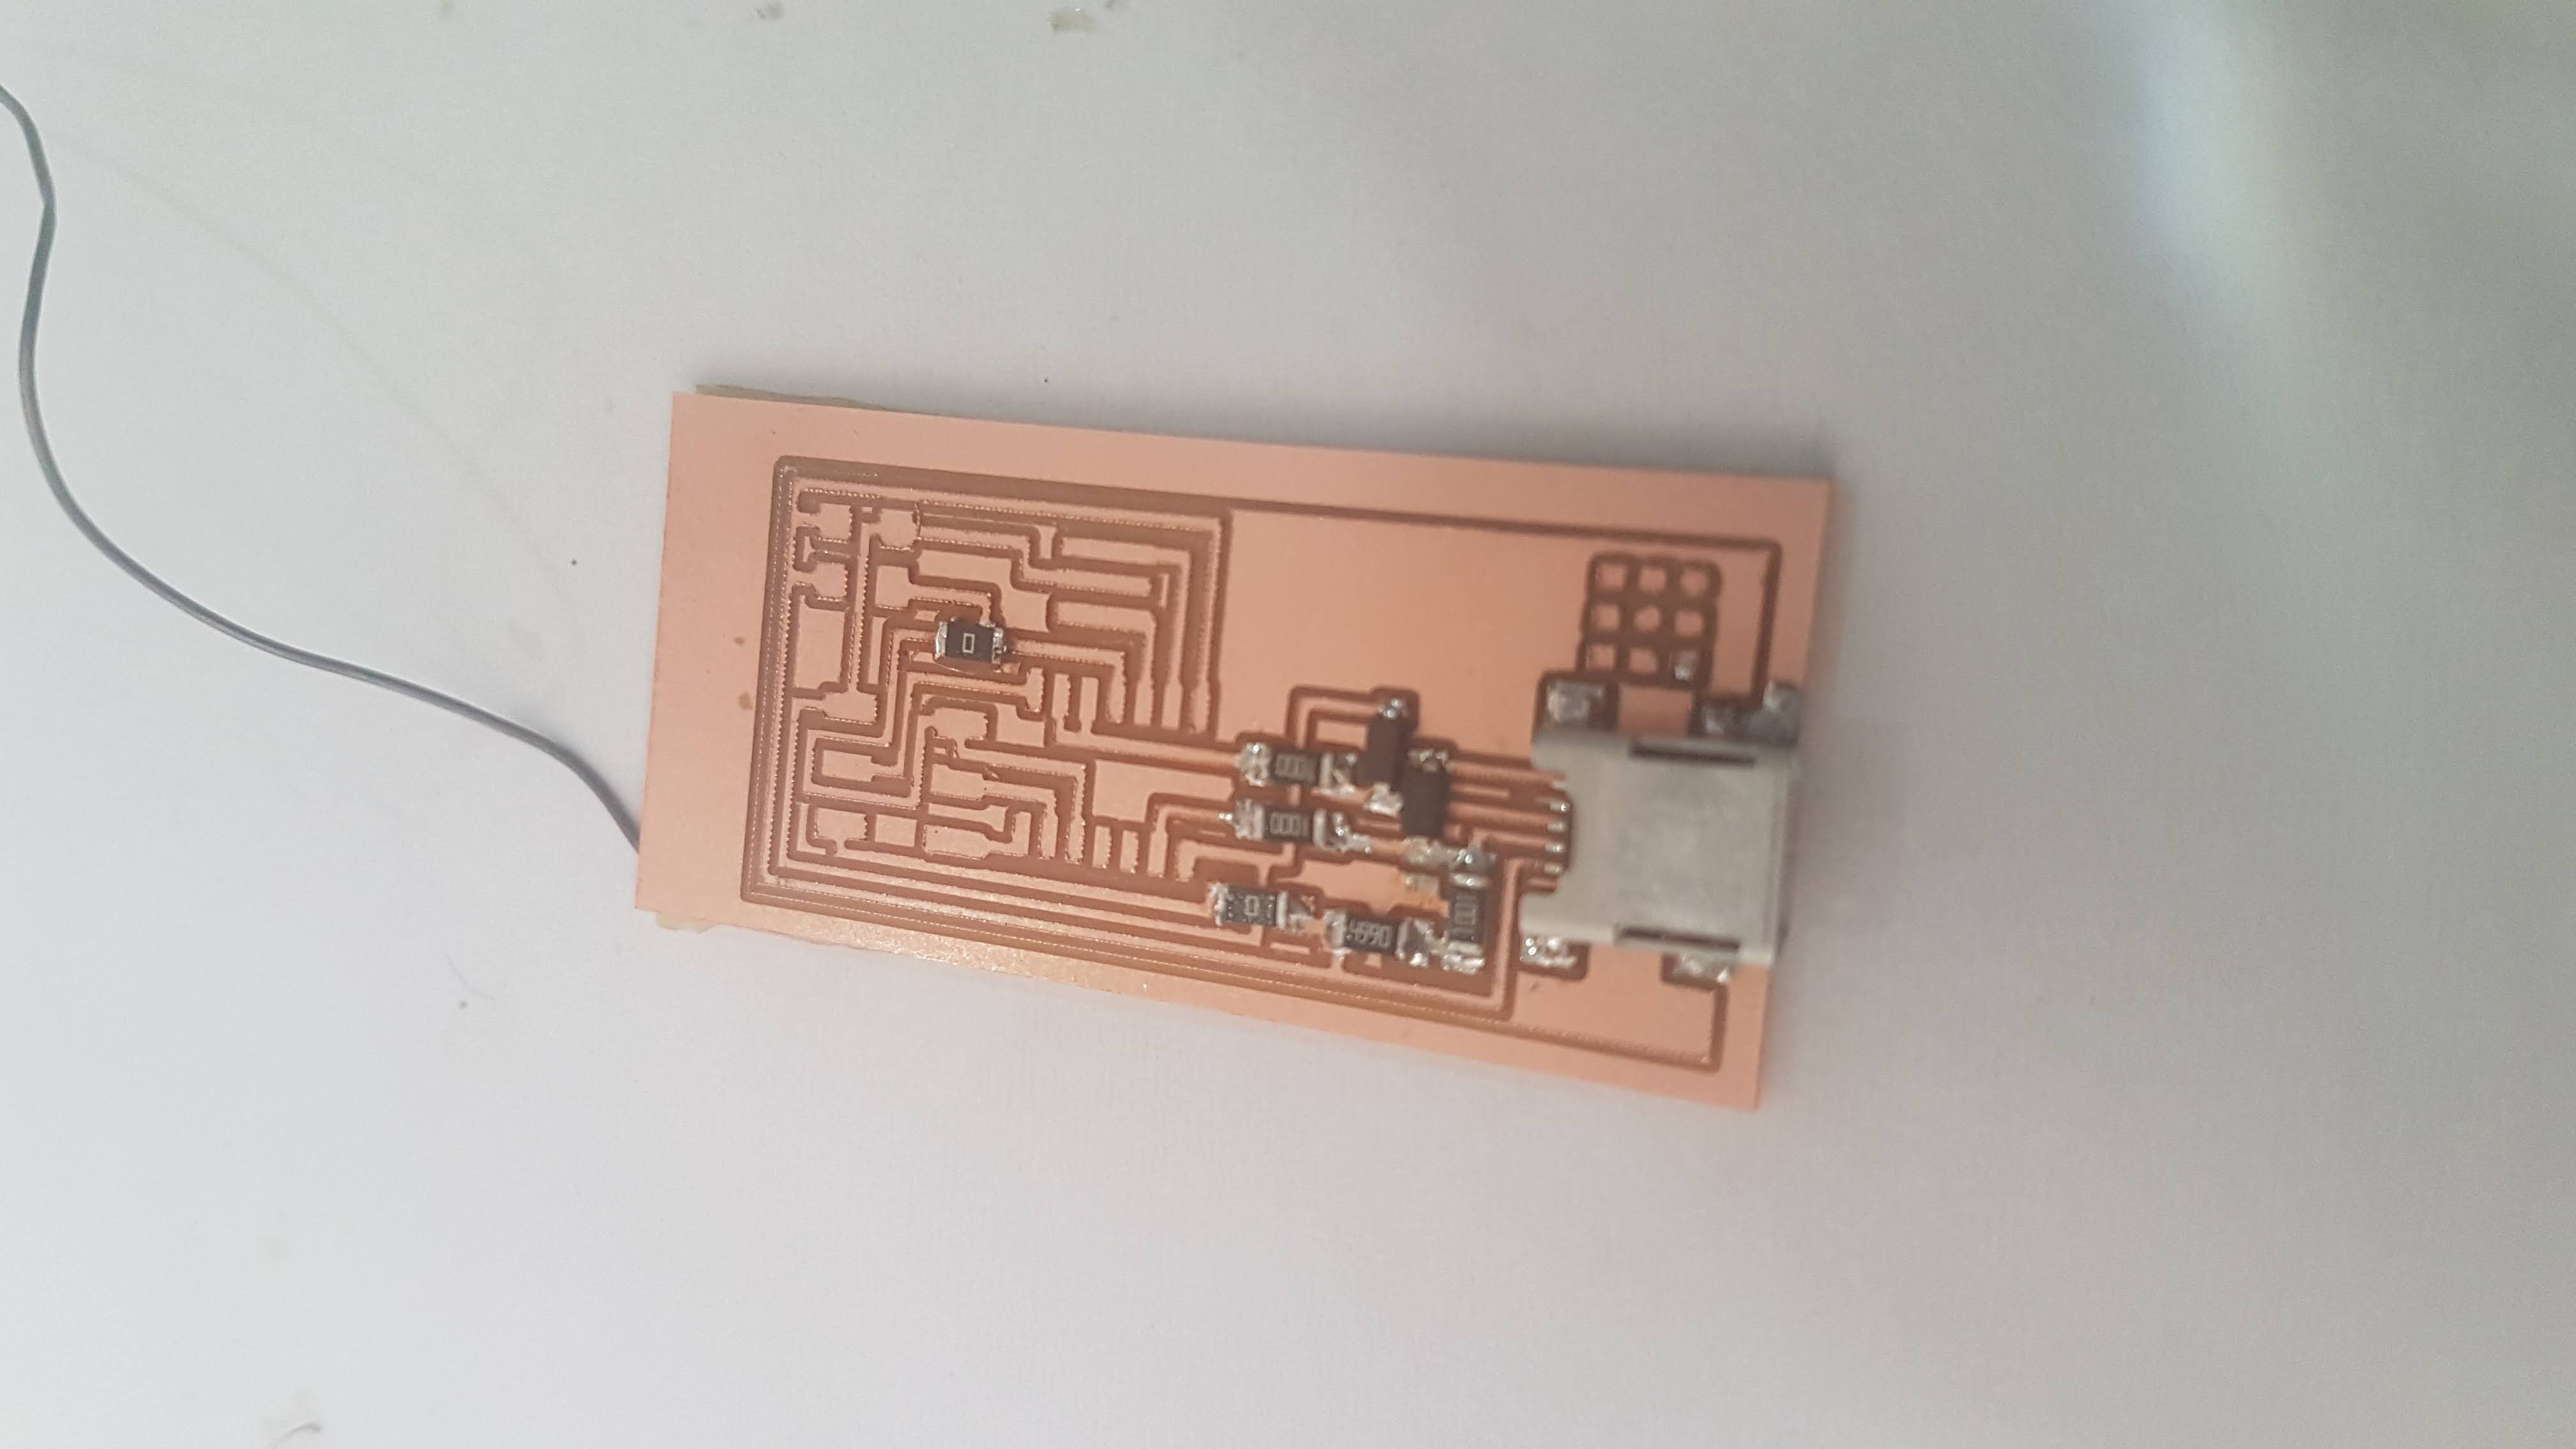
Soldering the components
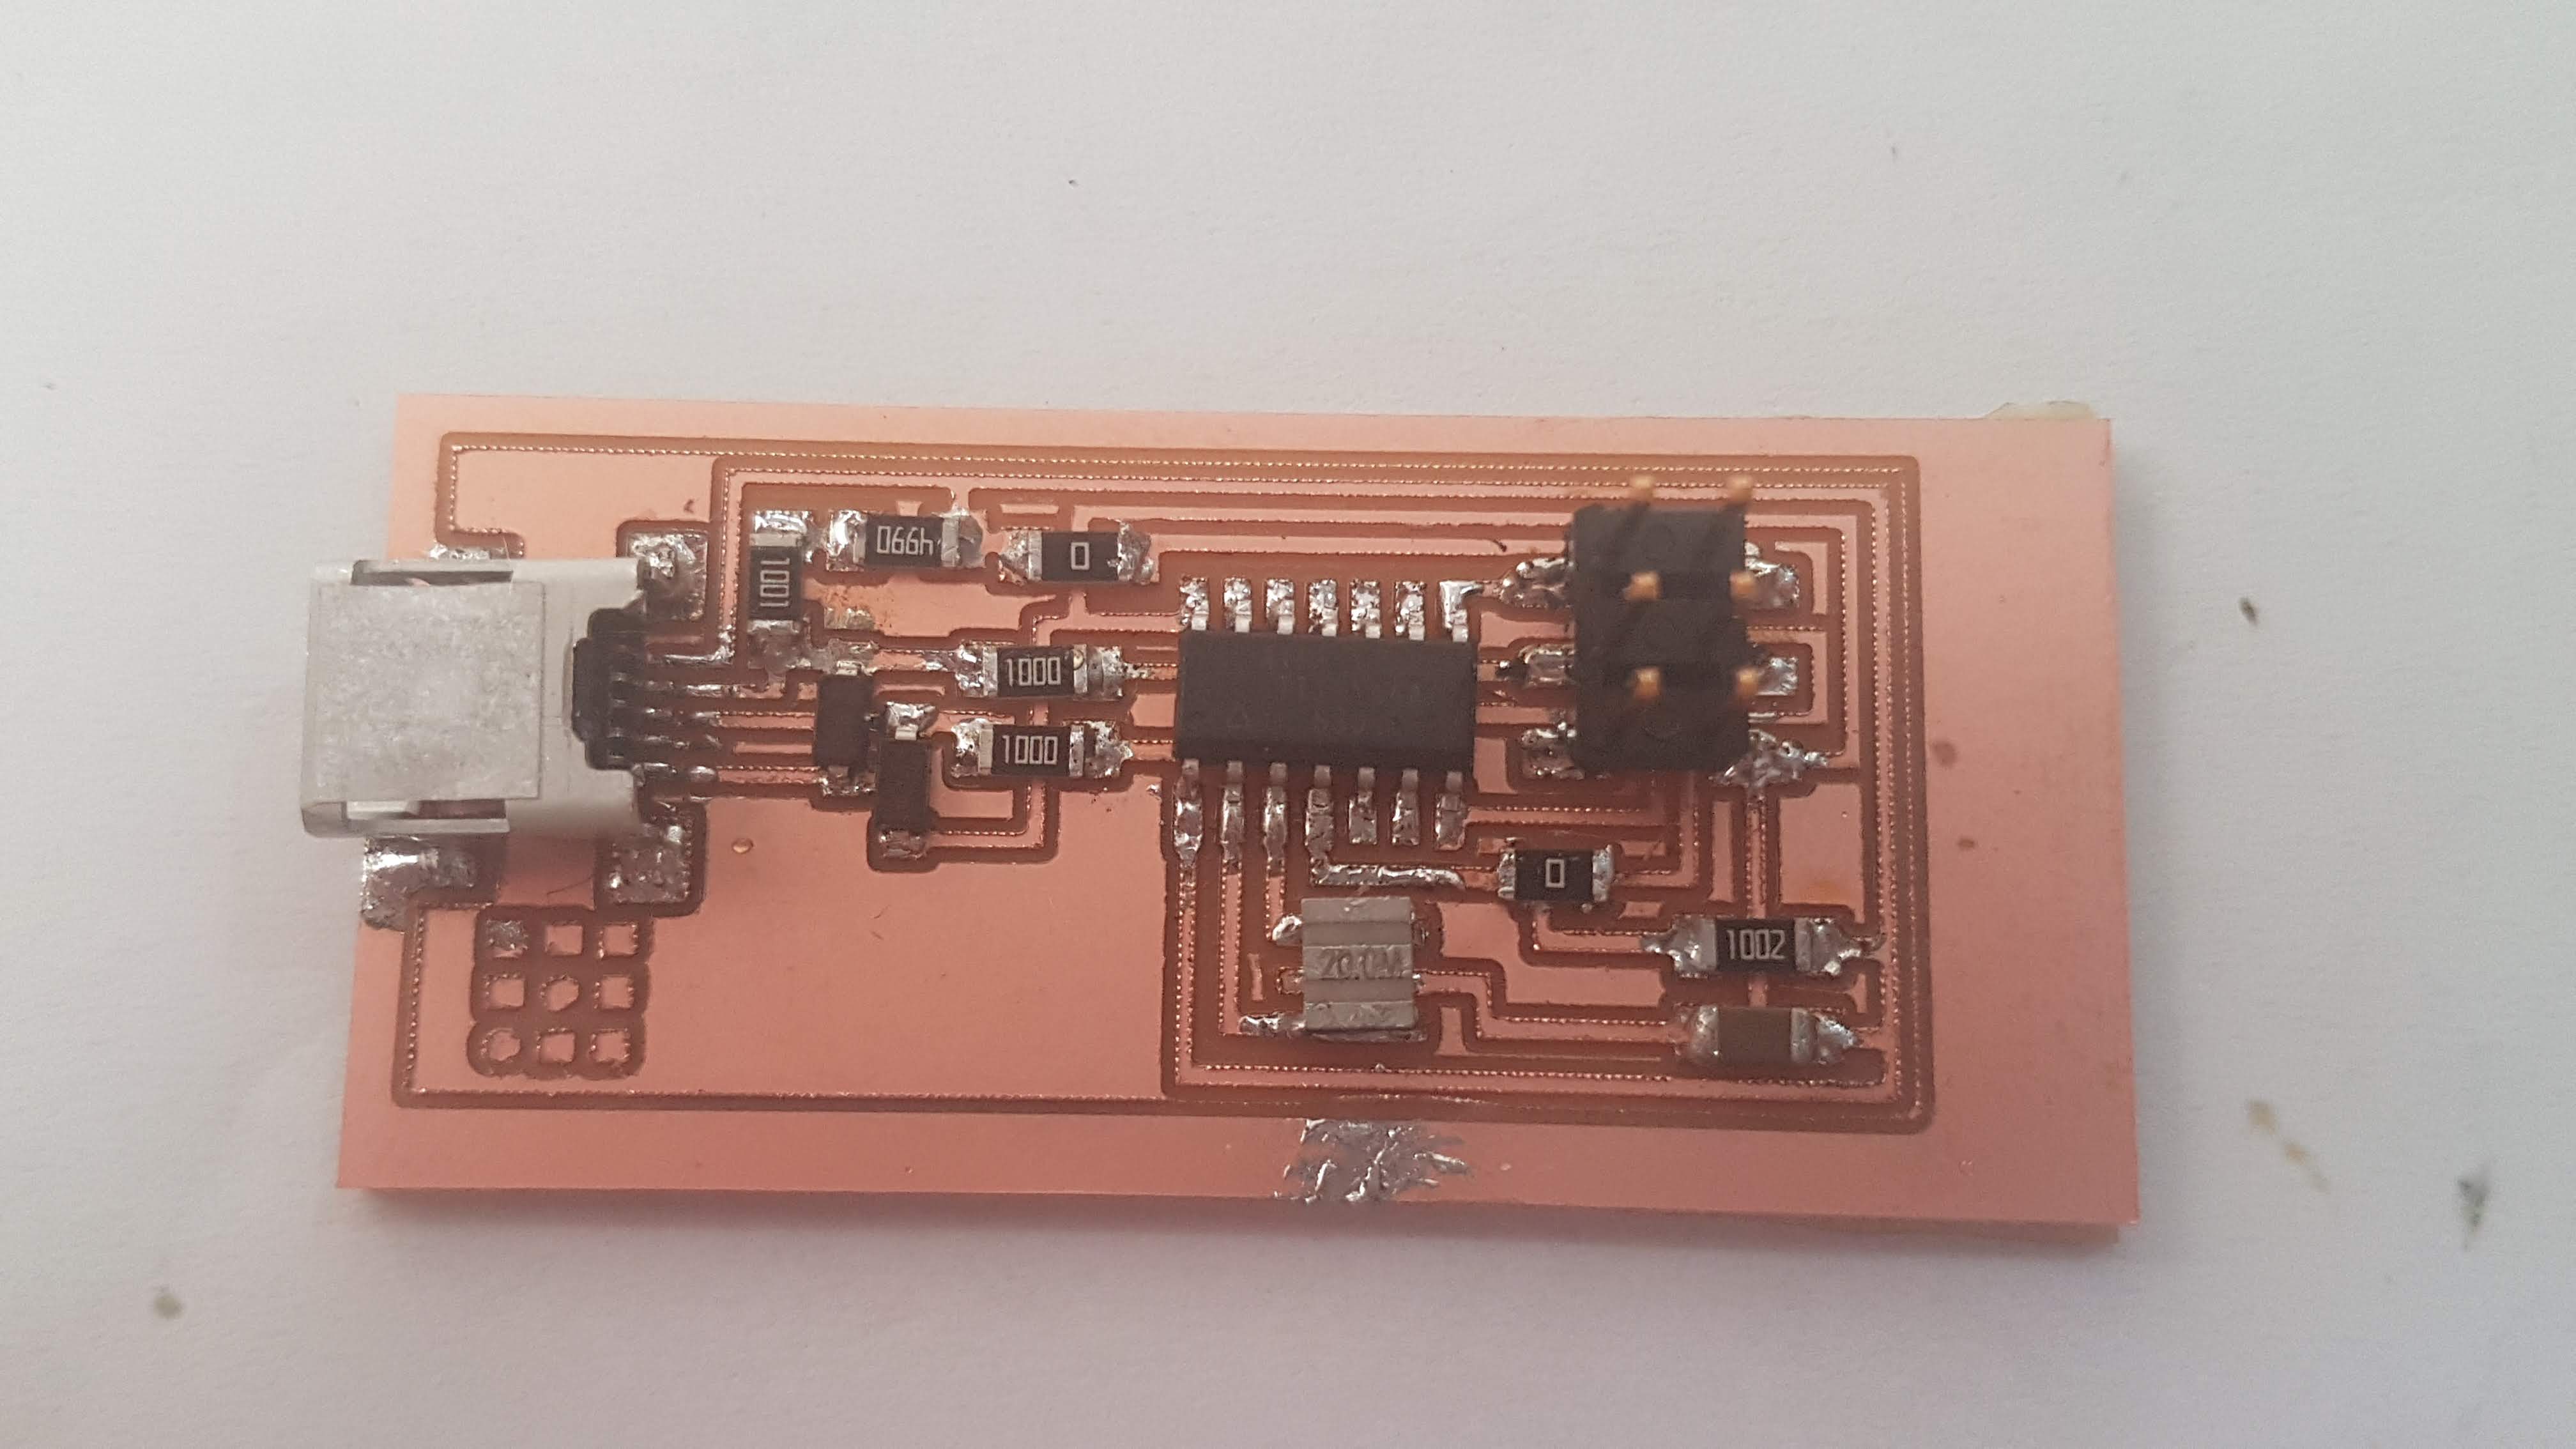
Completed PCB
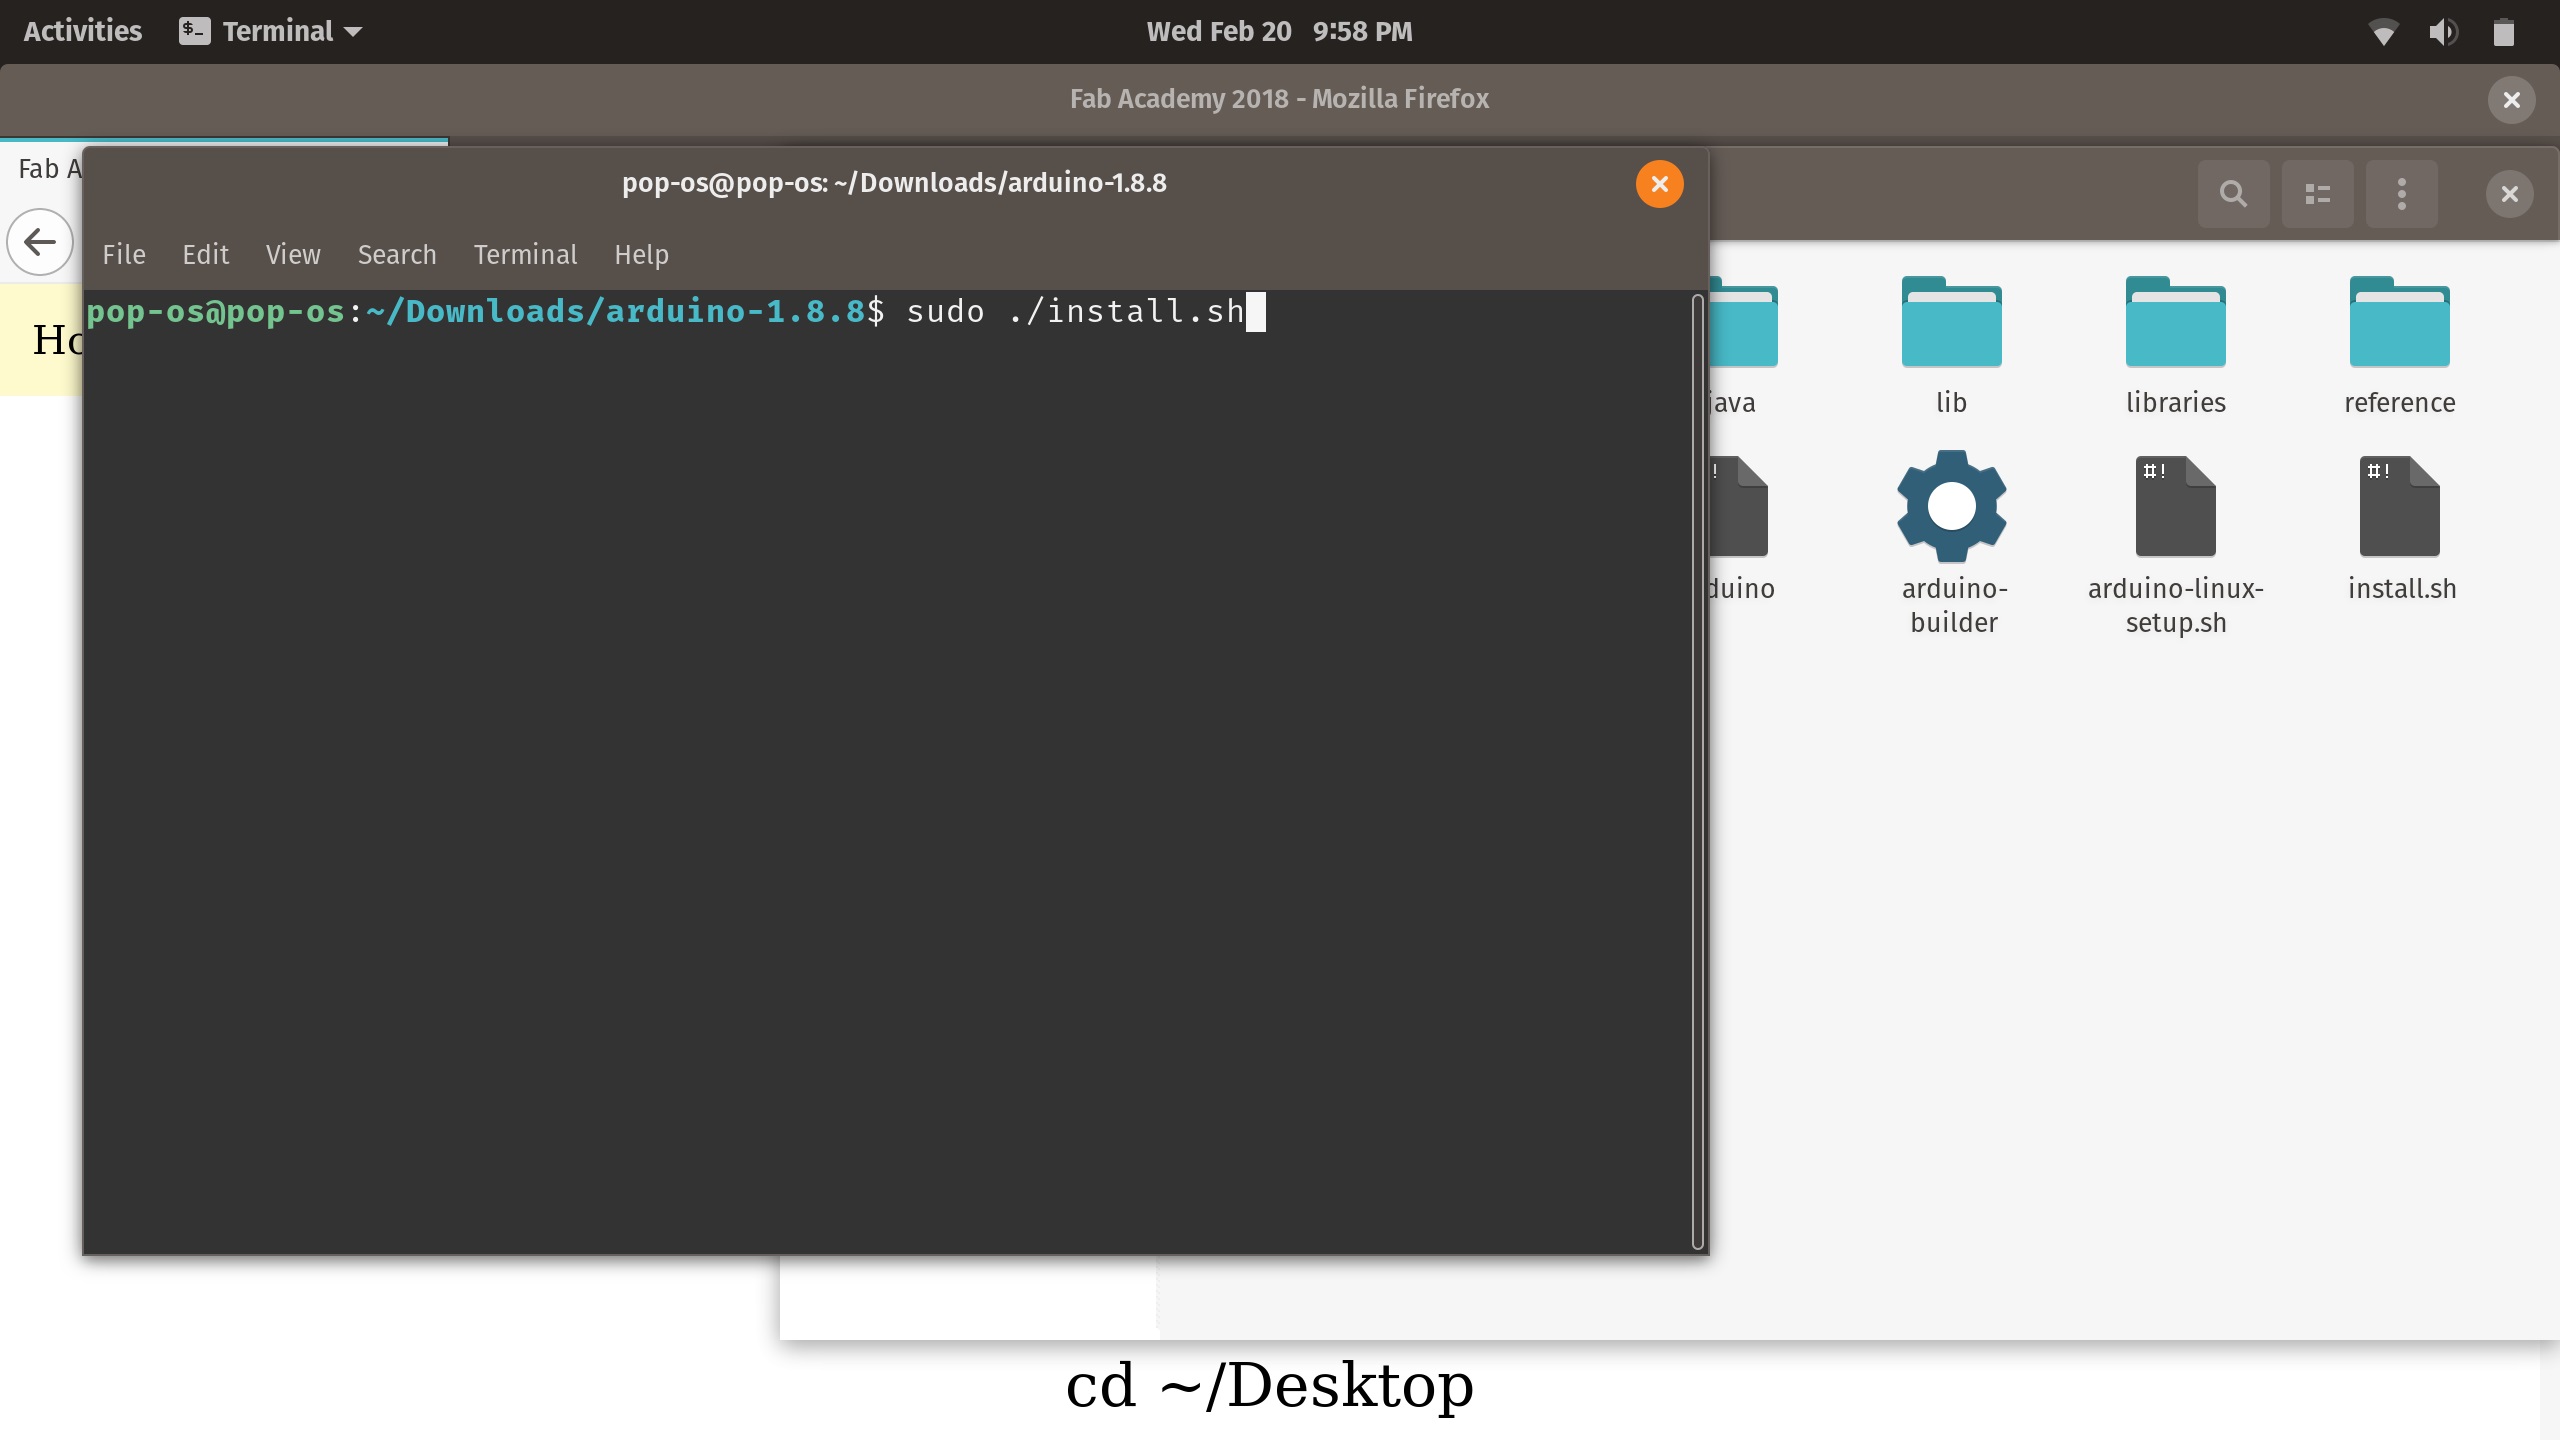
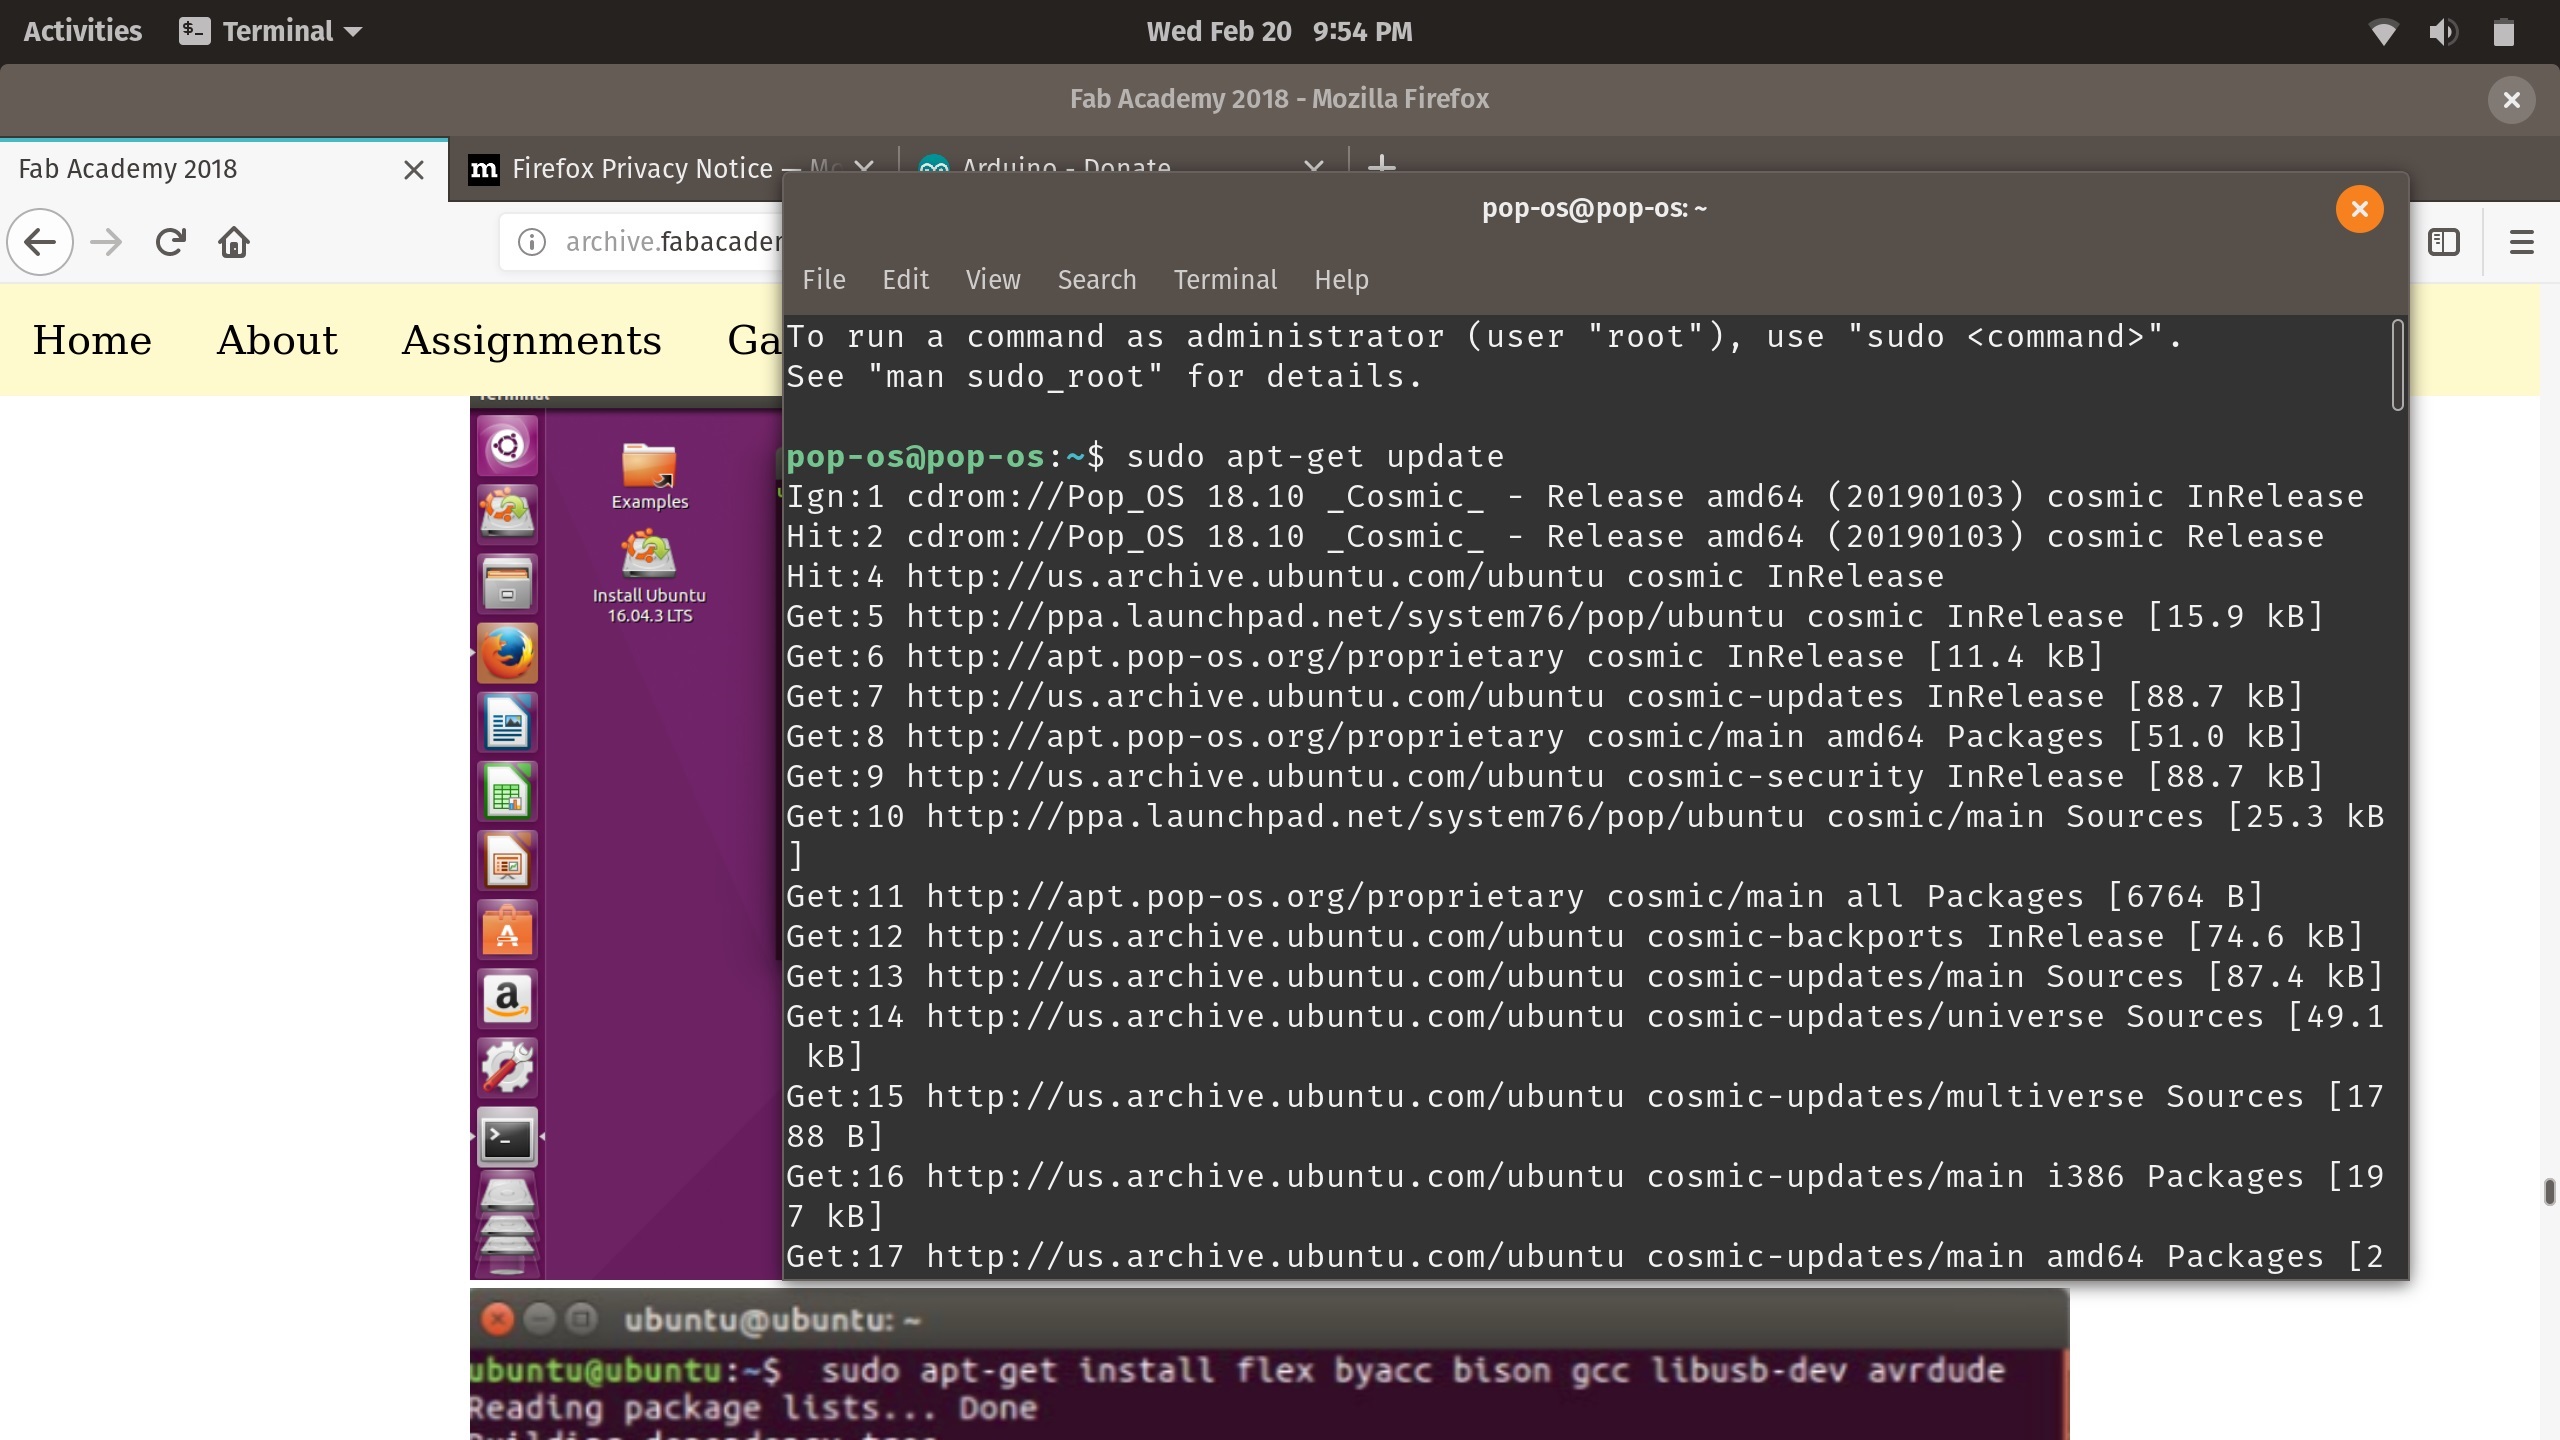
Getting the Atmel Ice to work with avrdude:
I’m running a Windows 10 laptop, meaning I had 2 options. Use the software provided with the official software for the Atmel Ice programmer or use the opensource avrdude. (WinAVR is deprecated at this point). I wanted to use bash so I installed all the required files using this link: Brian's Tutorial . And installed GNU make for windows, the avr 8 bit toolchain from github and the avrdude from [URL]. The issues I ran into the setup, is that avrdude was not recognizing the correct ID for the Amtel ICE ISP interface. After doing some research, it all pointed towards the system and user path variables in Windows 10. This is the configuration that worked for me:User variables:
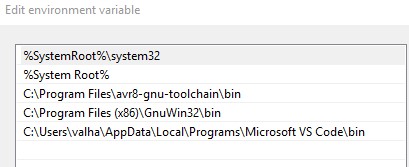
My User Environment Variables
System variables:
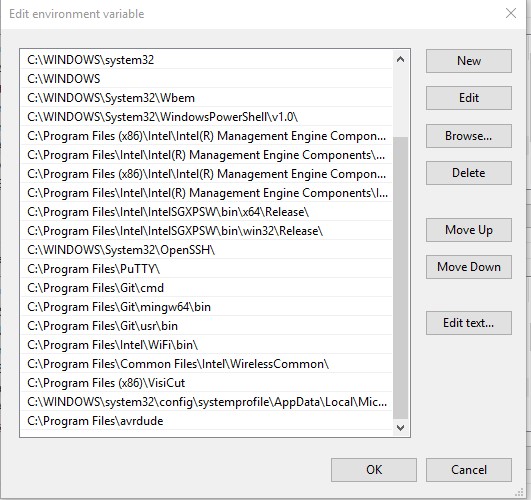
My System Environment Variables
The reason I did the steps above, is due to the fact that Windows 10 has some issues with avrdude or any other AVRISP porgrammer if you are not using the official software provided with the programmer(s). The error, I received before the steps (in total 4-6 hrs of troubleshooting and configuration) was:
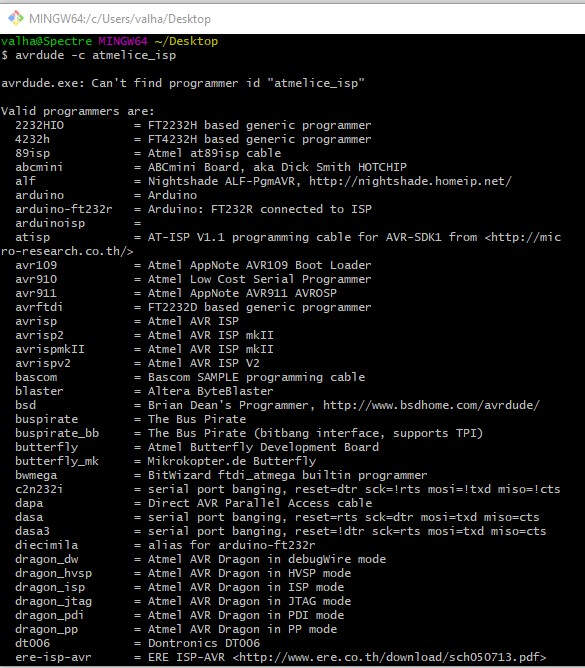
Can't find programmer "atmelice_isp"
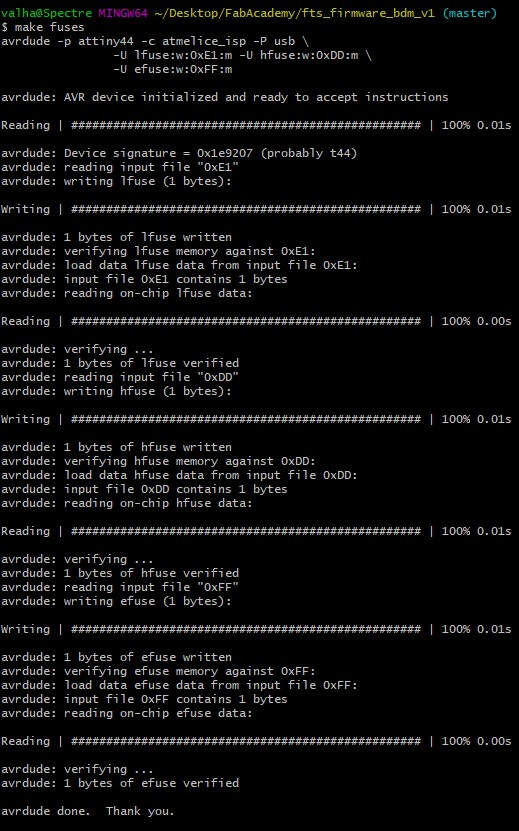
With this configuration, I was able to read the ID of the debugger. Afterwards I checked the firmware (which I Received from fellow students) I edited the file for it to be flashed onto the MCU. I started the bash interface from the firmware folder and started with with commands:
- Make flash
- Make fuses
- Make rstdisbl.
Go to work with a fresh mind and less jittery troubleshooting.
Either way, these are the full steps, I took in order to get everyting ready and working (for me)
Installing the Atmel-ICE Drivers with Atmel Studio 7 & AVRdude
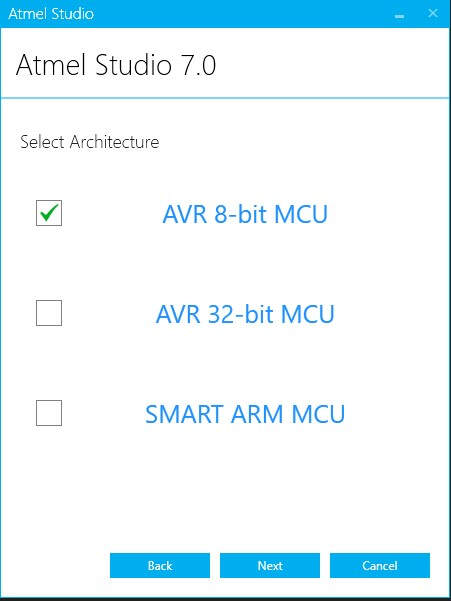
Install 8Bit for Atmel
Install the libusb driver filters. These can be found in the avrdude folder subfolder="driver-amd64" the "install-filter-win.exe". Run the executable as Administrator and select "install a device filter"
Here you will need to search for the Hardware ID that ends in 03eb with a PID of 2141. Double check the description for Atmel-ICE Data Gateway. There are a total of 3 filters, that need to be installed.
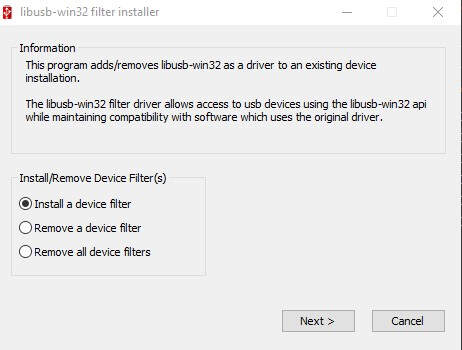
Install device filters for Atmel
Install GNU Make
Download and install the AVR toolchain by Atmel. Install by extracting the root folder in the Program Files (x86) folder and adding the PATH in user variables.
Afterwards, make sure everything is in working order.
Use Make -v to check if GNU tools are working in GIT Bash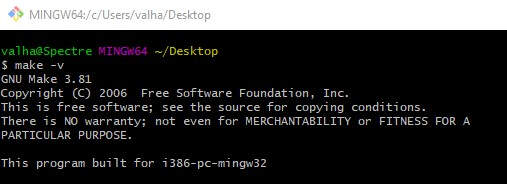
Check if the avr toolchain is ready

Use avr-gcc --version to check if AVR toolchain is working in GIT Bash
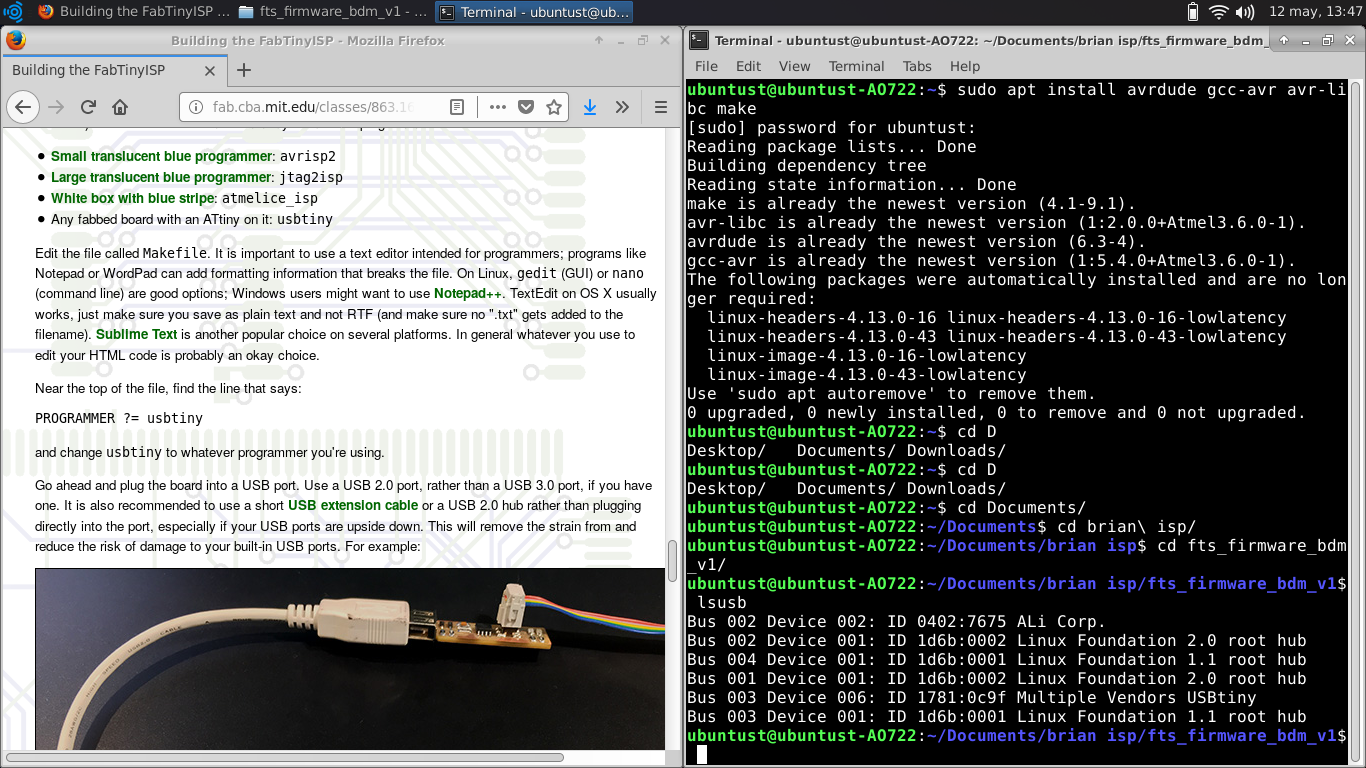
Check to see if the atmelice isp is recognizavle in avrdude: avrdude -c atmelice_isp -p t44
Connect the PCB to the Atmel-ICE programmer and power the both of them.

Connect the PCB to the AVR Interface of the Programmer
Check the firmware for the ATiny44A MCU and change accordingly. (I used the wrong firmware. Once again, work with a fresh mind and clear headed mind)
Make Flash, to flash the firmware Make Fuses for AVR clock fuses.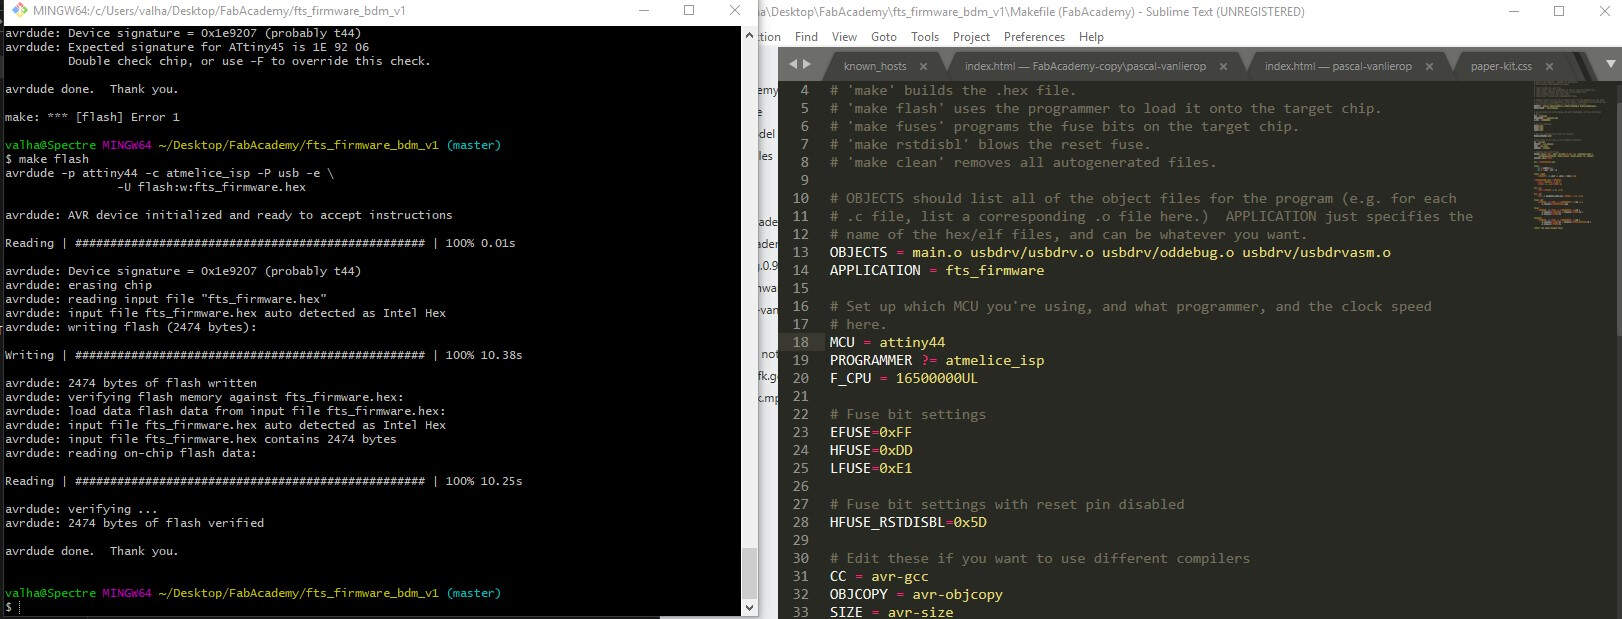
After i entered make rstdisbl, i received an error and I realized my mistake waaaay to late. I flashed (changed the wrong firmware) from the get go. Now the Atmel ICE programmer is not even to enter programming mode.