10. Molding and casting
Group assignment
Individual assignment
Week 10 - Molding and casting
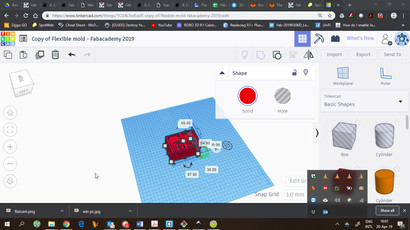
Design in Thinkercad
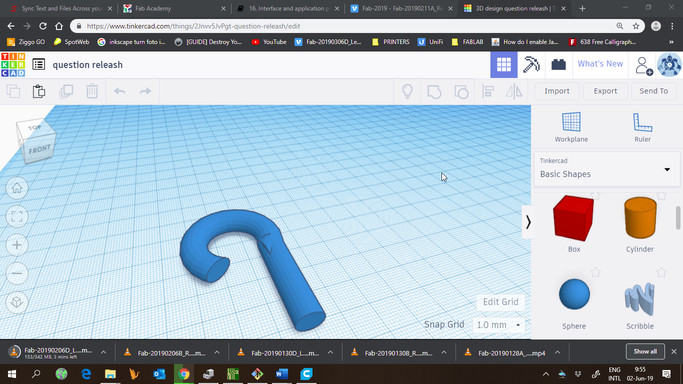
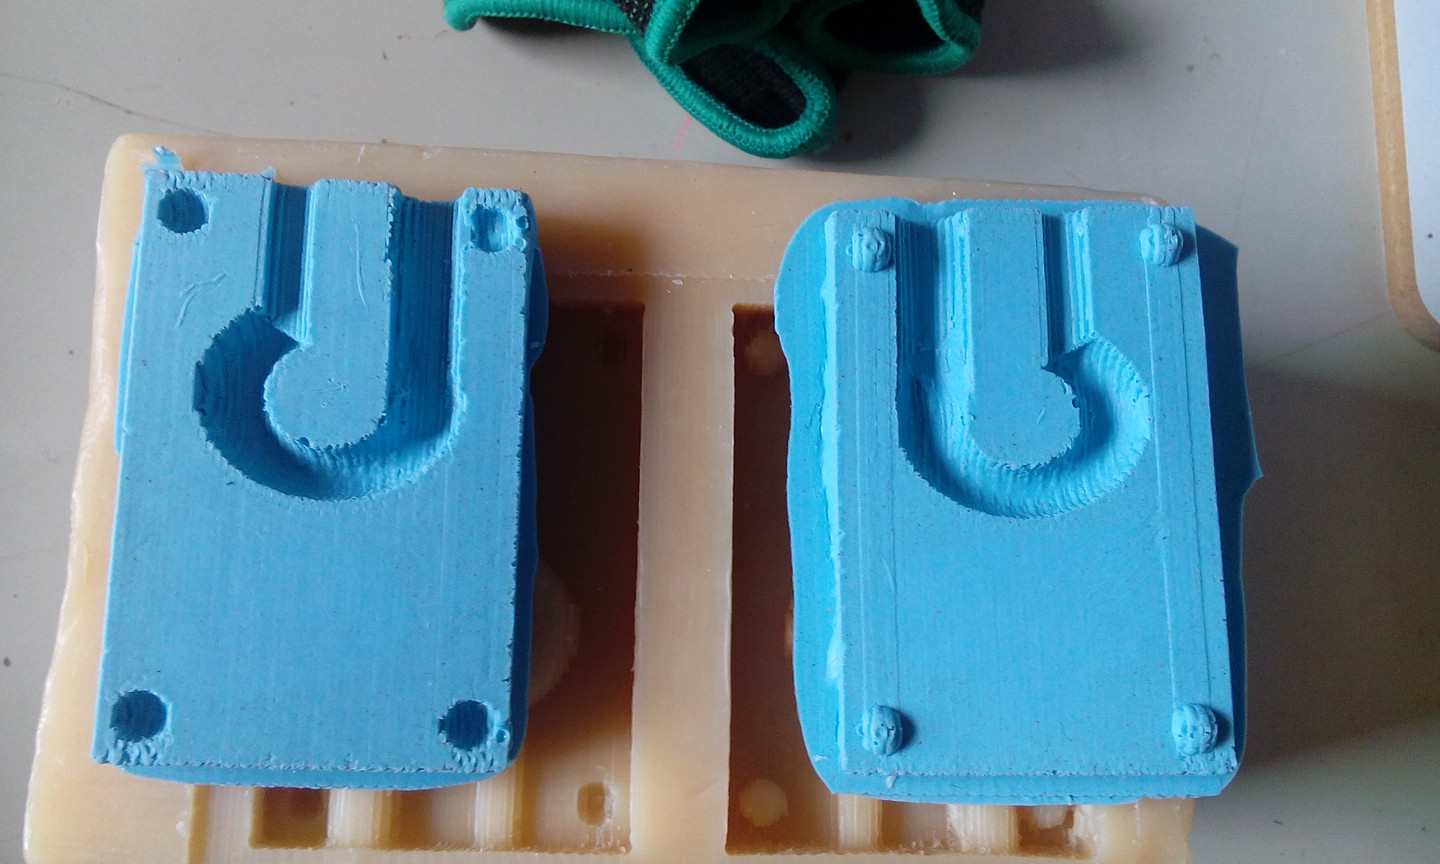
I used simple shapes to create a hook that will hold the chain in my final project.
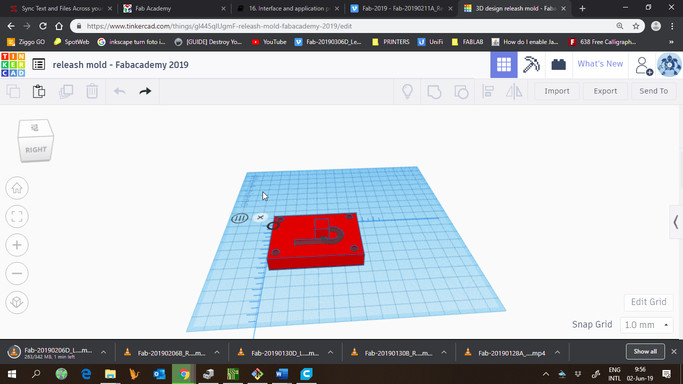
Then I created a box and sinked the hook so that exactly the lower half would be submerged into the box.
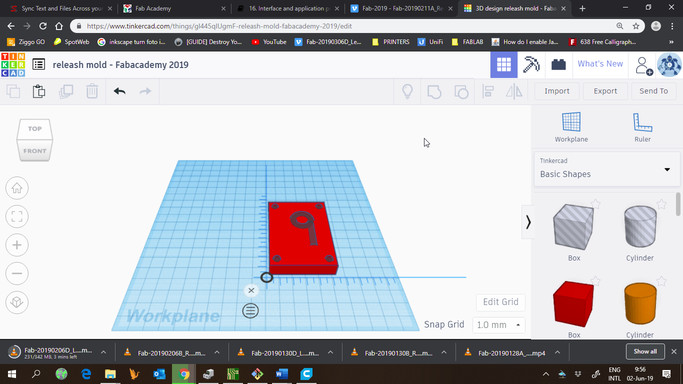
Also added four spheres to the corners for the mold guides
Then I duplicated this group and mirrored it. Also added a cylinder to work as vent. and put both parts in a bigger box that simulates the stock material
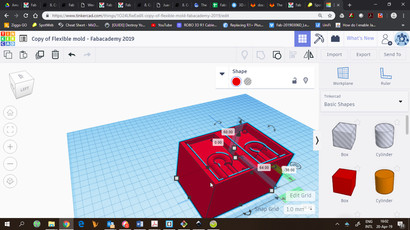
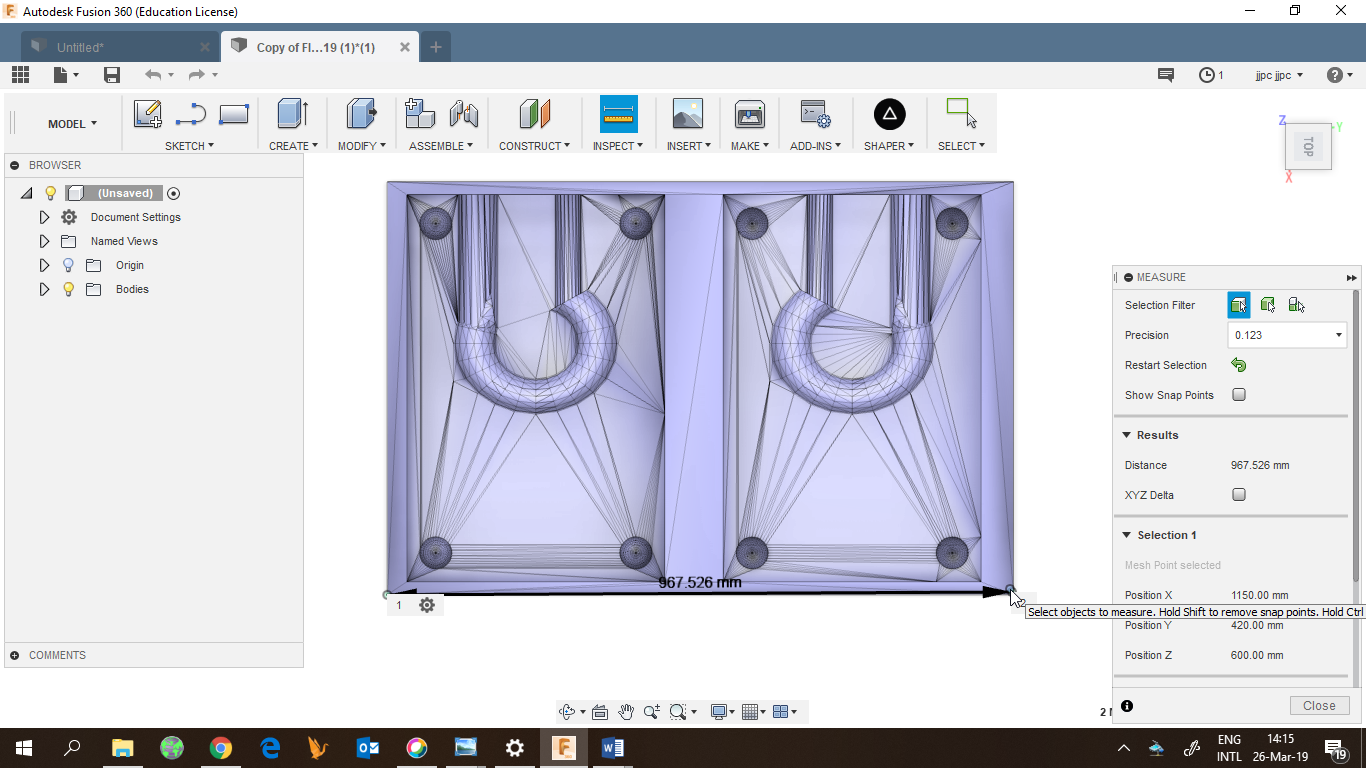
After, i checked the dimensions of the model
Toolpath in Fusion
We used Fusion360 to create the toolpaths. After exporting to stl in tinkercad, I opened the file in Fusion360. And went to manufacture and started the setup
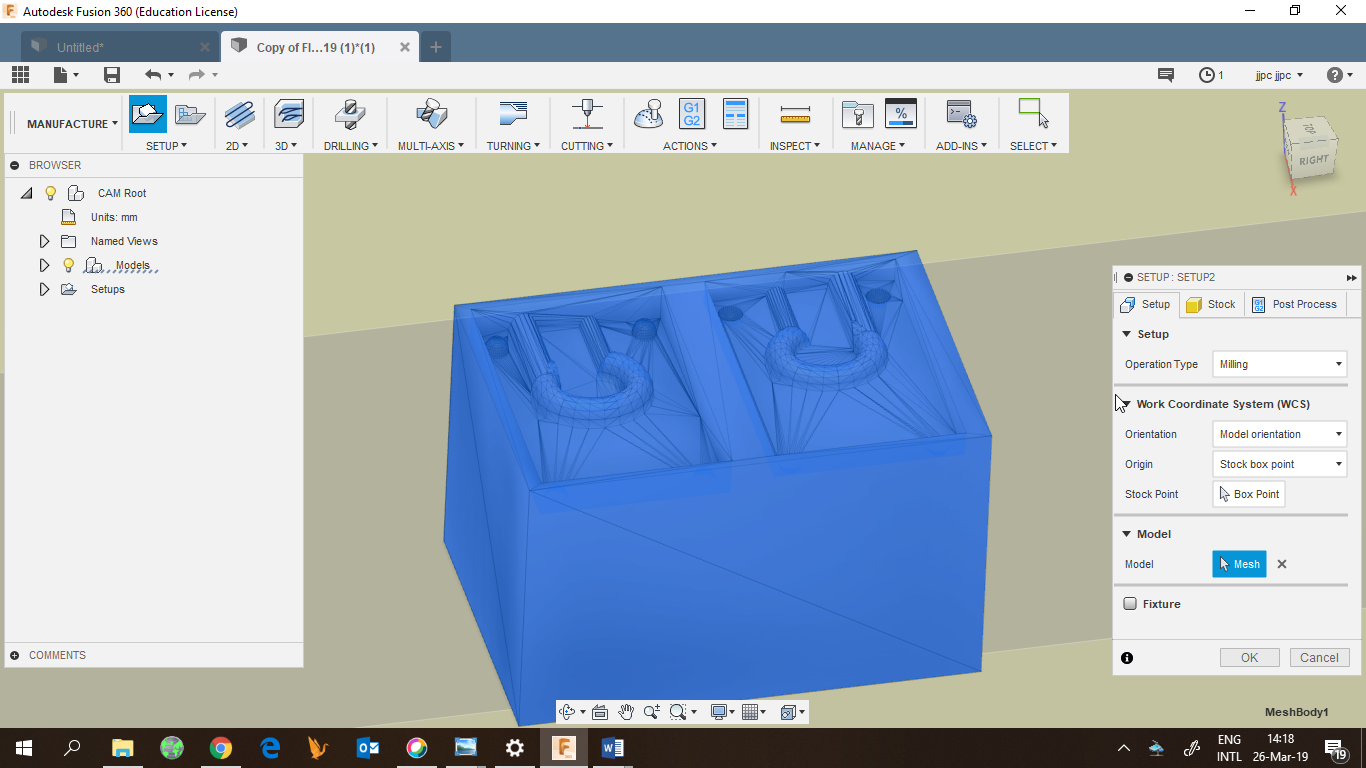
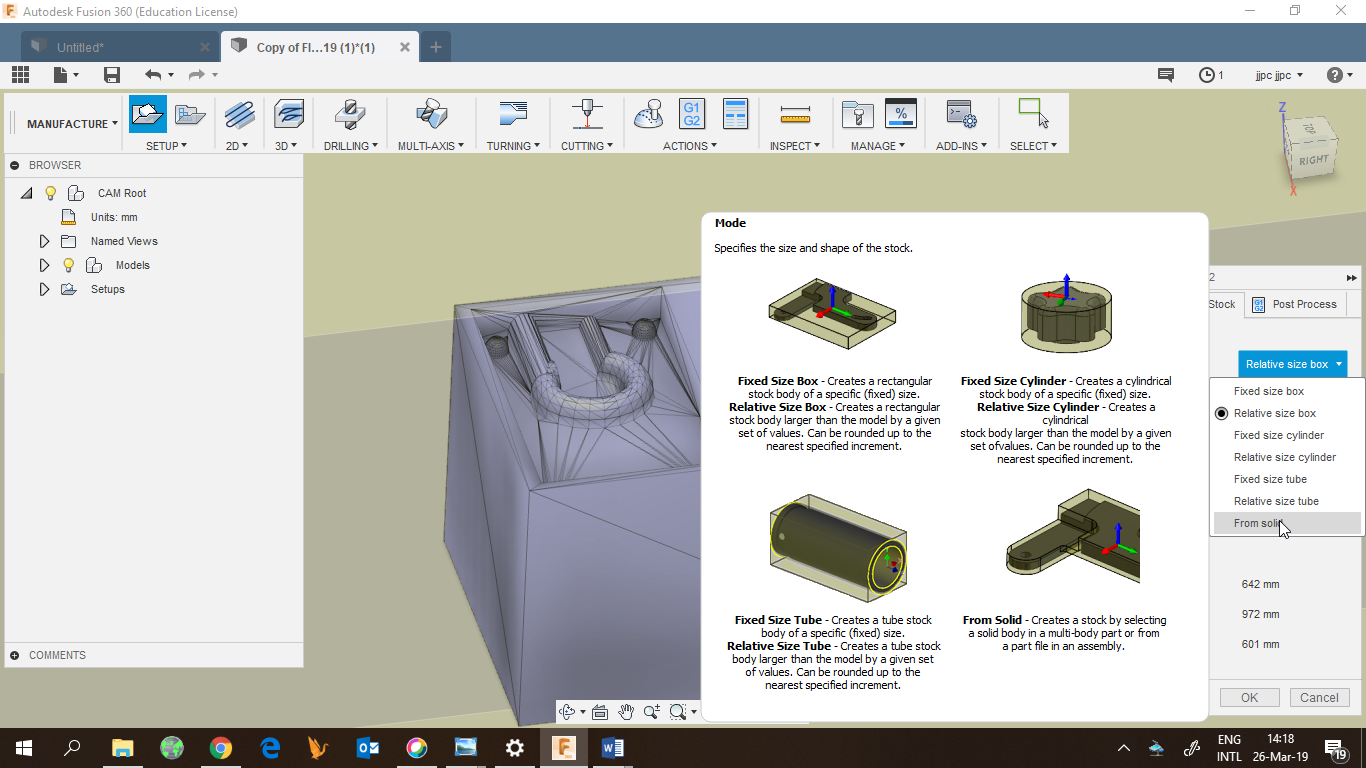
Defined the origin on top and chose no additional stock
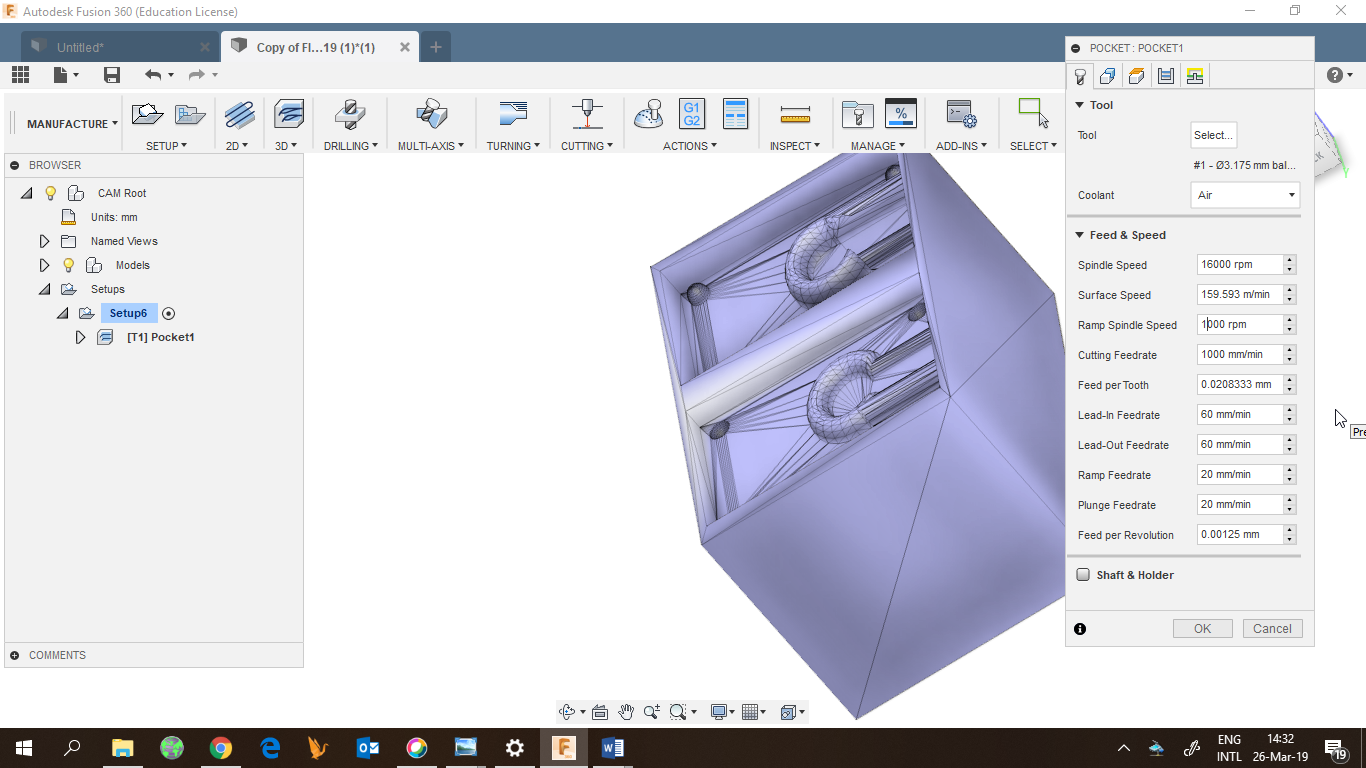
Then I had to define two toolpaths for rough cut and finish cut. Rough cut removes big parts of material quickly, finish cut is slower and leaves a nice surface.
The parameters fro rough cut:
Spindel: 5000 Cutting feedrate: 1000 mm/min Tool diameter: 3.175 mm Stepover: ->55%
The parameters for finish cut:
Spindel: 5000 Cutting feedrate: 500 mm/min Tool diameter: 1.5 mm Stepover: <10%
Then, I exported the toolpaths for the SnapMaker.
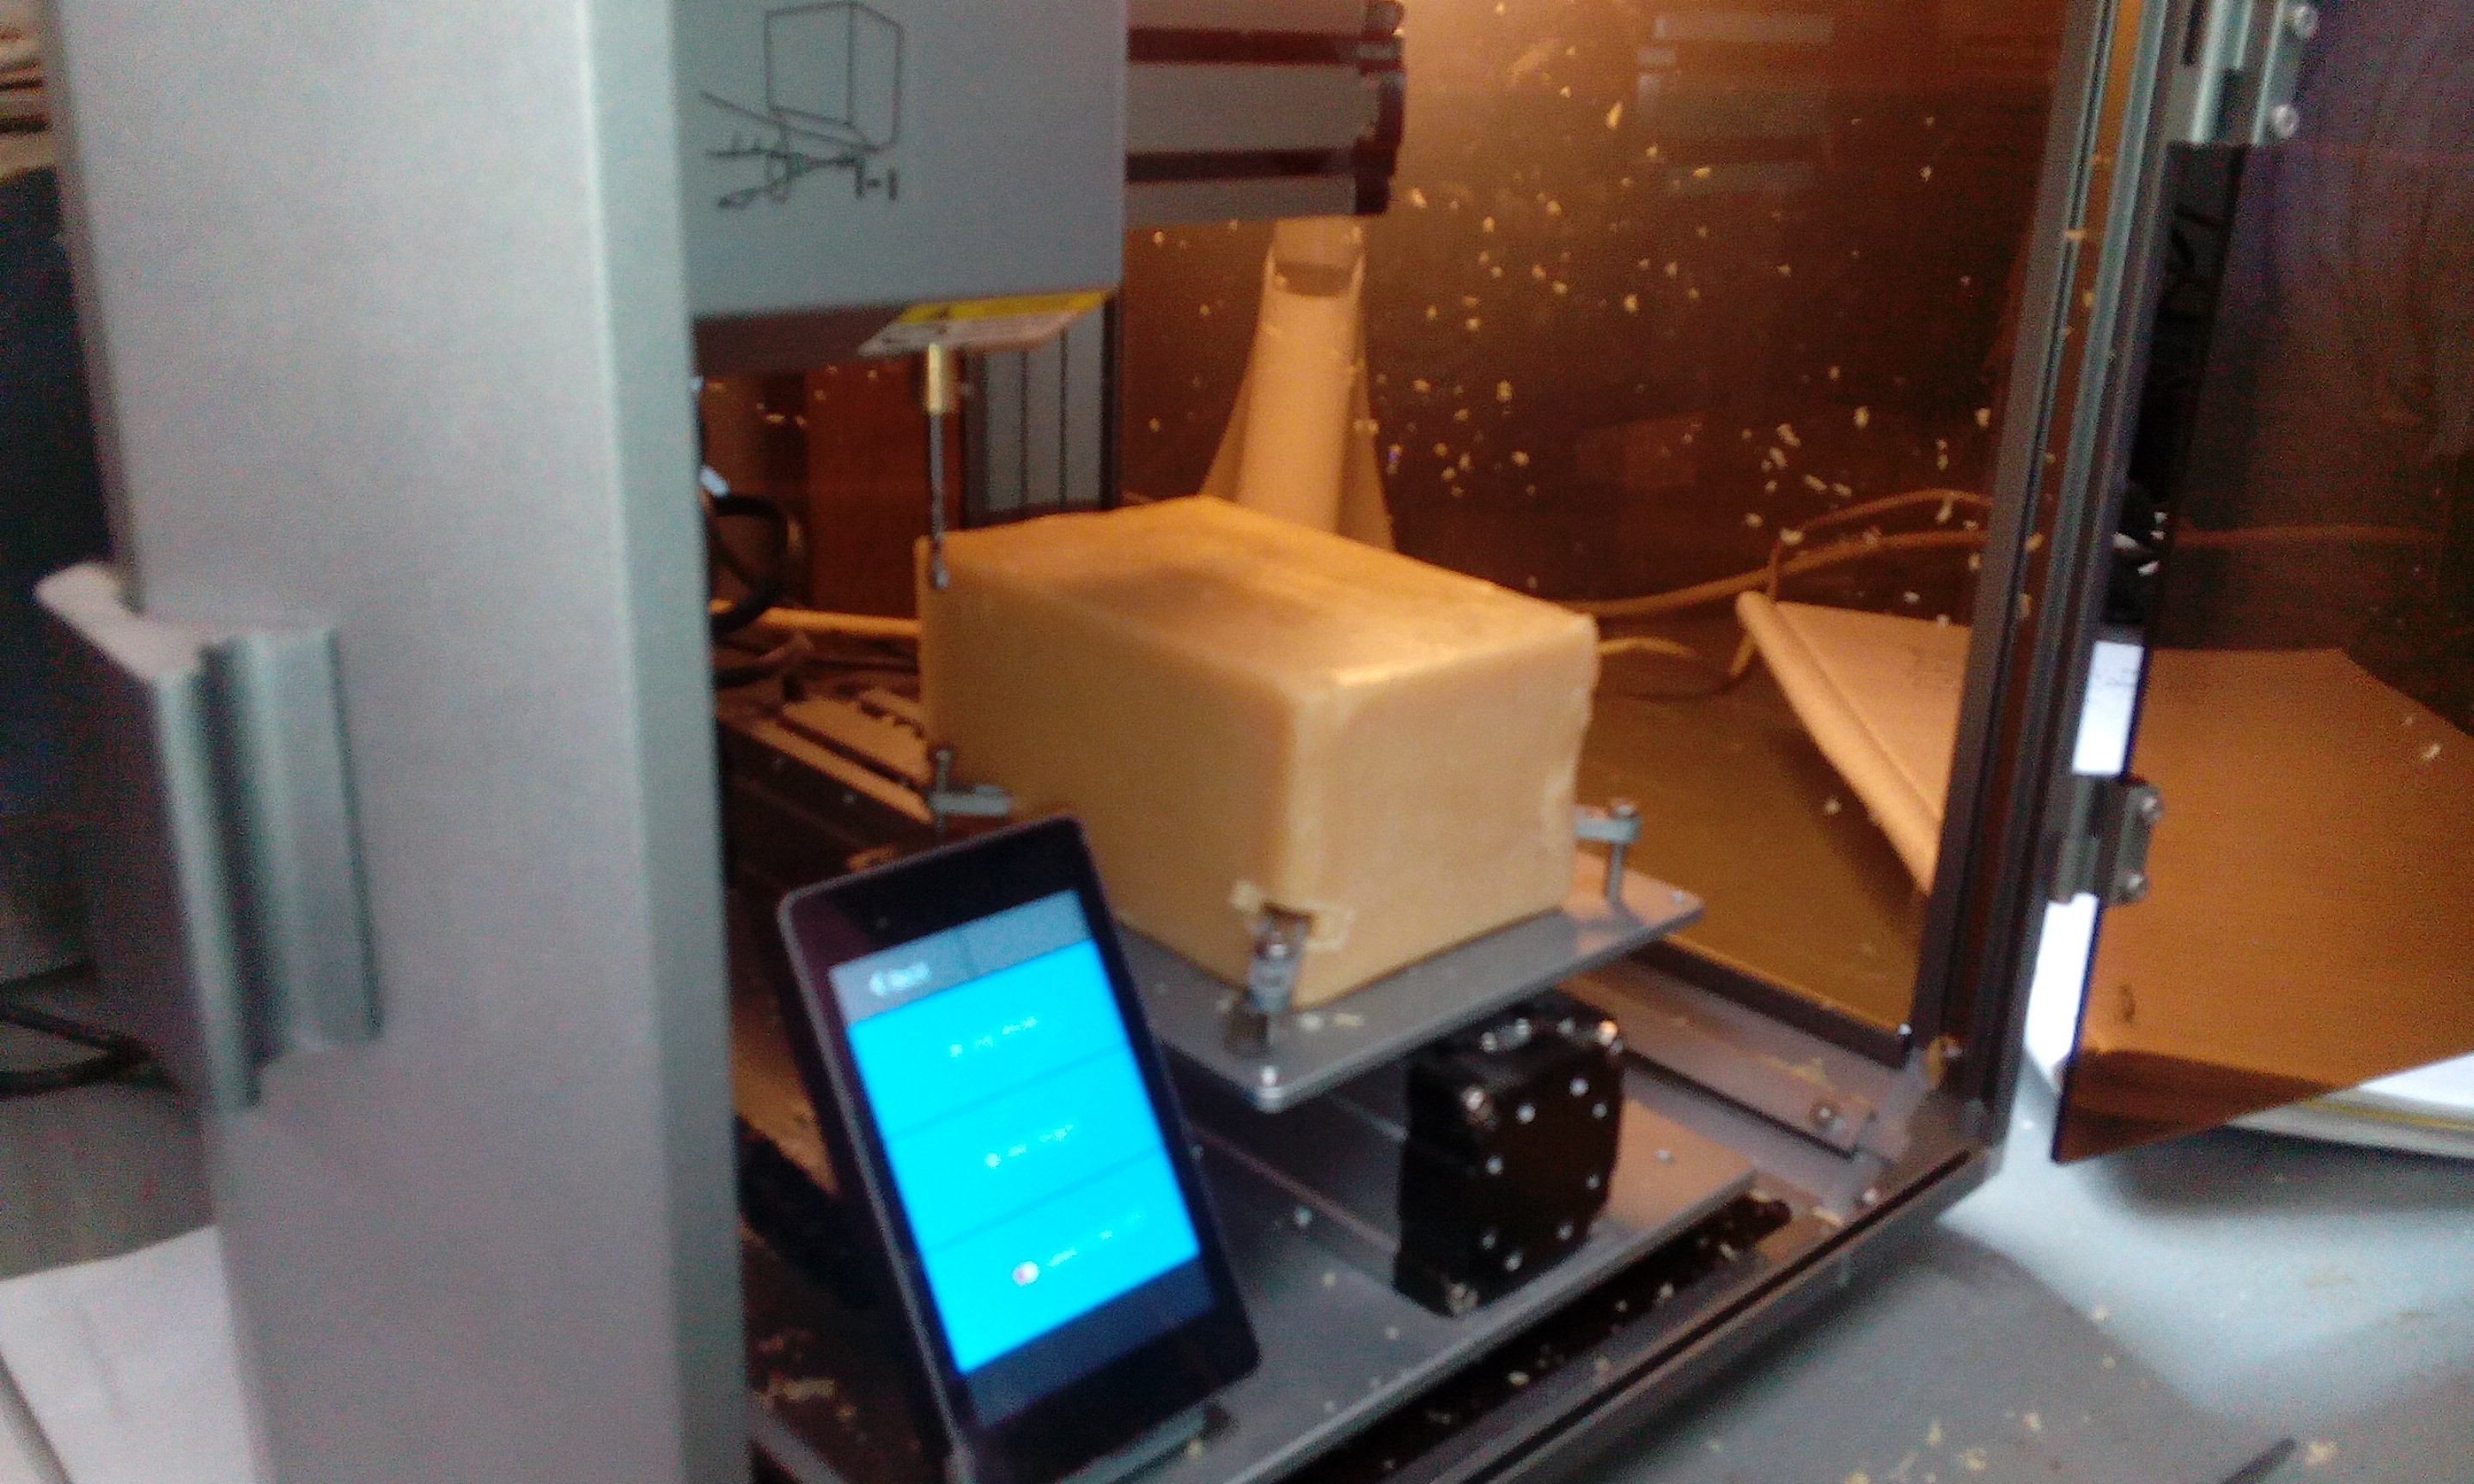
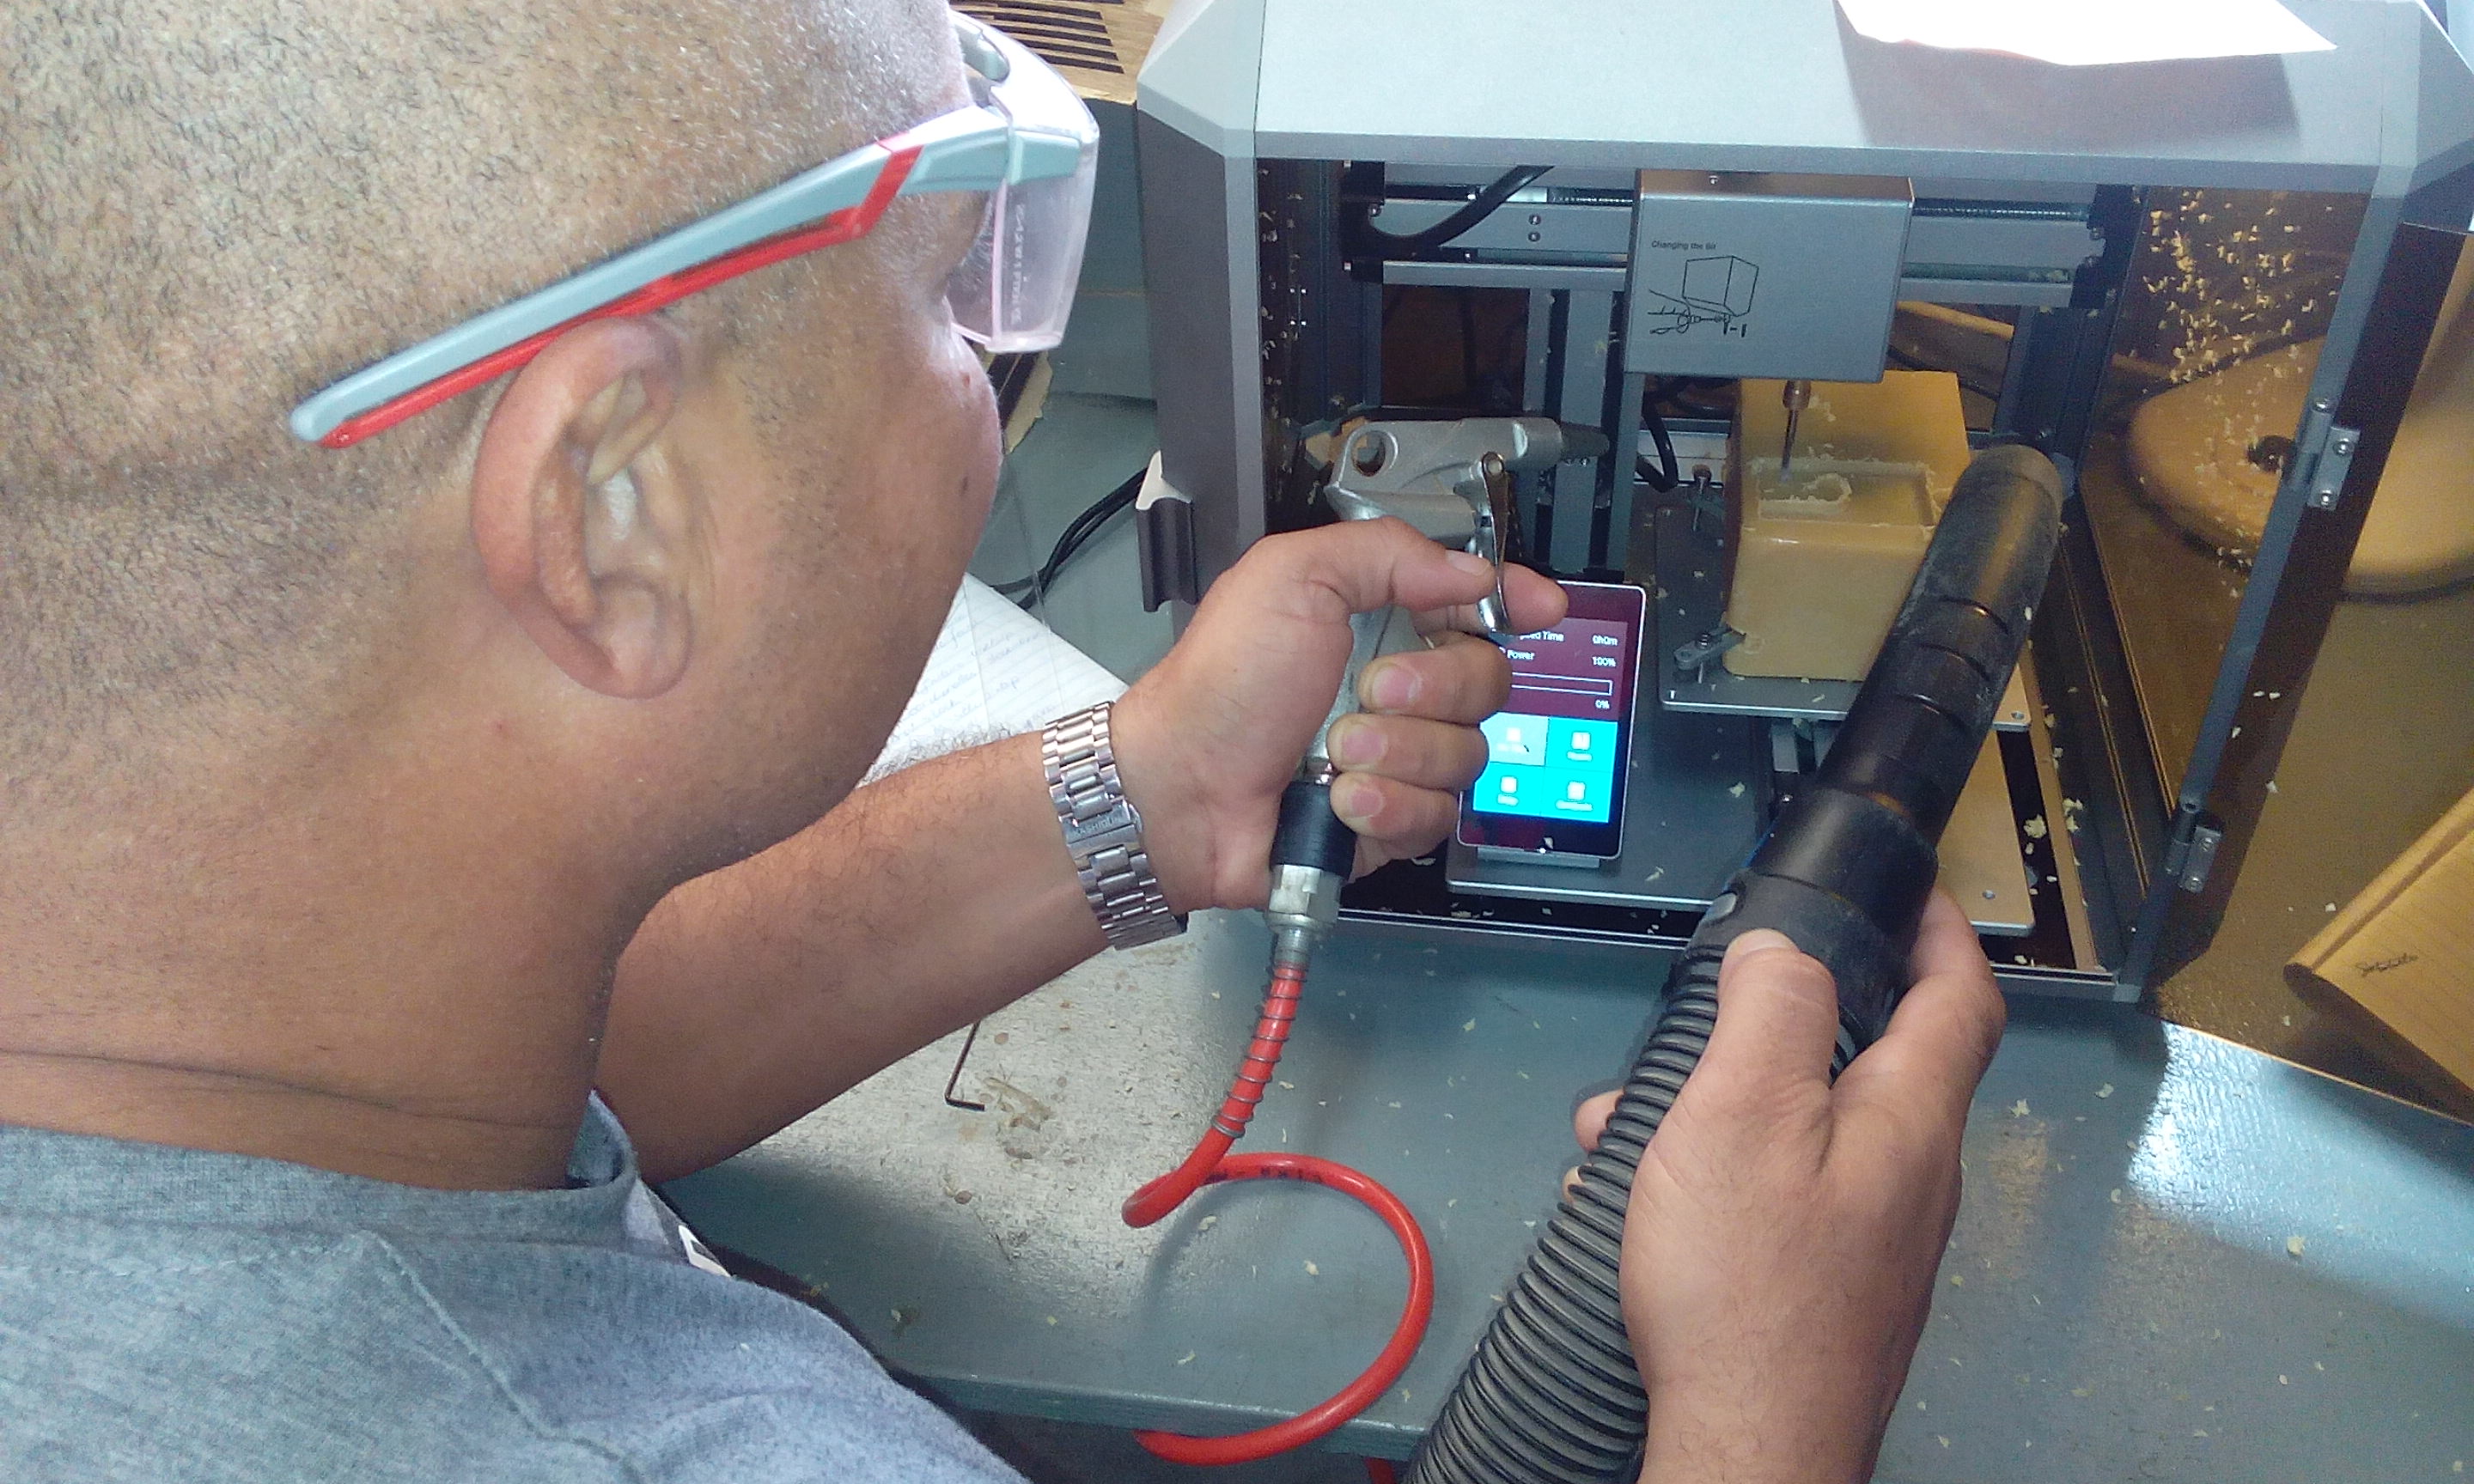
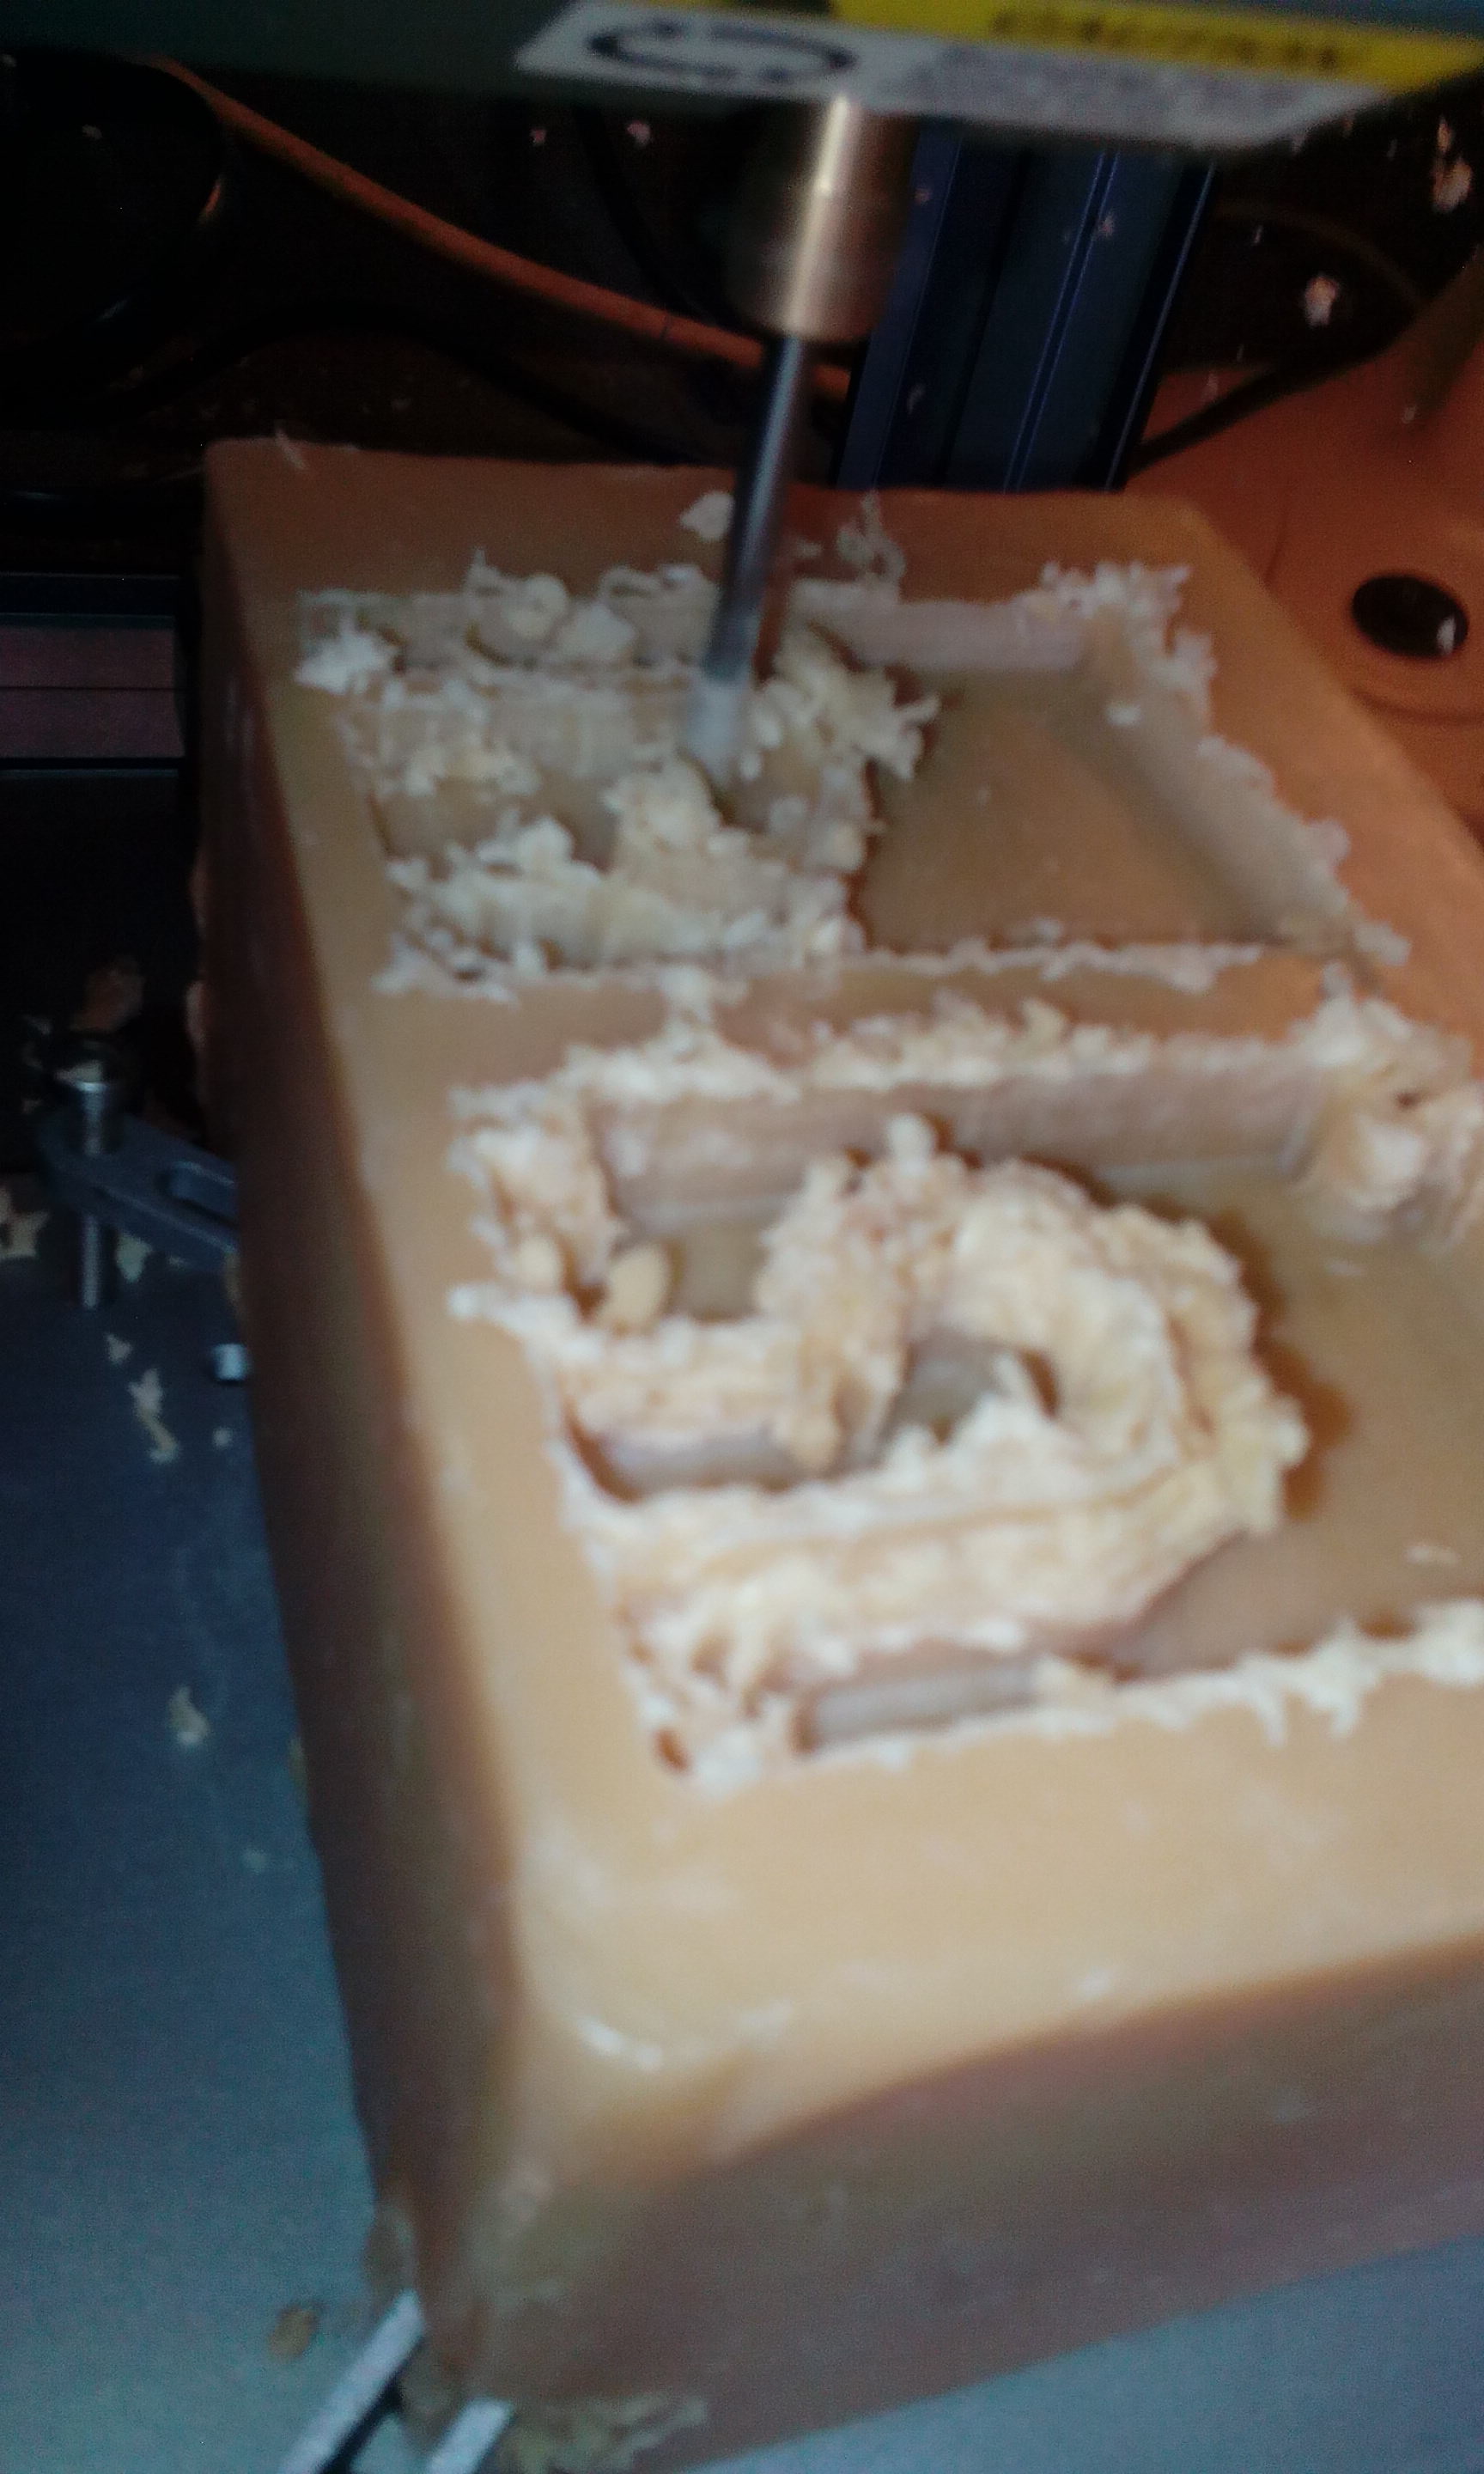
Milling with Snapmaker
Attach the material to the bed and the end mill to the spindle, the material that i used was natural waxed. If you work with soft materials , then you have to be aware that this can melt , so maybe you have to lower the spindle speed and feedrate.
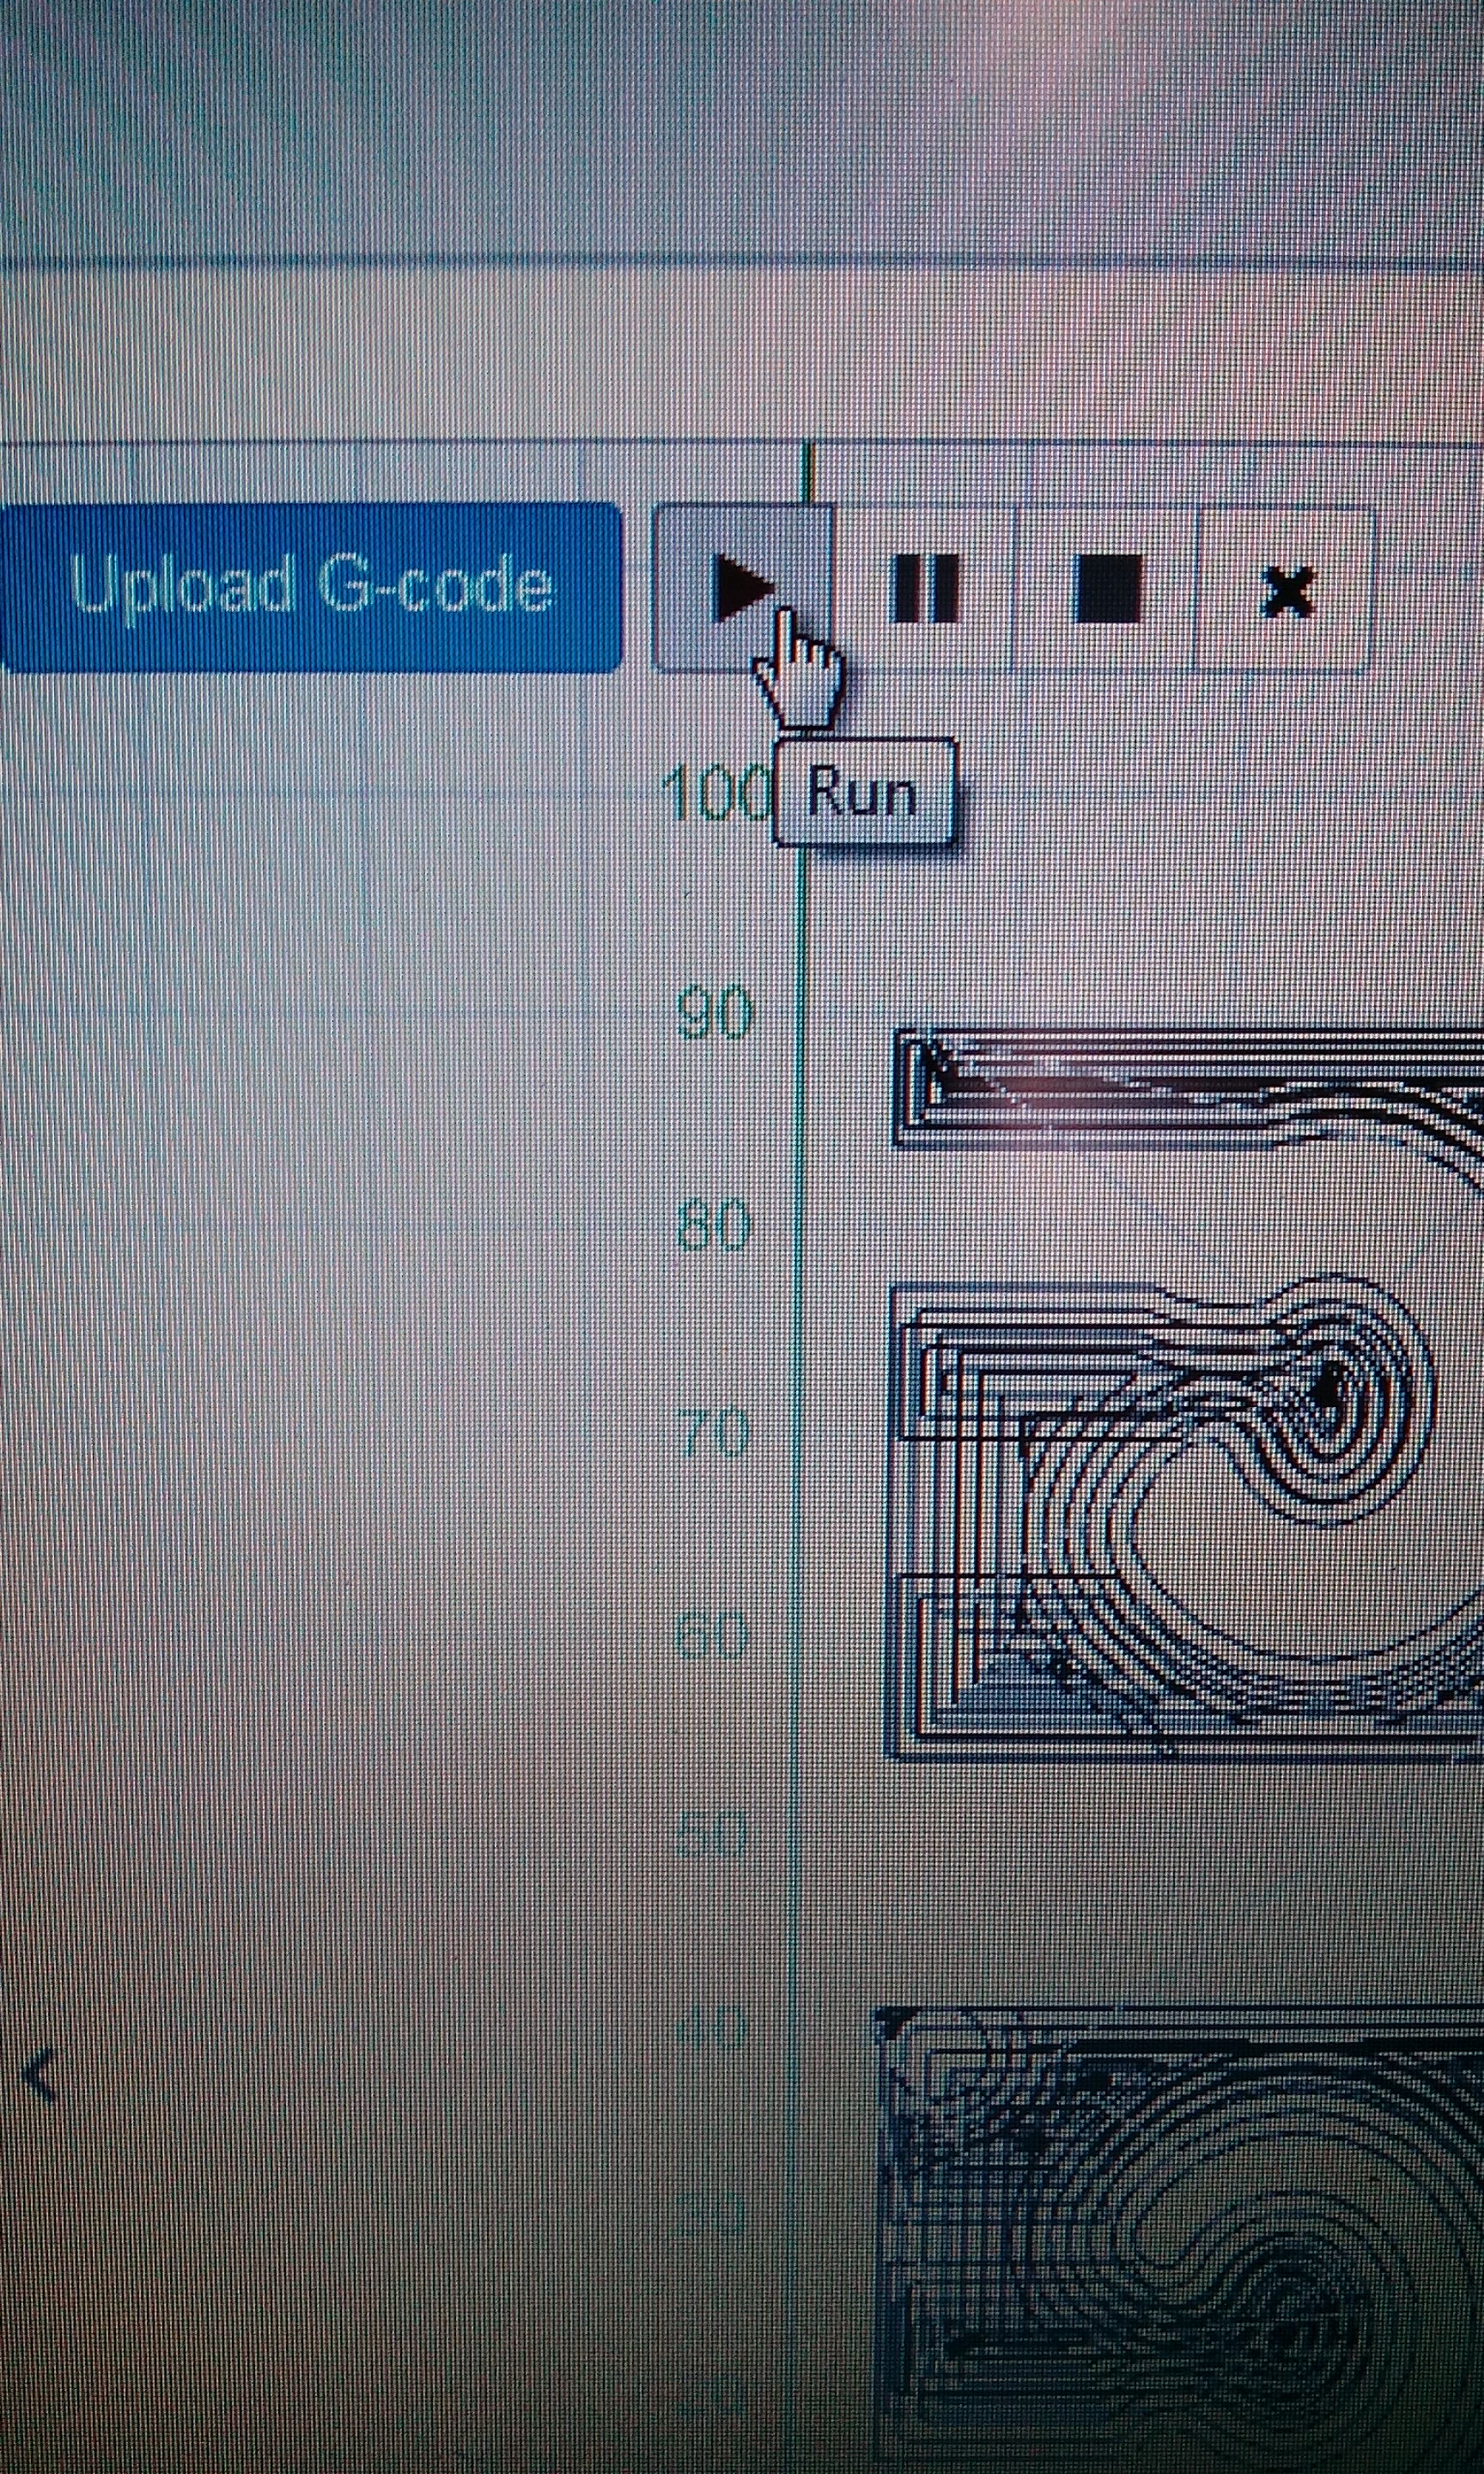
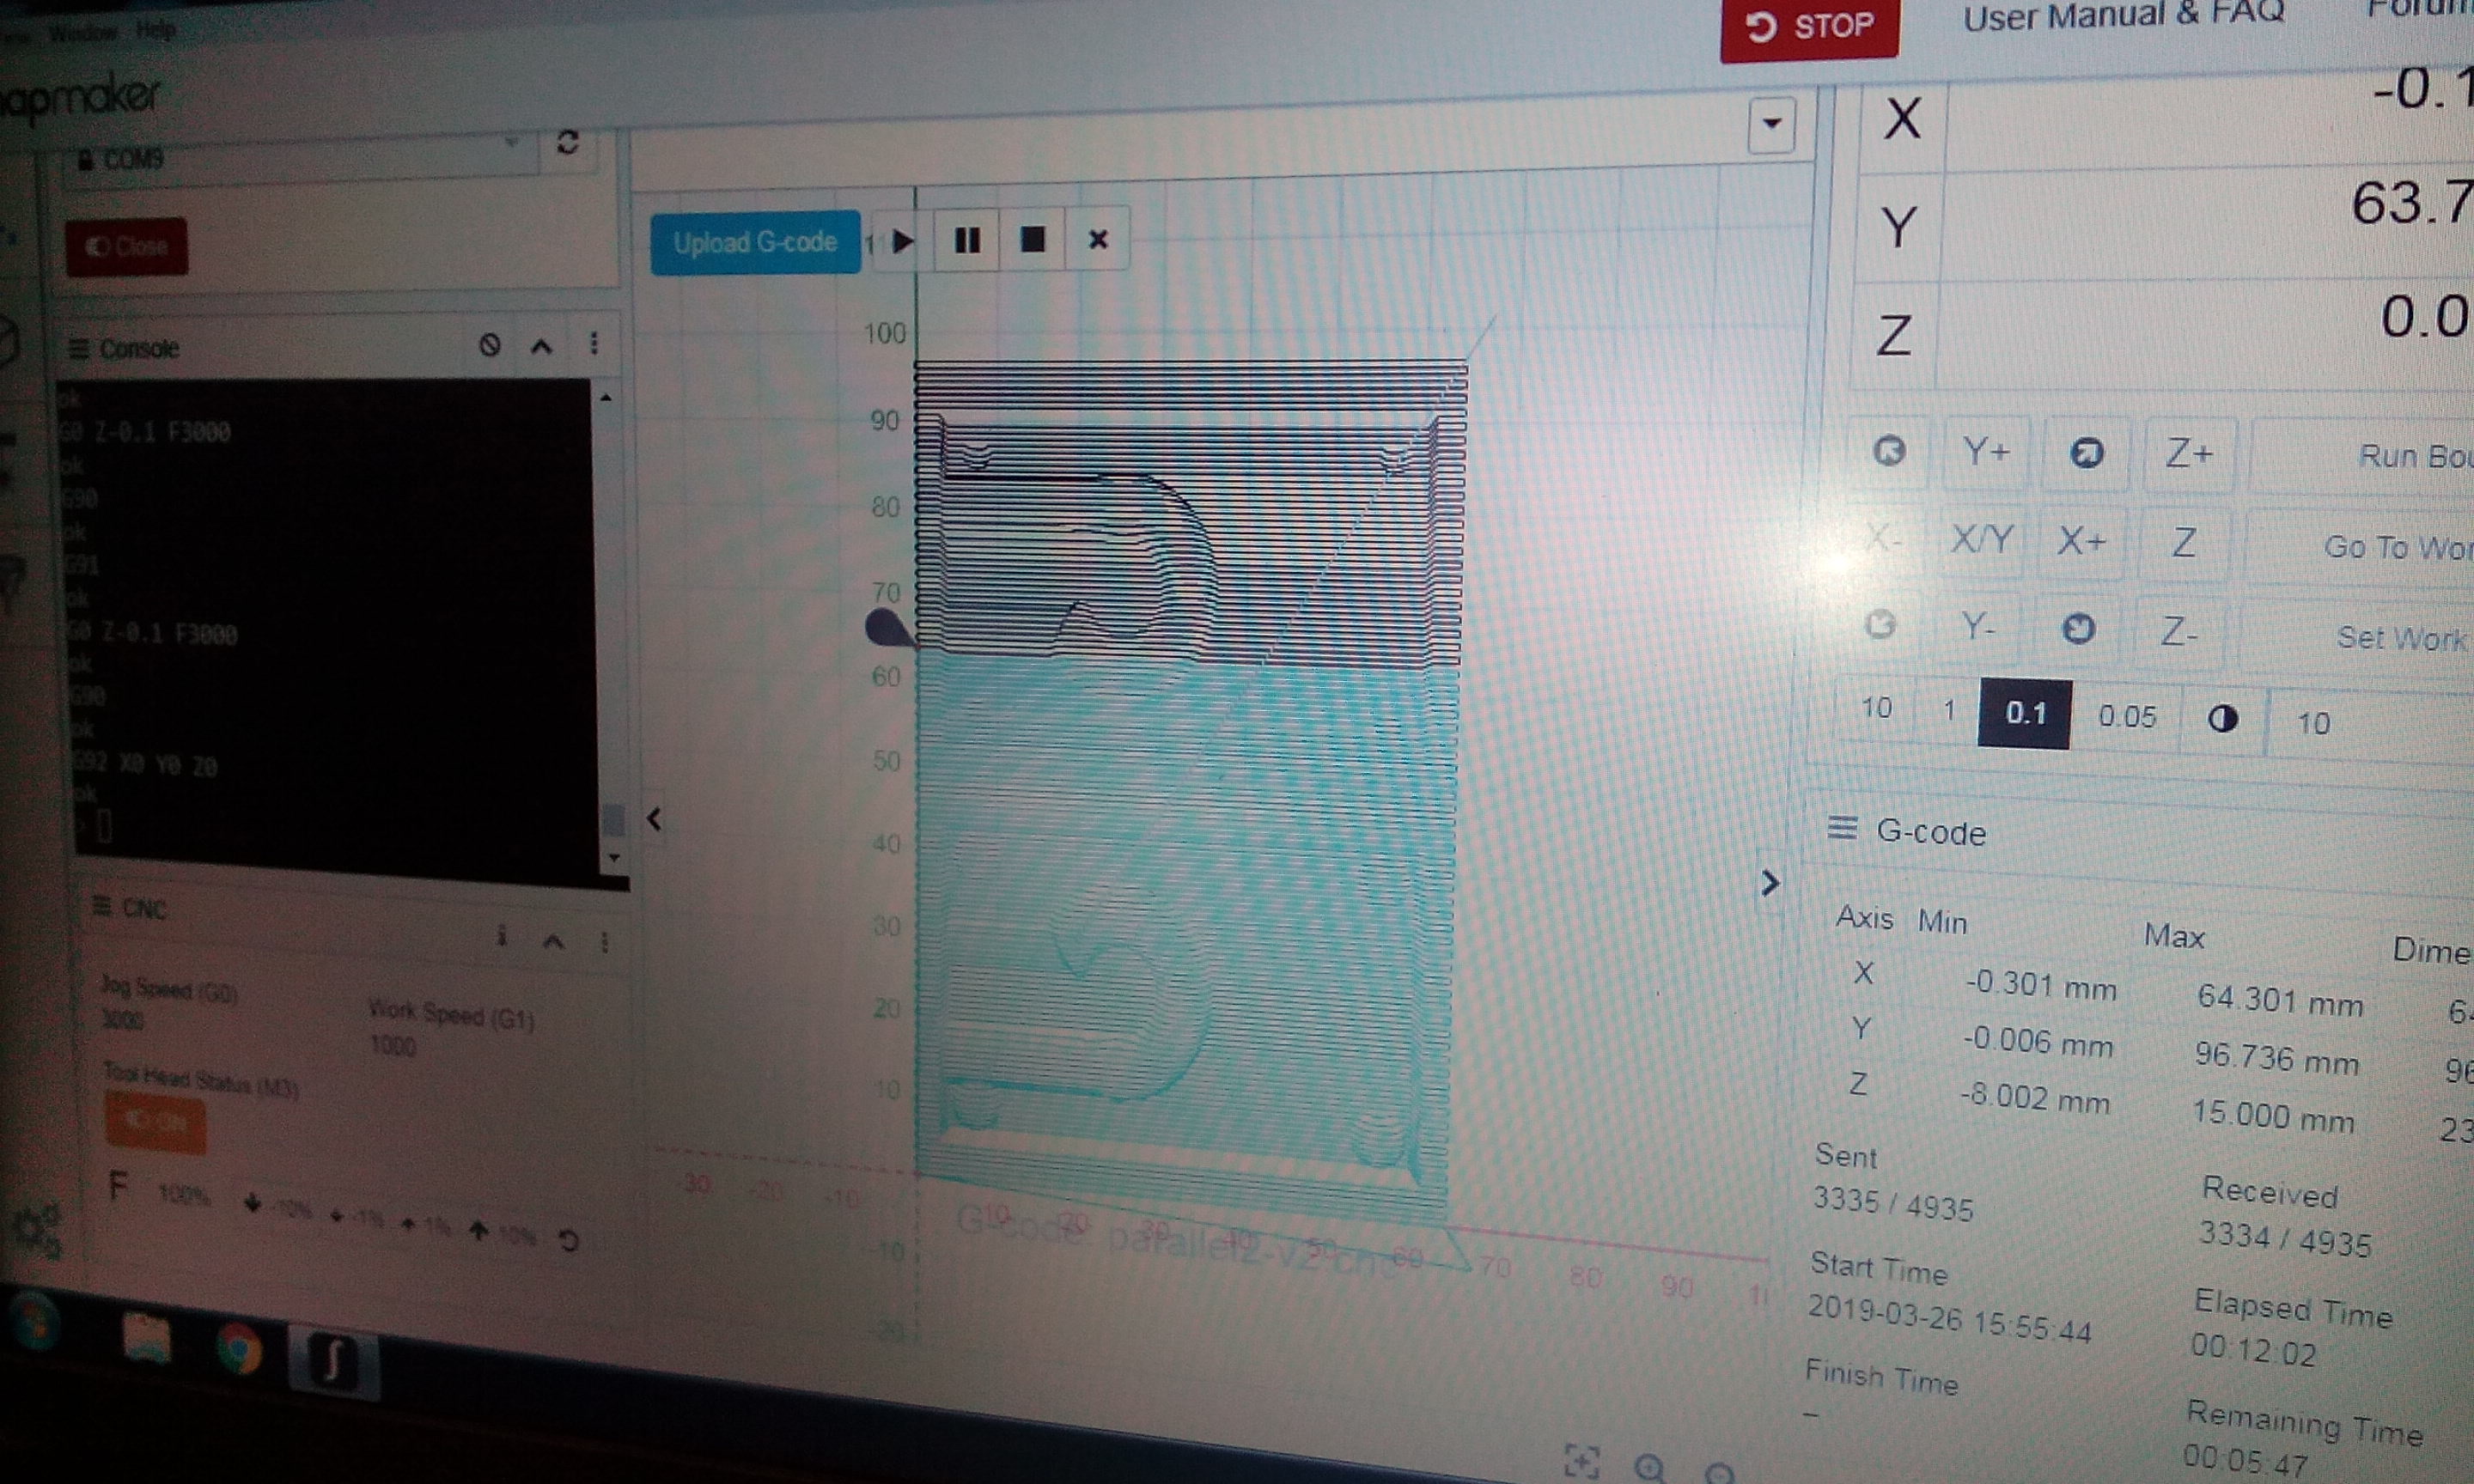
Open the toolpath in SnapMaker

Click on Run
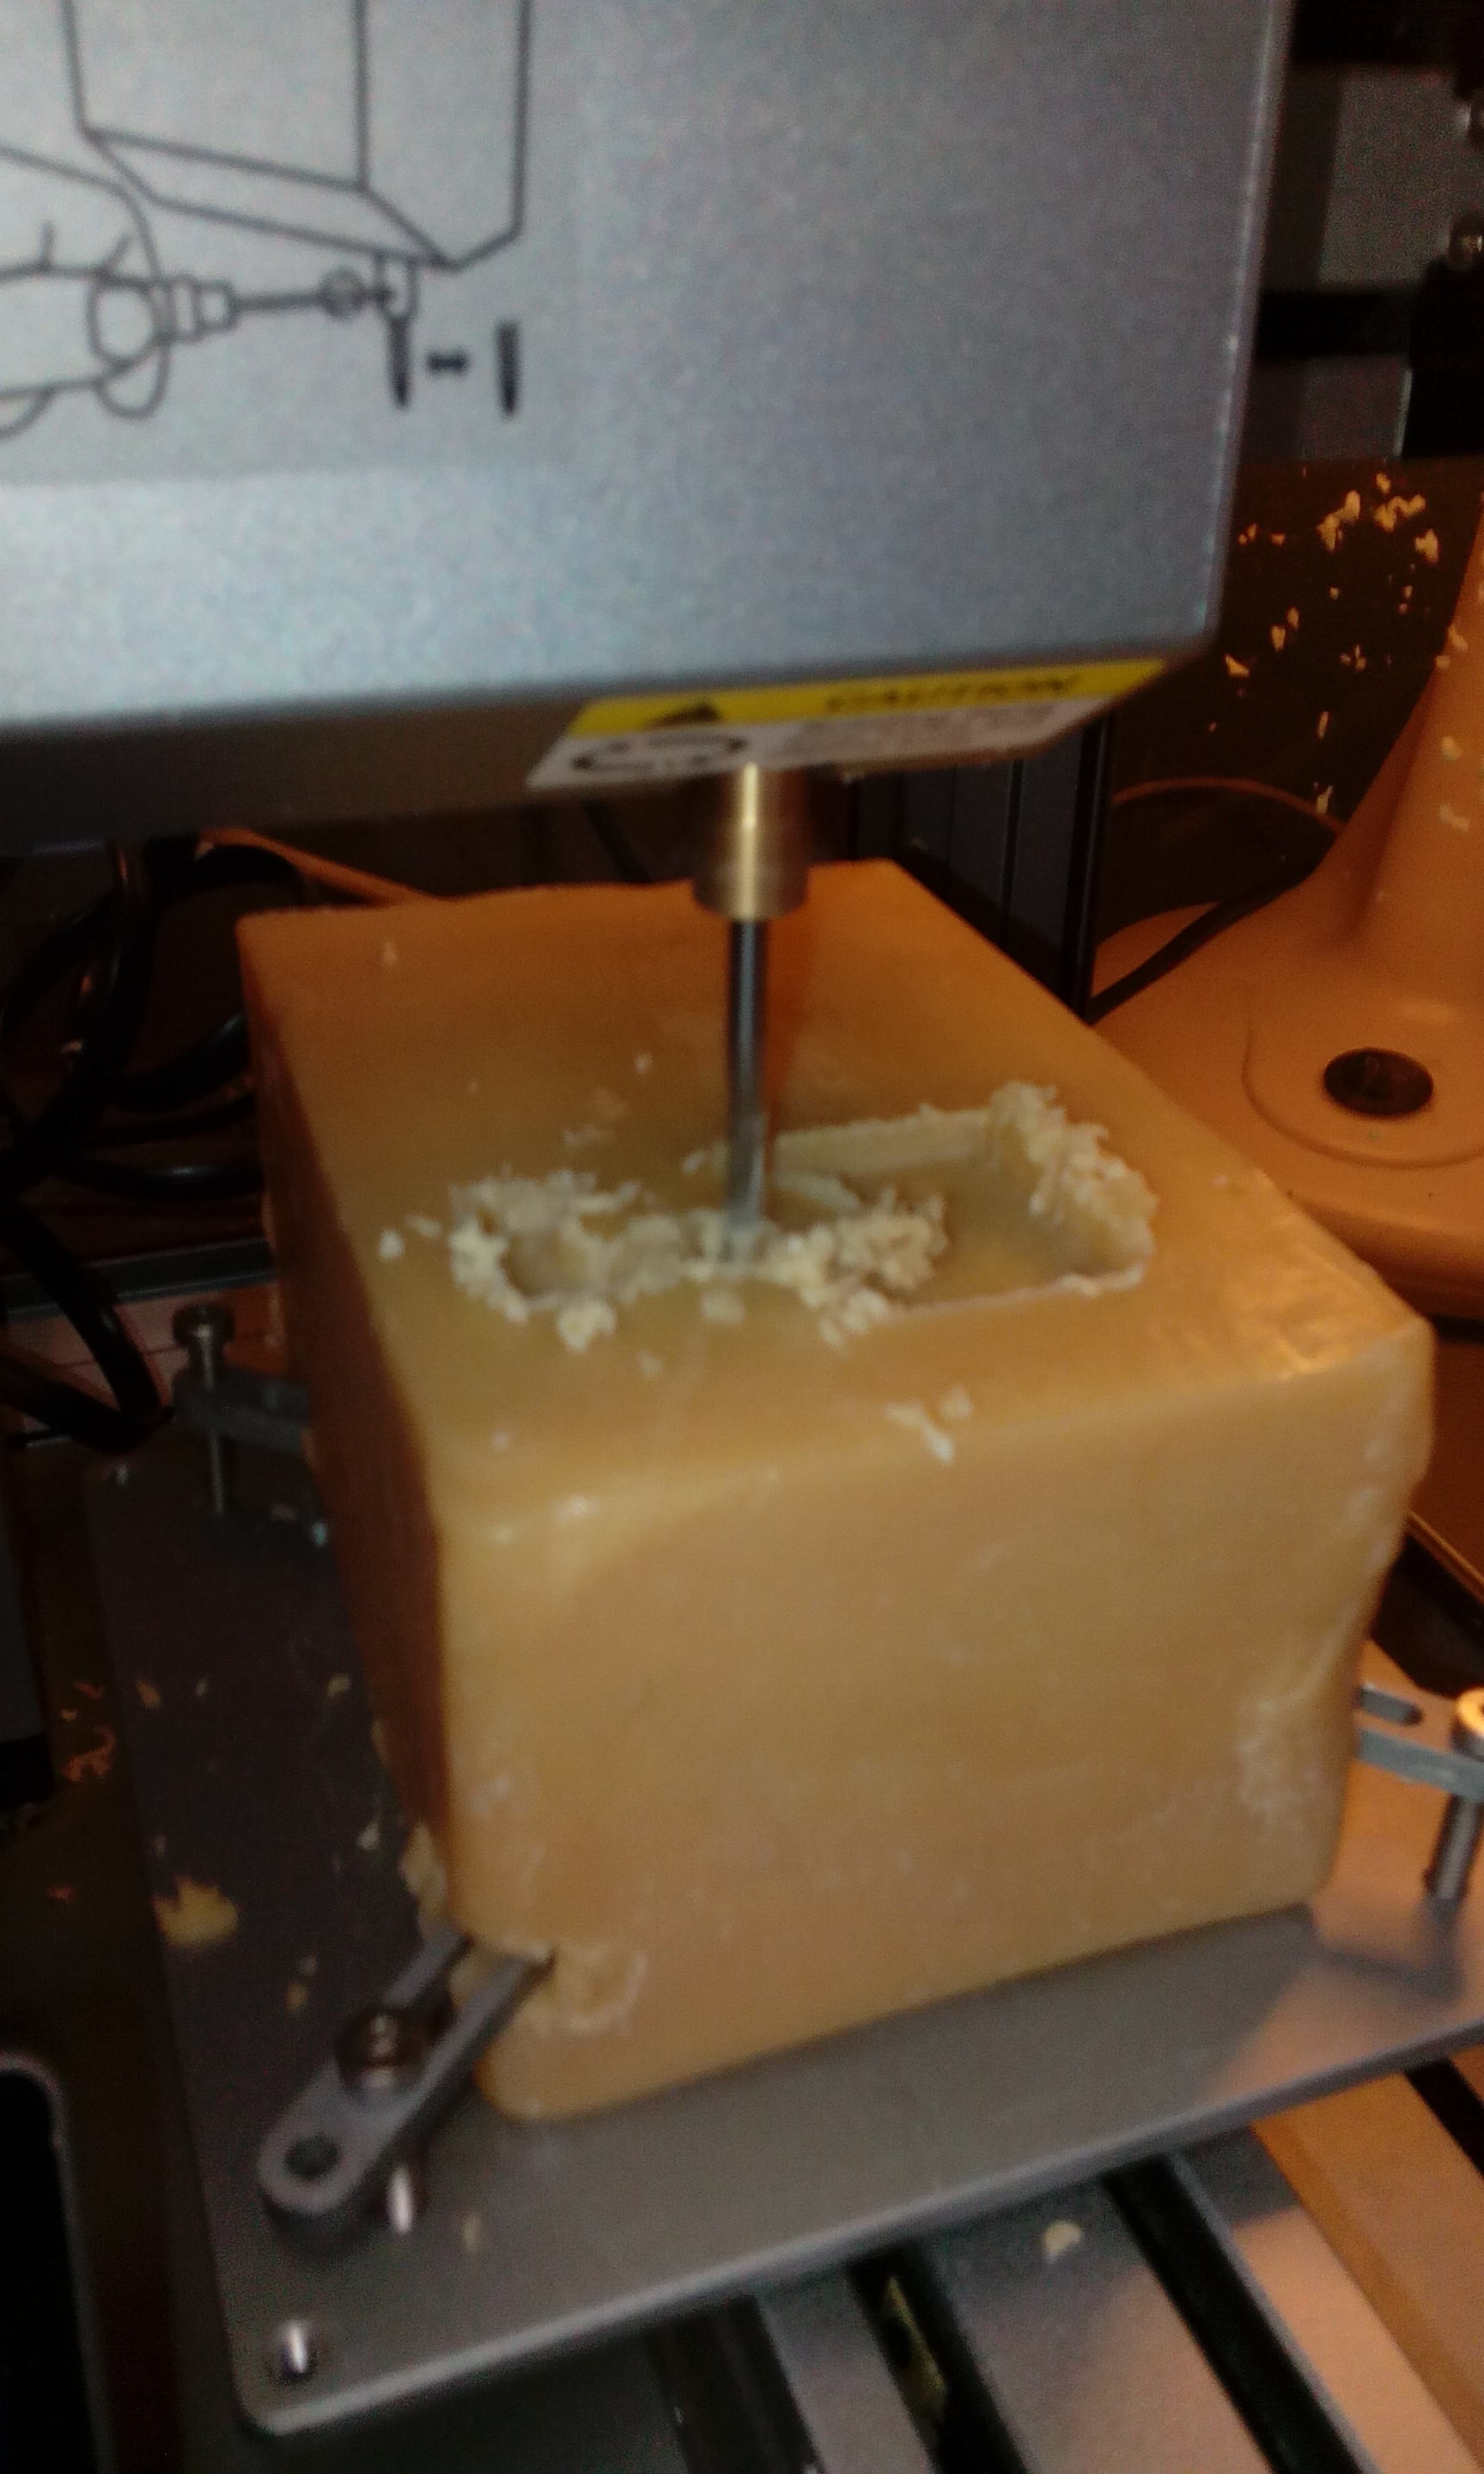
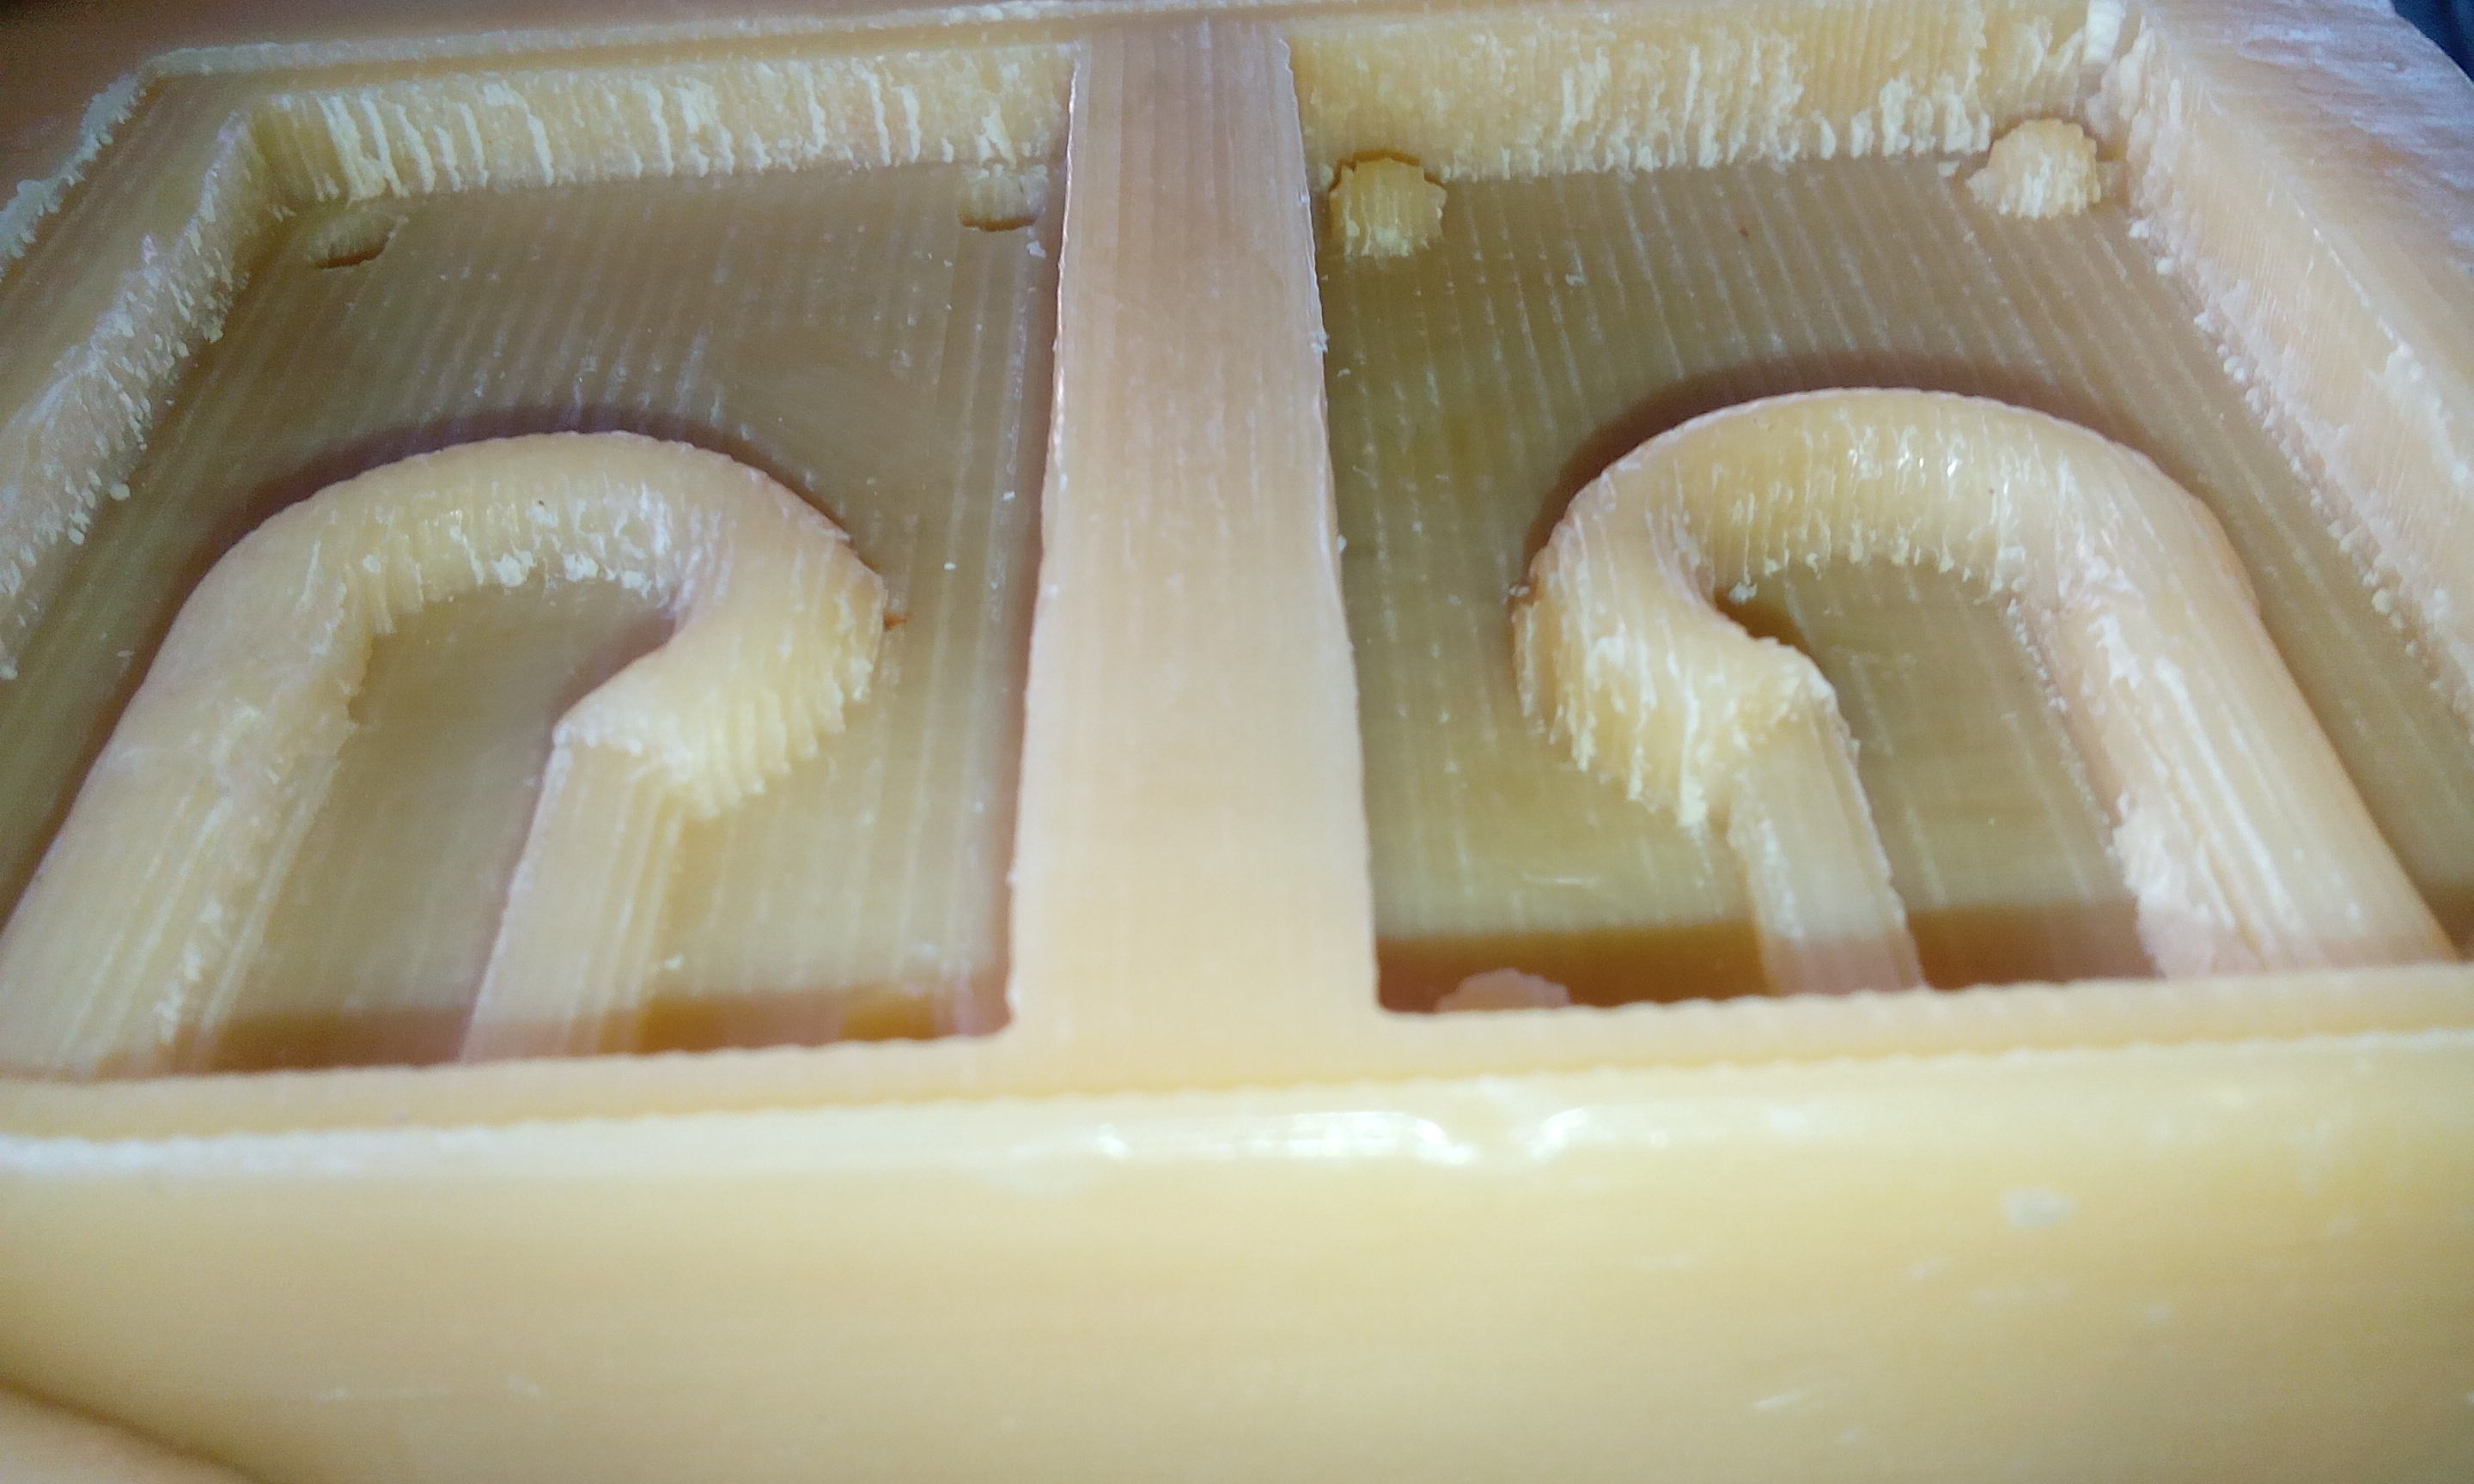
Then load and run the finish cut
Casting
For the rubber compound I used oommoo 25 Tin-cure Silicone rubber The mix ratio is 1 :1
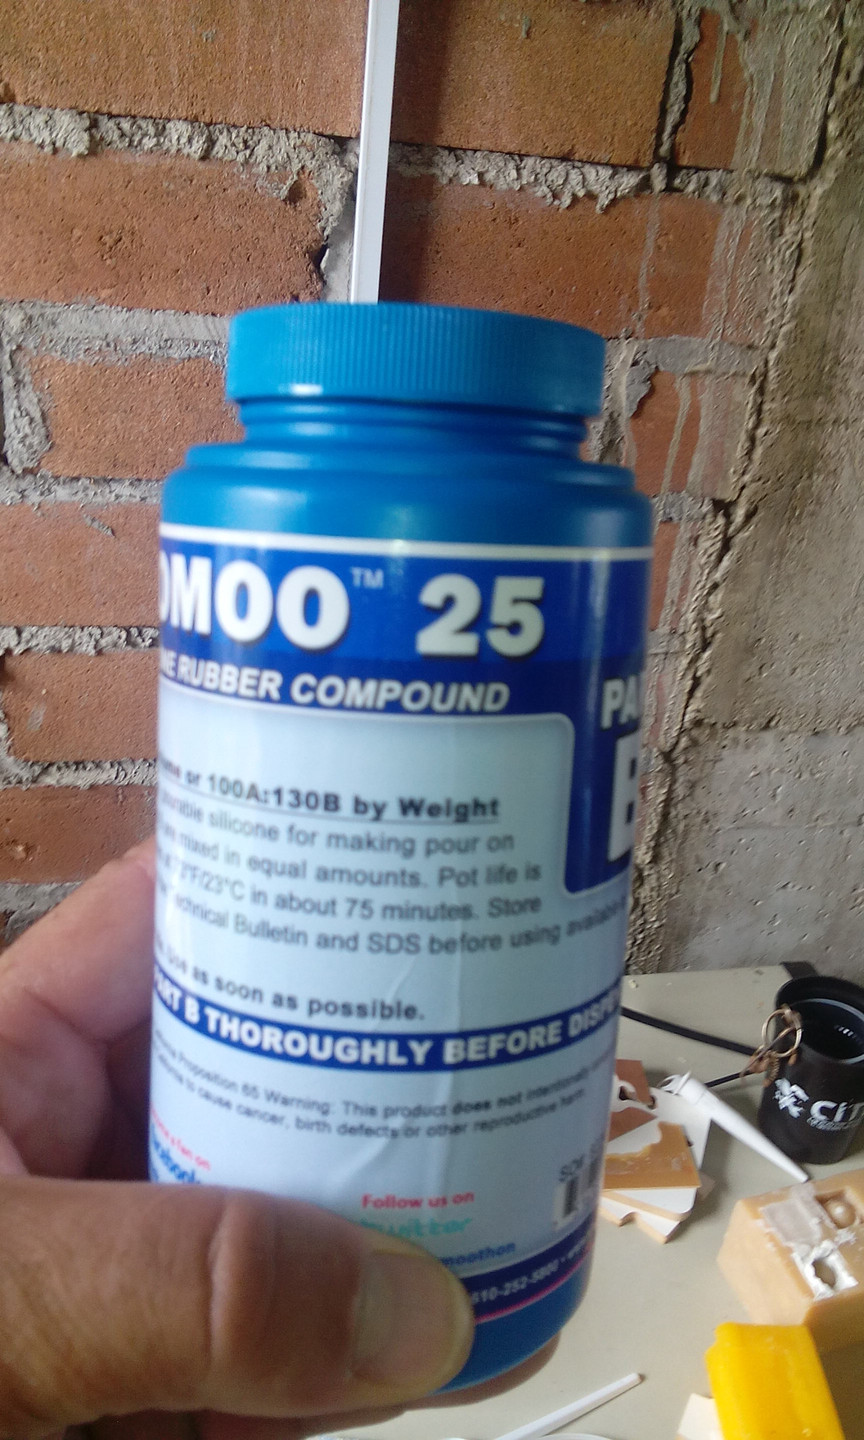
First you combine the A liquid part (yellow bottle) and B liquid part (blue bottle) in a plastic cup
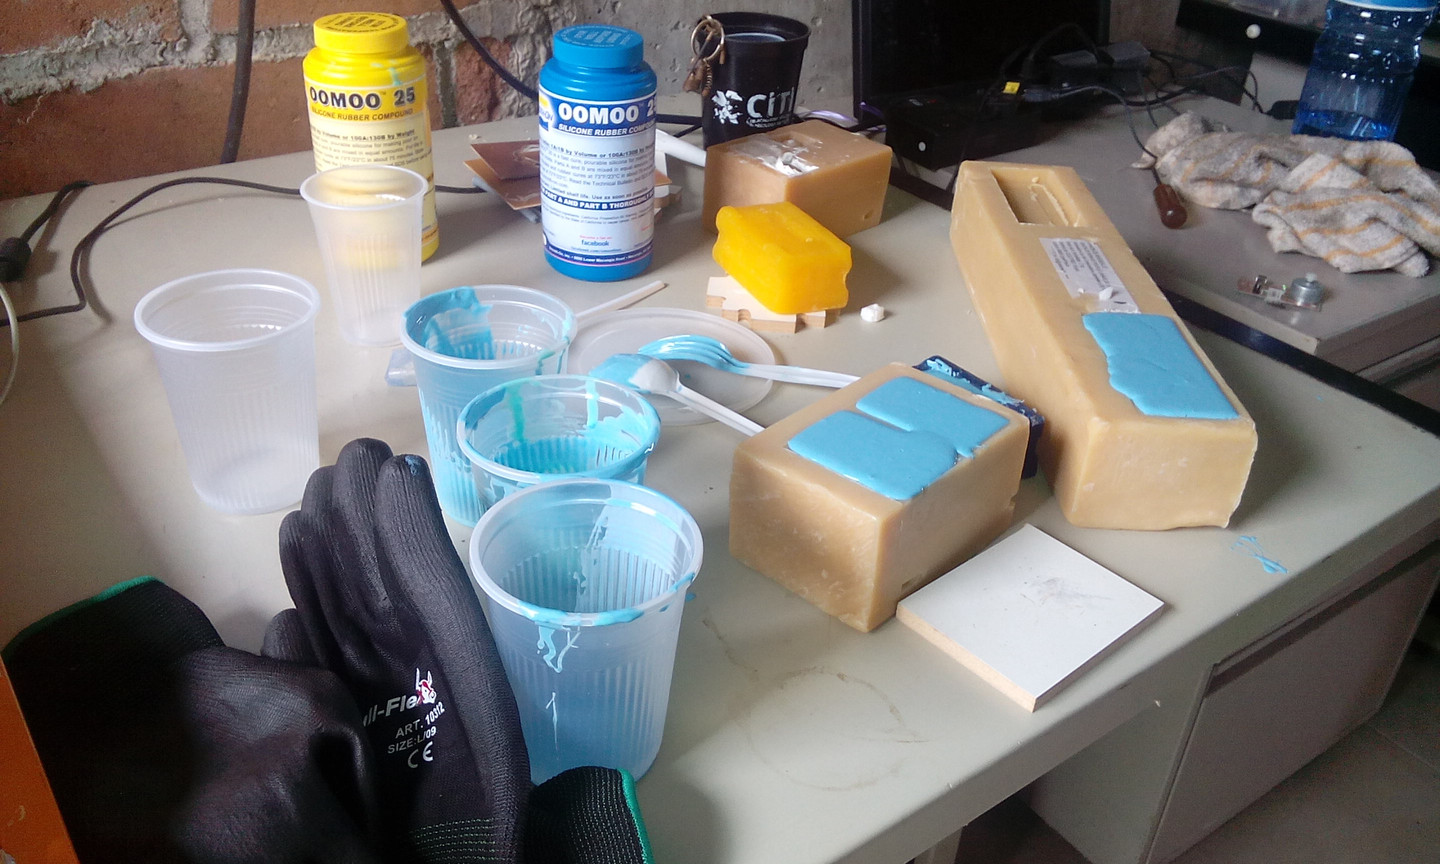
You have to estimate how much you will have to use. You mix the liquid rubber thoroughly When I saw it was an even colour then you can pour it into your wax model You have to do this slowly and try to do this without bubbles.
After several hours, you can take the rubber of the model, and you have a rubber mold
Now you can make the plastic model with the rubber mold
For the plastic compound I used Smooth-cast 305 liquid plastic The mix ratio is 1 :1
The plastic mixing is the same process of making the rubber compound
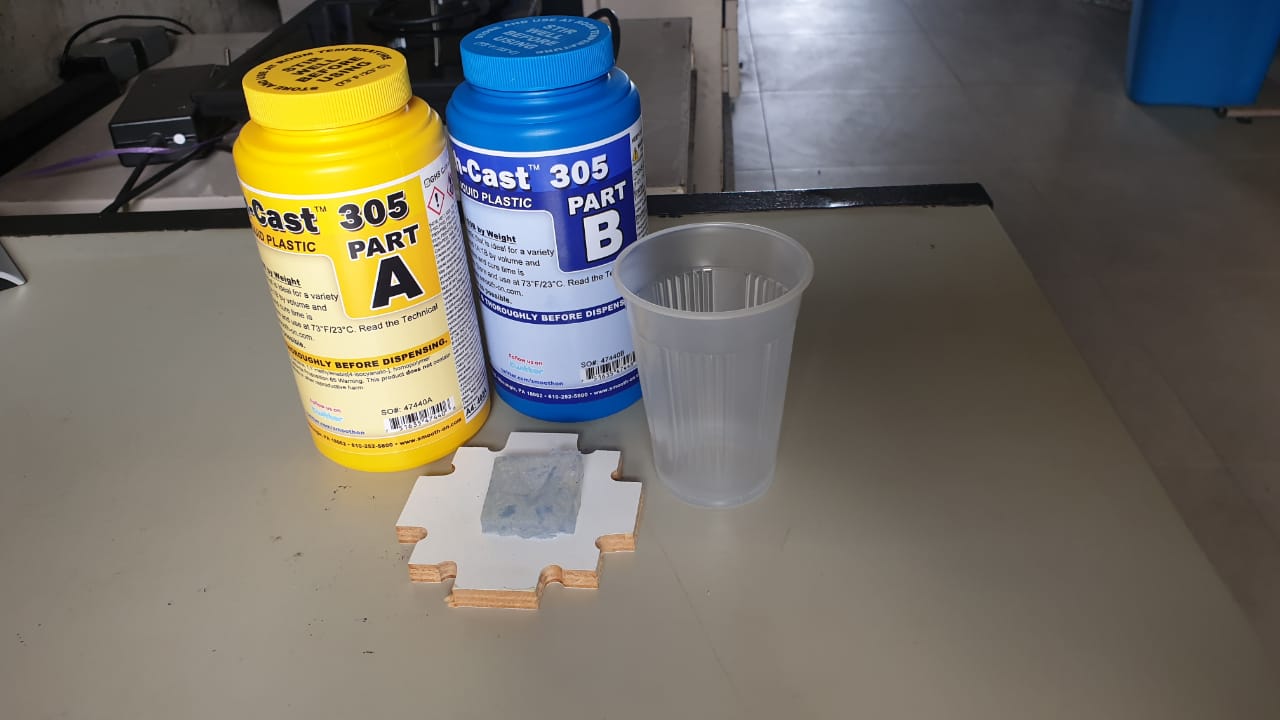
First you combine the A liquid part (yellow bottle) and B liquid part (blue bottle) in a plastic plate You have to estimate how much you will have to use. You mix the liquid plastic thoroughly
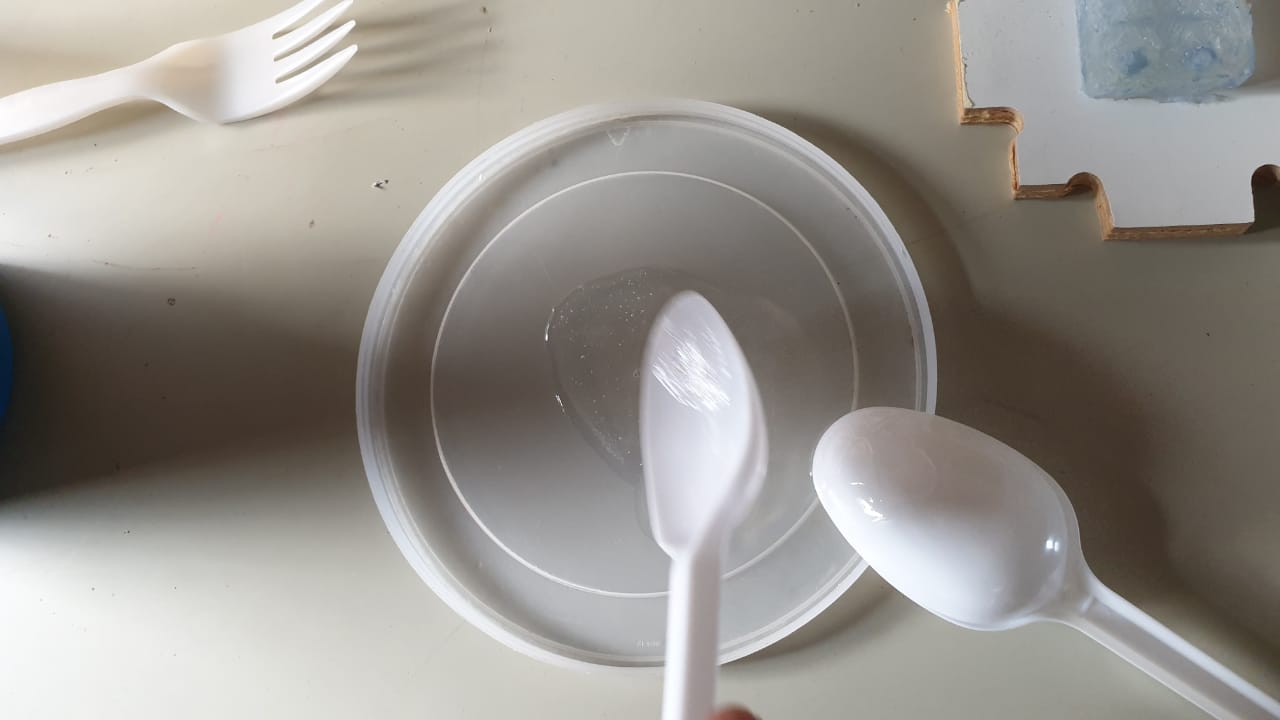
And then you pour it into the rubber mold, it has air vents so the air can escape. This is nescesarry otherwise air will get rapped inside.
And leaf to cure for a few hours, the box says minutes but it is better to leave it longer.
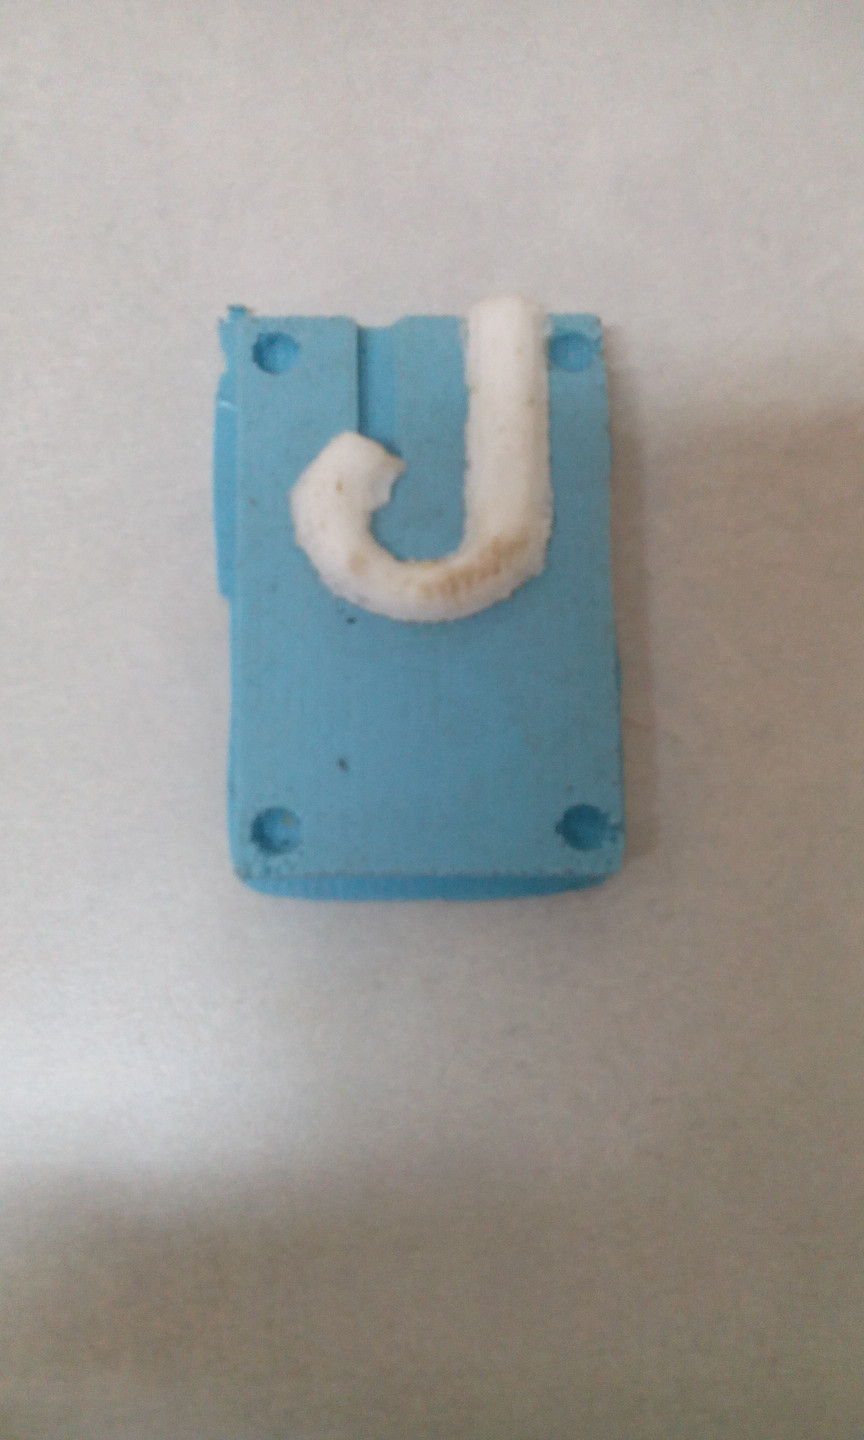
When you open the rubber mold the plastic model will be there
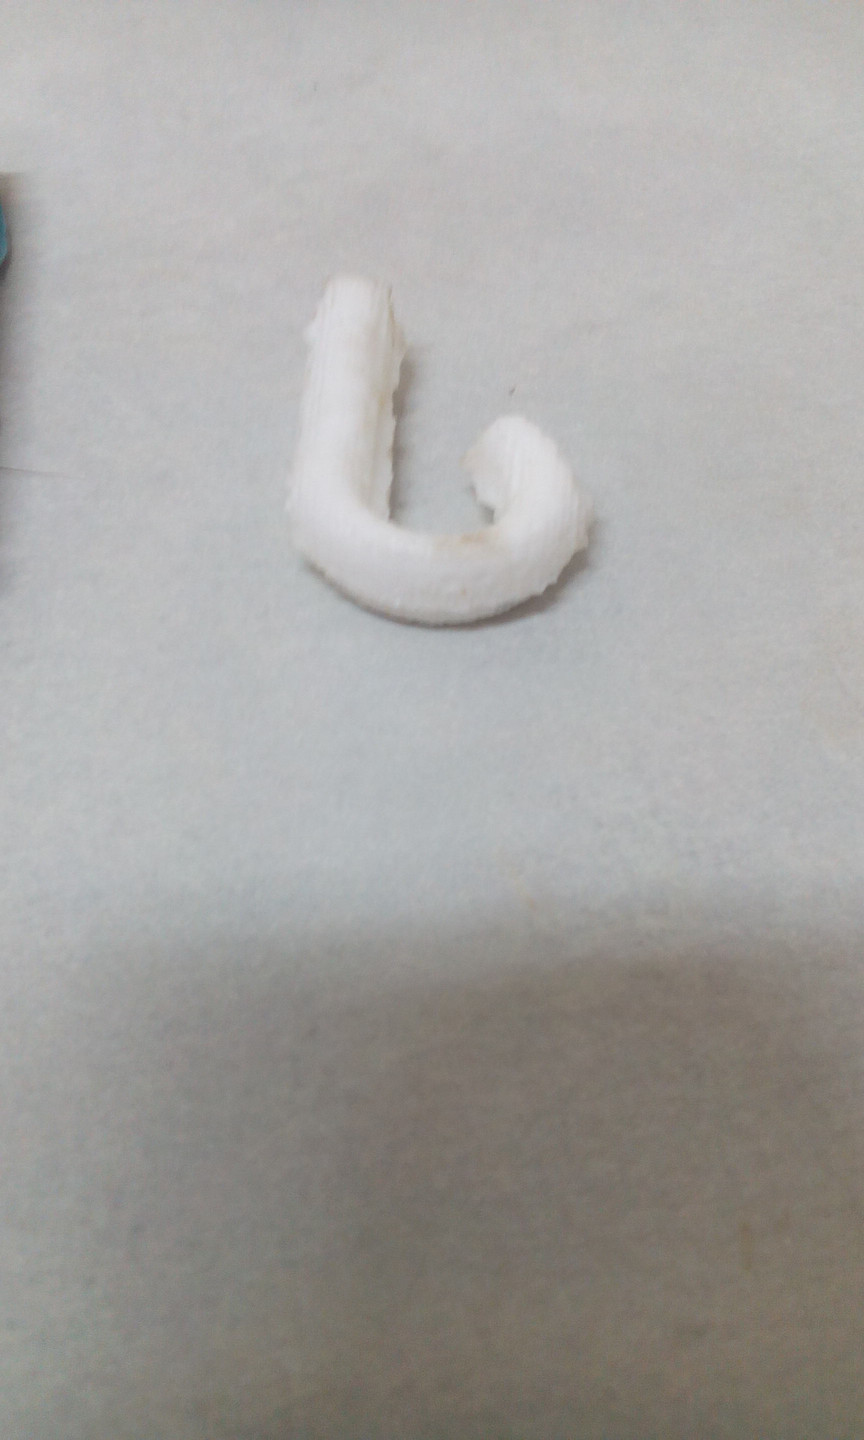
This was the end result, i was not really impressed because of the strenght of the material. Next time i want to make a metalic hook, but i learned i lot of the proces of designing the molds. This will help me in the future to make a mold for a metal hook.
Note: when working with these materials you have to be carefull not to get this in your eyes, best is to where gloves. And keep it away from children!