8. Computer controlled machining
Group assignment
Individual assignment
Week 08 - Computer-controlled machining
The Idea
This week i had to make something big, and with a CNC machine. I would use the Shopbot for this. I wanted to do something with a problem i have when hedging ducks A common problem in hedging ducklings is when the first ducklinhgs hedge the mother leaves the nest. What happens is that there are sometimes eggs left, and in these eggs are also ducks
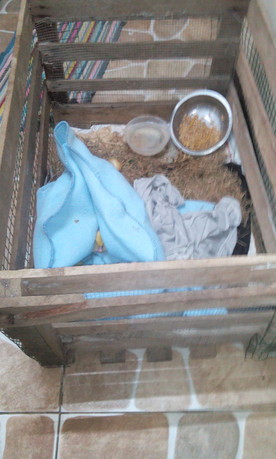
- We bring them inside in a crate, and with the warmed of a fleece blanket they are hedge in a crate
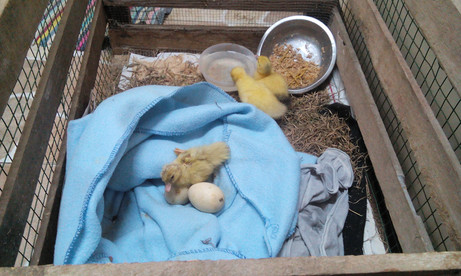
- As you can see these are healthy ducks
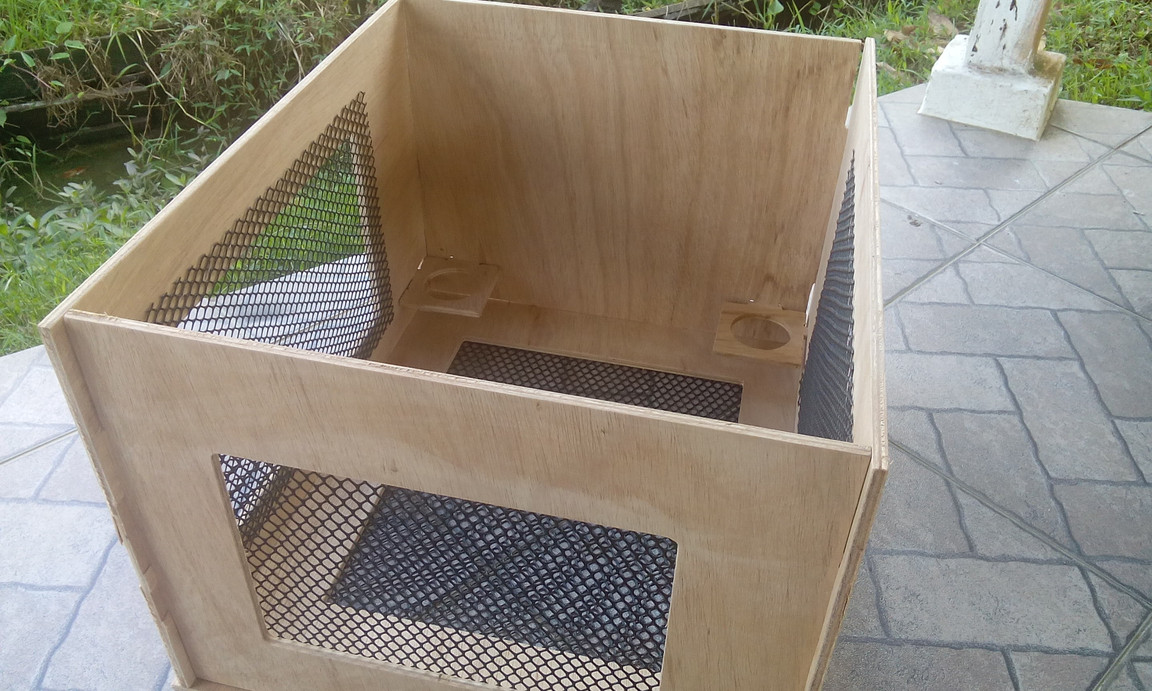
When the hedging is done then i have to store the crate for the next time, so i wanted to make a crate that i could take a part and store easily. So the idea of the “Saveducky”box emerged
Design

- I went online to makercase and started to play with a box
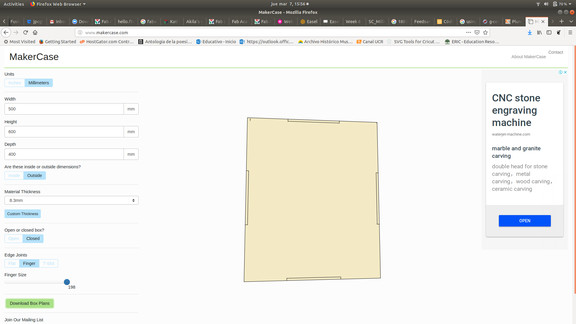
- When i designed my boxed with the parameters that i wanted, i exported it
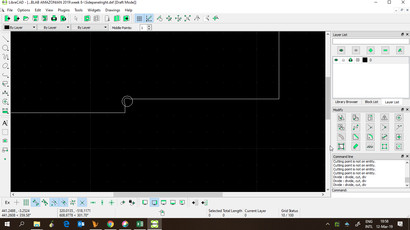
This file i imported into Librecad

Making Bones
I startet making the changes needed for the design and for the CNC. The bones on the corners were made using simple circles that must be at least the same diameter as the end mill of the shopbot. - Describe the process of exporting your design and using Vcarve or Fusion360 to create the G-code.

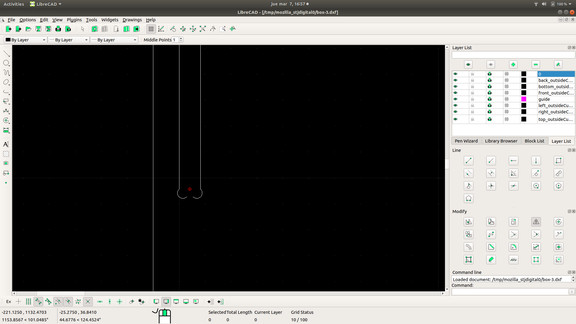
I also tried another way to make the bones. Using guide lines is necesary to be precise with the design.
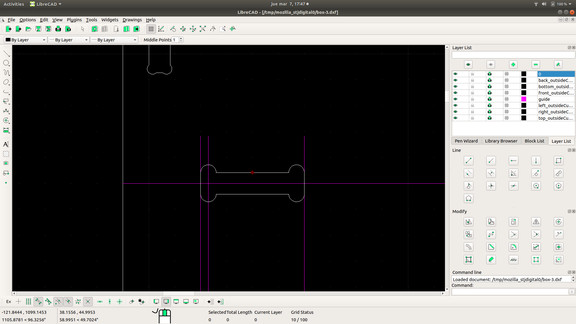
I also added windows to the sides of the box, and holder for small containers for water and food.

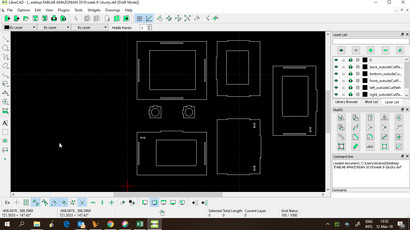
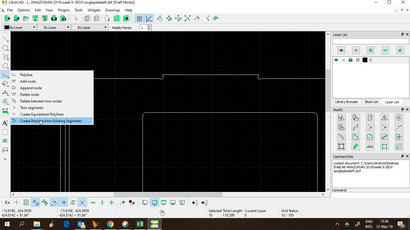
Then, we found that for exporting the file it is better to close the shapes, also delete any double line and extra layers. I used polyline tool to do this.
When it was finished, I used Vcarve to create the toolpaths for the shopbot.
- Describe the process of exporting your design and using Vcarve or Fusion360 to create the G-code.
- Mention the parameters you used for cutting your design.
- end mill.
- number of flutes
- length of flutes
- diameter.
- cut depth.
- passes.
- adding tabs.
- Photos of the cutting and assembling process.
- Describe any errors or problems with the process and how you fixed them.
- Photos of your design.
Toolpath in Vcarve
In Vcarve I set the size of the stock and layed out the pieces of the box. Then defined inside and ouside cuts. The settings for the toolpath are:
- Cut depth: 9 mm (stock thickness)
- number of flutes: 2
- tool diameter: 6 mm
- flutes length: 11 mm
- Passes: 3
- Spindle: 9000
- Feedrate: 15 mm/s

I also added tabs to the toolpath to prevent pieces from moving when they were cut. One tab on each side of the pieces.
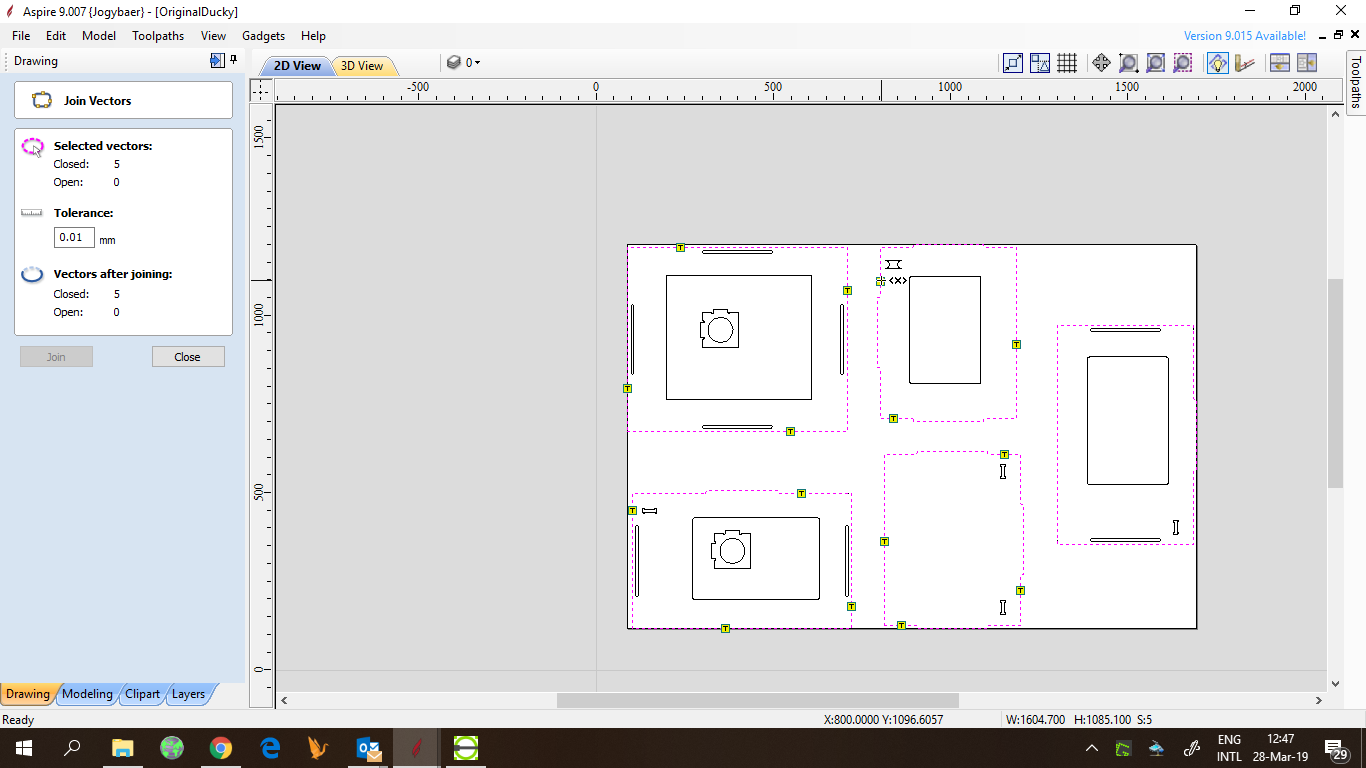
3 toolpaths were generated for windows, bones and panels.
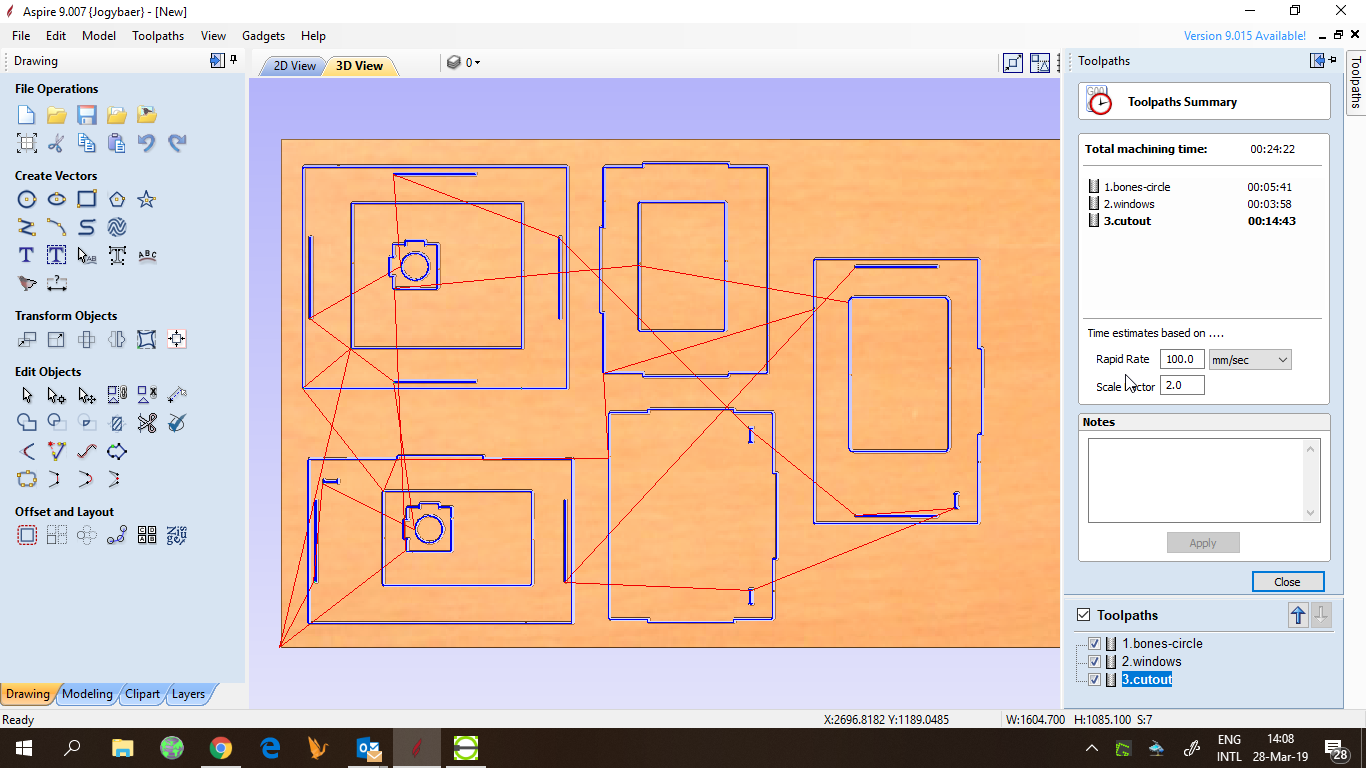
Cutting with Shopbot
To turn on the shopbot there are 3 switches: mains switch (red), engage (key) and a green reset button. The vacuum extarctor must also be turned on befor cutting.
The head of the cnc is moved to the desired X and Y zero position. Then, a metal plate is used to set the zero in Z.

This is the software control panel for the shopbot
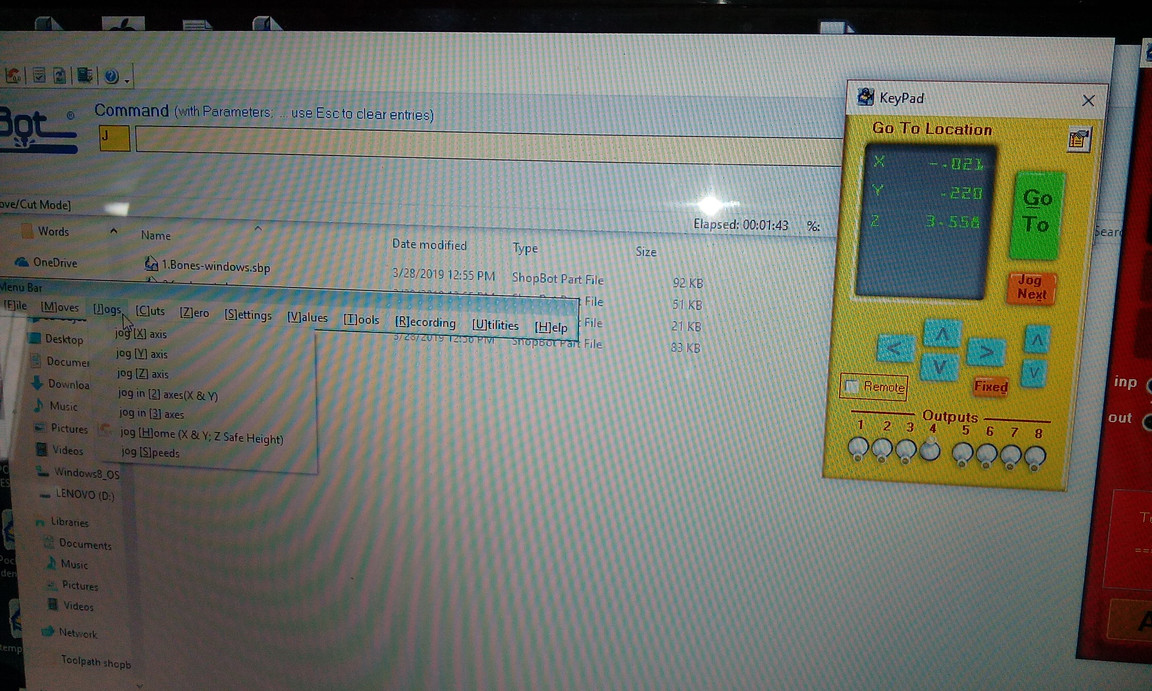
When everything is ready, the spindle must be manually turned on and set. Then, from the control panel, the job is launched.
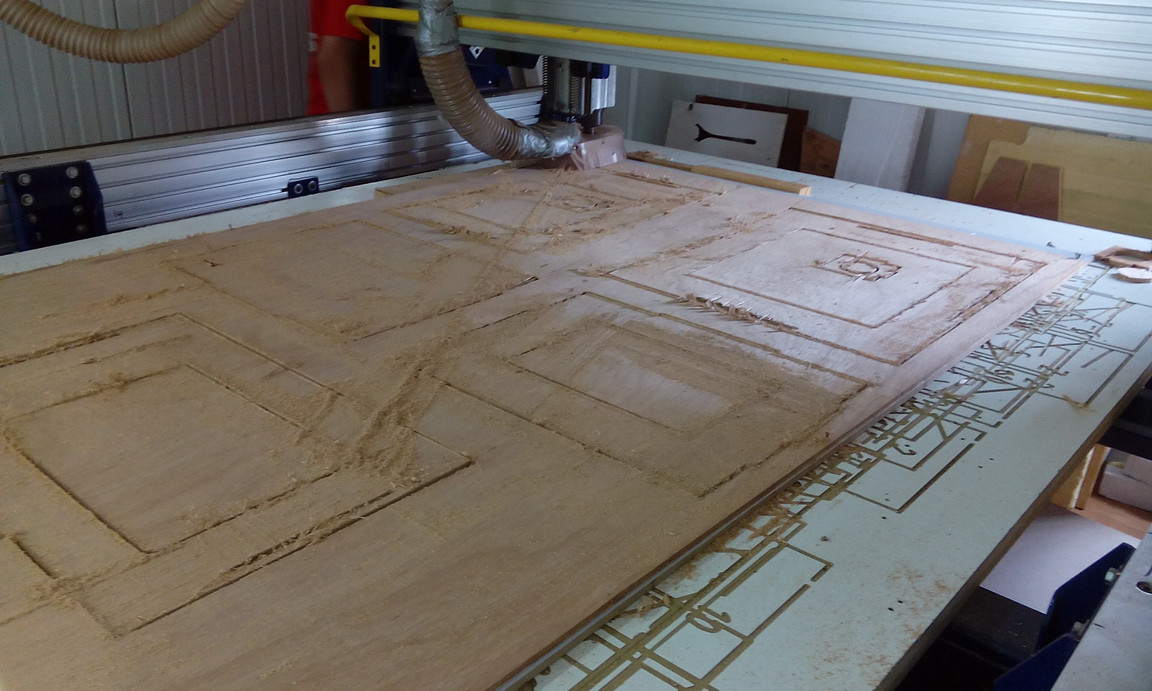
After some sanding, the box was completed