4. Computer controlled cutting
Group Assignment
Week 04 - Computer-controlled cutting
Individual assignment
Openscad
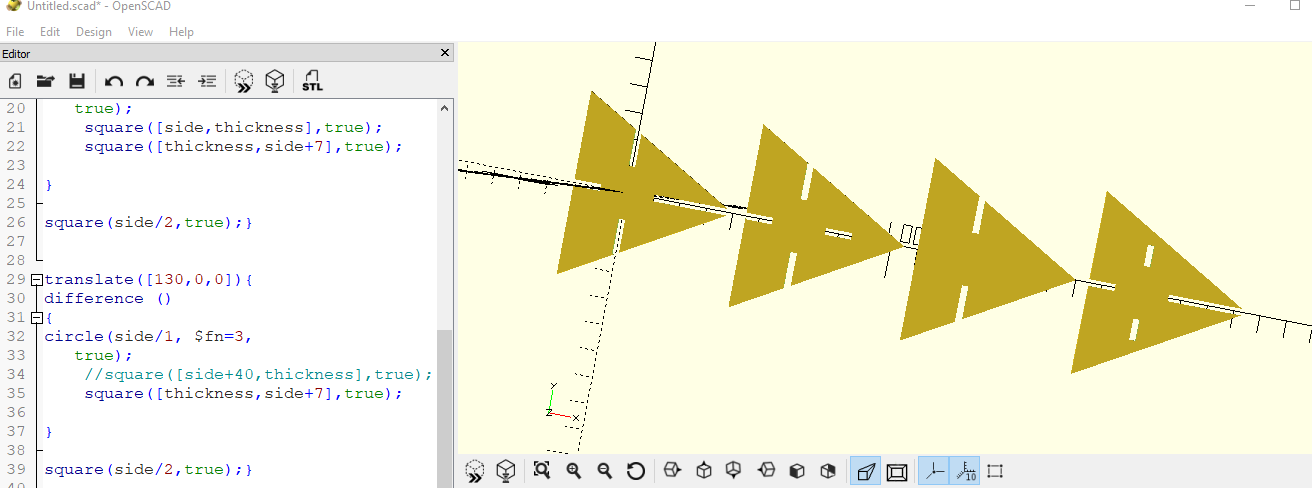
I would be using Openscad to design my pressfit kit. Openscad uses lines of code to make shapes, for me it was a really steap learning curve. To make dificult forms you need more code
My presfit kit kit would be triangle pieces, in Openscad you have to use Circles to create a Triangle The variables i used in Openscad where as followed.
- Variables side = the size of my object
- Material thickness of the material = carton 2mm
- The kerf which is determined by the test in our group asseignment = 0.05
- Thickness = material - 2 * kerf.
- $fn = 3 (This is to make a circle with 3 segments to make a traingle)
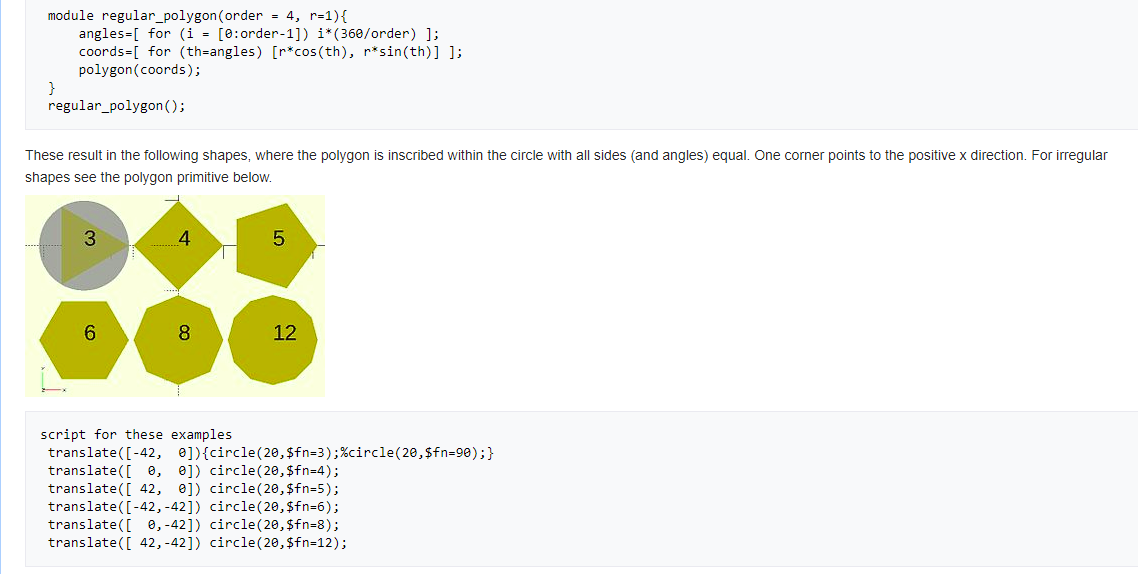 These are the different shape commands in Openscad
I used the Circle a Triangle is like a piece of a pie , part of a circle
These are the different shape commands in Openscad
I used the Circle a Triangle is like a piece of a pie , part of a circle
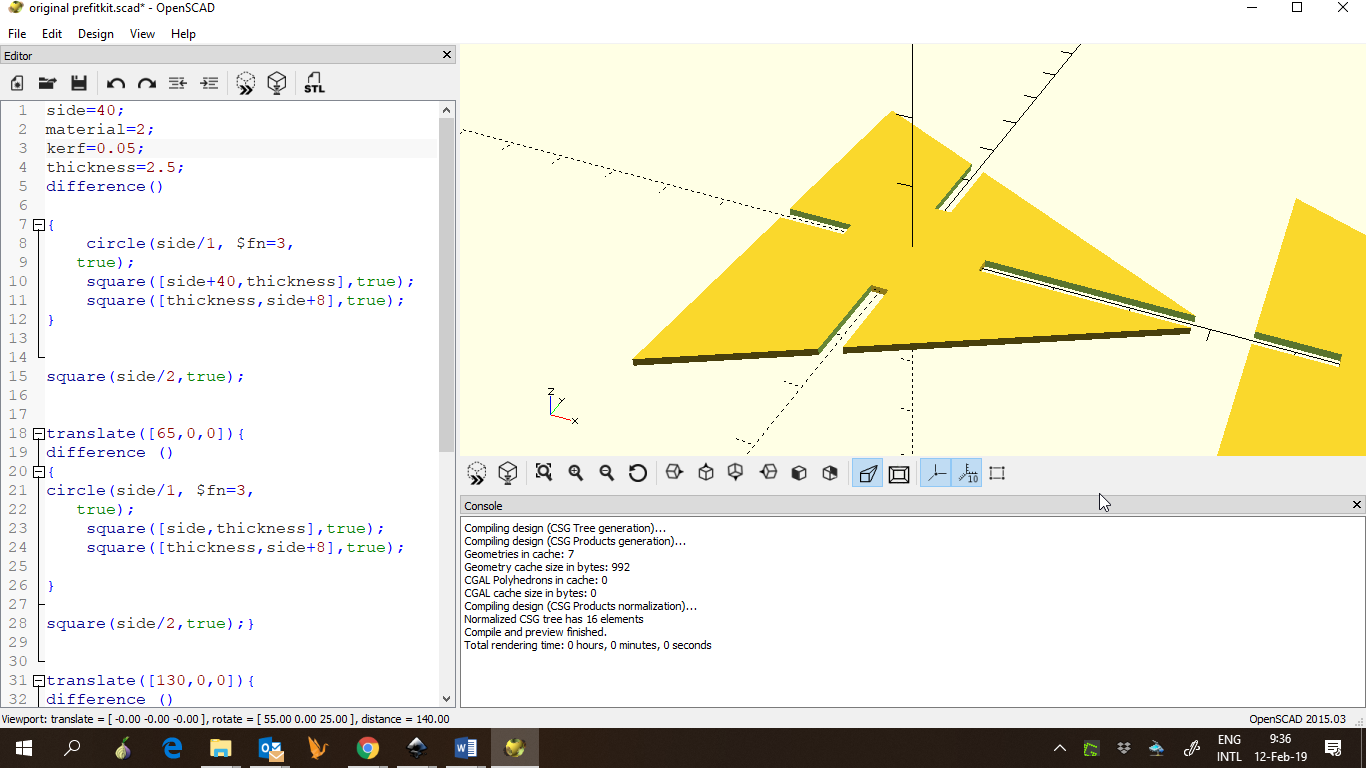 To make the slot i used the retangle, the thickness and side are used to make the cut out in the triangle
(the tickness has the kerf defined in it)
To make the slot i used the retangle, the thickness and side are used to make the cut out in the triangle
(the tickness has the kerf defined in it)
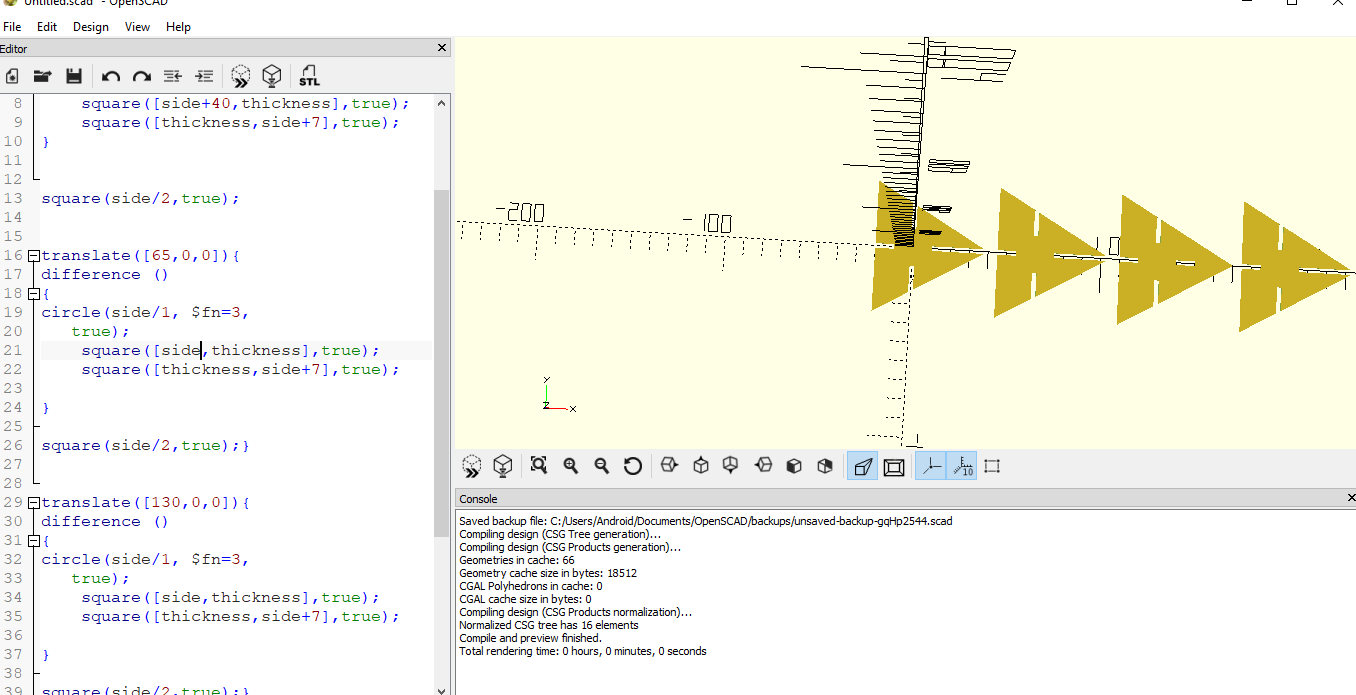
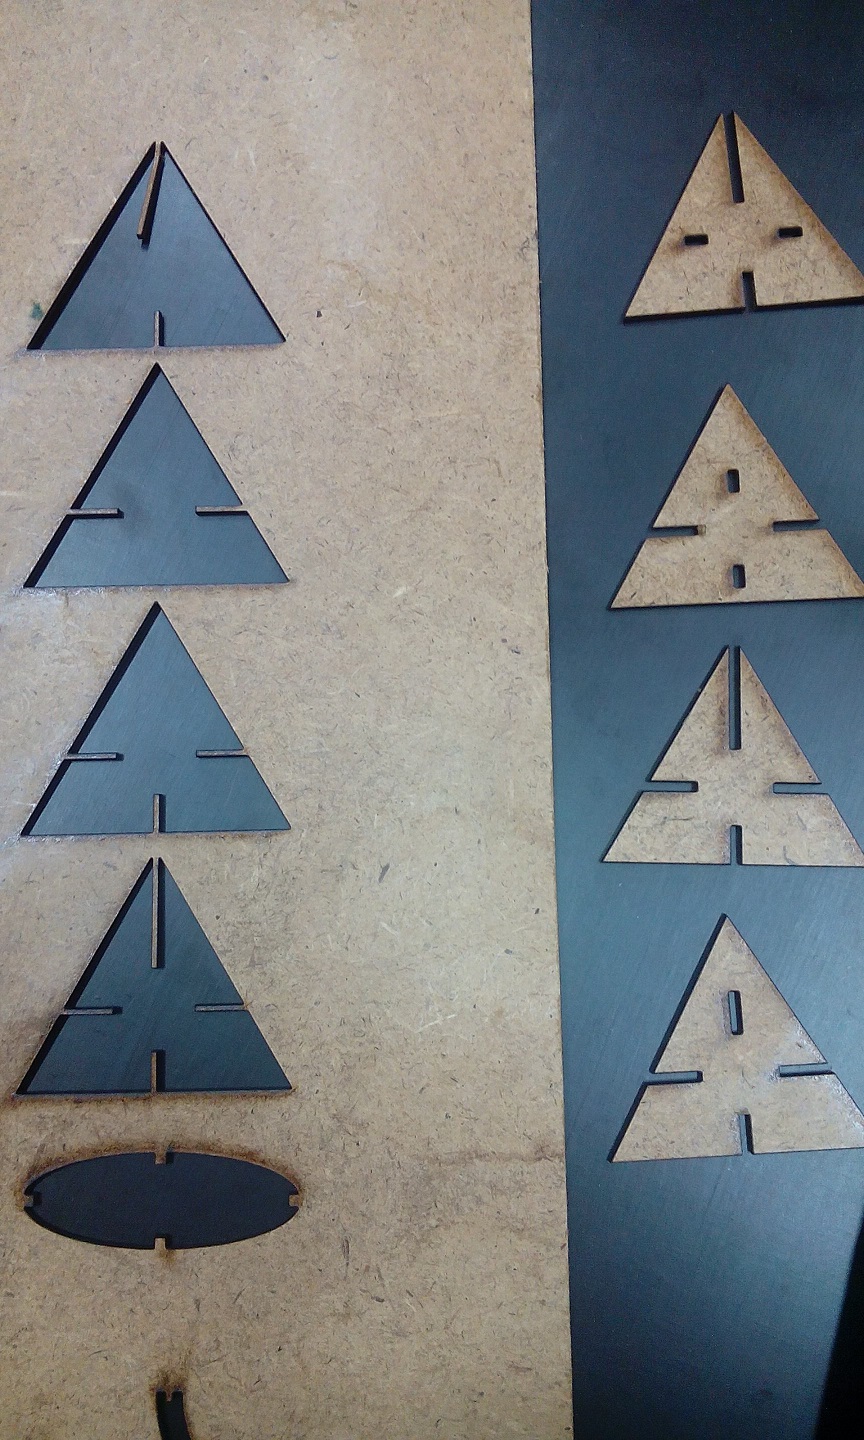
And so i went on also for the other triangles
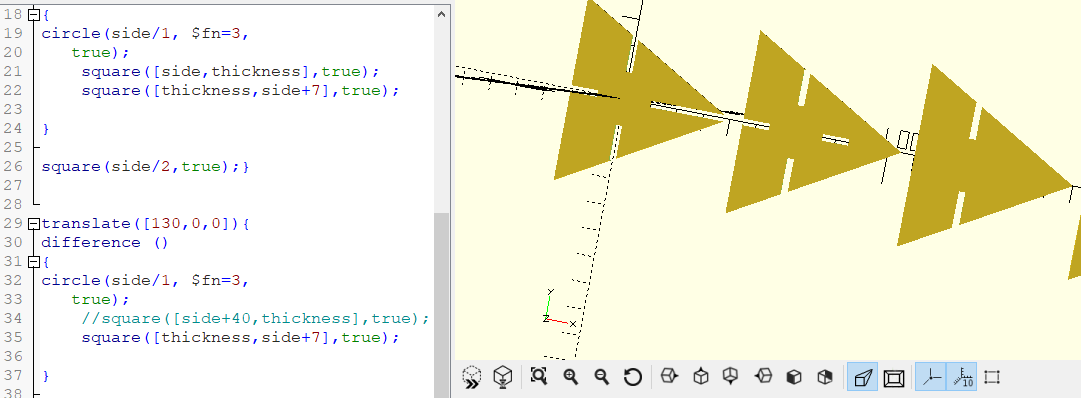
This way i had several slots in the triangle’s, that would fit in different ways
Exporting my file. - I went to “the tab “File” - In the dropdown menu, i choose export - And export
Inkscape
In inkscape i layed out the pieces to be cut in a straigt line

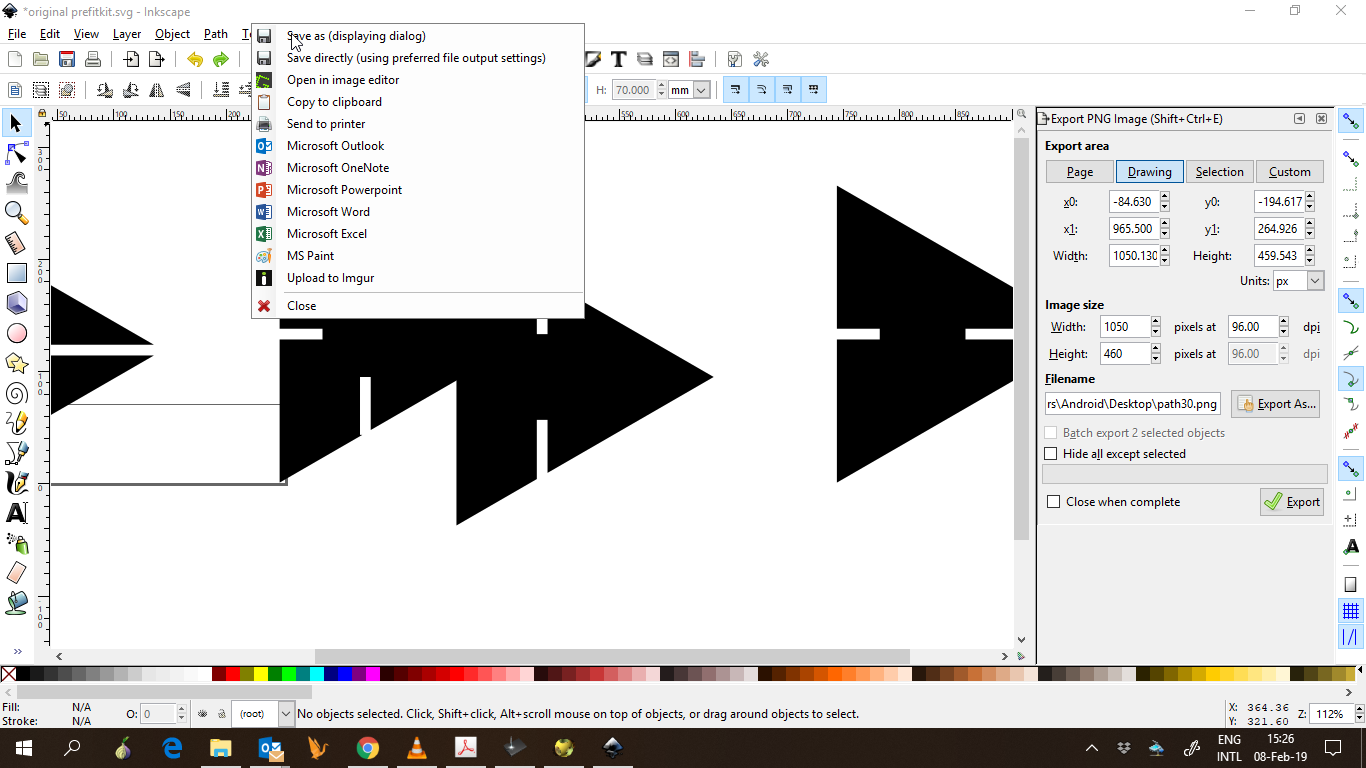
Exporting file. saved in SVG
Laser cutter
Visicut
Pictures of Visicut and proces
Setting parameters (power, speed, focus). - Exporting to G-code. - Laser cutter turn on procedure (and safety measures). - Uploading your file to the laser cutter control software. - Executing the G-code.
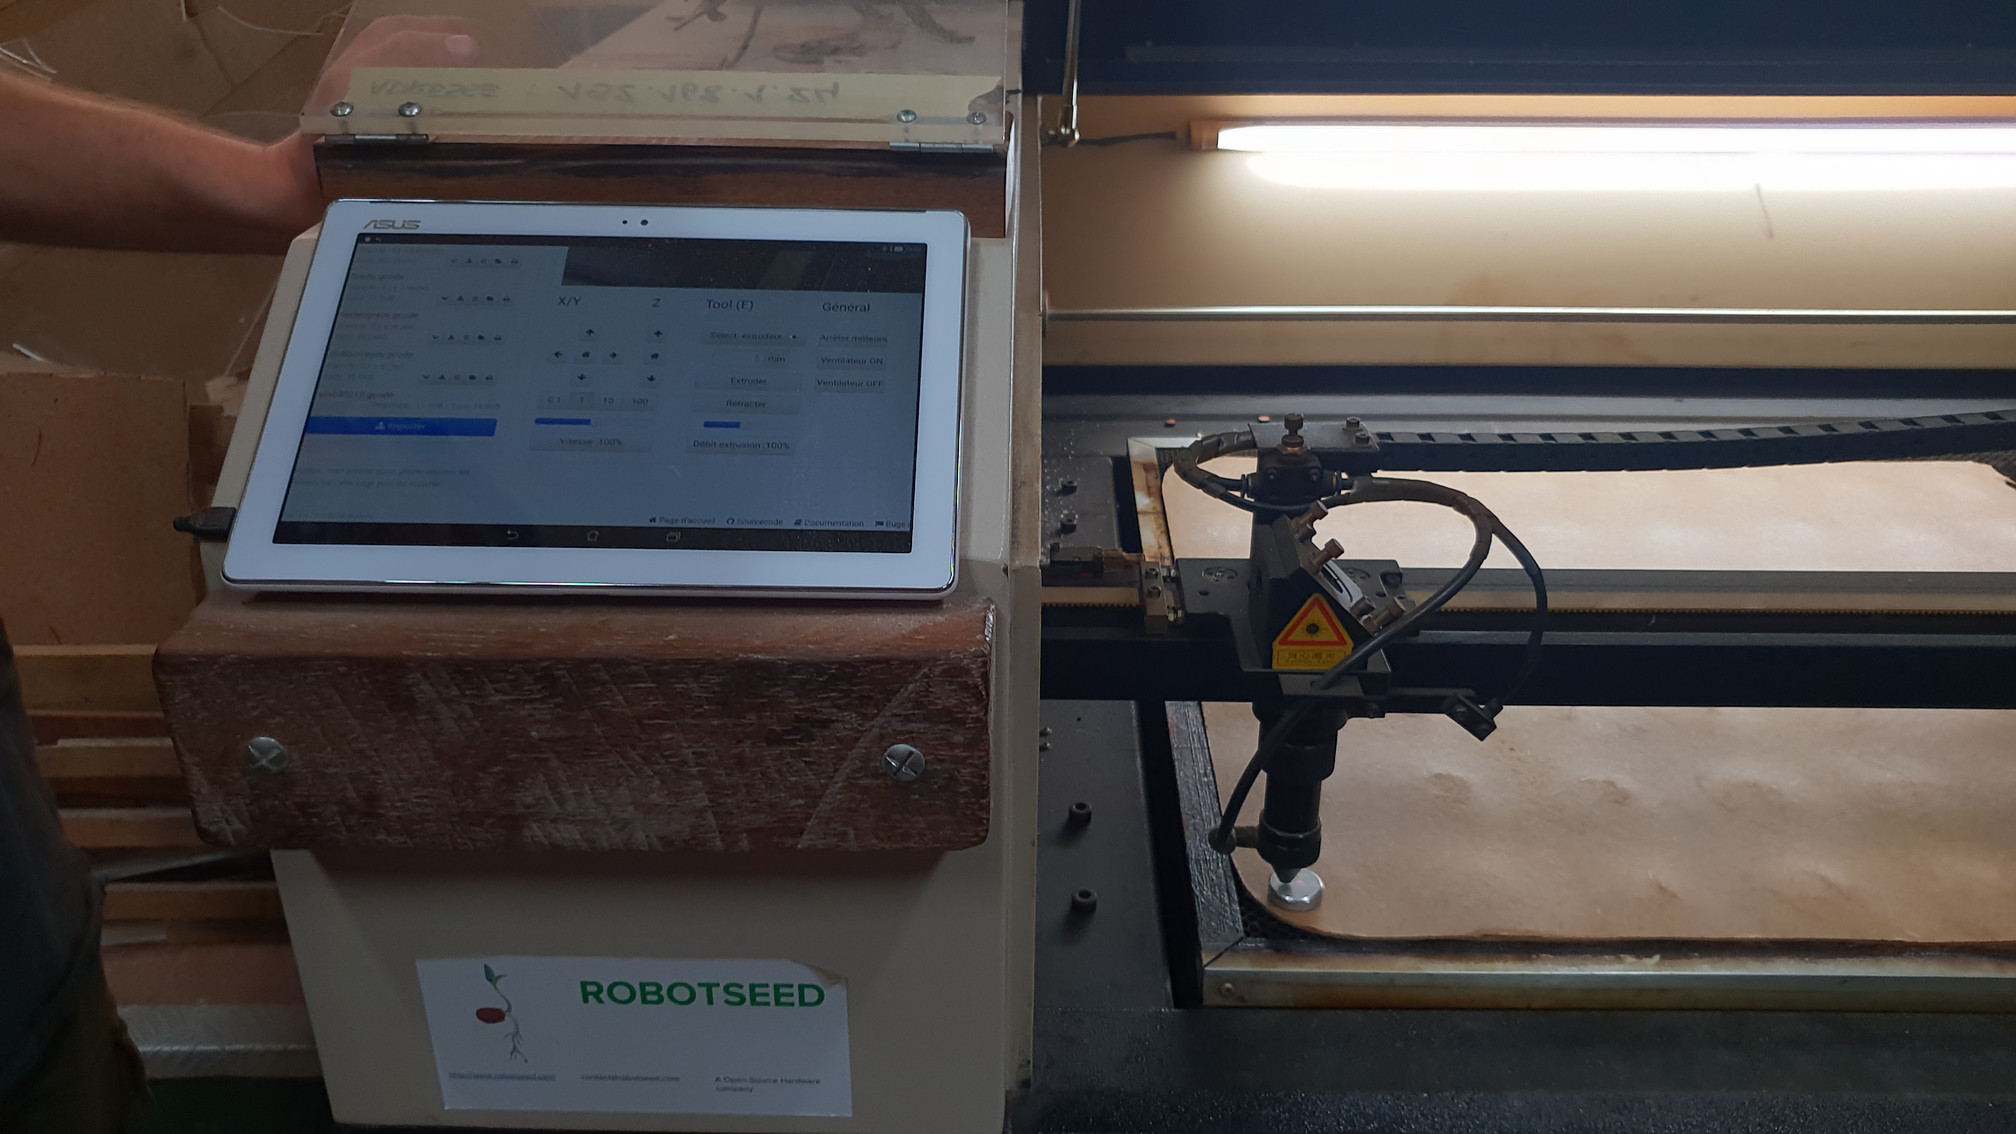
Before we could start cutting, i had to turn on the lasercutter.
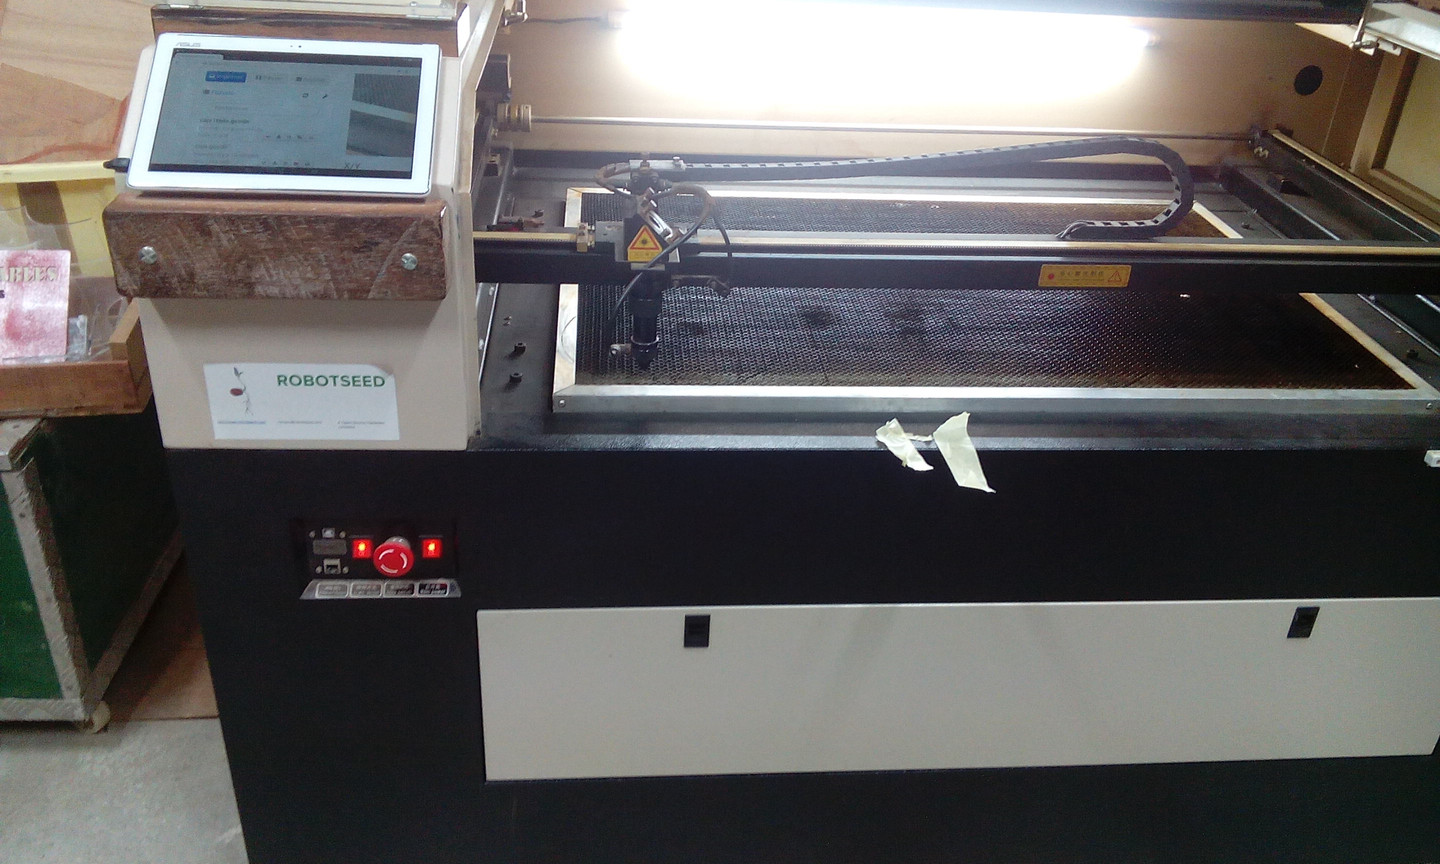 First step was to turn on the exhaust, this is important because of the material burning a lot of fumes are coming free
The exhaust will bring the fumes outside
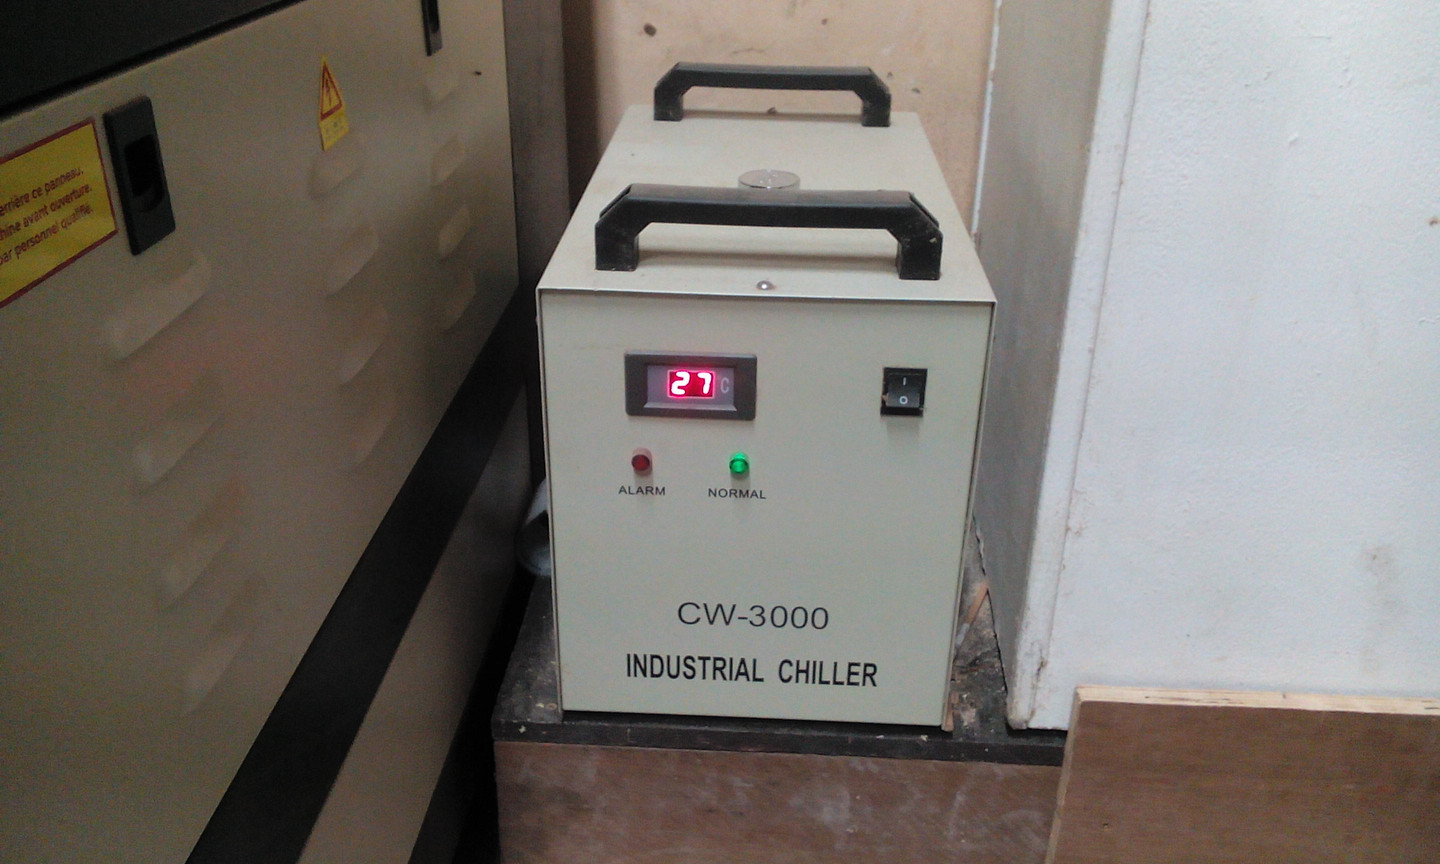
The lasercutter aslo has an cooling system, because it can heat up real fast.
First step was to turn on the exhaust, this is important because of the material burning a lot of fumes are coming free
The exhaust will bring the fumes outside
The lasercutter aslo has an cooling system, because it can heat up real fast.
 Then turn on the lasercutter itself
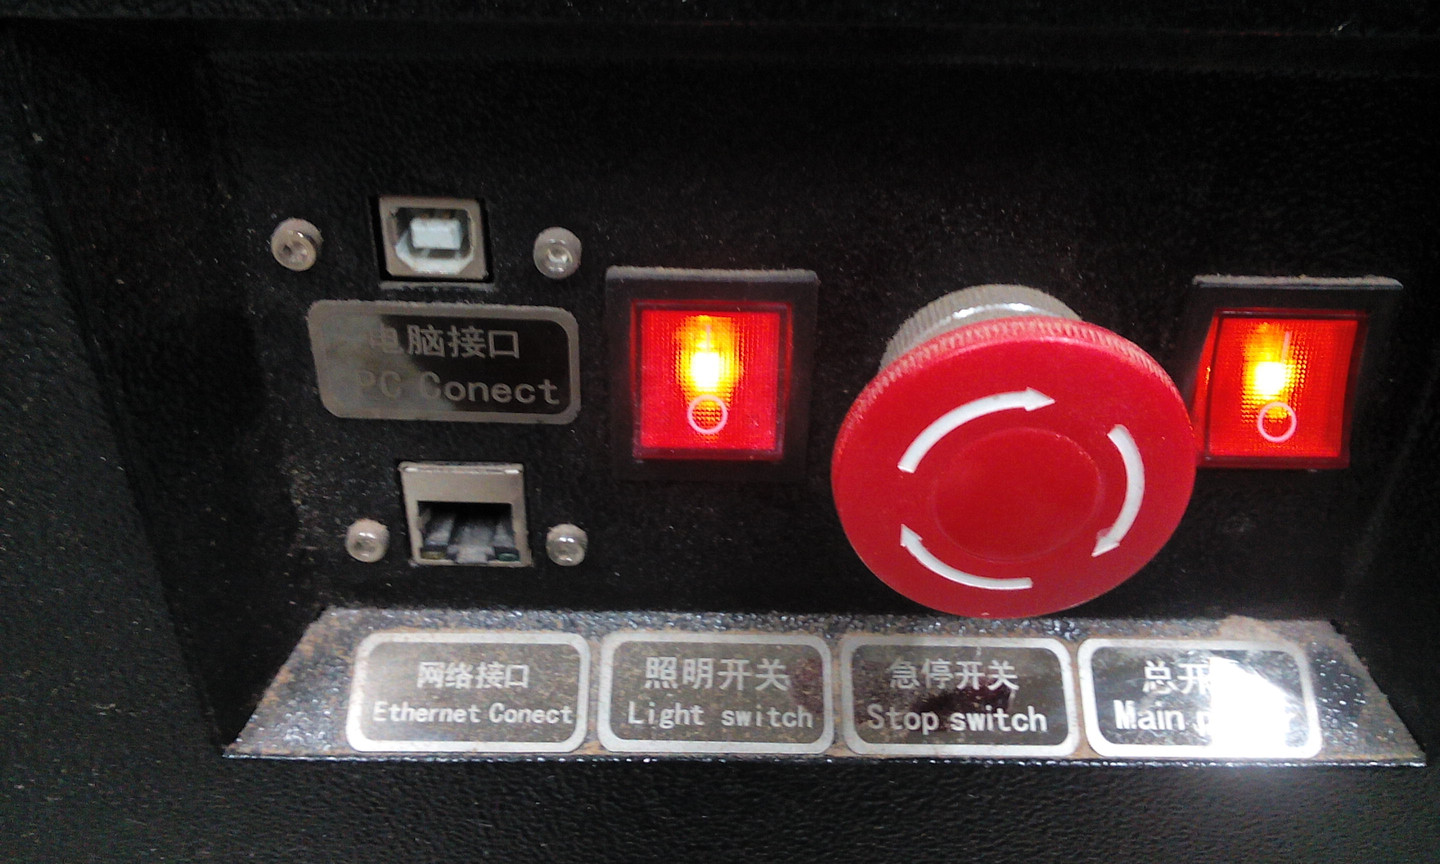
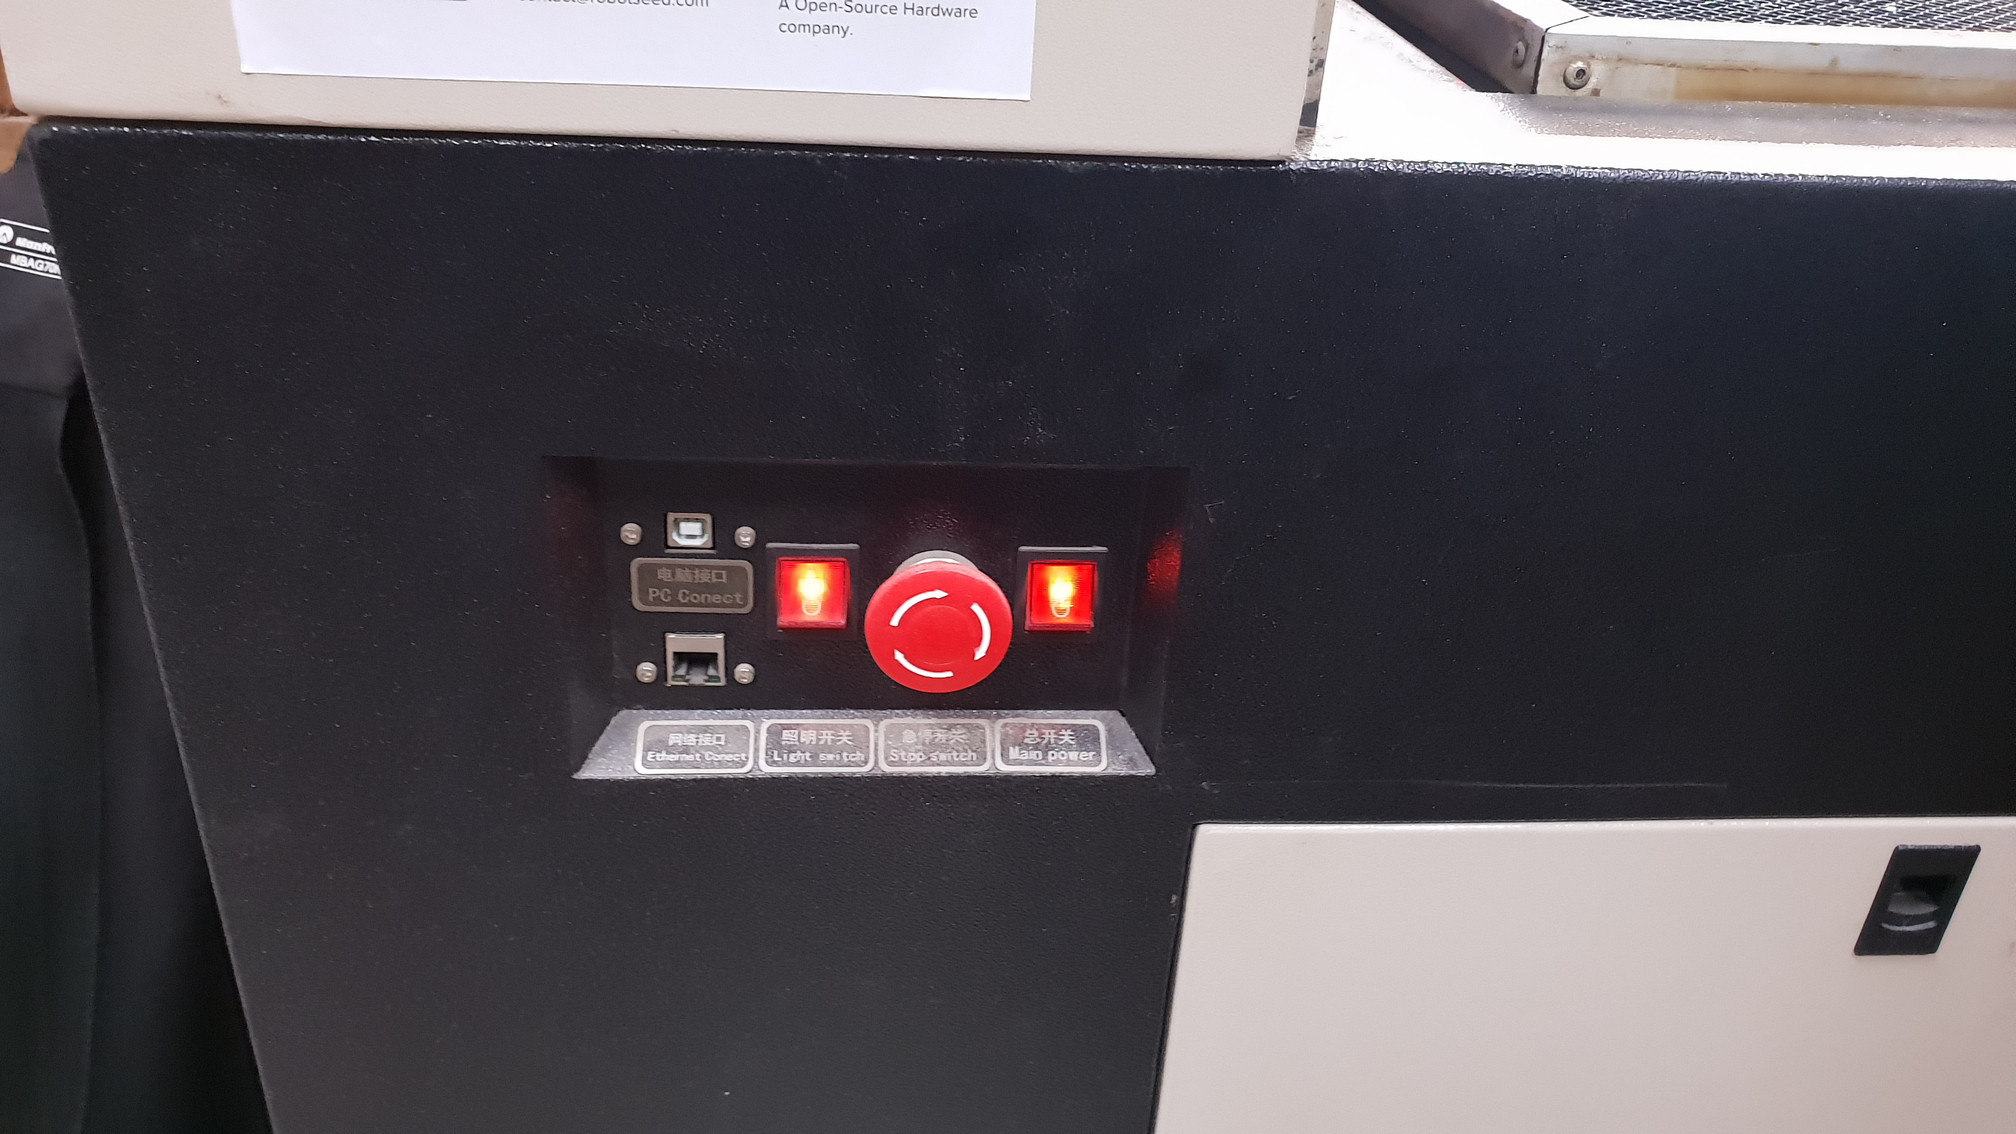 And check where the emergency stop is
Now i was ready to lasercut
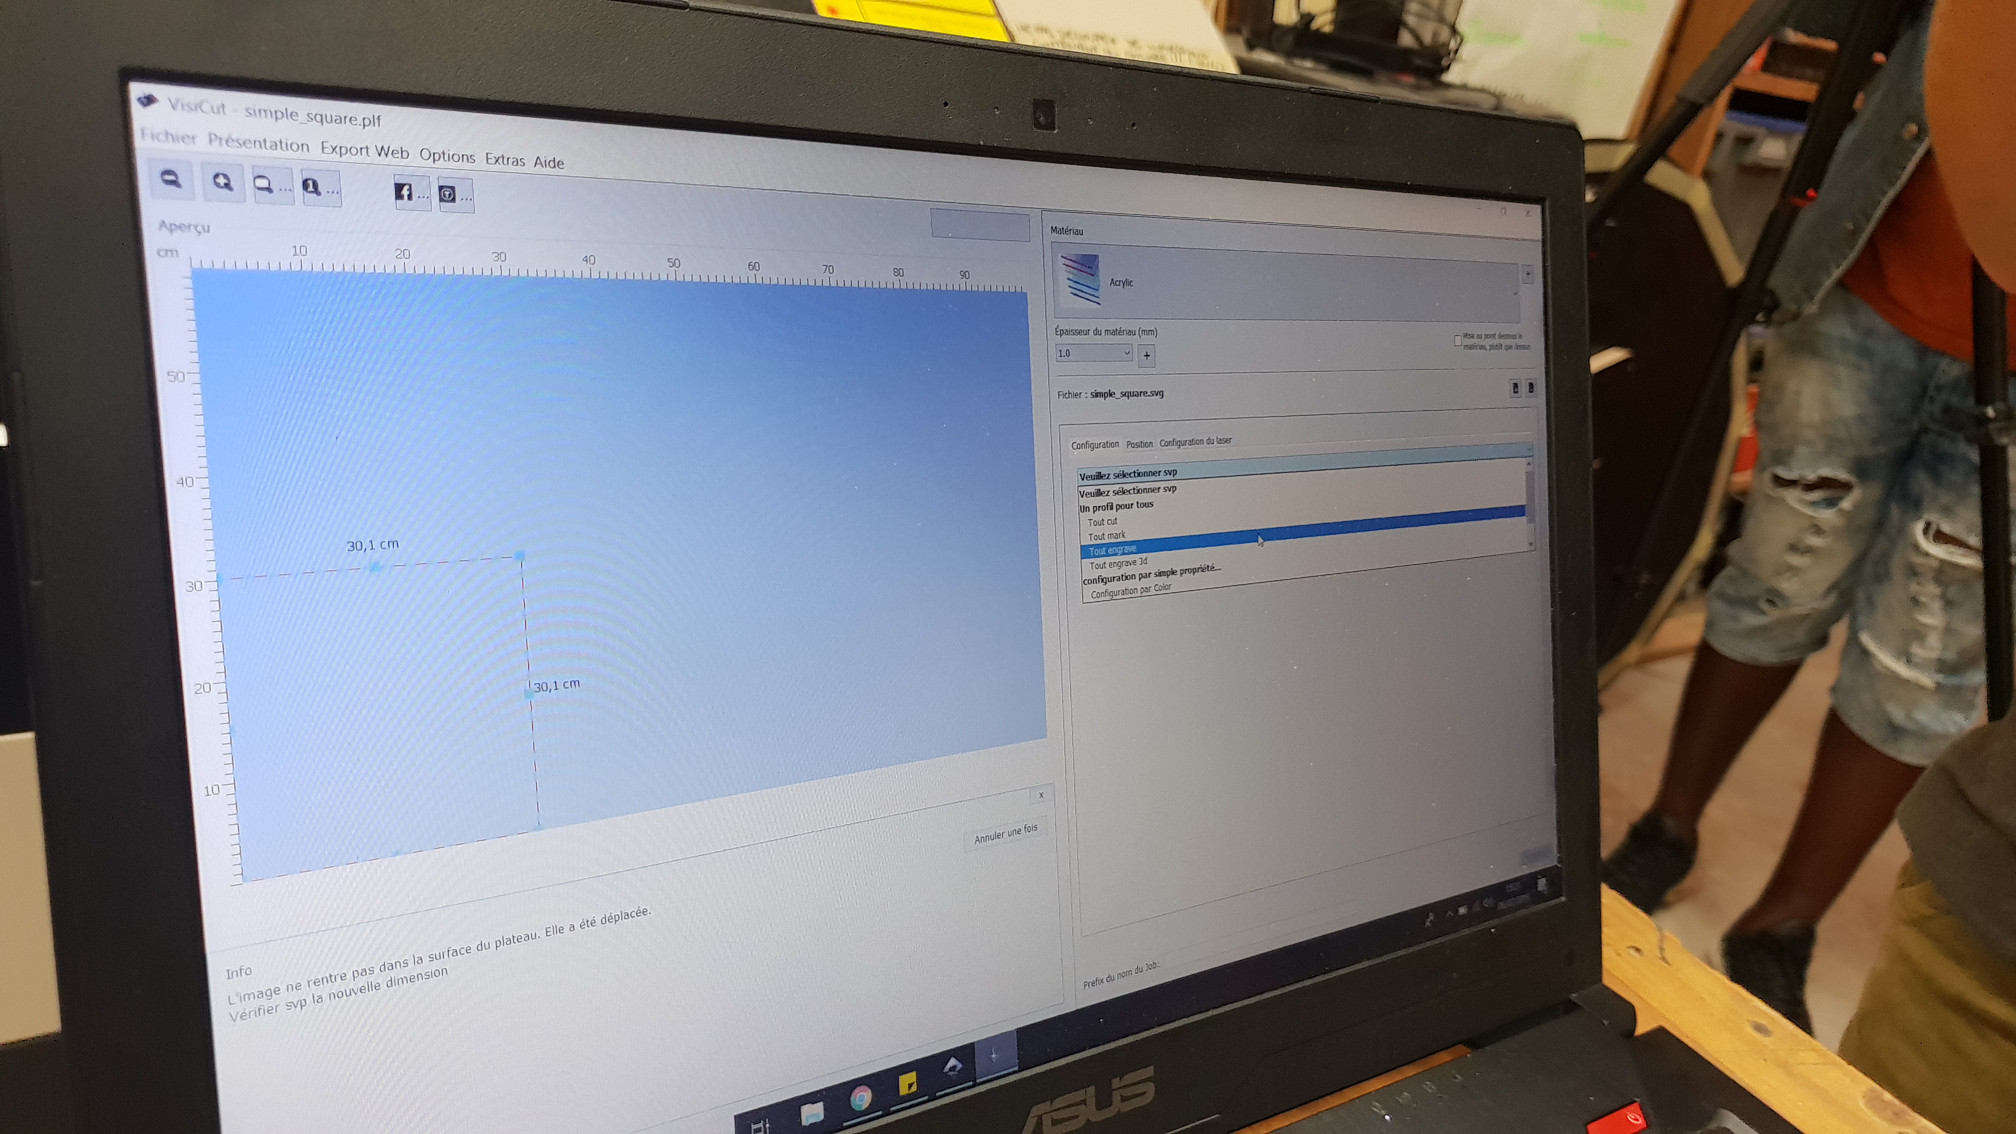
I open the file in viscut to create Gcode -In visicut i define the lines to be cut - and set the proper parameters, like the power and speed - I used 2 mm mdf, the power was on 60% and speed was 20% - Saved the G code
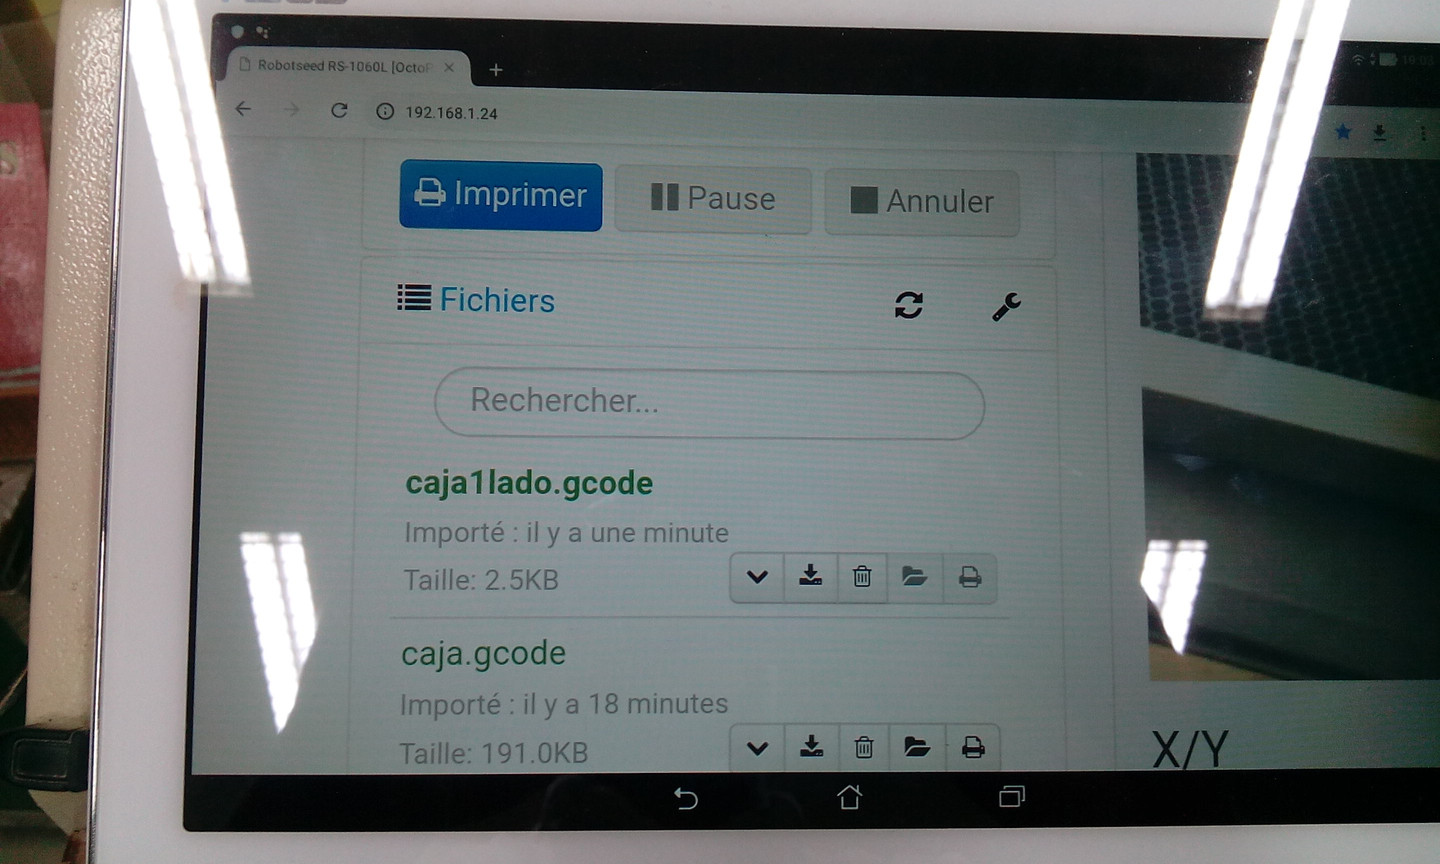
Next step was going to the browser to acces octoprint server (the IP adres was 192.168.1.24) In octoprint i upload the file.
Then i went to the laser, and i set the origin, this is the point where the laser will start.
And started the machine
!)
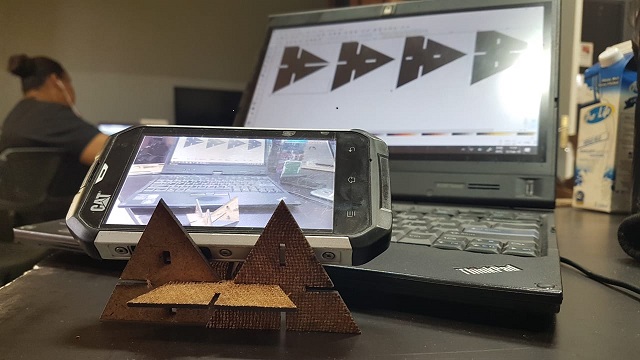
- I liked my design because of different the shapes you can make and usefull things, next time i would like to make another shape and look how that works out.
- I learned a lot of this project, the designing in Openscad and working with the lasercutter was a great experience. This is a taste for more
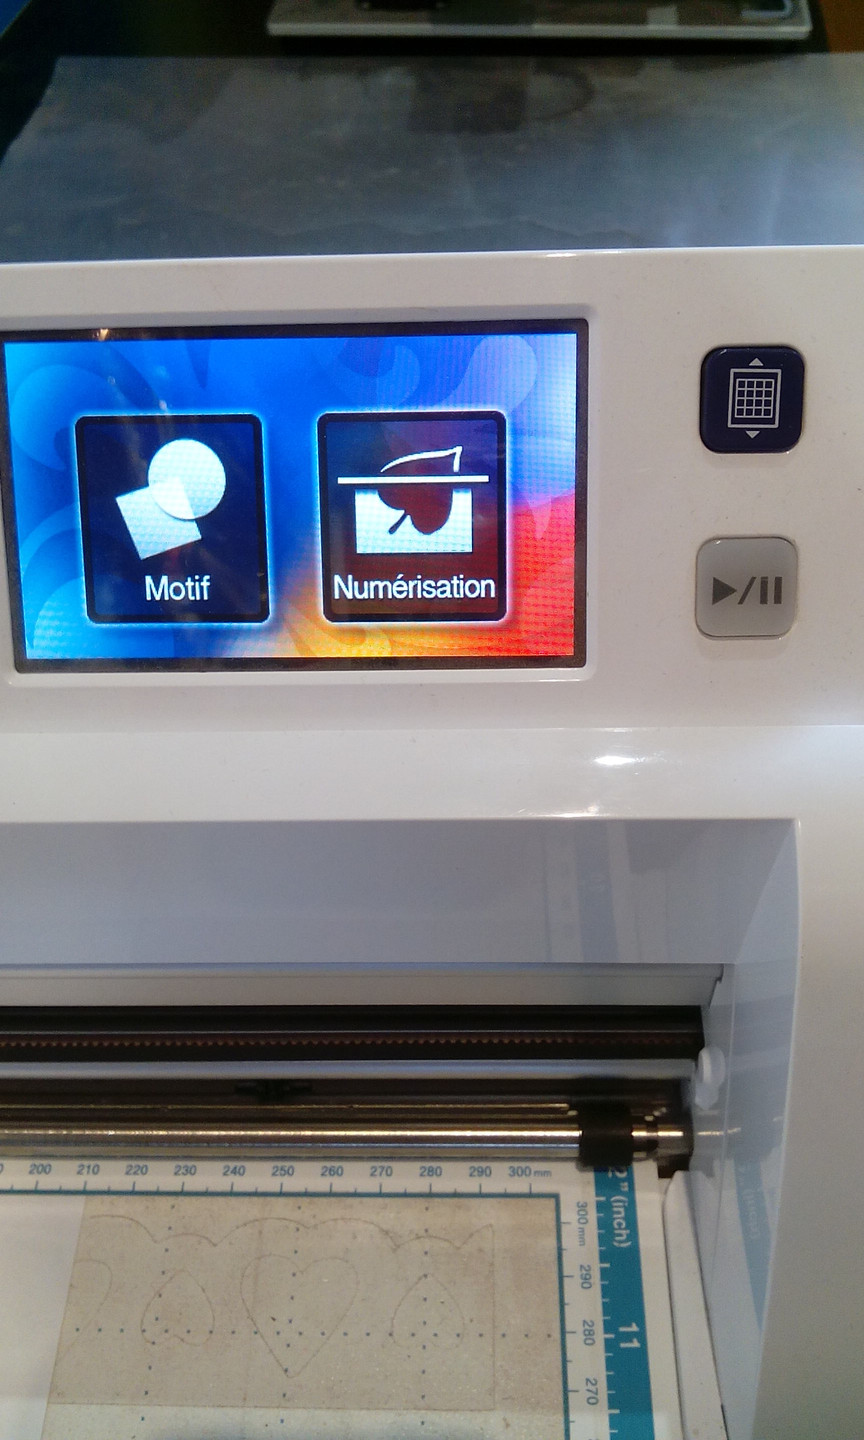
Vinyl cutter
At the Lab we had a Brother CM600
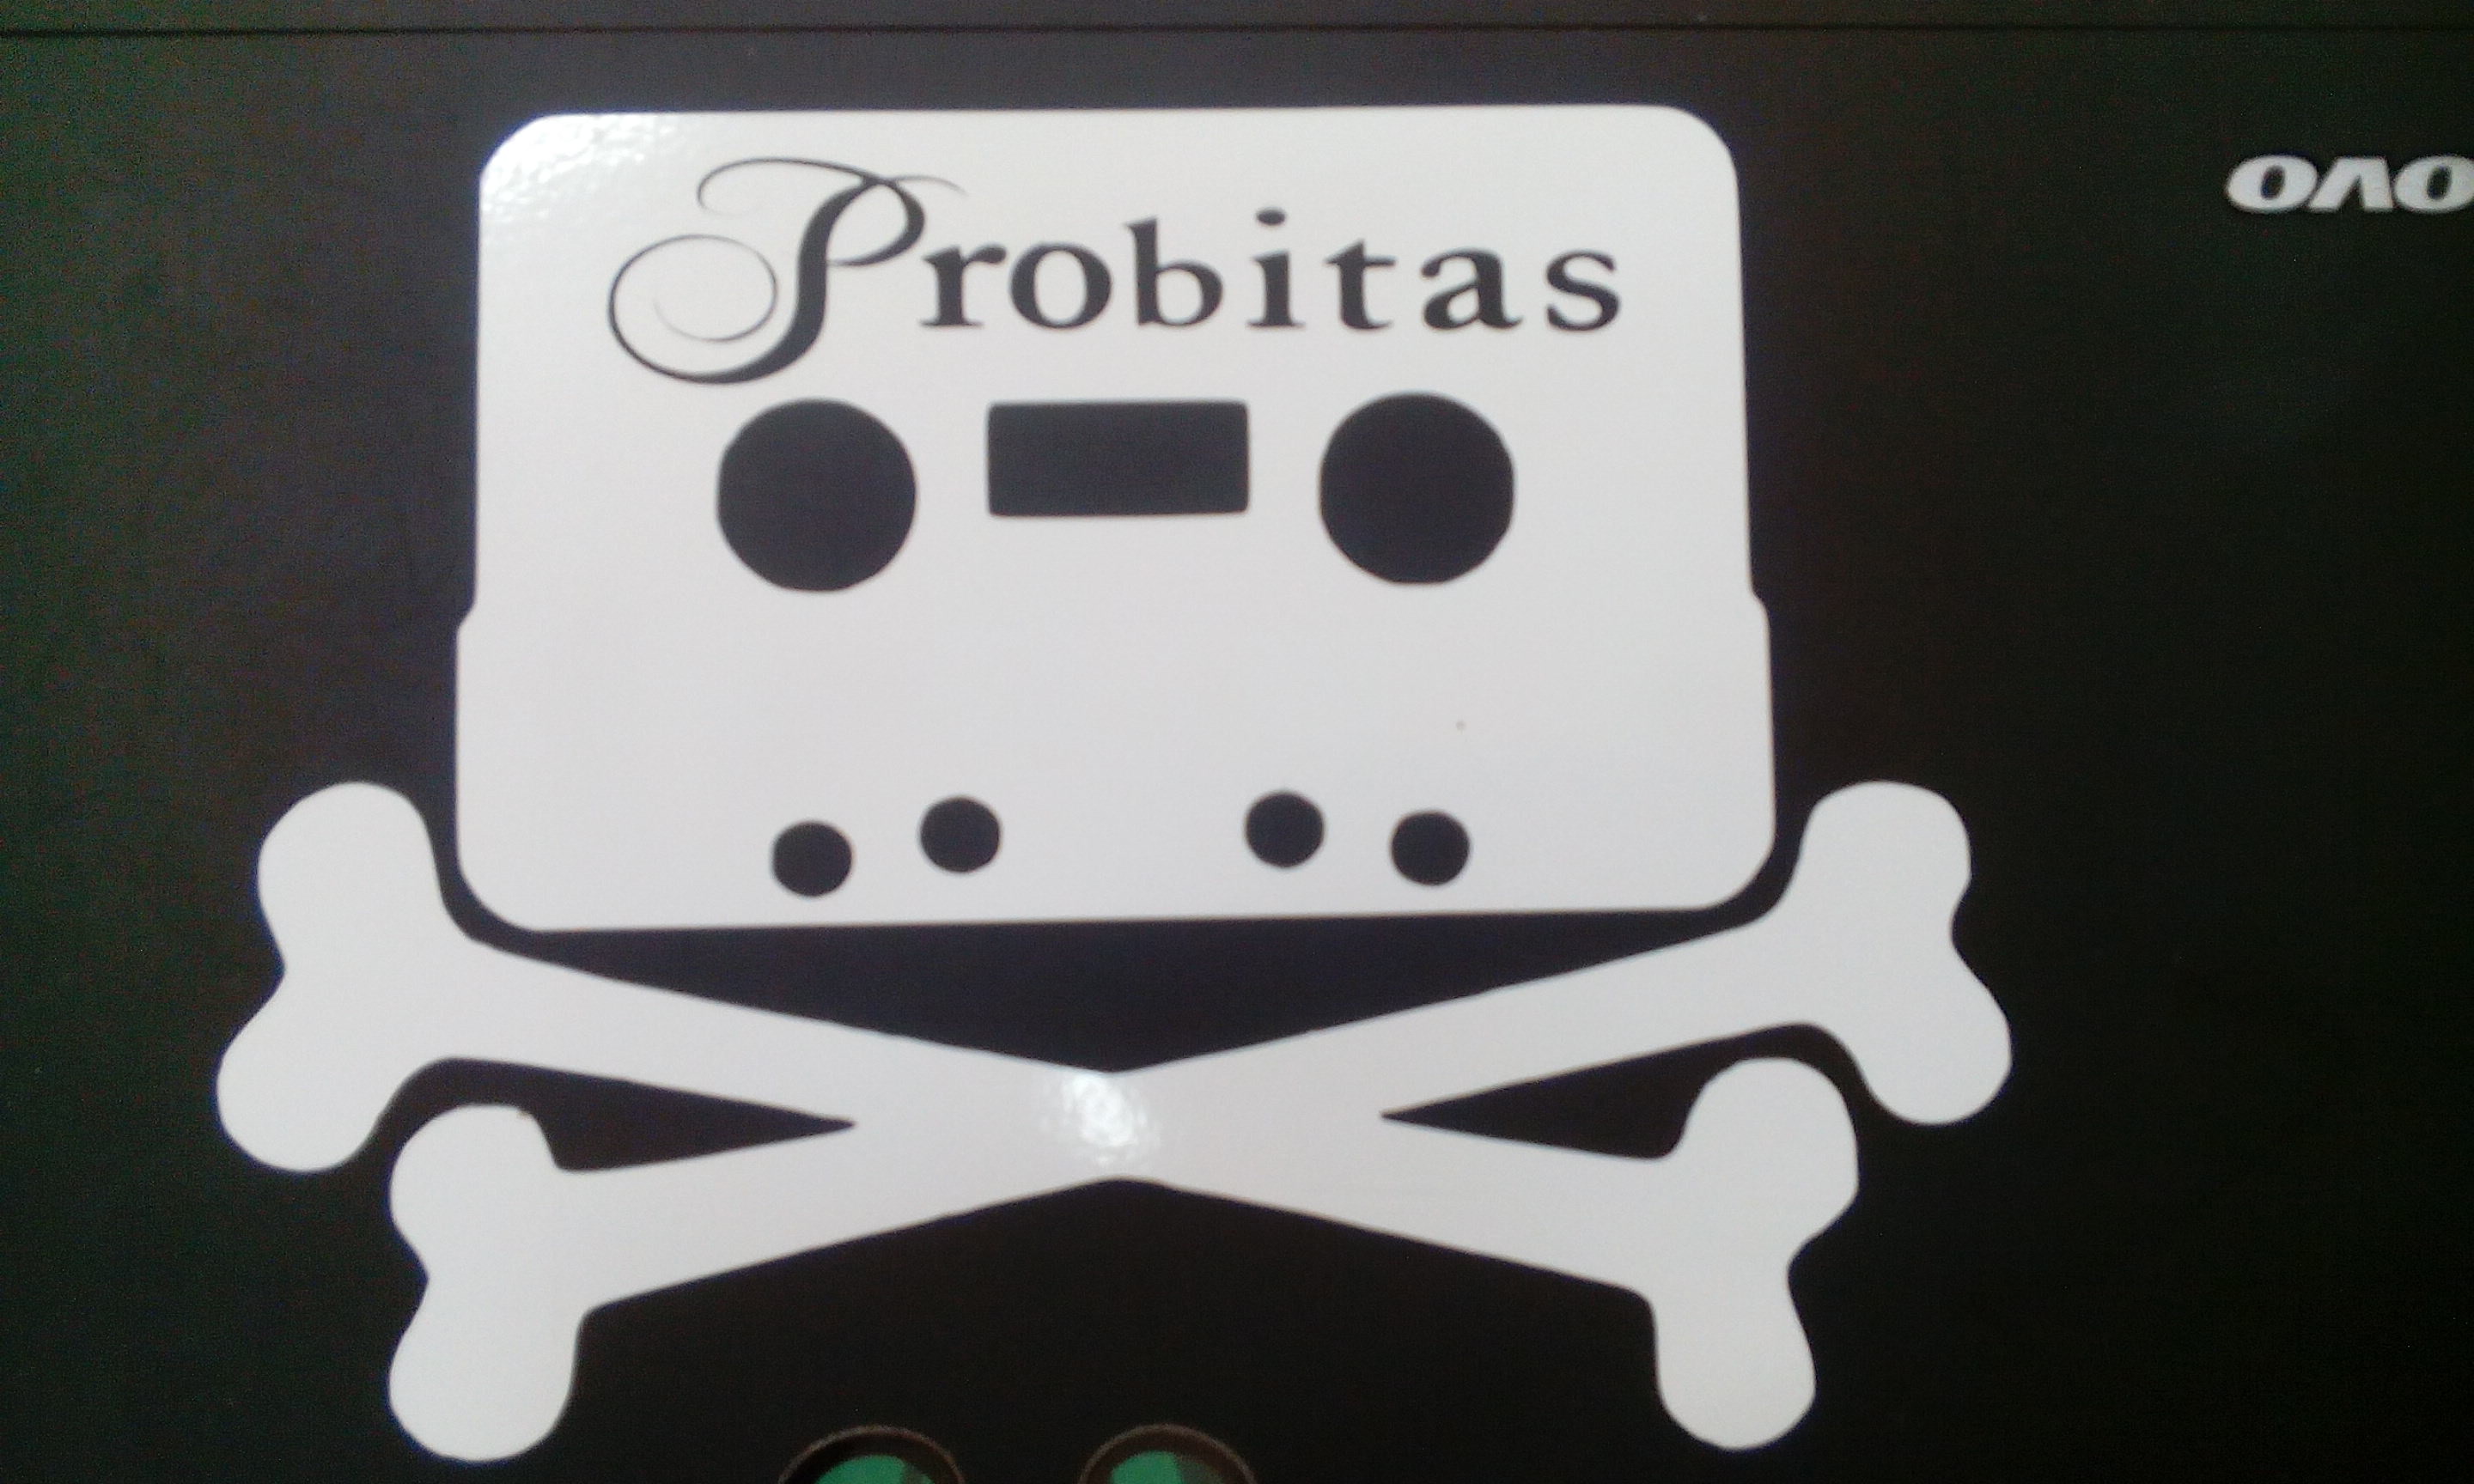
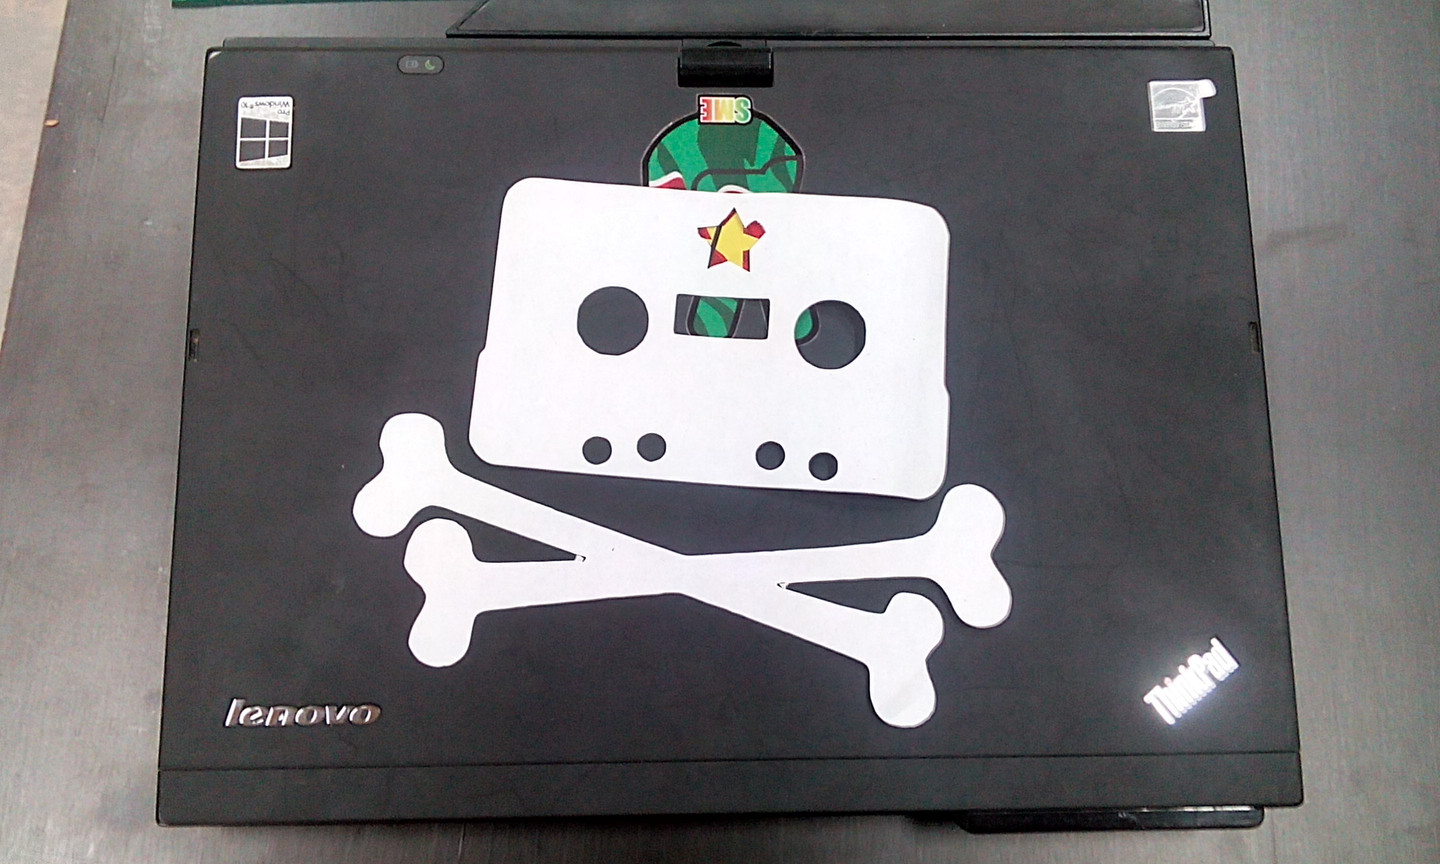
For the final cutting, i had a logo off the Piratebay in mind and i wanted to redesign this with the logo of my foundation After i found a usebale logo i imported this in Inkscape.
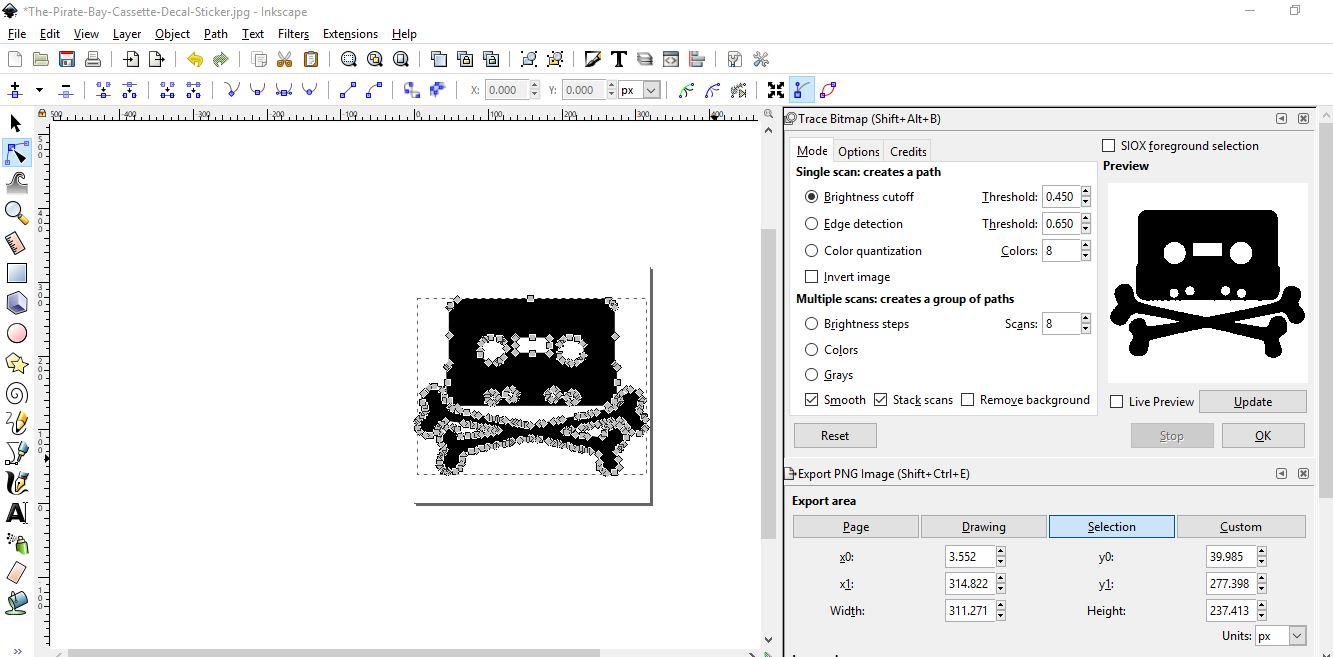
 - I selected the image and went to the tab “Path” and in the dropdown menu i choose “Trace Bitmap”
In the “Trace Bitmap Window” you can set the “Brightness cutoff” parameter with “Treshold” to a higher value, to make the lines much clearer
or if you do not see the lines of your image at all. When youre done, you press “OK”
- I selected the image and went to the tab “Path” and in the dropdown menu i choose “Trace Bitmap”
In the “Trace Bitmap Window” you can set the “Brightness cutoff” parameter with “Treshold” to a higher value, to make the lines much clearer
or if you do not see the lines of your image at all. When youre done, you press “OK”
 - What happens is that Inkscap made a duplicate image that is lets call it “Bitmapped”, so now i deleted the original
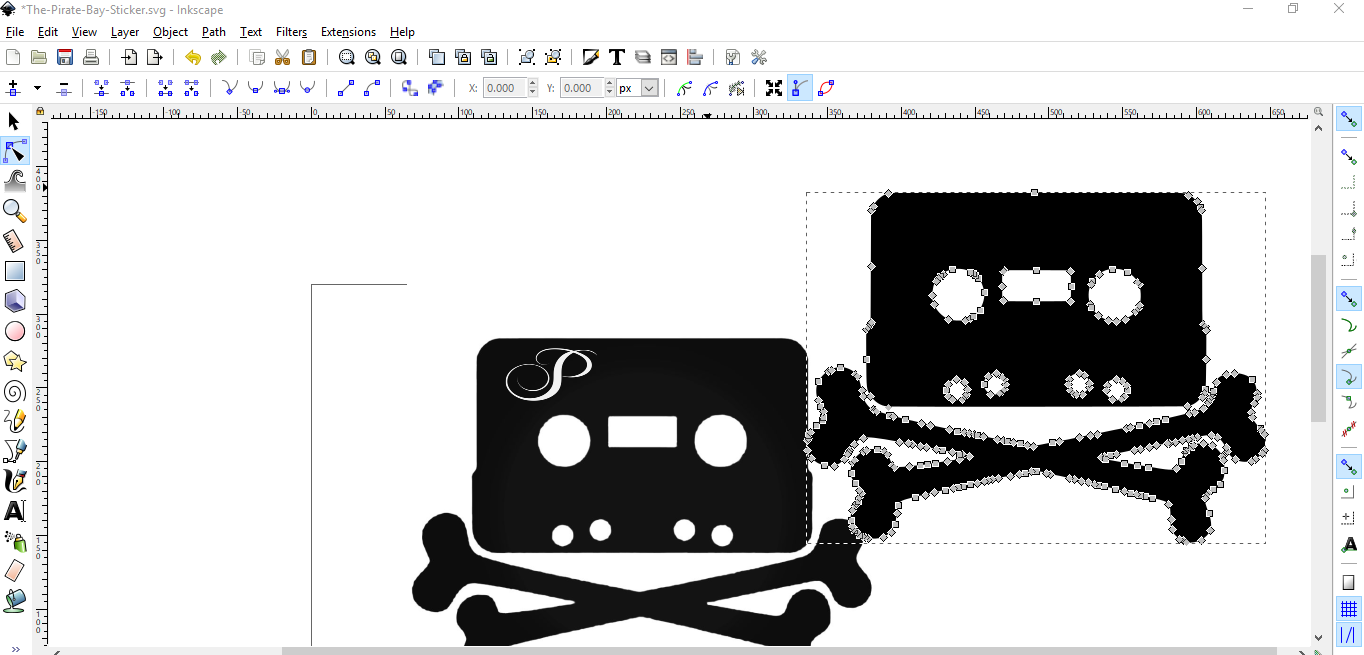 - To redesign the Piratebay logo i wanted to add my own text, i tested with adding a text to the image
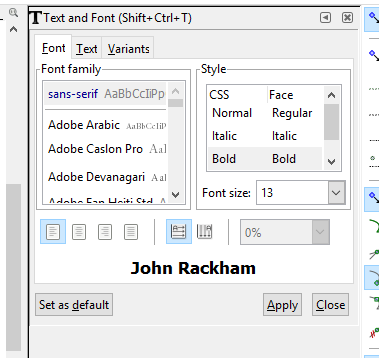
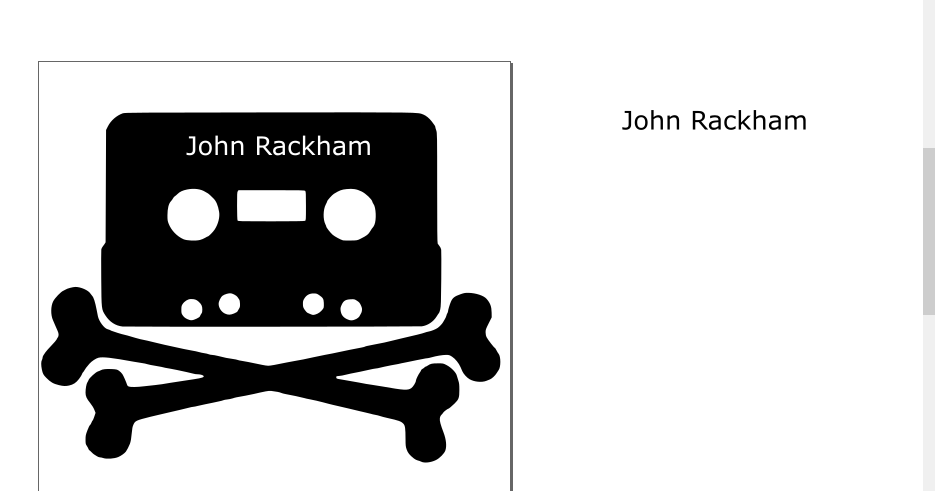 - And i played with the font type and fontsize
 - I decided to use an image of my logo (this the letter P with a flower shaped symbol) for this i had to follow the same proces for “Bitmapping”
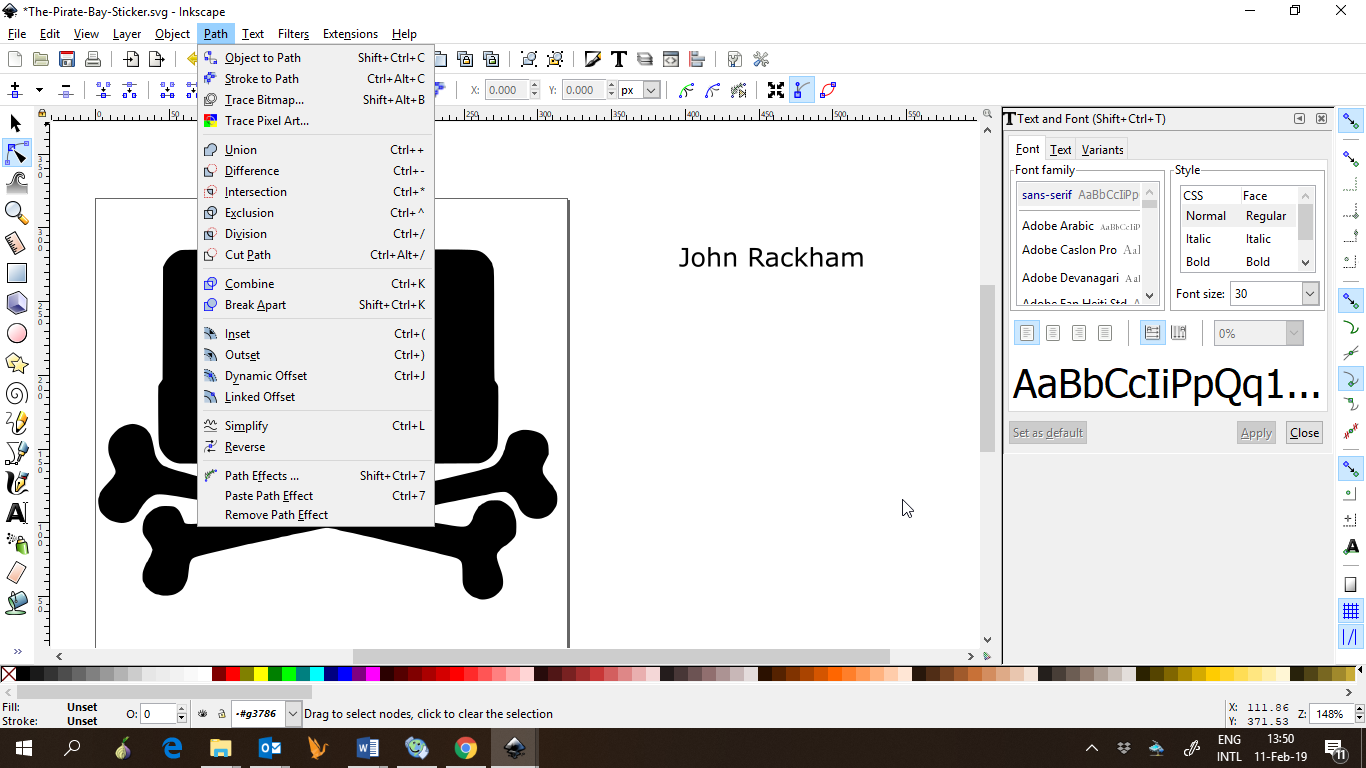 - And i added the text behind it, because i made this in Inscape i did not have to use “Bitmap trace”
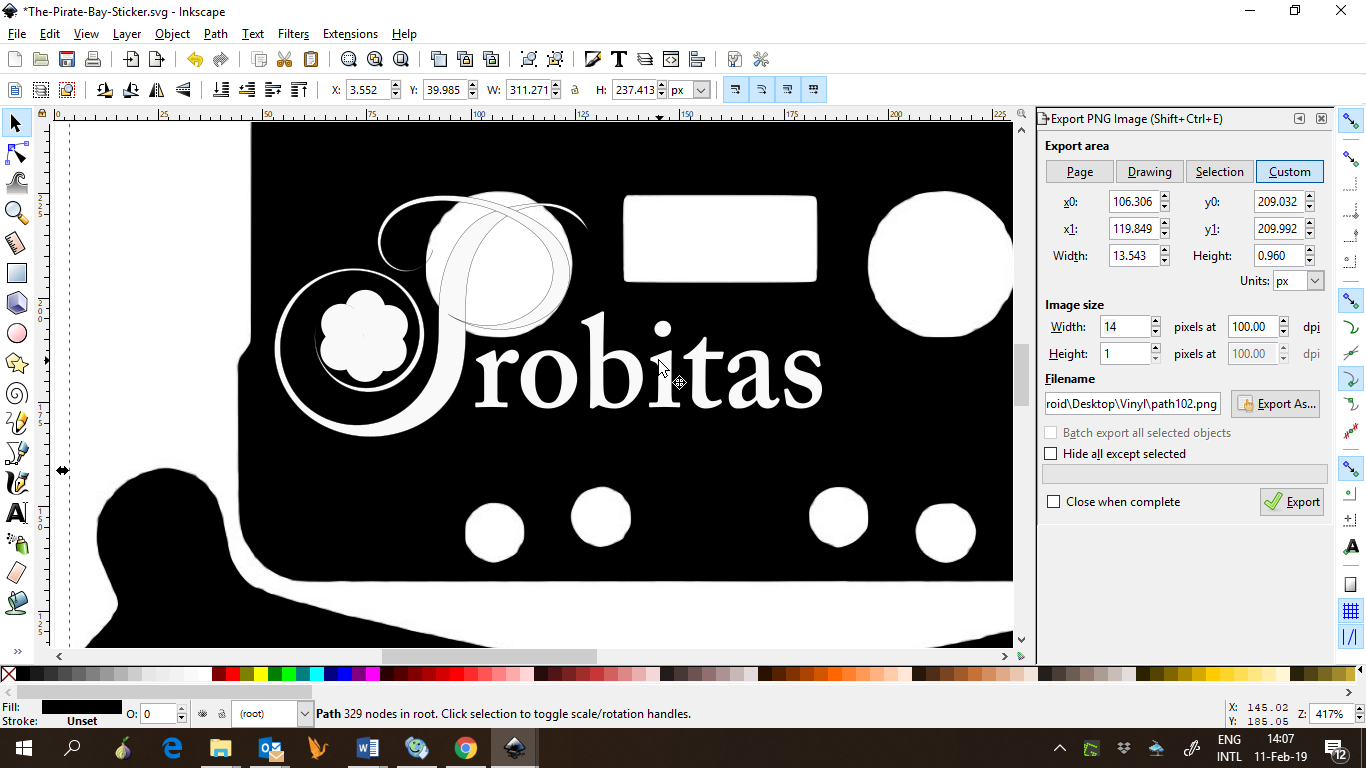 - I was very pleased with the result (the design above is one off my test designs)
The cutting
To cut the vinyl, i had to import my design as an .cmf file. So first i had to make an online account on canvasworkspace.brother.com This is the webbased environment that Brother uses for preparing the file and where you can set the parameters.
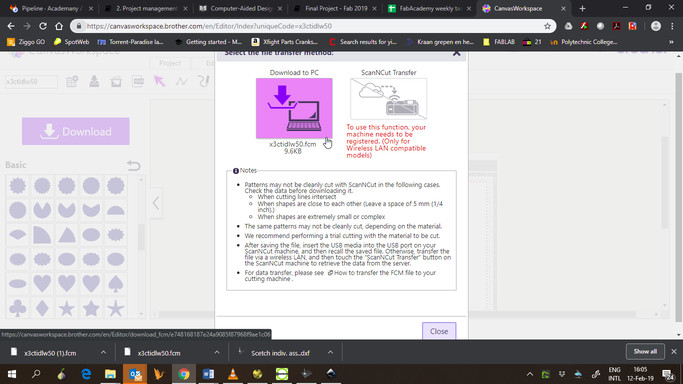
- After setting the parameters i downloaded the .cmf file, on to an USB drive and this was put into the machine.
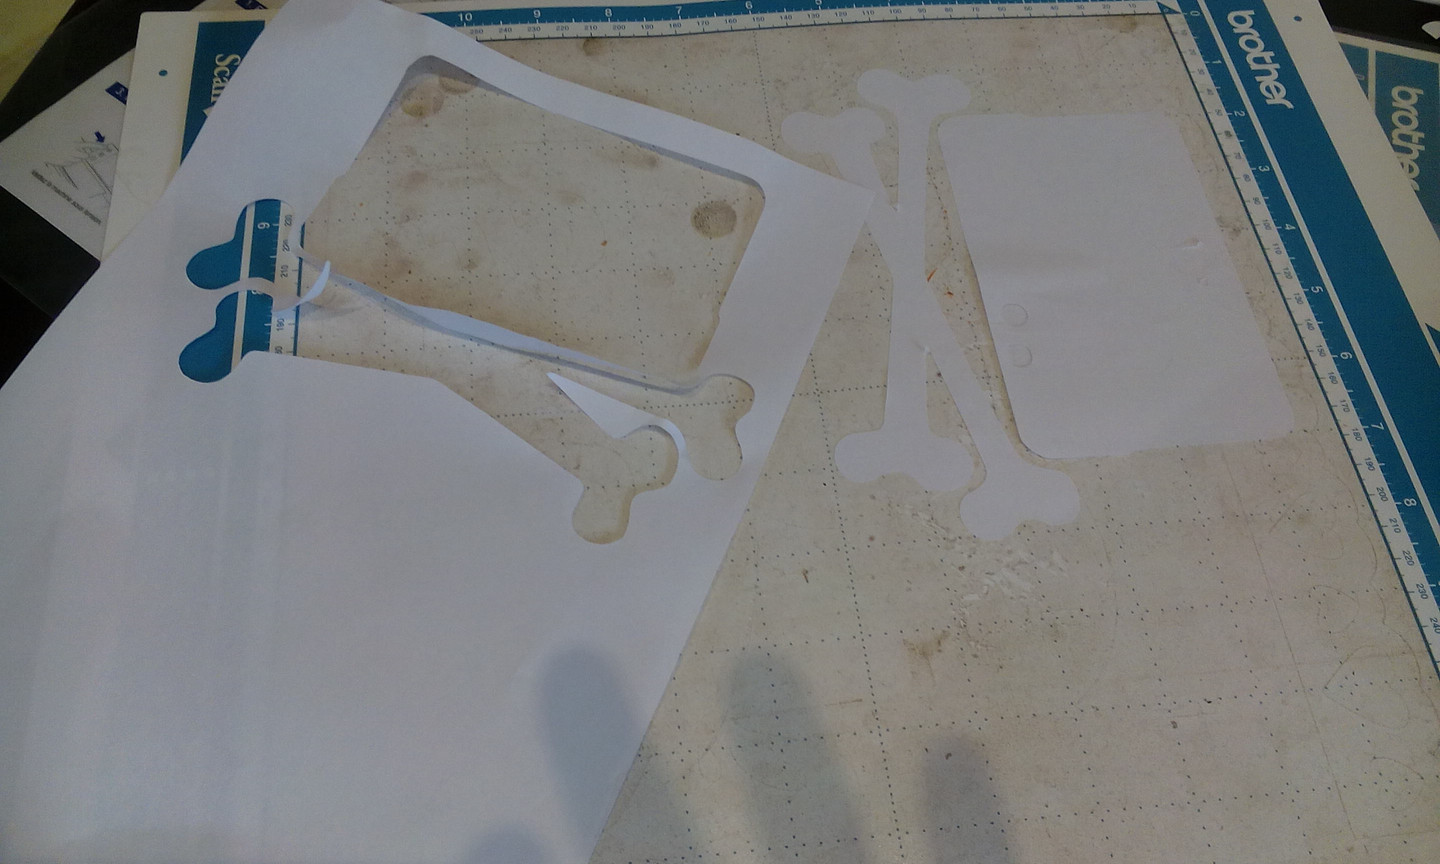
- First i had to set my vinyl into the machine, and set the starting point.
- When this was set i just started the machine
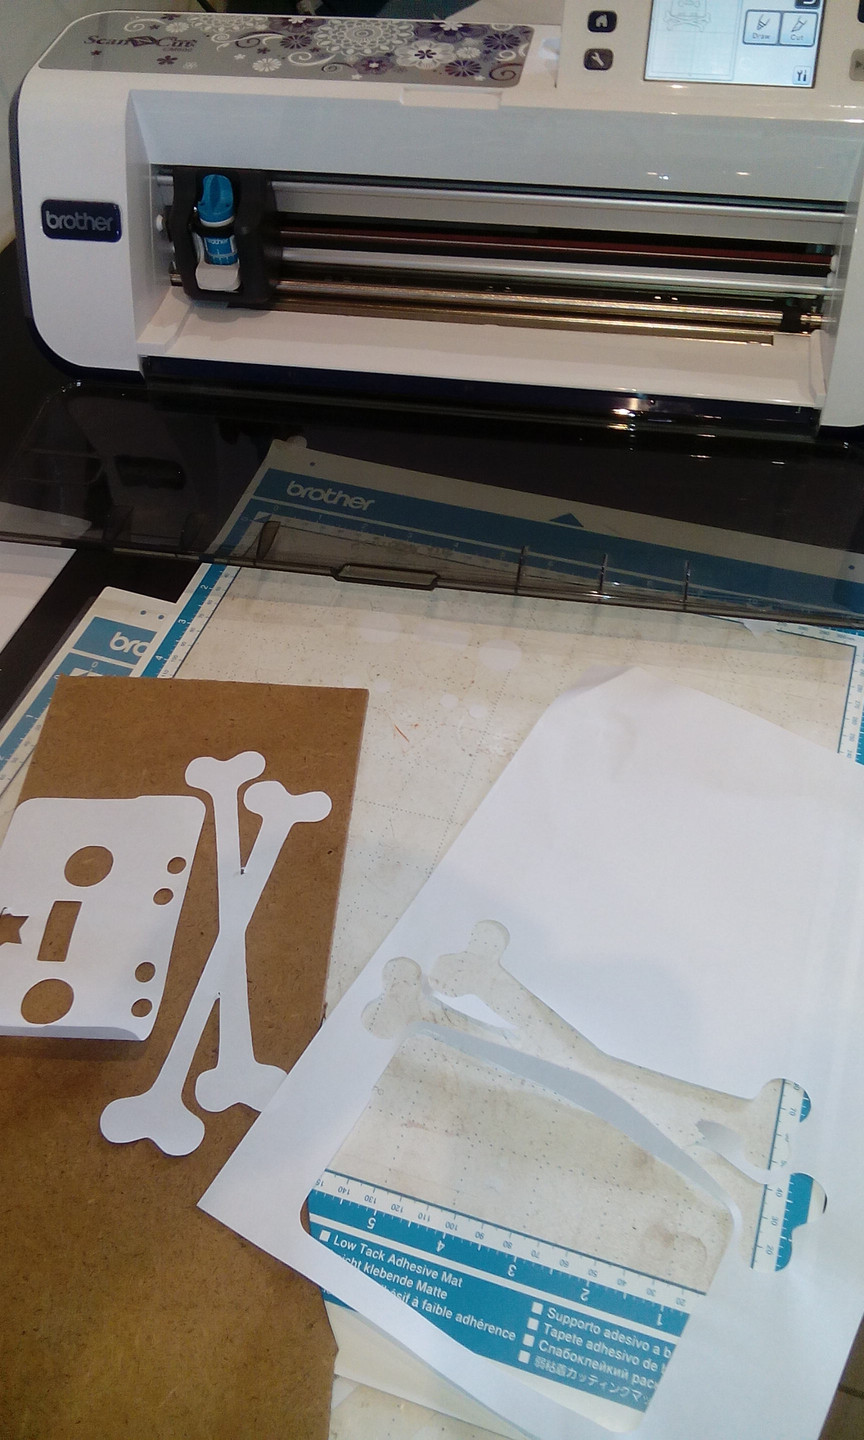
- after the design was cut, i took it off and it was a good test design added a star
 -I made several designs before i ended with the design beneath, i am very pleased with it, and was surprised by the fine cuts
especially with the Calligraphic “P”
-I made several designs before i ended with the design beneath, i am very pleased with it, and was surprised by the fine cuts
especially with the Calligraphic “P”