9. Embedded programming
Group assignment
Individual assignment
Week 09 - Embedded programming
Datasheet
I looked at the datasheet for basic information.
Pin description
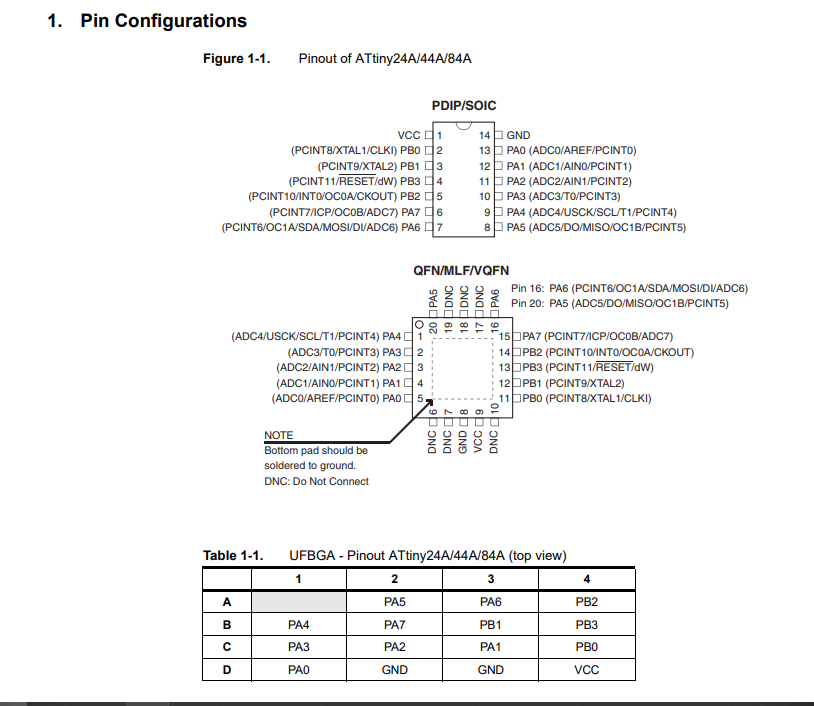
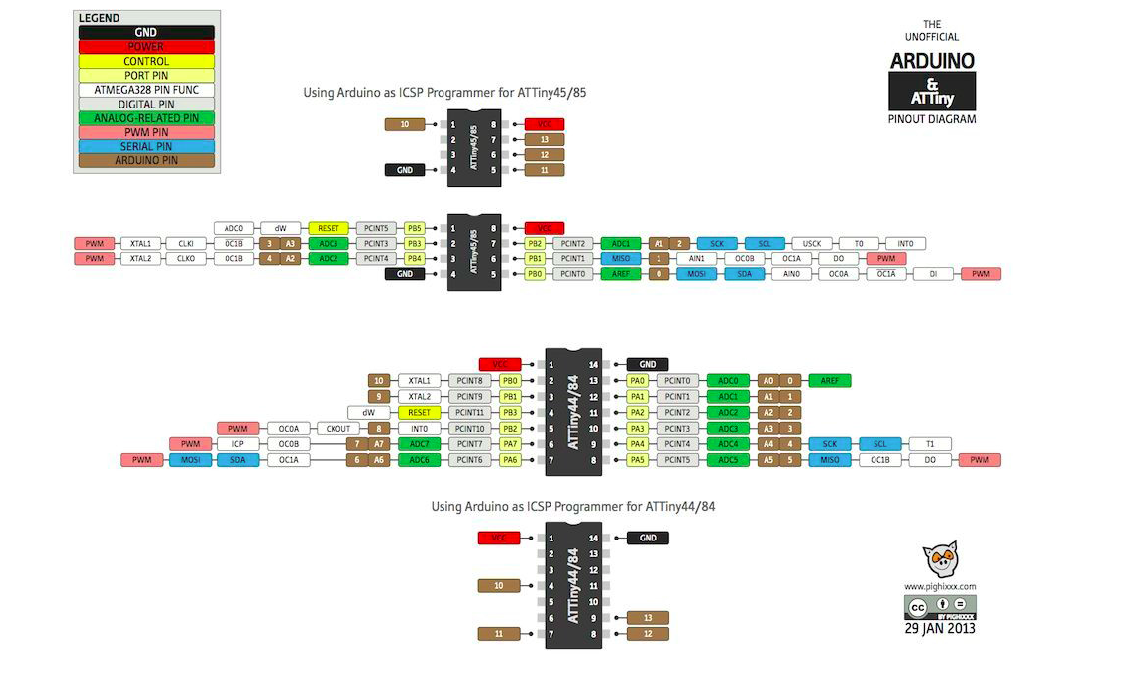
I also needed this other description to find the Arduino IDE number designation
Operating voltages and temperatures data shows that the ATTiny44 can work in a wide range of temperatures, which are good for most common applications. Also the maximum voltage is 6 V, meaning that it cannot be used for example with a 9 V battery.

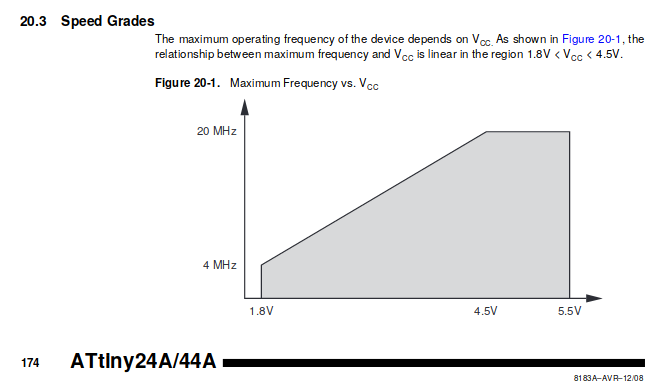
Speeds according to voltage shows that 5 V are required to ensure maximun operating speed.
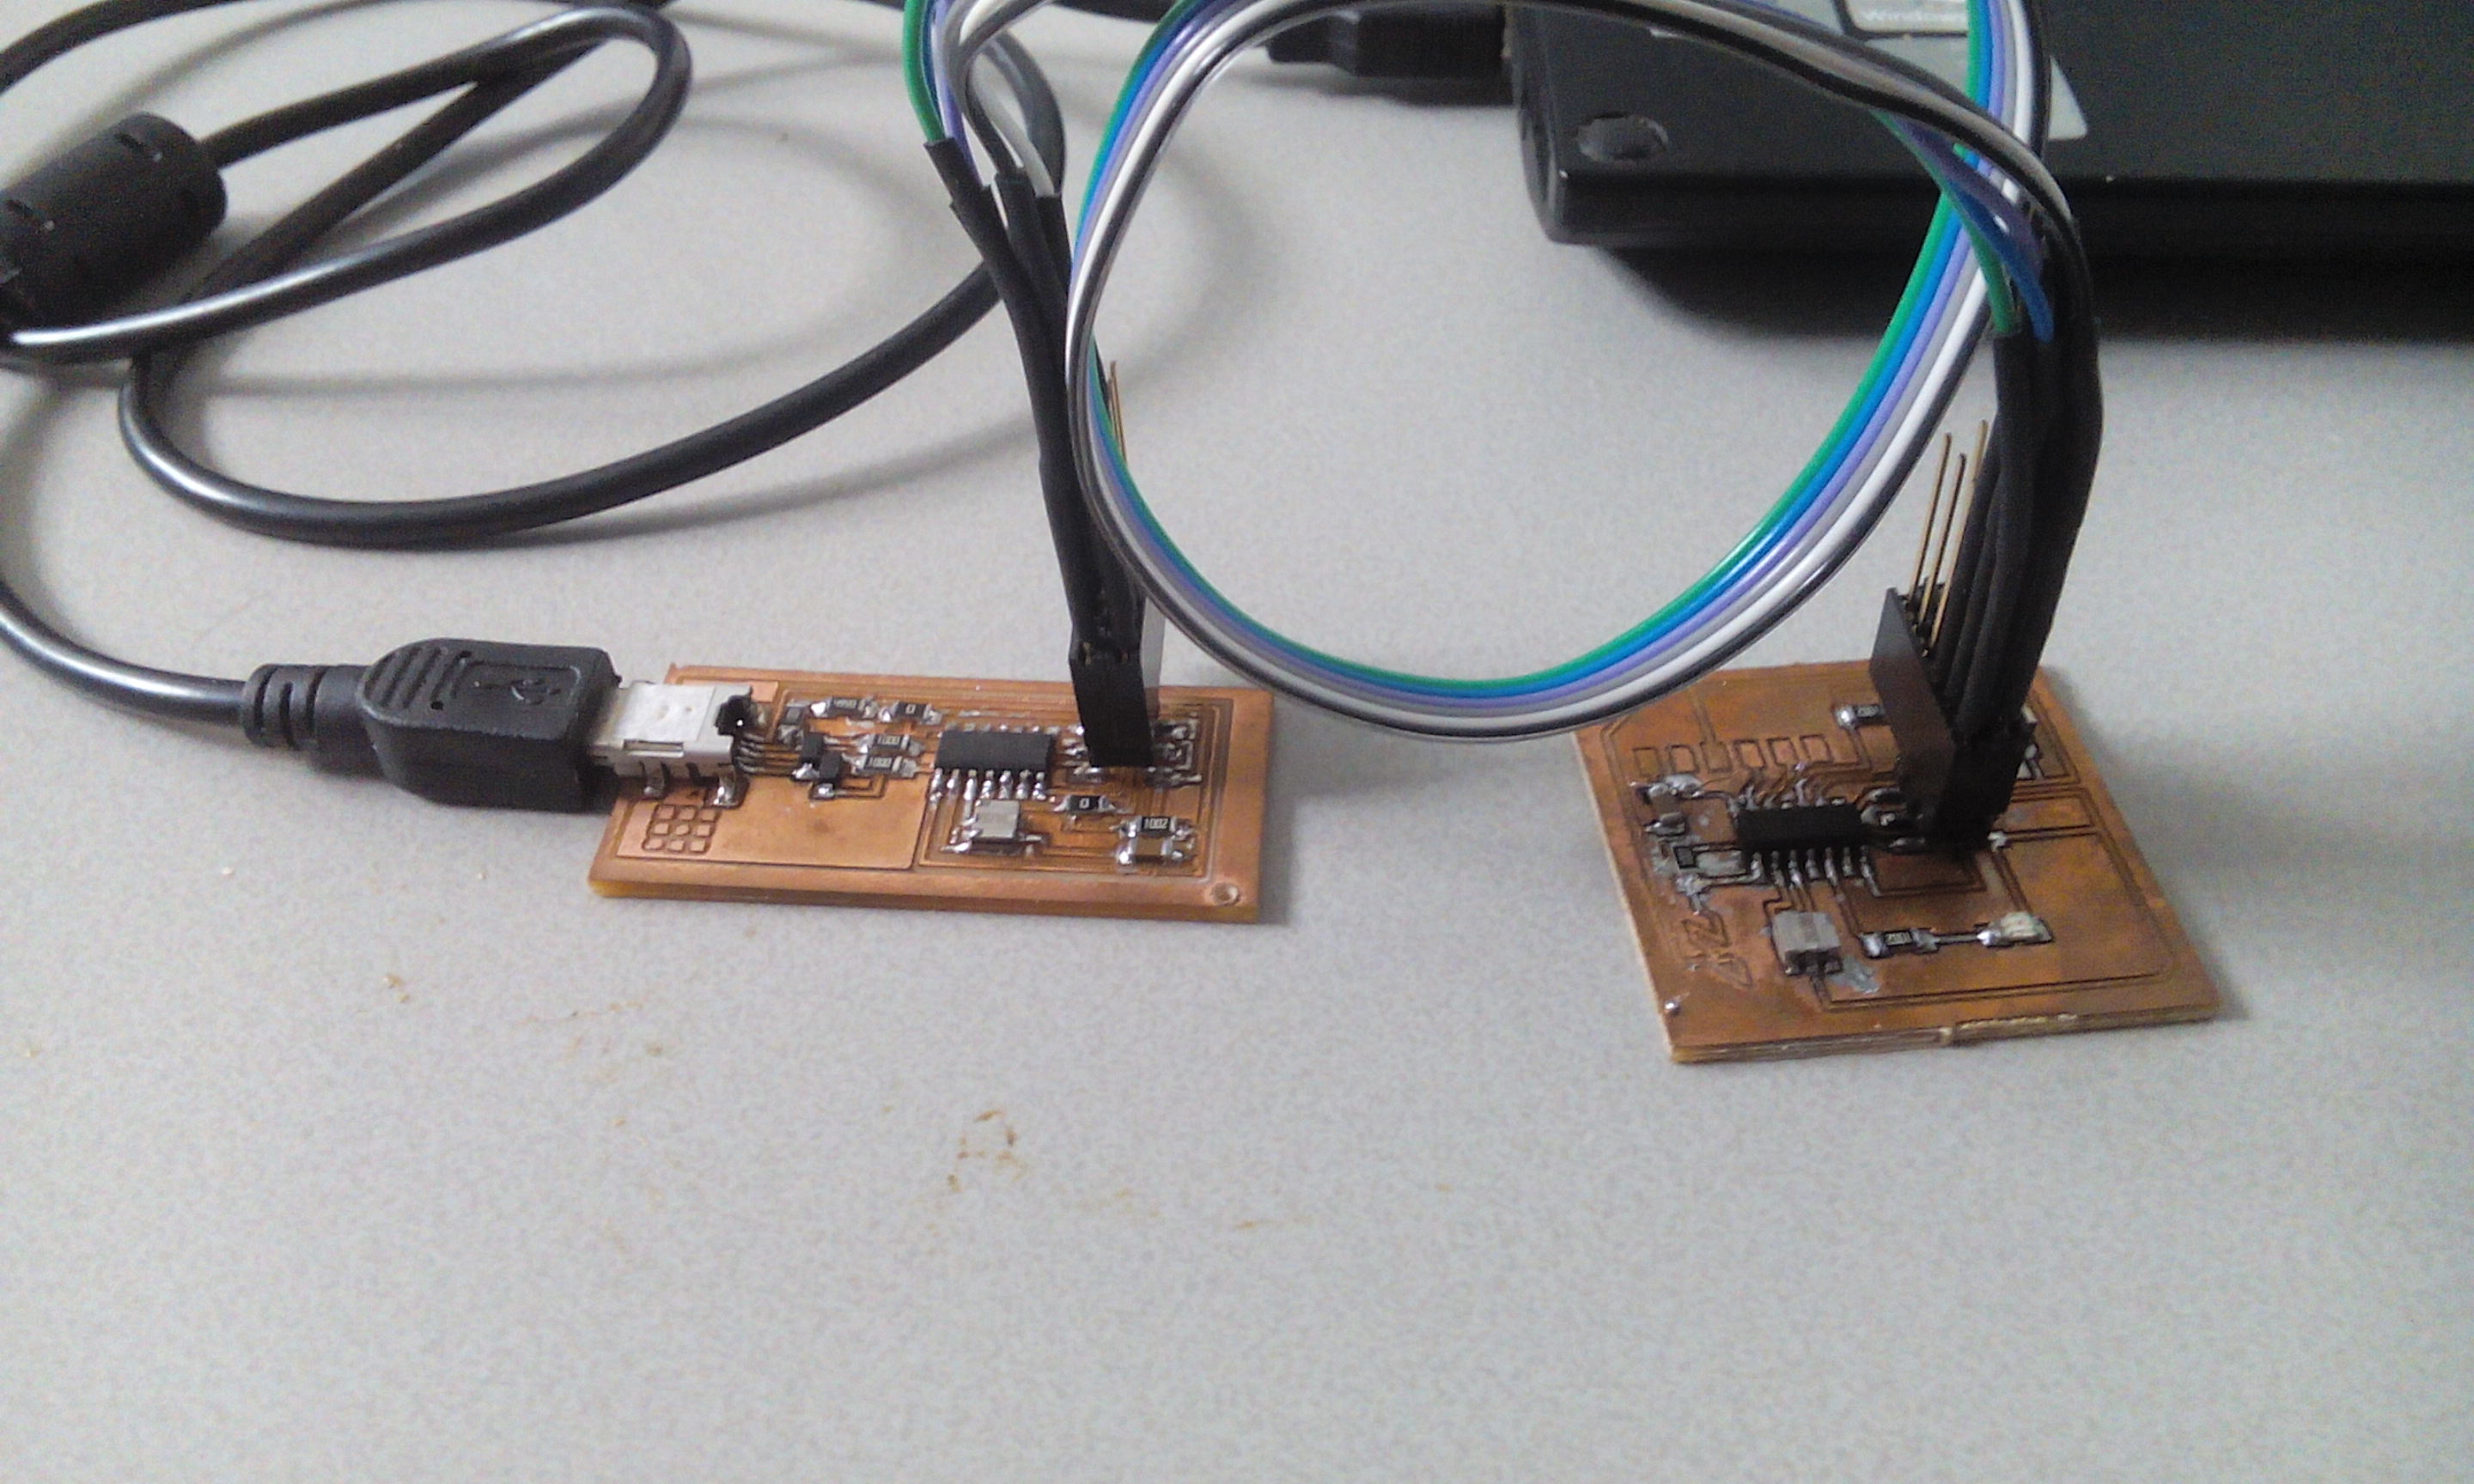
Programming the board
First, the bootloader must be burned to the board. Set the arduino IDE to attiny44 processor, external 20MHz colck and usbtinyISP programmer. Then click on burn the bootloader.
Then I started with the Blink example from arduino IDE. Just changed the pin for the led, which corresponds to 8 in my board and loaded the code. The led started blinking.
After that, I tried Neil’s code for the blink. I redefined the led pin to PB2 and loaded the code. It worked the same as the previous code.
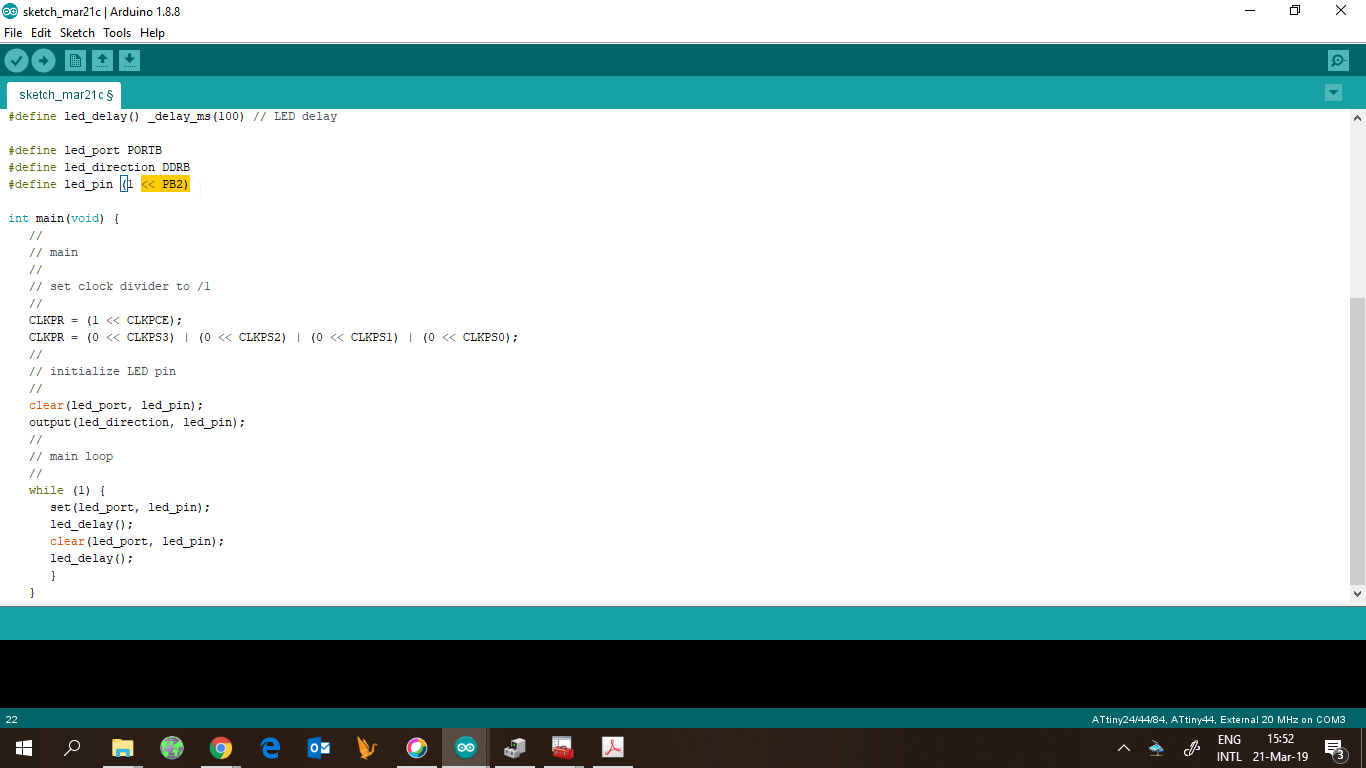
Then, I looked for the delay time on Neil’s code and found the variable
led_delay() _delay_ms(100)
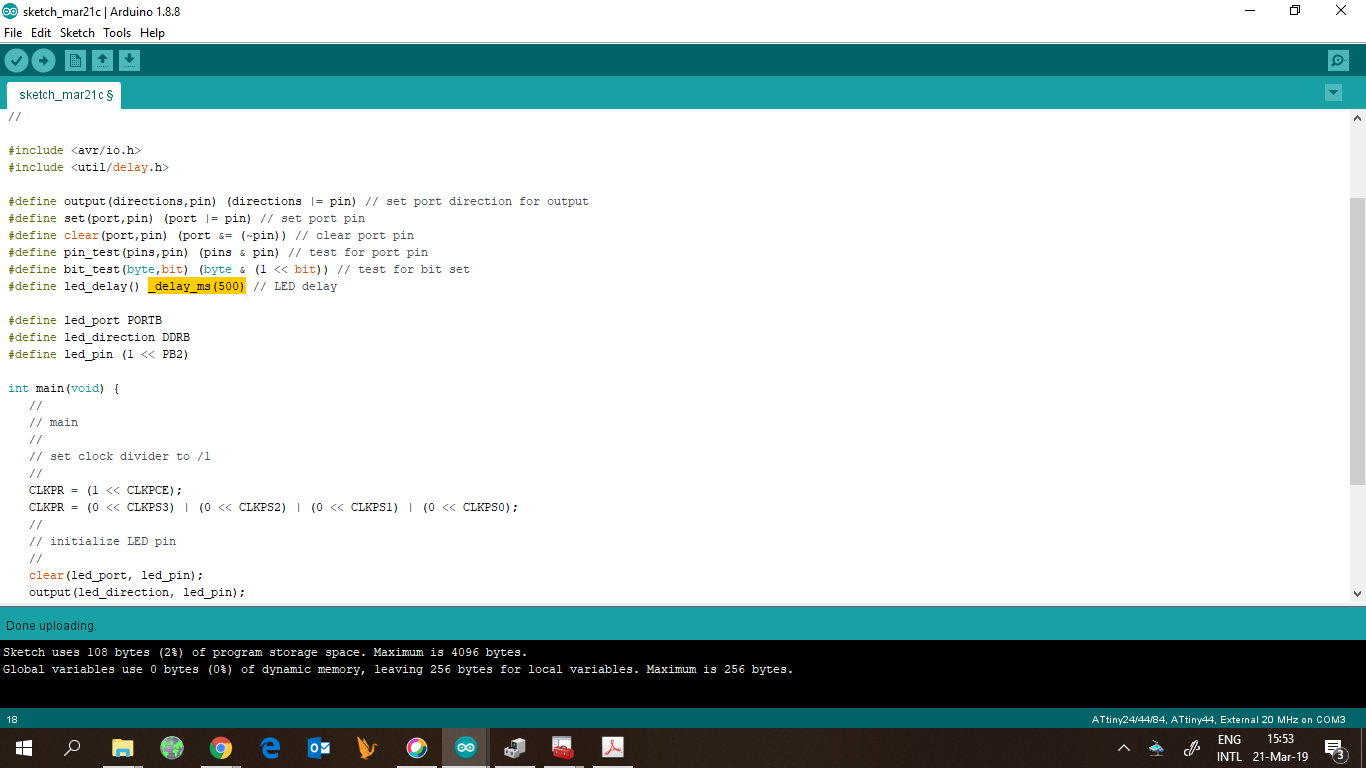
So I changed the value to a greater number and I got a slower blinking on the led.
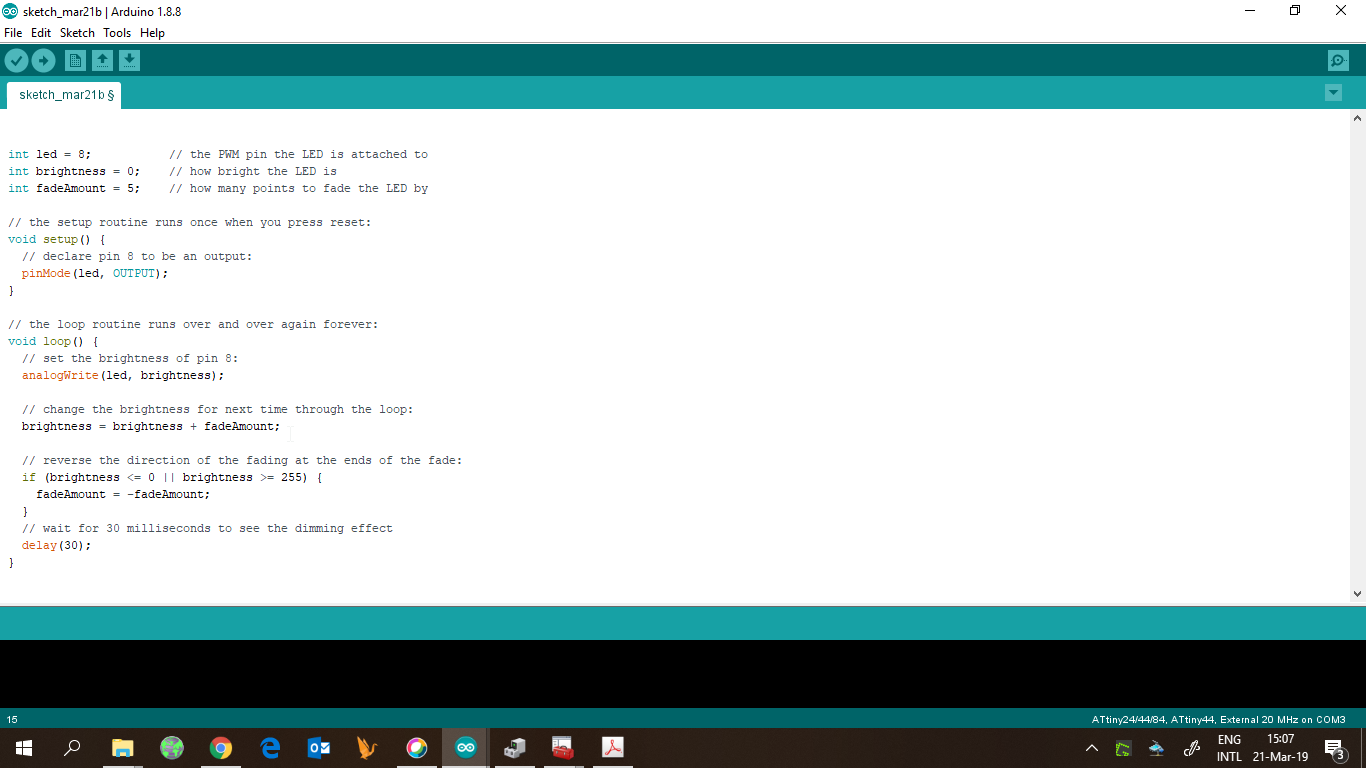
Then, I looked for a fade code to test on my board
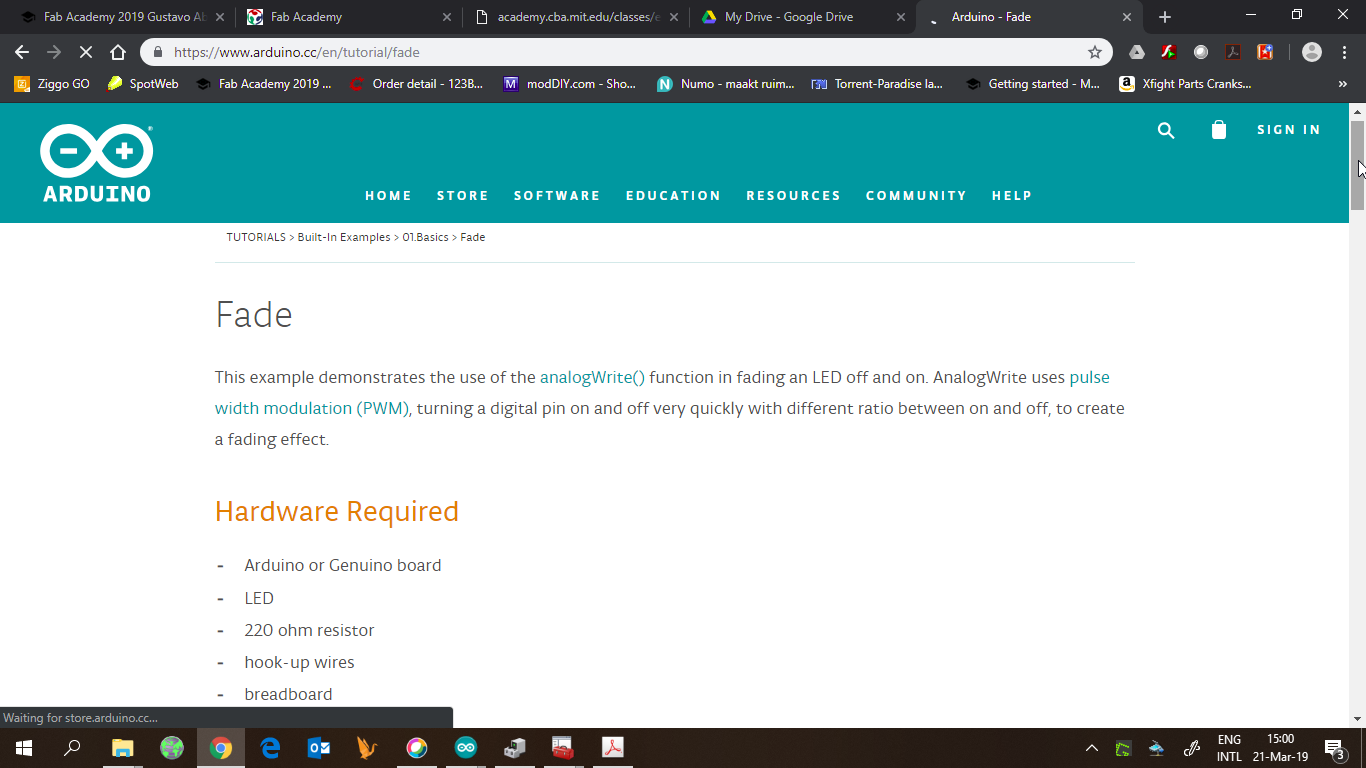
Again, I changed the led pin to 8 and loaded the code. The led was fading
After that, I changed the code to control the fading with the button. So I mixed the fading and the button examples from arduino IDE. The line
if (buttonstate == HIGH)
is used to test whether the button is pressed or not. And when it’s pressed the led brightness increases.

Useful links
ATtiny Embedded Programming with the Arduino IDE