2. Project management
Assignment of this week is to work through a git tutorial, and to build my site in the class archive describing myself abd my final project idea.
Setting fabcloud
I logged in my account and change the notification setting of class from Global to Watch. Now that I can receive and send issues to my class.

Git tutorial
Using the Git tutorial, I did the setting one by one.
Install Git
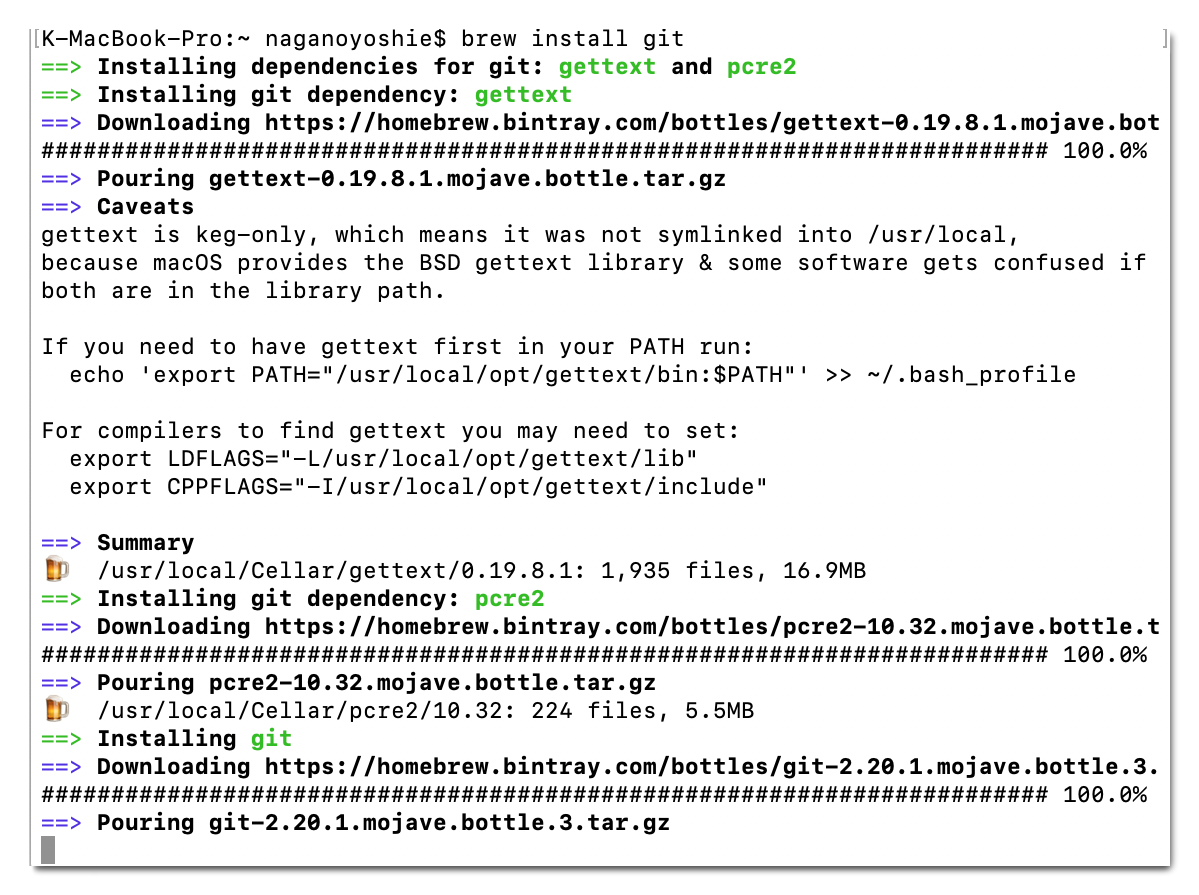
According to my instructor, it is better to install Homebrew first to manage software packages. So I first install home-brew, then install Git via brew. I set my name and mail address using “git config” command.
SSH key
I checked SSH key status if exist, then created SSH key and paste to Git page.

Clone repository & add student agreement
I cloned my repository to local folder.
$ git clone git@gitlab.fabcloud.org:academany/fabacademy/2019/labs/kamakura/students/kae-nagano.git
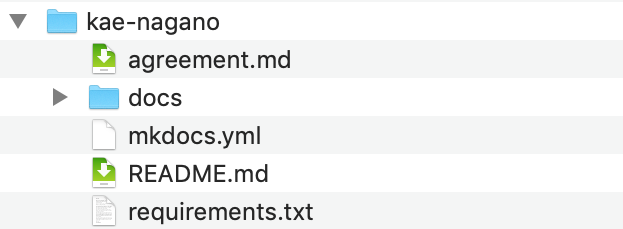
Do not forget to the agreement sign mentioned at the 1st lecture. I copied the student agreement file “agreement.md” to my local repository and typed my name. It means new file is added to the local working space.
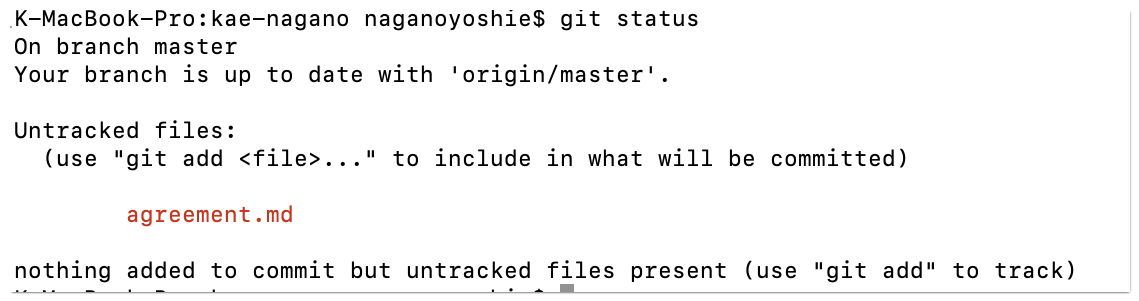
So I can confirm the updated files with the following command.
$ git status
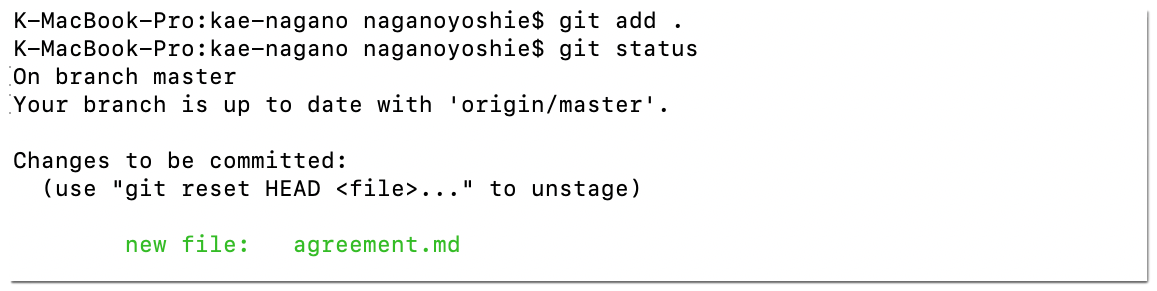
“Git add” command means adding files to git stage. Usually we have to specify the file name to be add, but I used convenient “add .a” to add all files.
note: ‘add .a ‘ was my mistake. “add .” is correct one.
$ git add .a
$ git commit -m 'add agreement'
$ git push
My first git push was completed successfully !
Making my site
Install mkDocs
I installed python3 via Homebrew, then mkDocs via pip. Just to be sure, I confirmed the mkdocs version as follows.
$ brew install python
$ pip3 install mkdocs
$ mkdocs --version
mkdocs, version 1.0.4 from /usr/local/lib/python3.7/site-packages/mkdocs (Python 3.7)
It’s time to run server, however error message was displayed as follows. It seemed that it is necessary to install default theme ‘material’ to my local.
$ mkdocs serve
INFO    -  Building documentation...
ERROR   -  Config value: 'theme'. Error: Unrecognised theme name: 'material'. The available installed themes are: mkdocs, readthedocs

Aborted with 1 Configuration Errors!
So I installed material, then tried to run server again.
$ pip3 install mkdocs-material
$ mkdocs serve
Successfully the server started running. During editing, I can preview my site at ‘http://127.0.0.1:8000/’. It is really useful.

Editor
I tried some free editors.
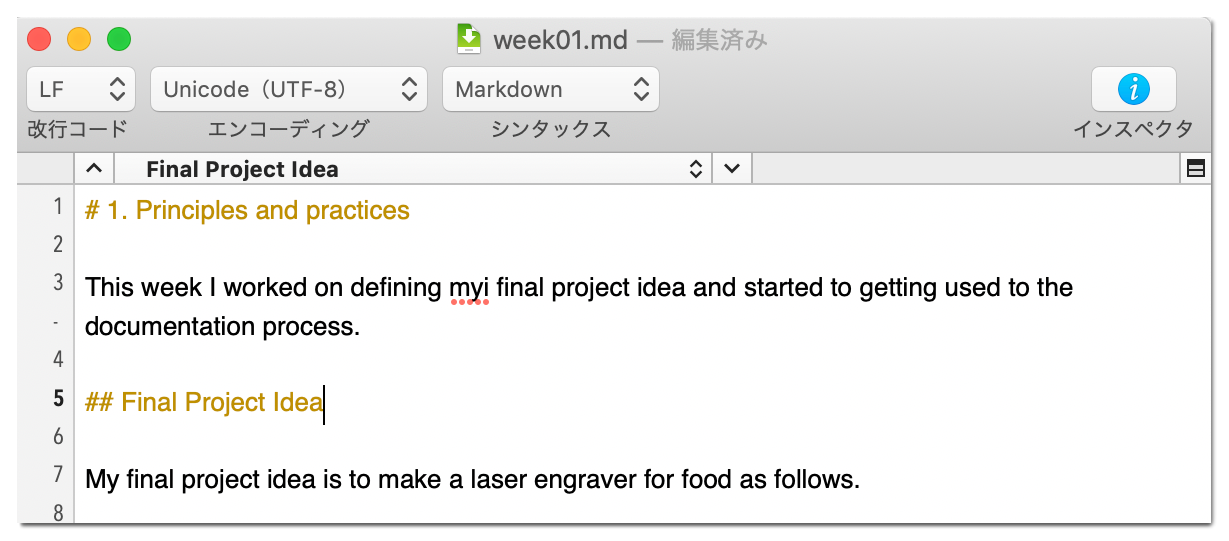
- Coteditor : editor for macOS.
The editor looks simple and spell checker is implemented by default. This function is essential because I am not a native English speaker.
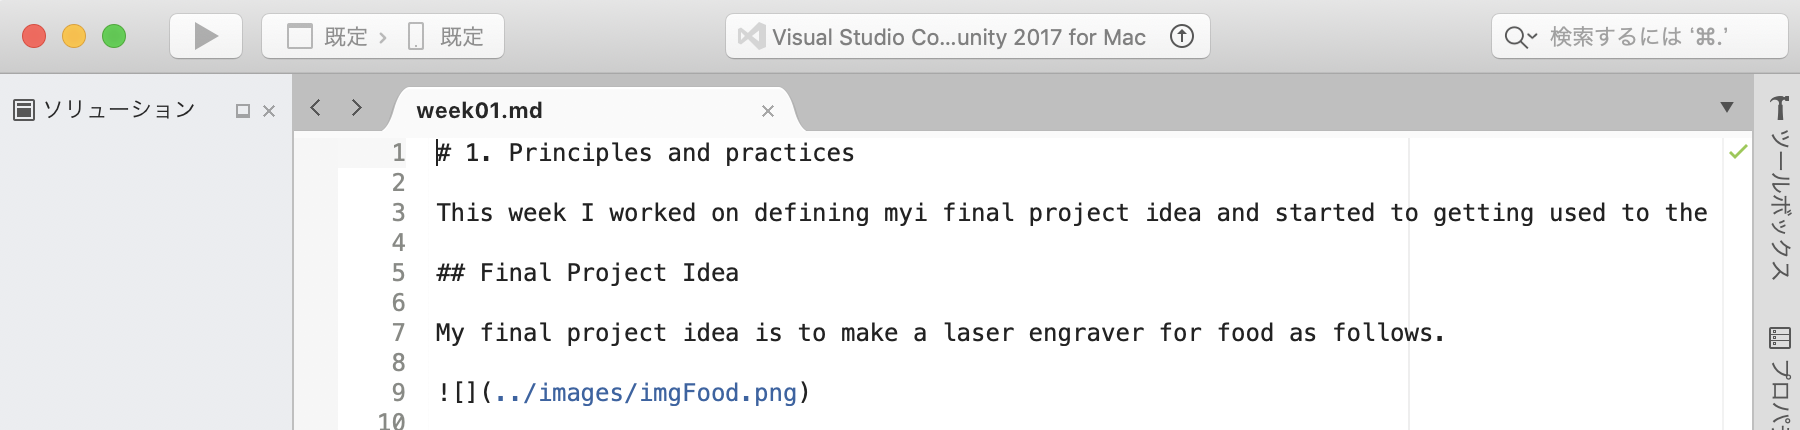
- Visualstudio : IDE developed by Microsoft.
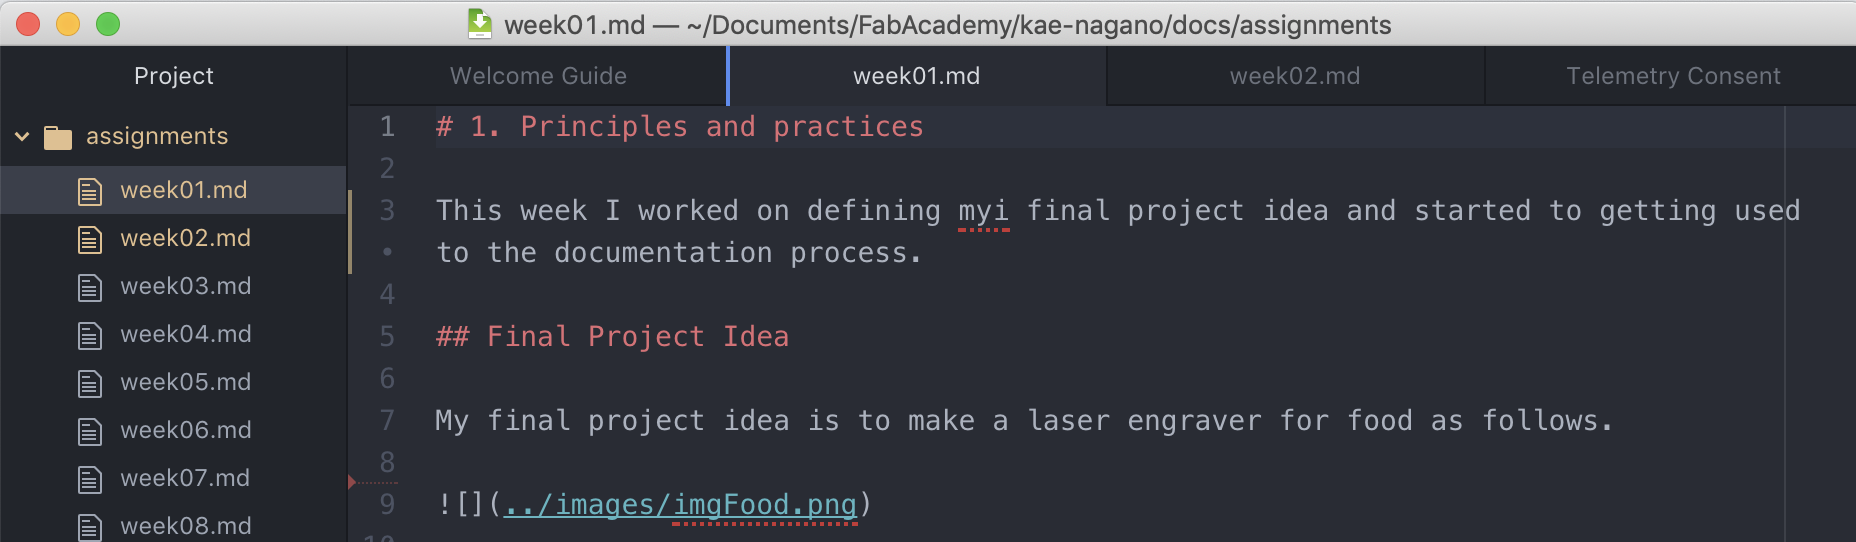
- Atom : Open source editor developed by founder of GitHub.
- Brackets : Open source editor by Adobe.
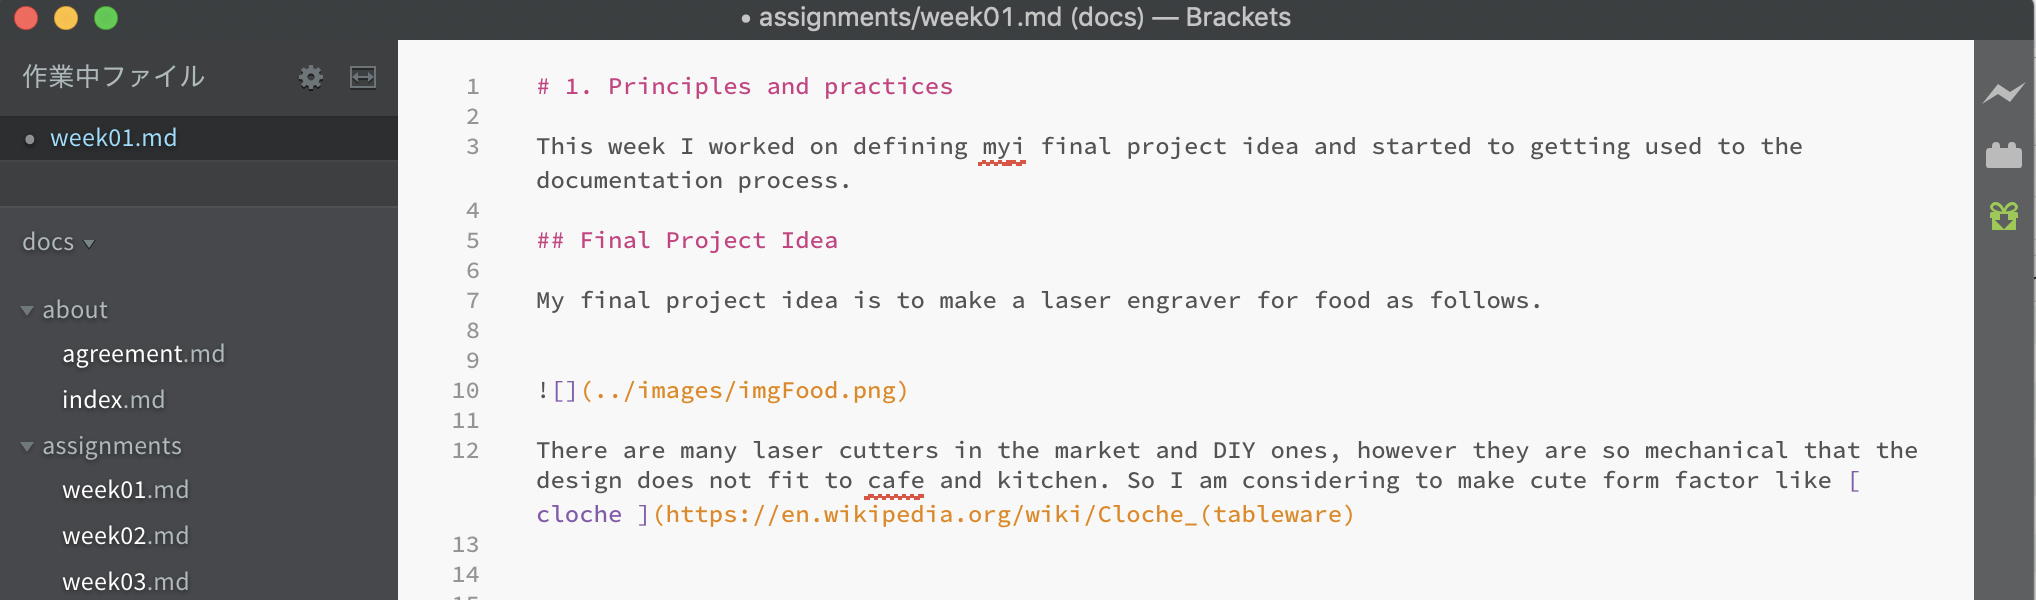
The “brackets” is seemed easy to use not only for Markdown but also for HTML / CSS coding for future use. But spell checker is not default feature. So I thought I could add it easily, but it was long way. I tried to add extension from File > Extension manager, however Brackets rejected the install. Finally I found the tips Brackets spell check tips and installed. Thank you for Kamakura instructor’s advice.
mkdoxs.yml
Using brackets, I opened mkdocs.yml and changed following mandatory area.
- site_name
- site_description
- site_author
Regarding the design, I thought about changing theme, but stayed the current one. Because it is simple and responsible design for devices such as mobile phone. I only changed colors to fit my preference.
palette:
    primary: "cyan"
    accent: "yellow"
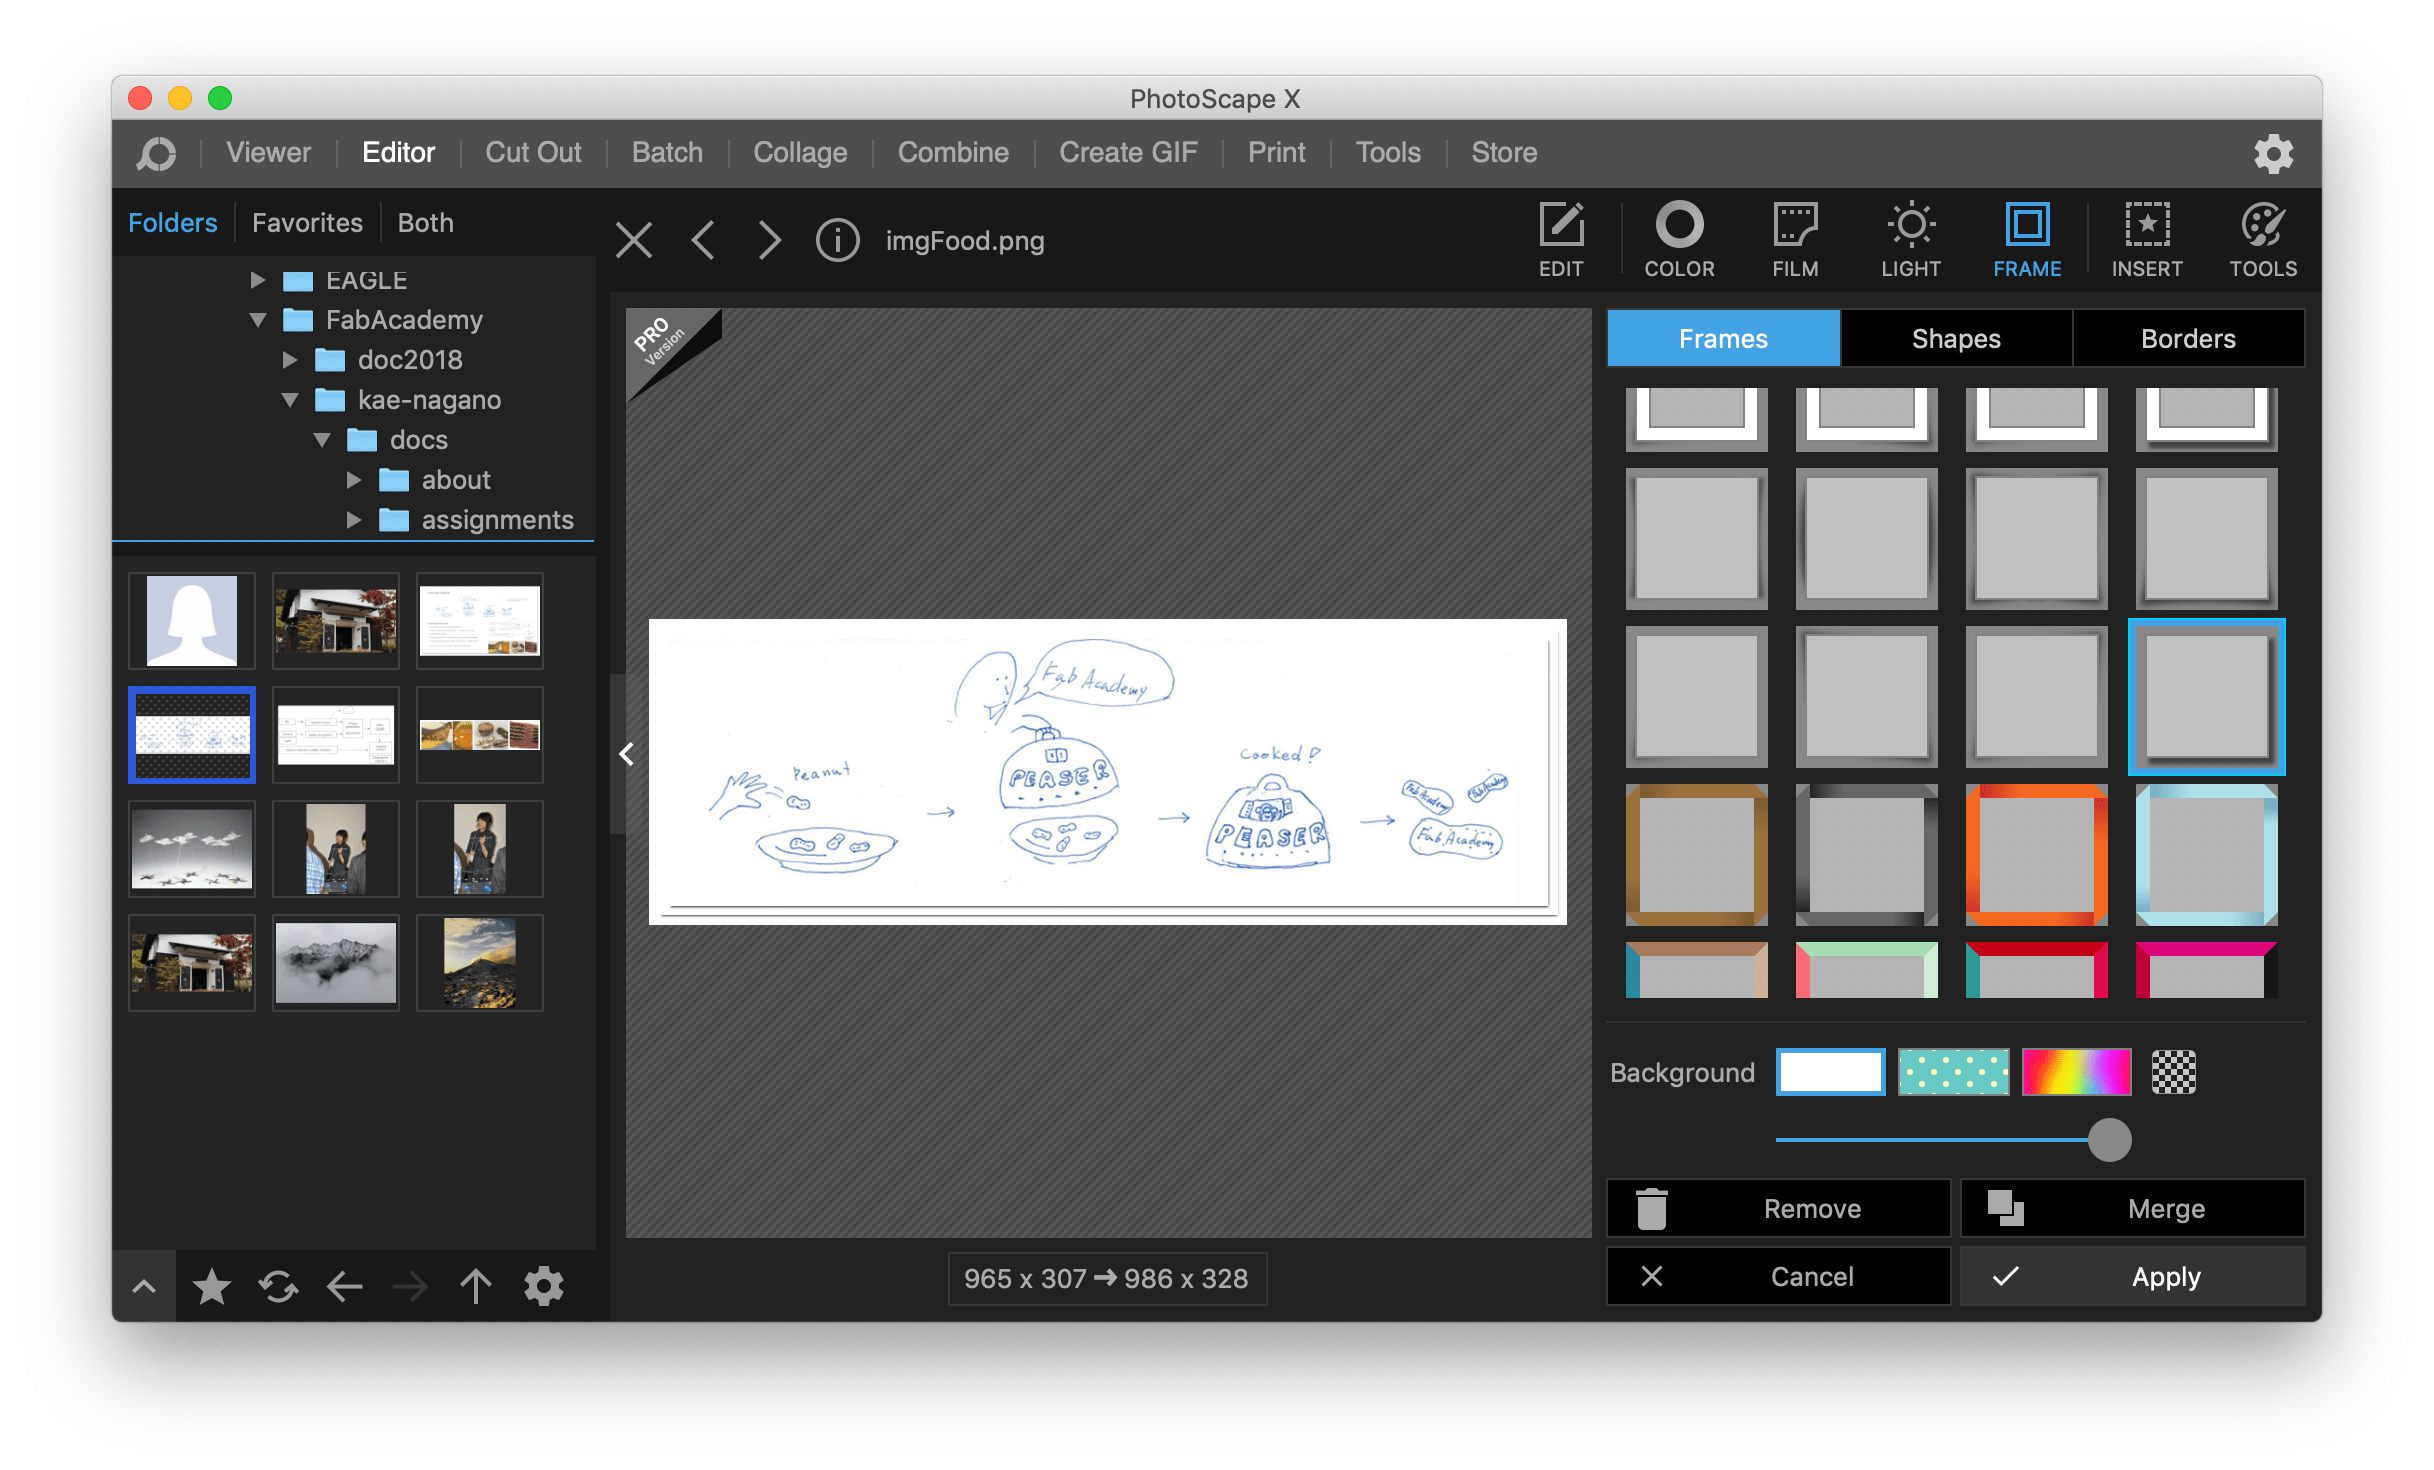
image editor
To care the limit of total size (300mb), I tried free optimizer and image editors.
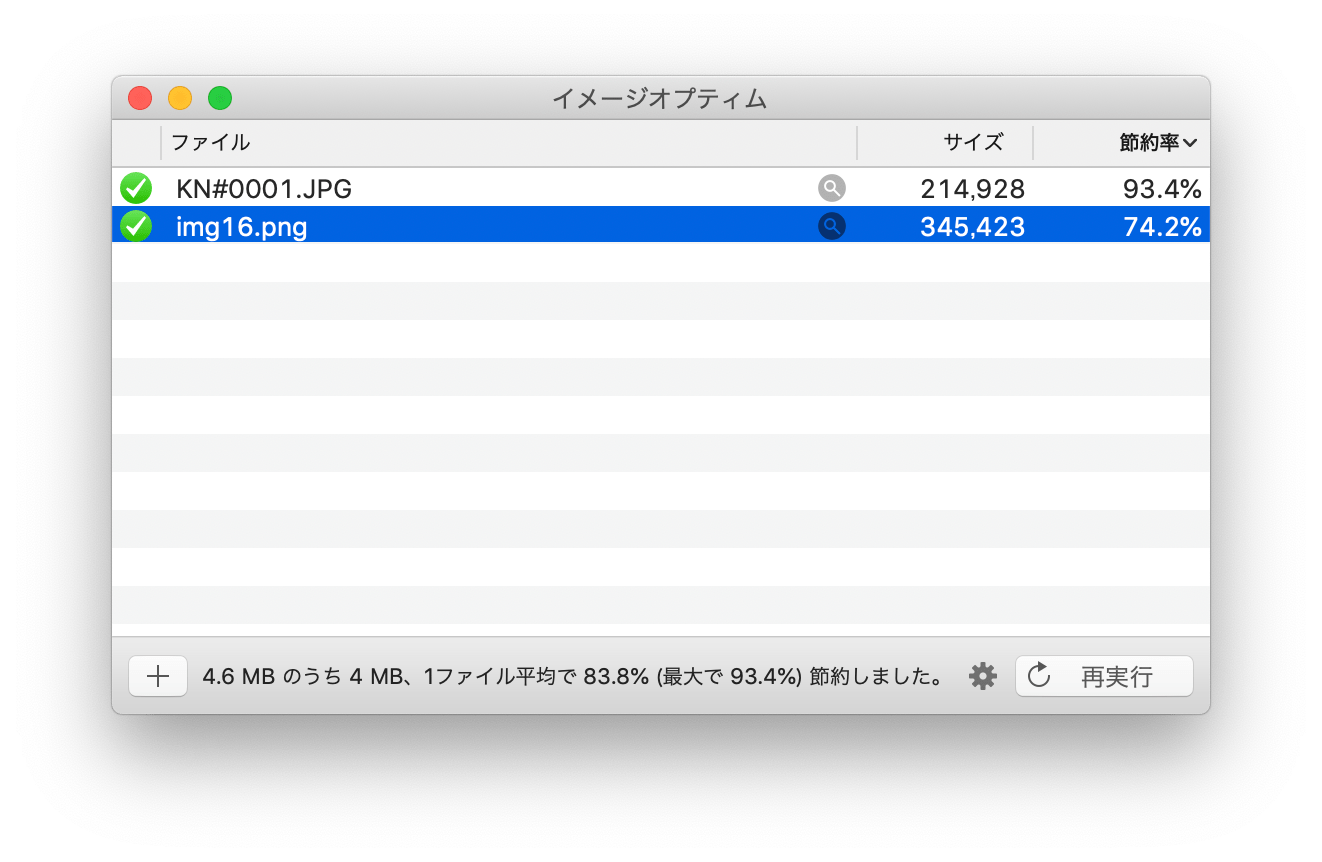
Since the UI is easy to understand and possible to manipulate files collectively, I chose PhotoScape to crop, scale, frame photos. And ”imageOptim” recomended by Fab Academy Coordination Team is very useful. I can reduce the size easily without big damage for web site.
For example, the size of “img16.png” is reduced 74.2% by ImageOptim. (sorry for Japanese).
Other topics
To improve the readability of this site, I added some tags as follows. I would like to try customization with HTML/CSS if necessary while doing weekly documentation.
- Insert Blank line
<br />
- Horizontal line
---
- Italic hello
*hello*
I completed the assignment of this week as follows.