6. 3D Printing and Scanning
The assignment this week: design and 3D print an object (small, few cm3, limited by printer time) that could not be made subtractively - 3D scan an object (and optionally print it)
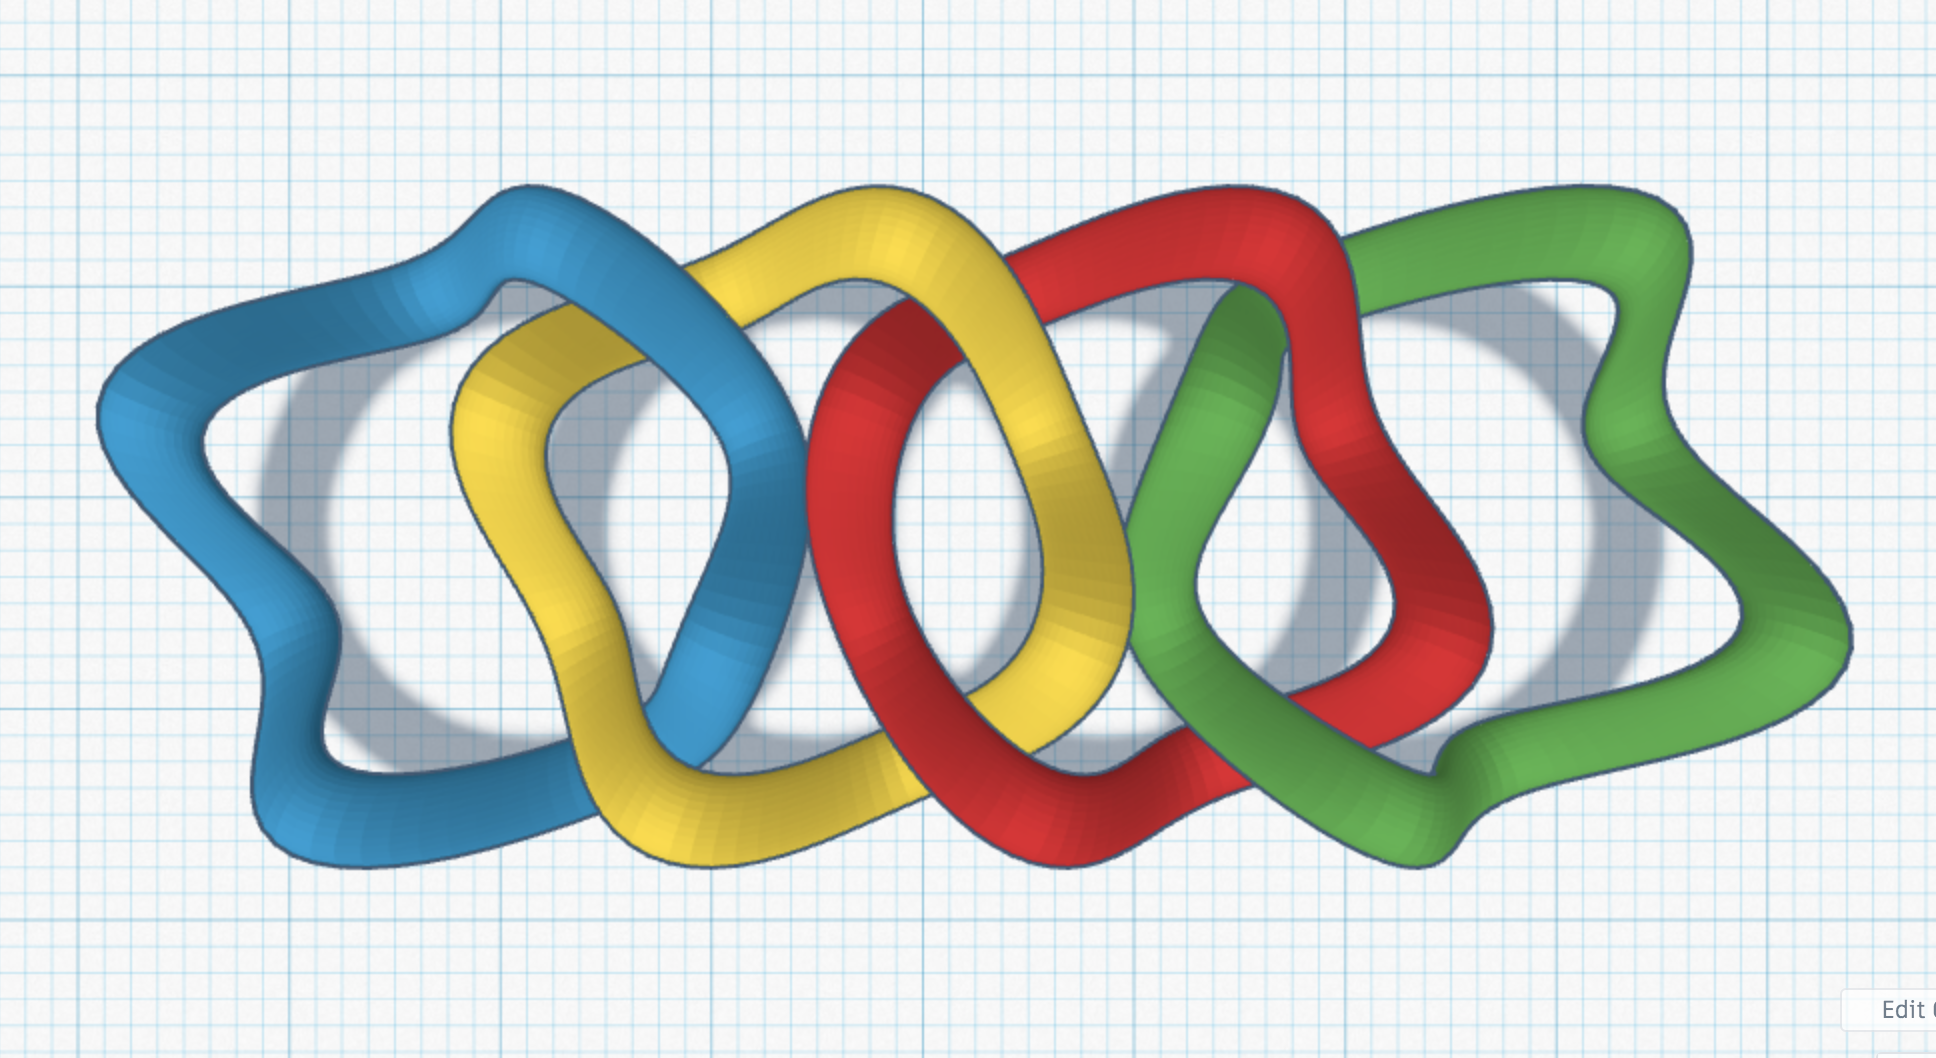
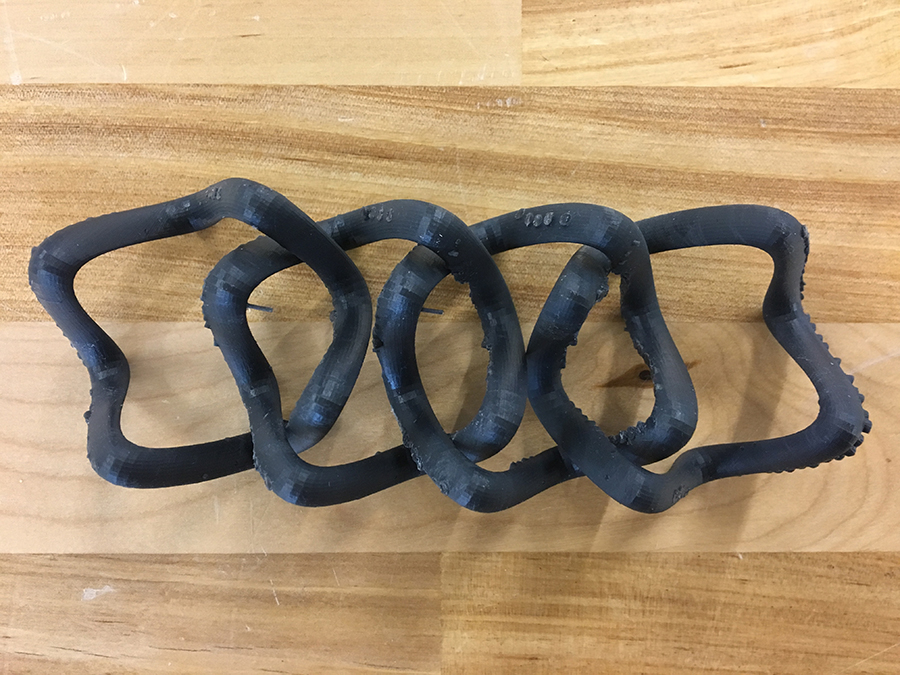
I wanted to do something fun this week, but also something that could easily be done in a K-12 classroom, meaning, in TinkerCAD. The design I came up with uses some of the parametric features in TinkerCAD to adjust the wave length/amplitude settings ringed geometry. By adjusting the number of waves and their height, it is quite easy to make interlocking parts that go above and below each other:

The challenge was to make sure the waves aligned with each other in a way so that they were actually colliliding with each other.
3D Model - linked/downloadable file

Interlocking parts are really hard to manufacturing with subtractive methods - it’s hard for the milling tools to get underneath and around.
3D Print - linked/downloadable file

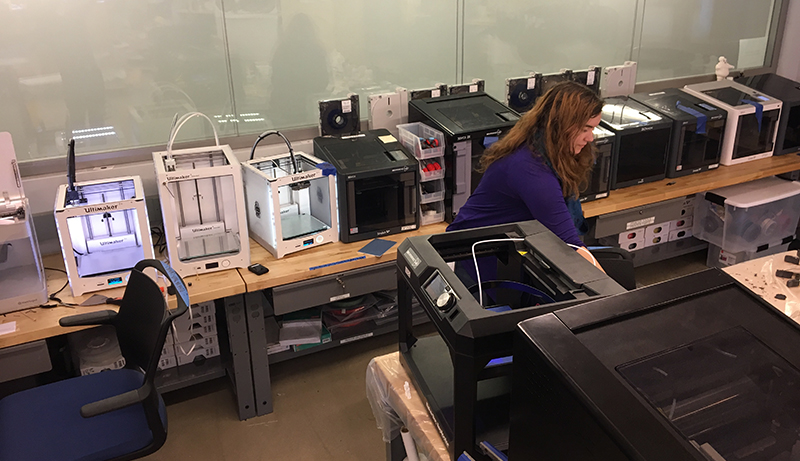 One of these was working! But Alex our Lab intern was very helpful!
 Too small/not enough brims, no support structure - the parts started wiggling and got misaligned, then the spaghetti happened.
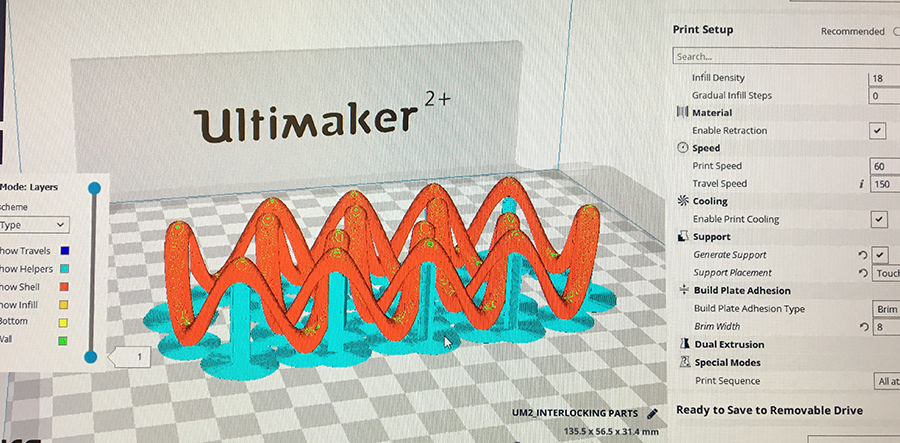 Added supports to stabalize the print as it was built up!
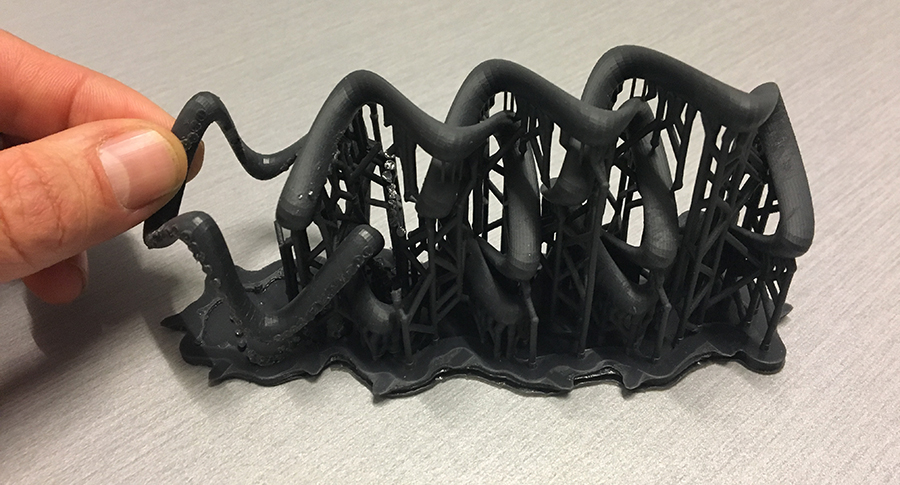
 Alas another failed print. I did notice one leg didn’t start off so good…and it seems to continue spreading speghetti around the build area…likely causing this mess.
 Trying the same design model on the FormLabs printer…I’ll try out the rubber material.
 Lots of support structure to remove…not the most time appropriate task.
 I’m a little disappointed in the quality…pretty nubby from all the support structure attachments. 12 hour print. If I were to try 3D printing this object again, I would use the Formlabs, but try to adjust the amount of support structure. I also might not use the rubbery material.
3D Scan - linked/downloable file
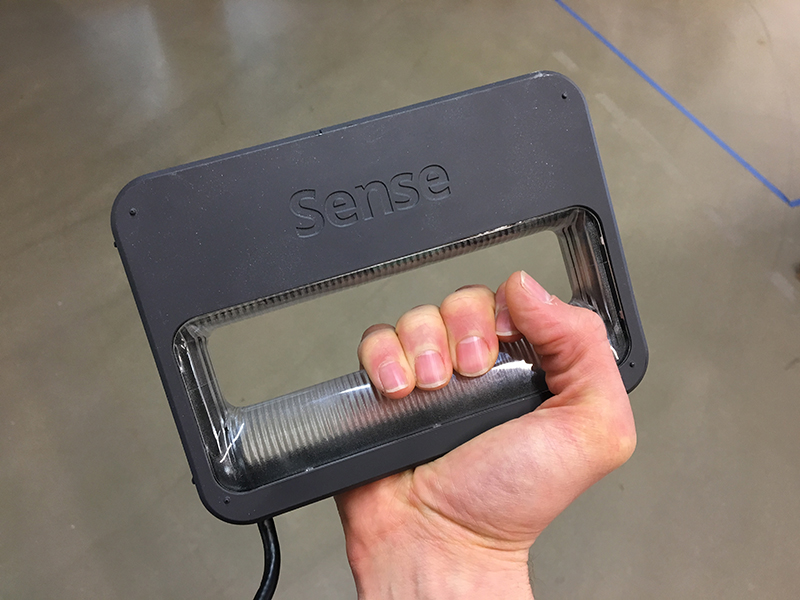
I used the 3D Systems Sense Scanner. It was super easy to use, with so-so results.
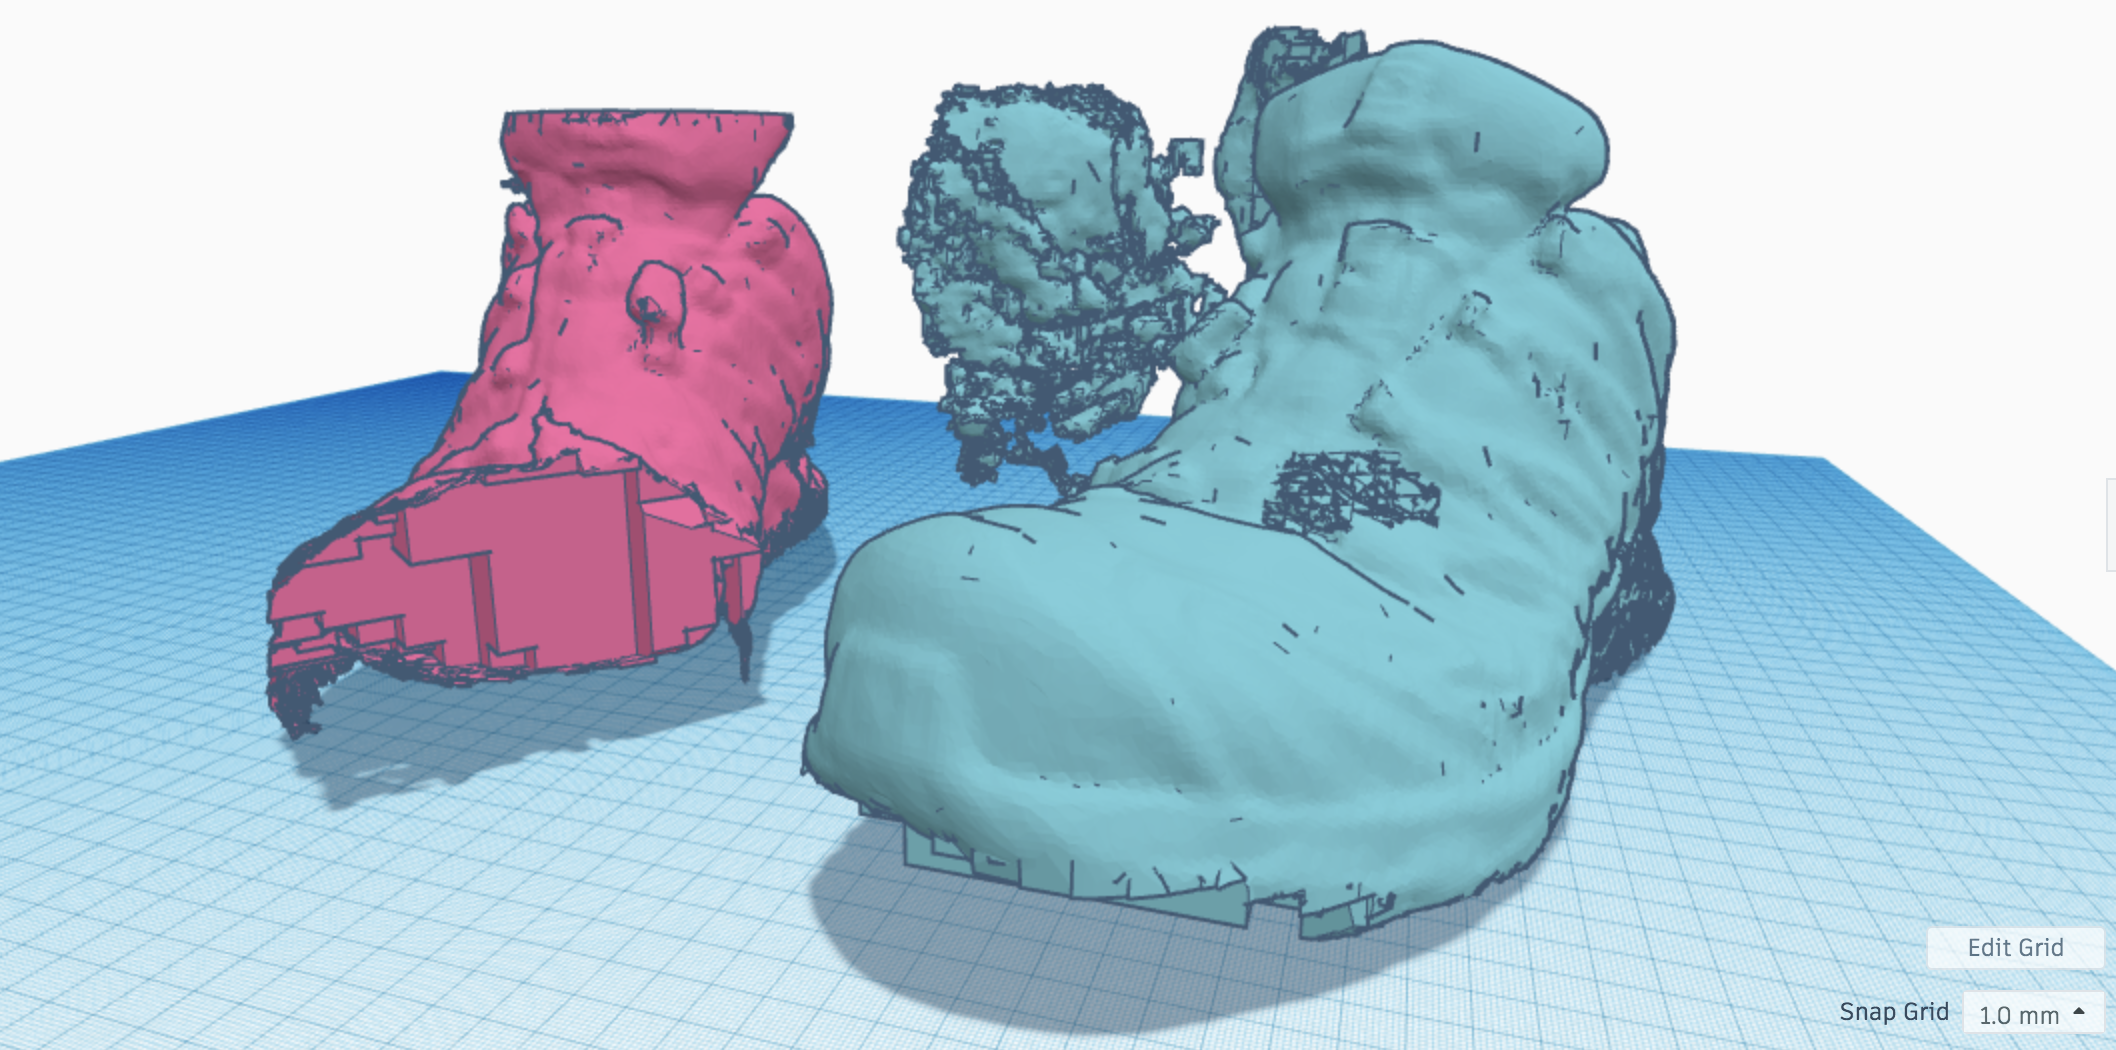 Here’s 2 scans in one image. The first was the green one. I used my hand to rotate the shoe and it appeared as an artifact in the model. I didn’t attempt to edit out my hand, but if I did I would use a solid modeling to Boolean subtract it.
 In the second scan, the pink shoe, I rigged up a trash can on wheels to rotate the shoe without my hand it.
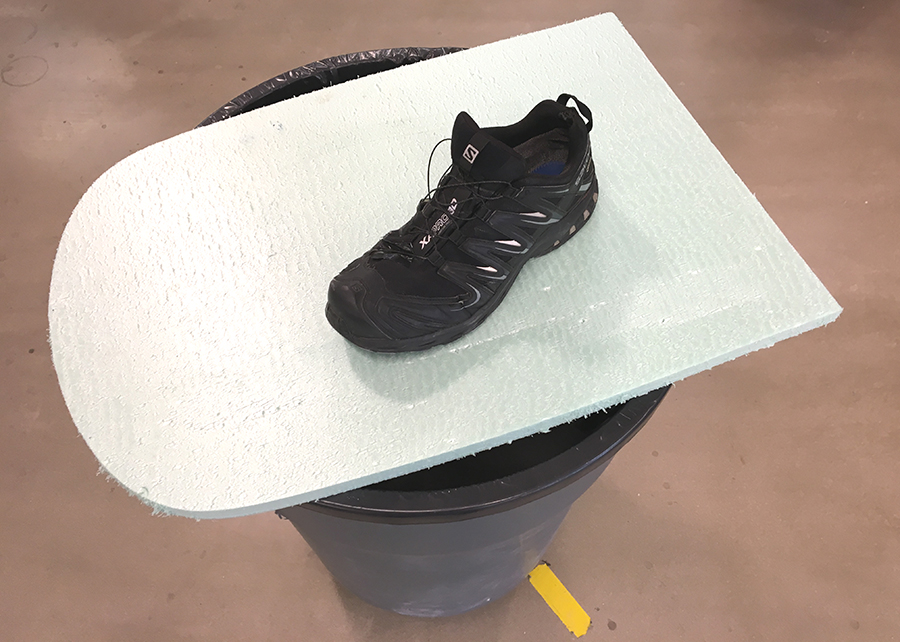 My makeshift lazy susan, which did help in producing a cleaner scan - one with lesson disruptions in the model.
Overall, with 3D scanning, the key is to pick the right scanner for the particular object. I was told the Sense scanner is best at ogranic shapes and relatively medium size like bodies and body parts - hands, heads, etc. Another thing I learned was to keep the scanner very steady as you’re moving it. Move it slow and steady, and make multiple passes from different angles.