3. Computer Aided design
This week we were tasked with representing our final project in numerous kinds of CAD tools. First are some previously made drawings. Second I would also like to explore some new-to-me tools including FreeCAD, GrabCAD, and Blender to focus in on modeling for electronics production. I guess I’m really trying to approach the puzzles from a new angle, which is difficult for me. I’m less interested in re-exploring Rhino/Grasshopper for a parametric tool, although it may indeed be a good tool for slicing. Ideally I could pull it off in FreeCAD. I’d really like to be able to share this work with k-12 teachers who won’t likely learn/buy tools like Rhino.
Previous Work
Rhino screenshots
Rhino screenshots

Rhino Flamingo Renderings
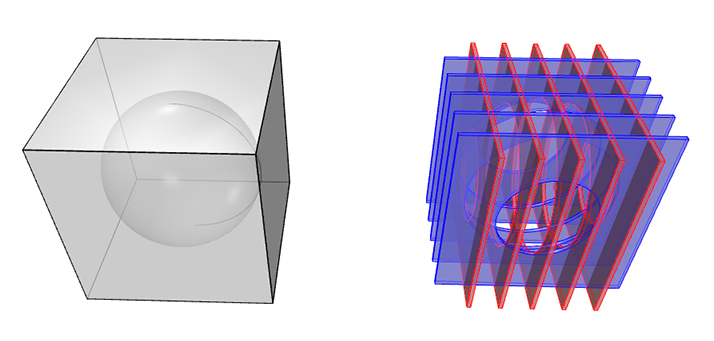
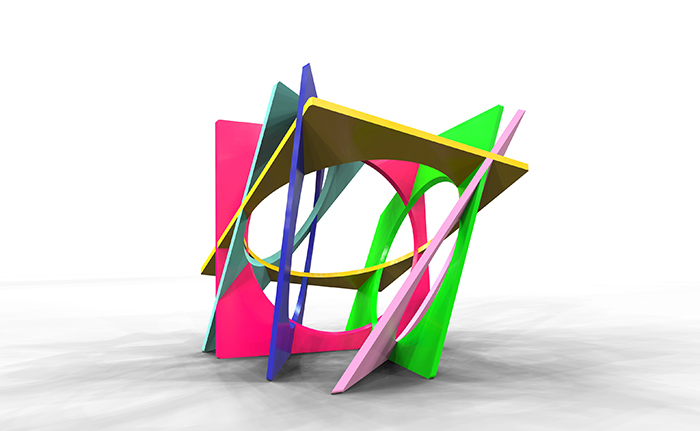
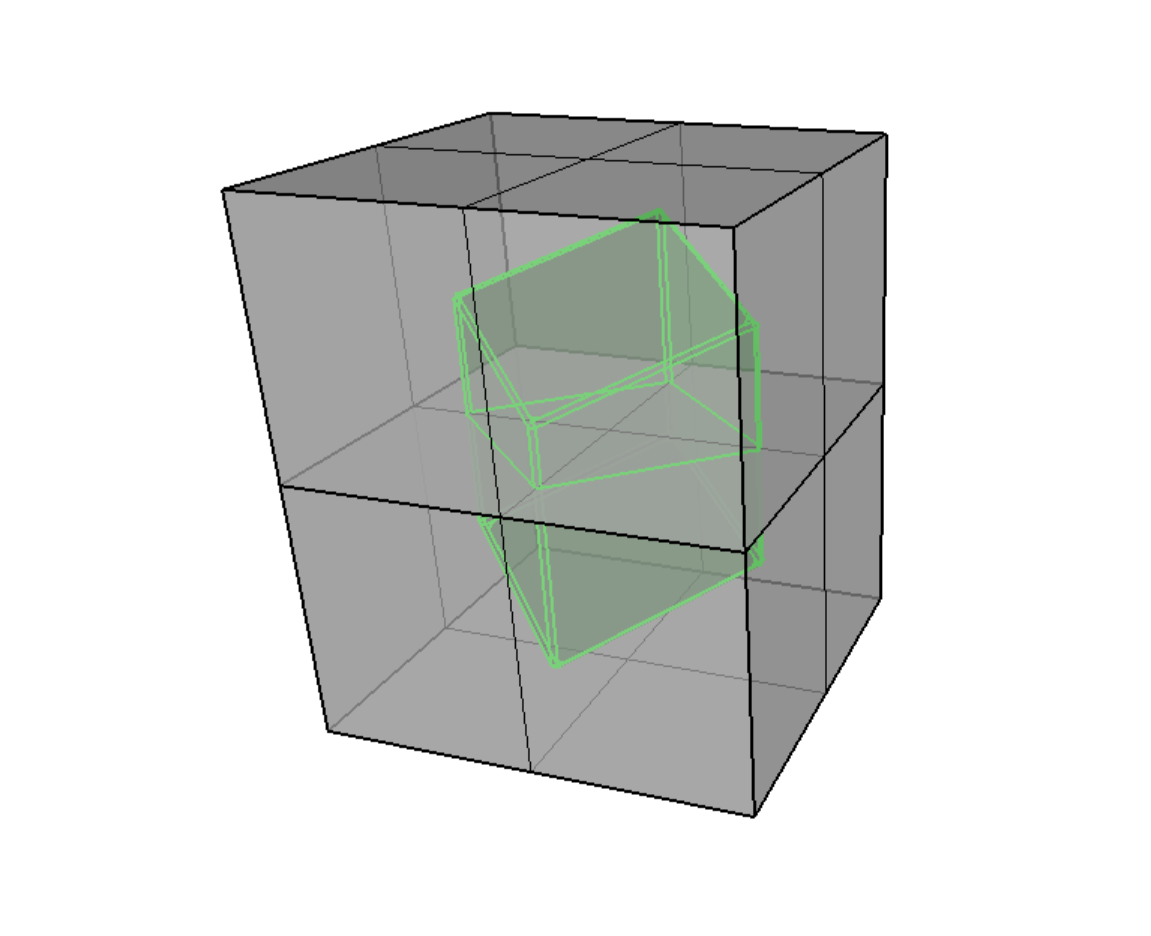
 2 planes intersecting orthagonally
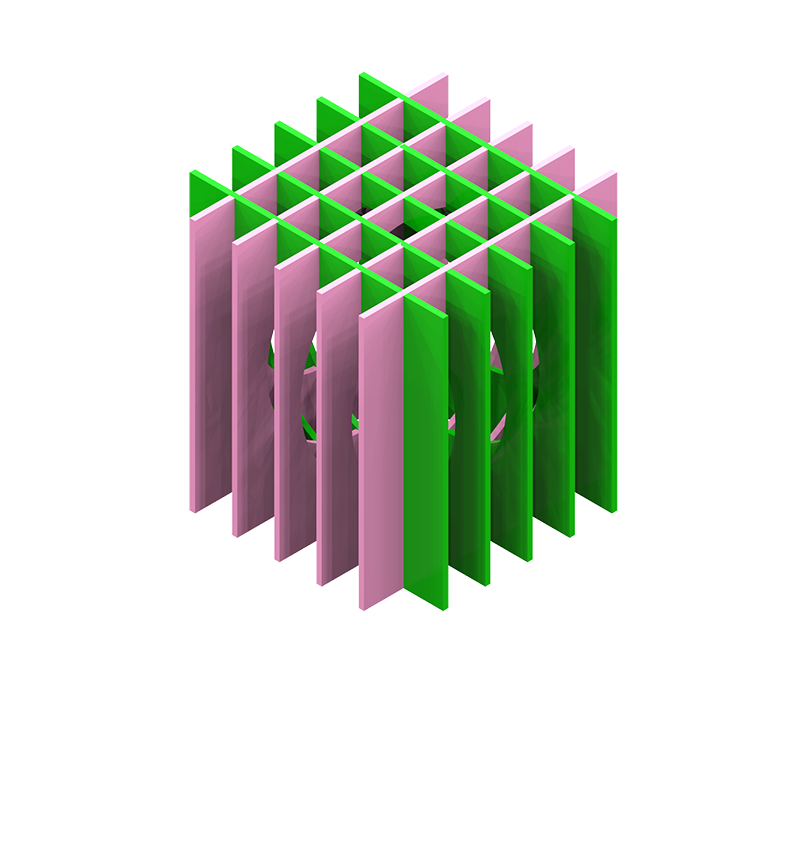
 2 planes intersecting orthagonally, rotated along z axis
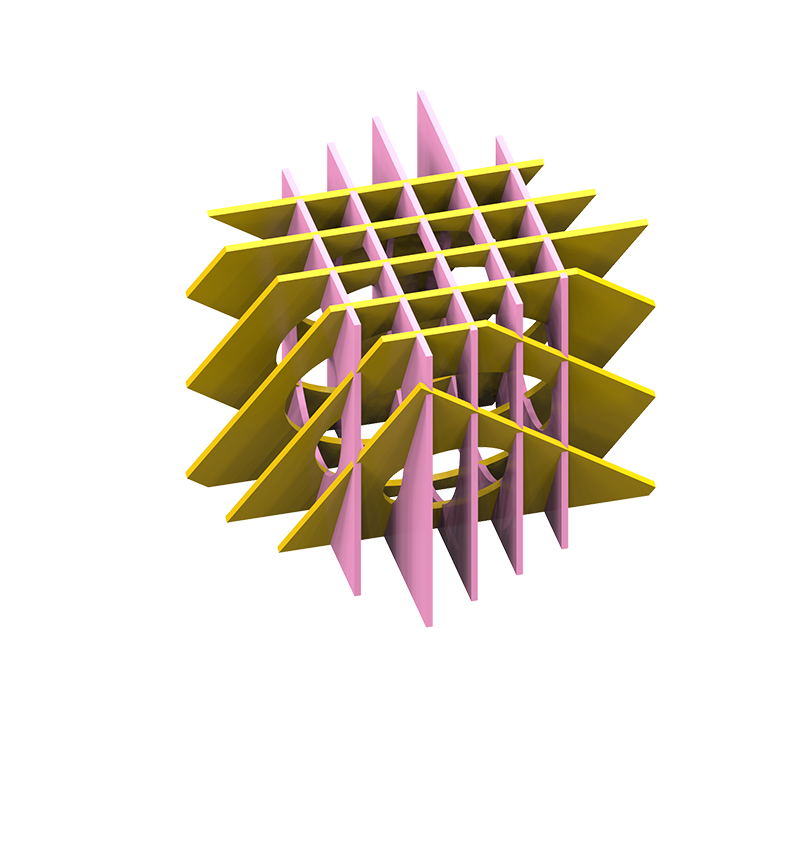 2 planes intersecting orthagonally, rotated along z and y axes
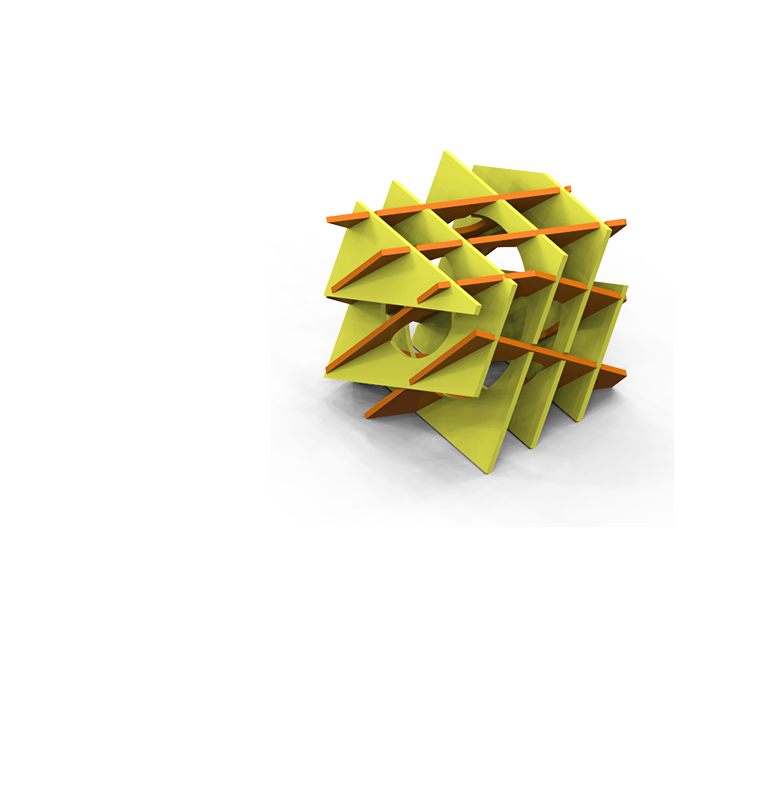 2 planes intersecting orthagonally, rotated along z and y and x axes
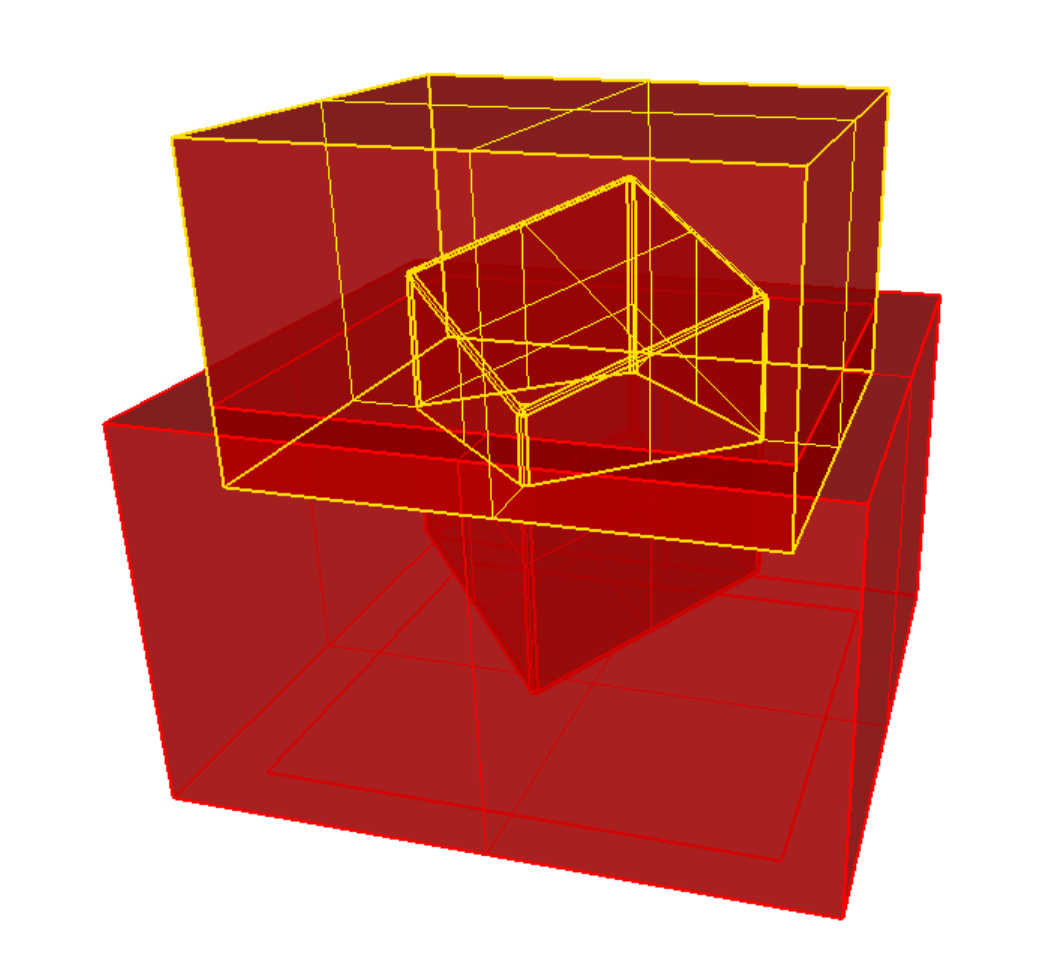
 6 unique planes of intersection - how would one cut these angles?
 6 unique planes of intersection - how would one cut these angles?
Illustrator cut sheets - downloadable file
 6 unique planes of intersection - how would one cut these angles?
I made this file by cutting sections through a solid model and then flattening and separating the individual pieces. Using Illustrator I organized the pieces by red and blue to designate the orientation of the two planes. I also added very small fillets to each exterior corner to prevent breaking and also to make it nice ot handle each piece.
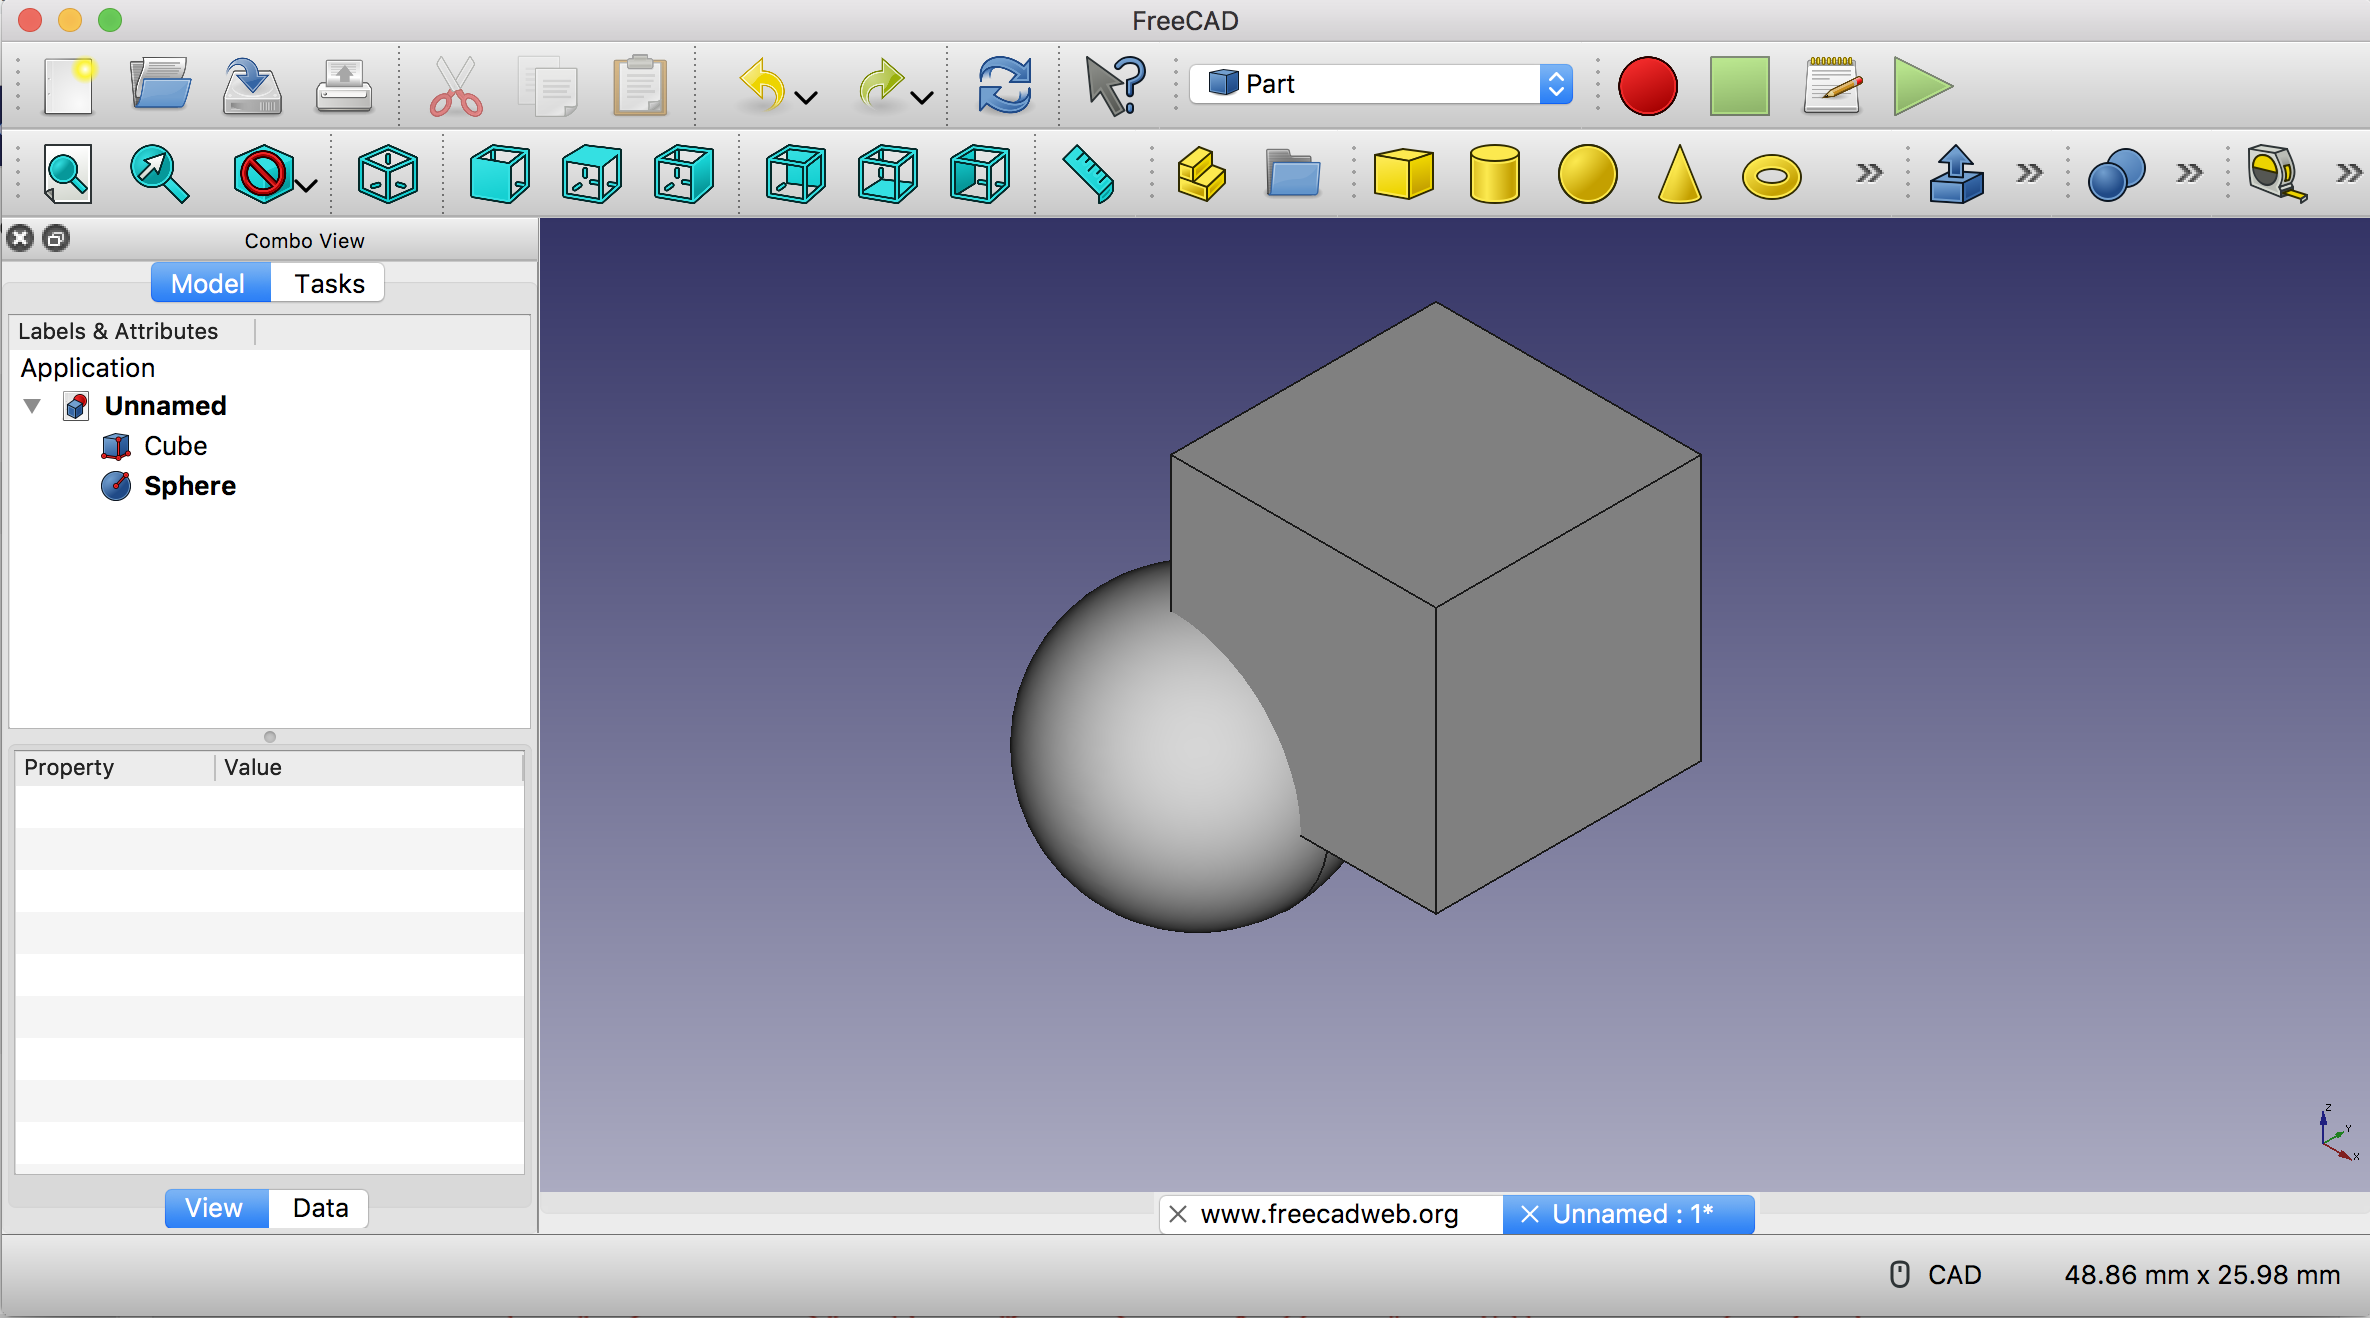
FreeCAD
Getting to know the workspace…clicking around. So far it’s pretty frustrating…how do I just draw a square?!
The documentation is helpful
Addressing Instructor Feedback
Feedback from Instructor: “This needs more. I think it’s fine to use previous work, but global evaluators will want to see more of a work flow (i.e. screenshots and descriptions of how you created your models). It may be easier to create a new CAD model (e.g. for your new final project idea) and document that workflow here. For 2D, show some more workflow in Illustrator - i.e. how did you get from the 3D rhino models to these 2D cut files.”
3D: Rhino models of molds for final project
Here are some Rhino 3D modeling screenshots that show my workflow:
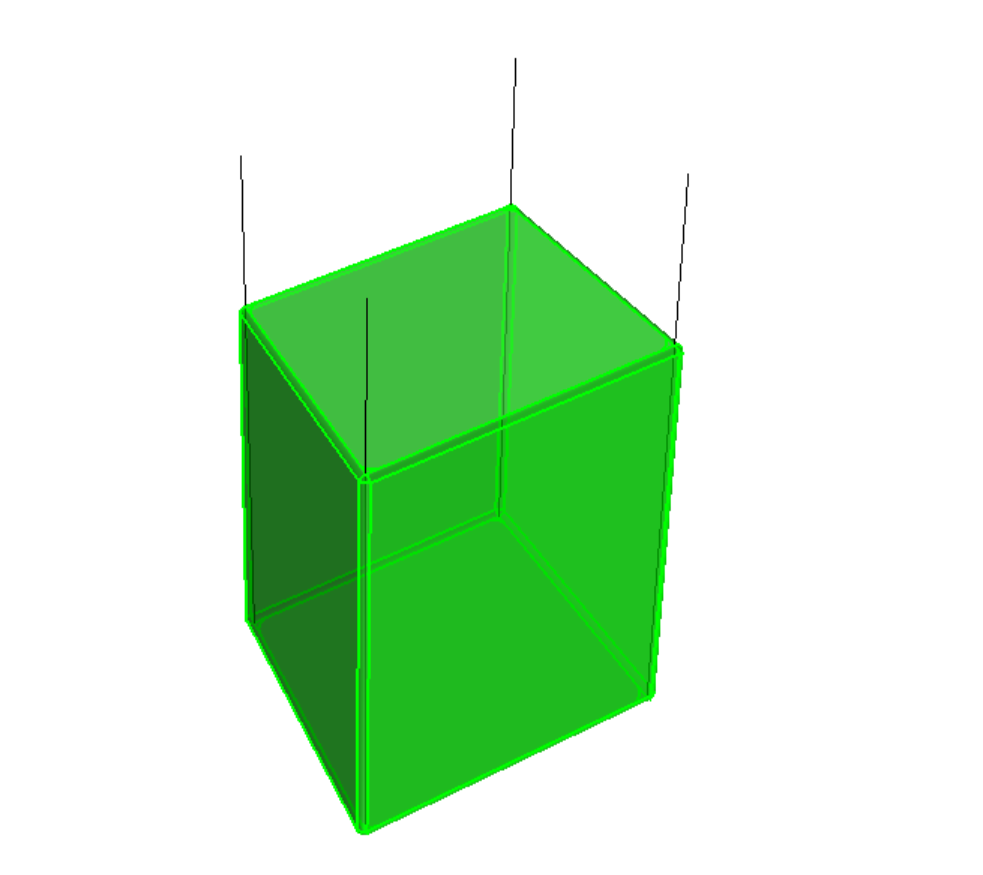 Here’s the starting piped shape.
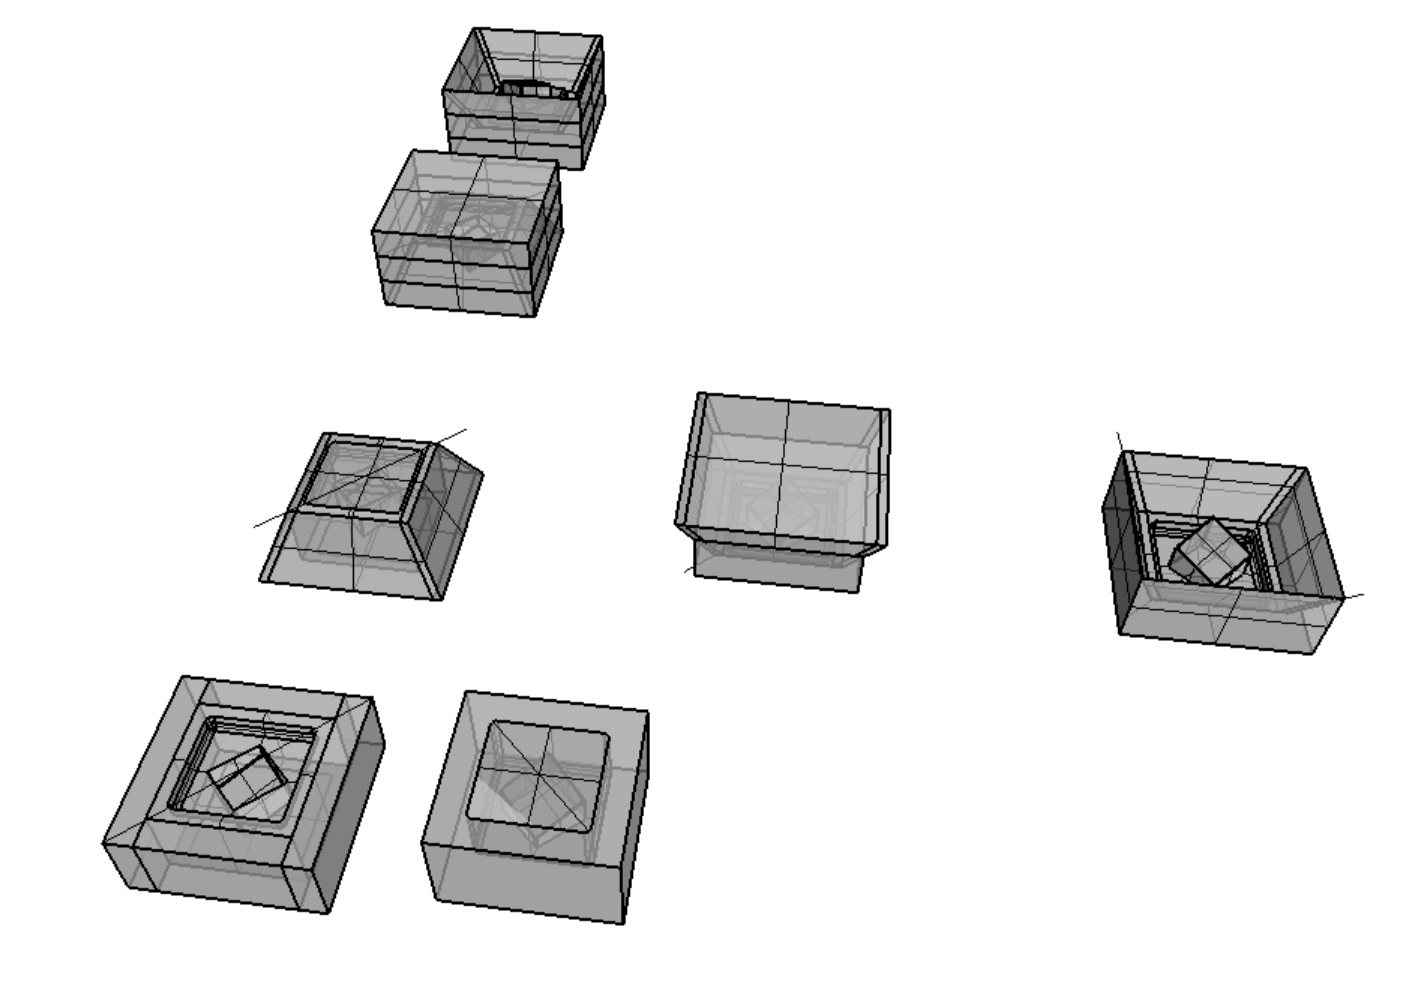
 I then create 2 halfs of the shape and encapsulate them within 2 volumes - a top and a bottom, which will become the molds.
 Using Boolean subtract commands I create the negatives of the piped -the top and bottom molds of the pipeds.
 The top and bottom negatives then become the negatives themsleves in order to allow for those to be cast. Here you can see the work being done to widen the base of the wax molds so as to allow for easy release and for giving clearance to the milling tool. Most of my solid modeling techniques involve moving and rotating volumes to make precise boolen operations.
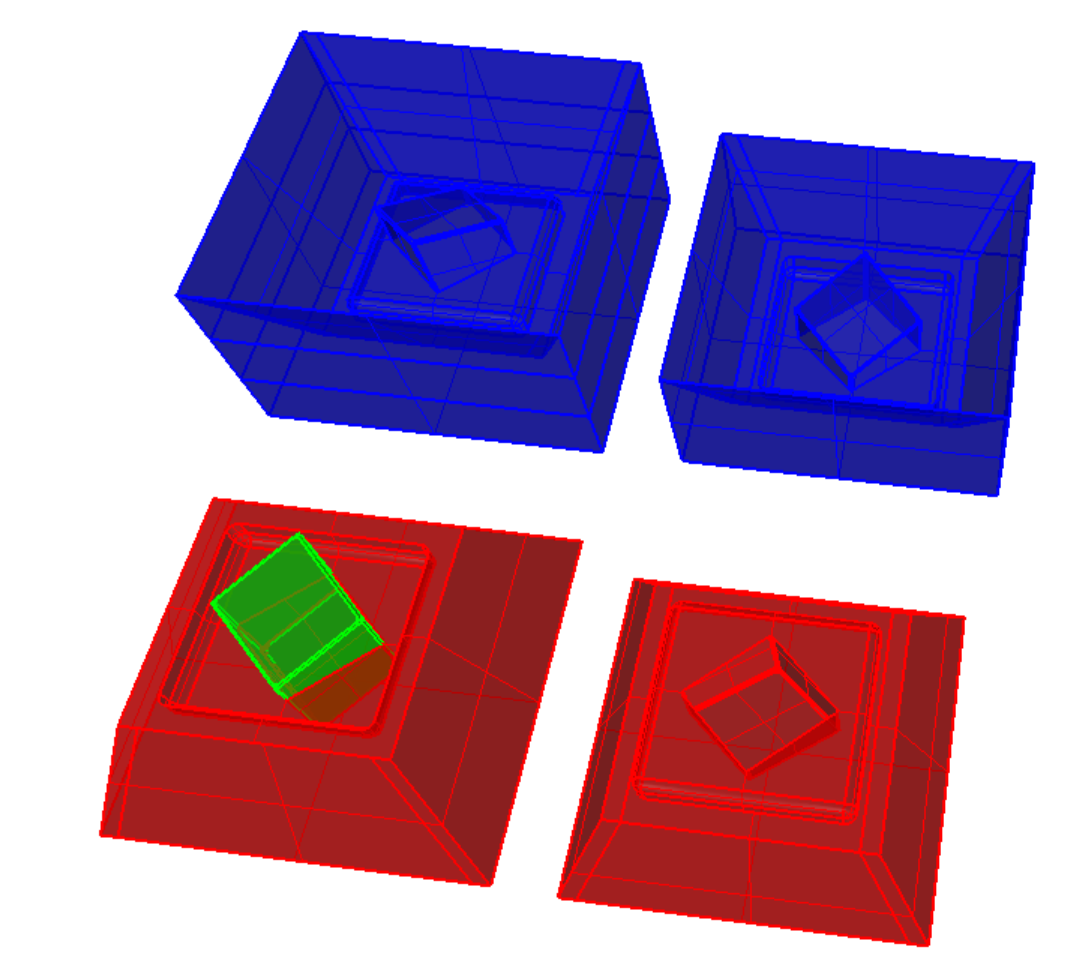 The final set of volumes shows the blue wax molds which can be used to cast the red rubber molds when can then be used to cast the green solid piped blocks.