3D Scanning and Printing
The assigment page
The goal of this week was to model and print an object, that could not be made subtractively, and 3D print something.
Intro
3d printer is the machine that I know best. I worked in a museum where I had to do 30 minutes workshops with famillies.
We used BQ's Hephestos 2 and Doodle 3D Transform, a 3D software for children.
Visitors had to model a flat Playmobil arm. The knob used to plugged the arm into the body was already modeled.
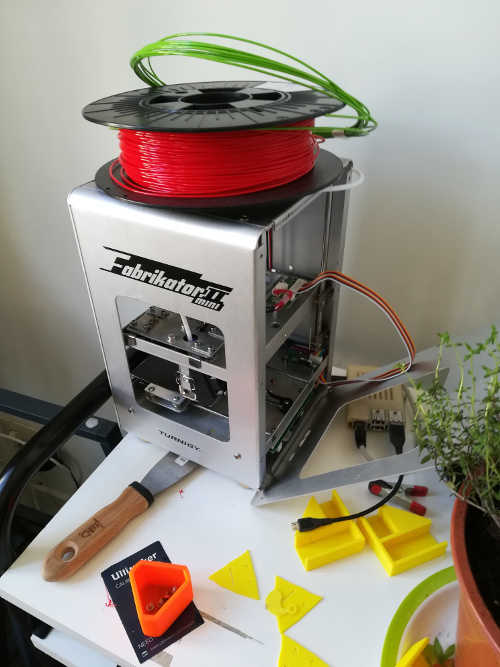
Now, let me indroduce you to my 3d printer, the Fabrikator Mini 2, a little (100x100x100mm) and cheap 3d printer. It worked pretty well!
I use it with Octoprint on a Raspberry Pi, OctoPi. It's a web interface for controlling your 3D printer through your network.
So you don't need SD card or a computer plugged everytime and it's handy when you have several computers.
I started to work on this assigment before and I was looking for something to do. I didn't any idea so I decided to visit Thingiverse.
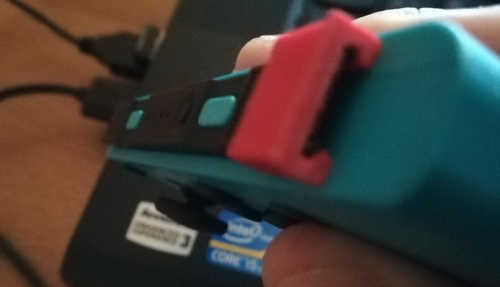
I have a Nintendo Switch and I was looking for some hacks. The Switch have little cheapy stand to play it everywhere. But the angle is weird and I'm a bit afraid about the stability.
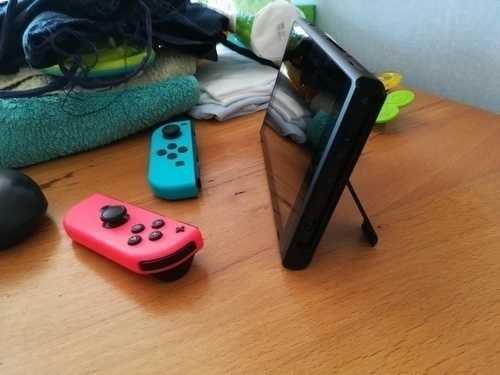
This guy made 45° stands who can be plugged directly in the console. I decided to remake it.
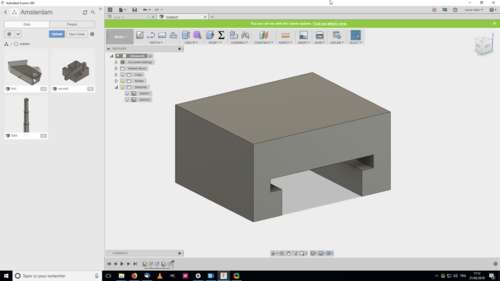
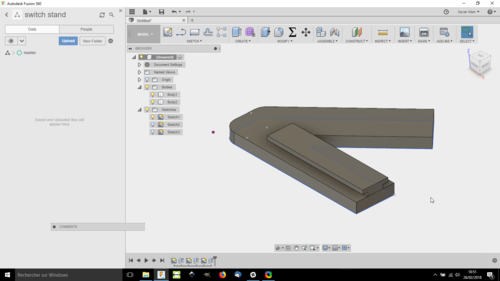
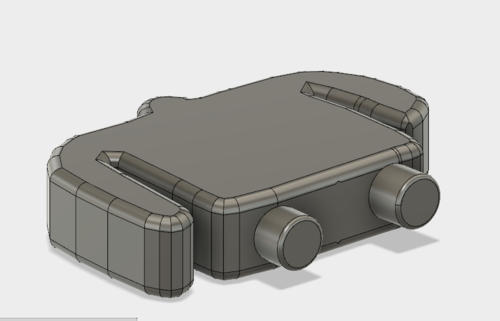
How I made the stands in Fusion 360
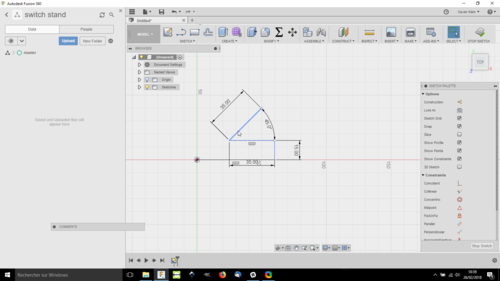
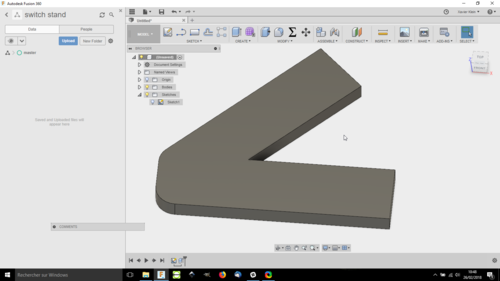
I first draw a sketch with a 45° angle, I used the filet command. I extrud the form.

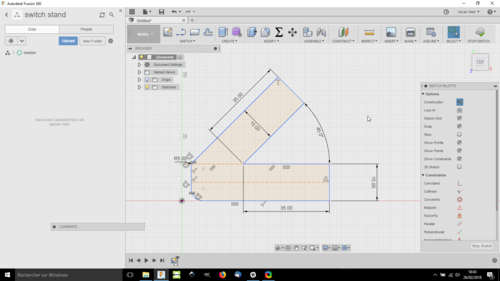
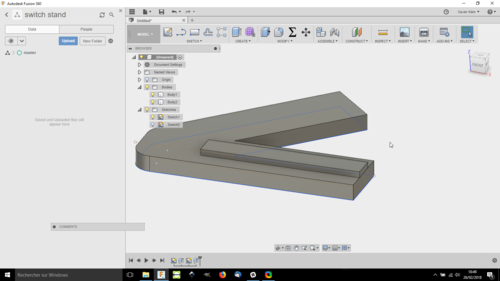
After that I made the knob in two differents sketch:
I've exported the model and put it in Repetier-Host, the slicer the Fabrikator is using:
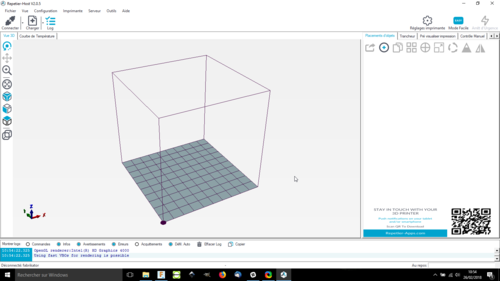
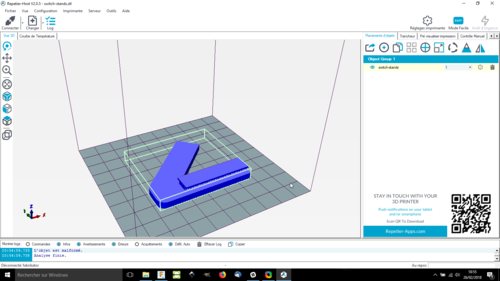
Here's the setting I used:
How to print with Octoprint and a Fabrikator 2
Like I said before, I'm using Octiprint on a Raspberry Pi to control my 3D printer. Octoprint is web server where you can move axis, change the filament and send prints.
Here my OctoPi (more info here) is plugged to internet and to the printer. The first time you're using it you have to enter your printer settings.
I can access to the interface by typing its IP adress in a web browser.

You have to sign in, and there's the interface:
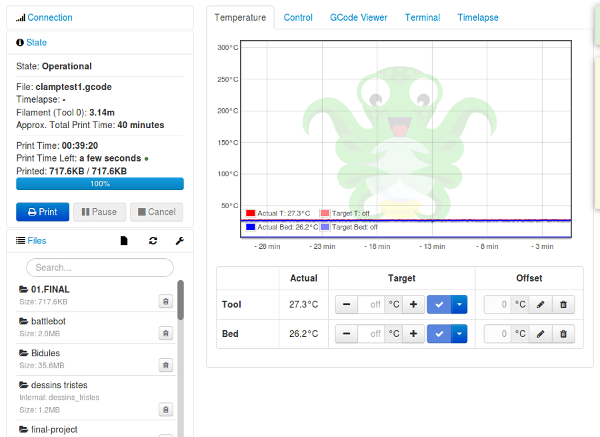
You have a temperature control monitor on this page and if you click on "Control", you can move axes:
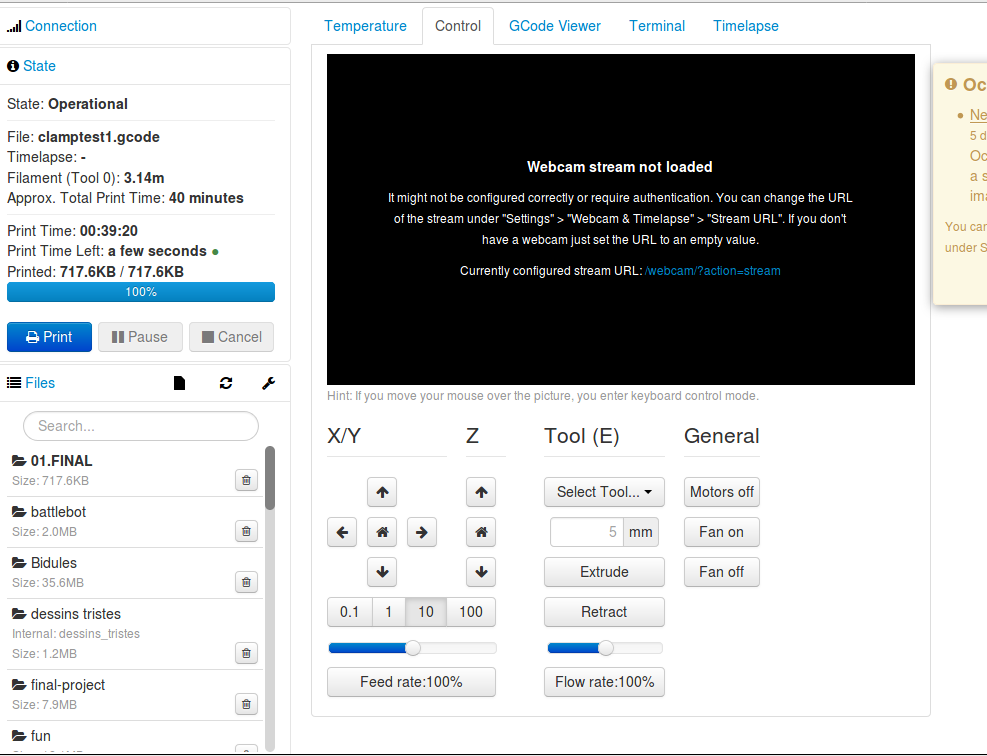
There's a lot of functionnalities, Gcode viewer, webcam streaming, timelapse etc.
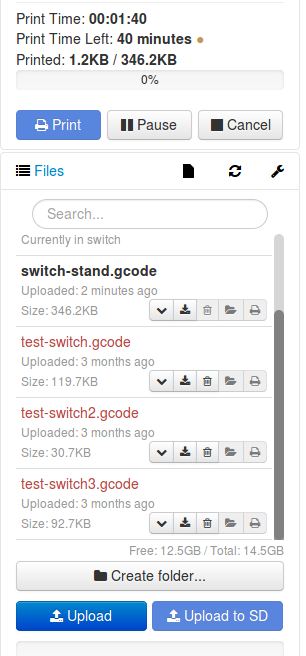
This menu allows to upload gcodes, organize them and print it using the little printer button. Good thing, when it's red, the print didn't work, green it's when it was good!.
And black when it's the first time you upload a file. So I'm going to print "switch-stand.gcode"
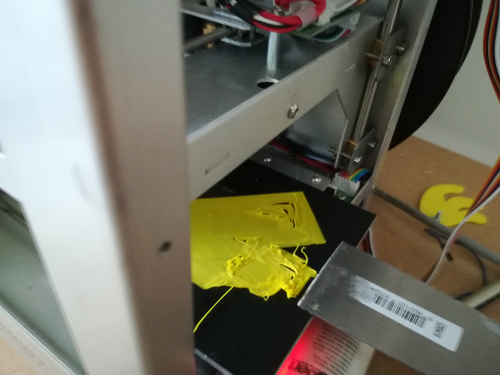
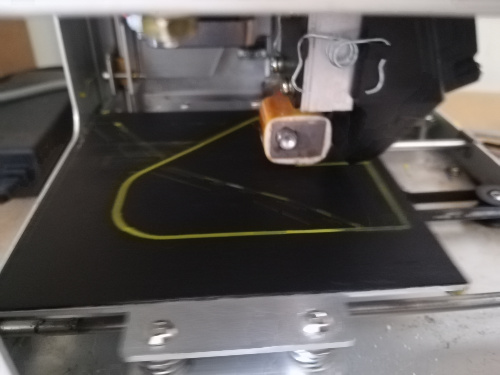
The first attempt was a failure, on one of the corner, the space between the head and the bed wasn't narrow enought.
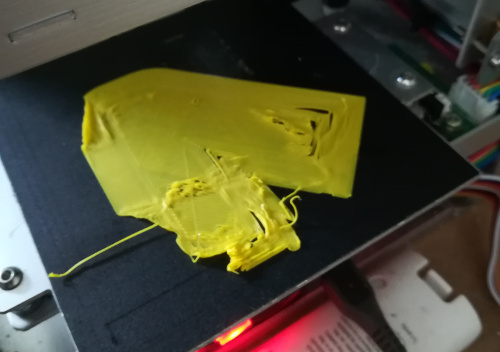
I removed the material with a spatula:
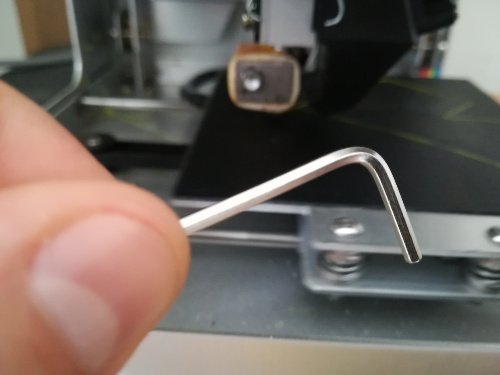
And fix the space using a wrench with the screw on the bed.
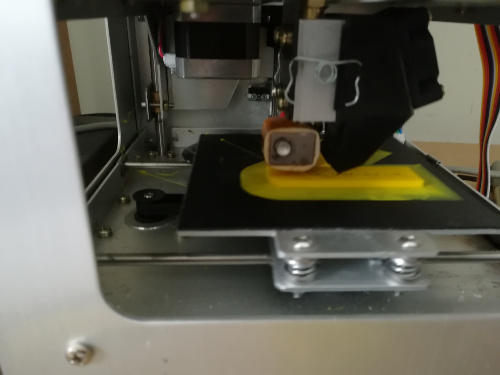
And now, it's much better!
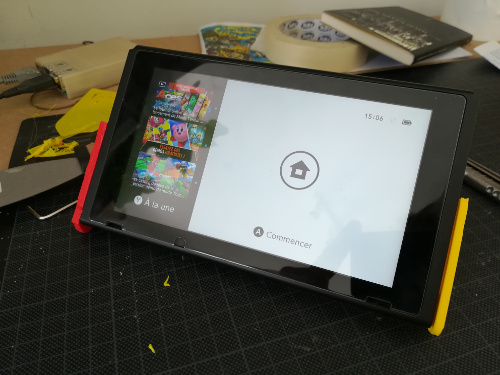
So 45 minutes later, it was finish. I removed it from the bed with the spatula, removed the brim and try it. It's working! Now I have to print a second one in reverse.
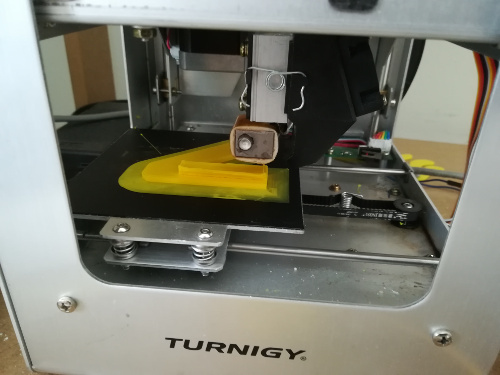
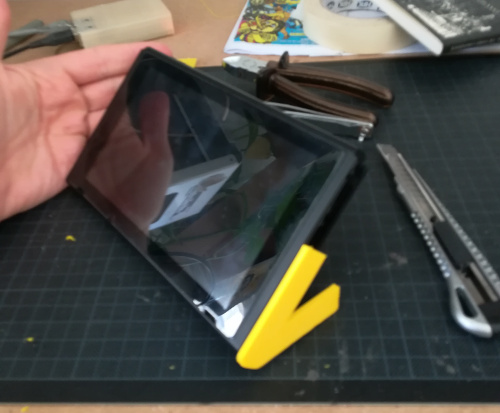
Here's the result:
Download Fusion360 file
Download stl file
It can't be done subtractively in one time with a 3 axis milling machine because this part:
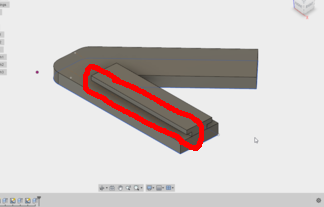
It can't mill under the part above. If you want to do with a milling machine, you need to change orientation 2 times.
So I made all these things before assigment's week. When I came back to the machine to do group assigment, the z-axis of my little Fabribri just died.
So I went to Imal to do it.
At Imal, I try to use first an Ultimaker 2+ but it was not adjusted. I try to calibrate it but I'm not an expert and I was a bit low on time. So I used the Staker S2 a very big printer:
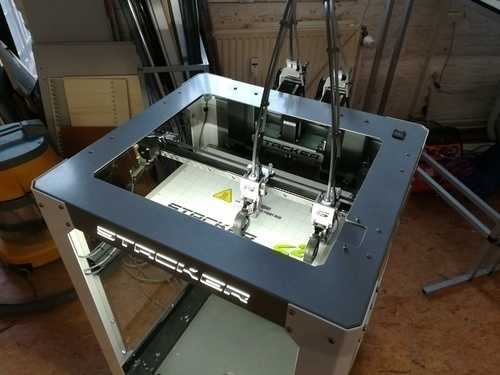
Its specs:
-Print two parts at once to attain 2x print speeds
-Large print area 390mm (X), 315mm (Y), 525mm (Z)
-Like they sayz on their website, it's Made in USA!
Because I didn't want to print the stands a second time, I made a quick thing to print:
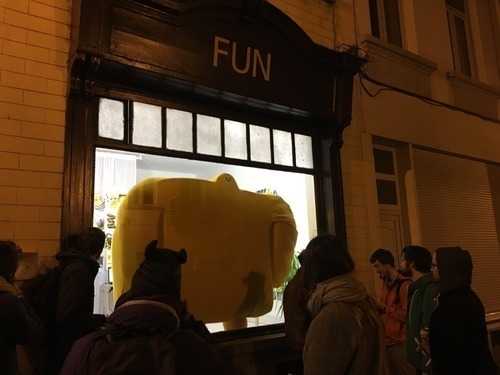
It's a simple little guy inspired by my girlfriend's giant plush:
After modeling it, I've exported the stl file and open it in Repetier-Host (Staker also uses Repetier).
I use those settings:
-Infill: 15%
-Extrusion width: 0.48mm
-Layerheight: 0.1mm
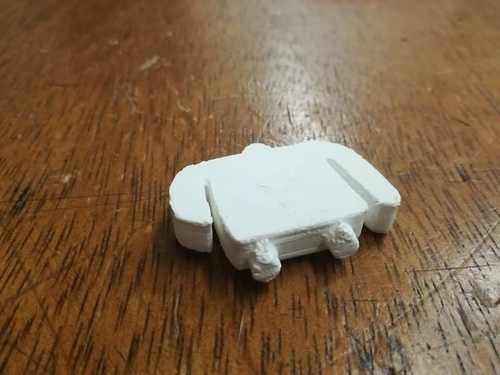
First I putted a 15% infill and it gave me that full of holes buddy:
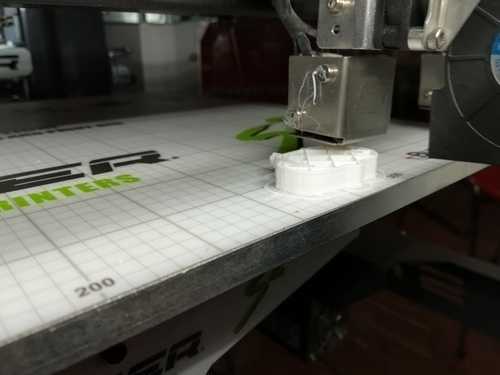

I putted a 30% infill for the second attempt and it works!
STL FILE
Download Fusion360 file
Conclusions
This week confirms that I already know: It's pretty instable and tricky when you don't know the machine your using and when others peoples use it before you. Stacker is very good and very useful if you want to print very big thing.
That's why I bought one few month ago because I like this technology but not really its default... So I prefer do deal with it at home. I know, it's not very Fablab.
Bonus
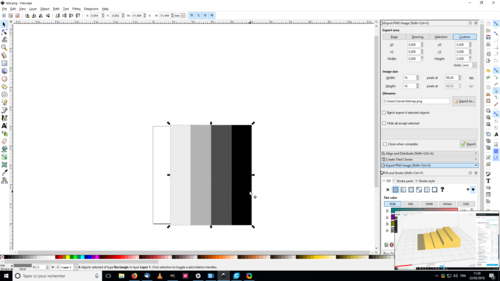
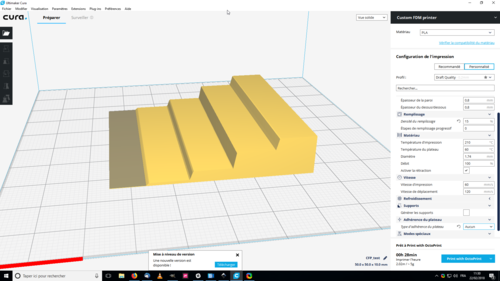
I tried just to import a png file into Cura:
Just before my printer died, I was experimenting another type of Switch's hack: