project presentation
.
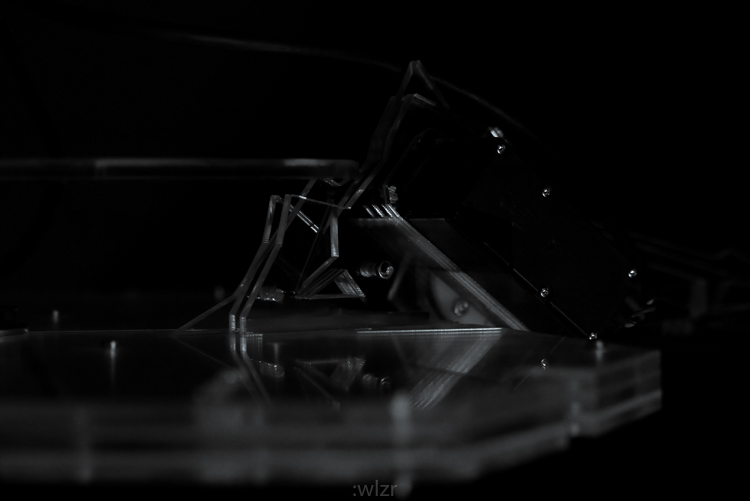
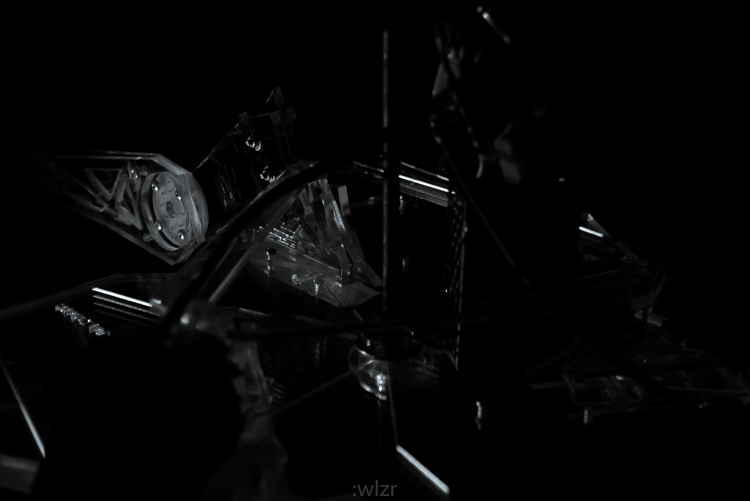
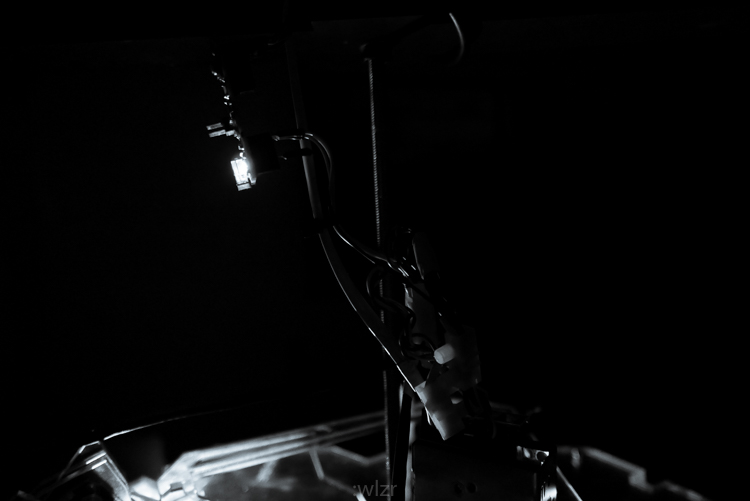
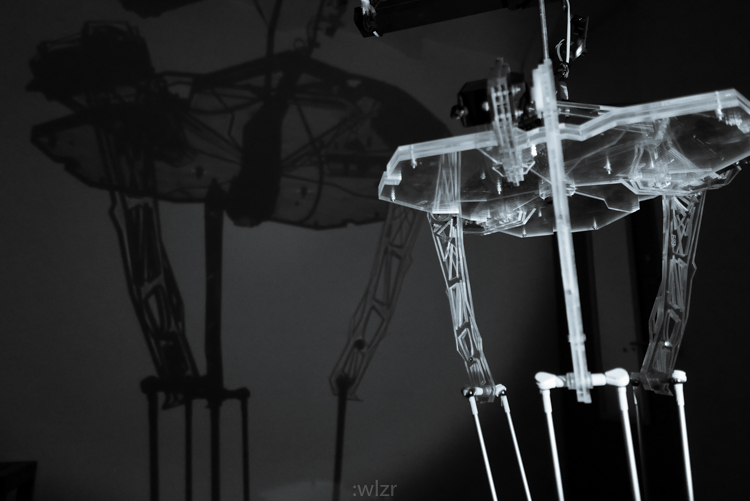
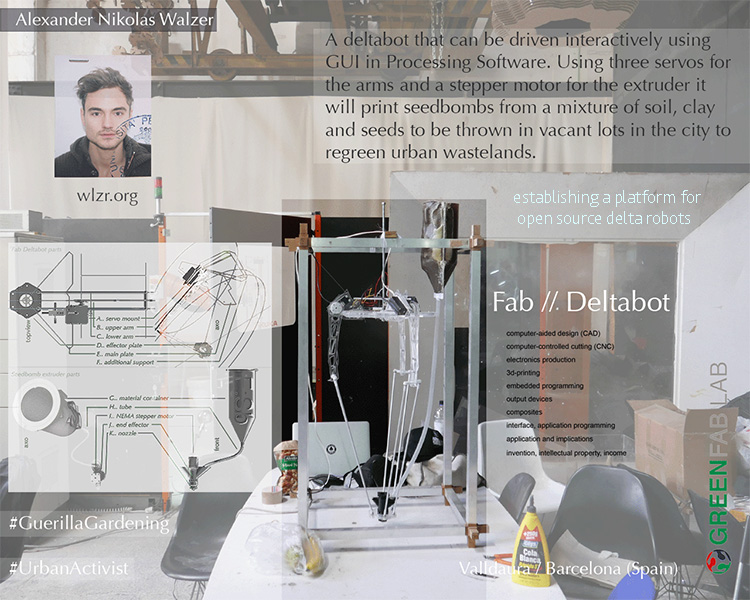
Fab Deltabot: a platform for independent versatile and live-controlled delta robots.attach any effector: extruder, drill/mill, brush, graffiti, light source, scanner, camera..
.
assignment: document a final project that integrates the range of units covered, answering: what does it do? who's done what beforehand? what did you design? what materials and components were used? where did they come from? how much did they cost? what parts and systems were made? what processes were used? what questions were answered? how was it evaluated? what are the implications? projects can be separate or joint, but need to show individual mastery of all of the skills. where possible, you should make rather than buy the parts of your project. present your final project, weekly assignments, and tutorials!.
final project: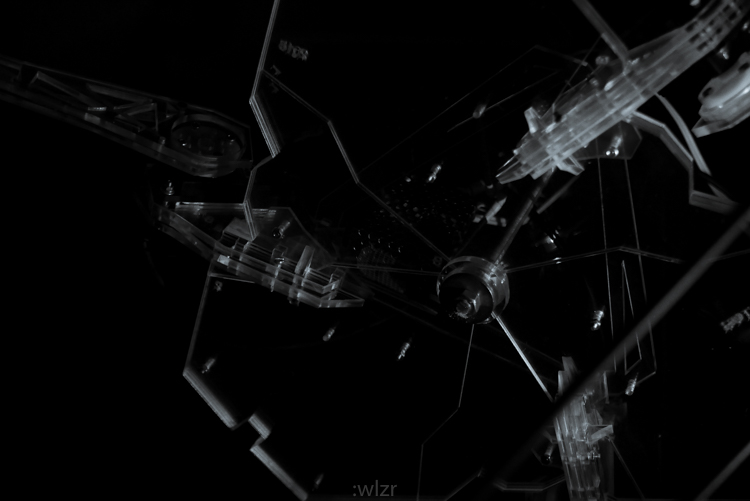

 presentation slide:
 presentation video:
.
final presentation:.
machine reproduction: ////////////////////////////////////////////////////////////////////////////////////////////////////////////////////////////////////////////////////////////////////////////////////////////////////////////////////////////////This is a quick wrap-up of the process. You can find more detailed explanations and detours on the weekly pages (in case they were part of the project), especially under "project development". Also I attached below all the necessary files to reproduce the machine! Work with love. ////////////////////////////////////////////////////////////////////////////////////////////////////////////////////////////////////////////////////////////////////////////////////////////////////////////////////////////////
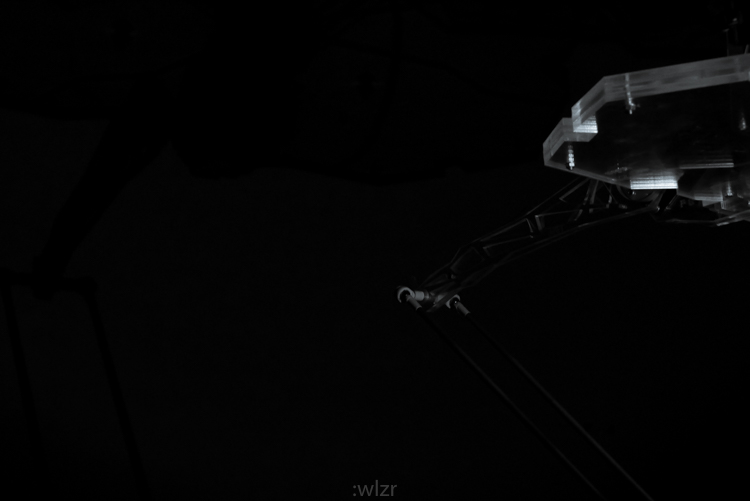
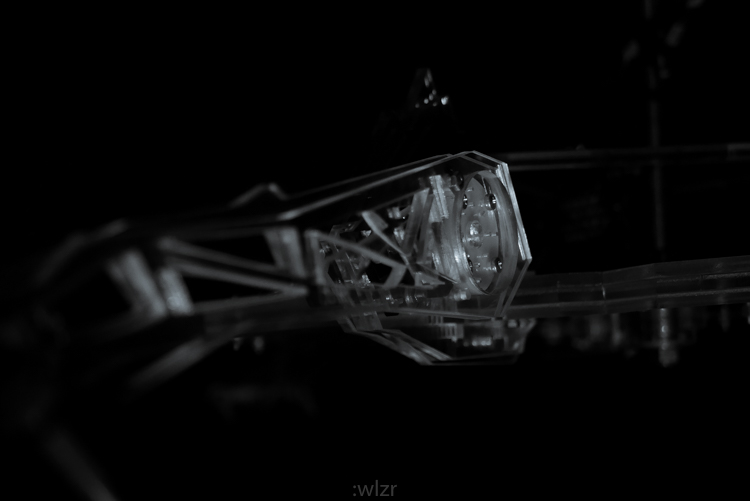
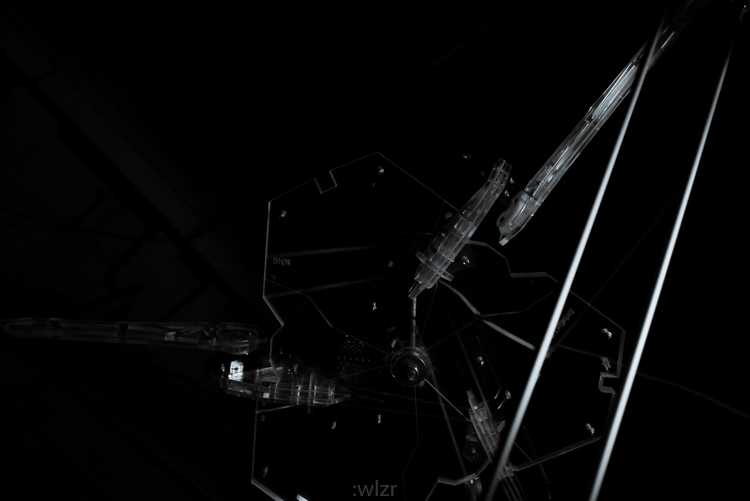
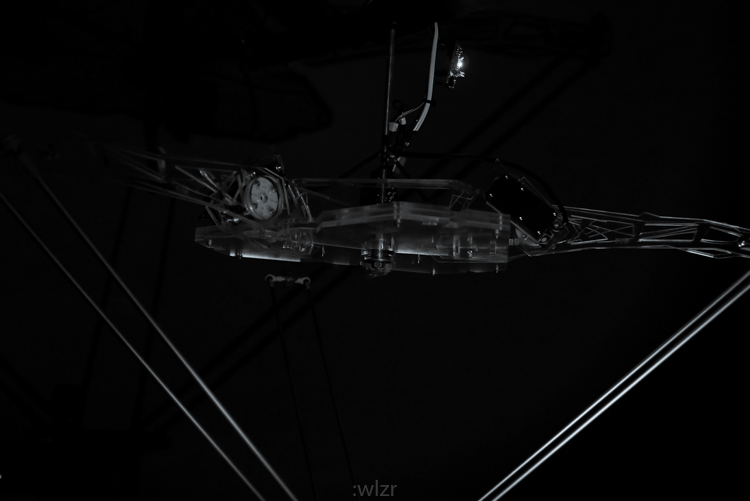
Hardware Setup:
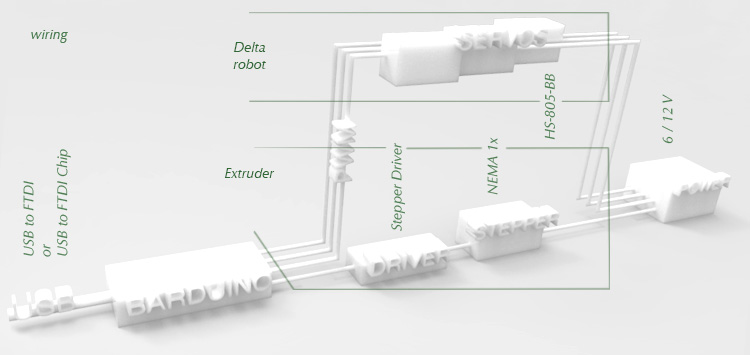
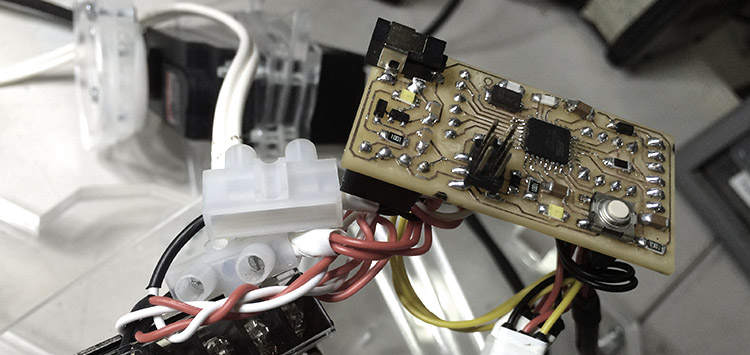
 Wiring and Electronics:
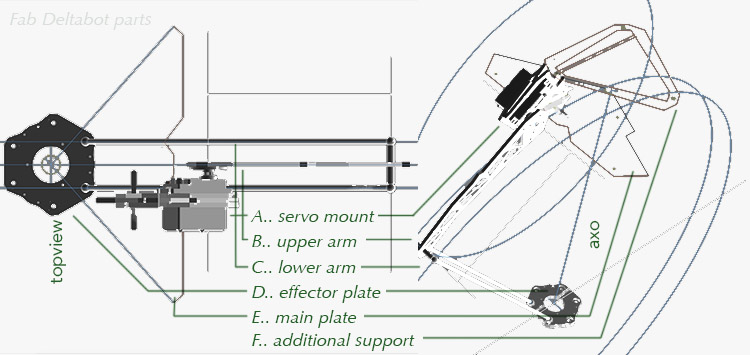
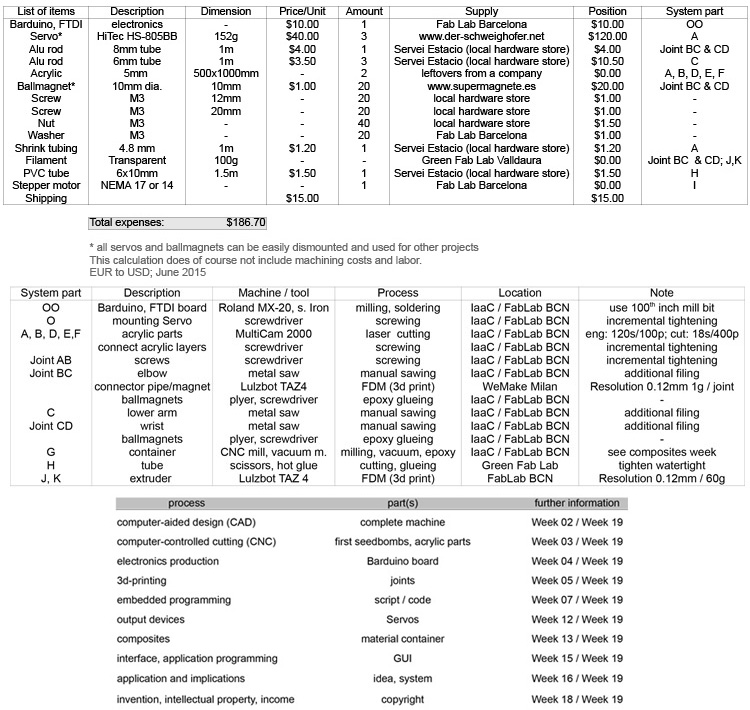
 Materials, components, costs, processes and tasks:
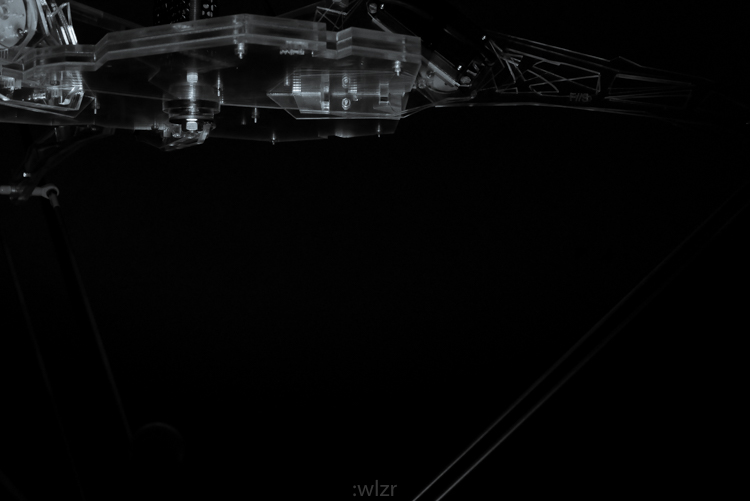
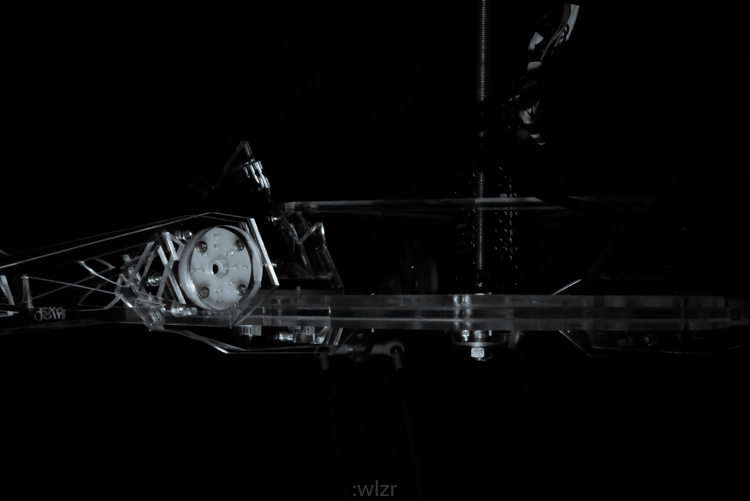
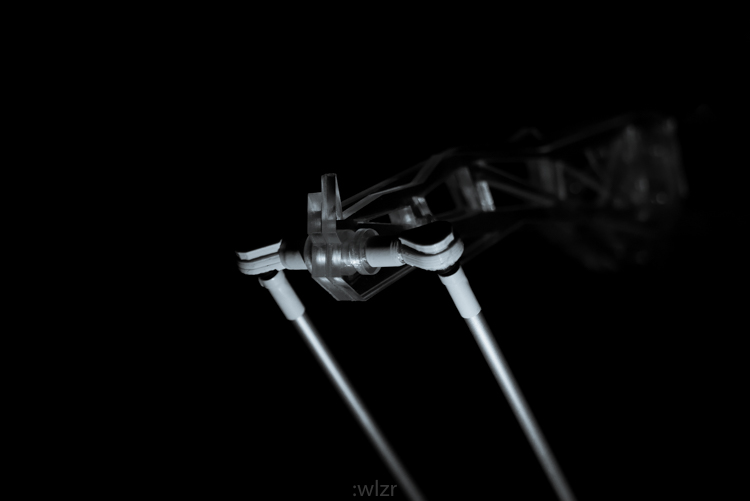
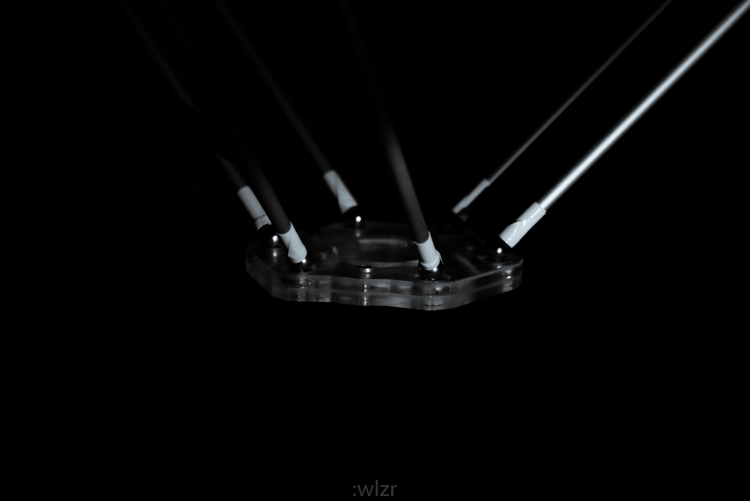
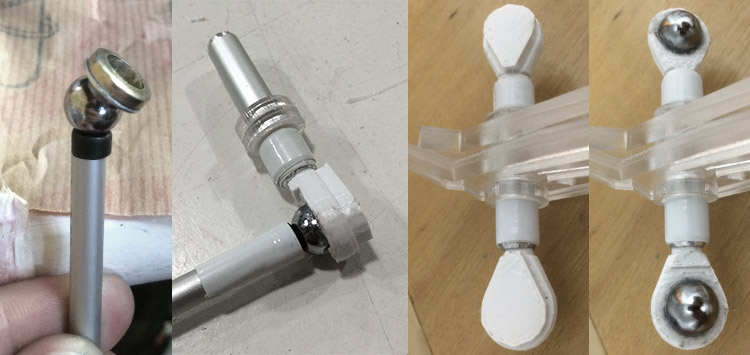
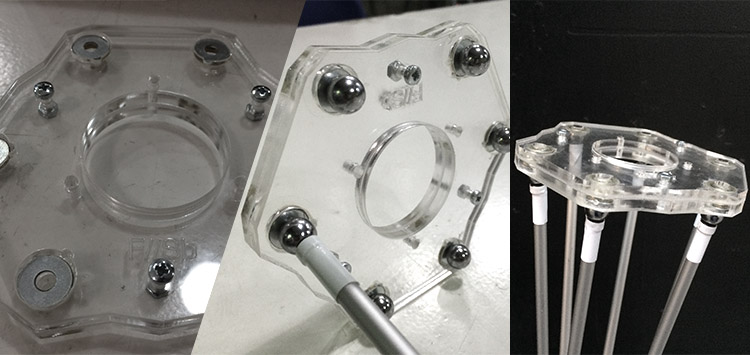
 Joinery, Details:
 Board (Barduino, fab-able equivalent to Arduino Pro or Pro Mini):
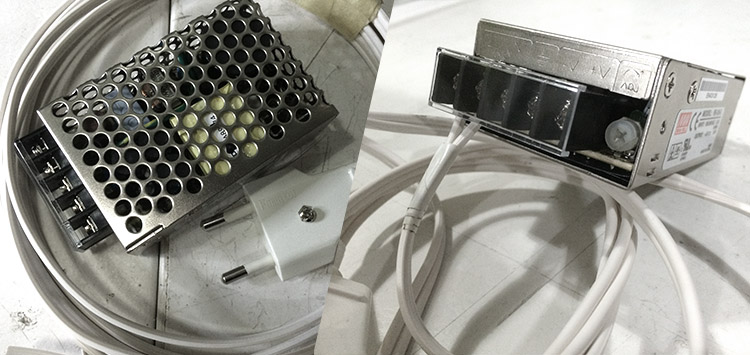
 Powering:
 Wiring up:
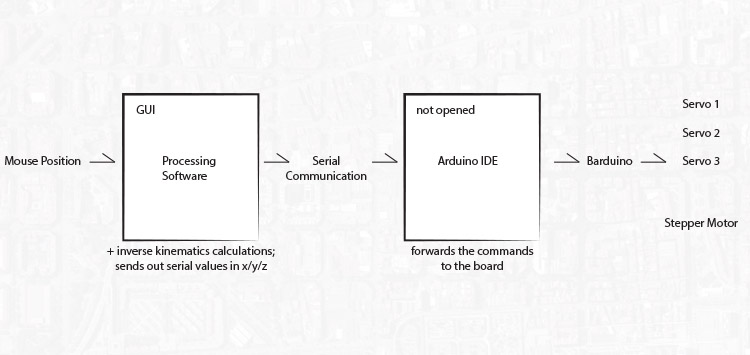
 Interfacing the machine:
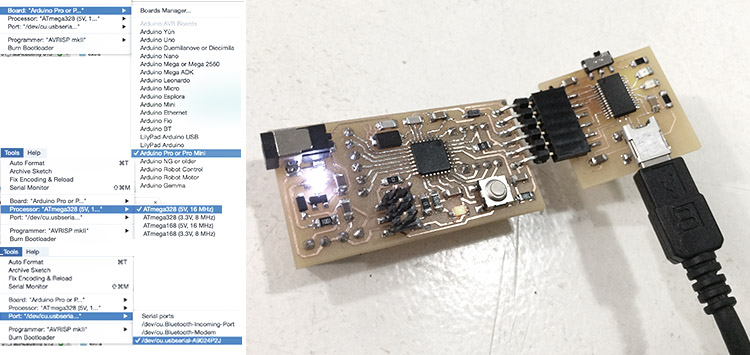
 Programming:
1) unzip the Software Folder and open 'a_GUI_Arduino_wlzr.ino' by double-clicking or opening from the Arduino IDE.
2) check for the board and port you are using and compile the sketch.
Programming:
1) unzip the Software Folder and open 'a_GUI_Arduino_wlzr.ino' by double-clicking or opening from the Arduino IDE.
2) check for the board and port you are using and compile the sketch.
(in the case of Barduino it is: Arduino Pro or pro Mini; ATMega328 (5V, 16Mhz)). 3) you can close the Arduino IDE. Basically the Sketch will ask for Serial values coming in from Processing and command servo moves. 4) go back to the software folder and open 'b_GUI_Processing_wlzr.pde' by double-clicking or opening from Processing Software. 5) change the port name in (line 89) to the one previously selected in Arduino IDE. 6) run the sketch and start playing; watch out since servos can operate pretty fast. 7) calibration: check the link on top of the sketch and get your measurements into the code. 8) play around and troubleshoot as well physical errors (especially the joints!). 9) this is just the beginning of a platform: hack the hell out of it, attach different tools and/or get in contact with me! x) enjoy nature sometime
..
I APPRECIATE YOUR VISIT, thanks!.
files: Files Fab Deltabot Hardware (Lasercut; 3d Print) and Software (Interface).
bookmarks / links: 2015 Fab Academy Projects.
final reviews: Fabacademy 2015 06.10B Presentations01: Final project presentations Part 1 Fabacademy 2015 06.10D Presentations02: Final project presentations Part 2 Fabacademy 2015 06.24B Presentations04: Final project presentations Part 3&4-

Any content on these pages by Alexander Nikolas Walzeris licensed under a Creative Commons
Attribution-NonCommercial-ShareAlike 4.0 International License