"Design and make a 3D mold about a square foot, and produce a fiber composite part in it."
I am in catch up mode as I missed a week to be with 7th grade students in the Mojave desert. This week's project is being done in conjunction with the Week 9 mold making project and is well suited to being done together!
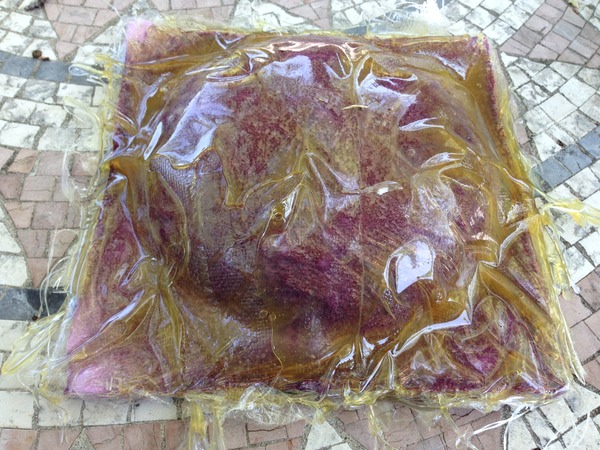
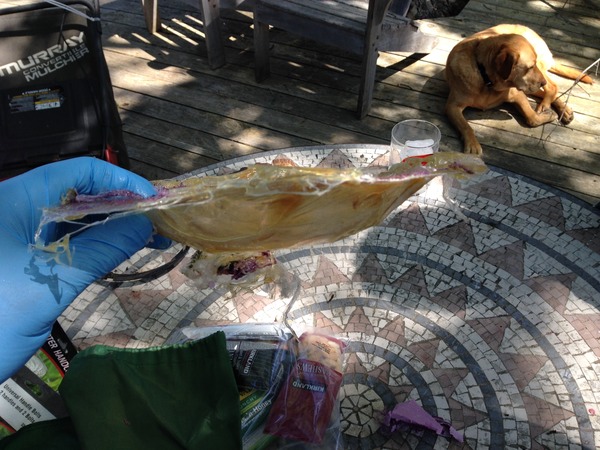
I again designed with Tinkercad online to create a bowl mold on the 2Bot milling machine. Below is a picture of the bowl mold covered in plastic wrap ready to have the resin and fabric applied.
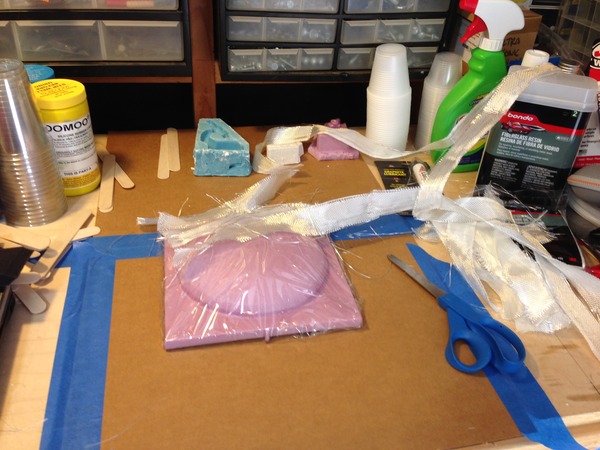
I am using 3M Automotive repair fiberglass resin along with some polyester cloth that I made into strips. The goal is create something that is a composite and hopefully ends up being stronger than the individual parts.
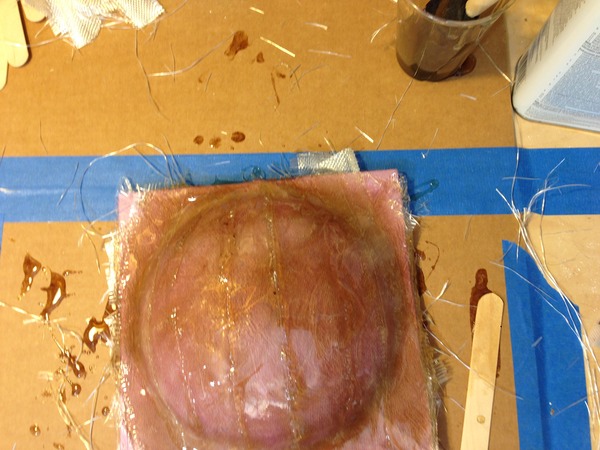
Once I cut the strips and had them ready, I mixed the resin and the hardener together and started applying with a brush. The plastic was not cooperative so I poured the resin slowly over the top and used the brush to coath the dome shape that would become a bowl. I then layed the strips of polyester across and they quickly soaked up the resin.

At this point I started debating about whether to use the vacuum bag to bring the resin into a tight fit over the dome per original plan. As it turned out, I purchased the wrong size vacuum bag (they had only one size, but I did not think it would be this big!). I decided to stick to the plan.
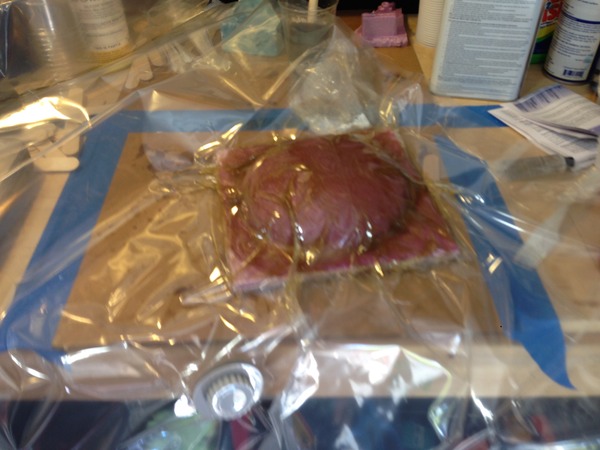
As you can see, the bag is enormous.
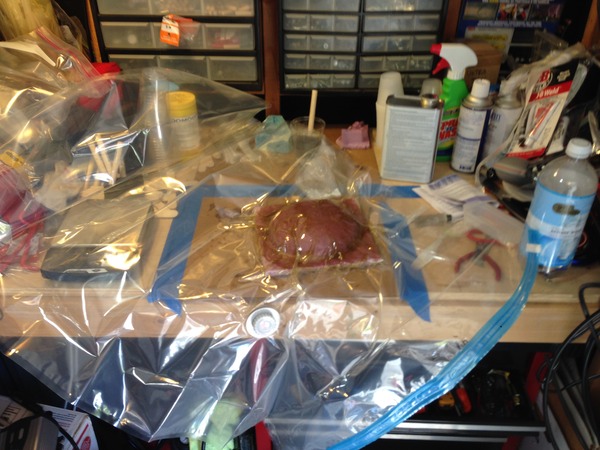
The resin set very quickly. The vacuum bag was going to get thrown away, but the resin released very easily and the bag can be used many times. The dome with fiberglass attached came out with no problems.
The bigger challenge was removing the plastic film and the EPS dome mold. I discovered that the curing process releases significant heat that melted the EPS slightly causing a gooey mess:
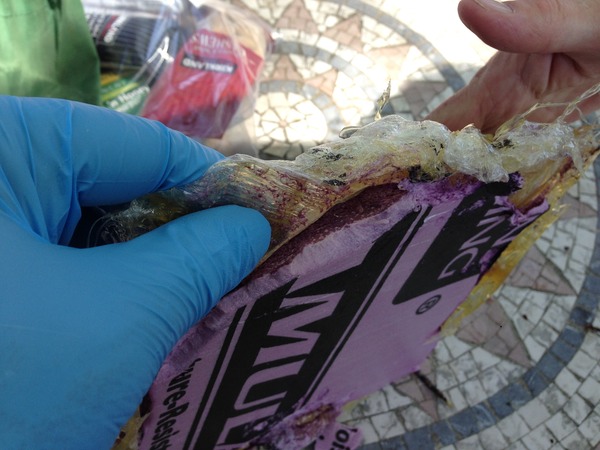
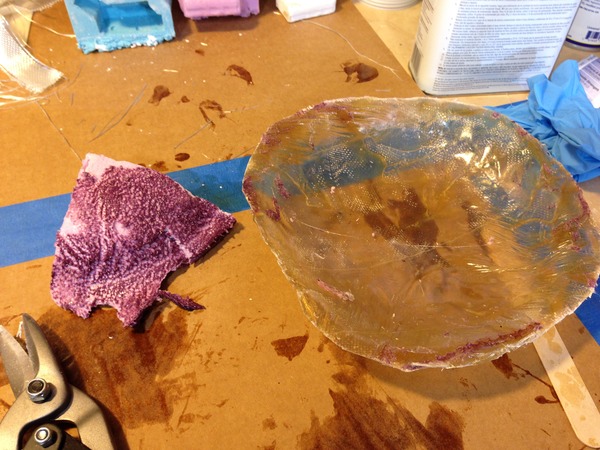
I was hoping to reuse the mold, but that was clearly not going to happen so I started cutting carefully.
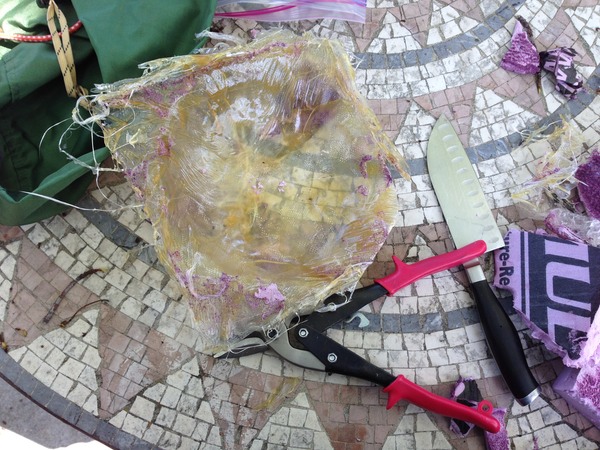
I am pleasantly surprised with how well the material removed, thanks in no small part to the plastic film.
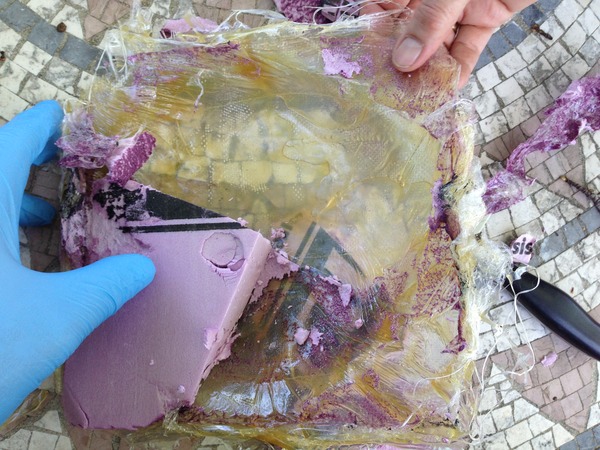
I started cleaning up the edges…
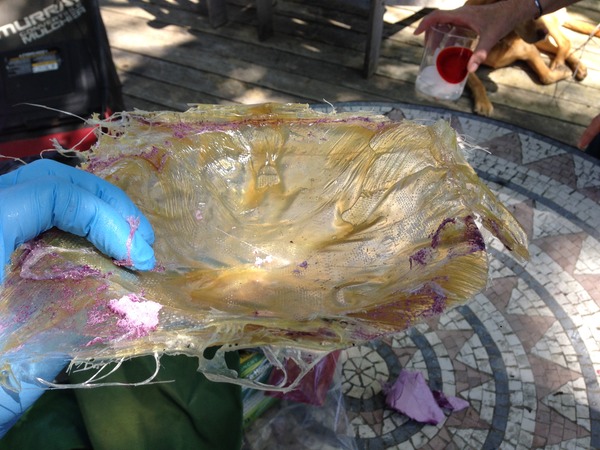
Below is a great example of the heat melting the EPS and the bowl.
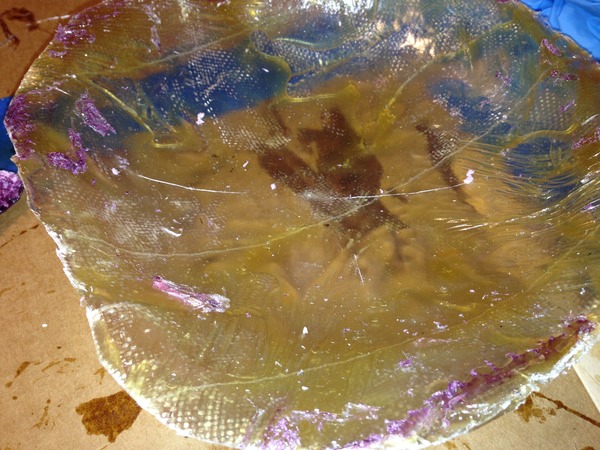
The strength of the bowl is impressive and I am going to clean it up more.
What would I do differently? Well, I have a list…
- The mold needs to be made out of something else or covered in a thicker plastic film. Some resins will cure without so much heat (which I have now learned) so perhaps a different resin.
- The mold should have two sides and use compression. If I had done this then I would get a nice bowl ala similar to a plastic injection process.
- The vacuum bag was a good move and released easily. No plastic film with a more resilient mold material that can handle the temperature. Even using existing stainless steel bowls that nest as a mold would have been good!
- This stuff is stinky and full of harmful vapors. I had a serious filter on and still noticed hints of the resin. I think with this type of resin a full rebreather would be a good investment.
- The patern and amber color came out really cool so experimenting with color for a lamp shade might be fun.