Week 02 Computer Aided Design
Assignment
Summery
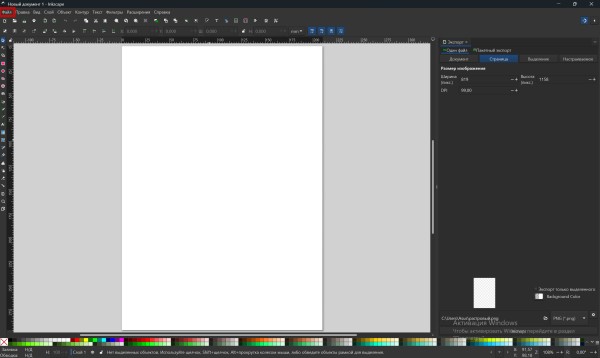
inkscape is a free and open-source software used for creating and editing vector graphics. It’s similar to Adobe Illustrator or CorelDRAW, but completely free and cross-platform (available on Windows, macOS, and Linux).
is widely used for 2D design, especially when preparing files for laser cutting, vinyl cutting, and CNC milling, since it can export designs in SVG
### Key Features:
Create precise vector drawings using paths, shapes, and curves.
Supports SVG, DXF, PNG, PDF, EPS, and many other file formats.
Includes powerful tools for scaling, aligning, grouping, and node editing.
Allows adding text, layers, colors, and gradients.
gimp
I tried out Gimp for 2D modeling. Gimp is a primarily raster-based program, but represents path structures in vector format. To test out Gimp, I decided to edit a picture of a bird!
I first downloaded an image of a bird and jungle from the internet.


step 1
I opened my bird photo in gimp using file and after open
step 2 adding alpha channel
to enable transparency, i added an alpha chennel via
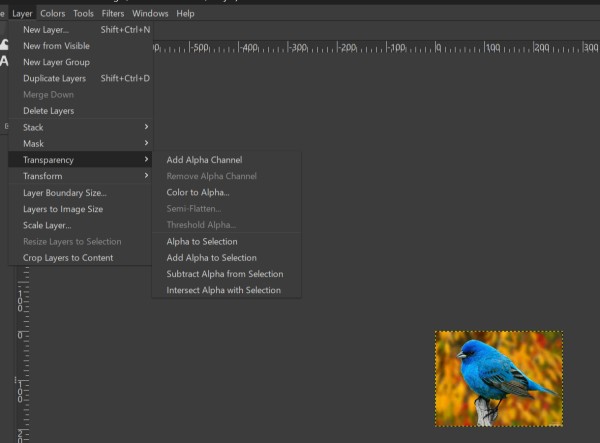
Removing the background
I used the fuzzy select tool to select the background area then pressed delete to make it transparent.the checkerd pattern confirmed the background was removed Btw i thereshold i hold to 40
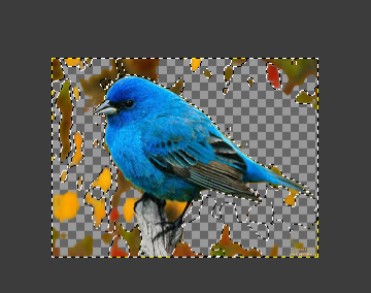
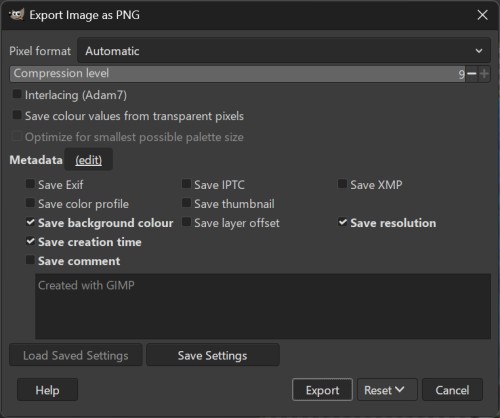
exporting as png
i exported the bird as a PNG file to preserve transparency File after EXport ard png
adding the jungle background
after exporting bird PNG i opened the jungle image as the base then added the bird File > Open as Layers > bird.png
final result
i positioned and scaled the bird on the jungle background using Move and scale tools

process
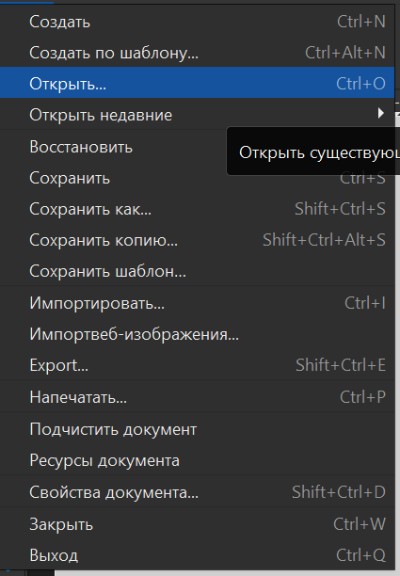
firstly i opened inkscape and clicked FIle and chose file
On the right side you can see the Toolbox icons, that icons are creating shapes , modifying , measuring
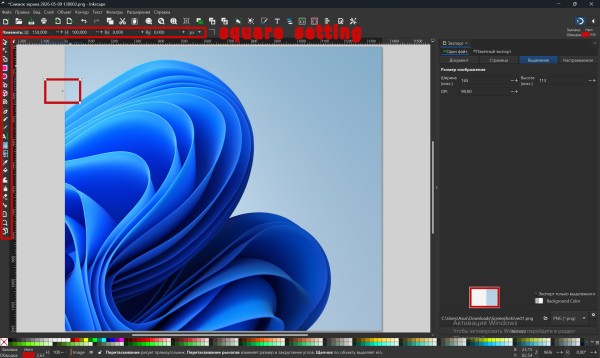
At the top of the toolbox, when you select “Create some shape,” the parameters for that shape appear. In my case, I created a square and set the following options.
W (Width) = 150mm

H (Height) = 100mm

Rx (Radius by X axis) = 0mm

Ry (Radius by Y axis) = 0mm
Moving object
For moving object by coordinates u need to select Selector Tool or use hotkey S. By selecting object, on the top side you can see current position of object. By changing values (X and Y) you can easily move object by coordinates.You can also freely move your object by selecting it and dragging it while holding the left click. On the right side you can also Mirror and Rotate your object.
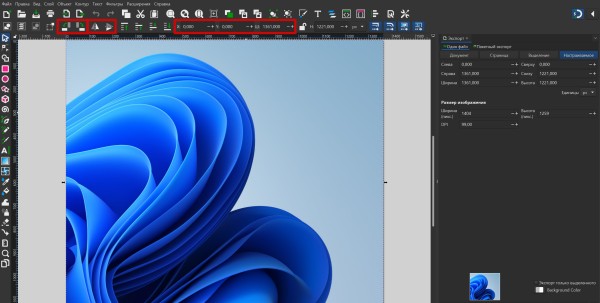
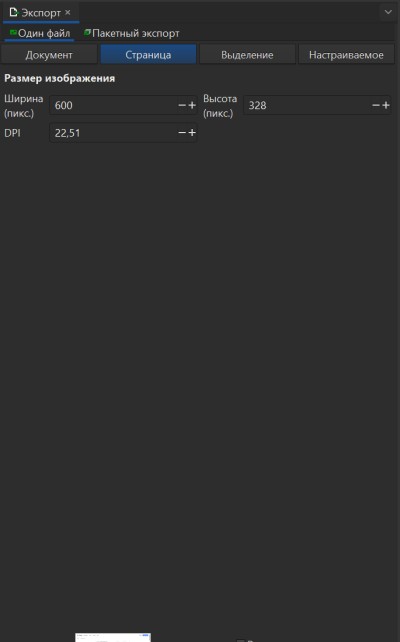
Image Resizer
In the right corner there is a settings panel where you can control the output image width and height. For example, if you need an image for a website, simply set the width to 600 pixels and the image will be resized accordingly.

Compression of photos and videos
At Fab Academy, I can upload photos, videos, or files each week, but the total size limit is 10 MB. Because of this restriction, I have to compress all my media files, otherwise my website becomes too heavy and won’t load properly.
To reduce file sizes, I used Inscape to resize and compress images by adjusting their pixel dimensions. For videos, I used the online tool Clideo , which is very convenient and completely free. With it, I managed to compress my video size by up to 95%, while keeping good quality.
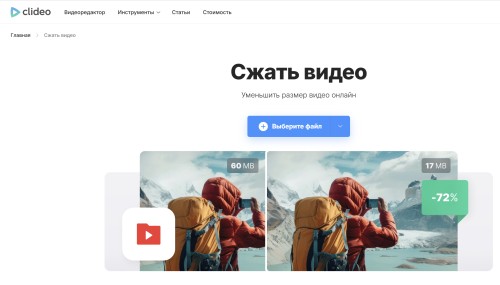
1.I opened the Clideo website and selected the “Choose file” button to start compressing my video. This online tool helps reduce video file size without installing any software.
2.Here I selected my video file from the Downloads folder. After choosing the file, I clicked Open to upload it to Clideo.

3.Once the video was uploaded, I selected the Strong compression option to reduce the file size as much as possible. Then I clicked the Compress button to start the process
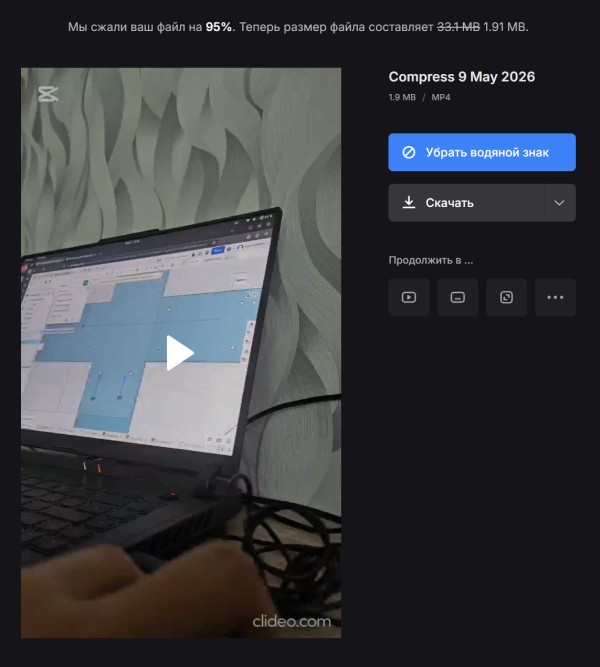
4.After the compression was completed, Clideo reduced my file size by about 95%. Finally, I clicked the Download button to save the compressed video to my computer.
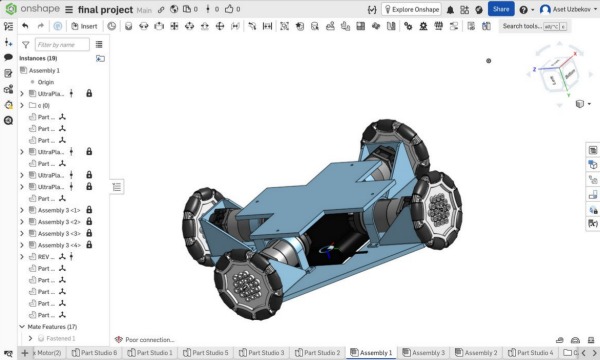
3D Softwares
Onshape is a professional-grade, cloud-native computer-aided design (CAD) platform that revolutionizes the engineering workflow by integrating robust 3D modeling, built-in product data management (PDM), and real-time collaborative tools into a single browser-based environment, eliminating the need for traditional file saving, installations, or expensive hardware upgrades.
Opening file
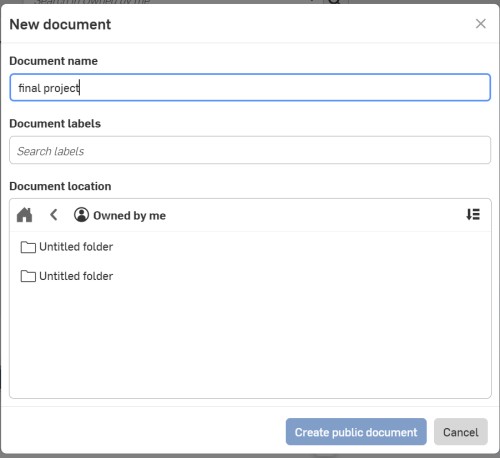
After signning a clicked at the left top open document
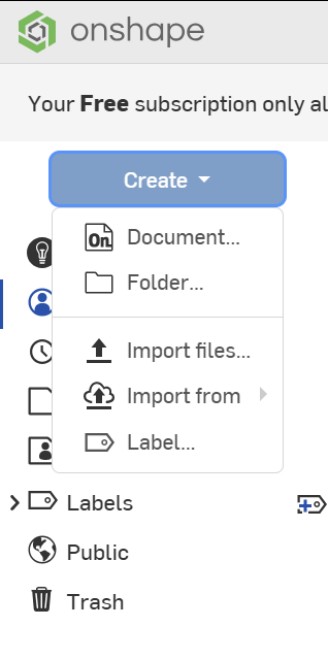
after clicking i created a name for my project and it was Final project
and I opened Part studio
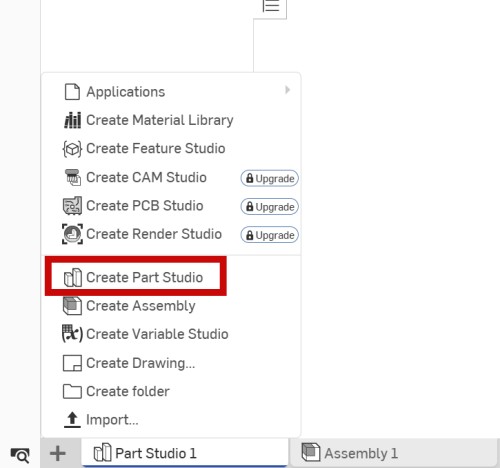
Part studio is where you can create your individual model
Assembly You can assembly and open mach files and assambly it
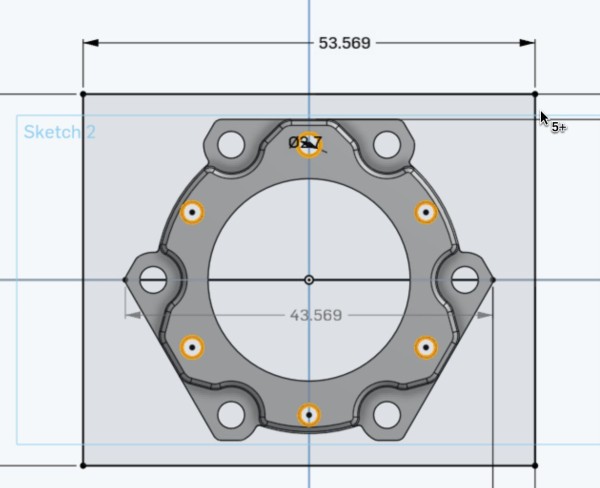
Creating 3d model
Instrument
keyboard D - Dimensions define the precise size and geometric constraints
L - line (Lines define the length and directional framework of your sketches)
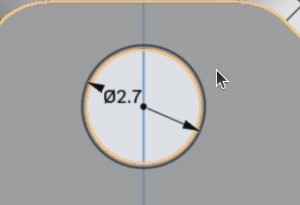
C - circle (Circles define precise diameters and radial constraints in your sketches.)
Shift F - (Sketch fillets round off sharp corners by creating tangent arcs.)
G - (Rectangles create four-sided geometric shapes defined by height and width.)
H,V - (Horizontal and vertical constraints align entities parallel to the coordinate axes.)
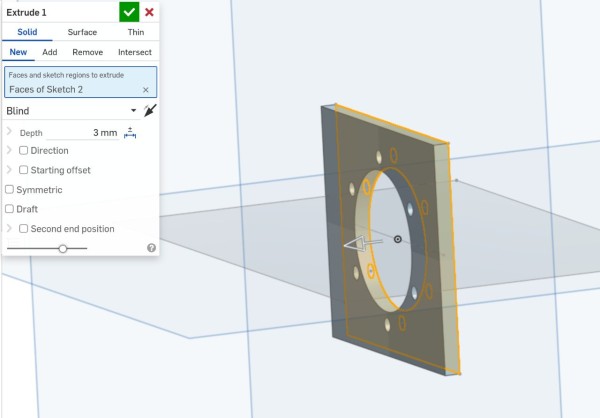
shift E - (Extrude adds depth to 2D sketches by creating 3D geometry.)
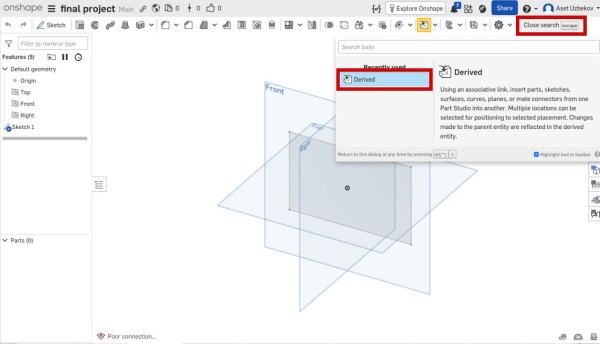
Derived - (Derived parts insert existing geometry into new parts for associative design.)
Mastering these fundamental tools provides everything necessary to build complex models.
step 1
The search tool in the upper right corner allows you to quickly locate and insert the "Derived" feature to import parts from other documents.
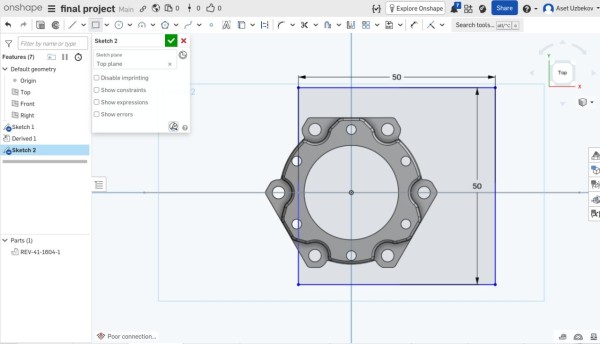
I utilized the search tool in the upper right corner to locate my specific motor model, then used its geometry to generate precise mounting holes and clearances, ensuring the final design perfectly accommodates the motor's dimensions and mounting requirements.

Next, I designed a square mounting bracket to secure the motor and created the necessary mounting holes to ensure a precise and stable fit within the assembly.
after that i extrude the 2d model to 3d and result
after i fillet an angle
By following this process, I successfully developed a complete, high-precision 3D model that serves as the primary mounting interface, ensuring the motor is perfectly aligned and securely fastened to the robot's base.
problems
In this week a have not problems and I succesfully finish this week
conclusion
This week I worked with two different design tools — Inkscape for 2D vector design and Onshape for 3D CAD modeling. In Inkscape I learned how to create precise shapes, resize images for web use, and compress media files to stay within the 10 MB upload limit. In Onshape I built my first real mechanical part — a motor bracket — by importing the motor geometry using Derived, sketching the mounting profile around it, and extruding it into a solid 3D part.
This process taught me how important it is to design around real component dimensions rather than guessing. Using the Derived feature to reference the actual motor model saved me from errors and made the fit accurate from the start. Overall this week gave me a solid foundation in both 2D and 3D design tools that I will continue to use throughout the final project.