15 : System Integration<
Learning Outcomes<
What did I learn this week ?
- Planning :
- Doing a system diagram
- Circuit Integration :
- Integrate a complex circuit in one PCB
- Control something with a transistor
- Integration
- The importance of thinking about how it could evolve when integrating something
Assignments<
This fifteenth week's asignments are :
- Individual :
- Design and document the system integration for your final project
Introduction<
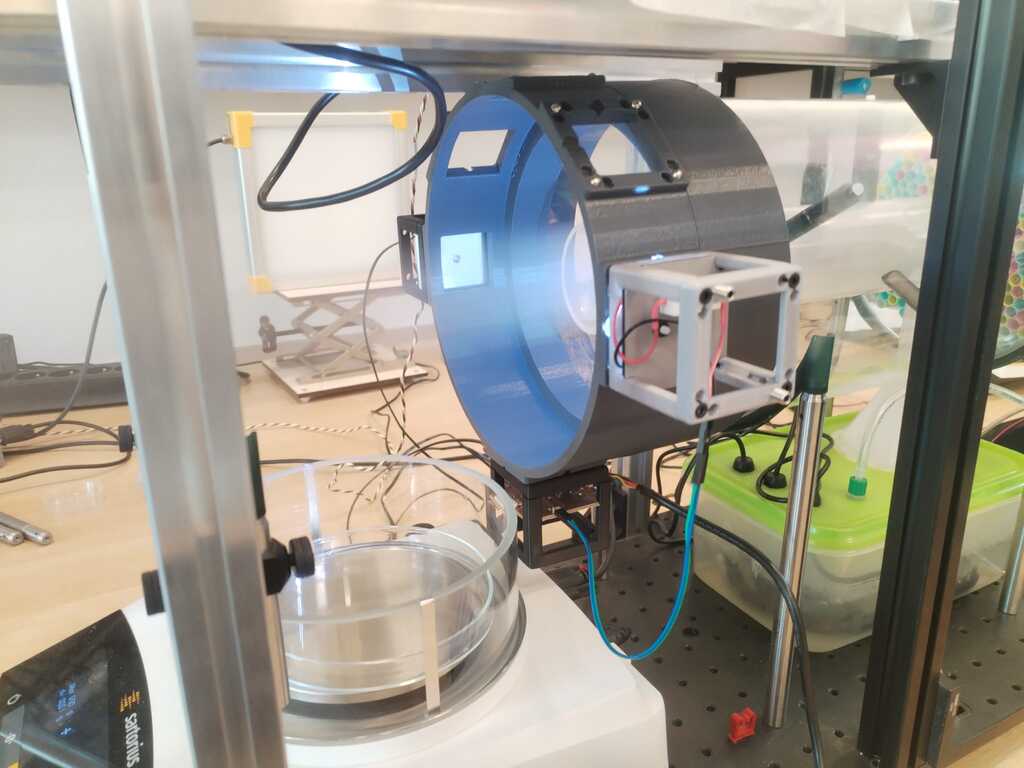
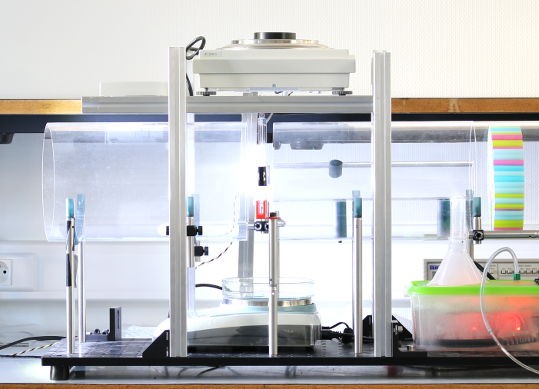
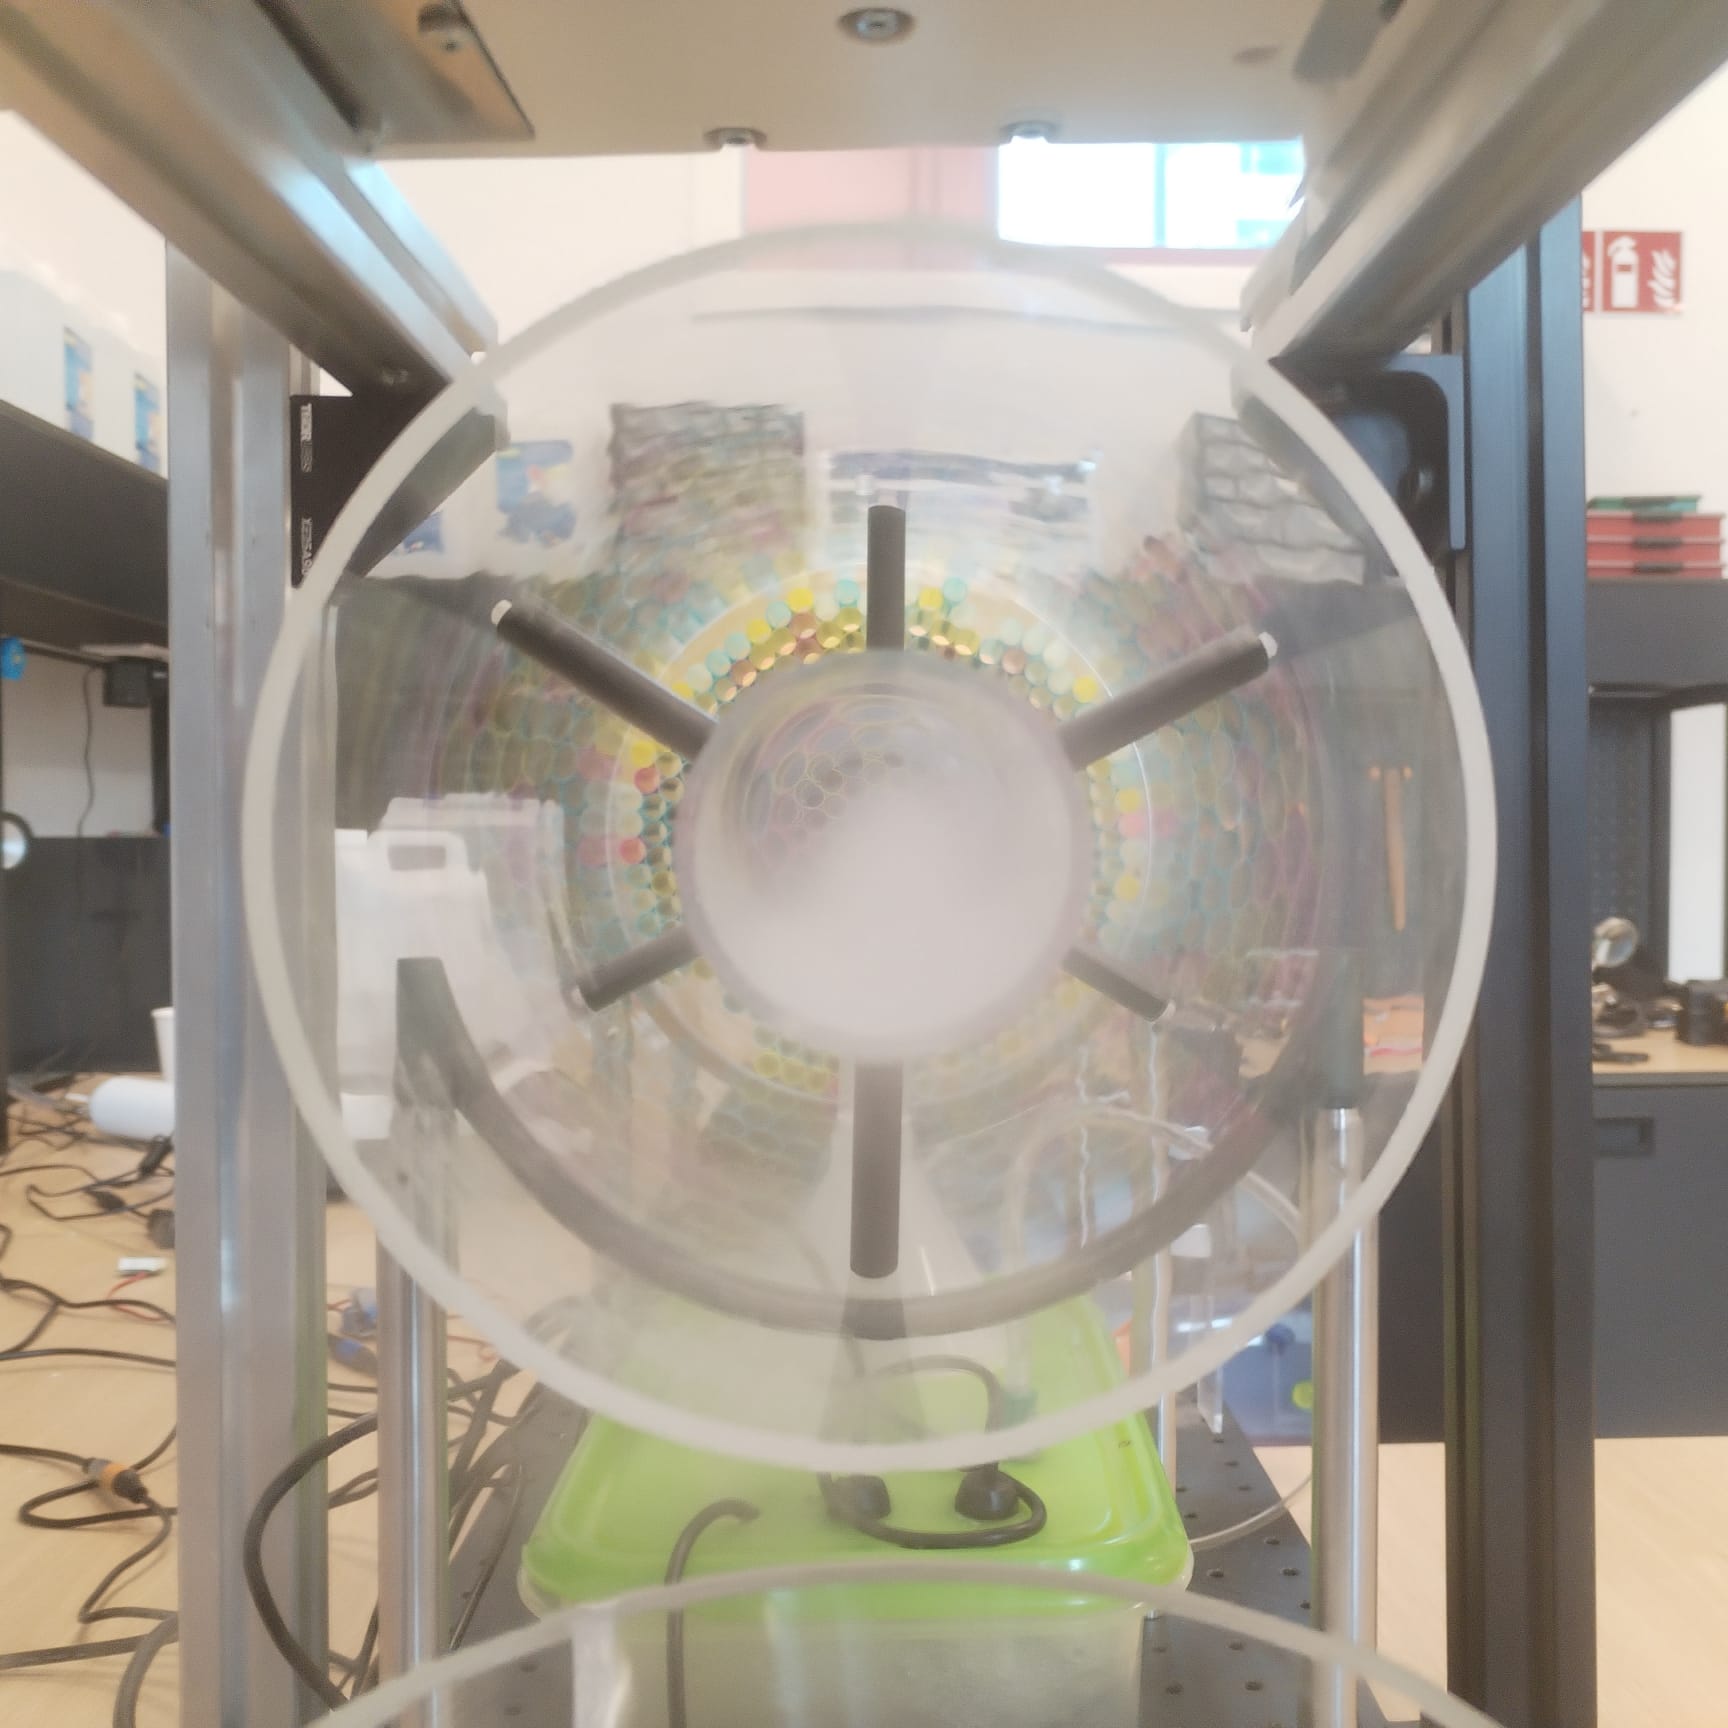
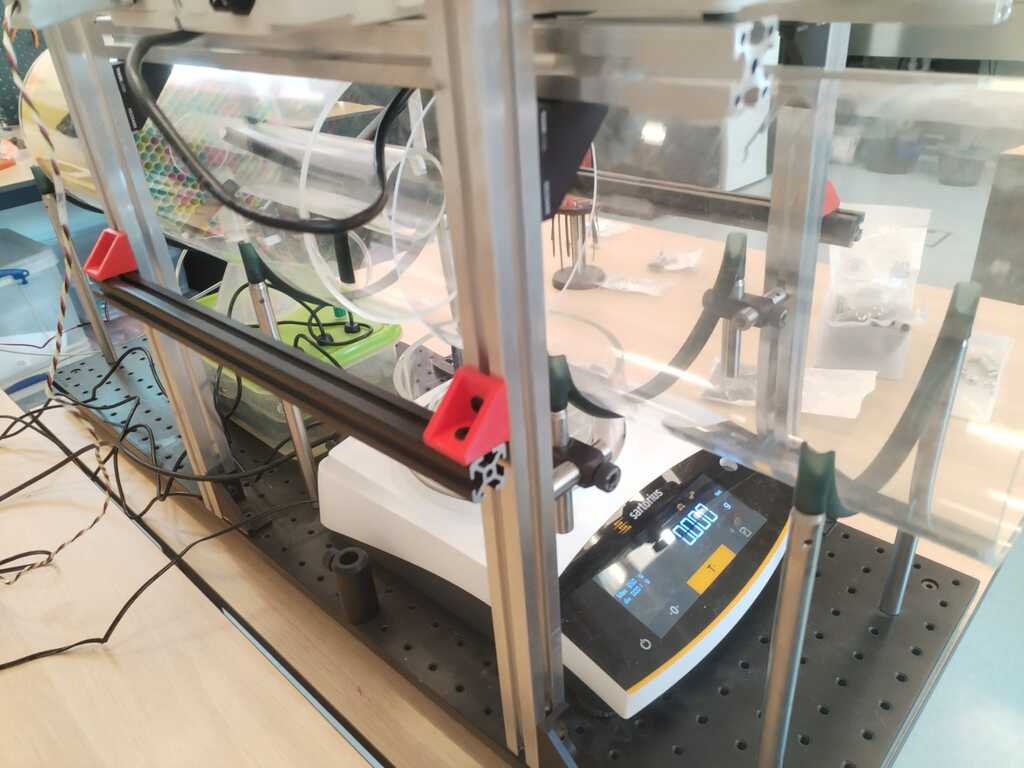
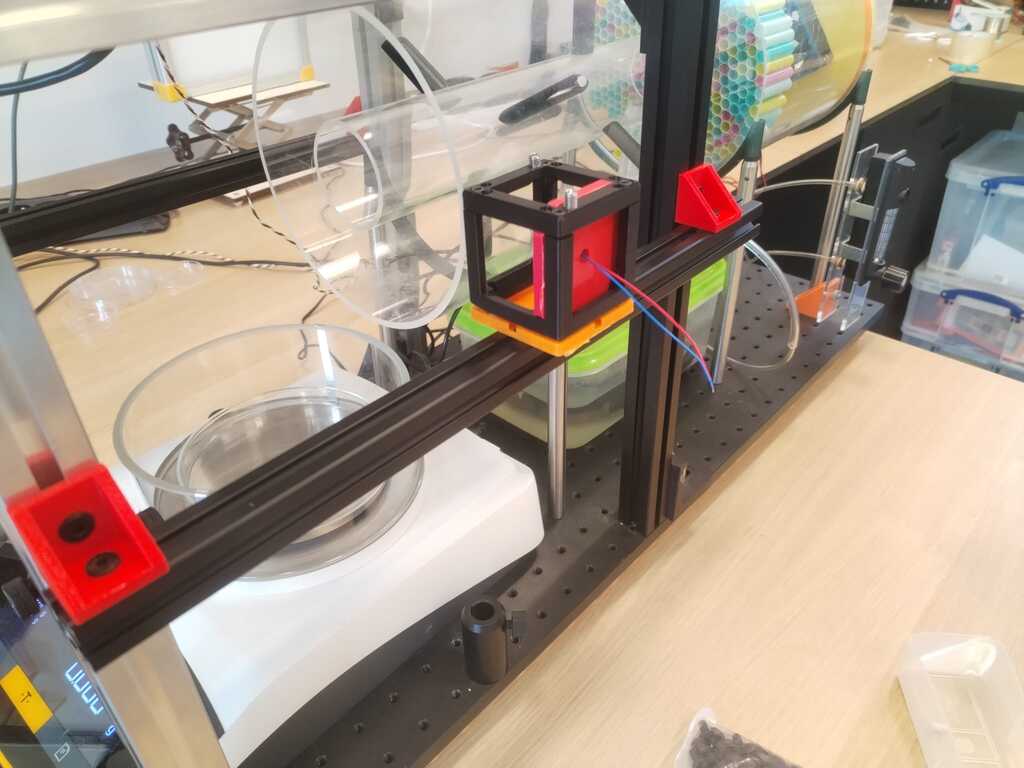
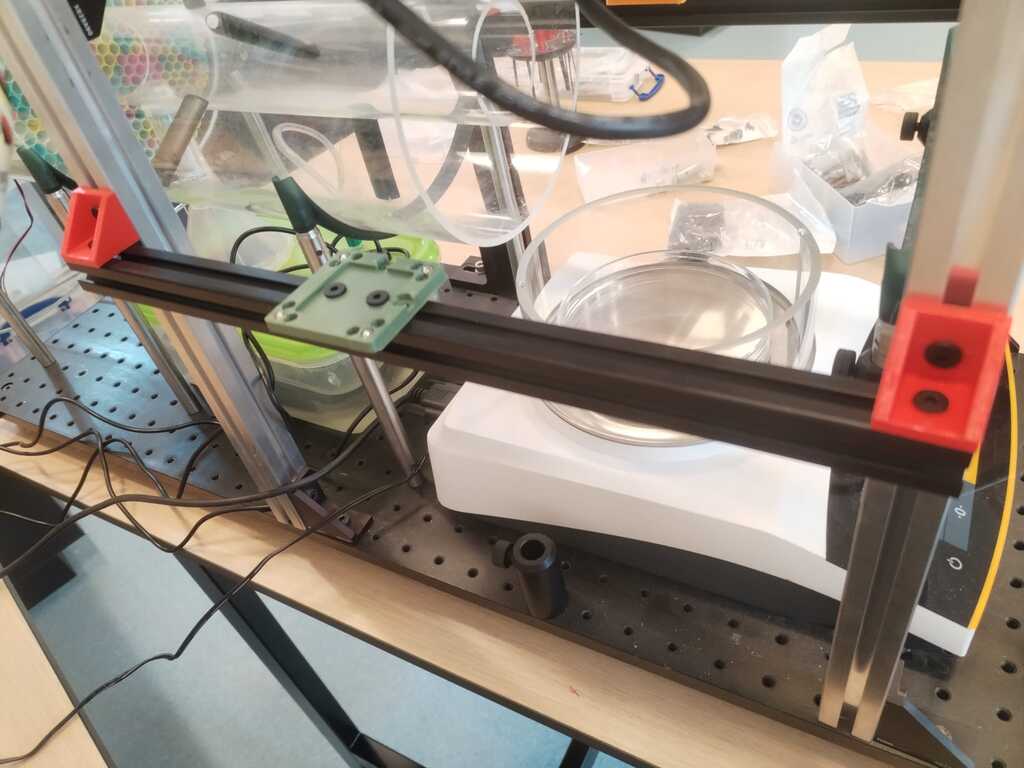
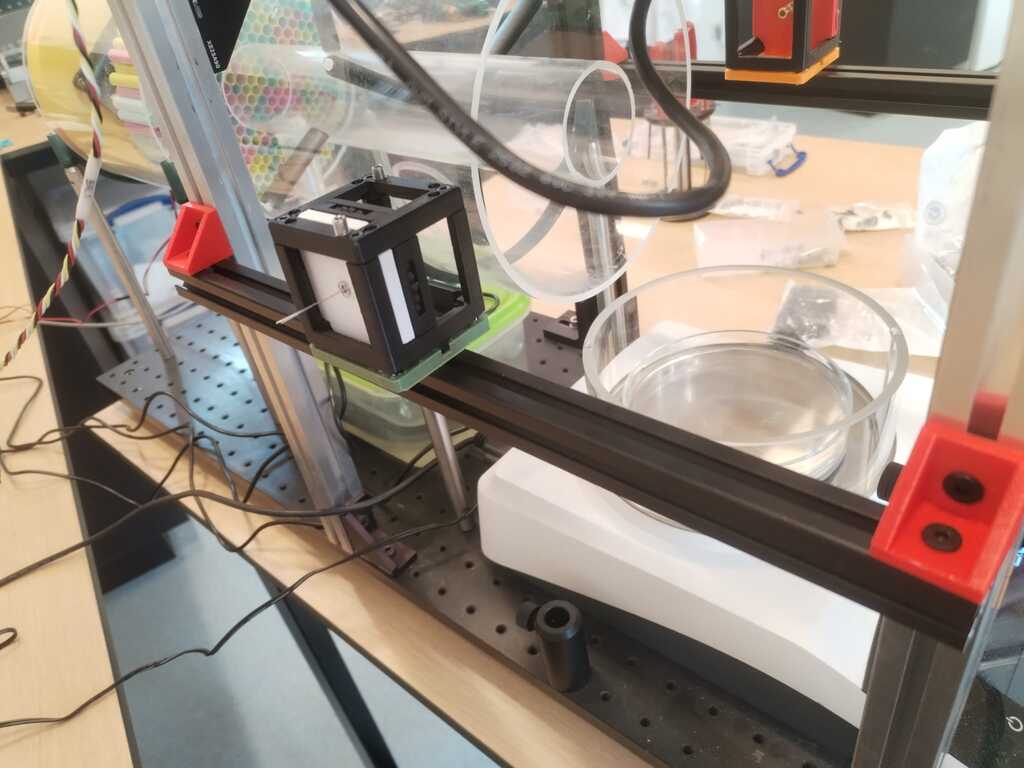
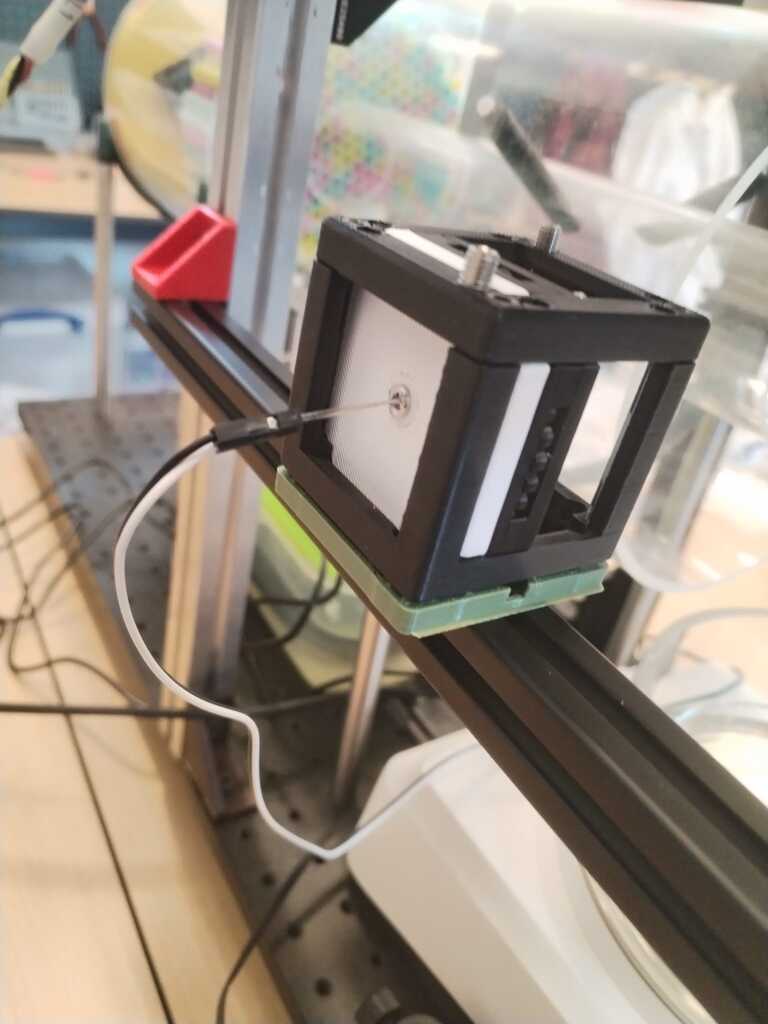
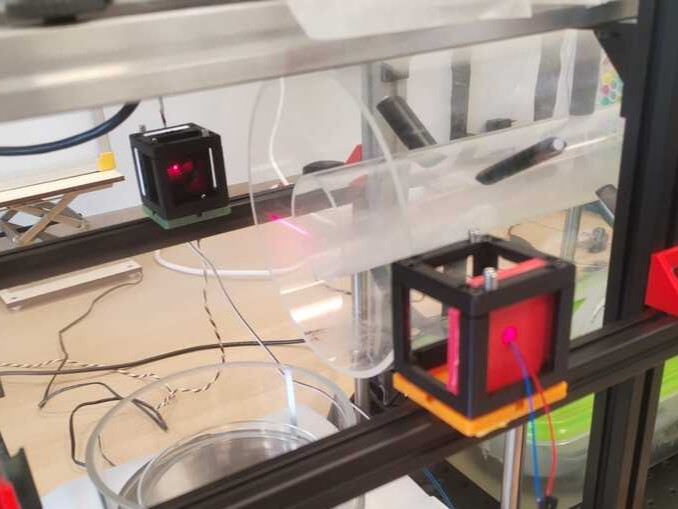
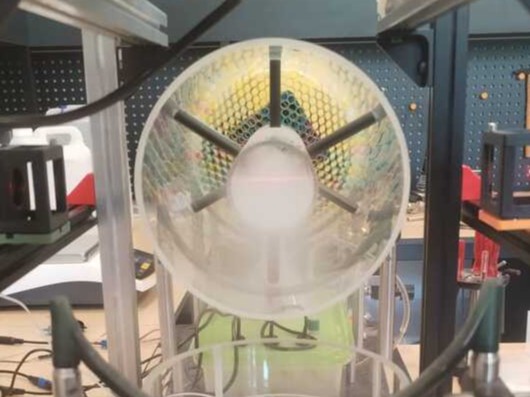
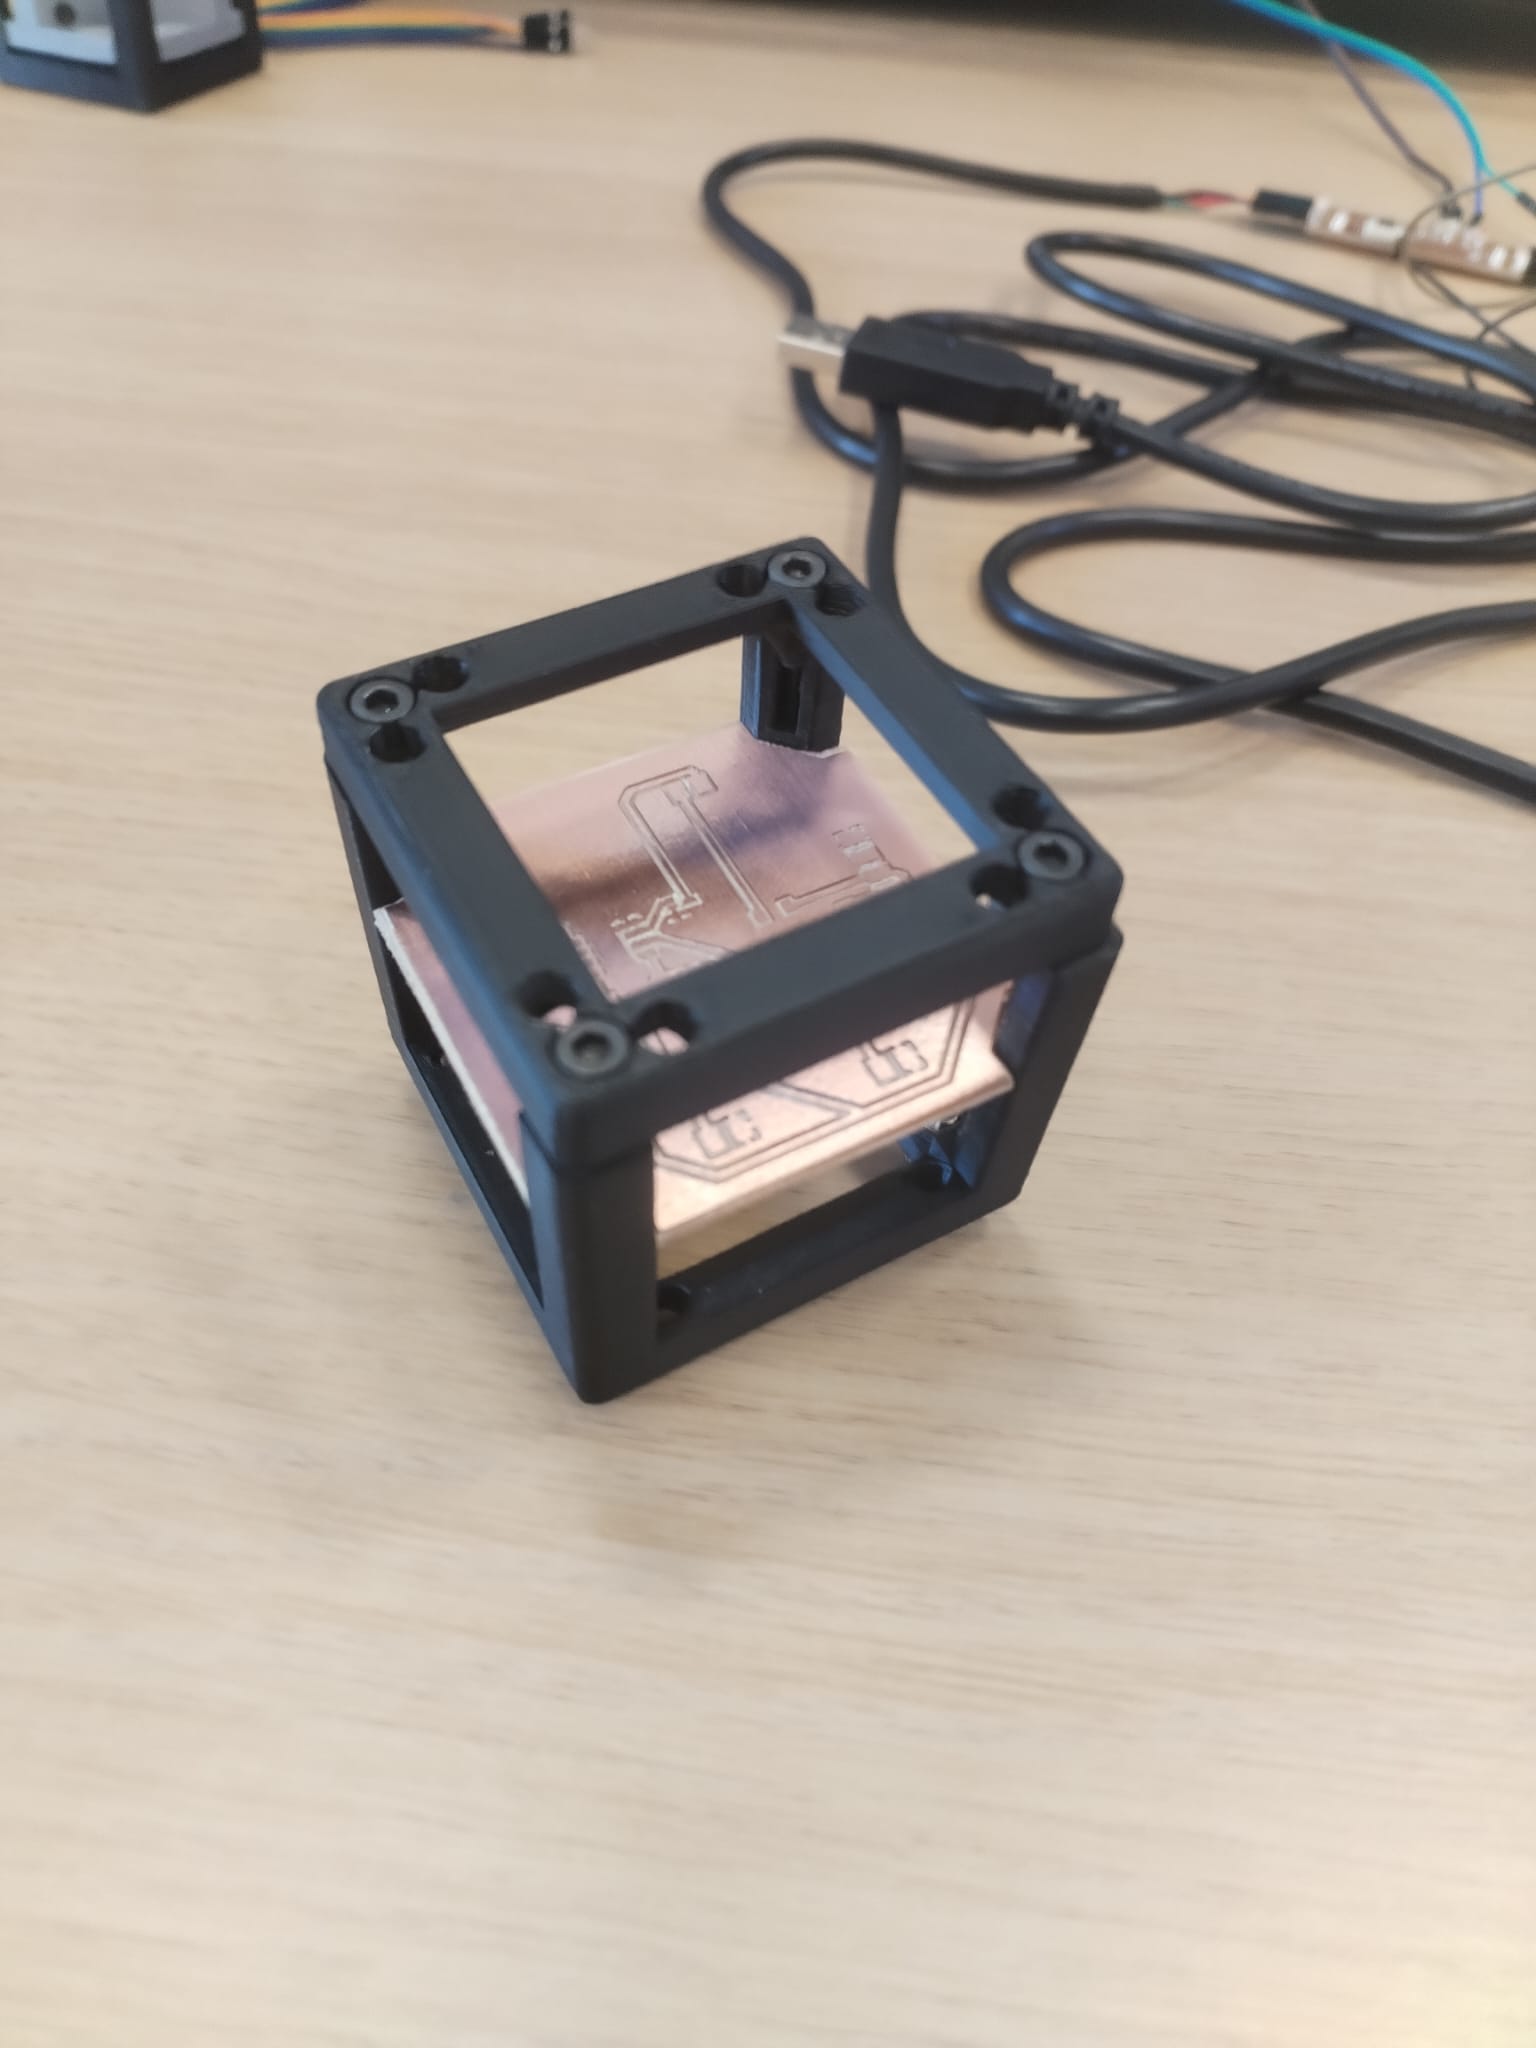
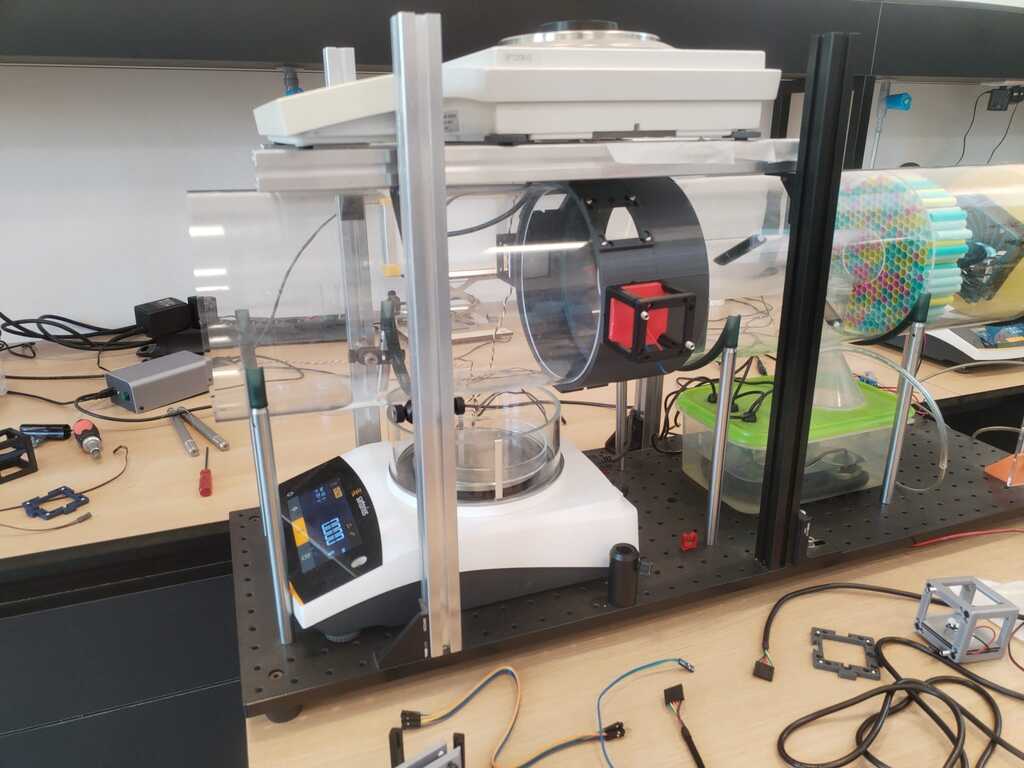
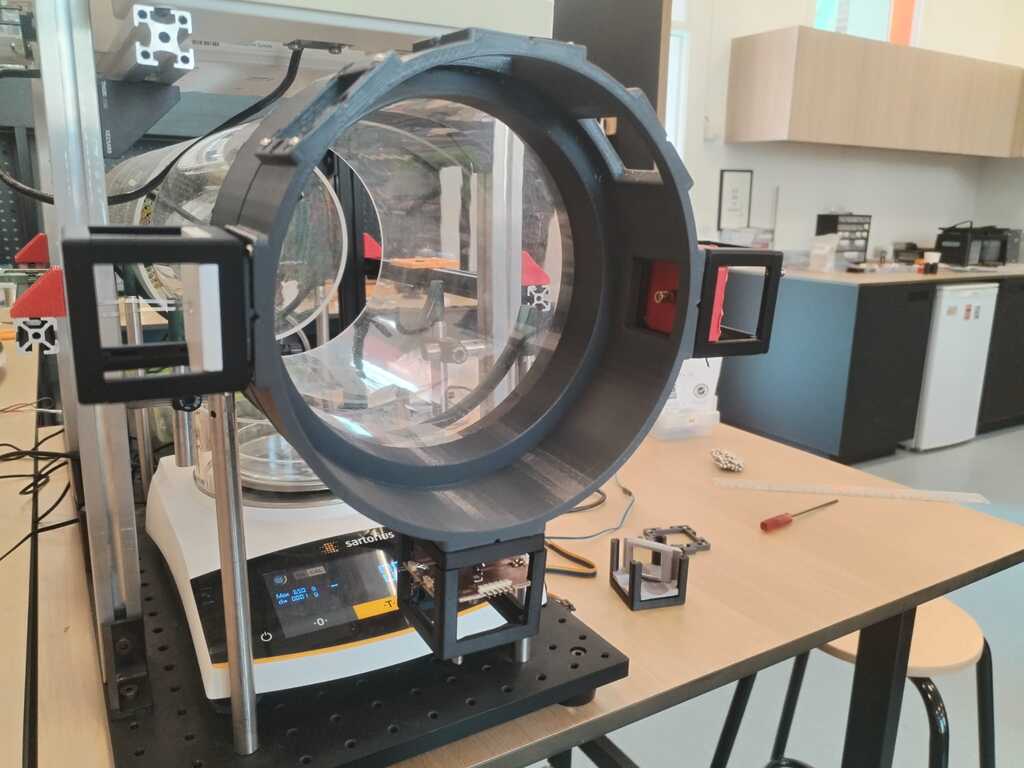
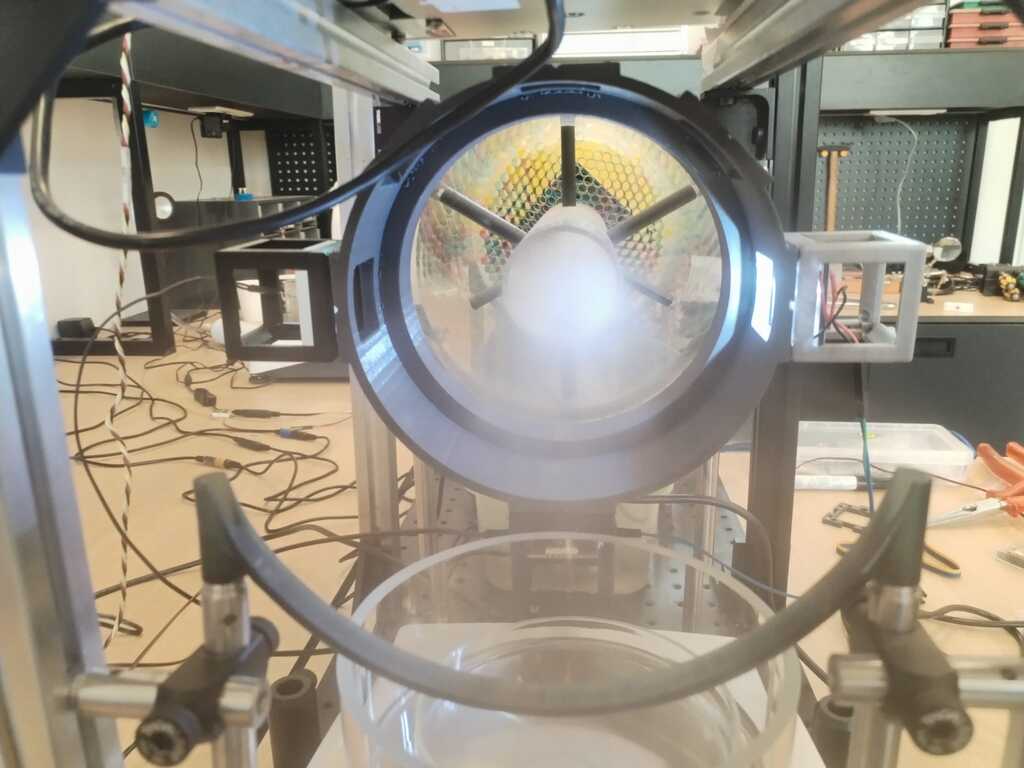
Few weeks ago I seriously started working on my final project. I developed a first prototype to see if the core concept was working with the material I had... and it works !

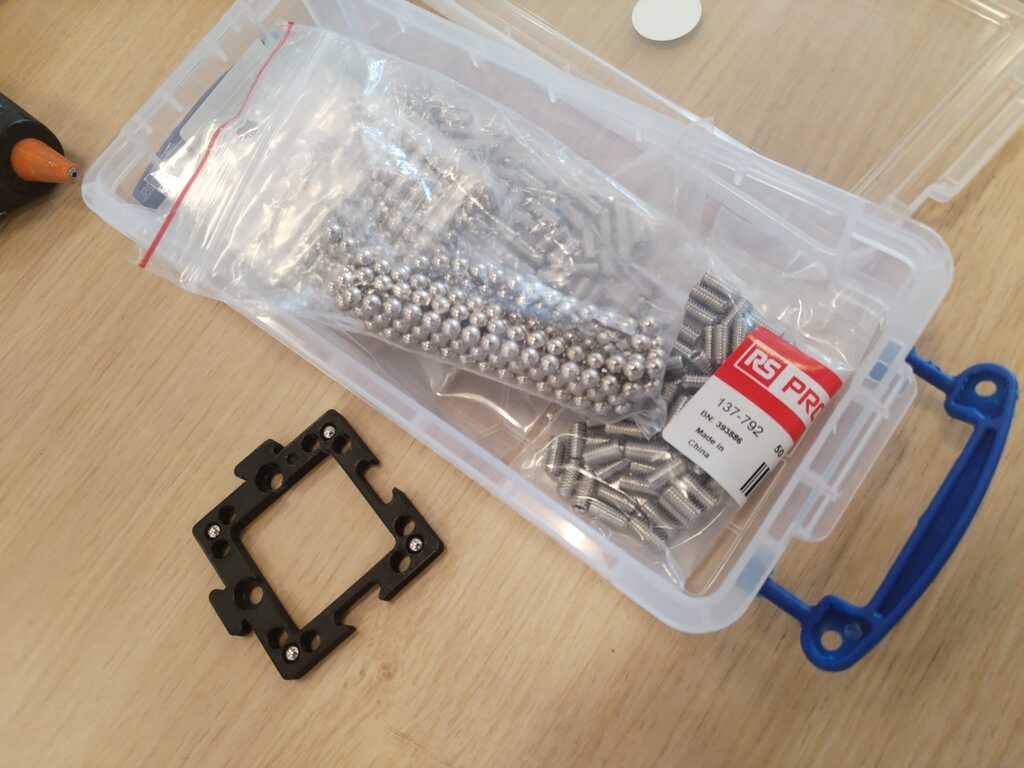
As you can see on the pictures I used 3D printed cube frames to hold everything. These cubes models are part of the Open UC2 toolbox which is an open-source optical instruments toolbox that uses a "modular cube system to allow easy assembly and reconfiguration of optical components, enabling rapid prototyping and endless applications".
As my lab is using the Open UC2 framework when working with optics, I will stay coherent and design my final project incorporating these modular cubes. It would allow to easily combine it with other people future work.
Planning<
At the beginning of this week, I decided to plan a bit my work. I will first do some sketches and then a system diagram.
Sketches<
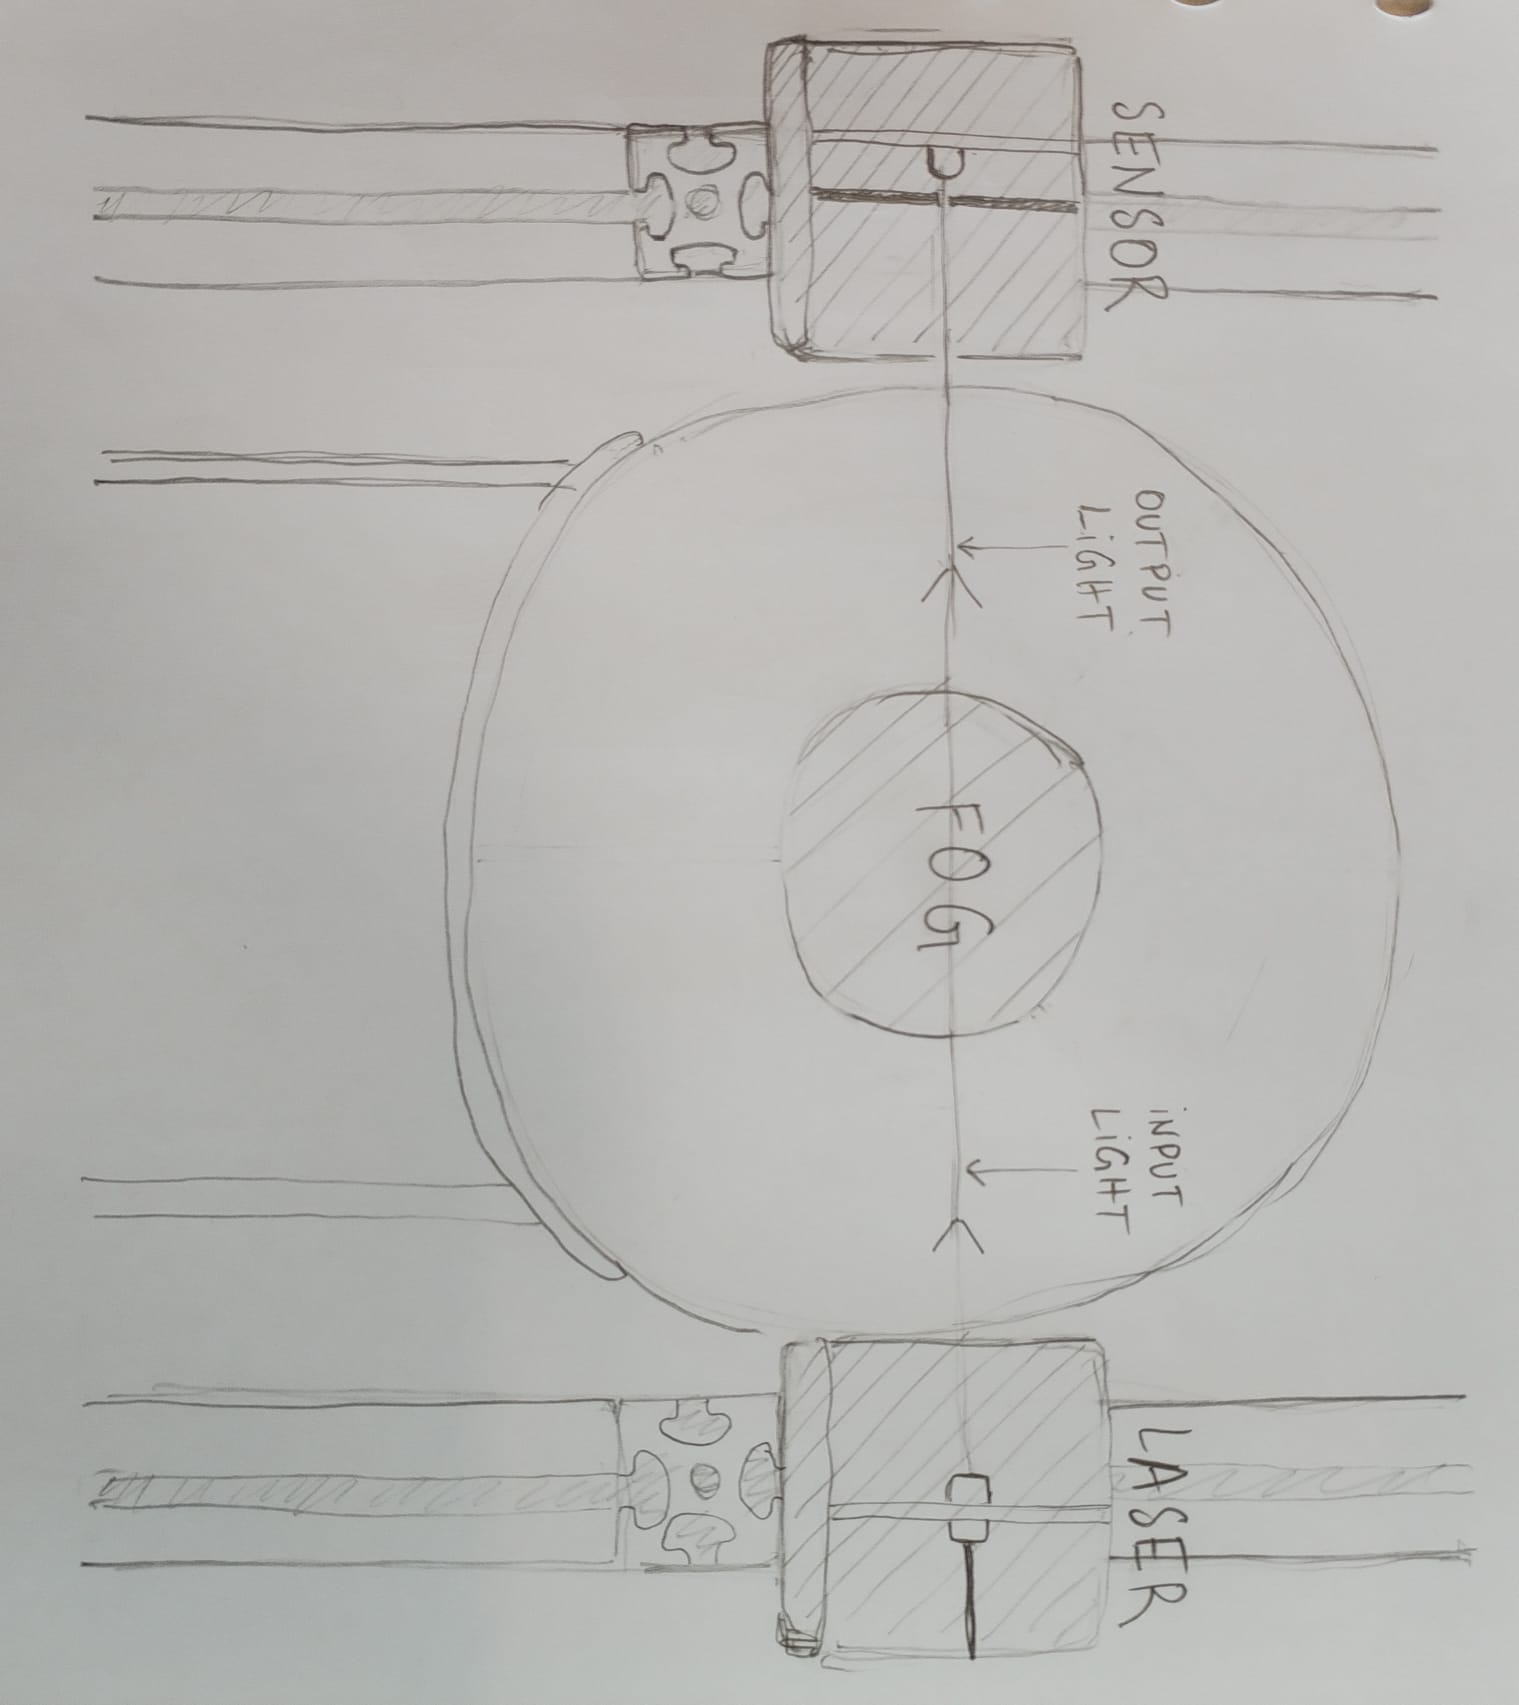
The following sketches represent what I will add to the actual experimental setup from two point of view. The small cubes represent UC2 cubes and the bars represent extrusion bars.
Side View<
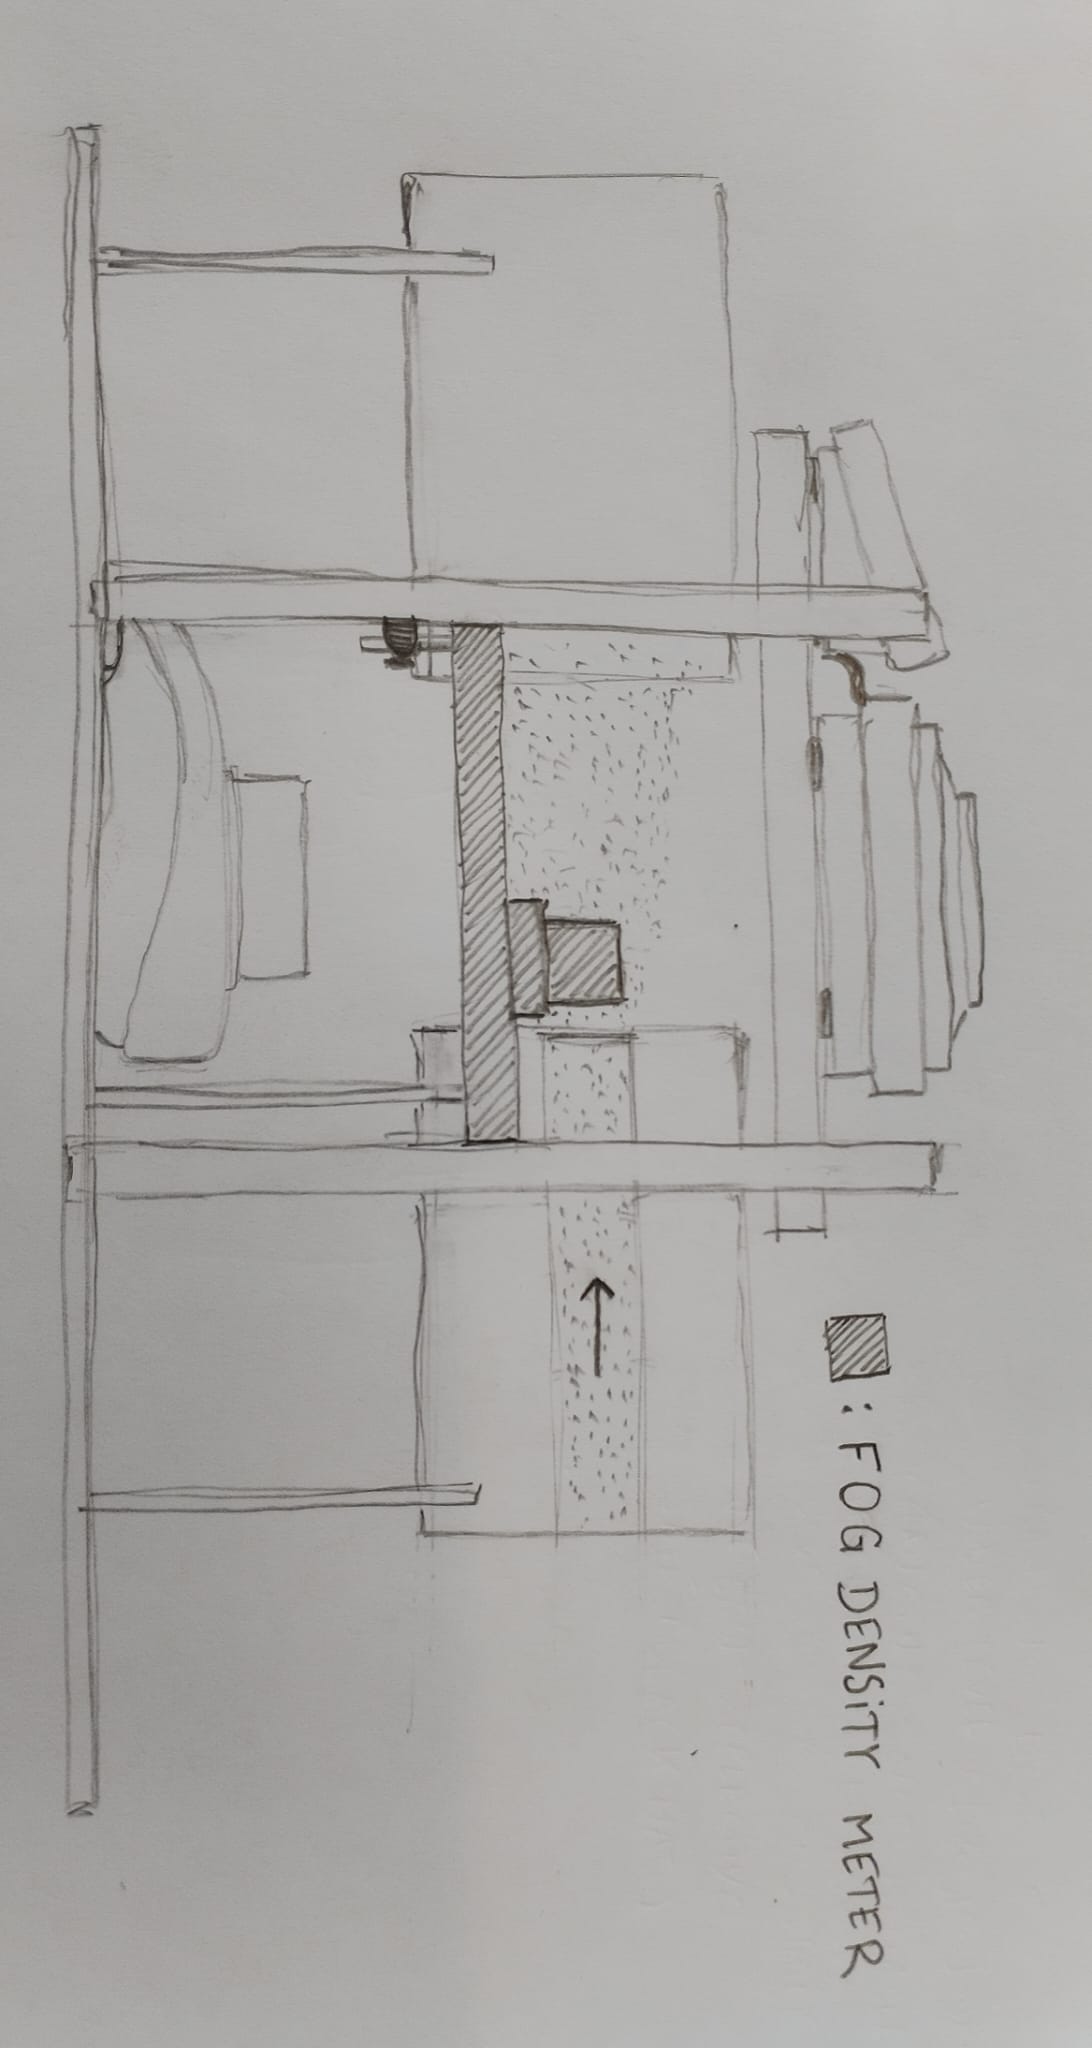
Front View<
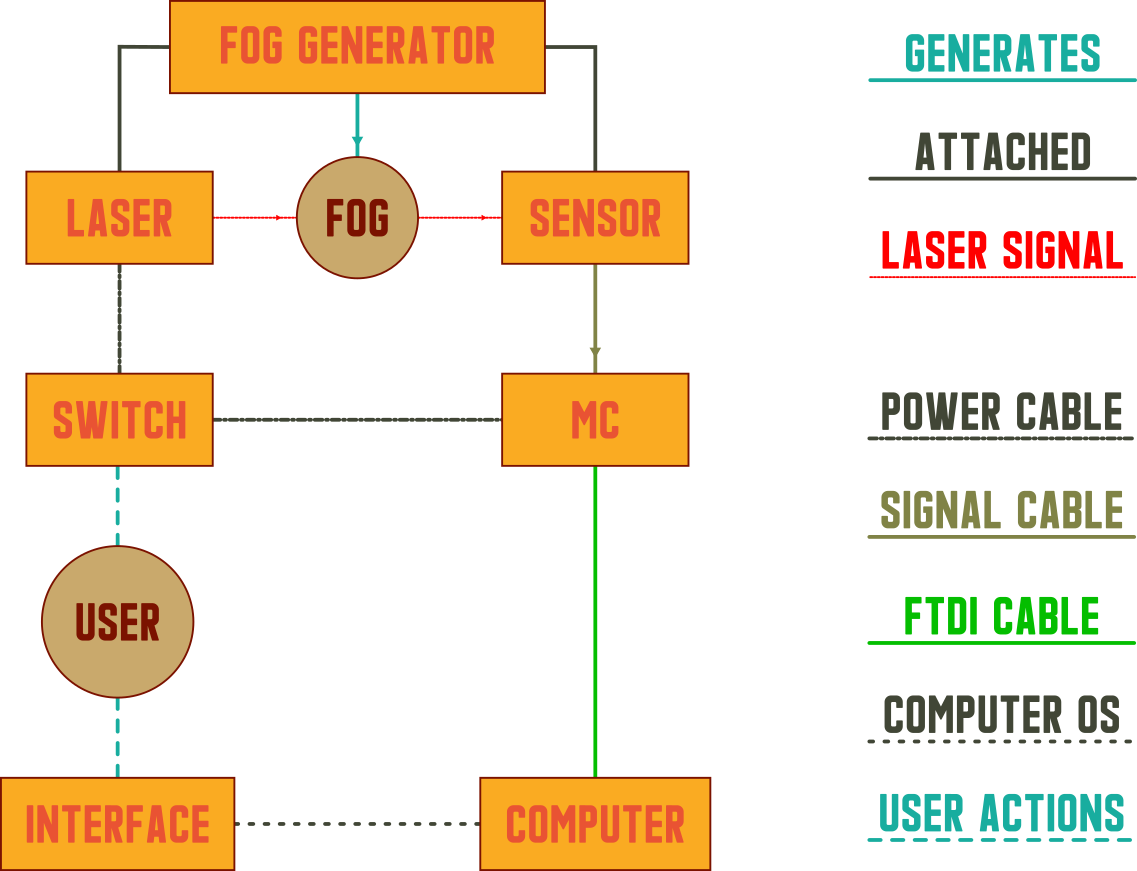
System Diagram<
First Integration Spiral<
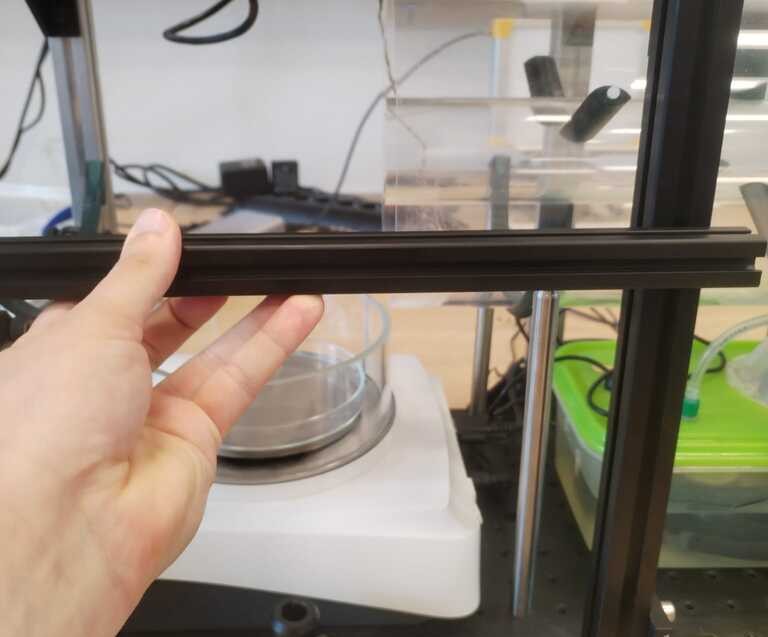
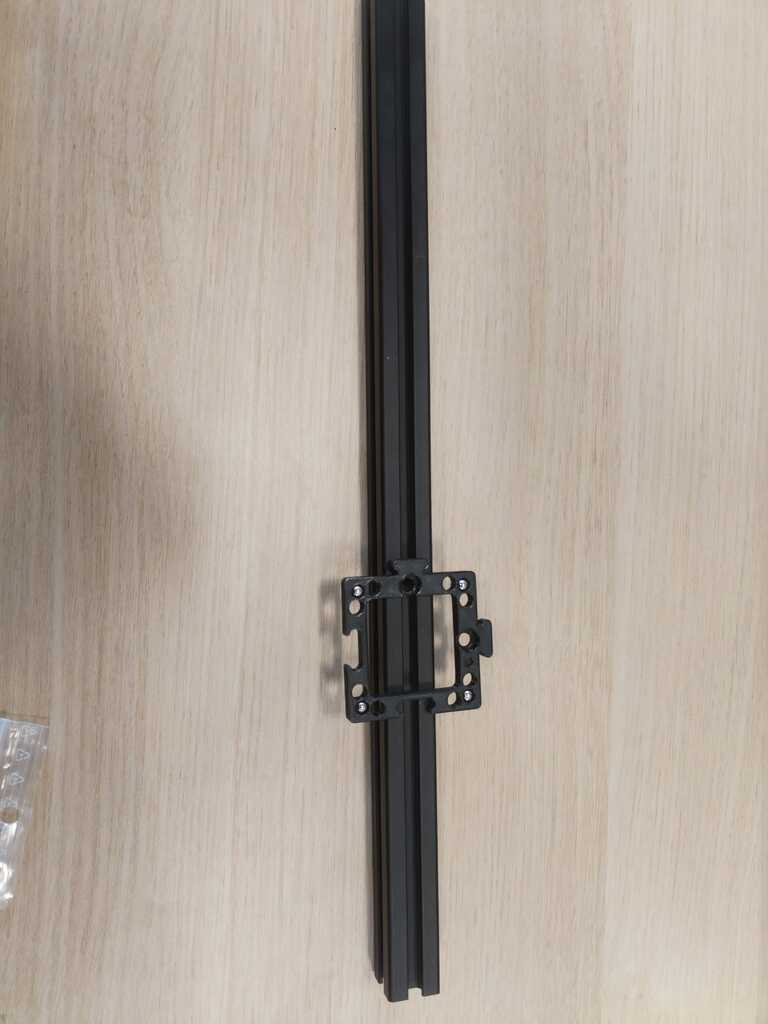
Mechanical Structure<
Extrusion bars<
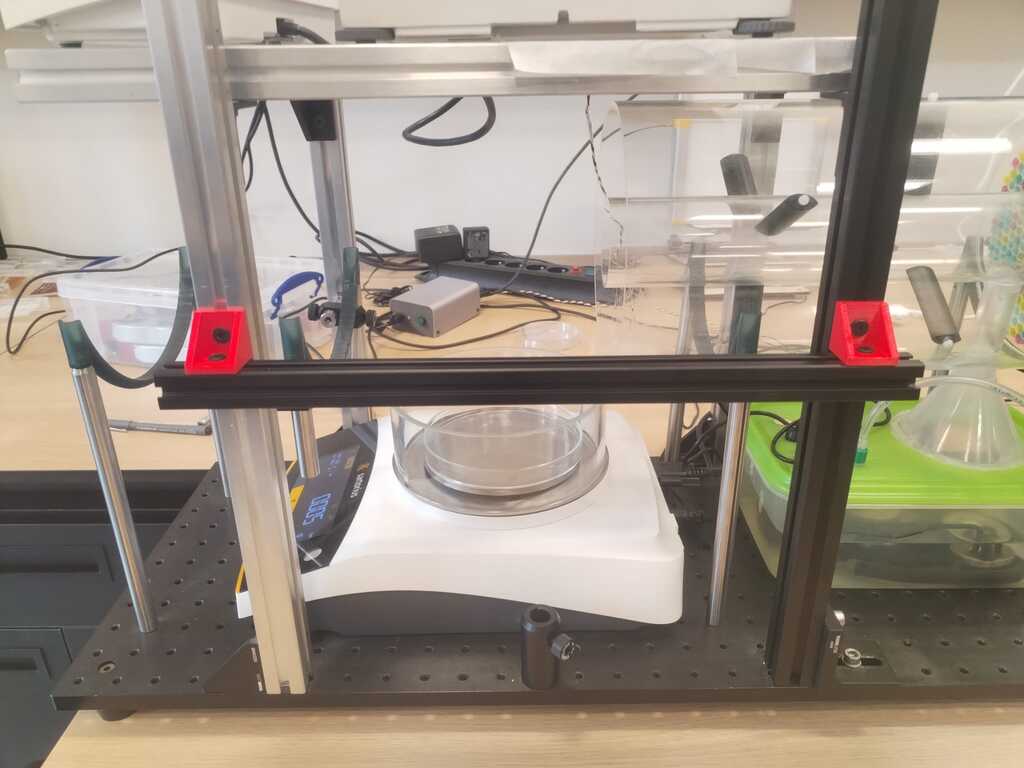
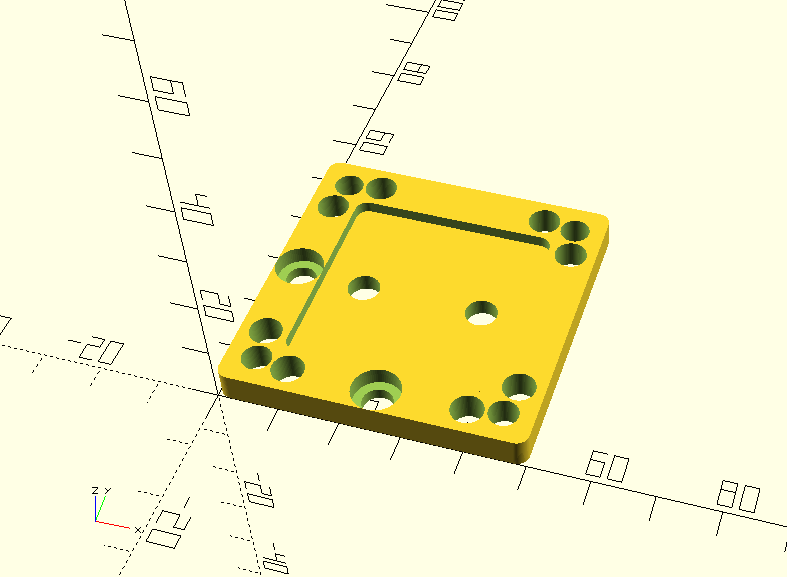
UC2 cubes plates<

Wiring<
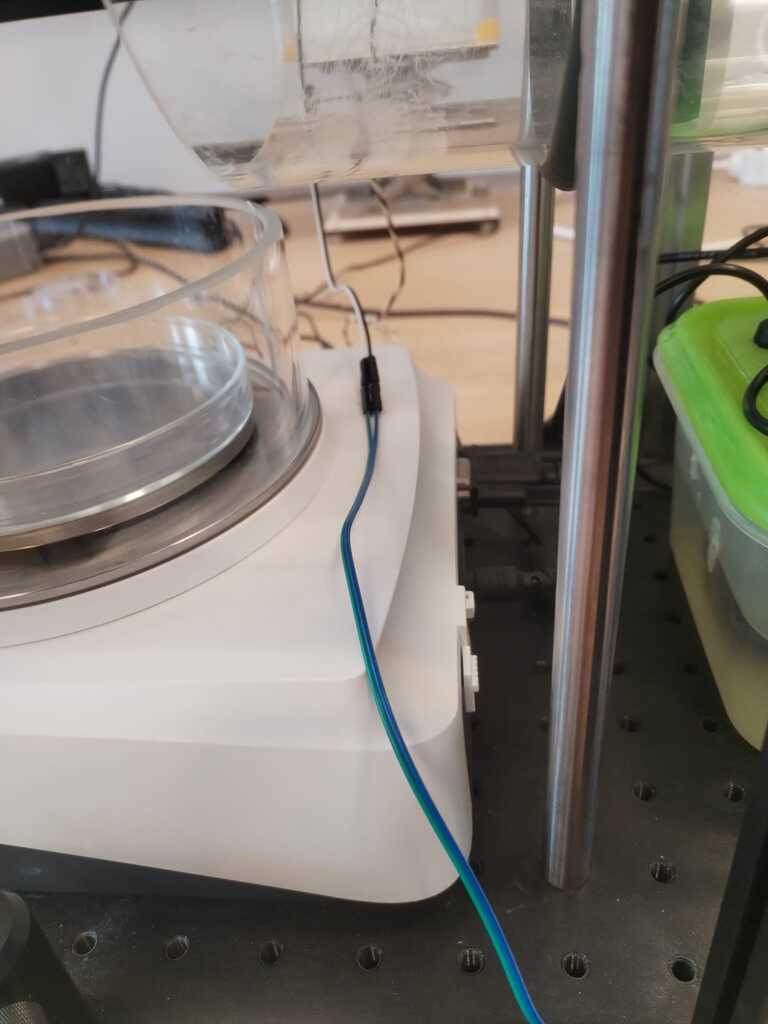
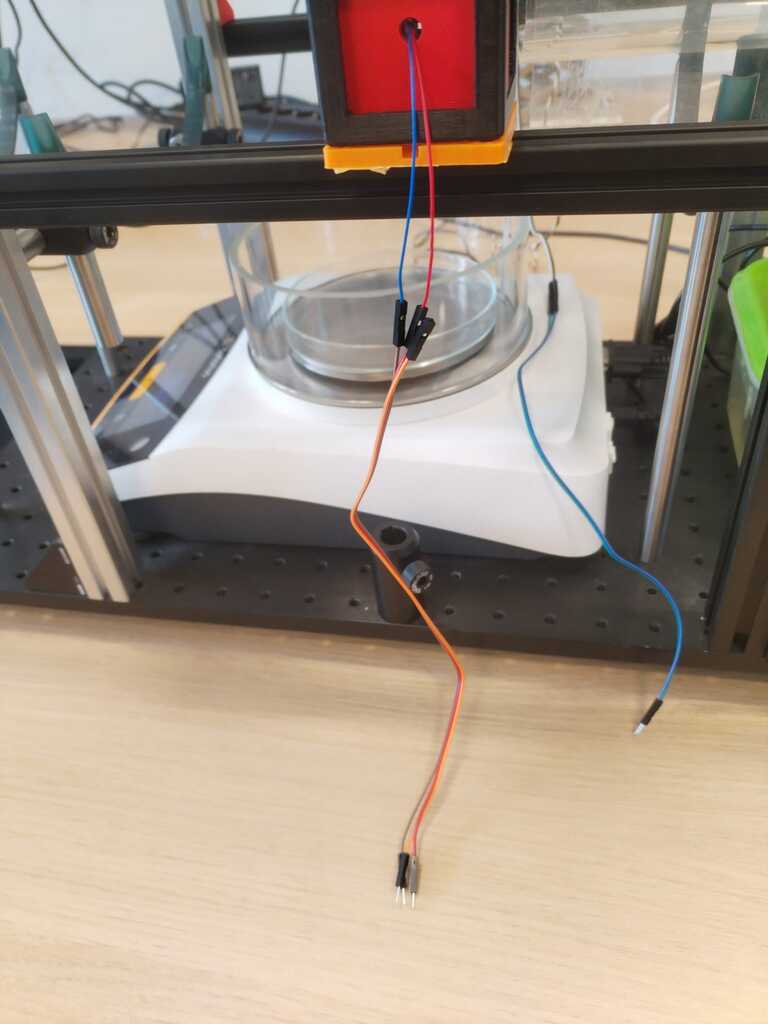
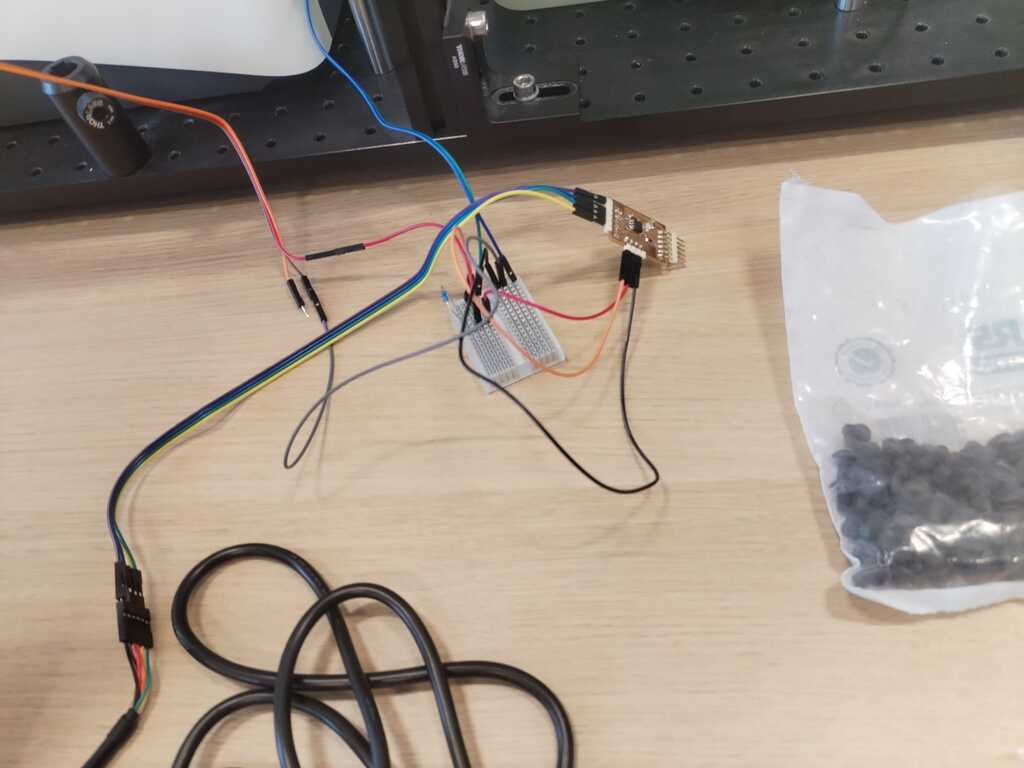
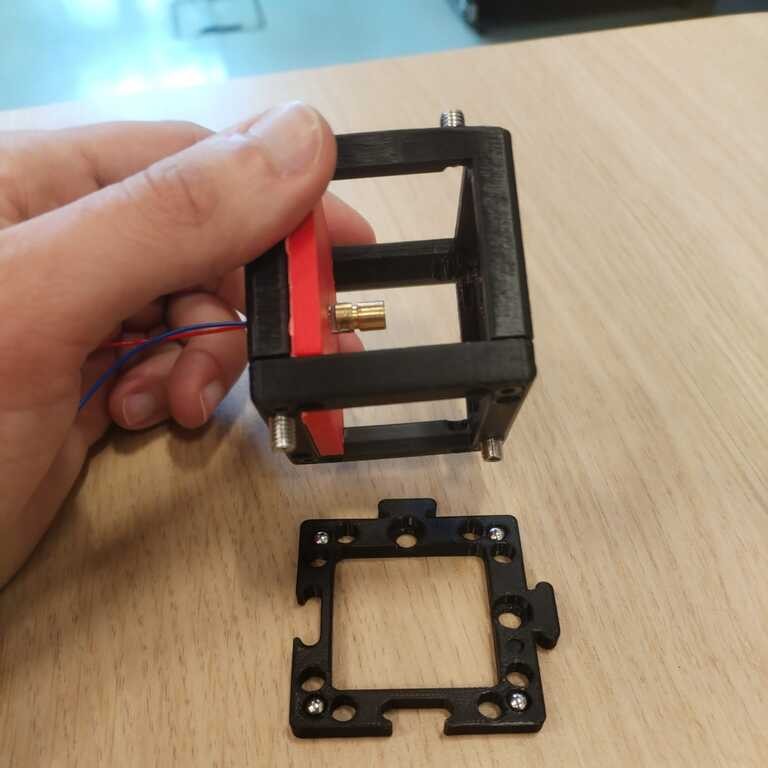
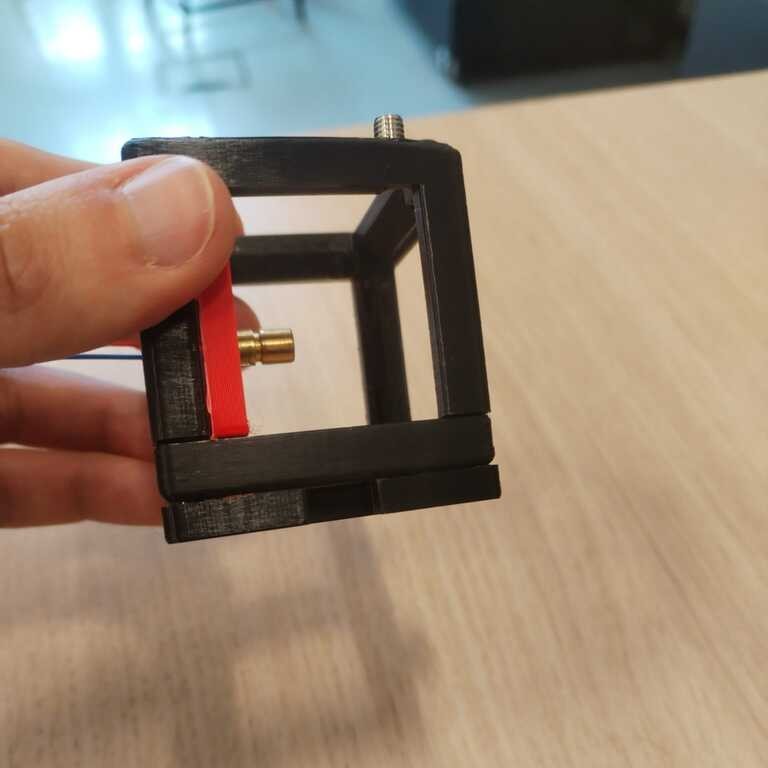
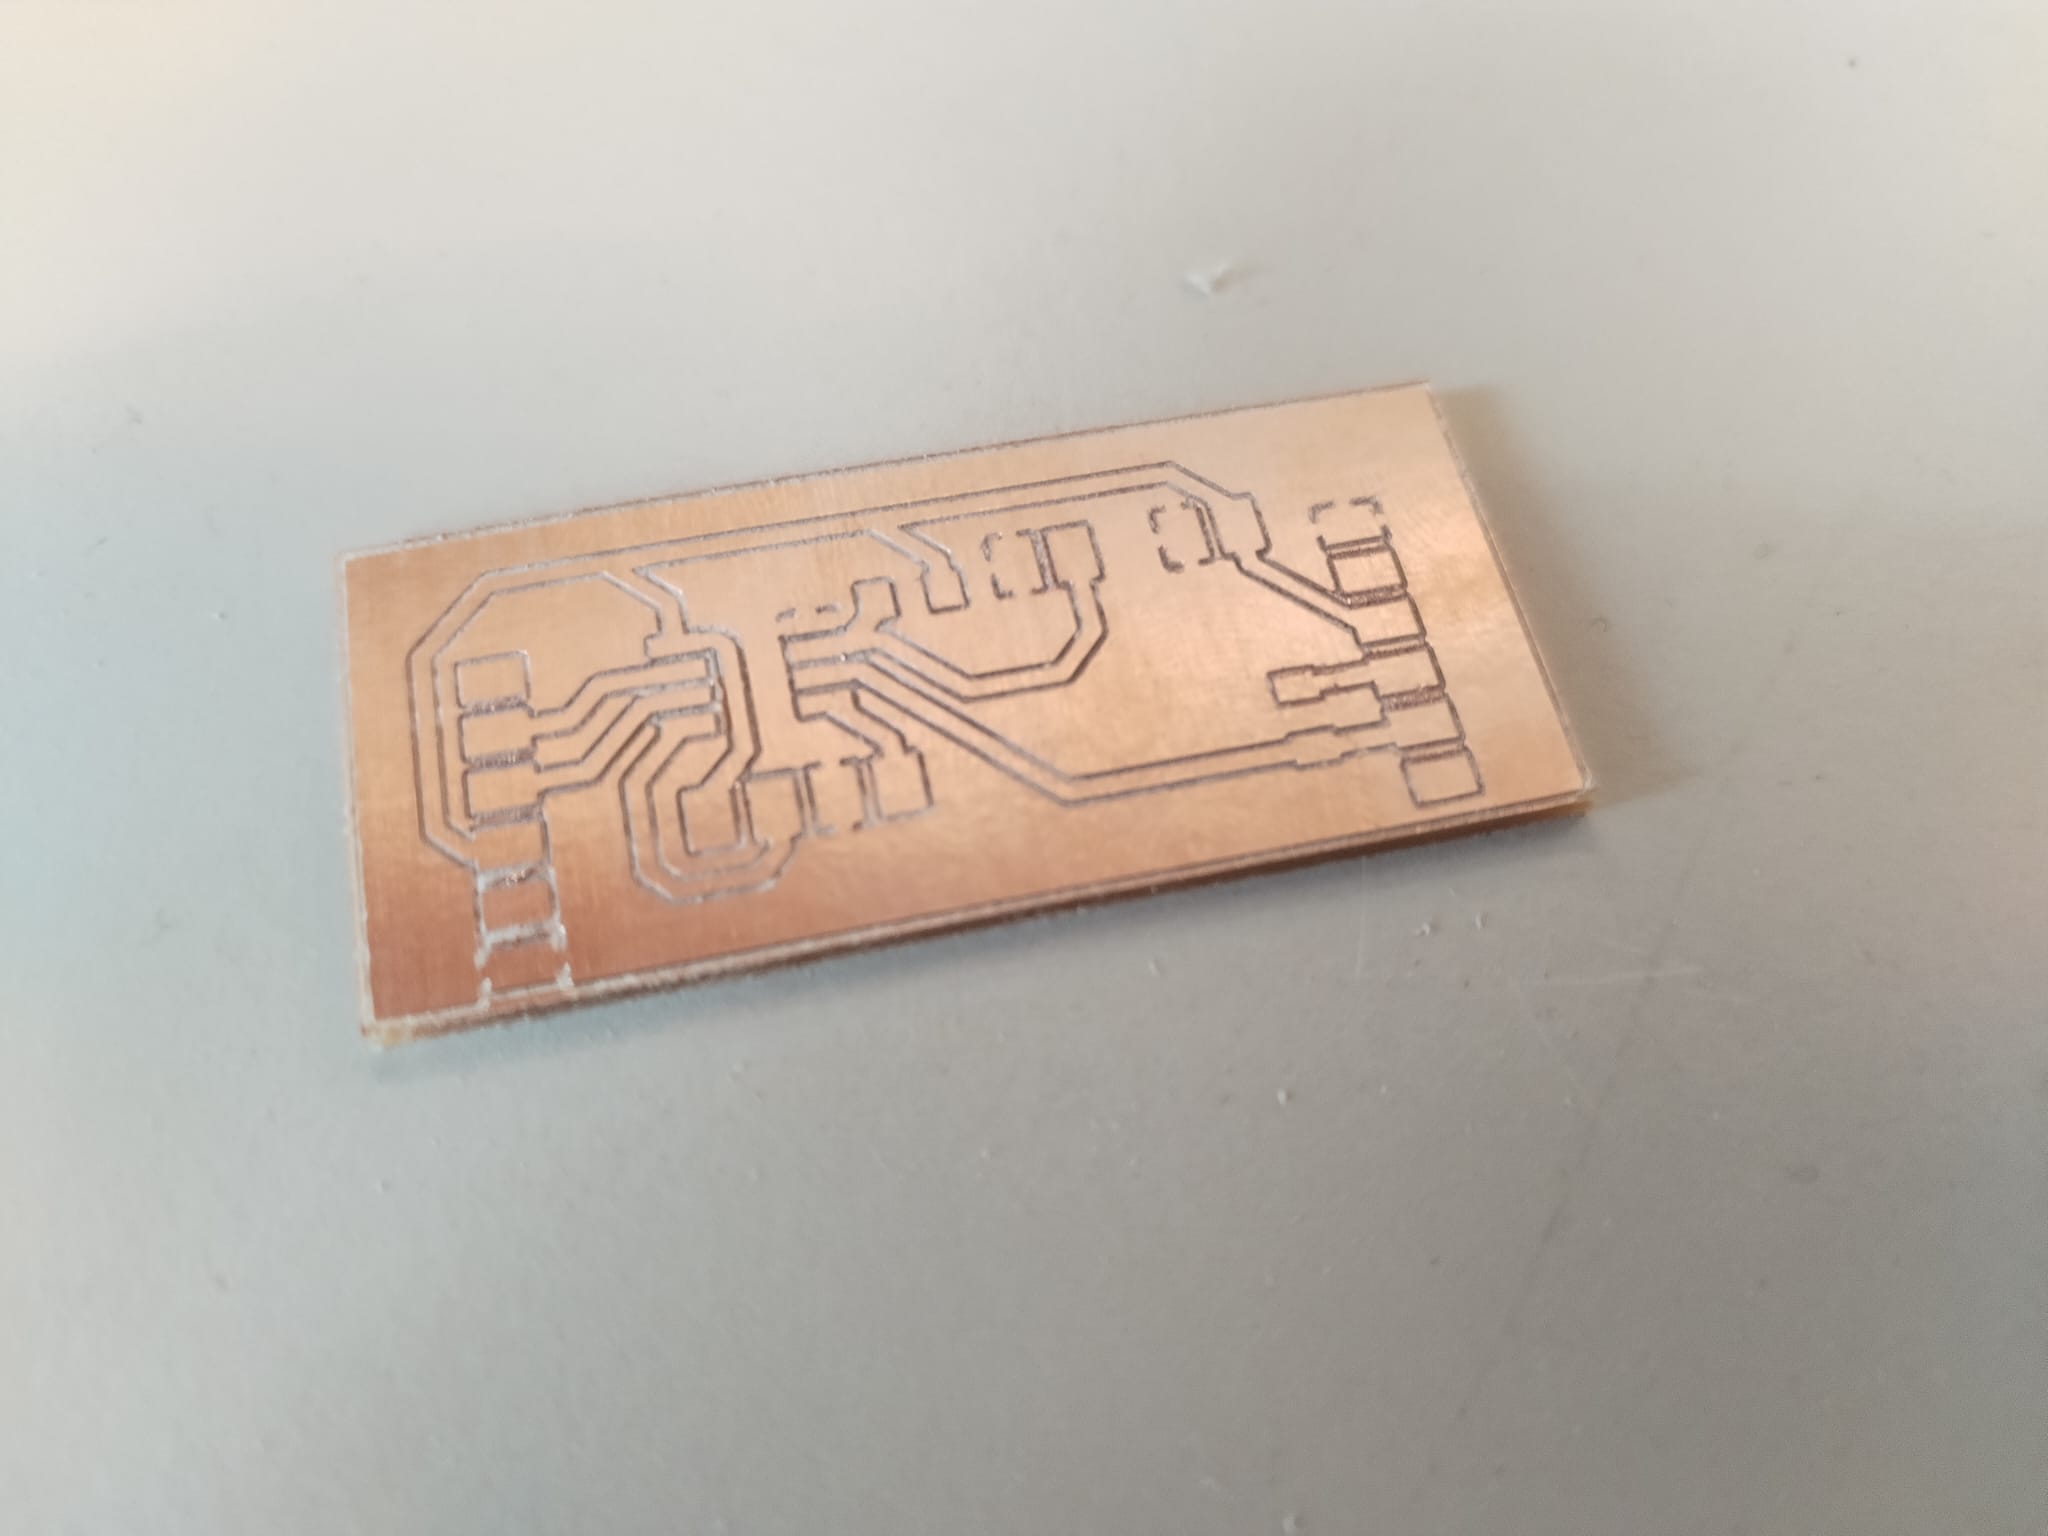
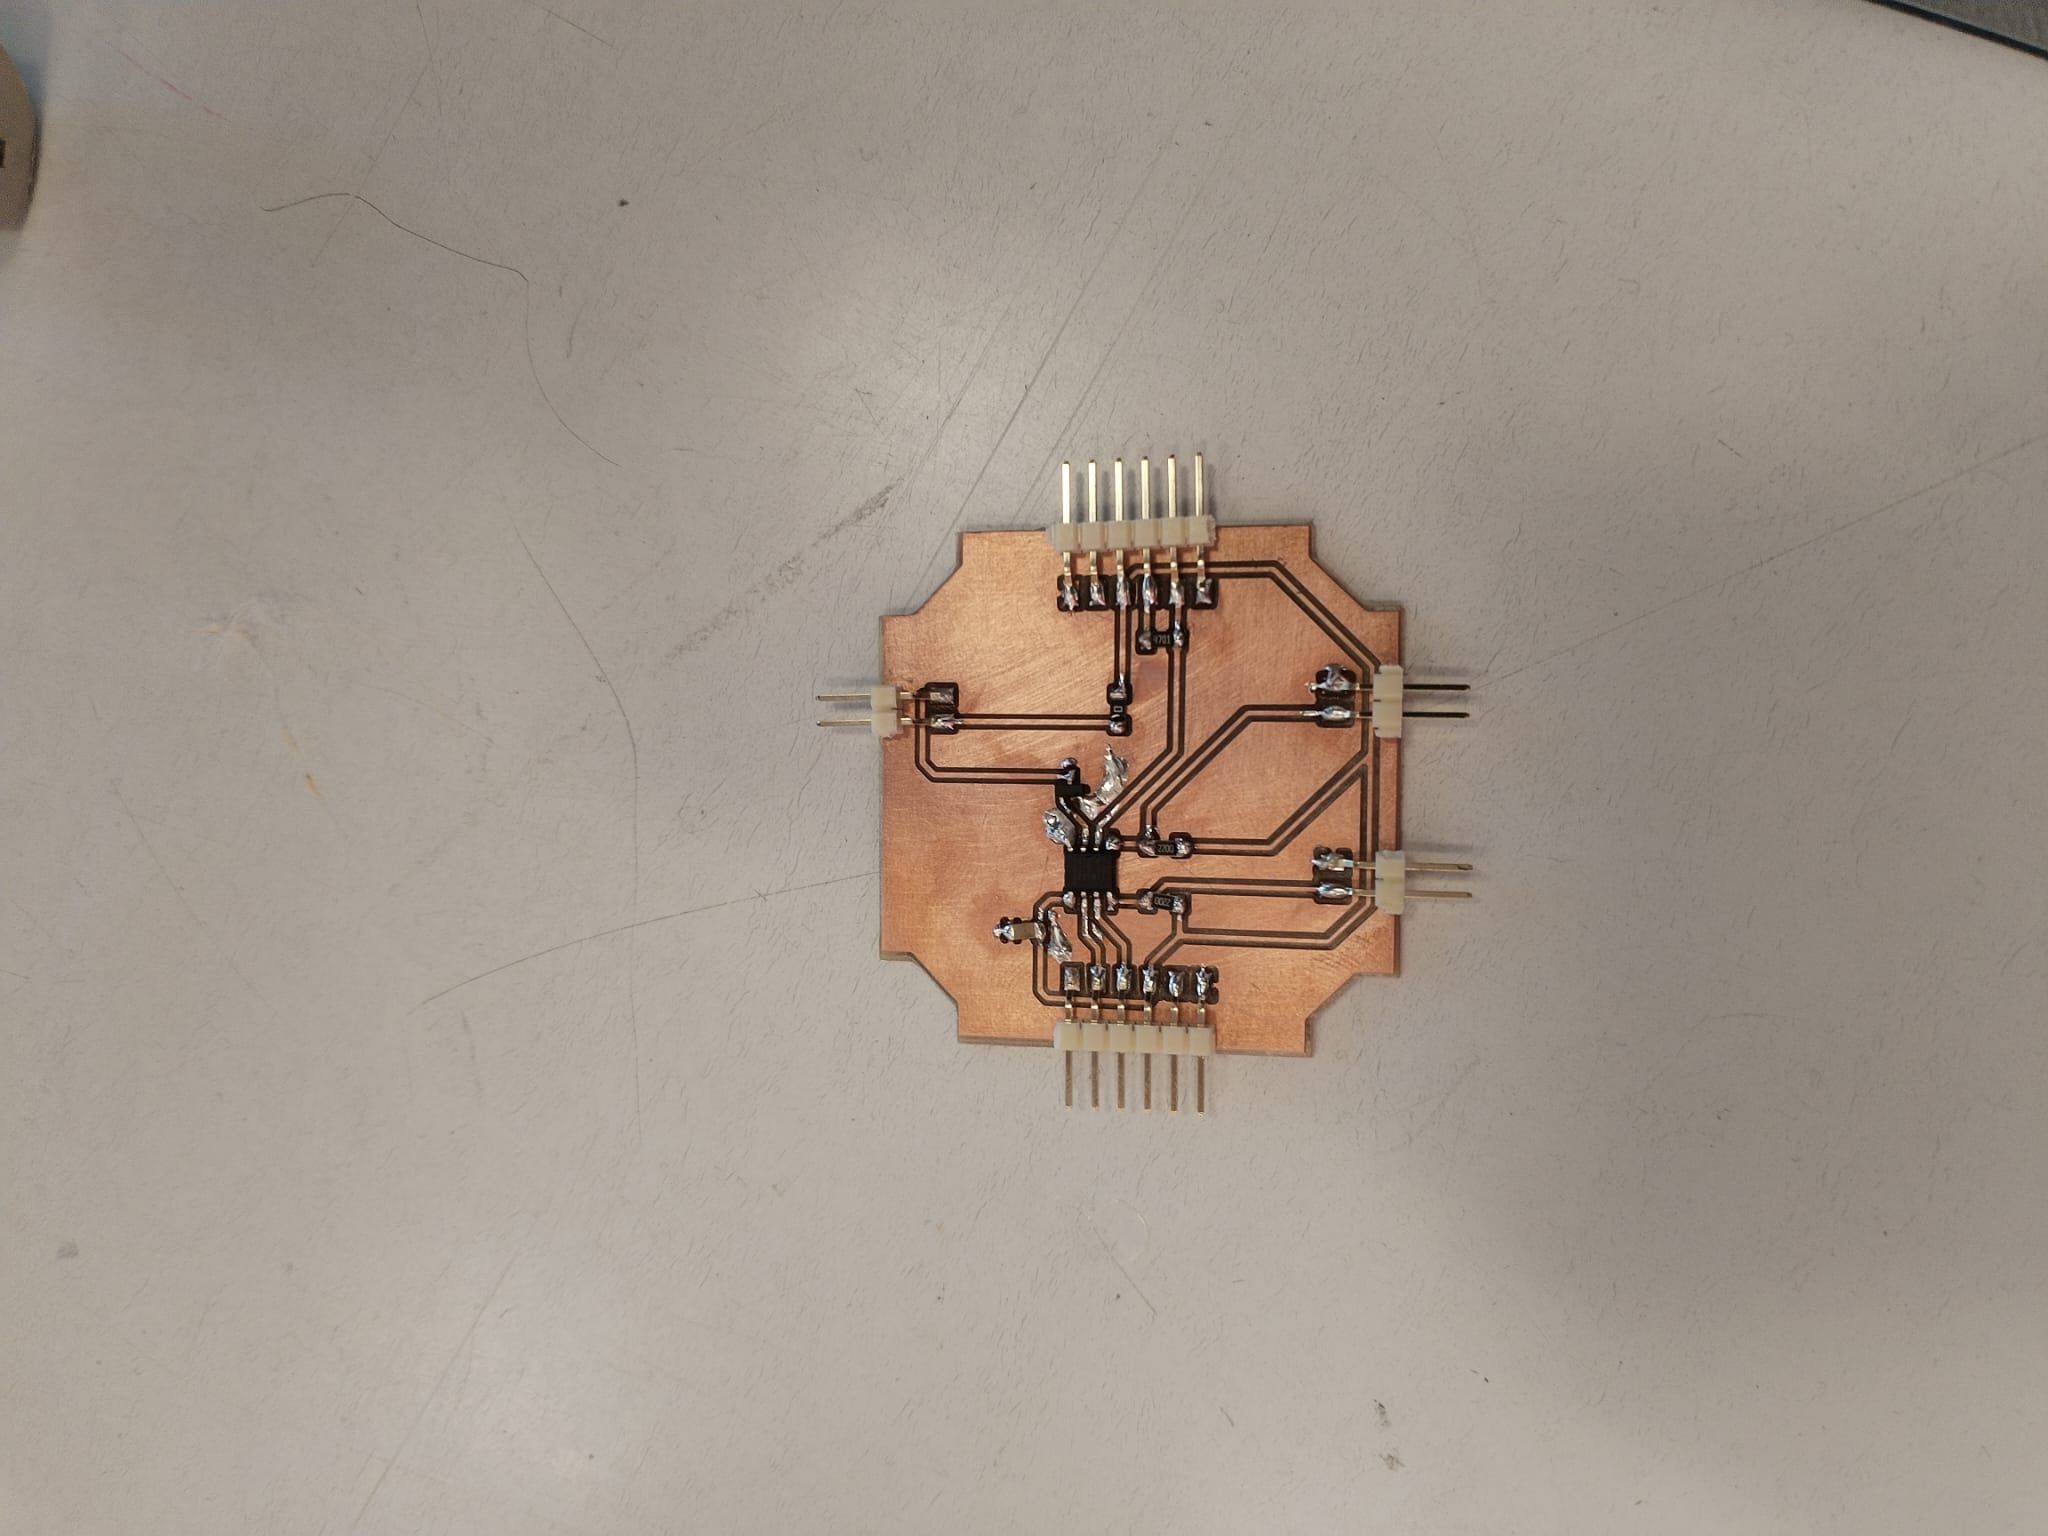
New PCB to integrate the circuit<

Second Integration Spiral<
I came back to system integration during the week 17 and 18 to finish the project.
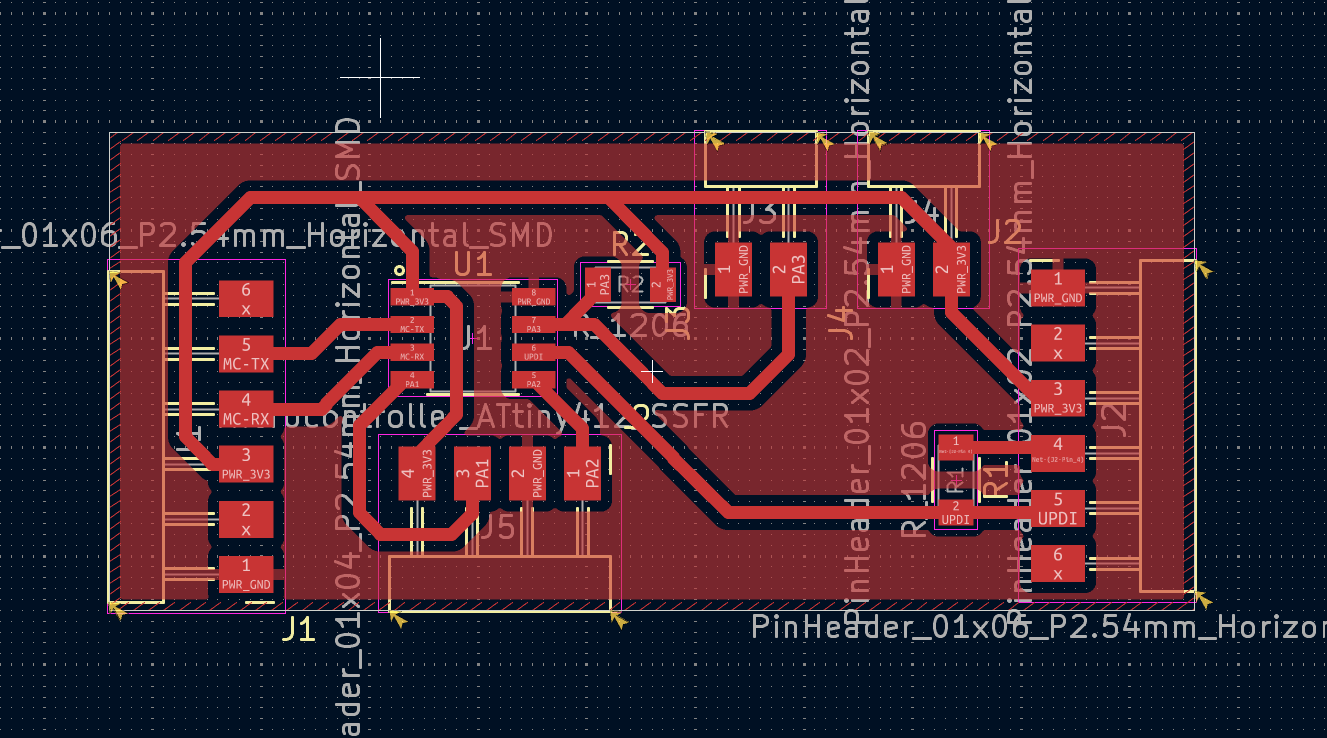
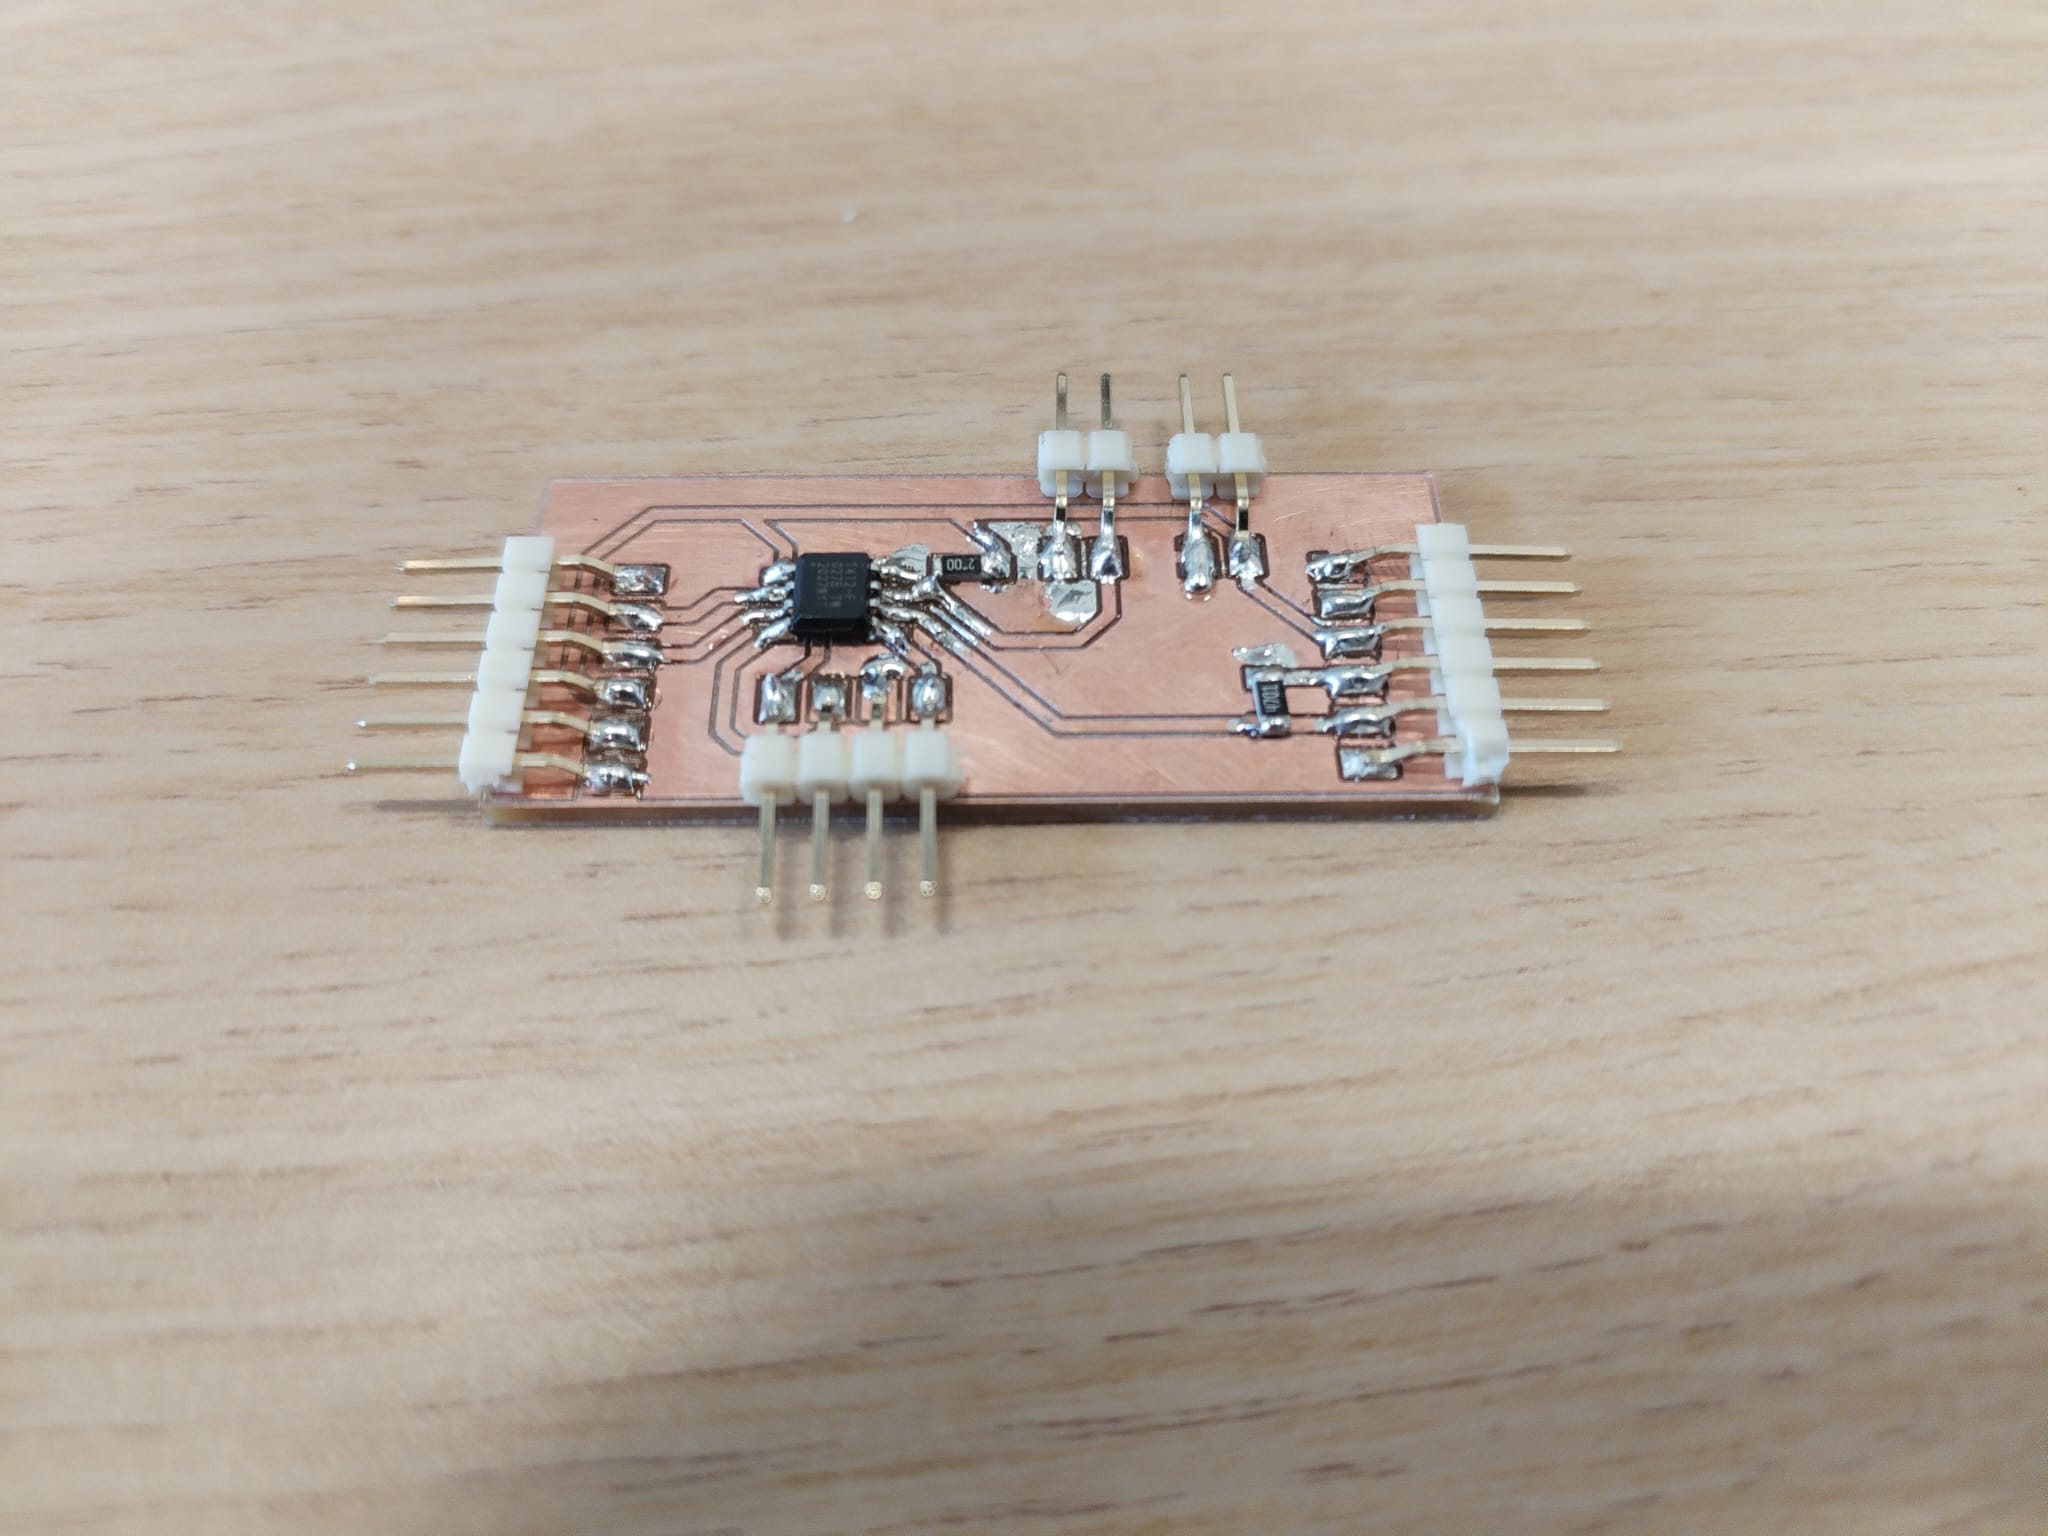
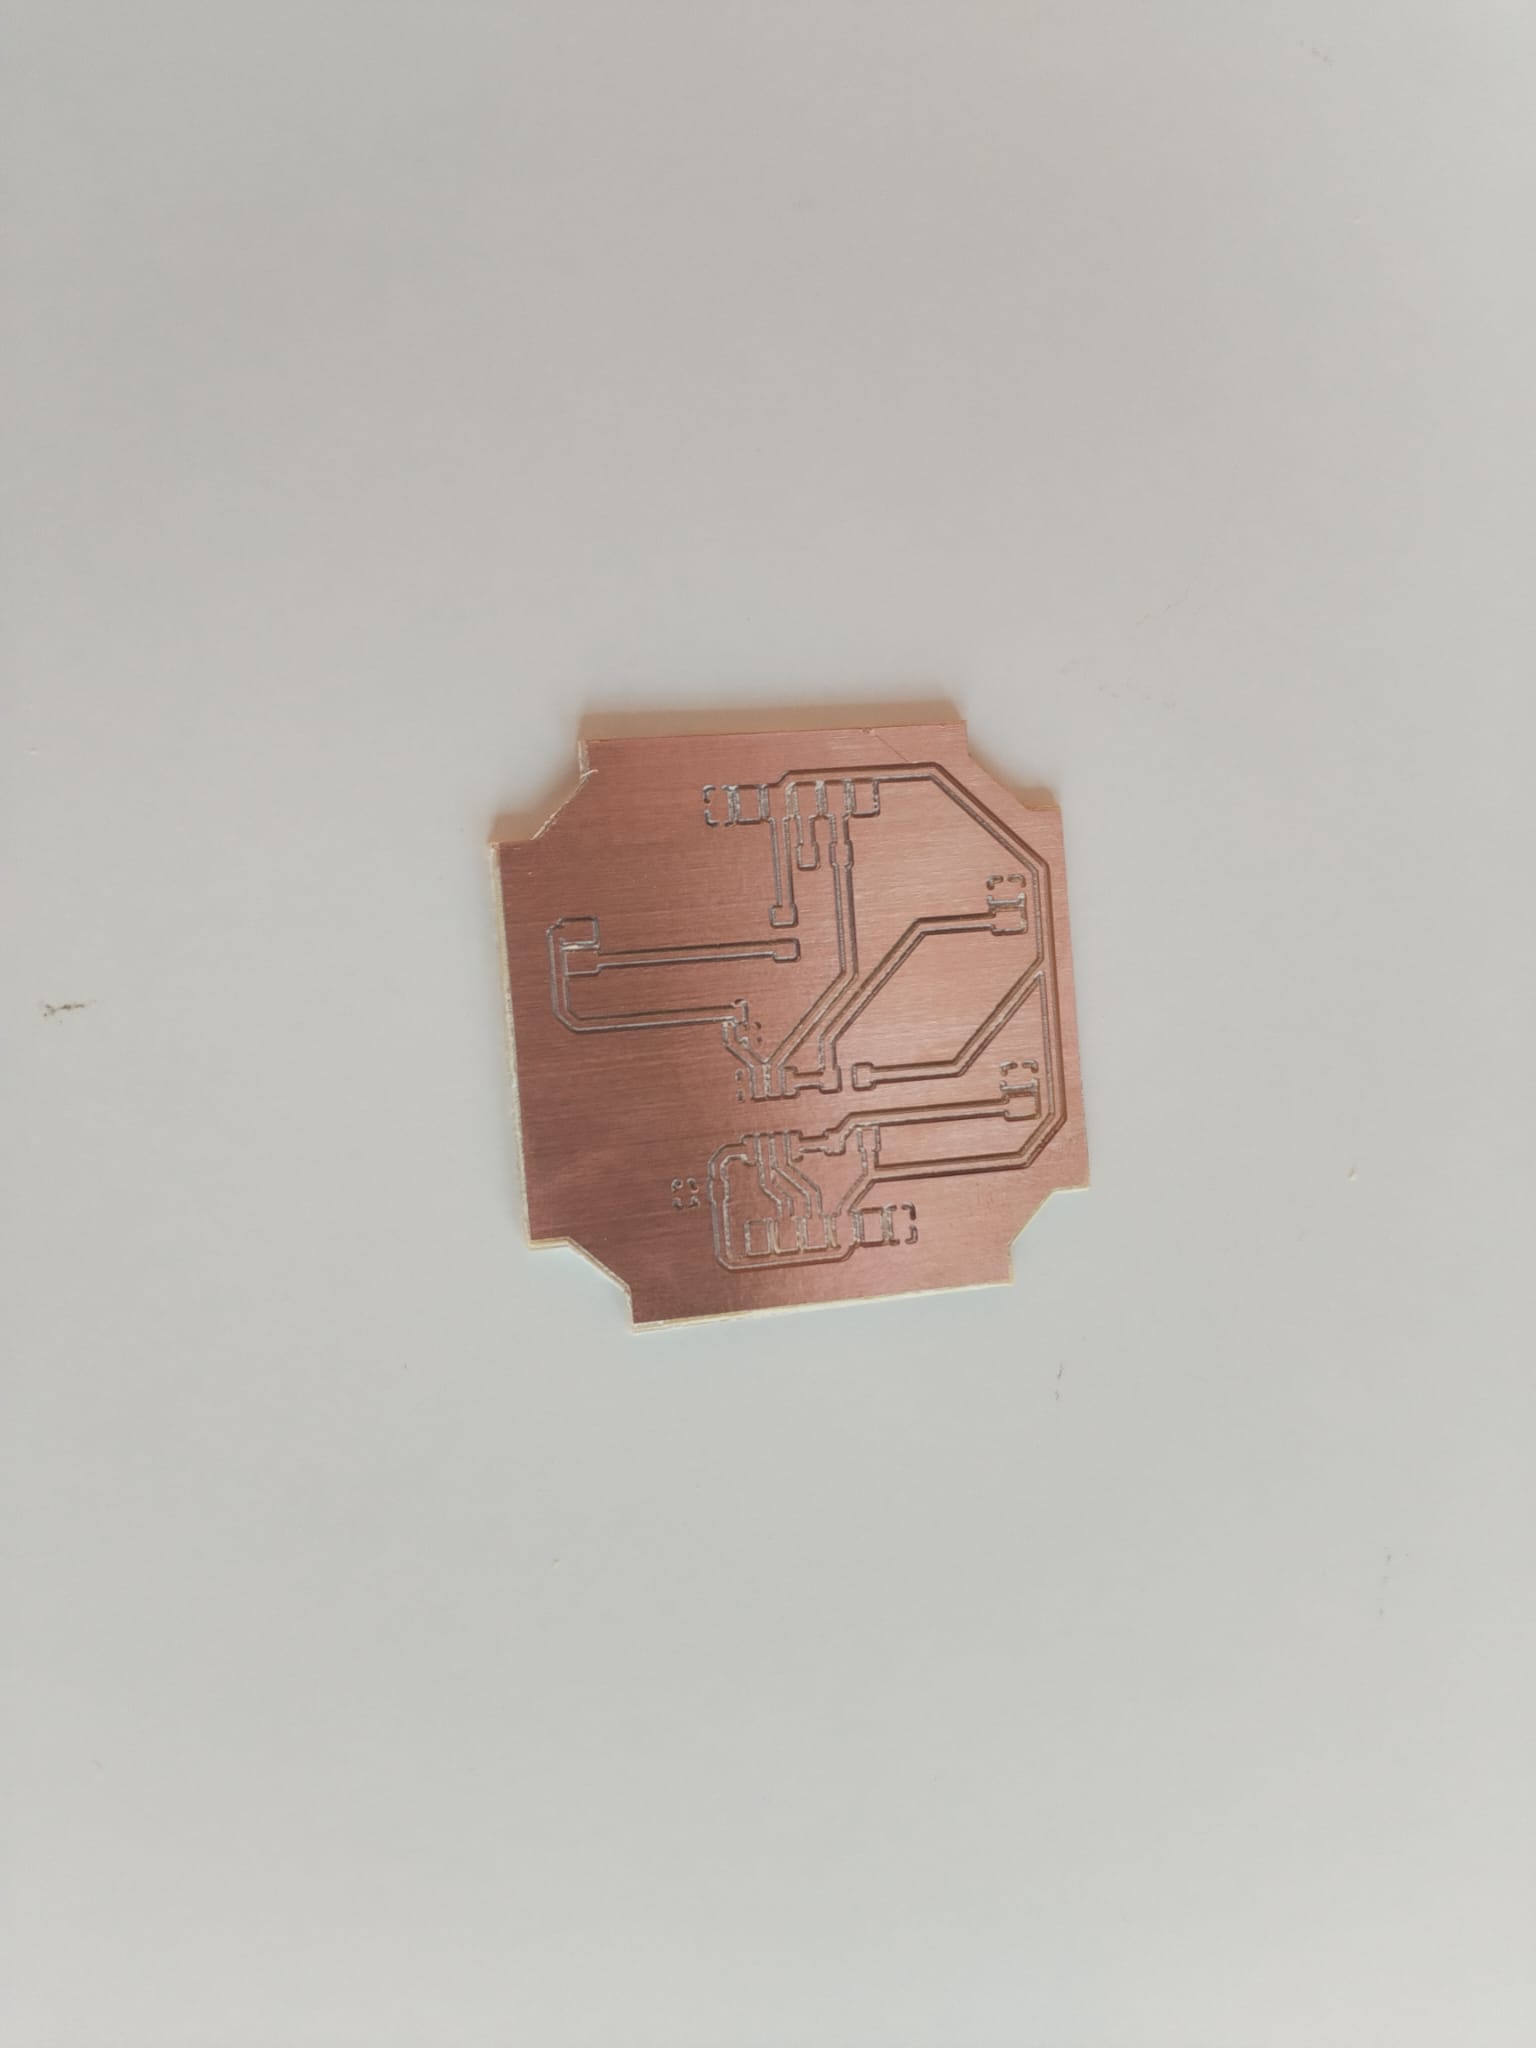
New PCB for Synchronous Detection<
During the seventeeth week's global review I was random picked to present my final project and my sixteenth week's assignment. After seeing my final project overview, Neil suggested that I look into synchronous detection and more specifically lock-in amplifier in order to use a LED instead of a laser. I then implemented synchronous detection but it required some hardware modifications. More explanation can be found in the final project development logbook.
The required hardware modifications are :
- Control the LED with a transistor
- Add a capacitor close the VCC as a filter
- Make the LED connector with a GND pin and a controllable pin
- Make the PCB easy to integrate in a UC2 container
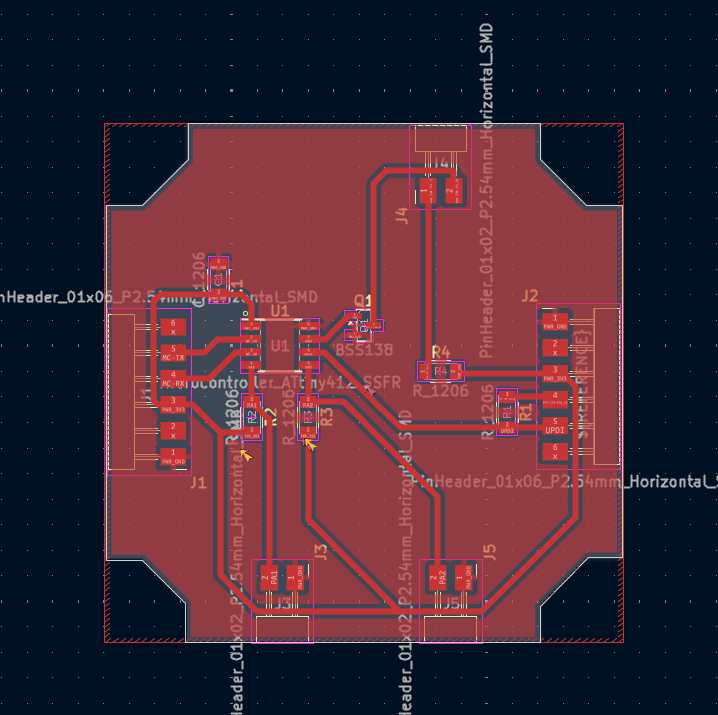
Note
This is the KiCAD Design.
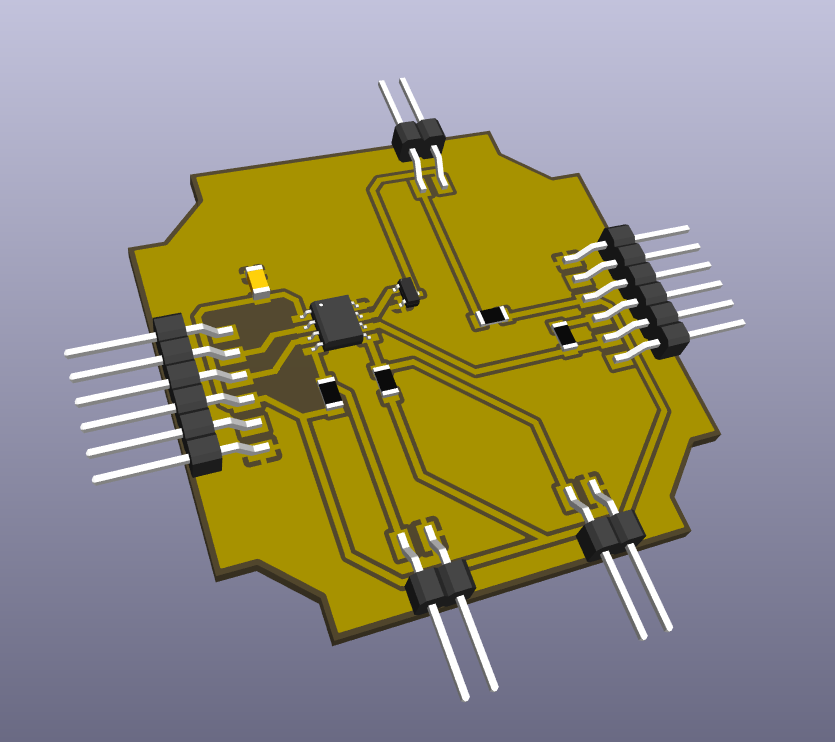
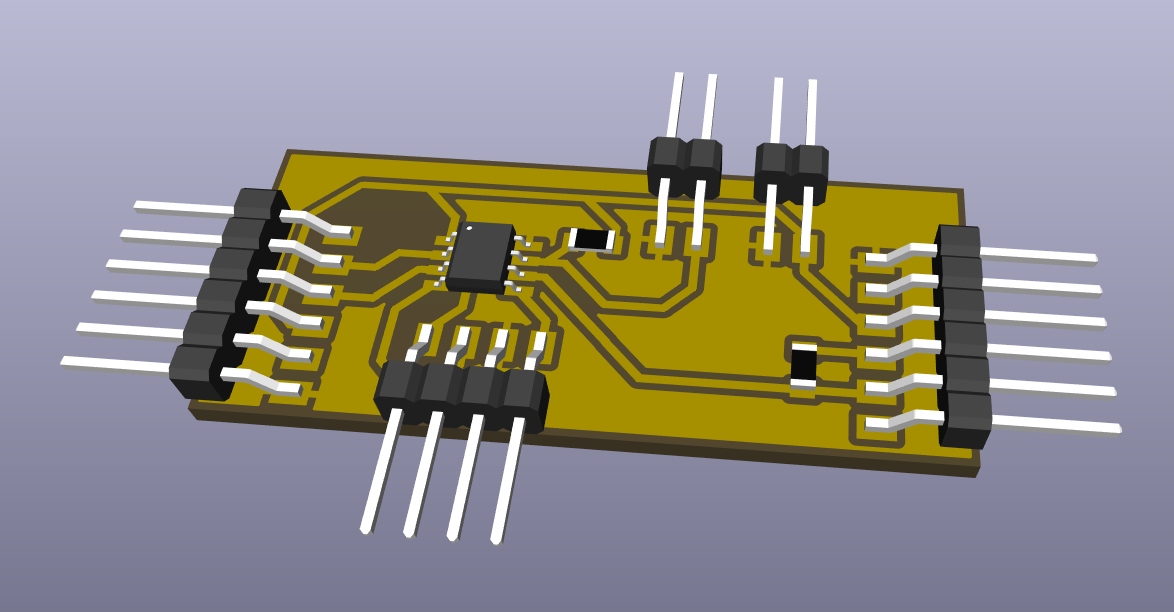
Note
This is the KiCAD 3D View.
Note
This is the KiCAD 3D View.
Note
This is the KiCAD 3D View.
Note
This is the KiCAD 3D View.
Note
This is the KiCAD 3D View.
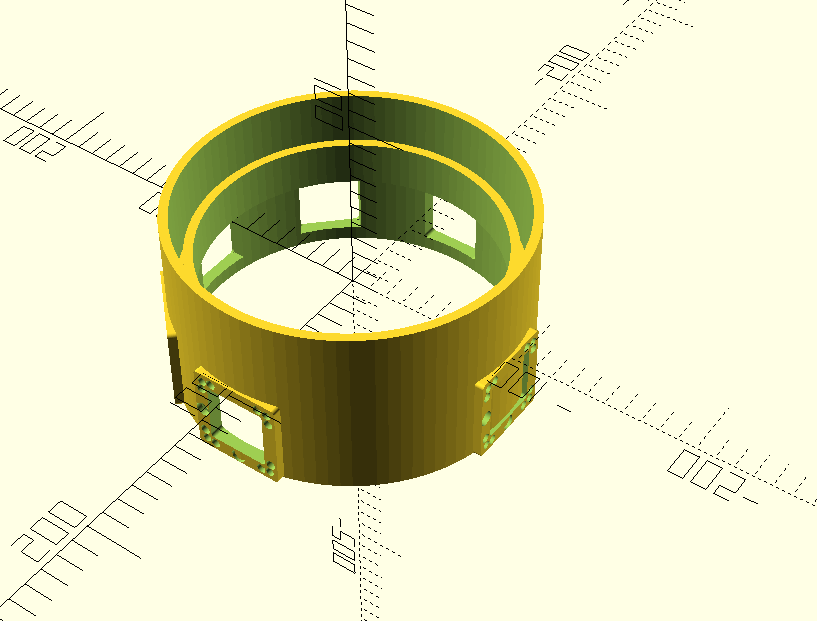
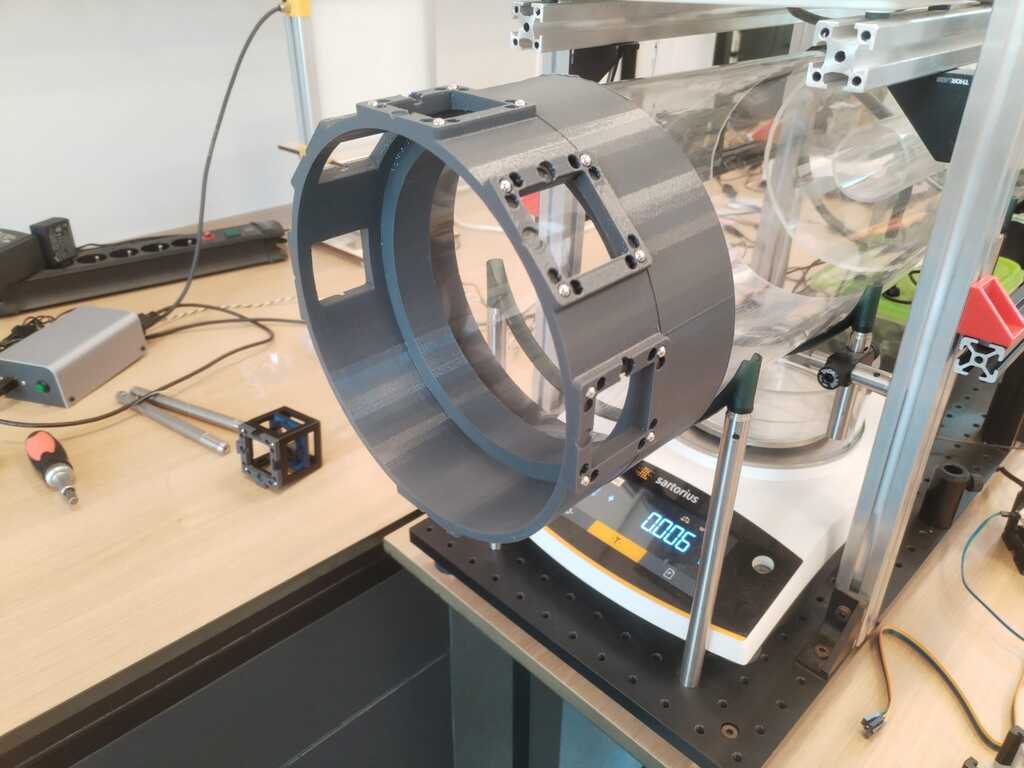
Crown Support<
For my final project to look like a finished product, easy to manipulate, I decided to design a "crown" that would be inserted on the fog pipe and that would hold all the UC2 modules.
3D Printing<
Note
The crown is designed with windows for the light to go from the attached laser to the attached photosensor. I added more windows fo future photosensors that would detect scattered light. There is a fake window on the bottom to hold the PCB. The latter is filled to protect the PCB from water drops.
Note
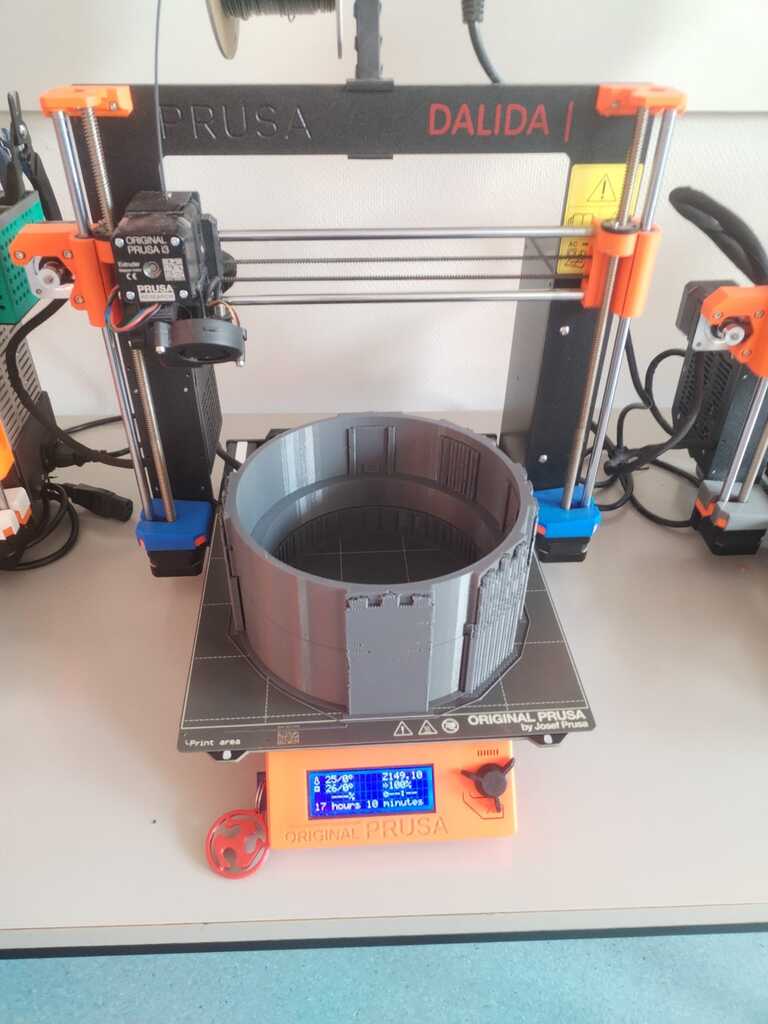
Here is the printed result. I realised at this point that I forgot to make the supports "organic". It will be hard to remove...
Note
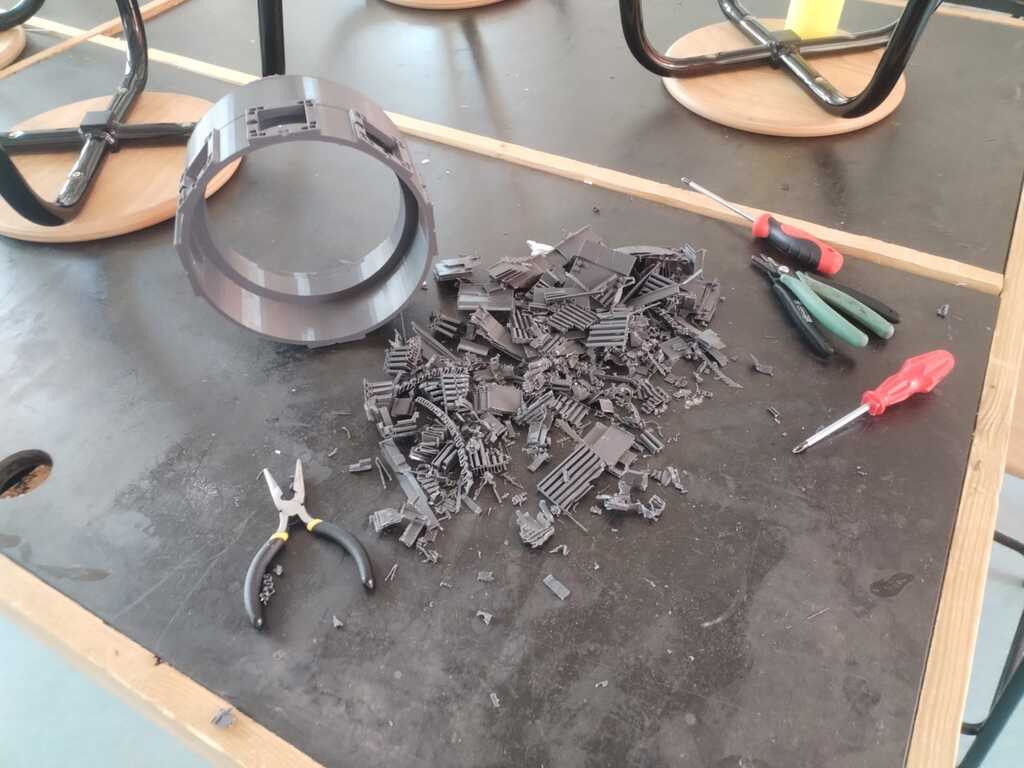
It was... It took one hour and few scratches on my hands.
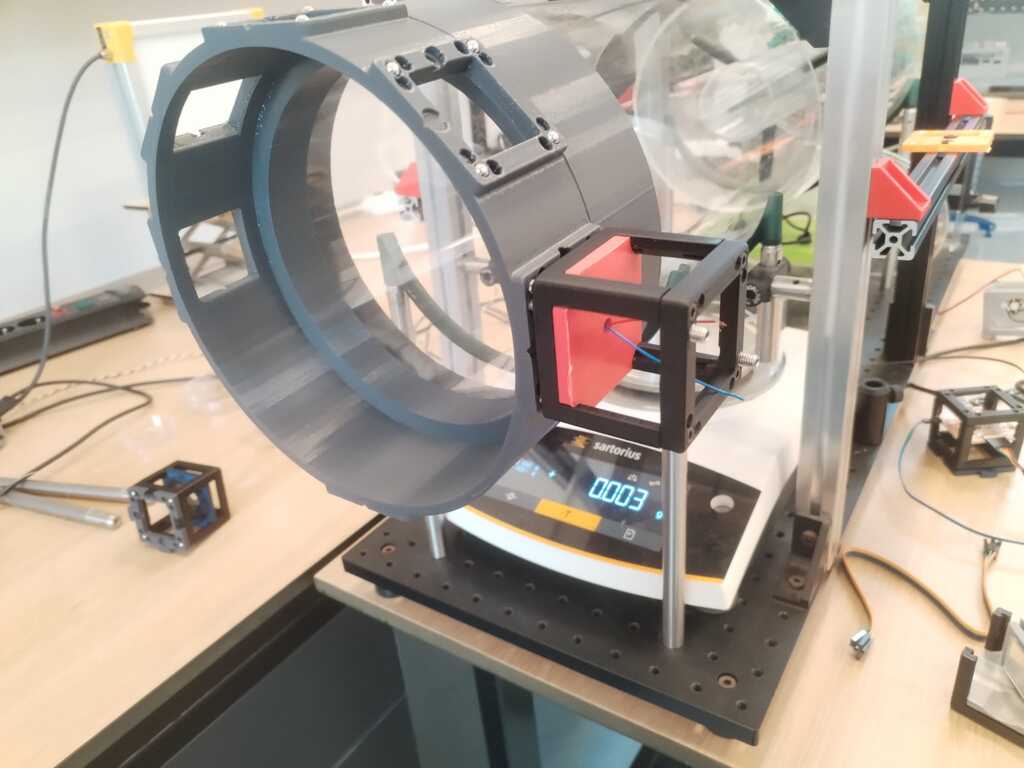
Magnets and Test<
Note
I inserted the magnets in the approptiate holes.
Note
I installed the crown on the pipe. It already looks way better than before !
Note
The magnets hold really well the UC2 modules.
Note
You can see the laser through the window.
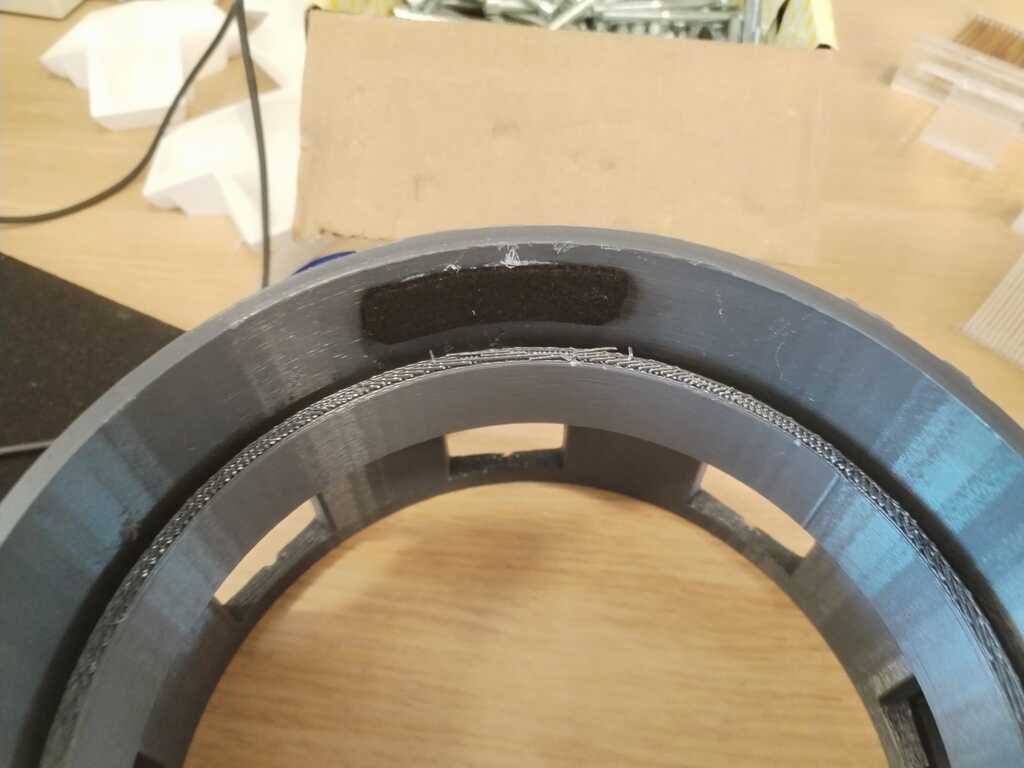
More friction and tests<
Note
The crown was fitting but a bit too loose. I then added a bit of friction with a glued felt.
Note
Now it fits and it does not move !
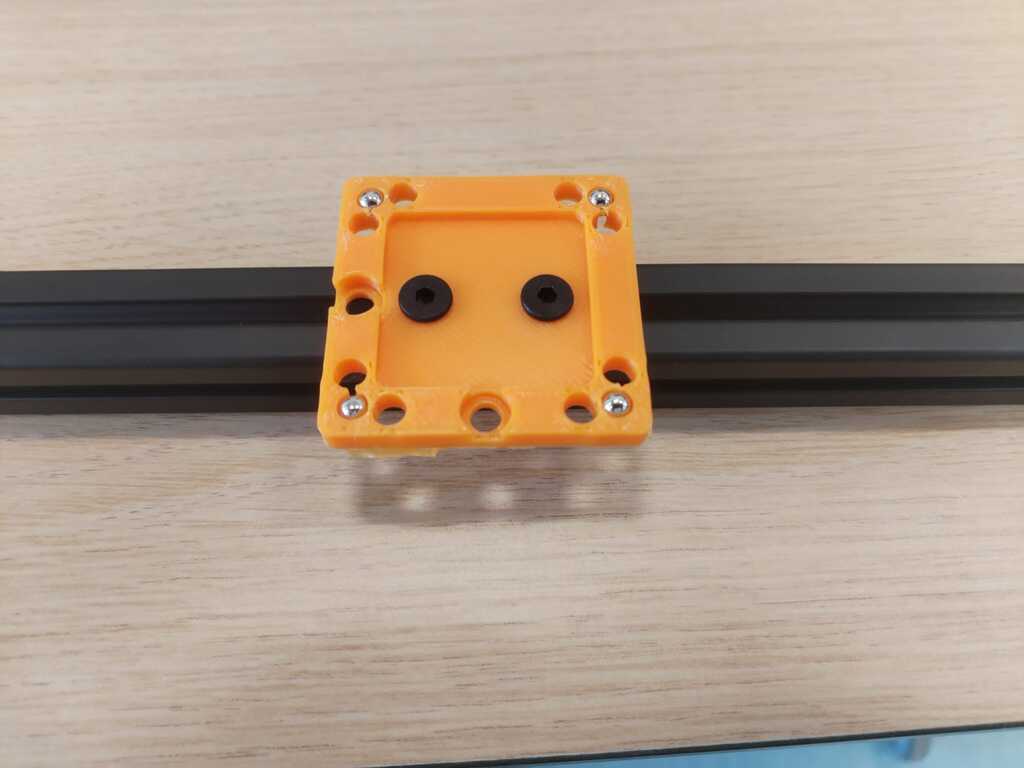
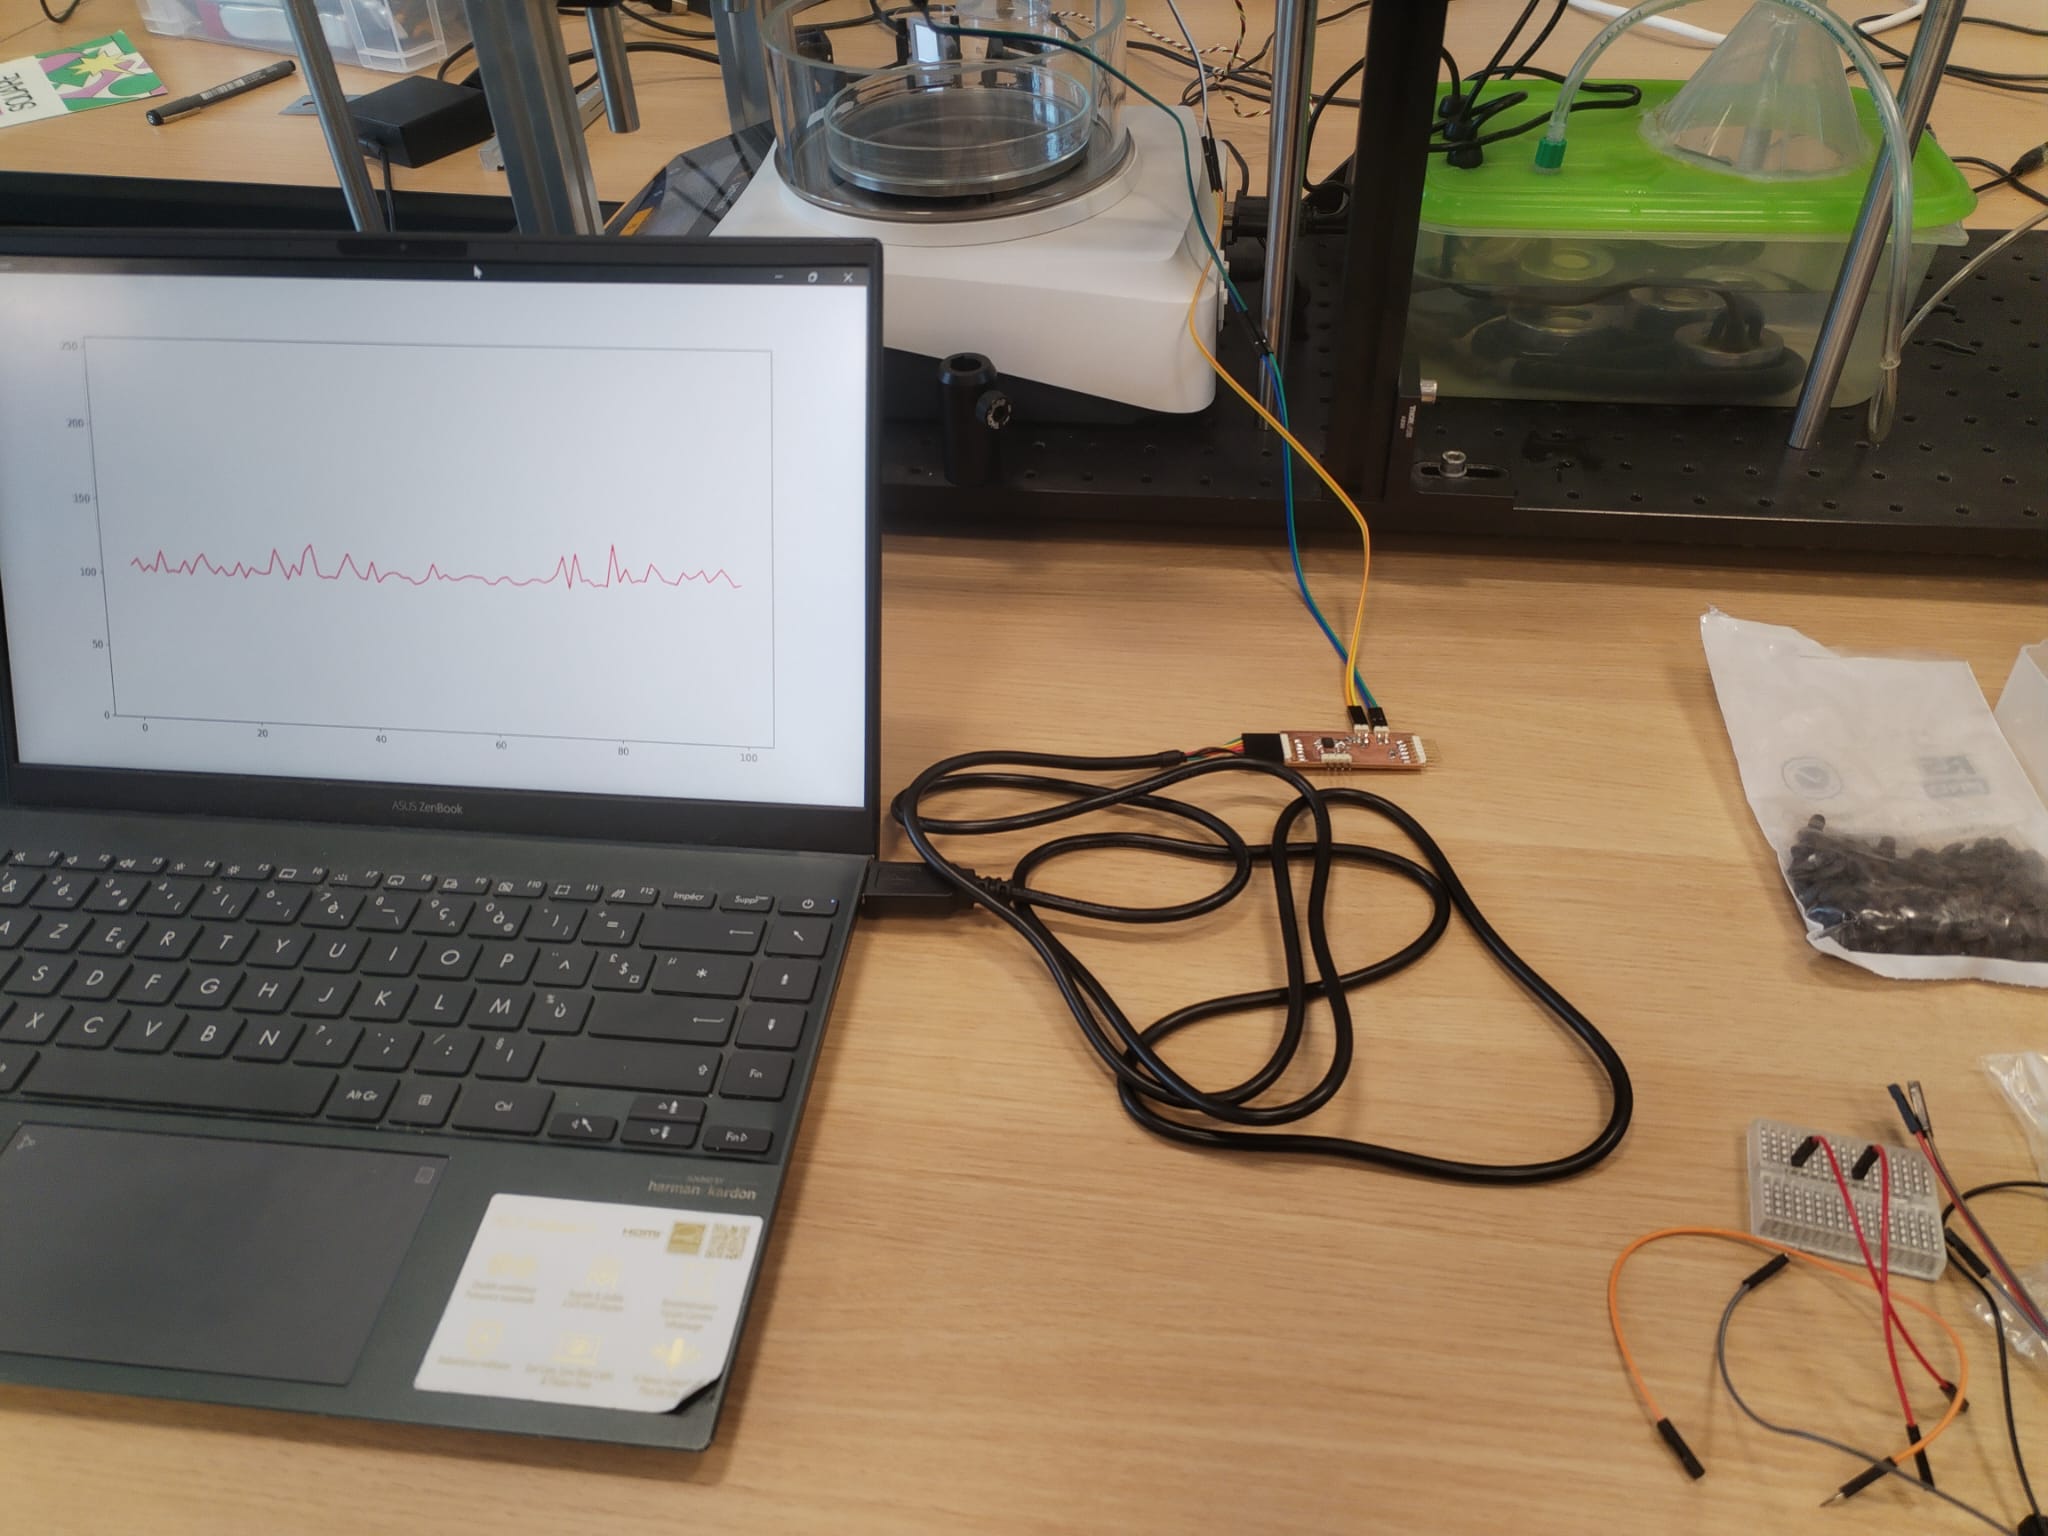
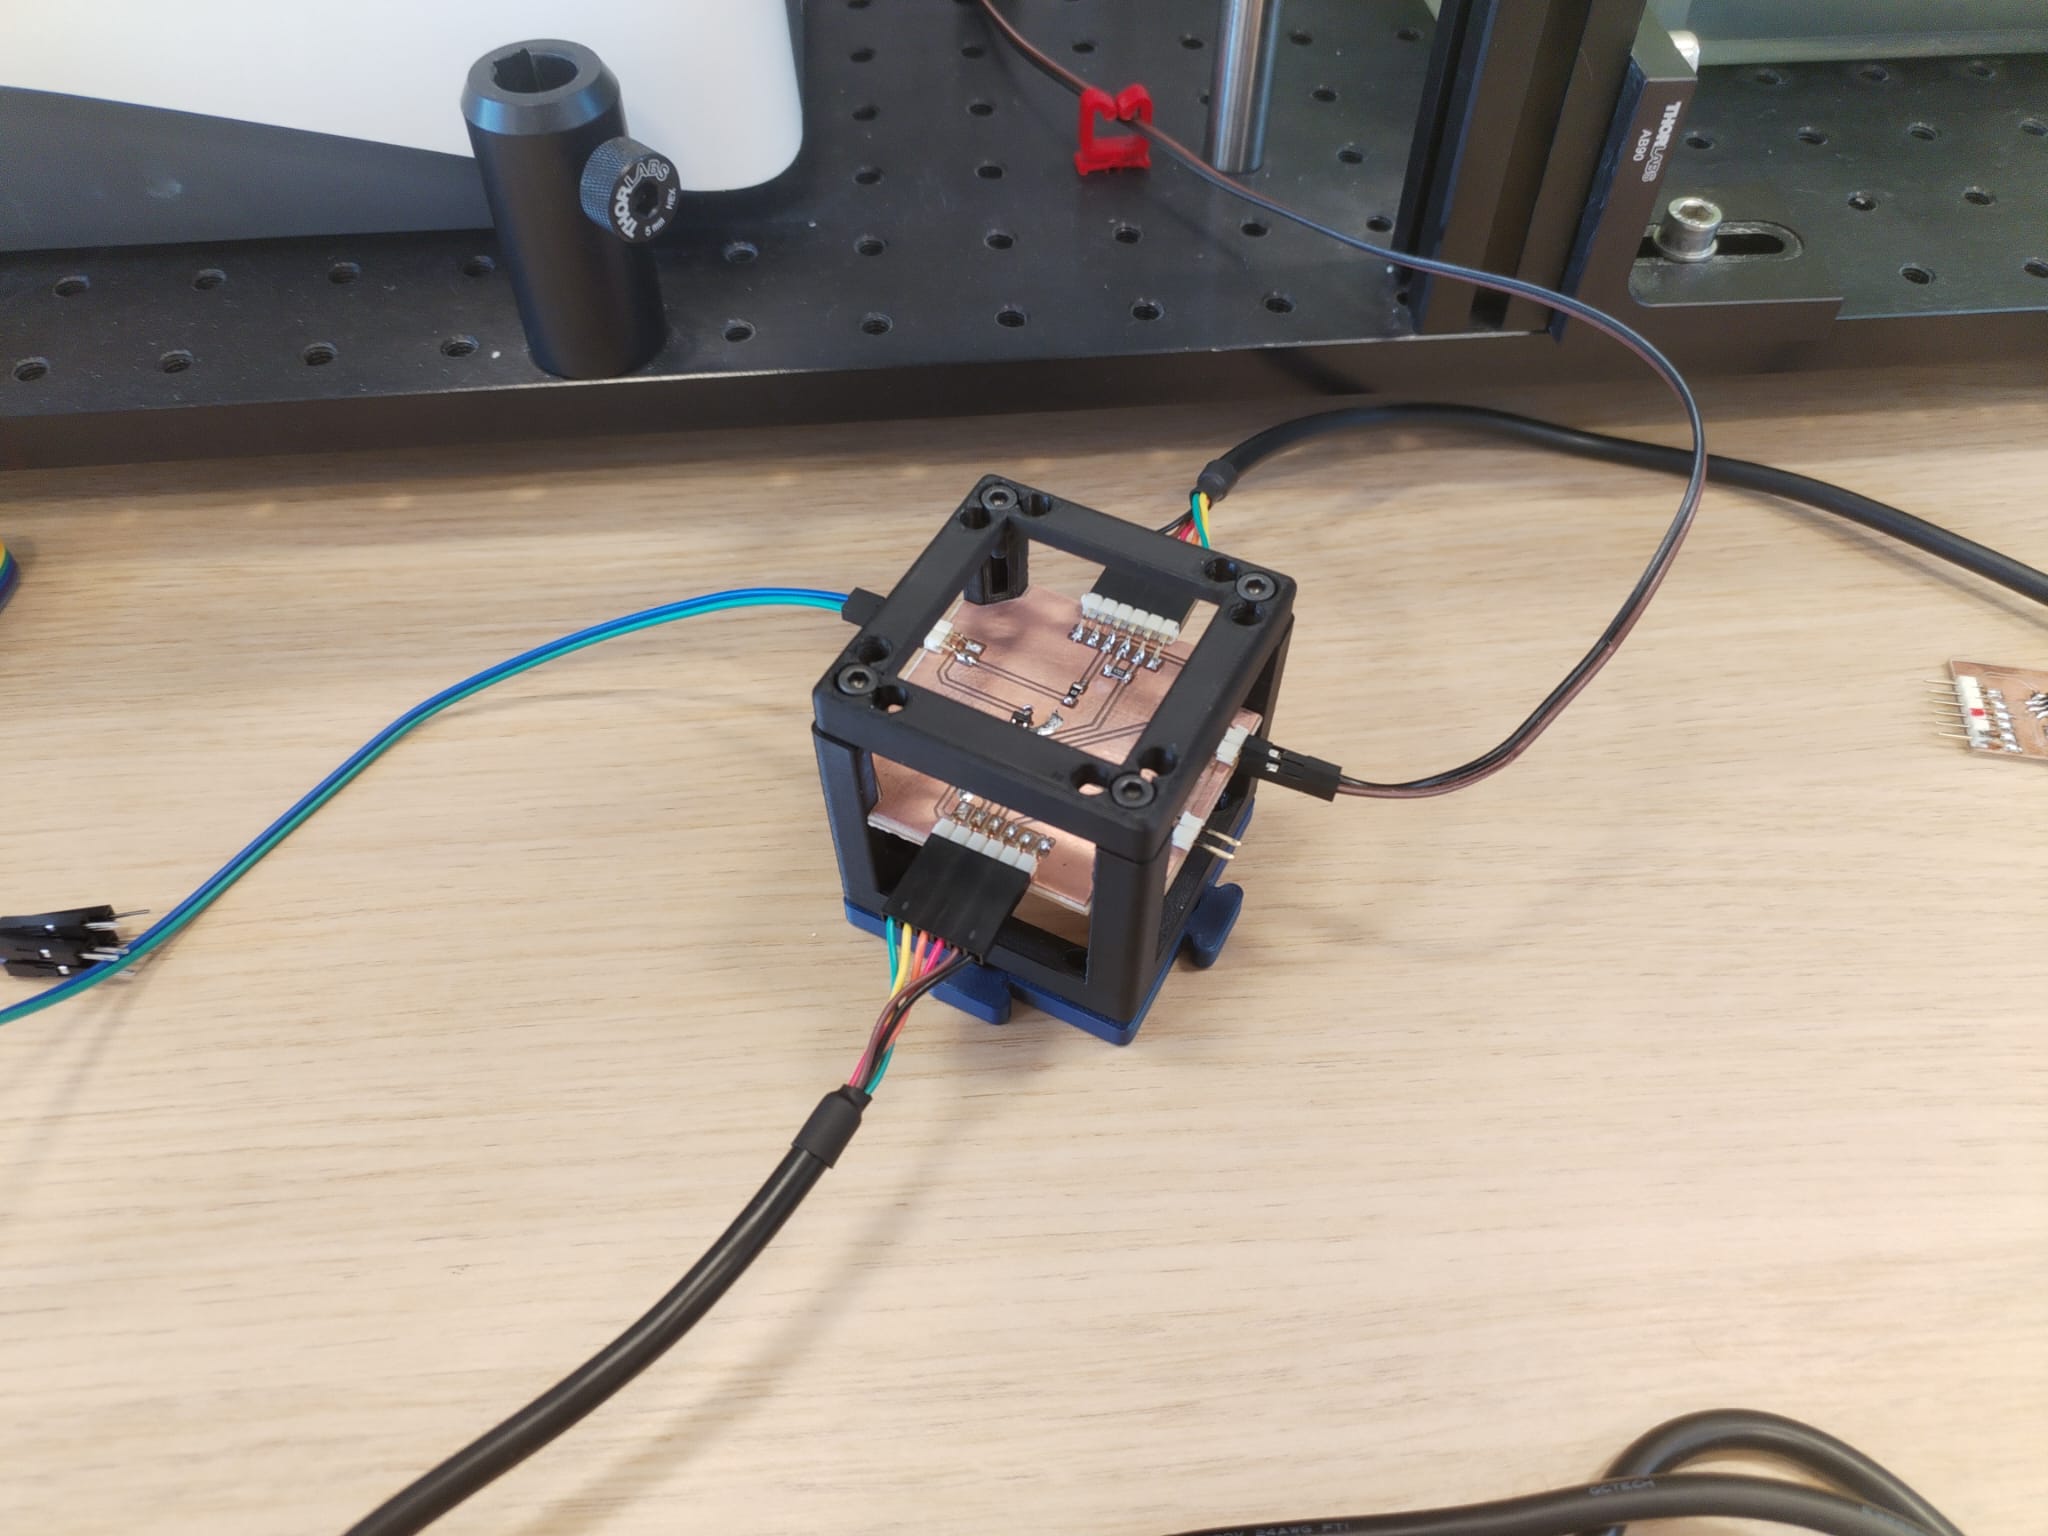
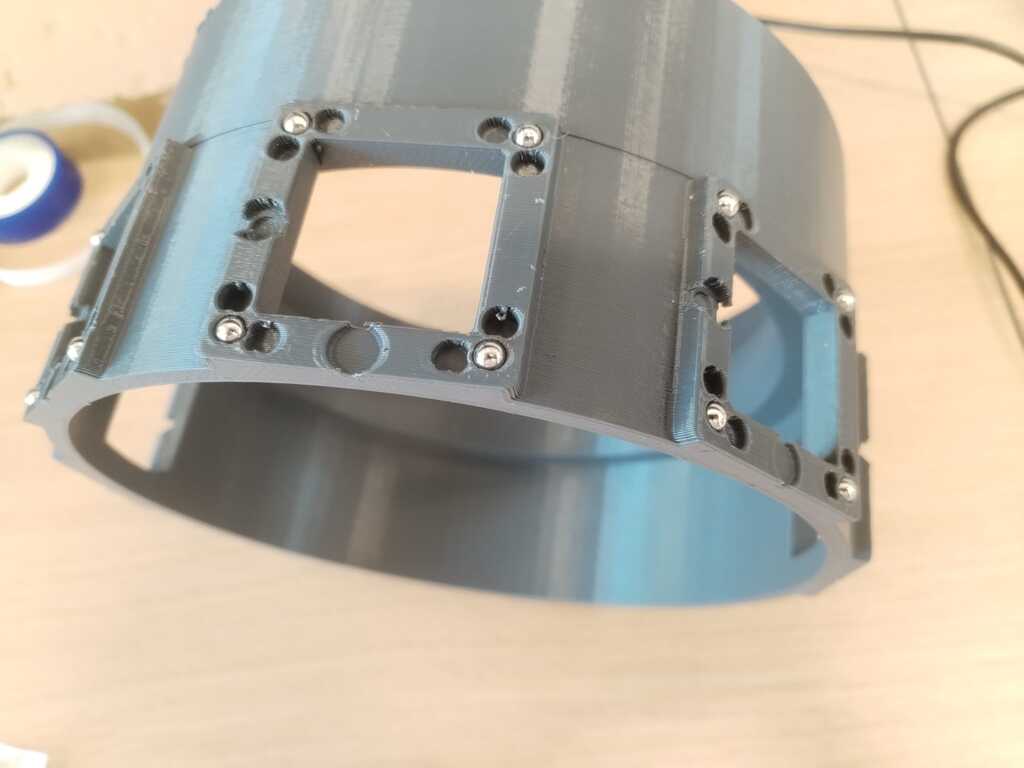
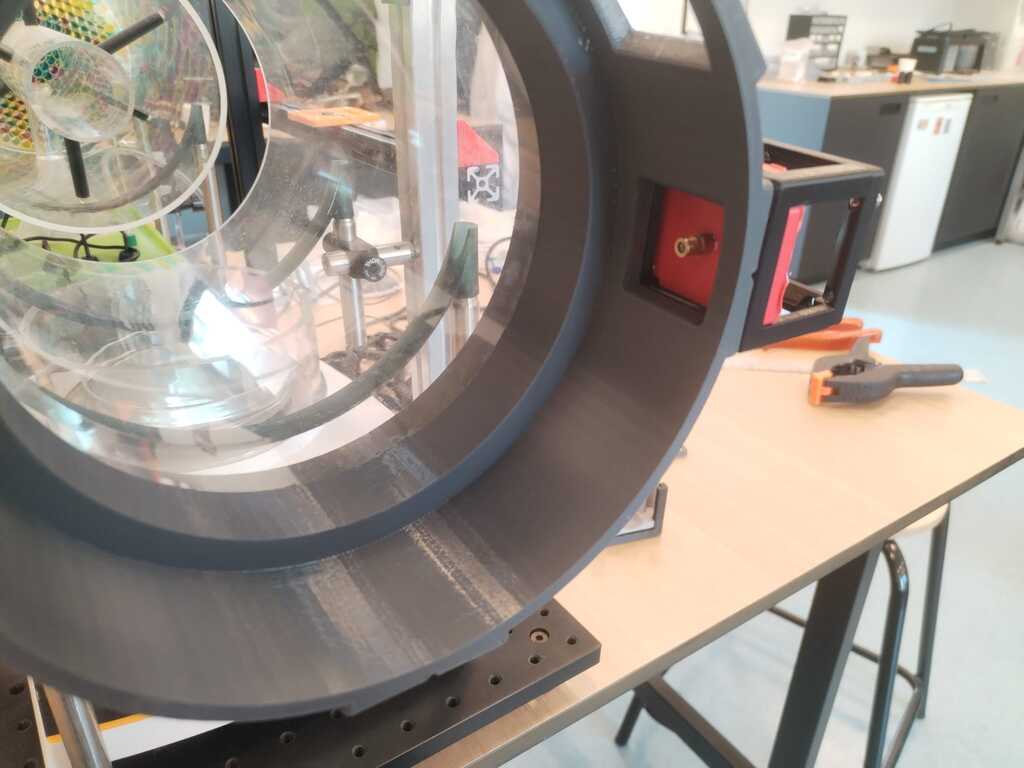
Electronic Integration<
Note
I finally added the PCB cube.
Note
I connected everything and it was working !
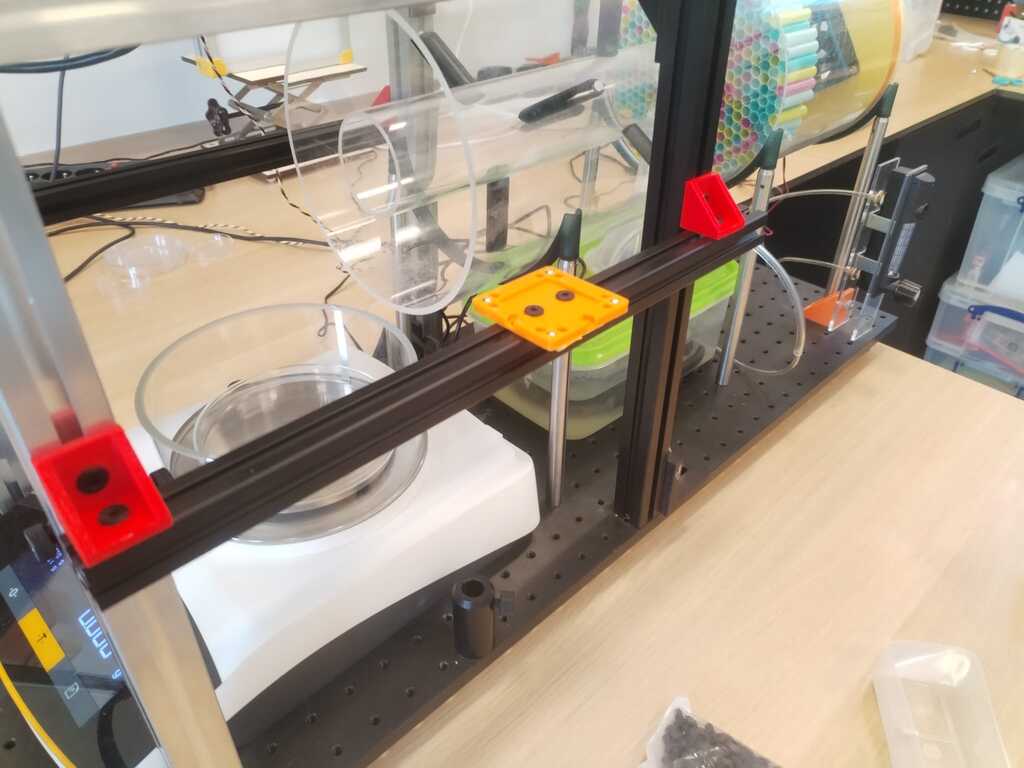
Note
It is more obvious with a side view.
Usefull files<
Below you may find the usefull files to reproduce the project. Click to download :