4 VSCode+PlatformIO
I Use Arduino IDE to program ESP32. But I found it is not very convenient. So I use VSCode+PlatformIO to program ESP32.
Comparison Table: ESP32 Development Tools
| Feature | Arduino IDE (2.x/3.0) | VSCode + PlatformIO |
|---|---|---|
| Primary Focus | Simplicity & Accessibility | Professional Workflow & Scalability |
| Installation | Single installer, easy | VSCode extension, requires setup |
| Code Intelligence | Basic (limited autocomplete) | Advanced (Full IntelliSense/Refactoring) |
| Dependency Mgmt | Manual (Global library manager) | Automated (Project-specific) |
| Project Structure | Flat (mostly .ino files) | Structured (src, include, lib folders) |
| Debugging | Limited (Serial Monitor focus) | Powerful (Hardware breakpoints, JTAG) |
| Build System | Slower (Full re-compile) | Fast (Incremental & Parallel builds) |
| Version Control | Poor (Not Git-friendly) | Excellent (Fully Git/GitHub compatible) |
Source: Gemini by Google, Mar 2026
4.1 Install VSCode and PlatfomrIO
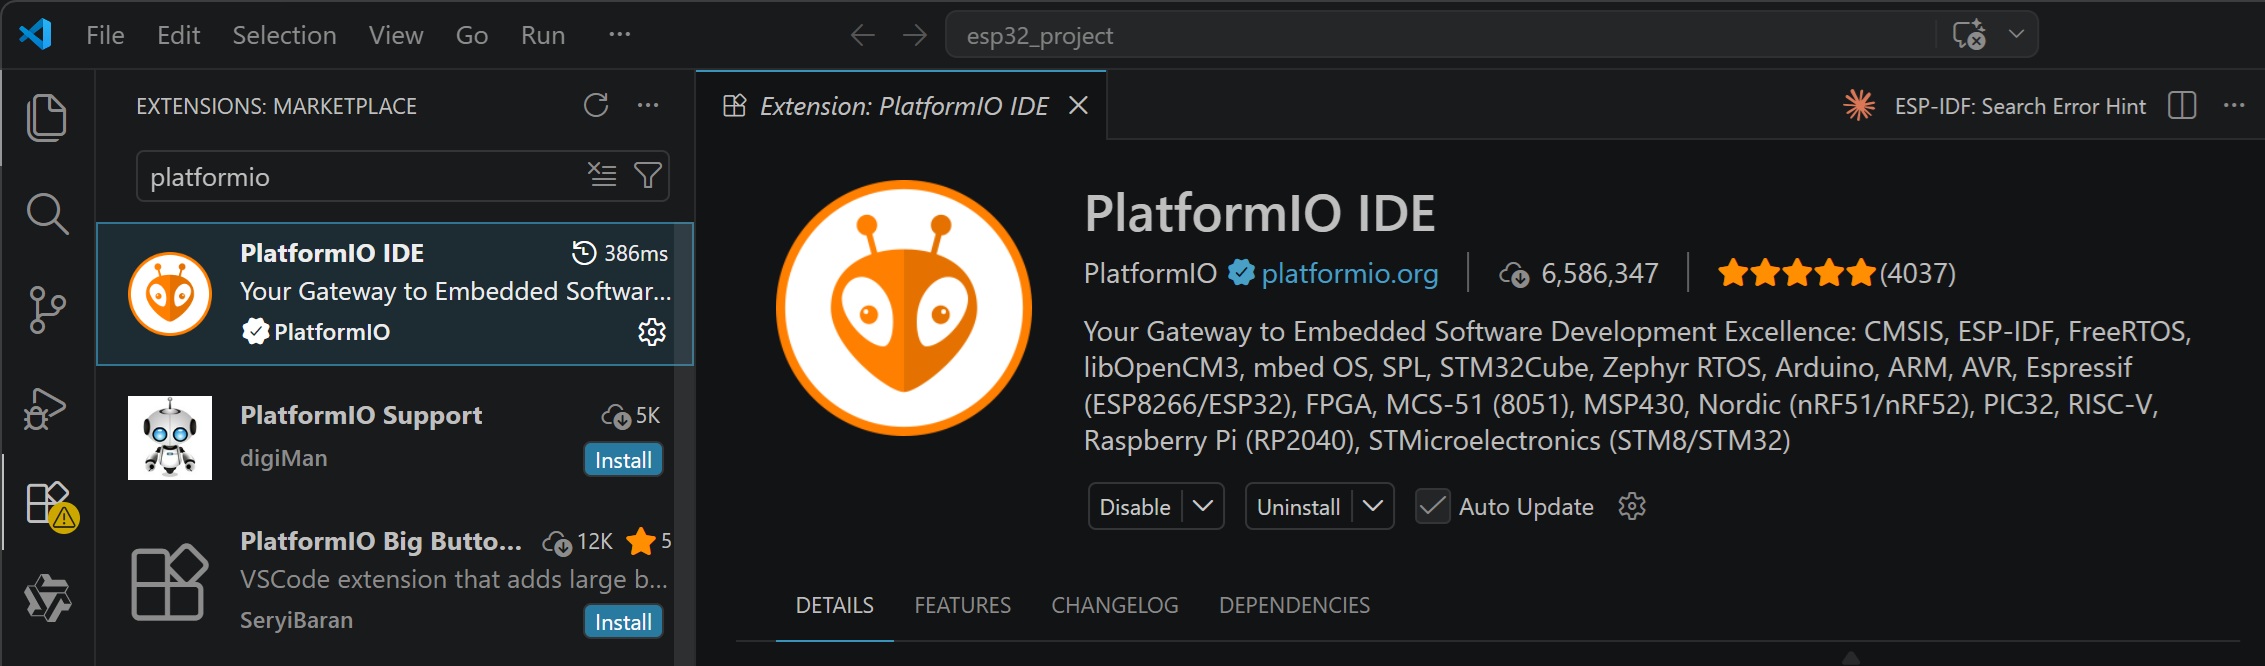
I download and install Visual Studio Code (VSCode) from website (https://code.visualstudio.com/) . I open VSCode , search PlatformIO IDE extension and install it .
 |  |
|---|
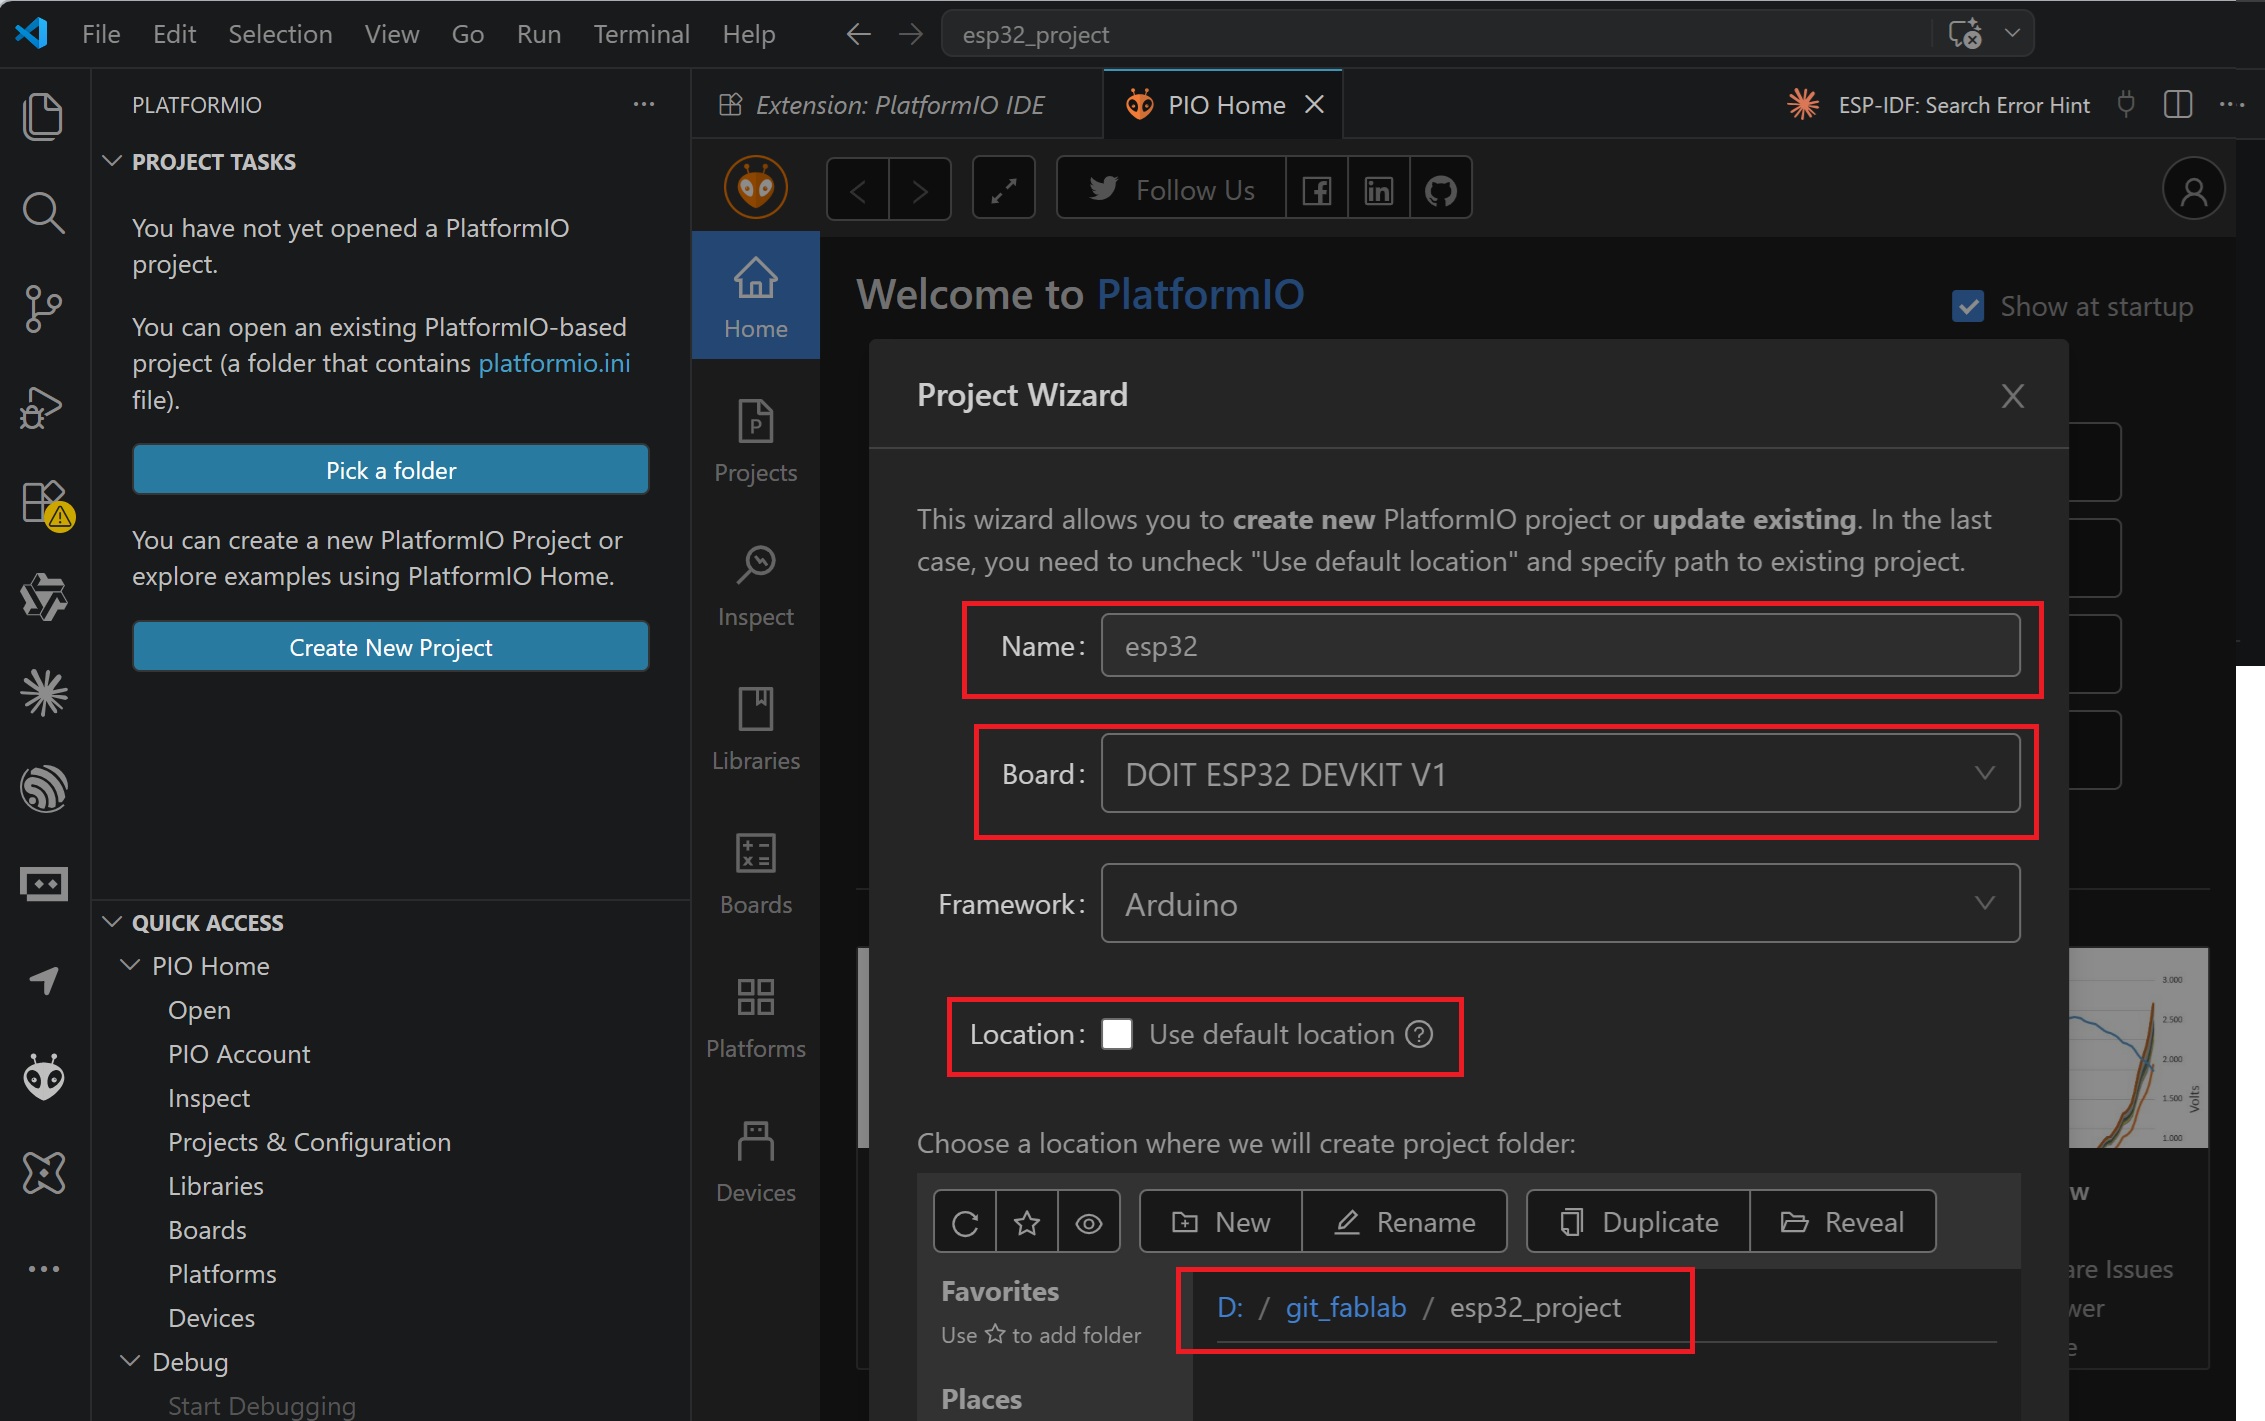
I open PlatformIO in VSCode,and create New Project for ESP32 Dev Kit.
 |  |
|---|
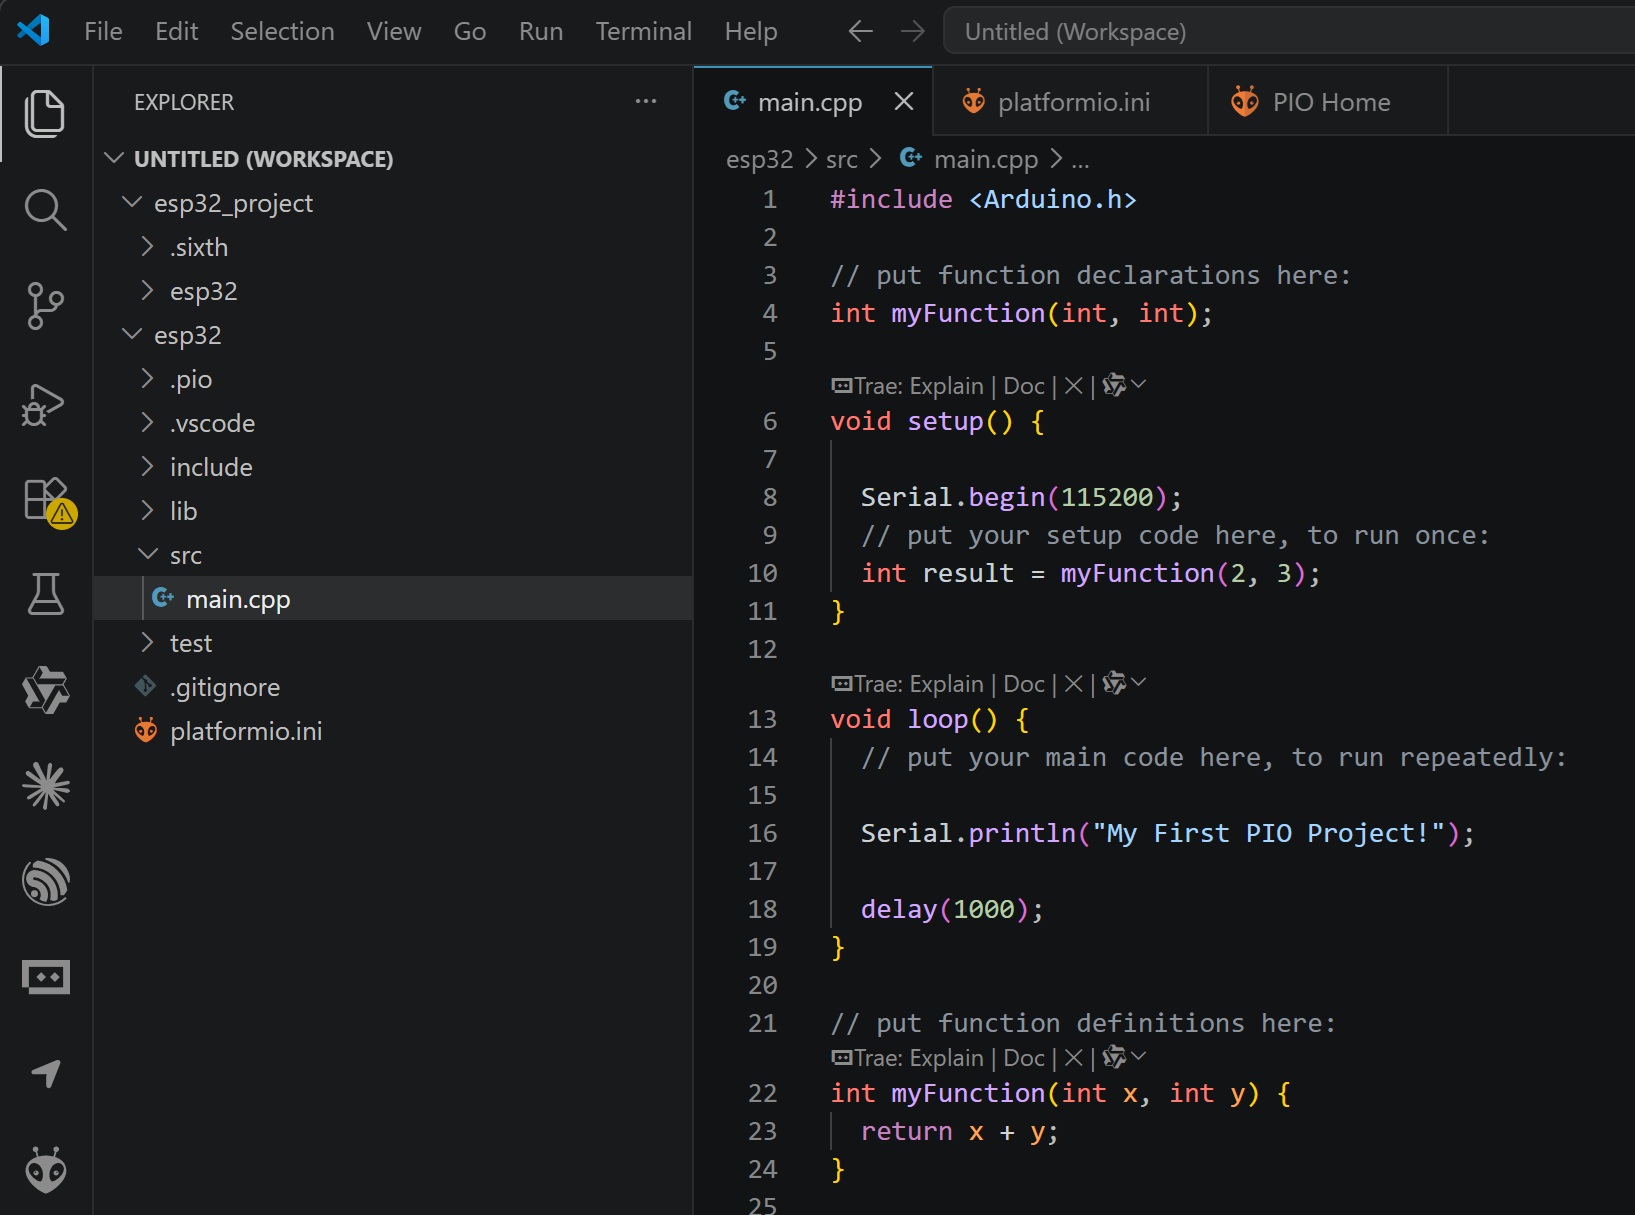
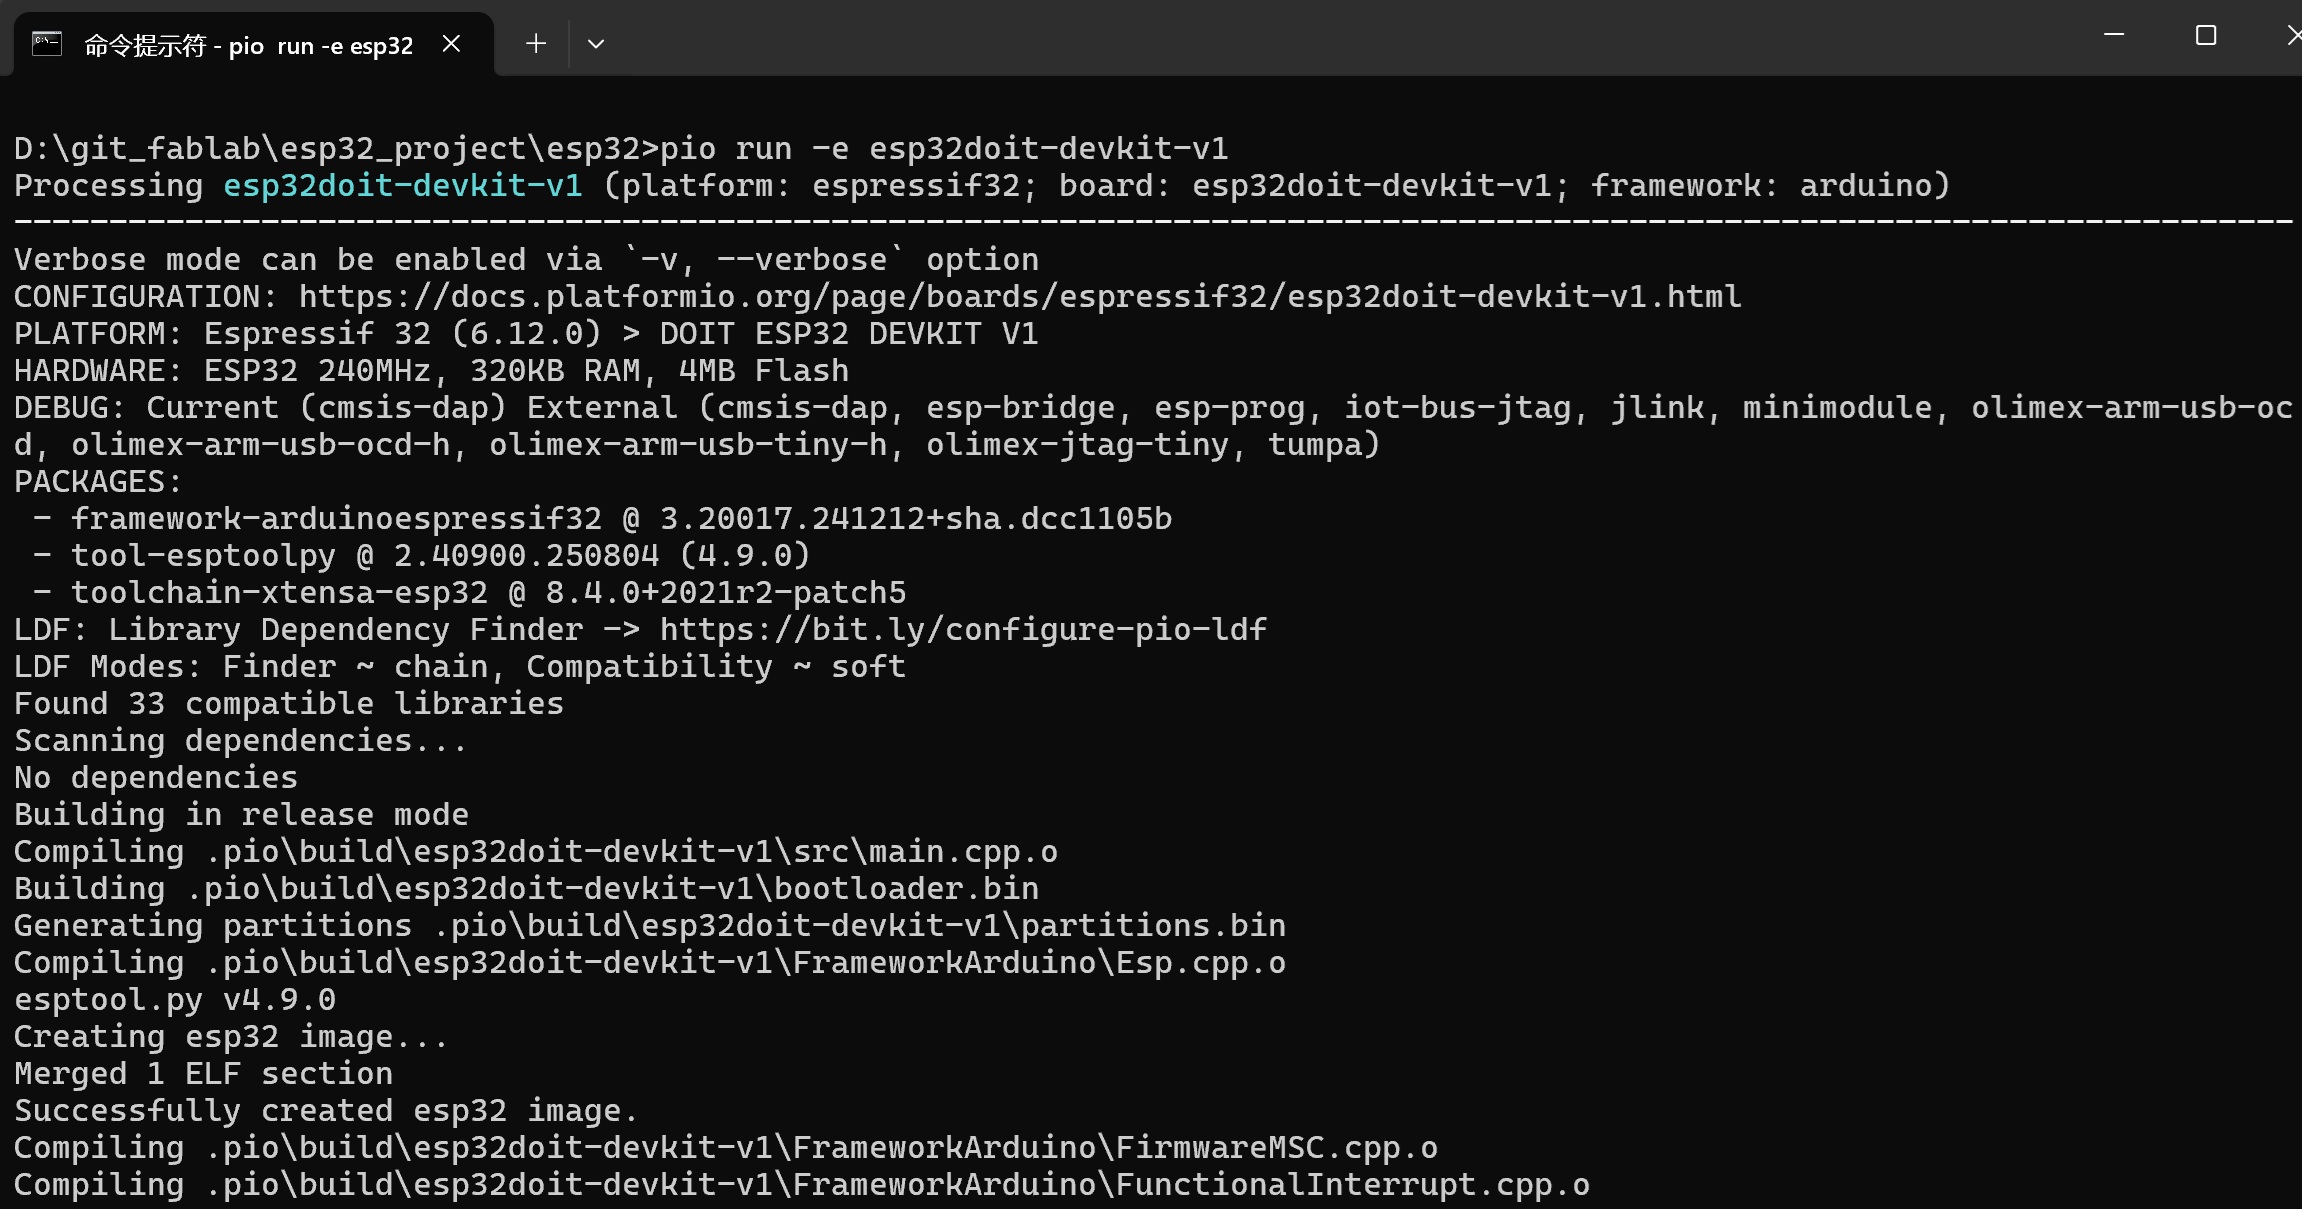
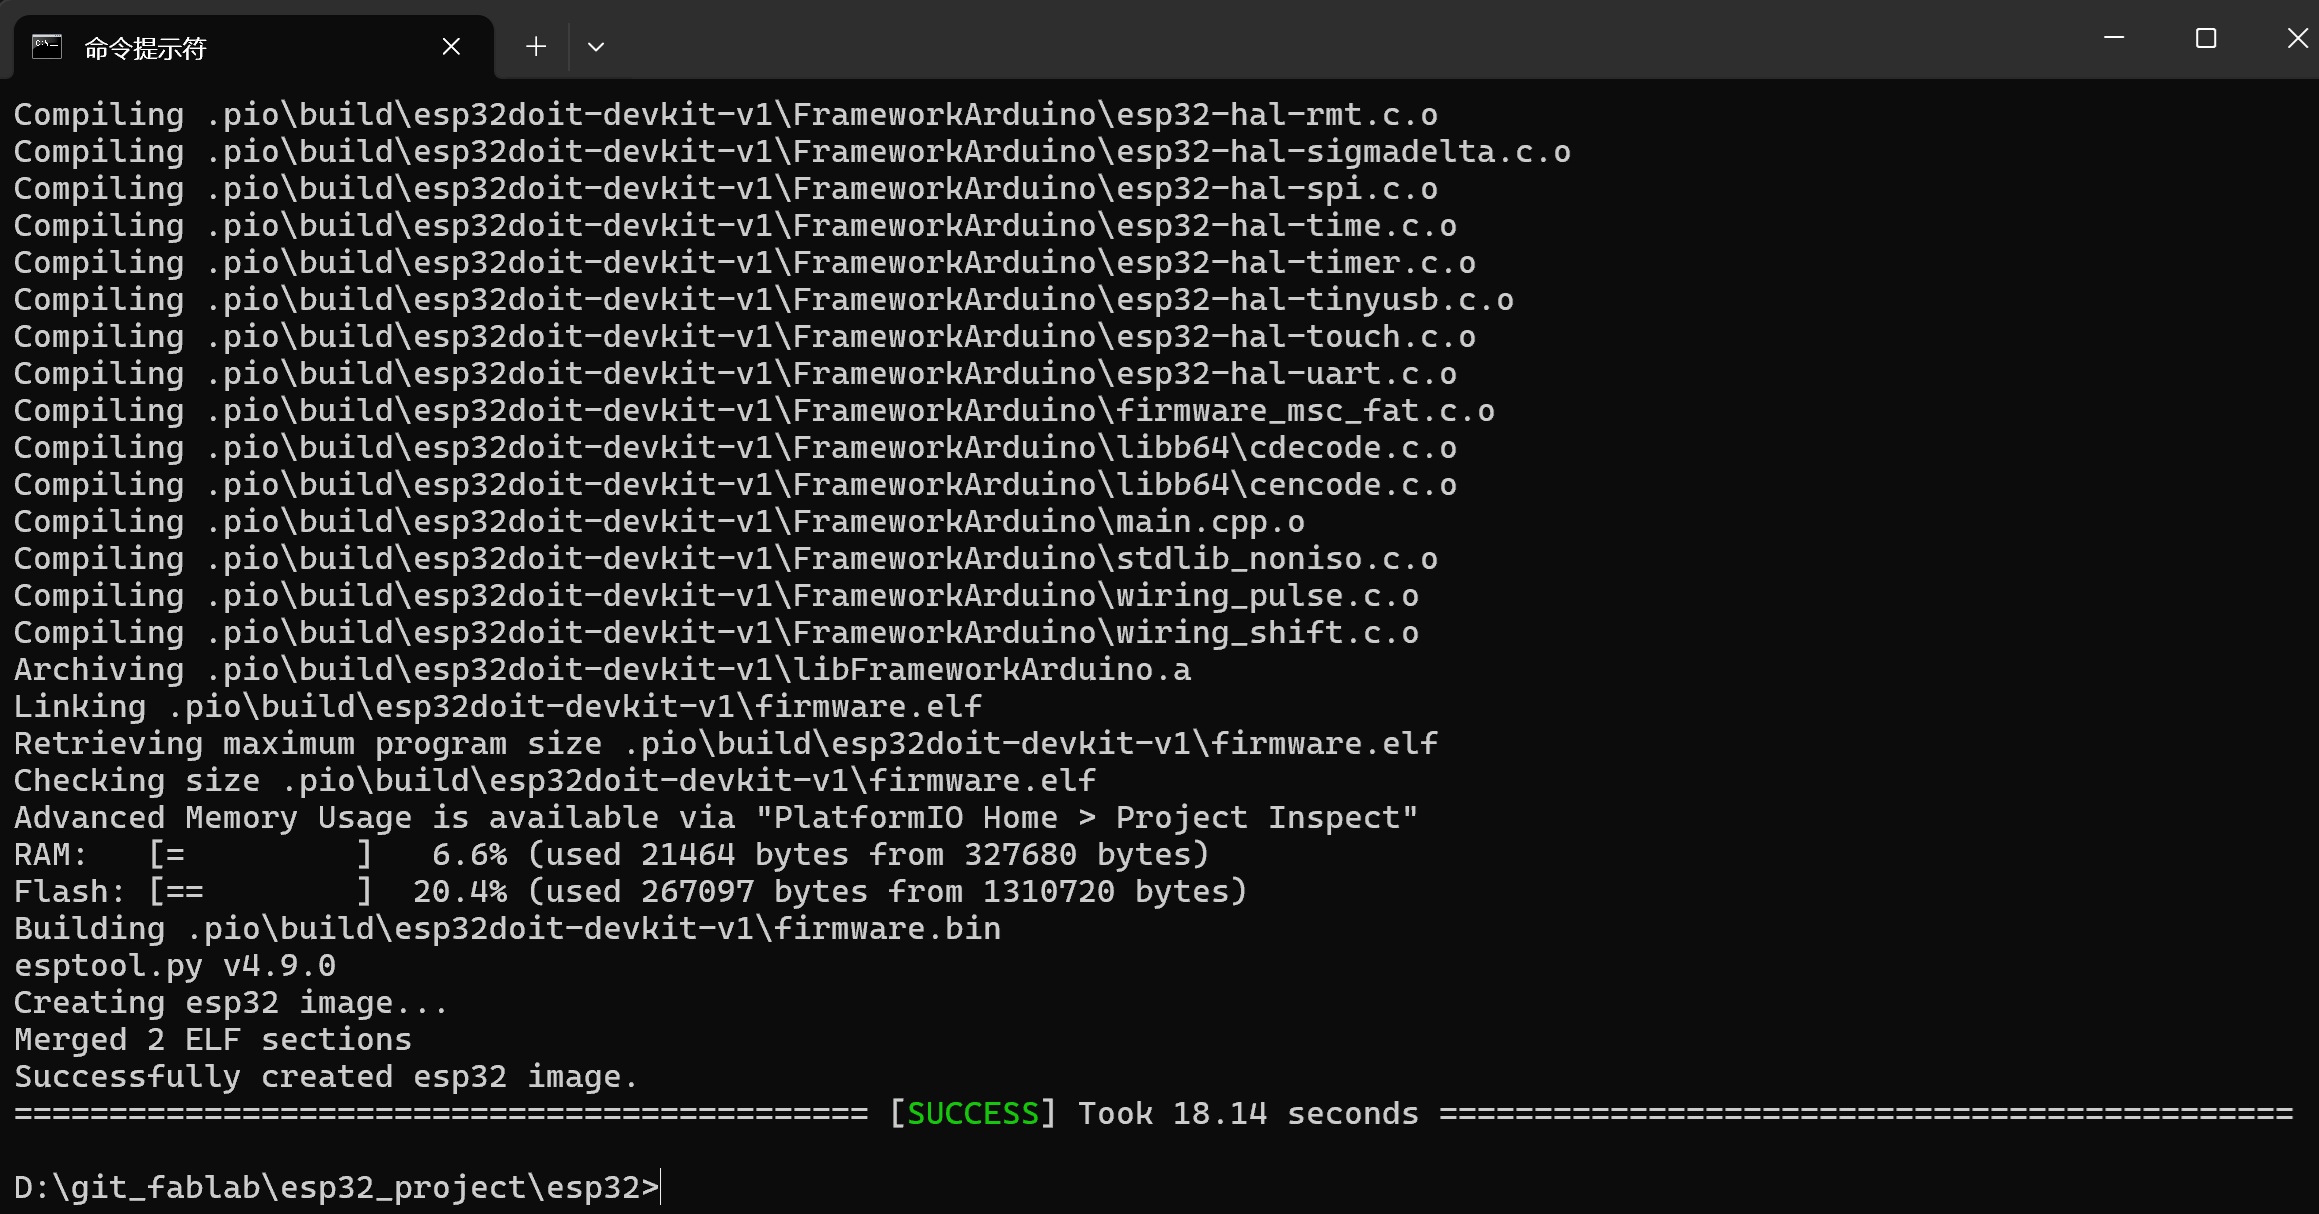
After creating the project, I can use pio run command to compile and upload the code to the board.
 |  |
|---|
4.3 let LED on and off
The following example demonstrates programming the ESP32 using the VSCode and PlatformIO extension to make an LED fade in and out.
#include <Arduino.h>

// 大多数 ESP32 开发板(如 DevKit V1)的内置 LED 连接在 GPIO 2
// 如果你的板子 LED 引脚不同,请修改此处的数字
#define LED_PIN 2

void setup() {
    // 设置引脚模式为输出
    pinMode(LED_PIN, OUTPUT);
}

void loop() {
    // 对应 MicroBlocks 的 setUserLED true
    digitalWrite(LED_PIN, HIGH);
    // 对应 waitMillis 500
    delay(500);

    // 对应 MicroBlocks 的 setUserLED false
    digitalWrite(LED_PIN, LOW);
    // 对应 waitMillis 500
    delay(500);
}
4.4 let servo motor rotate
The following example demonstrates programming the ESP32 using the VSCode and PlatformIO extension to make an servo motrot rotate.
#include <Arduino.h>
#include <ESP32Servo.h>

// 引脚定义
const int BUTTON_PIN = 34;
const int SERVO_PIN = 23;

// 变量定义
bool btn = false;
bool lastBtnState = false;
Servo myServo;

void setup() {
    Serial.begin(115200);

    // 初始化按钮:GPIO 34 通常没有内部上拉,需确保硬件有外部电阻
    // 对应 MicroBlocks 的 (not (digitalReadOp 34)) 逻辑
    pinMode(BUTTON_PIN, INPUT);

    // 初始化舵机
    myServo.setPeriodHertz(50); // 标准 50Hz 频率
    myServo.attach(SERVO_PIN, 500, 2400); // 绑定引脚并设置脉宽范围
    myServo.write(0); // 初始位置 0 度
}

void loop() {
    // 1. 读取按钮状态
    // MicroBlocks 中使用了 'not',说明是低电平触发(按下为 low,取反后为 true)
    btn = !digitalRead(BUTTON_PIN);

    // 2. 对应 sayIt 和 graphIt (输出到串口监视器/绘图仪)
    Serial.print("Button_State:");
    Serial.println(btn);

    // 3. 对应 whenCondition btn (检测按钮从 false 变为 true 的瞬间)
    if (btn == true && lastBtnState == false) {
        Serial.println("Action: Servo Moving!");

        // 模拟 MicroBlocks 中的舵机序列
        myServo.write(0);
        delay(500);
        myServo.write(90);
        delay(500);
        myServo.write(0);
        delay(500);
    }

    lastBtnState = btn; // 记录状态用于下次对比
    delay(50); // 对应 waitMillis 50
}