Appearance
Week 3 - Fab Academy - Computer controlled cutting
Group Assignment
- Do your lab's safety training
- Characterize your lasercutter's focus, power, speed, rate, kerf, joint clearance and types
Group Working
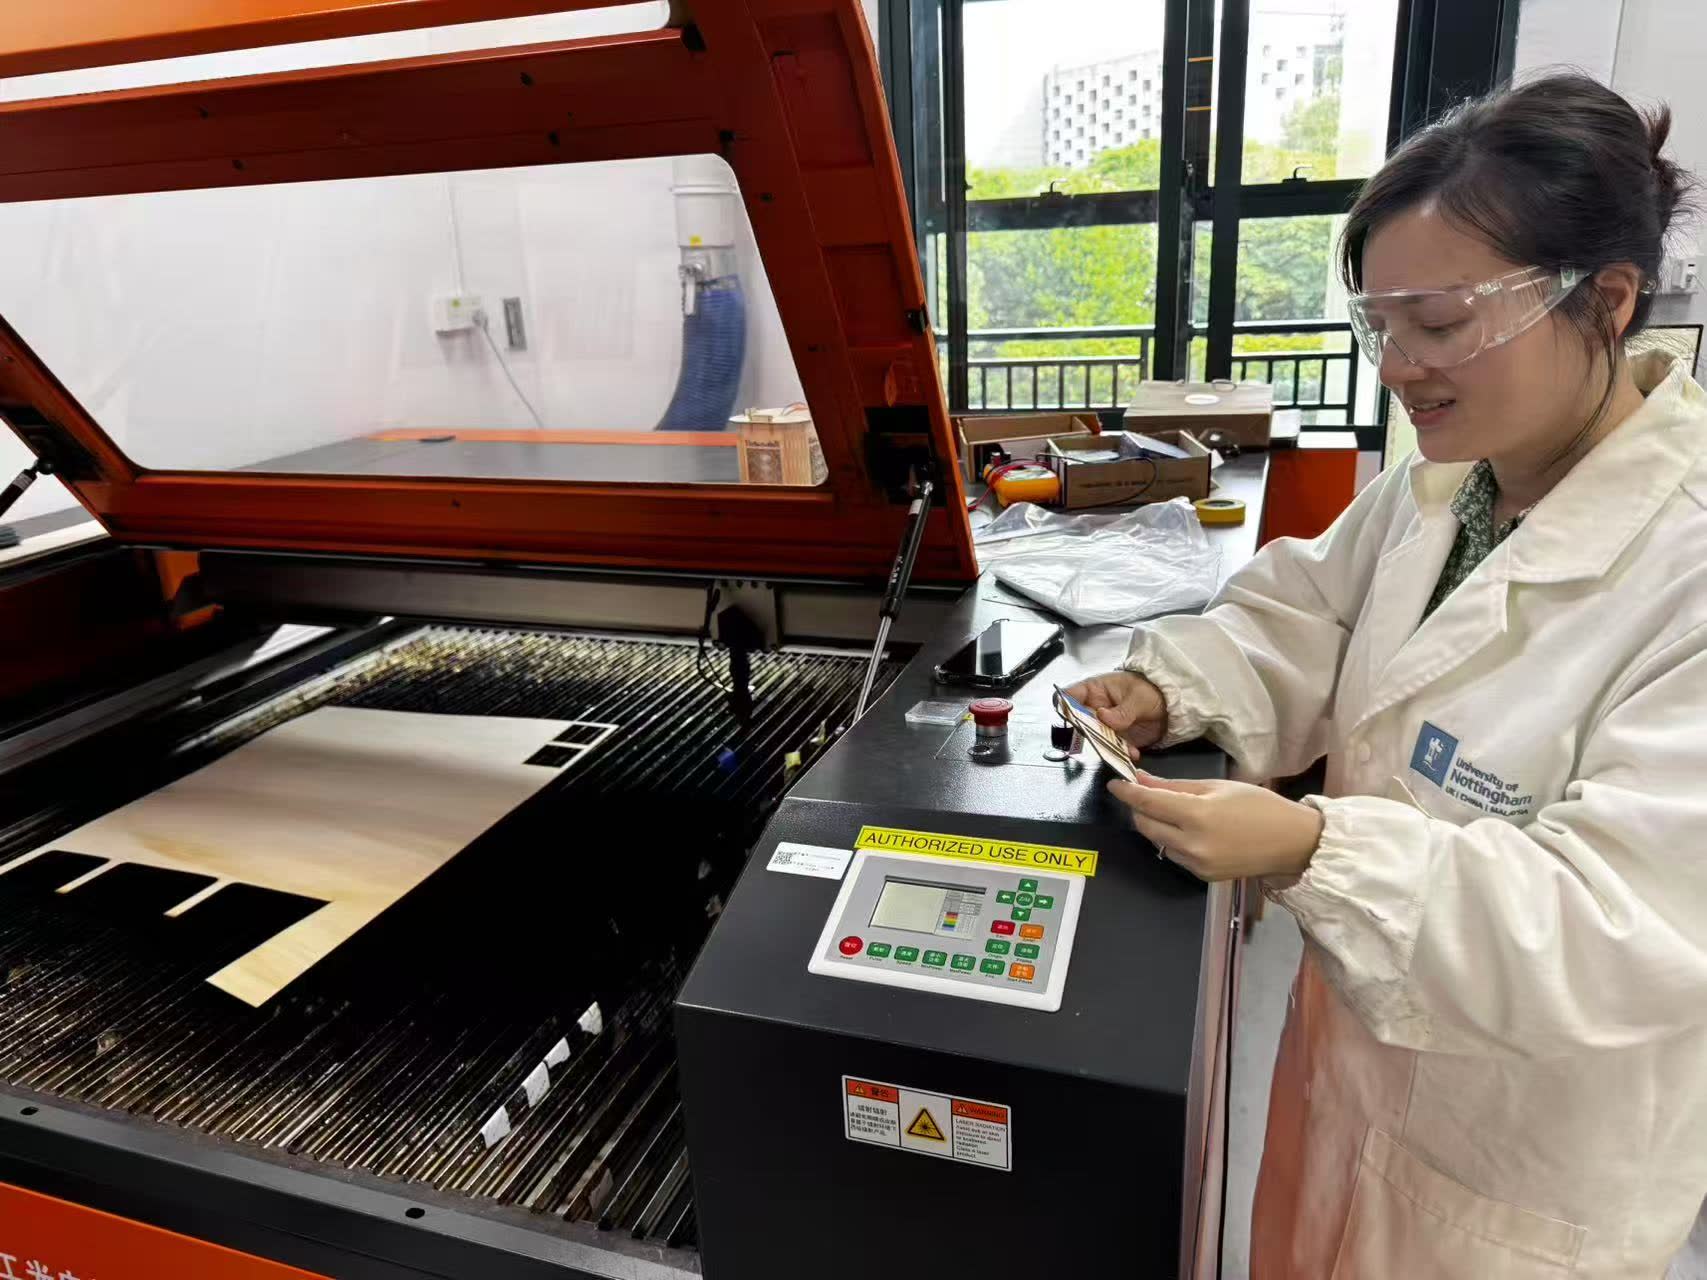
Safety Trainning
When using laser cutting technology, it's crucial to follow these safety precautions to prevent accidents and injuries:
Proper Training: Ensure you are properly trained on the laser cutter's operation and safety procedures.
Wear Safety Gear: Always wear laser safety glasses, a mask or respirator, and thick gloves to protect your eyes, lungs, and skin.
Follow Manufacturer's Instructions: Adhere to the manufacturer's guidelines and safety instructions for your specific laser cutter.
Use Safety Interlocks: Never bypass or disable the safety interlocks built into the laser cutter. These interlocks are designed to prevent accidental exposure to the laser beam.
5.Ventilation: Ensure proper ventilation to avoid inhaling harmful fumes produced during cutting.
Fire Safety: Keep a fire extinguisher nearby and be aware of the fire risks, especially when cutting flammable materials.
Supervise the Machine: Never leave the laser cutter unattended while it's in operation.
Keep the Area Clean: Remove any debris or flammable materials from the cutting area to prevent accidents.
Logbook: Maintain a logbook detailing who used the laser cutter, the cutting time, and the materials cut.
Stay Alert: Always stay focused and alert while operating the laser cutter.
By following these precautions, we can safely harness the power of laser cutting technology for our projects.
Laser cutting machine
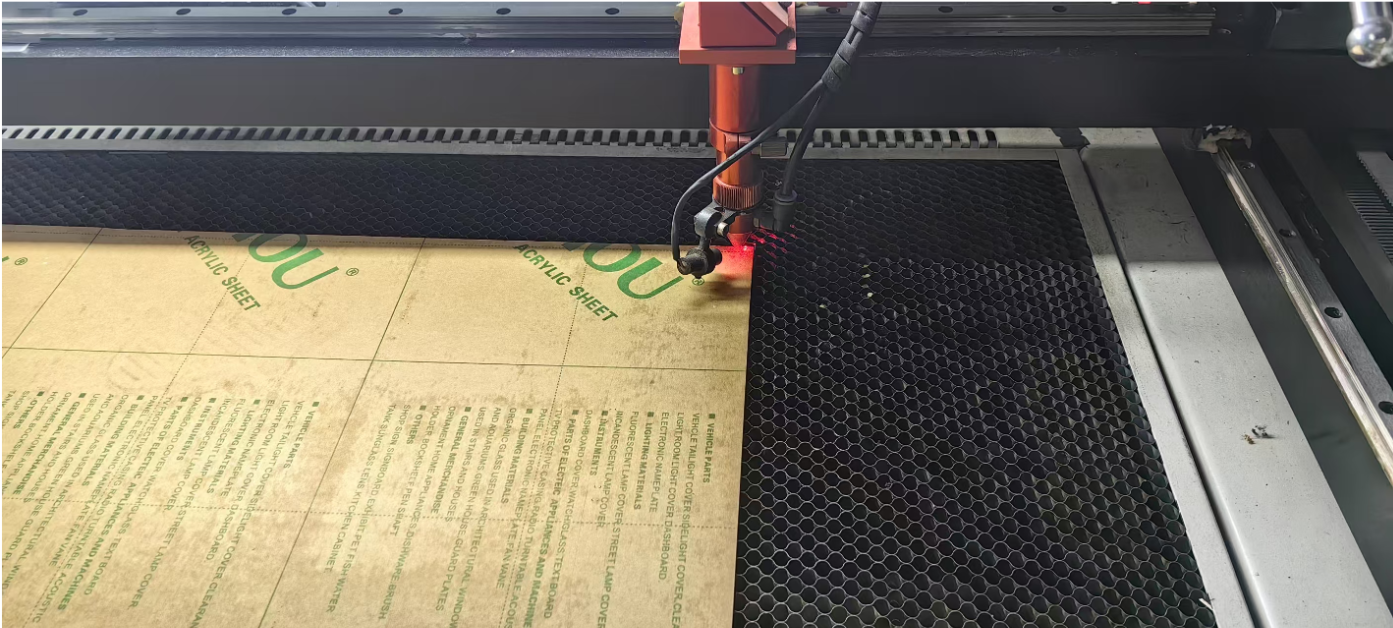
Laser cutting machine is an advanced device that uses a high-energy laser beam to precisely cut and engrave materials. It focuses the laser beam into a tiny spot through a focusing lens, using the thermal energy of the high-power laser to locally melt, evaporate, or burn the material, thus achieving high-precision cutting and processing.
Laser parameter
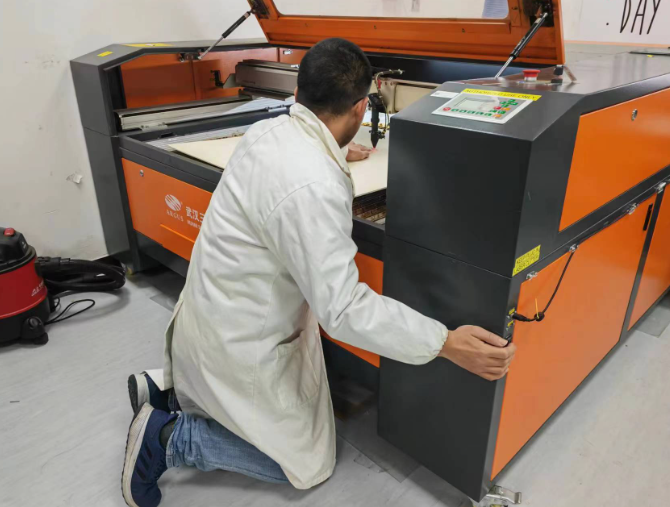 The vertical movement of cutting bed is controlled with a button on the frame. The focus was tested at this stage which is approximately 4.8mm.
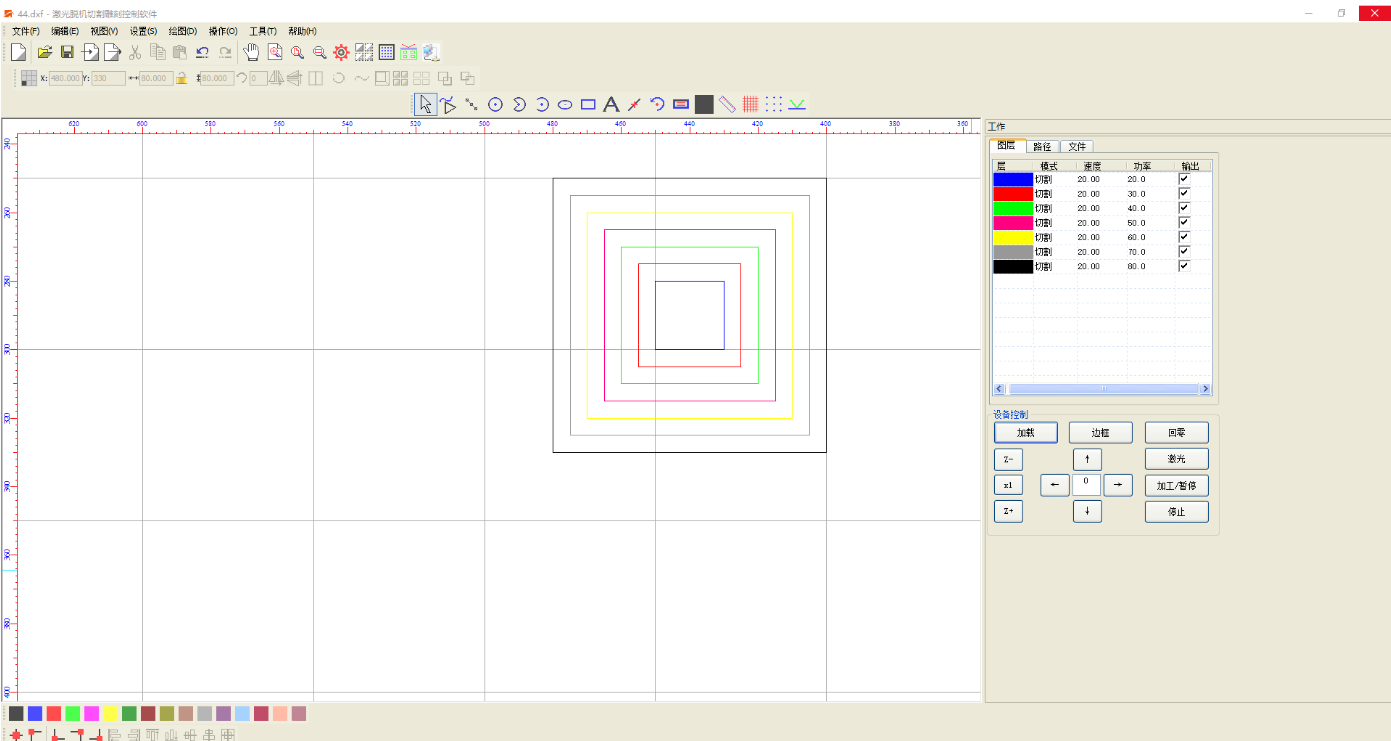
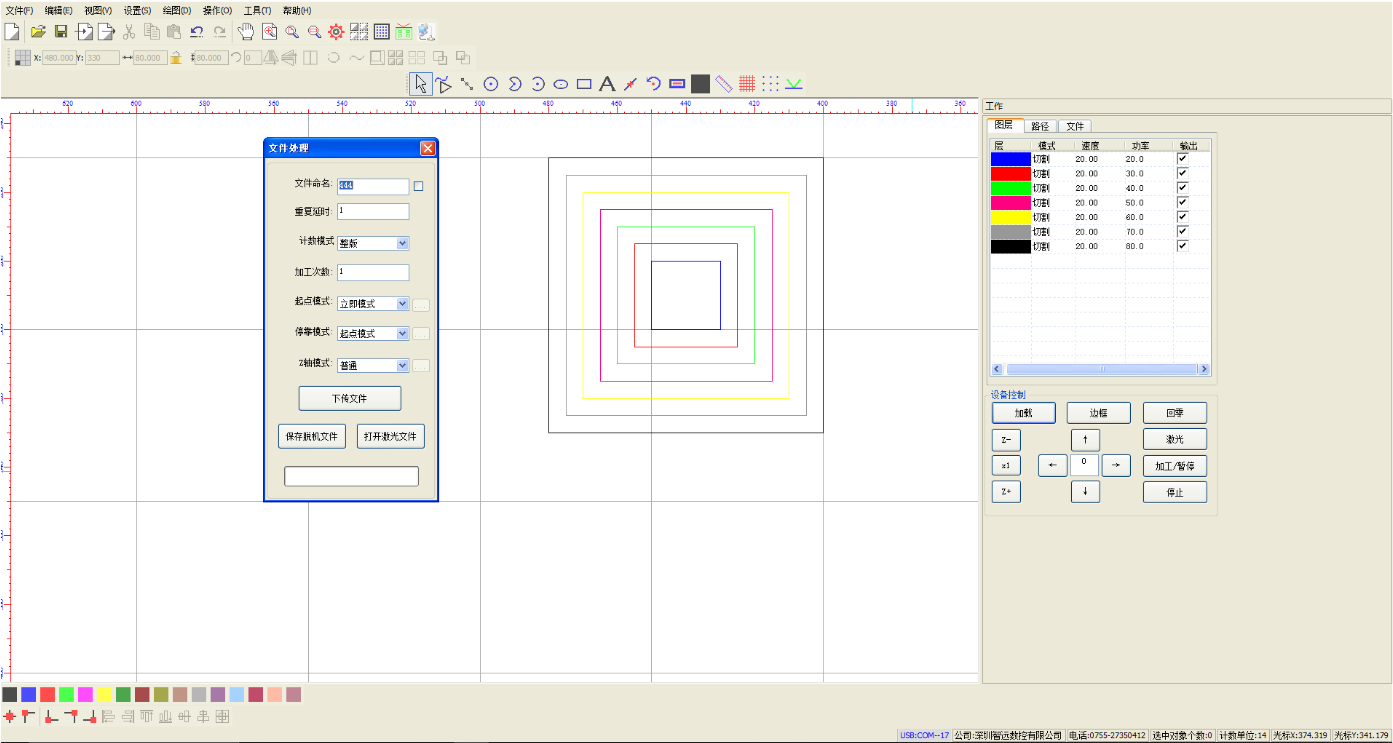
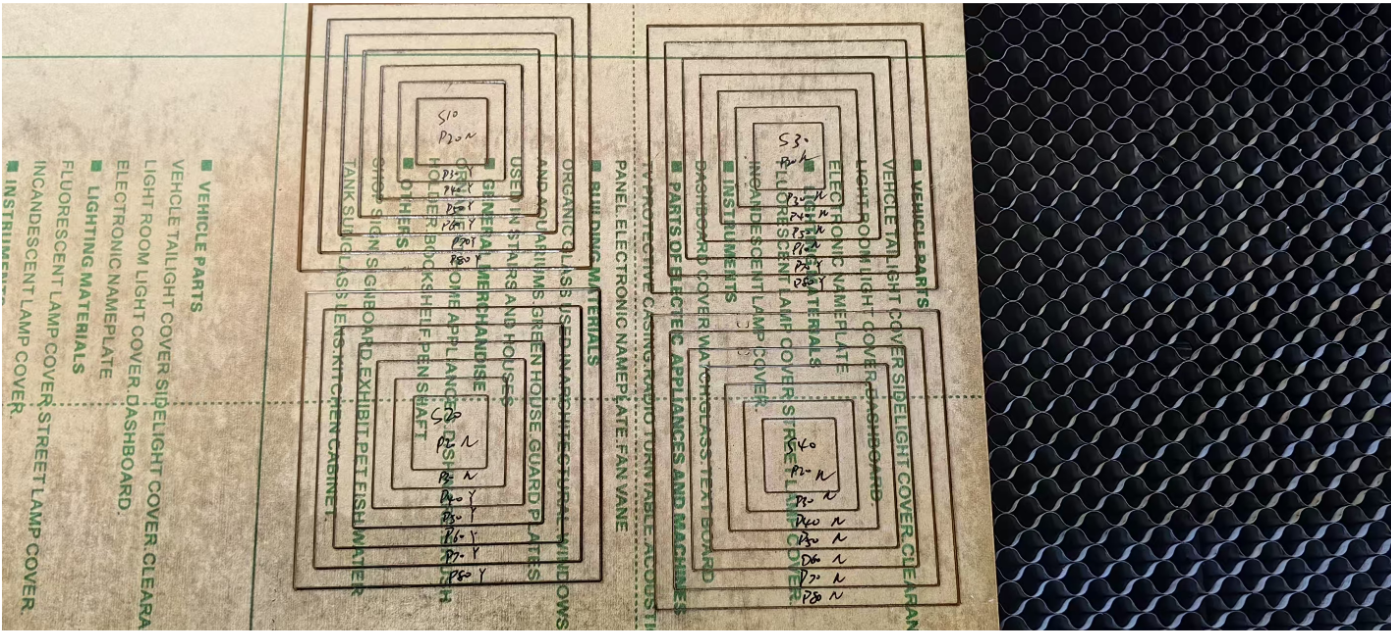
To determine the optimal laser cutting parameters for 3.5mm thick acrylic sheets, the following test method can be used:
Draw seven nested square outlines centered at the same point, with each square assigned a different color layer. This allows different laser power settings to be applied to each square in the cutting software. Power levels start at 20% and increase in increments of 10%, resulting in seven values: 20%, 30%, 40%, 50%, 60%, 70%, and 80%.
Four sets of tests are conducted, with each set using a different cutting speed: 10mm/s, 20mm/s, 30mm/s, and 40mm/s. By comparing the cutting results across different combinations of speed and power, the optimal laser settings for clean and complete cuts on 3.5mm acrylic can be determined.
| Power(W)\Speed(ms/s) | 10 | 20 | 30 | 40 |
|---|---|---|---|---|
| 20 | y | n | n | n |
| 30 | y | n | n | n |
| 40 | y | y | n | n |
| 50 | y | y | n | n |
| 60 | y | y | n | n |
| 70 | y | y | y | n |
| 80 | y | y | y | n |
Conclusion
Laser power: 80w
Speed: 10ms/s
Laser Kerf
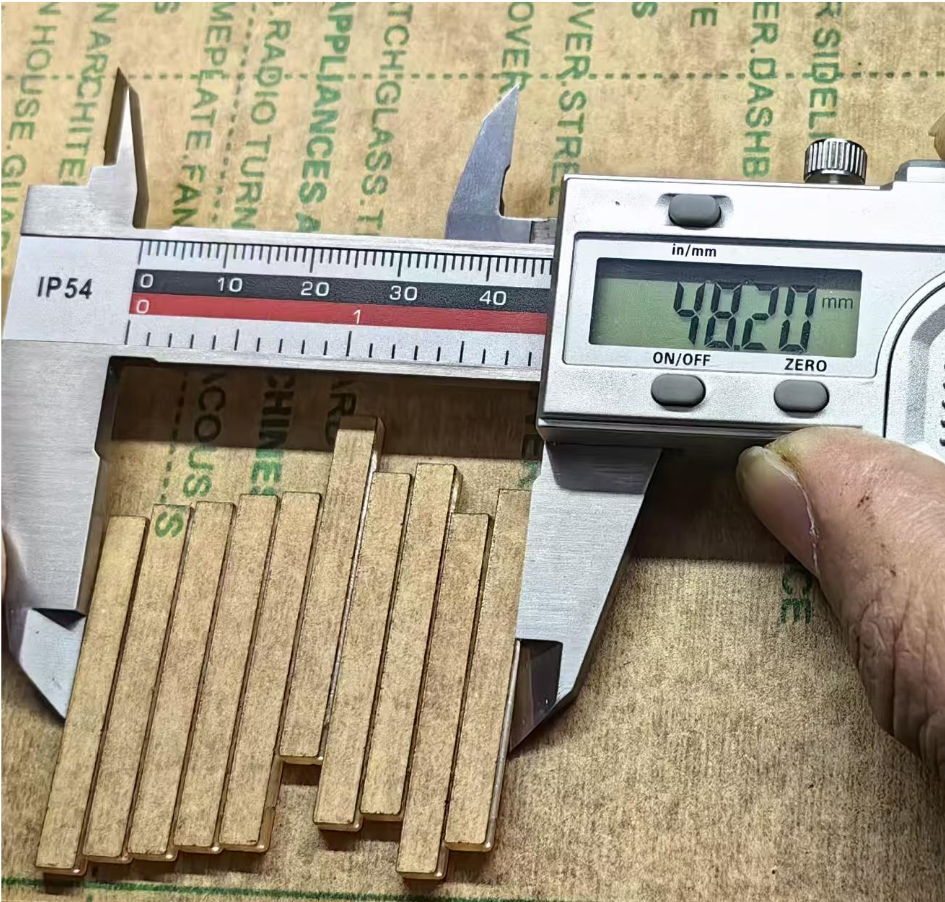
The calculation of the kerf can be done by the following experimental method:
- Design and cut 10 rectangular strips with a width of 5mm. After cutting, use a caliper to measure the total width of the 10 rectangular strips. Since laser cutting will ablate the edge of the material, the actual measured width will be less than the theoretical total width (50mm). By comparing the difference between the theoretical width and the actual measured width, the total amount of material ablated on both sides during the cutting process can be calculated, thereby obtaining the laser slit width, which is the kerf.
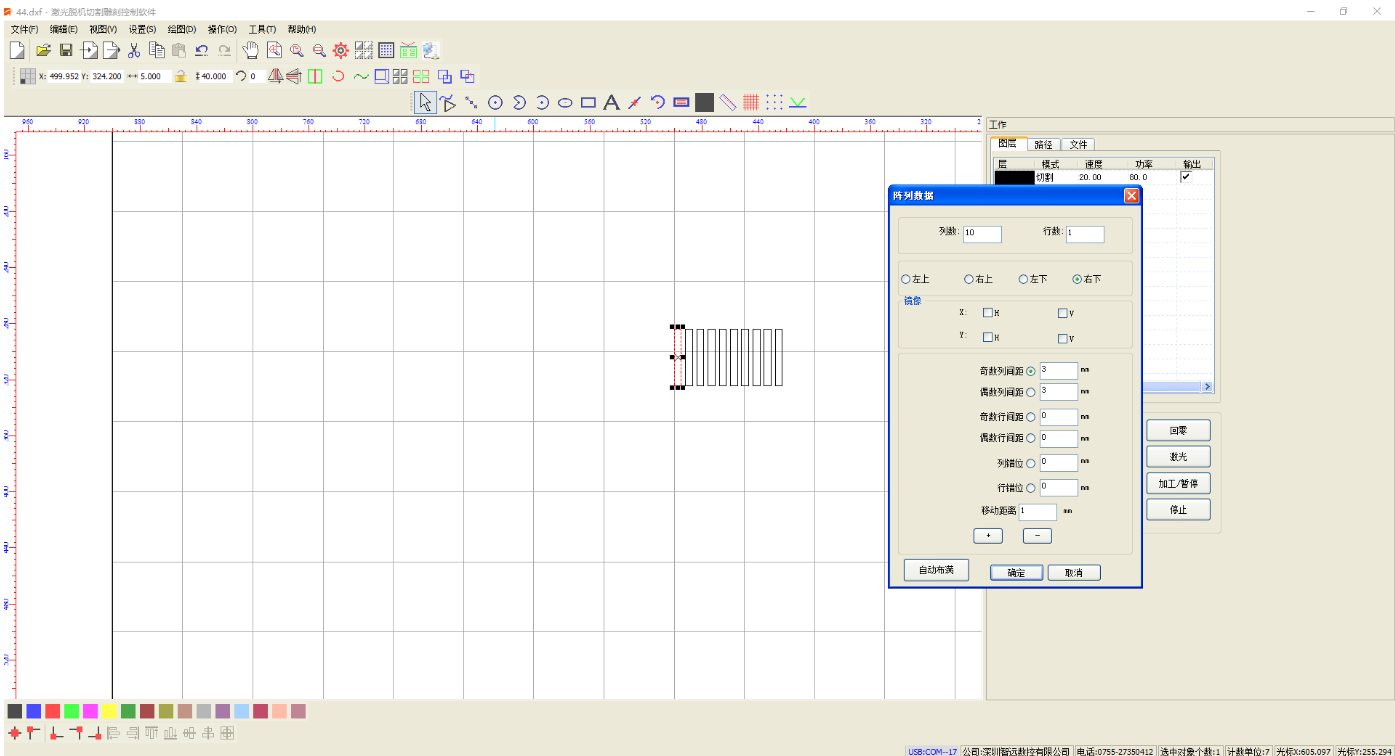
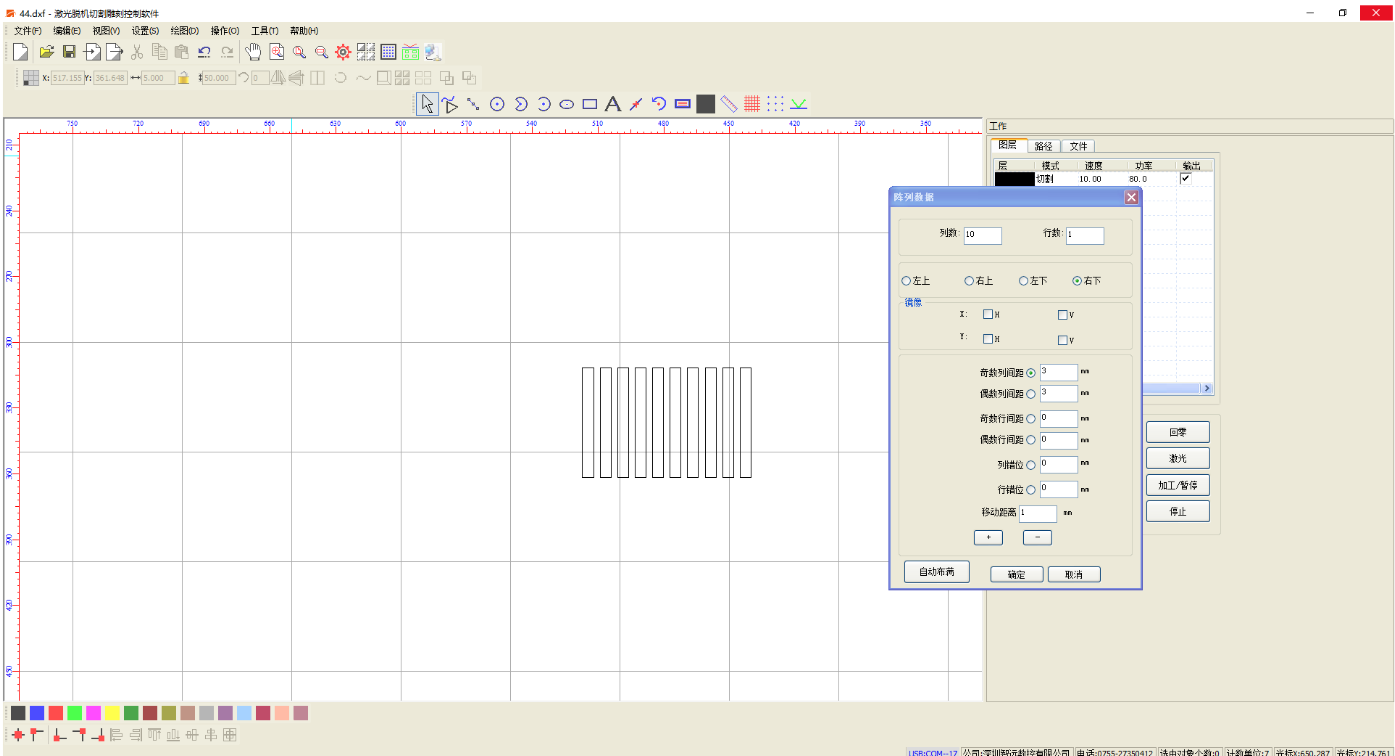
Theoretical total width = 10 × 5mm = 50mm
Actual measured width = 48.2mm
Difference = 50mm - 48.2mm = 1.8mm
Laser slit width = 1.8mm
laser kerf = 1.8mm ÷ 10 = 0.18mm
Conclusion
- kerf: 0.18mm