Within my lab we all milled into the same mold of wax. The plan is to make a little, slightly FABAcademy/ TU Ilmenau advent calender.
As such these were the measurements of the little cubes we each got:
Initial try: Downloaded svg and pngs from the Noun Project Website and wanted to insert them in my prepped freeCAD box.
This, however, did not work. I also tried combining two stl files in Prusa slicer and then inserting that into the box in freeCAD which worked.
However, there was another issue with one of the model I was using for testing: it was not closed so the chocolate would have not come out as a piece:
Combining the box from FreeCAD and the picture in Prusa Slicer. The picture of Boo is not quite closed.
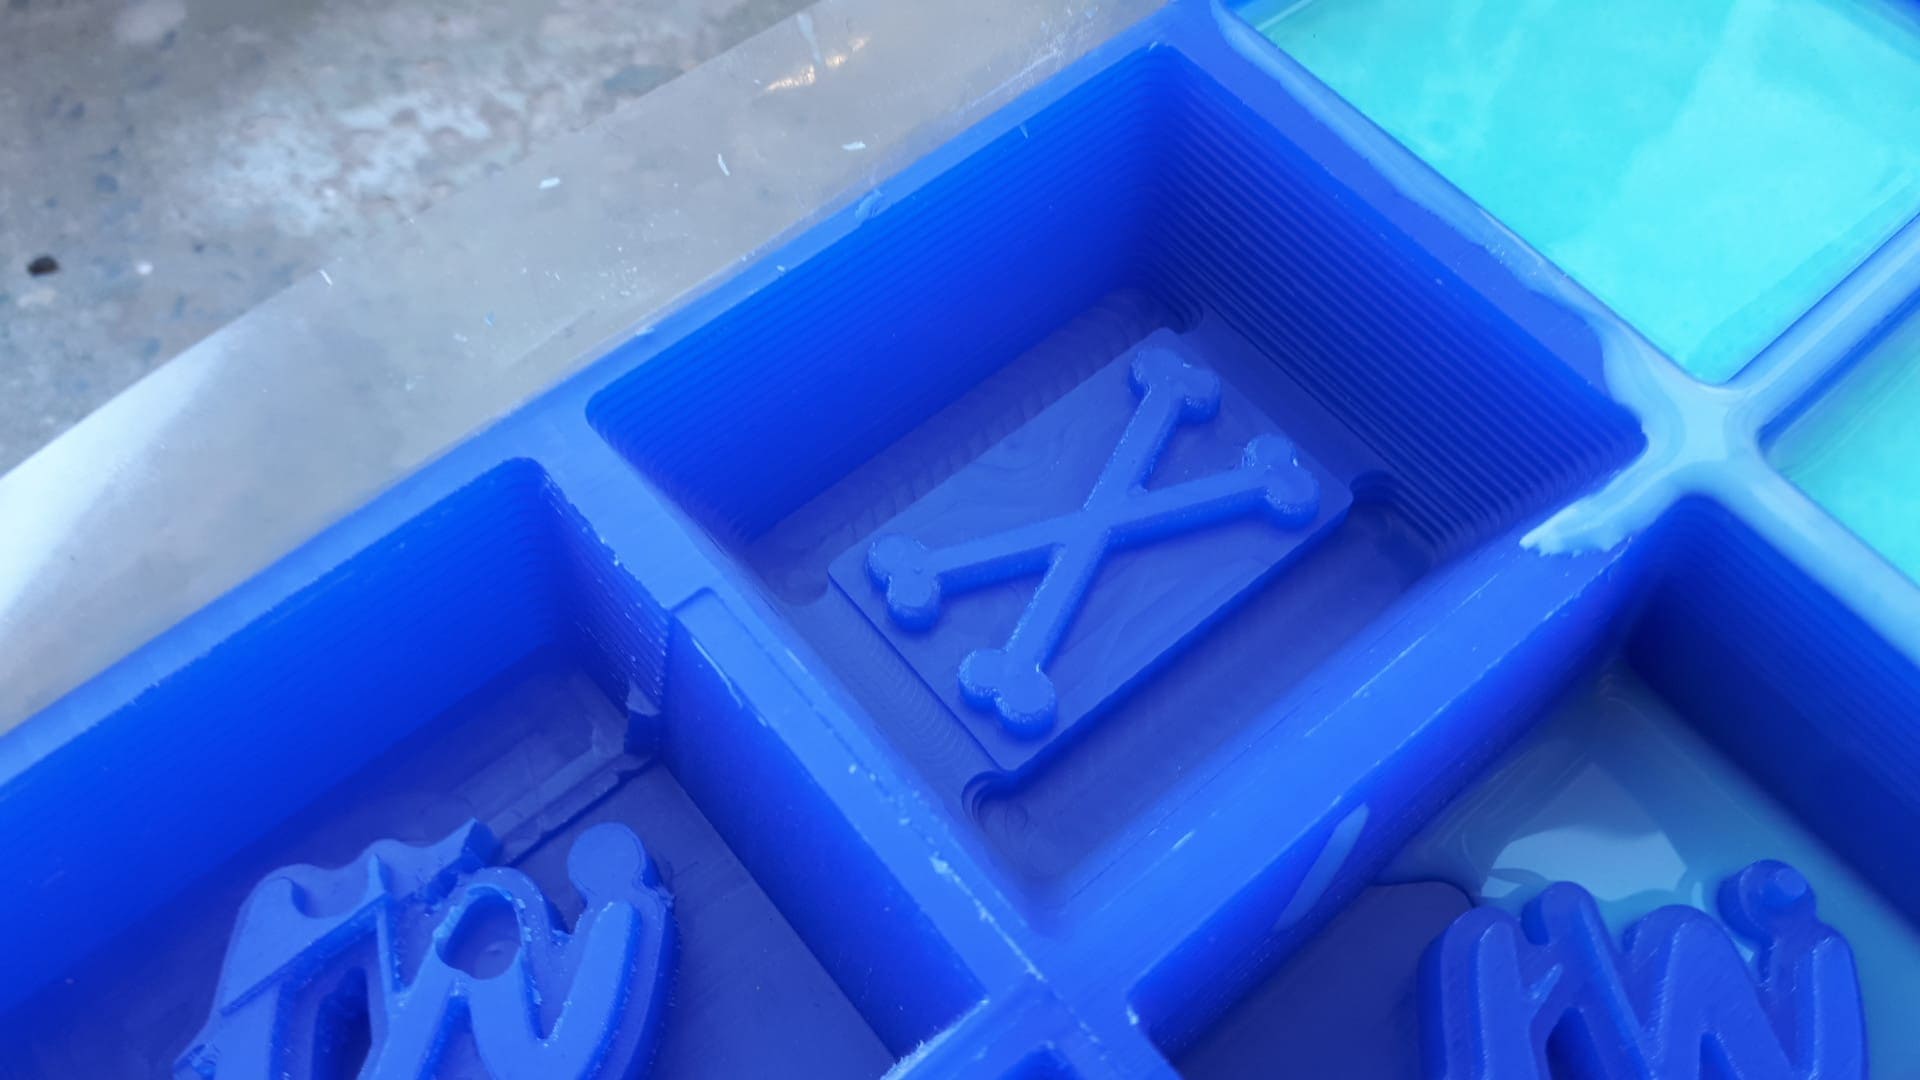
Pirate crossed bones: Pokemon Pirate by Luis Rodrigues from Noun Project (CC BY 3.0)
Crocodile: Crocodile by Fazrian Zahrawani from Noun Project (CC BY 3.0)
So, scratch that. There seem to be some difficulties with the FAB modules way of precessing the stls. I thought back to the "make sth big week"
and that the best program to prepare for millig is Fusion. To avoid any other issues I decided to use that software and switch back to a previous model.
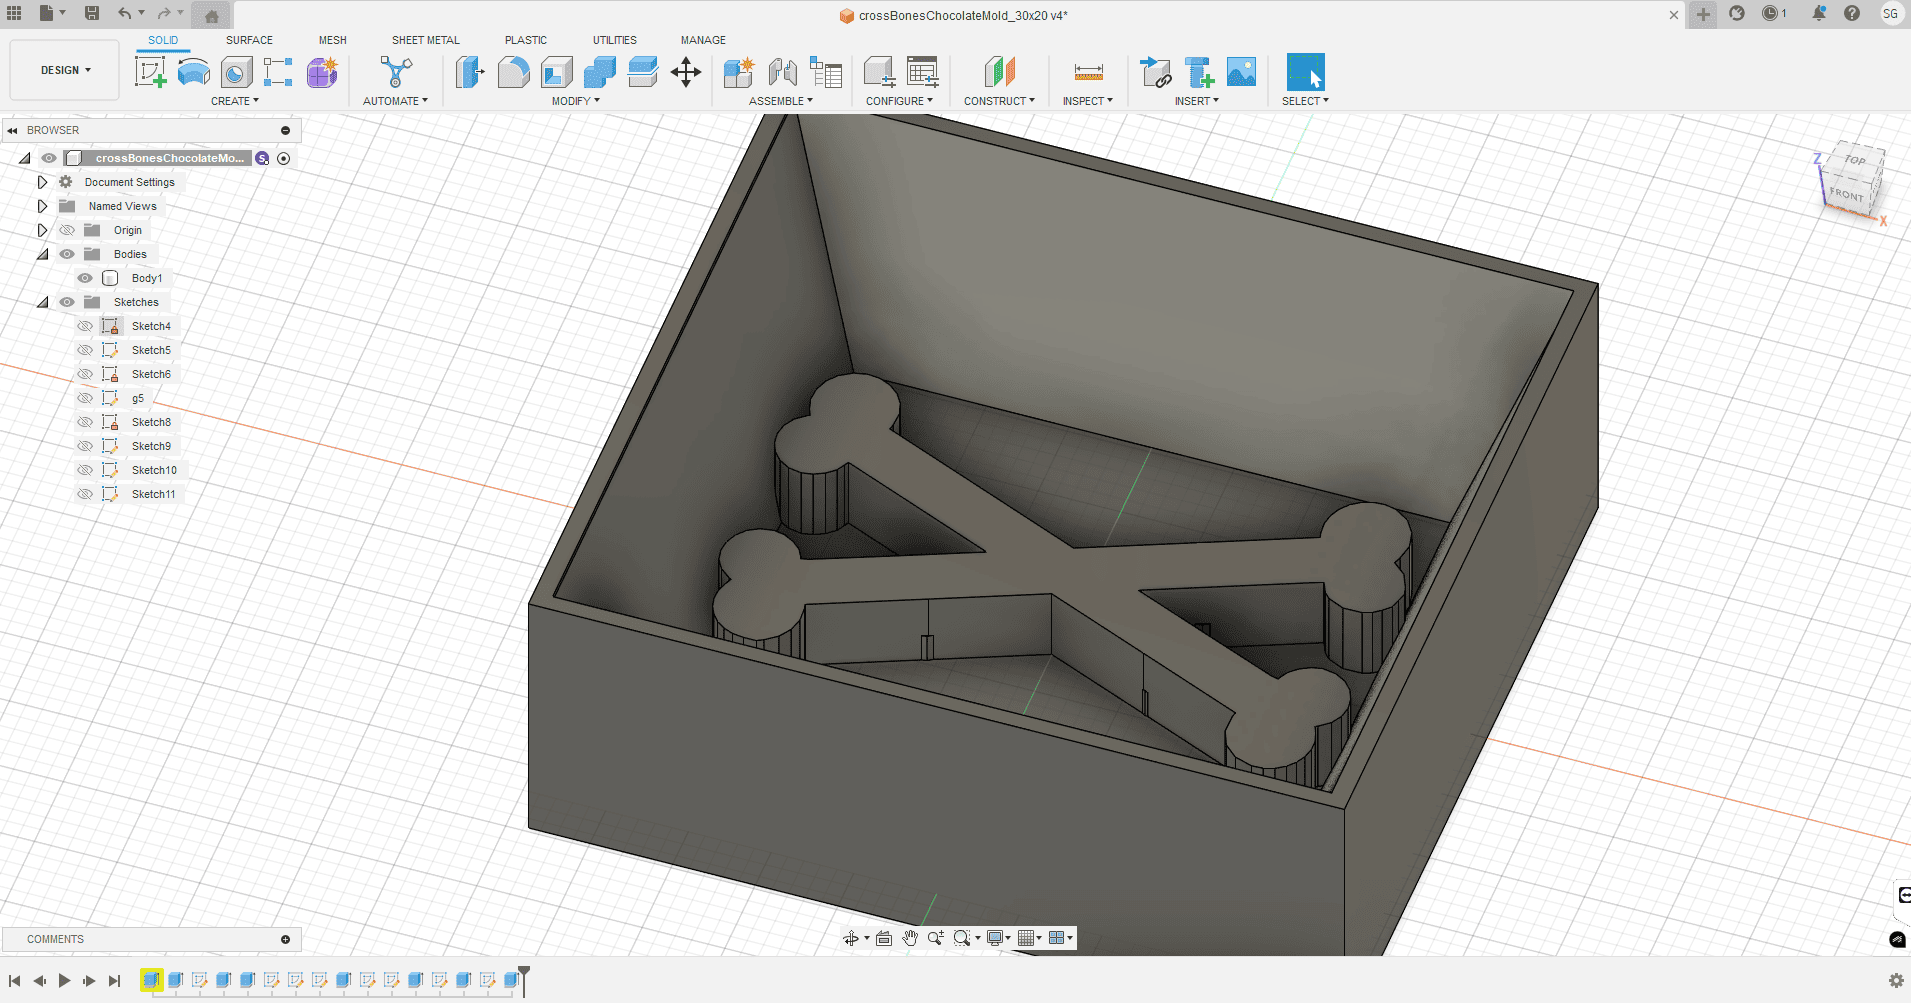
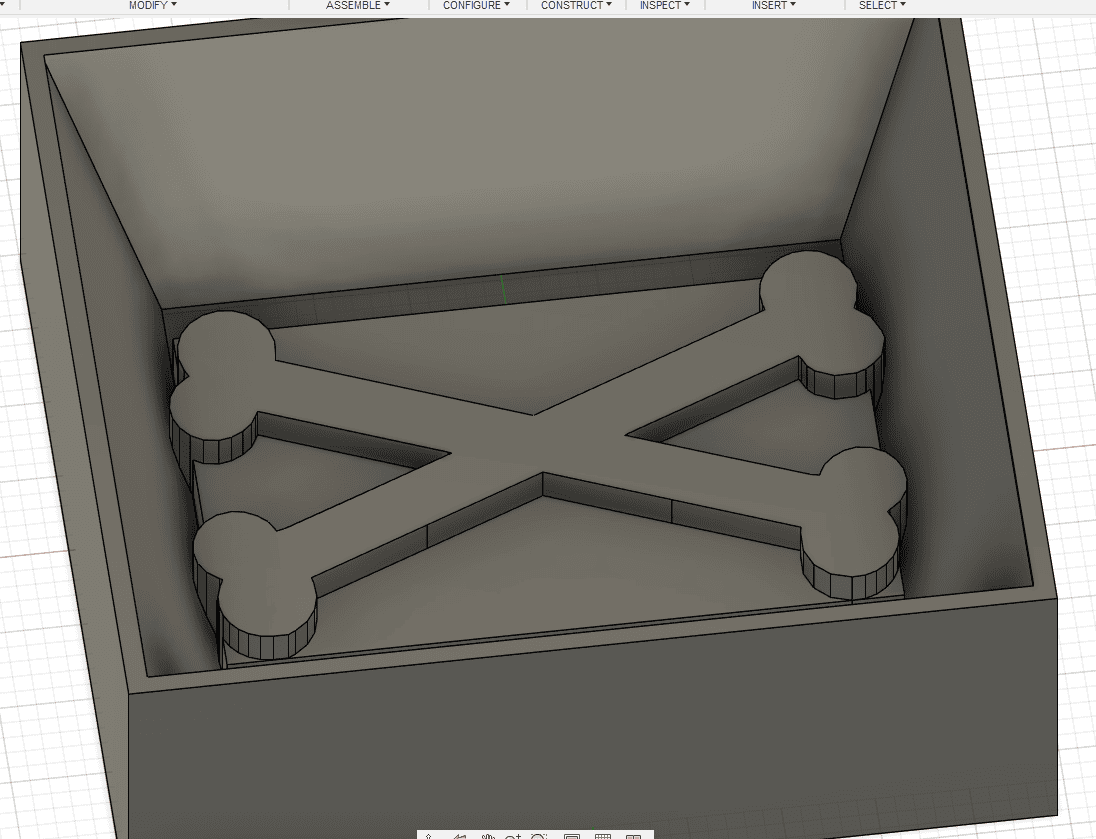
Process in Fusion
[Insert pic detailing how the little cube around the bones is to have a more chocolate shape and what the inclined walls are for, and why mind 3mm abstand to sides required]
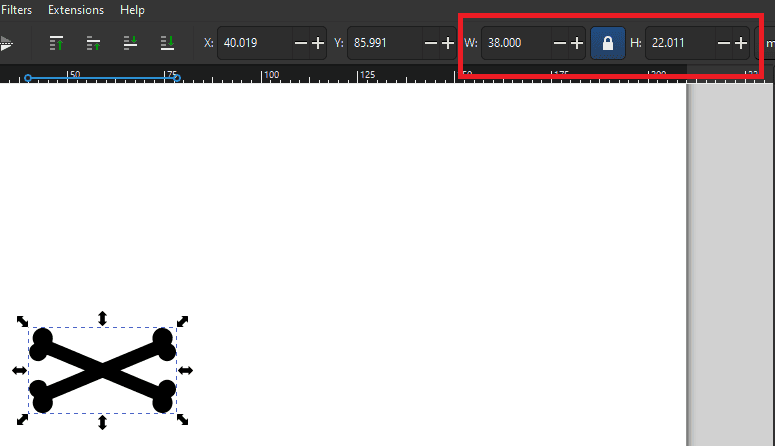
Note: Whenever I tried importing svgs into Fusion it did not show anything. So, I used an online SVG to DXF converter
to convert the svgs into dxf. This worked flawlessly except that I could not find a way to resize the dxf. As such,
I used Inscape to dimension the picture, then the website to convert it to dxf, and finally inserted it into the box using Fusion.
The size of the picture can be changed in mm in the red field. Make sure to have the lock closed to keep the aspect ratio
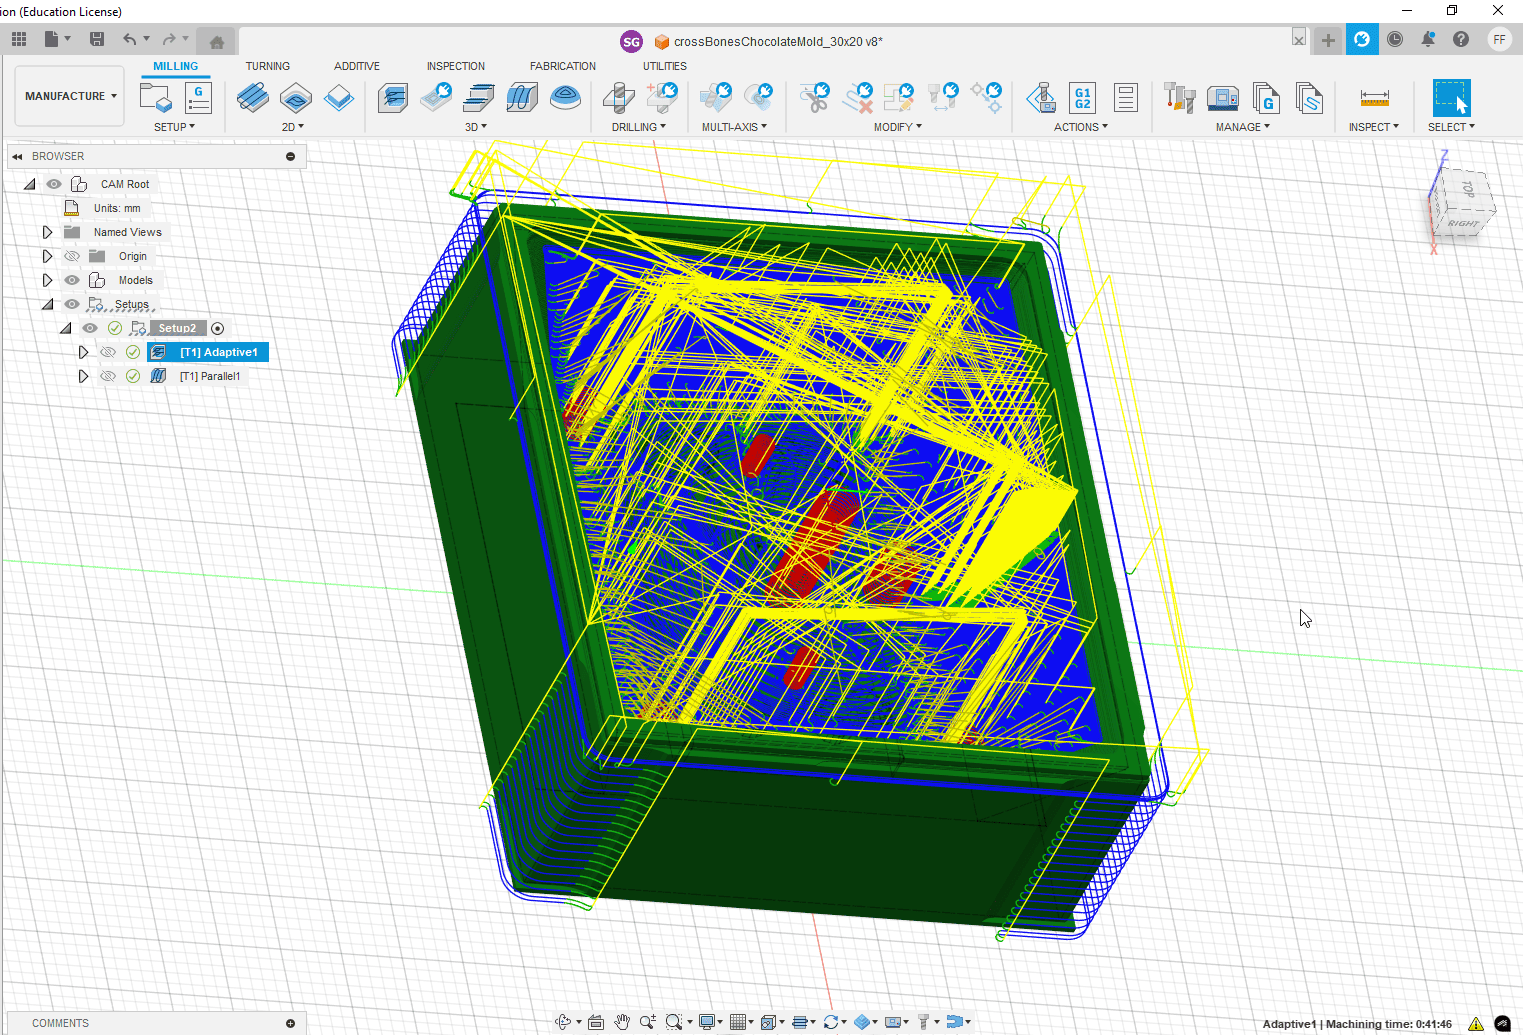
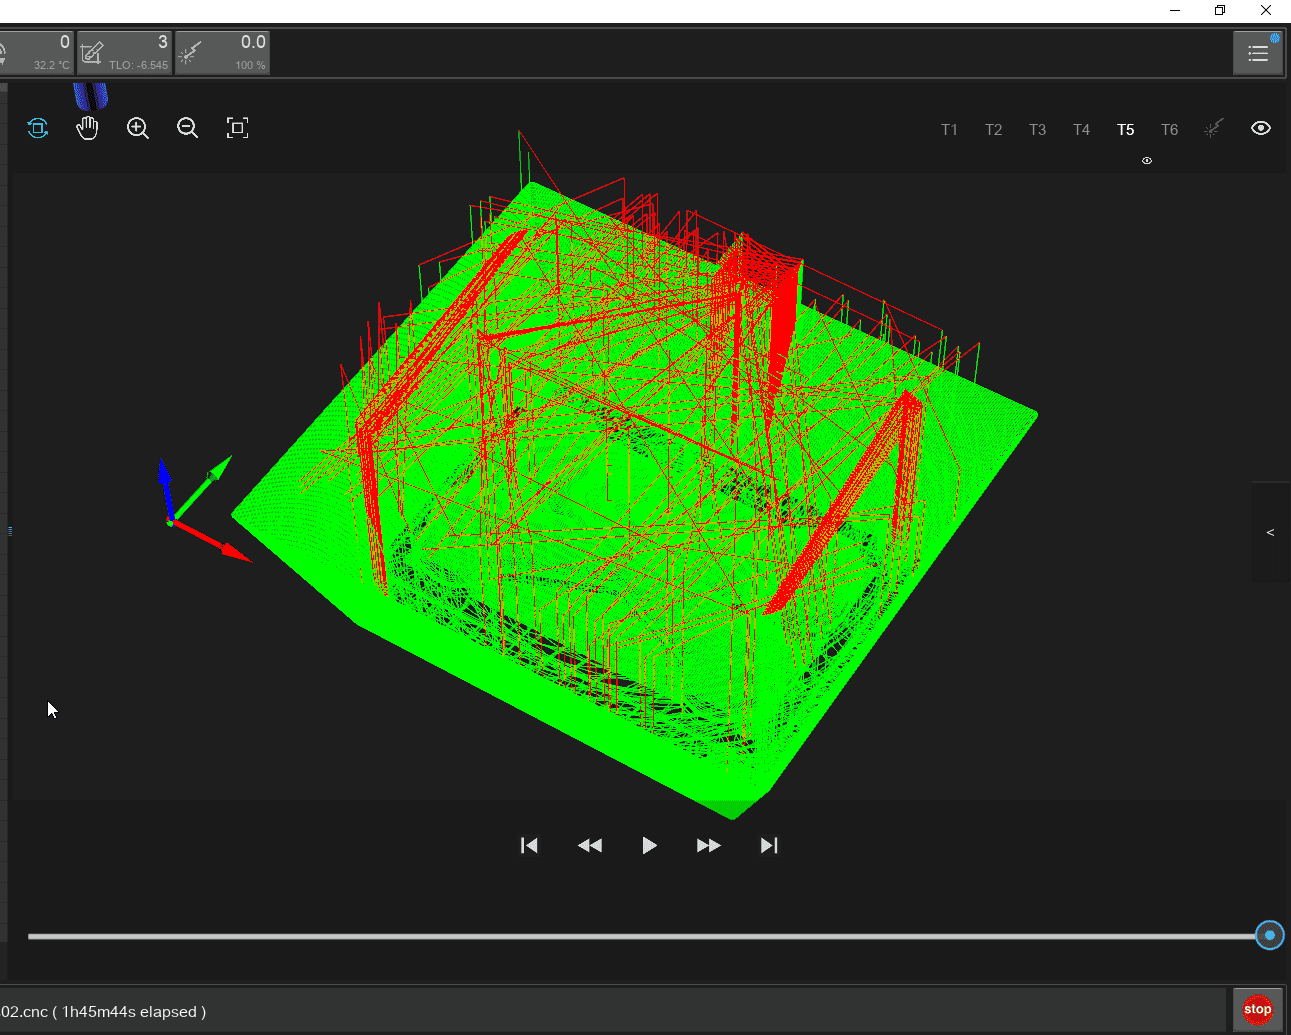
Time to generate the numeric code in Fusion!
We're going to do this in 2 rounds: the first one is a rough sweep that will quickly remove large chunks of wax. The second sweep will take care of the
finer details. I'll only list the parameters that I changed from the default:
Setup parameters:
Select the number of the milling bit you're going to use, otherwise the mill is not going to do what you expected it to.
Error: I forgot to do the setup at first. This would have resulted in 1. the coordinate system origin would have been complexly off.
2. those mills at the outer side of the cube would have damaged the other molds that were already in the wax rectangle. Luckily, my instructor caught
it on time and now apparently owe him a beer.
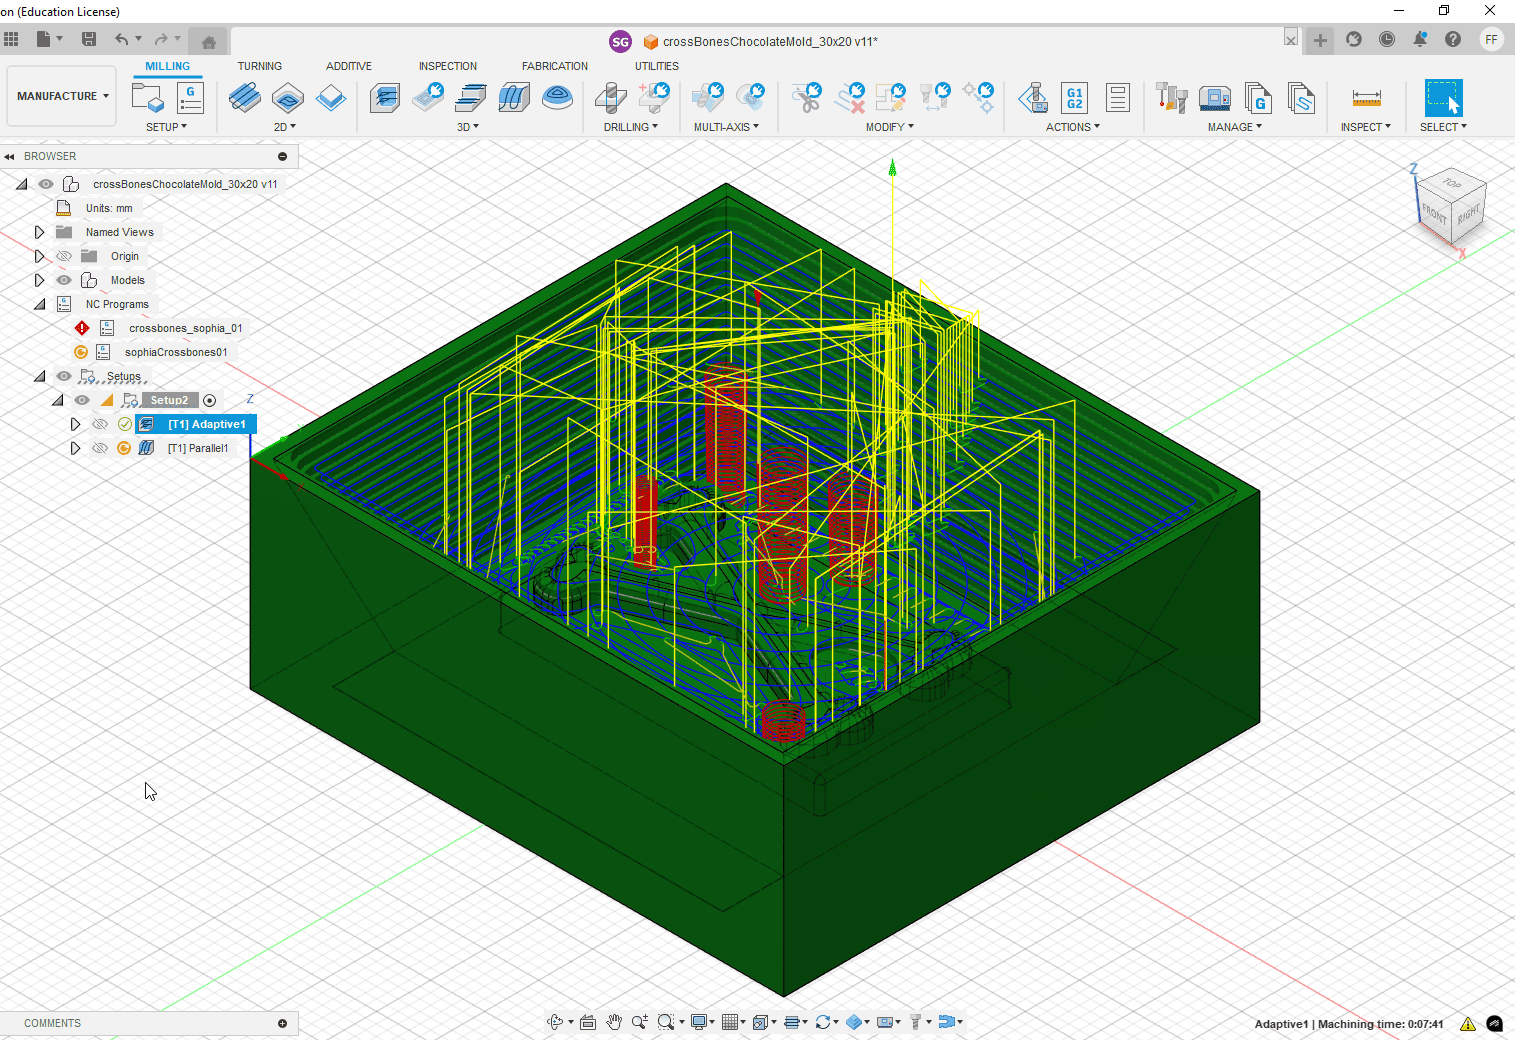
Parameters first round:
Left: Example how it looked for me once all the settings were inputted. Right:
While not an error per se, milling it like this would have taken about double the amount of time to mill. I learned:
always check the max step down.
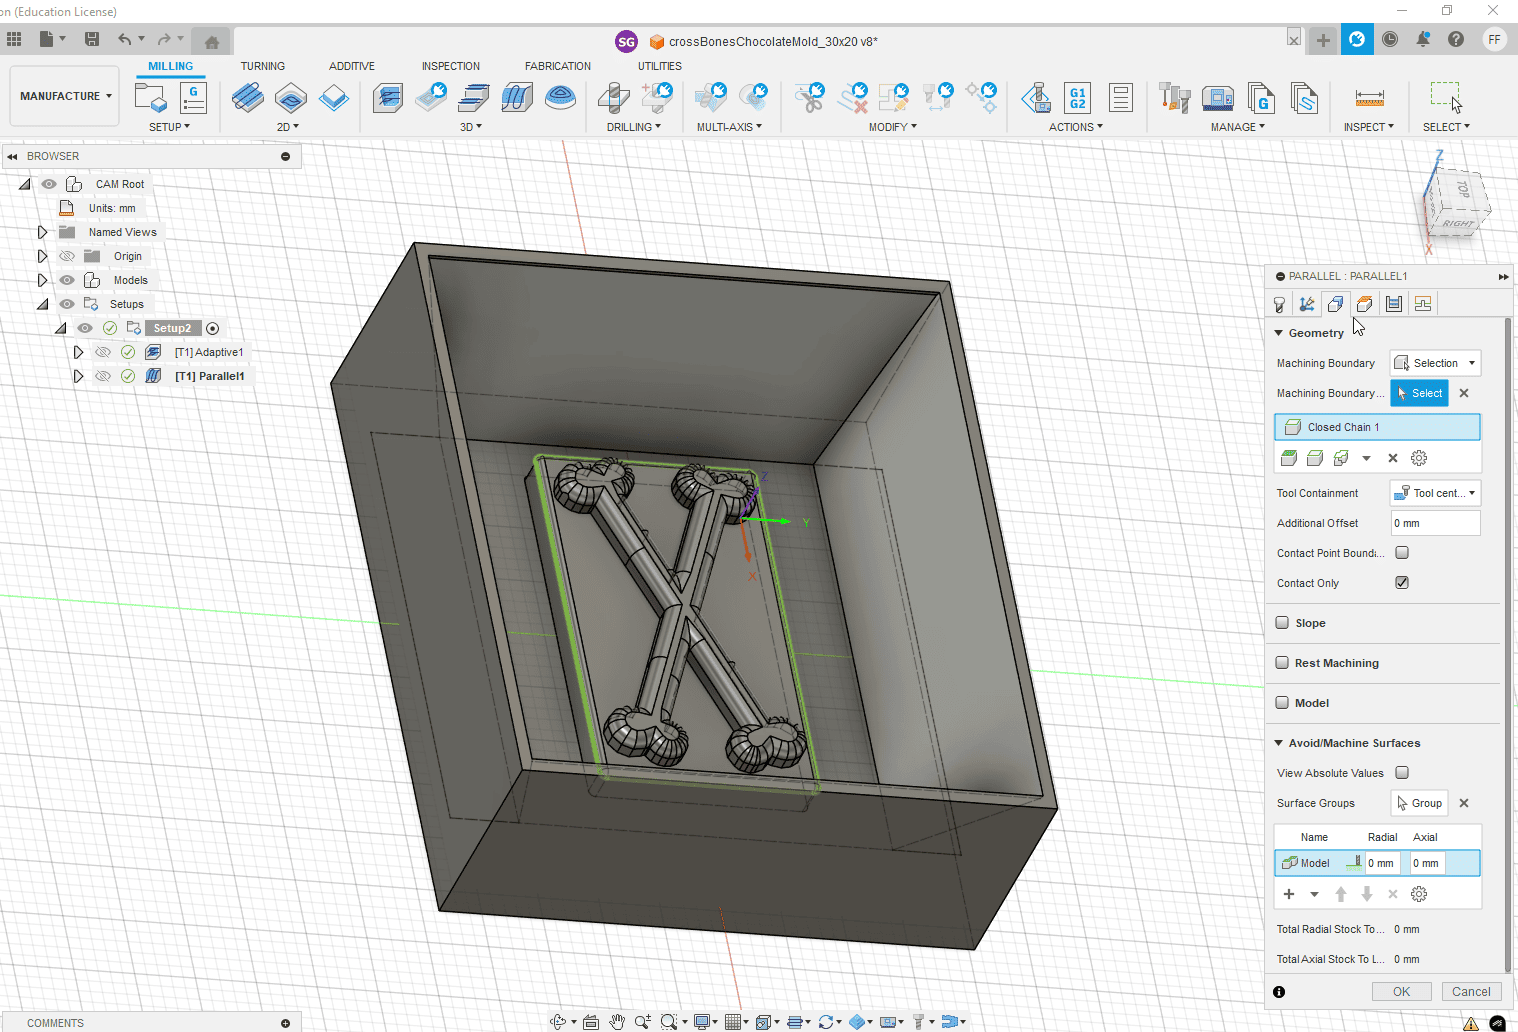
Selection process. Select only the actually important geometry. This will save a lot of time because
the small milling bit is especially slow as it covers less area.
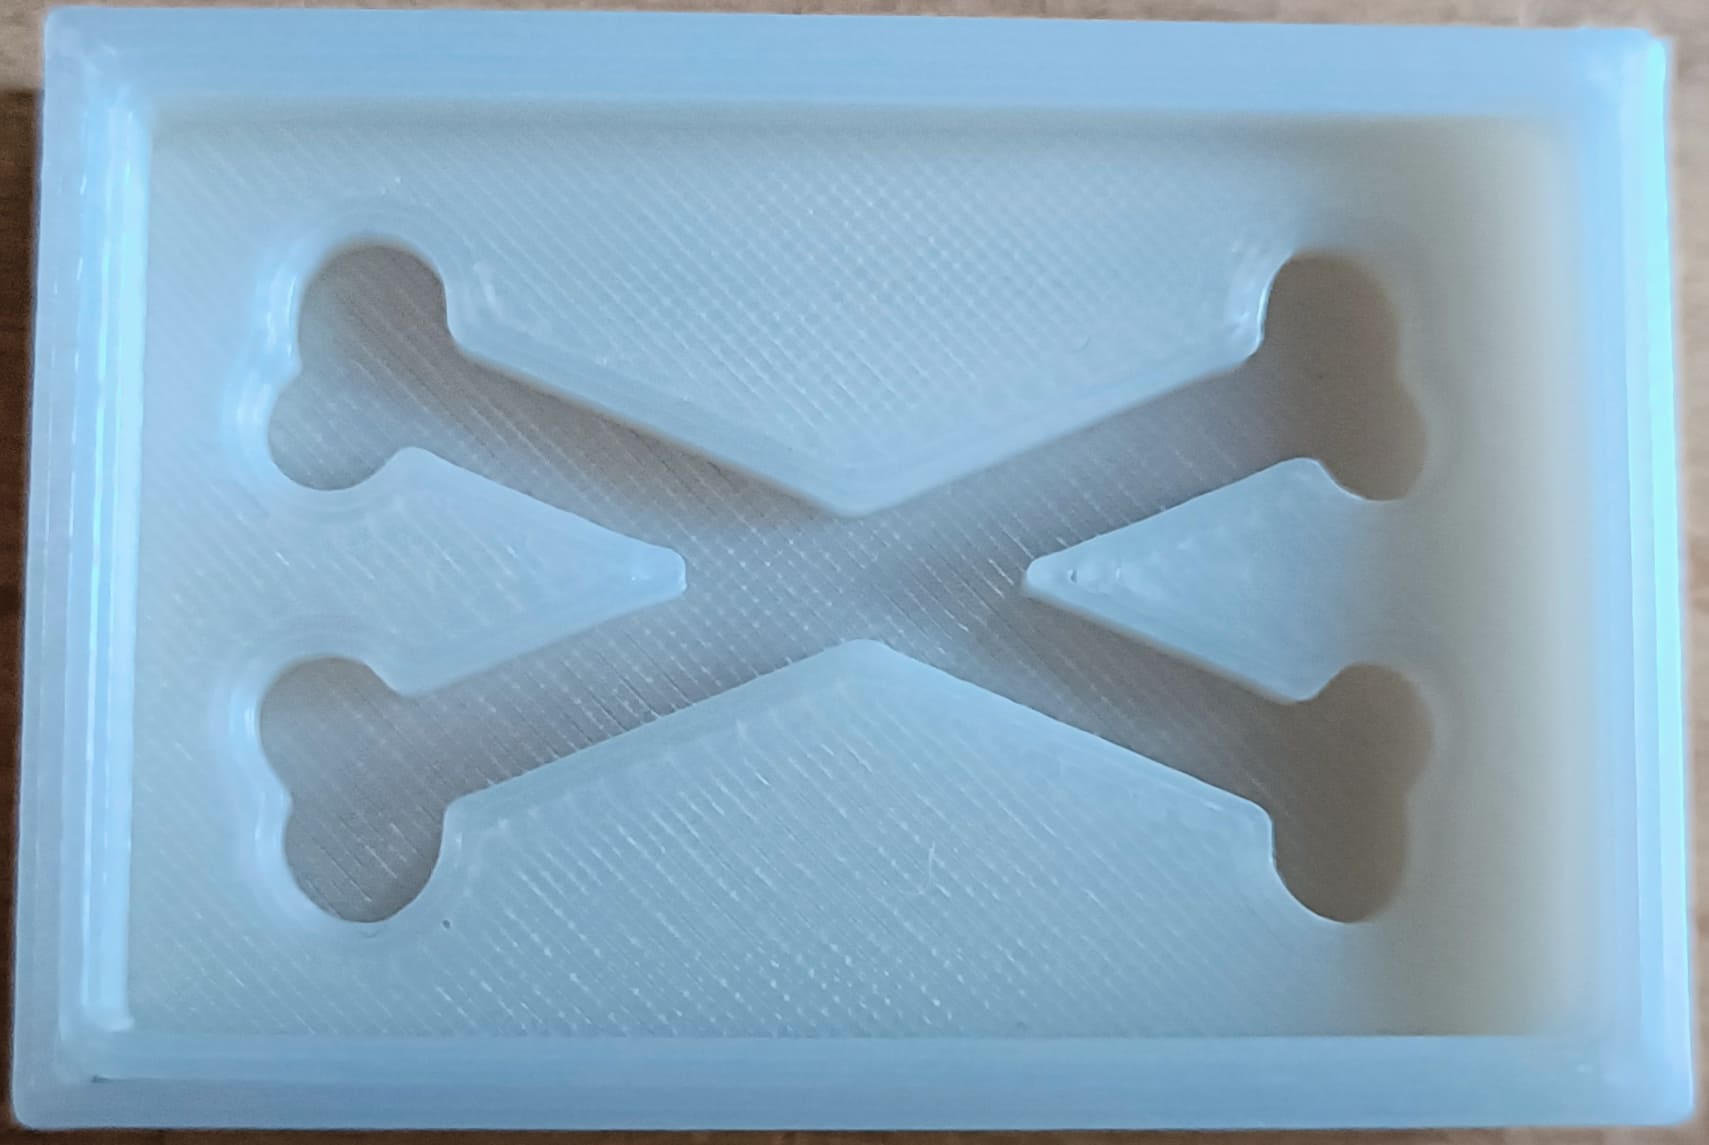
Used the same parameters but a smaller box to same some filament and time. The model was the same used for the mold for milling.
Please go to making a chocolate mold with wax for more details on how the model was made.
It was printed with PLS on the Prusa XL and sliced using the Prusa Slicer, Structure and Quality standard settings.
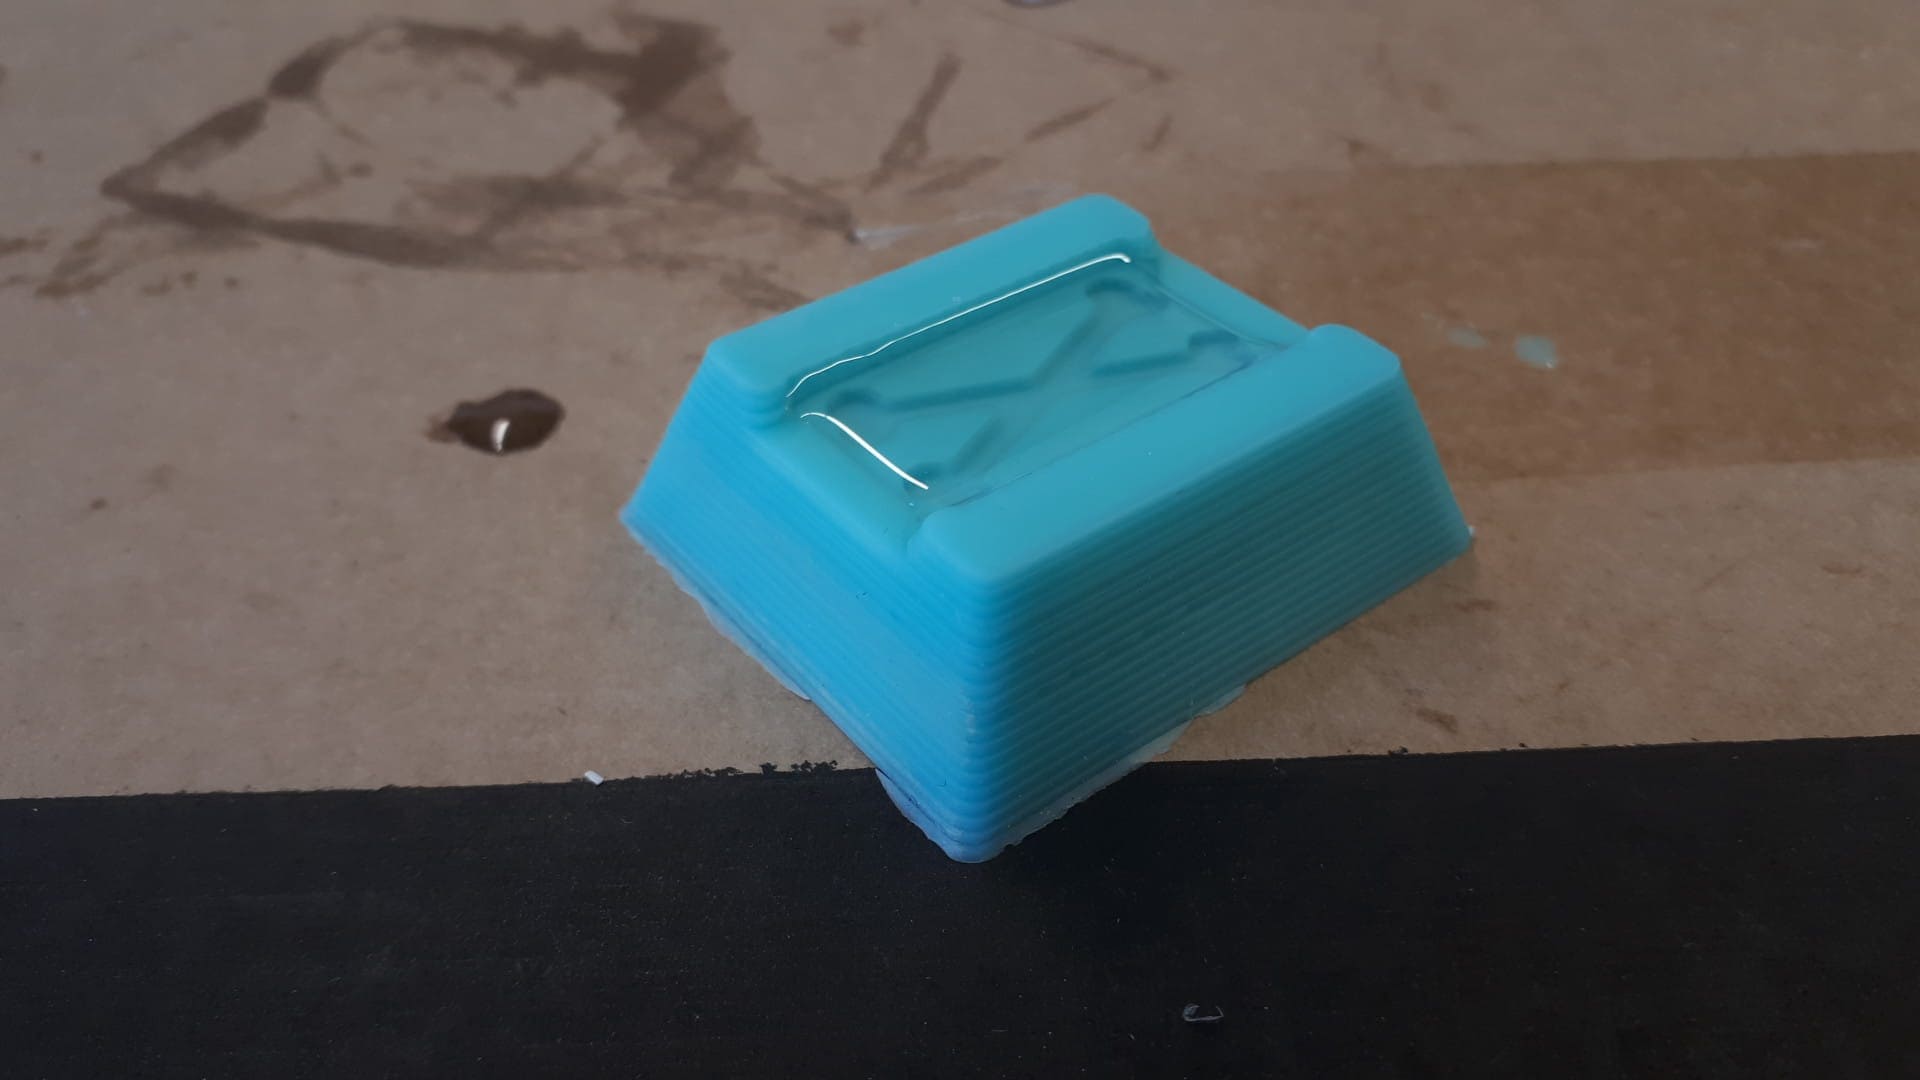
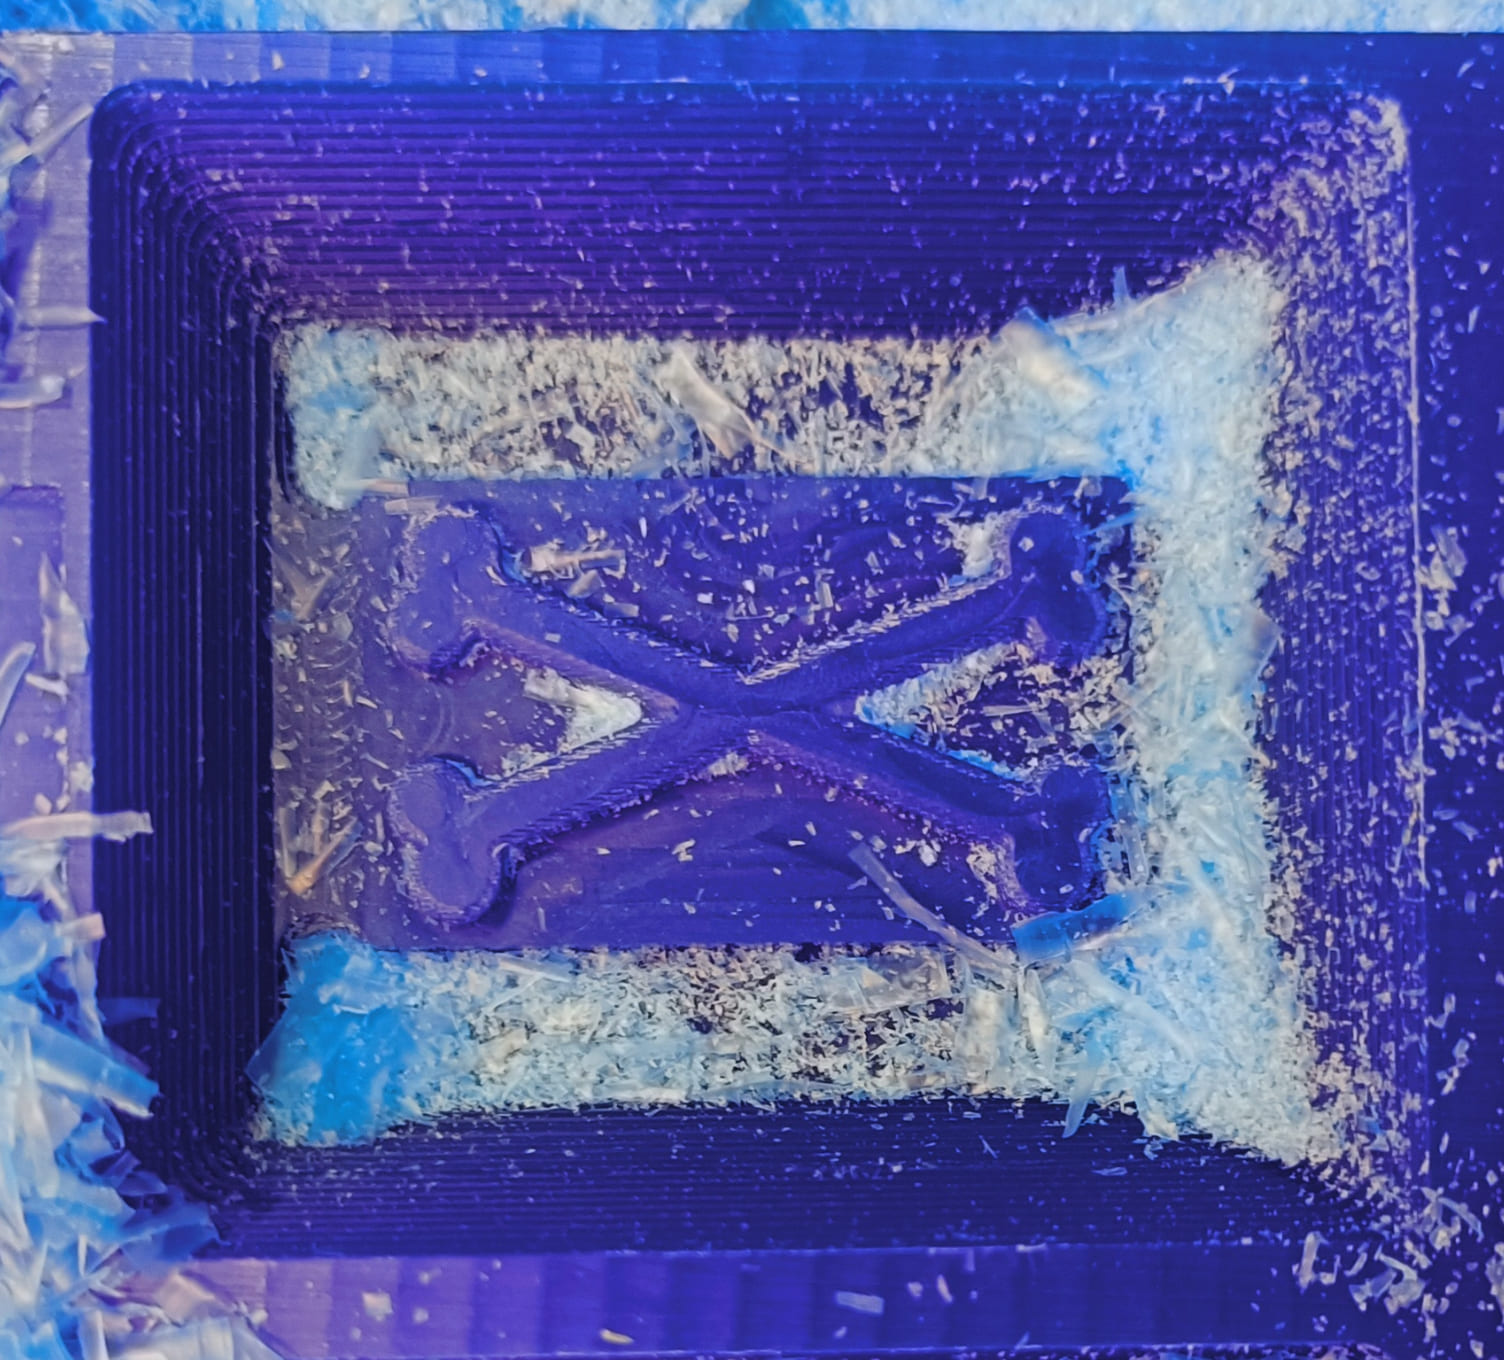
3D-printed mold. The traces from the printer are still clearly visible -> post processing is required
Casting:
I am going to melt gummibears and chocolate and cast them into the molds.
Proceedings:
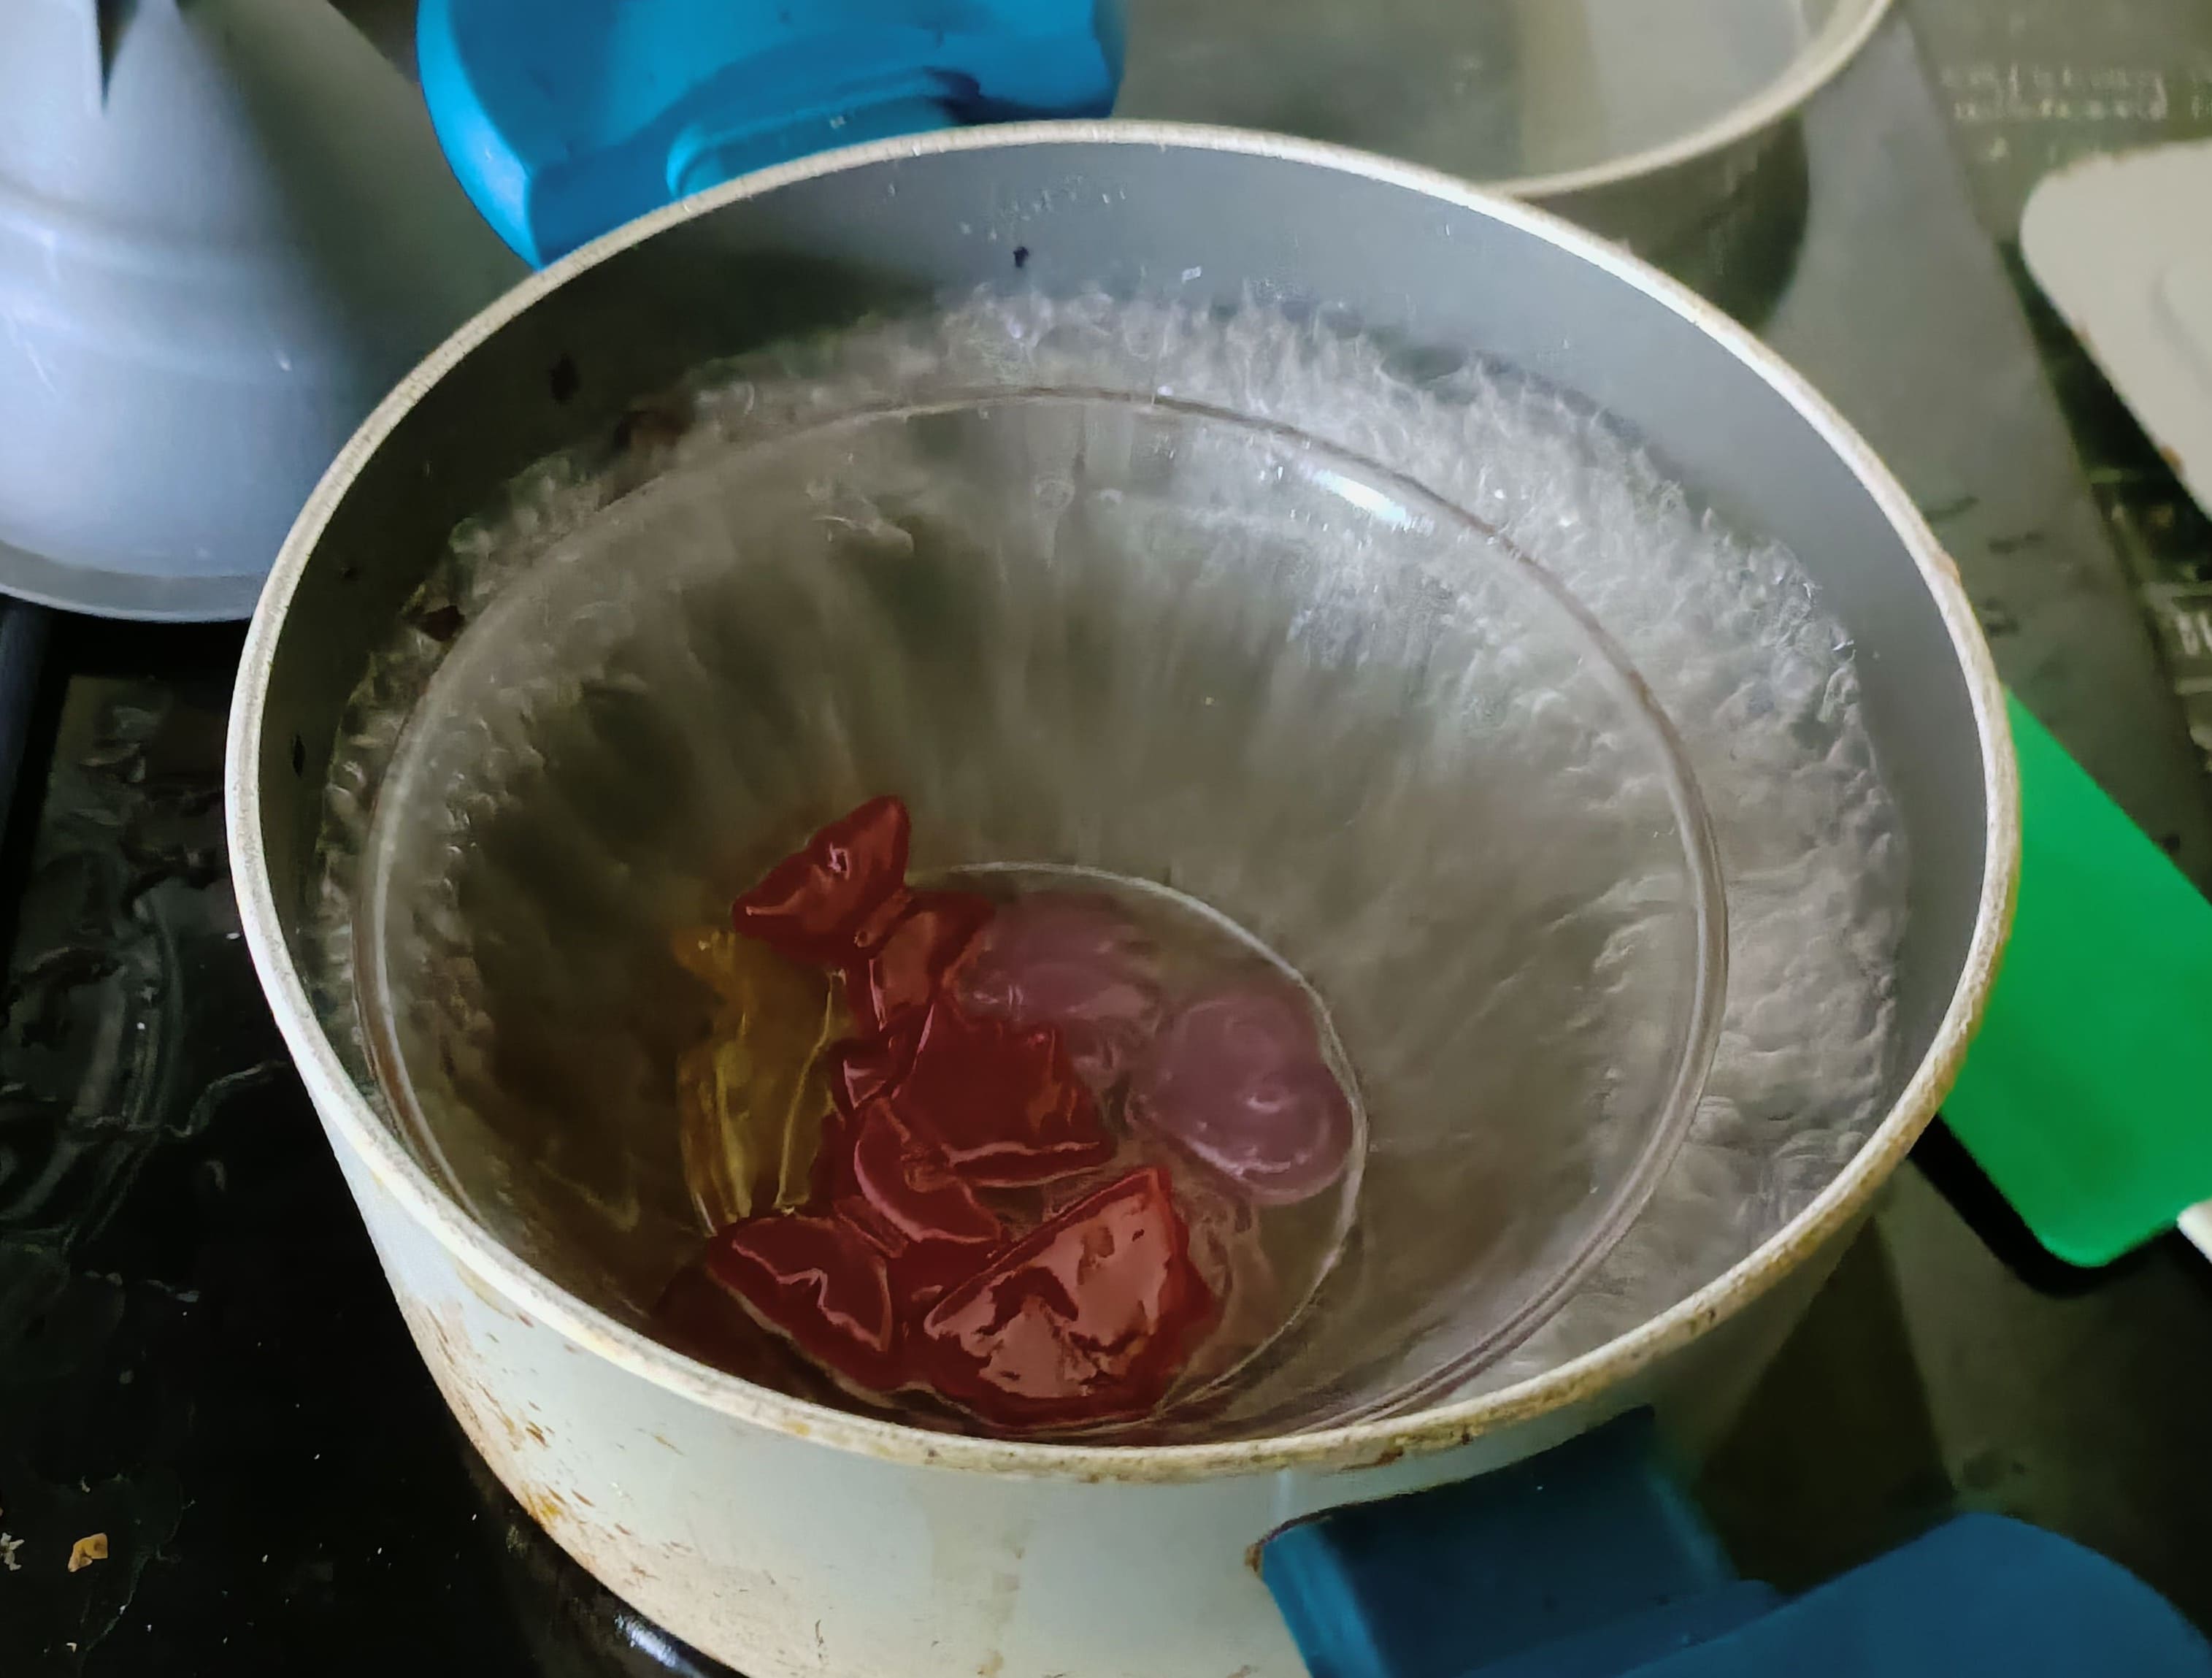
Melt chocolate -> heat up water in a pan and place the chocolate in a separate bowl into the boiling water. See below for a picture.
It is easier it you cut the chocolate into small pieces. I used the cheapest home brand from the supermarket.
Be careful to take it away while it is smooth, otherwise it might get hard again.
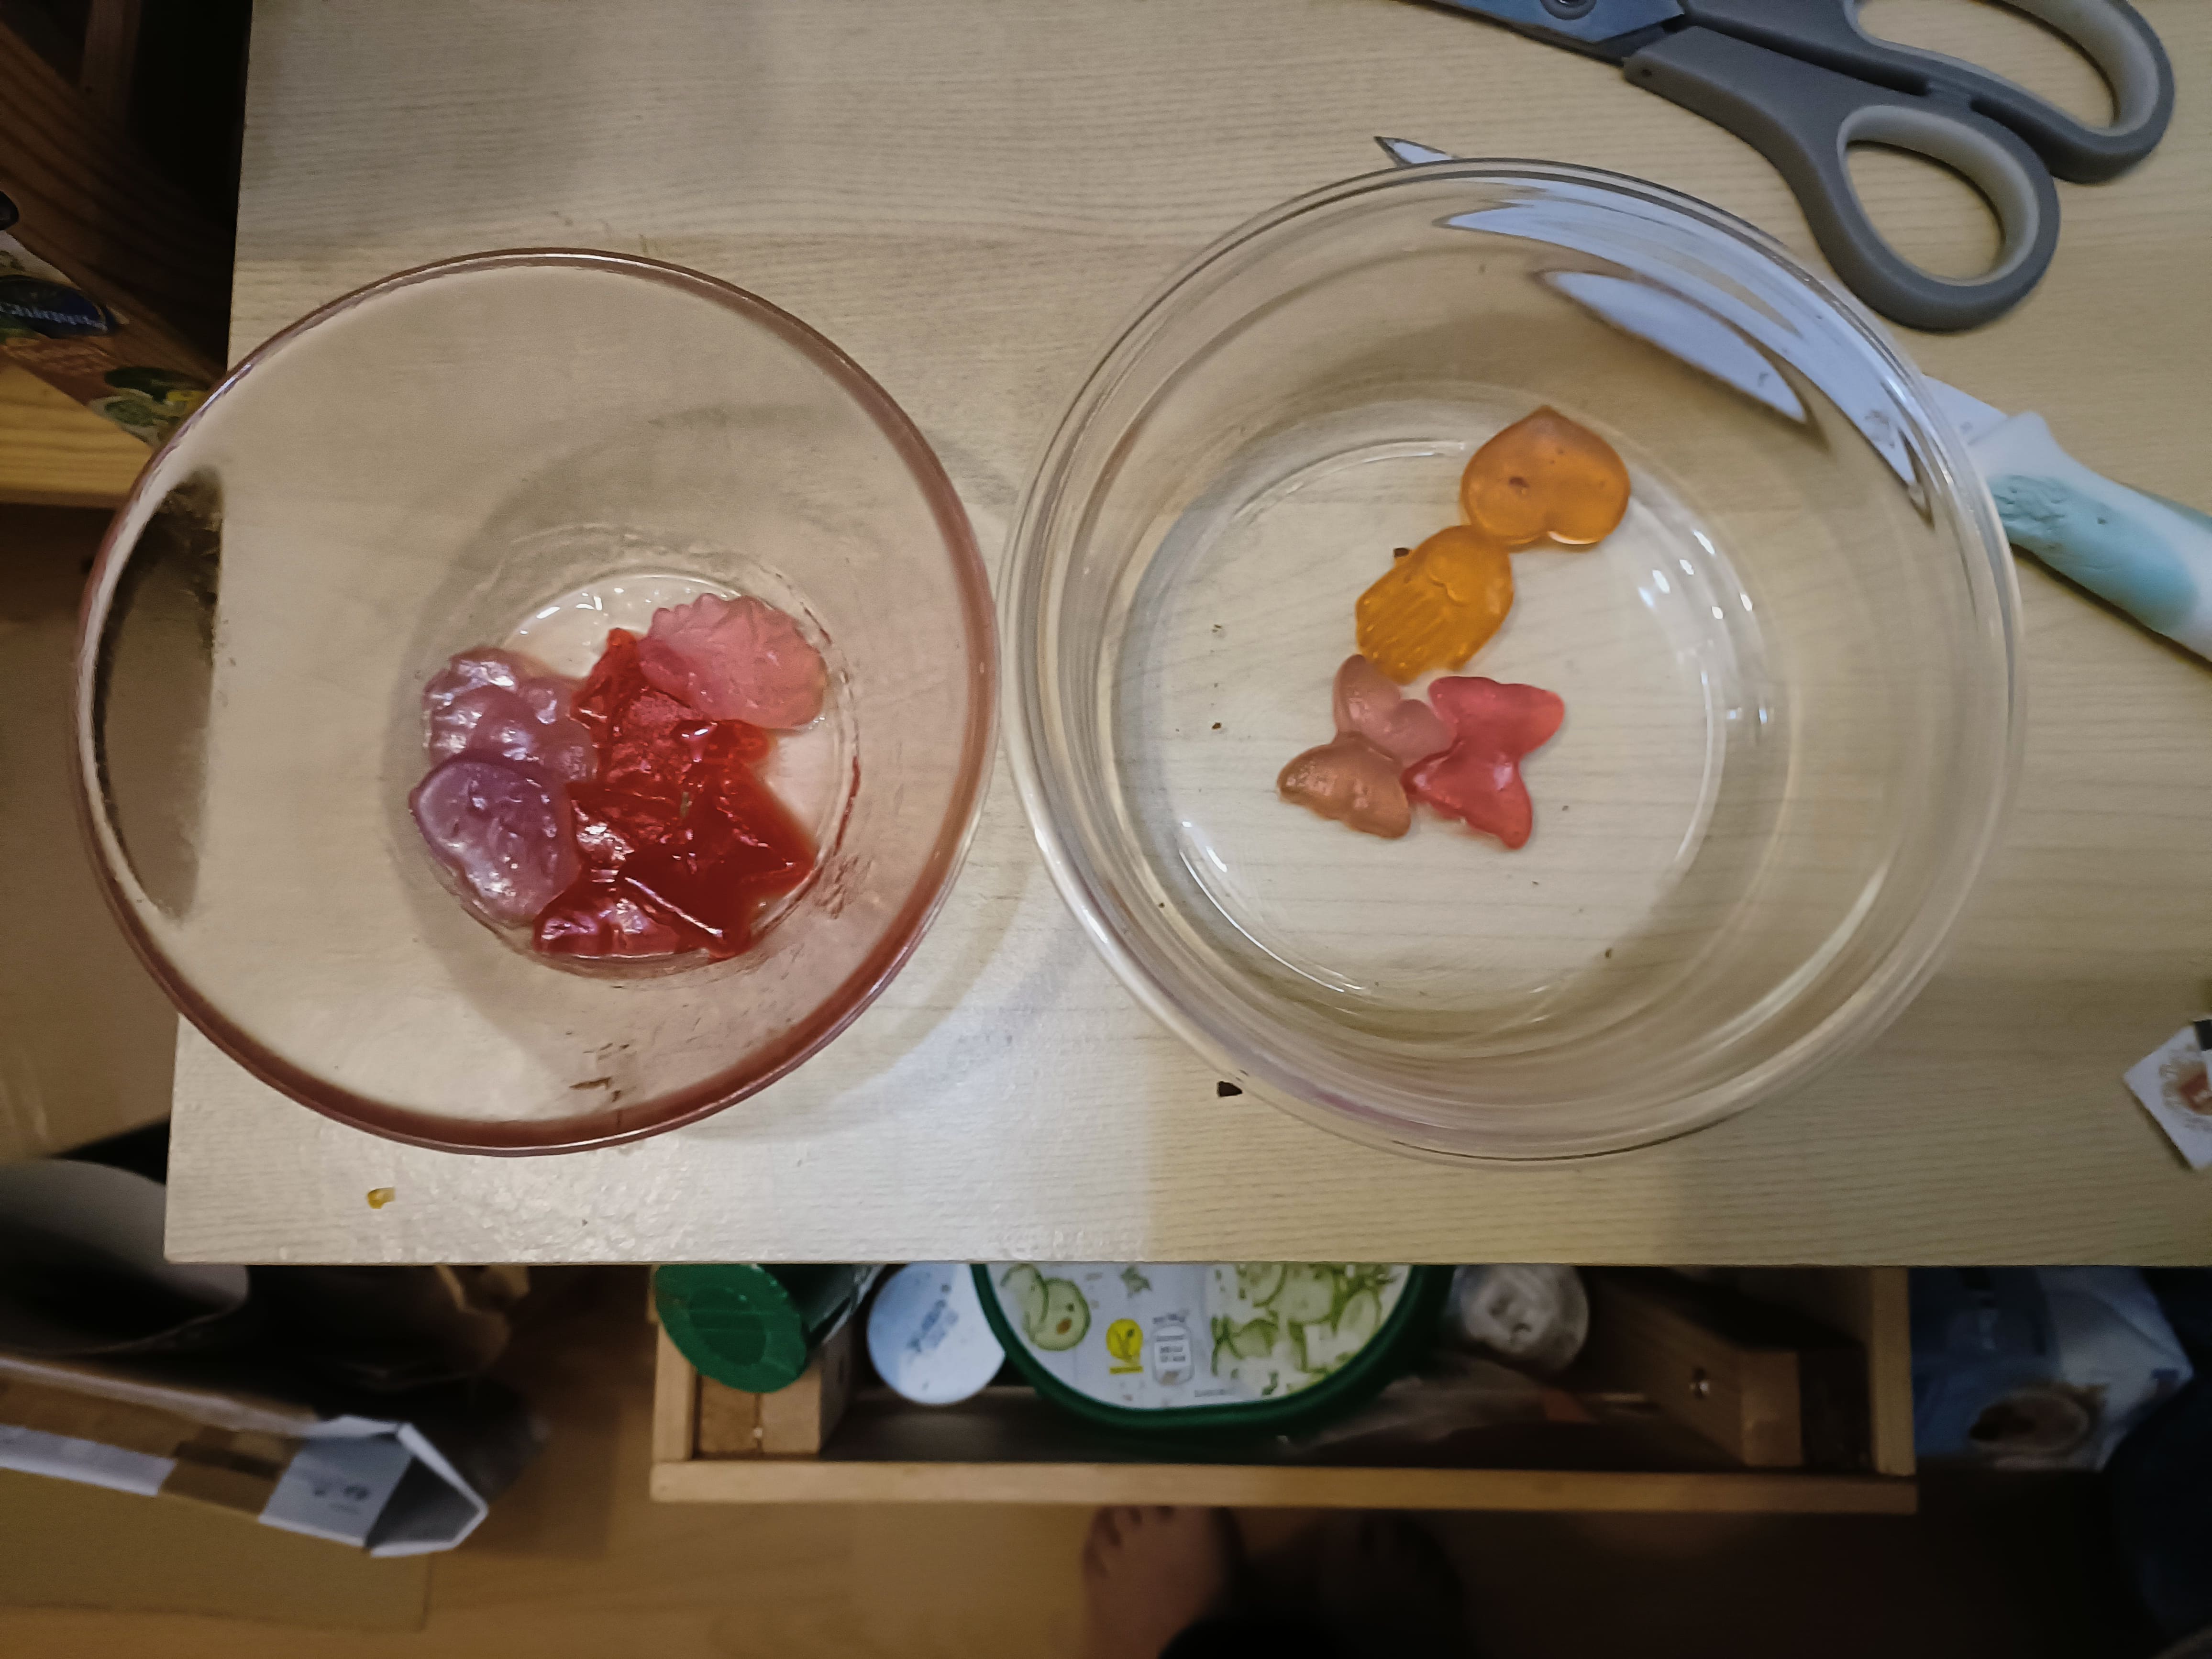
I tried doing the same with gummibears and it worked a bit with added water but it would have taken forever. So, I placed a
control group into the oven but that just made it harder. Letting it sit in water softened them up again.
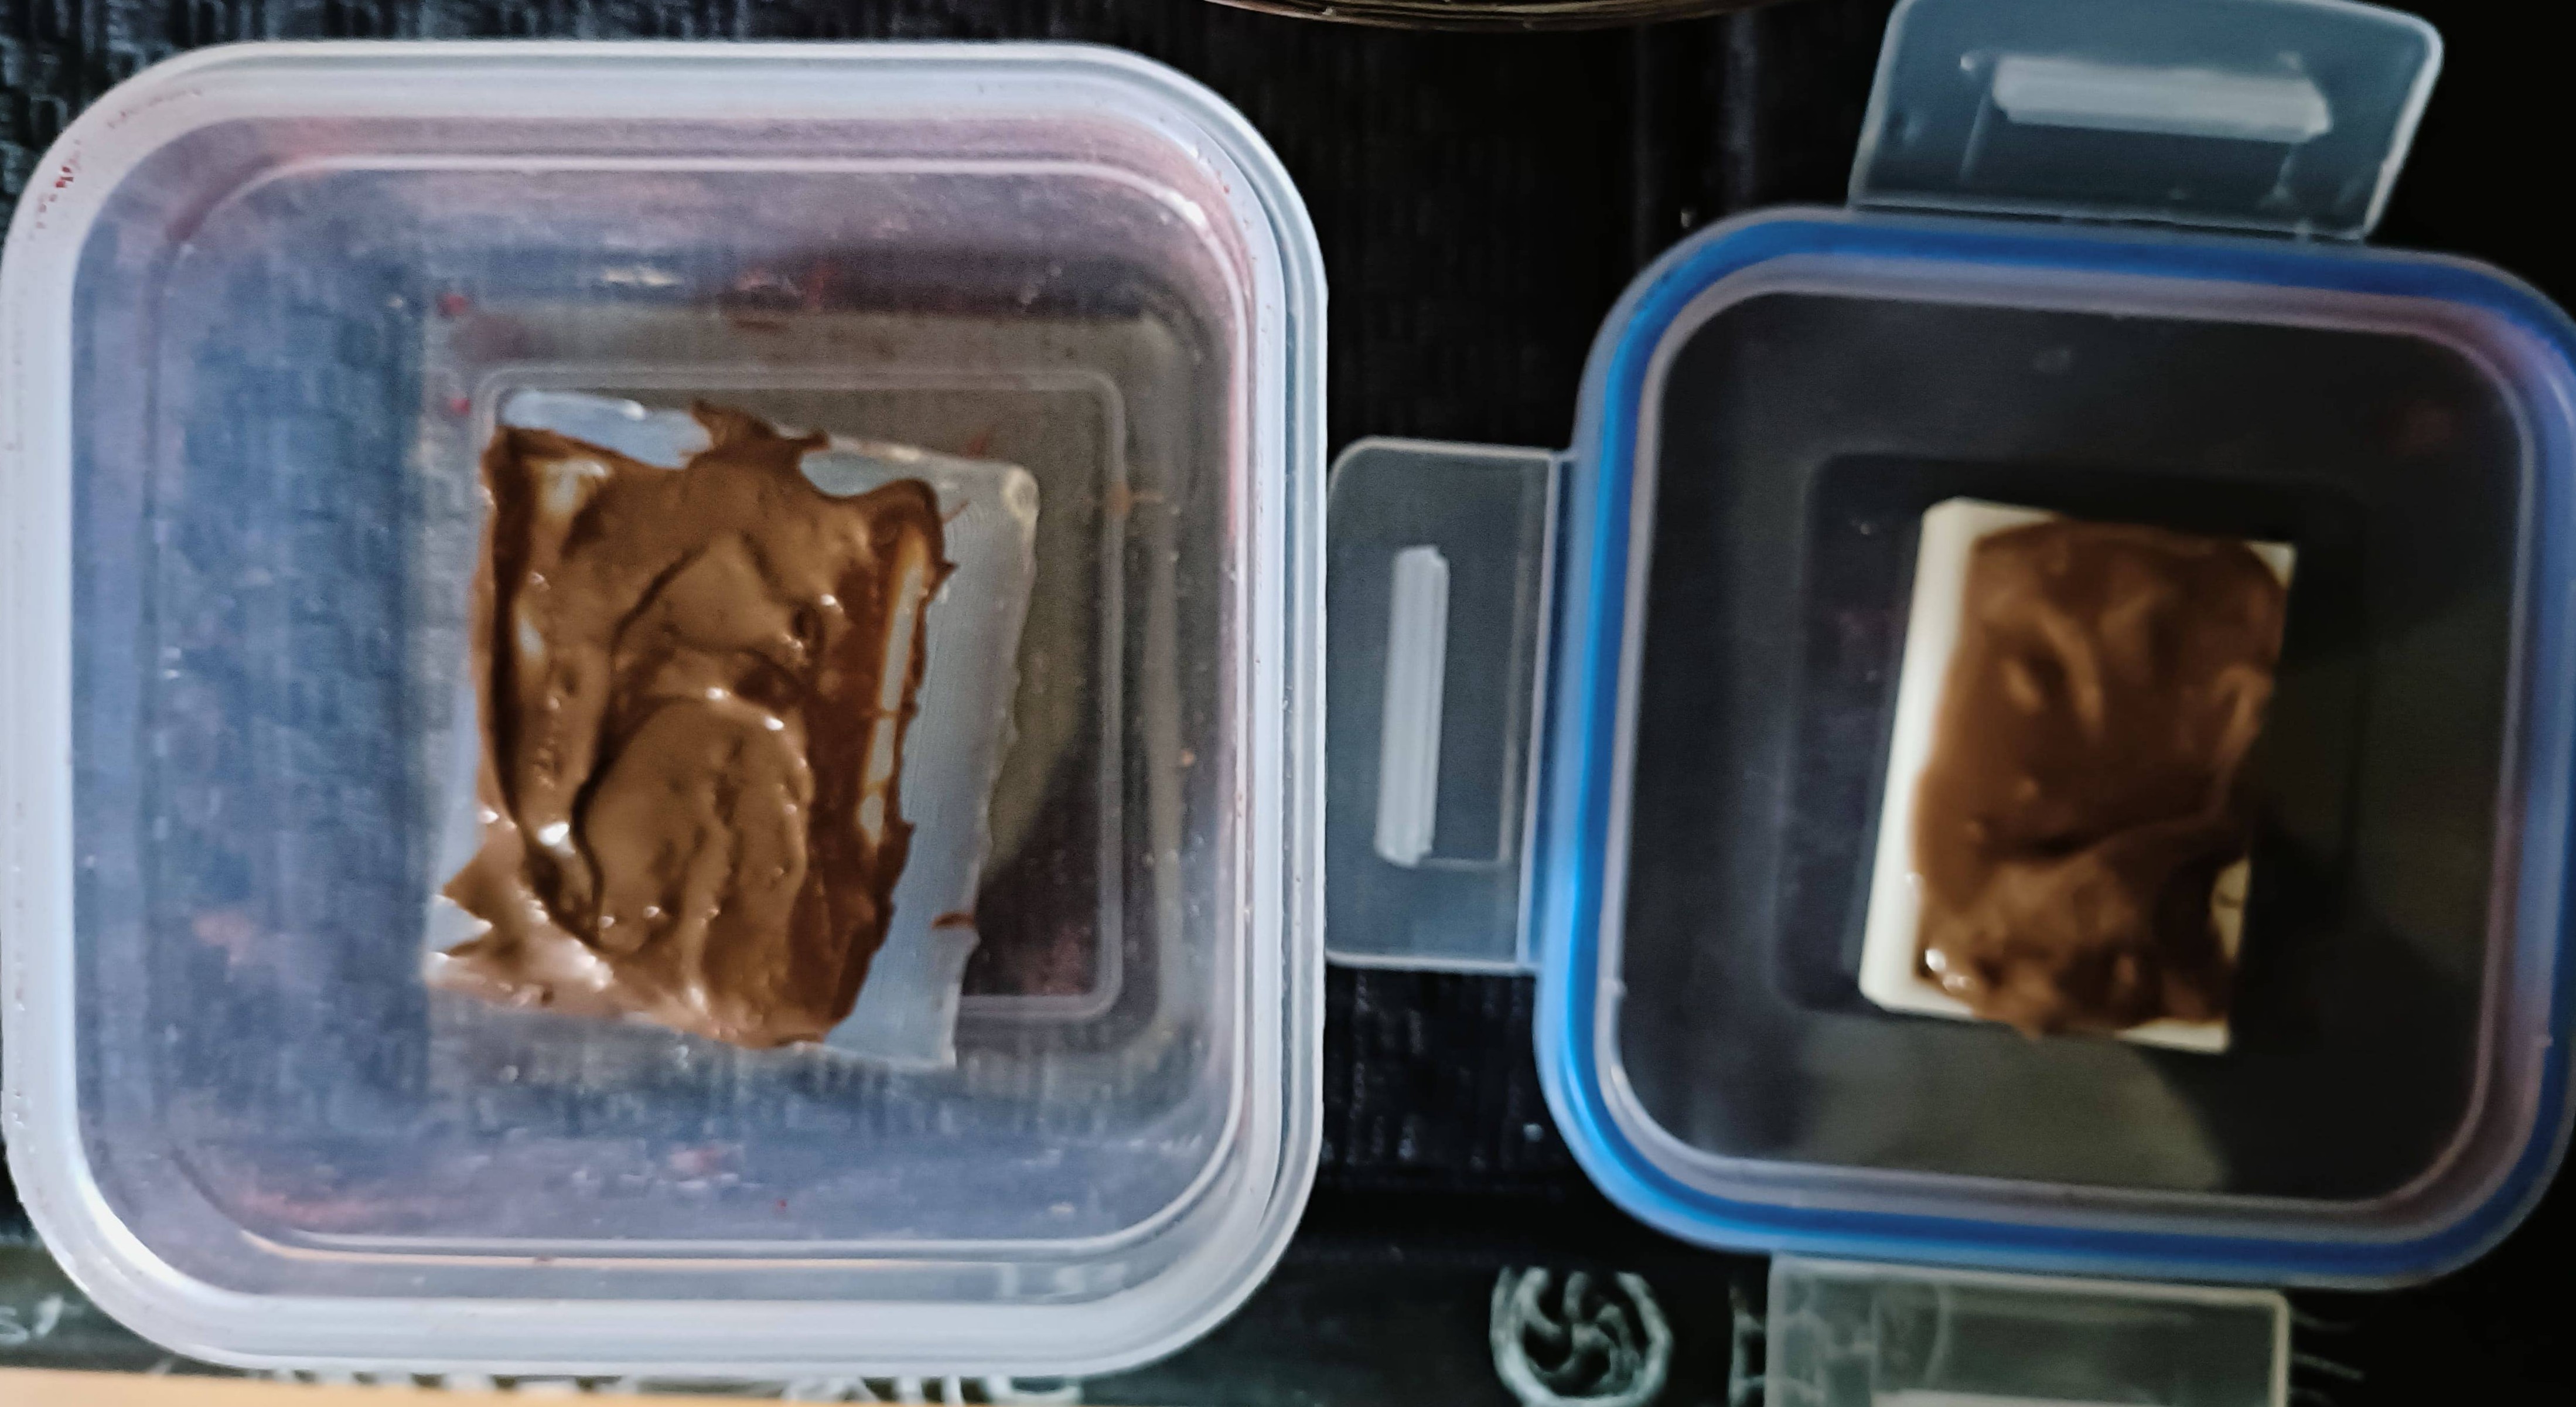
Left: comparison of the gummibears after trying to melt in the water (left) and in the oven (right).
Right: Example on how to melt chocolate (shown here with gummibears).
Prepare the molds and pour the chocolate inside:
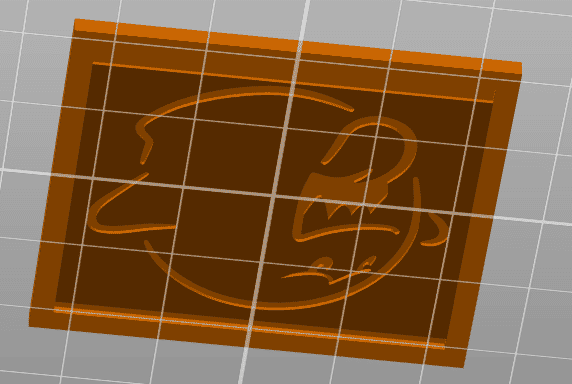
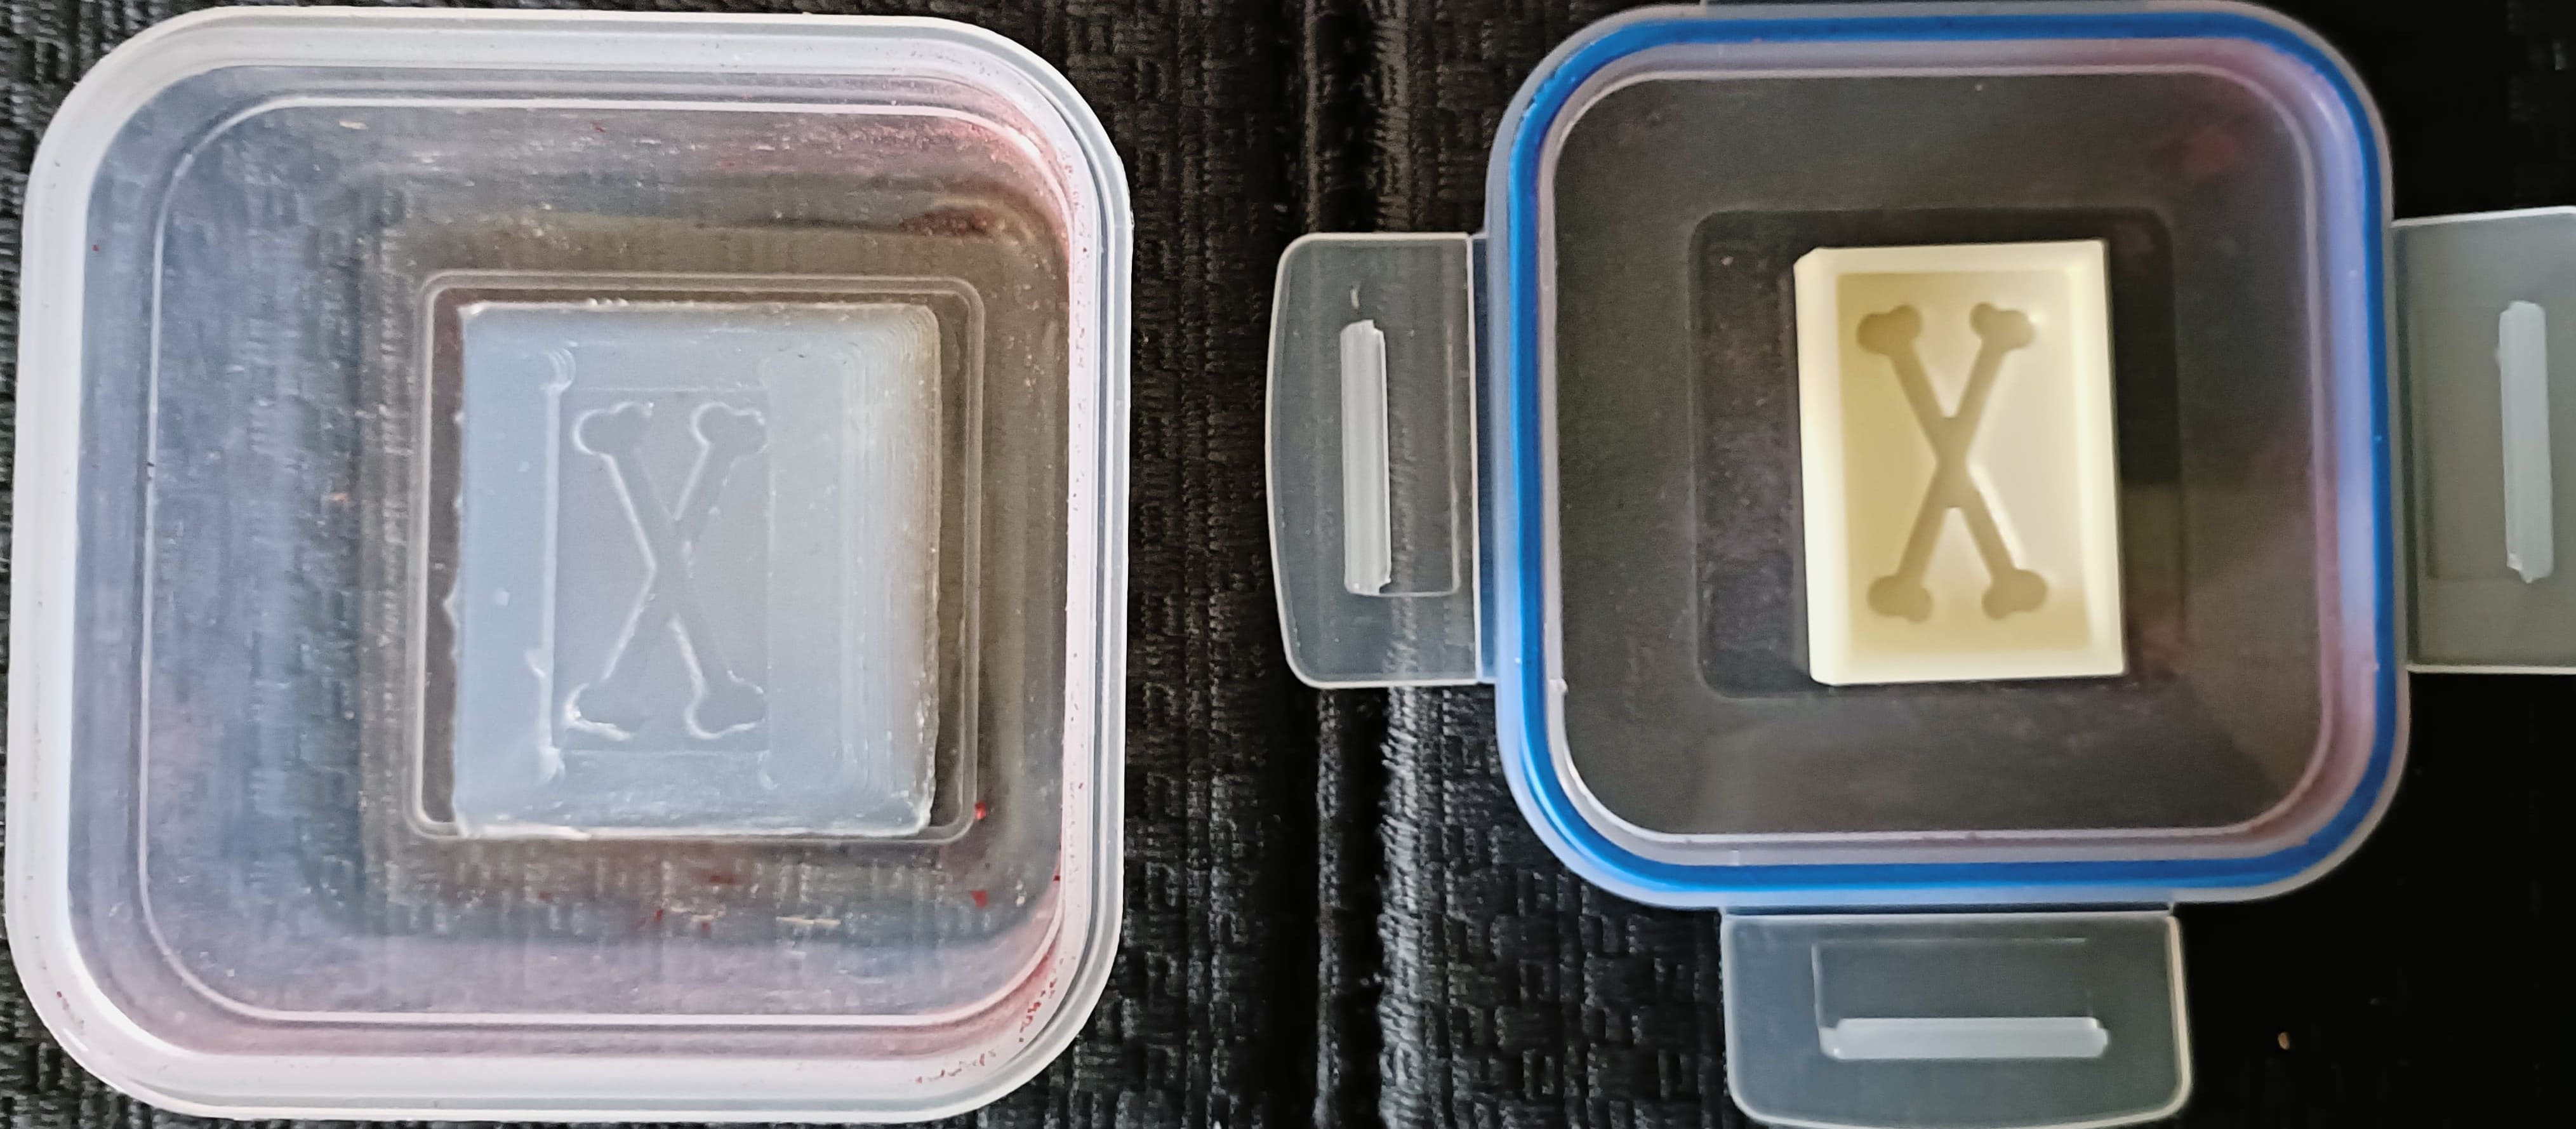
Results from chocolate molds:
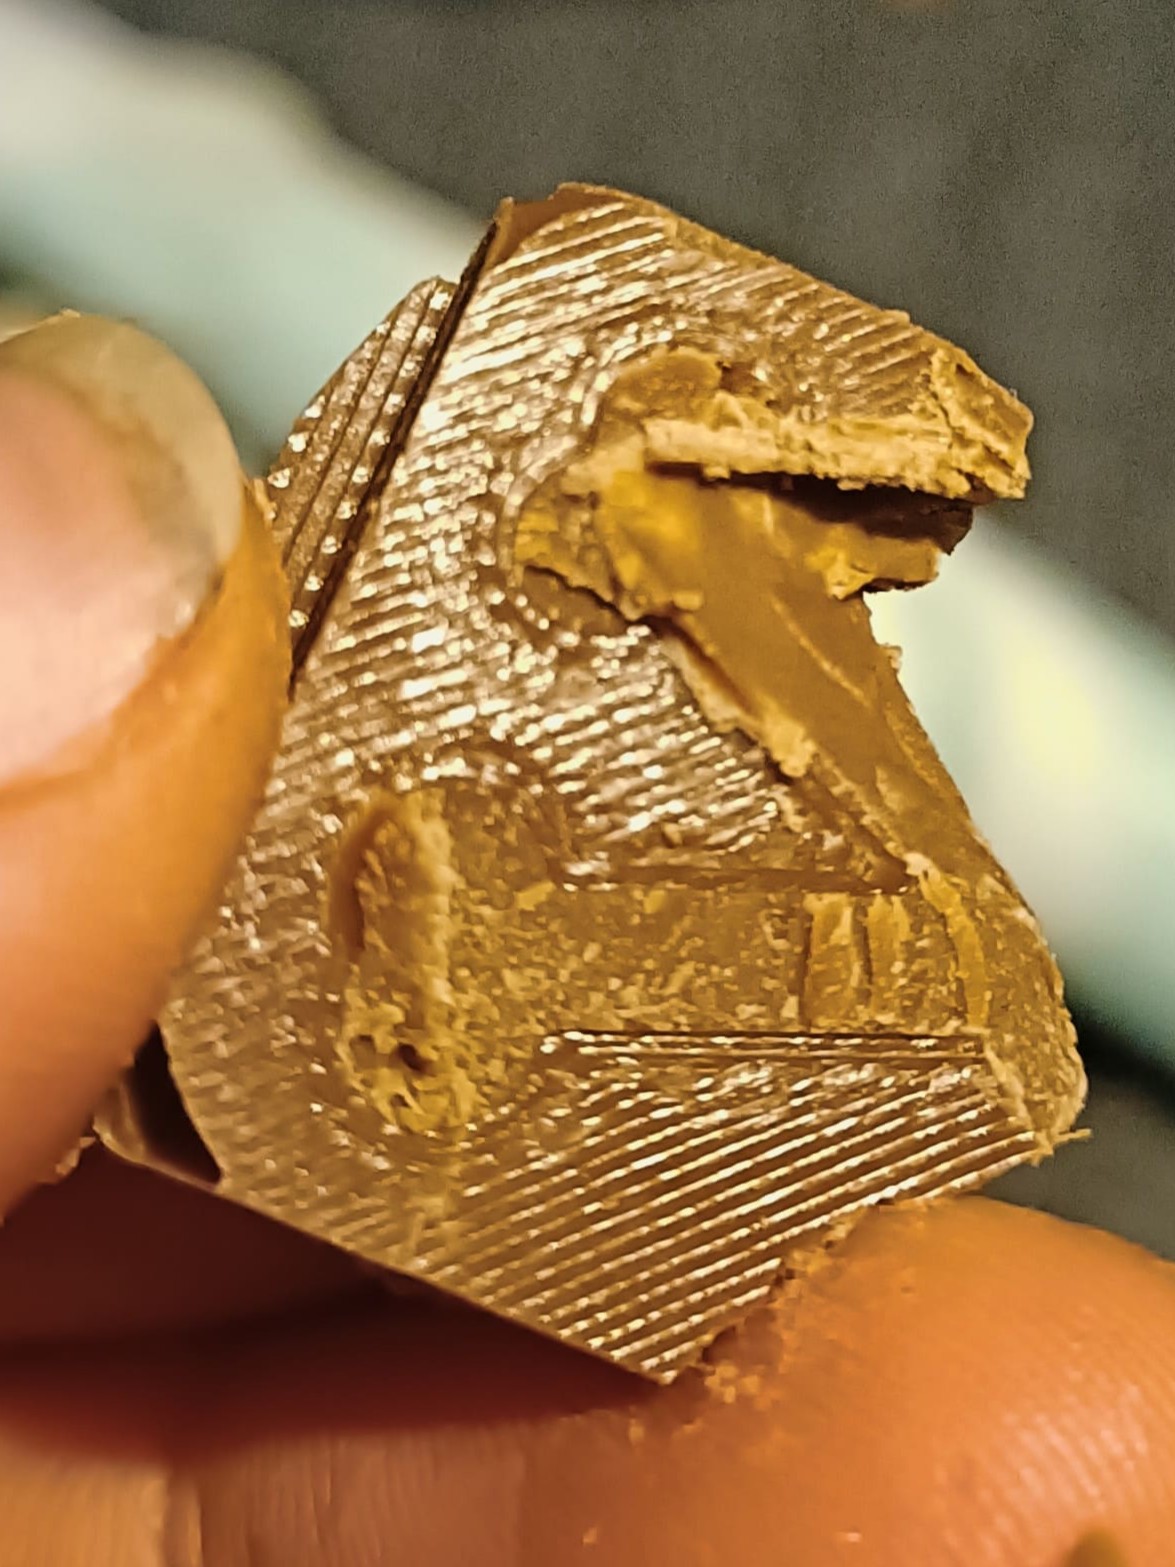
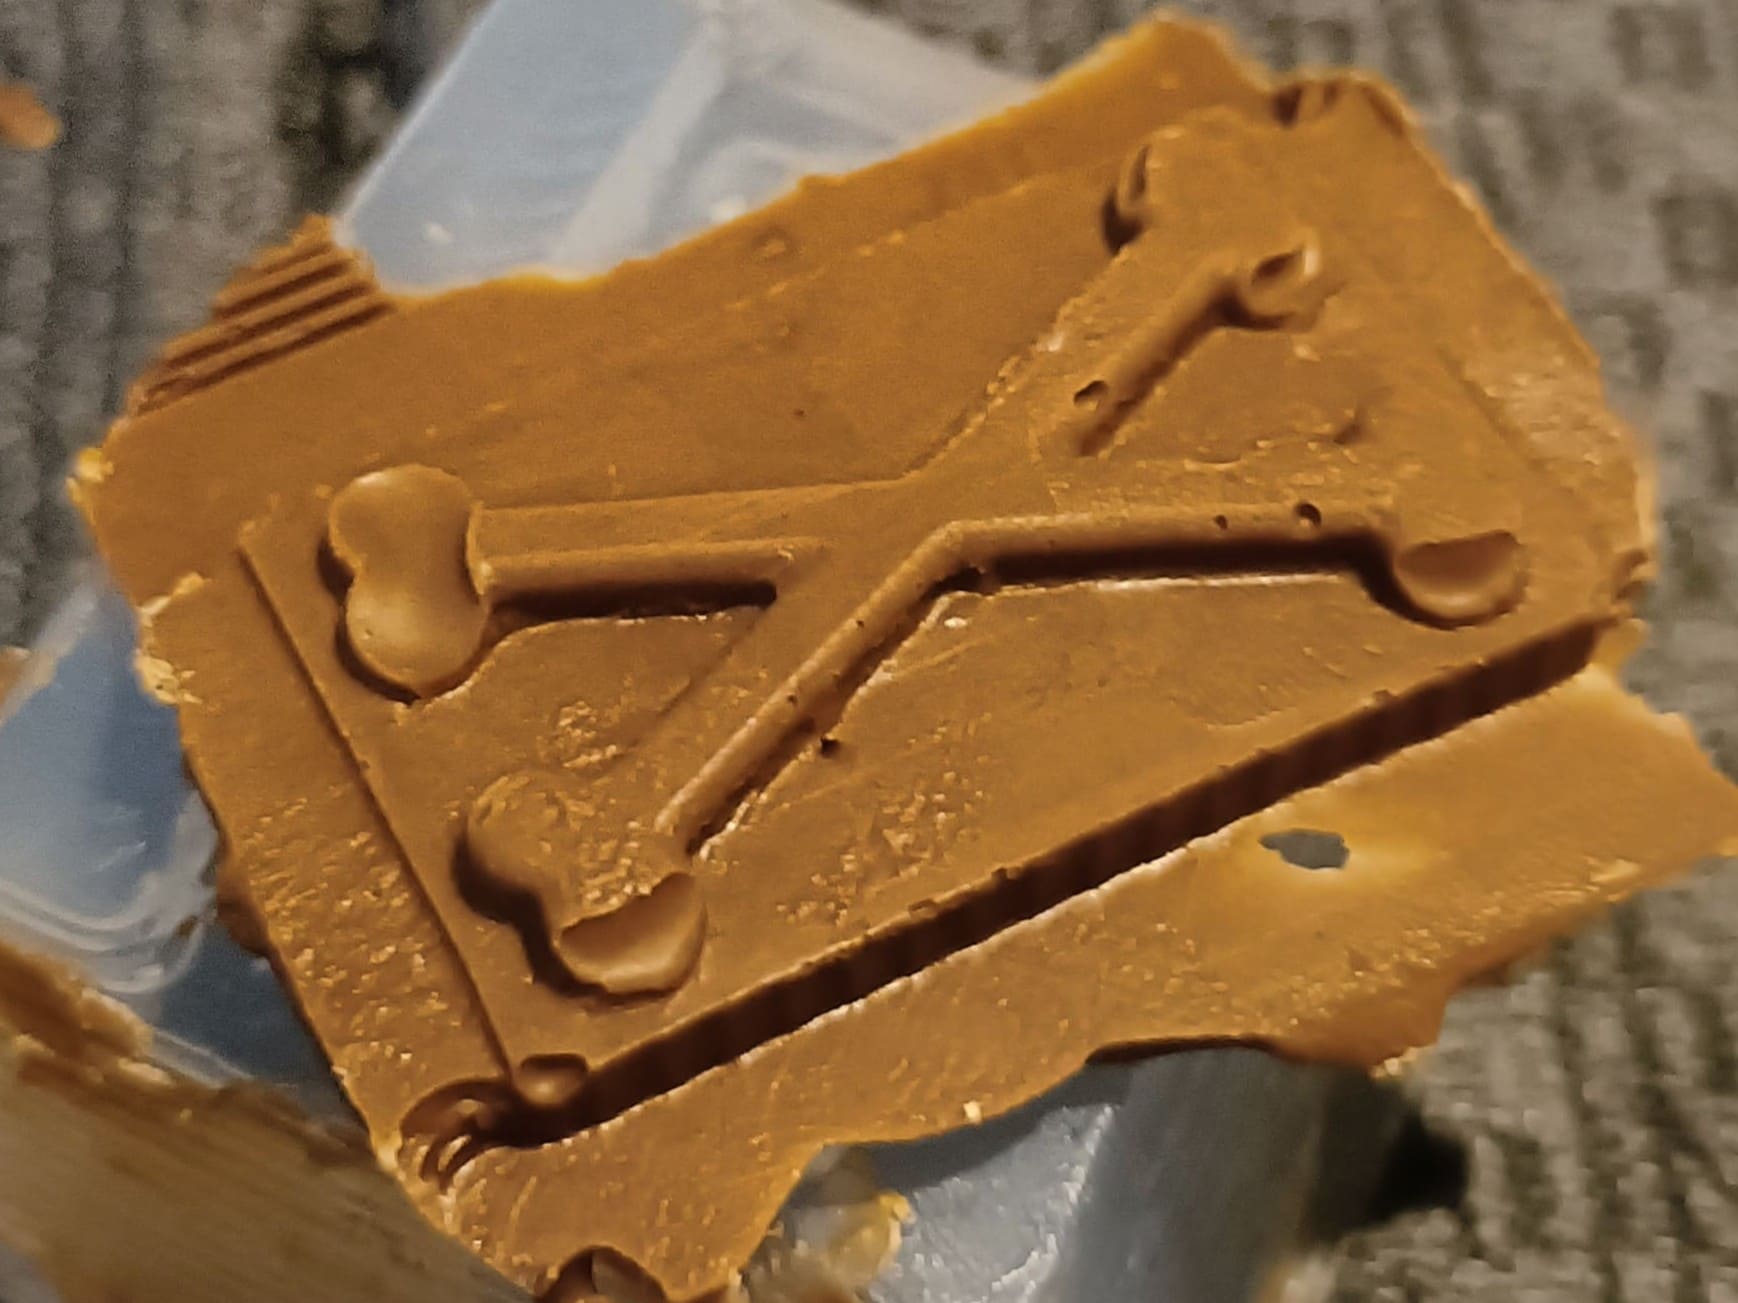
Left: result from the chocolate mold. Unfortunately, the 3D printed mold was too stiff.
As a result, the chocolate broke when trying to take it out. Still, the patterns are clearly visible.
Right: Result from the wax mold.
