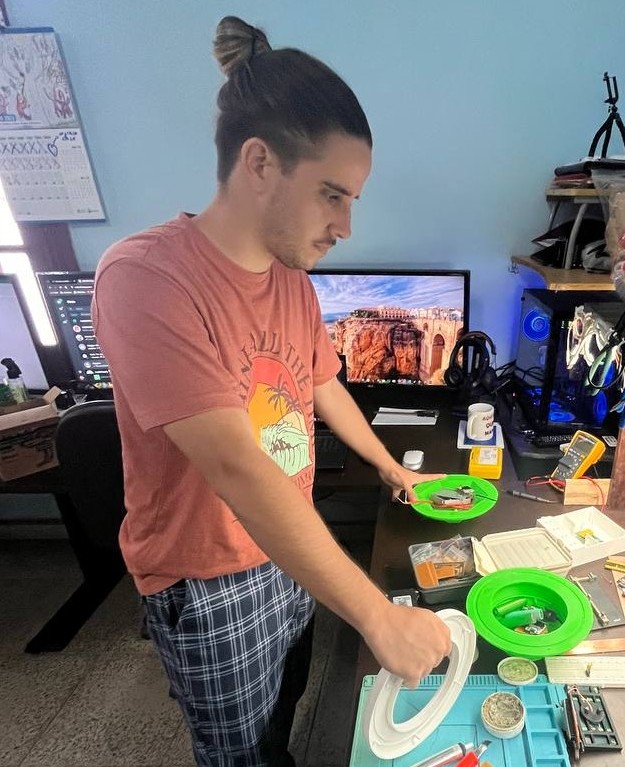
Water quality measurement buoy
🌊🐳🌡🚣
What is the dream?

The idea is to create a smart buoy with the maximum possible autonomy, efficiency and independence, capable of measuring water temperature and pressure, parameters necessary for the study of reservoirs, being able to transmit them in “real time” and view them remotely.
What tasks have been completed?
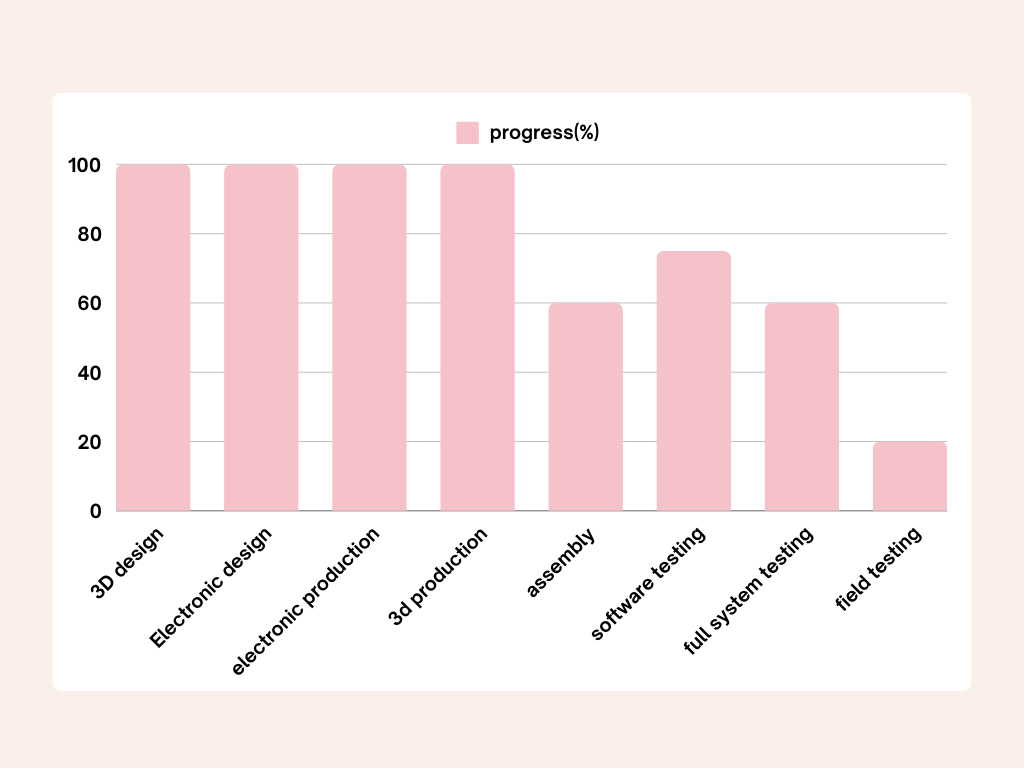
We can define the following task list as the essential points to complete the project. As you can see, due to the weekly assignments, everything related to design and production is almost finished.
Design and manufacturing of the buoy
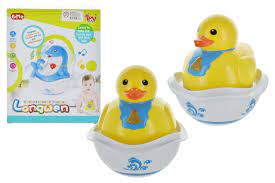
As inspiration I took other designs of similar products on the web, and some classic bathroom elements that from experience we all know float.
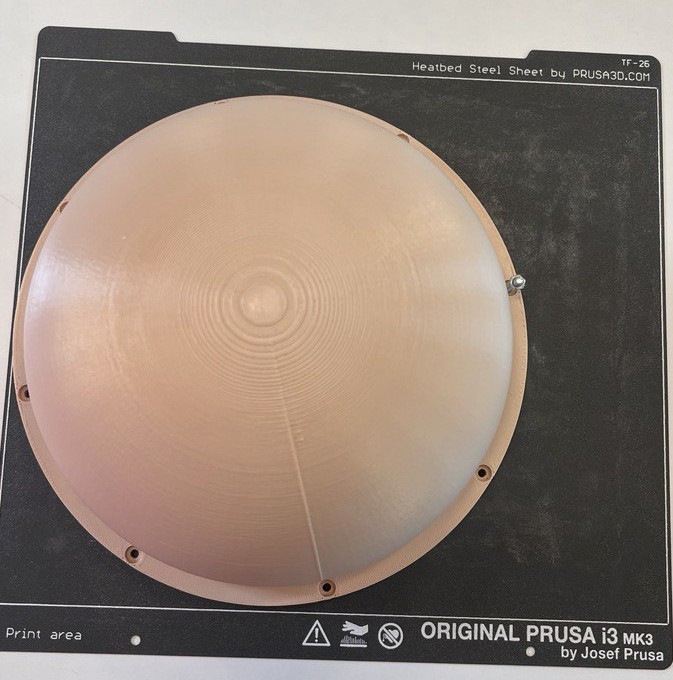
The first thing to talk about is the 3D design...originally I made it based on a semi-sphere, but I didn't get good results.
Although my imagination told me to do something big and showy that could be seen in the distance and that would serve as a lighthouse for sailors, my reality imposed something else on me...hehe. Well, the size of the design is given by the maximum dimensions of the Prusa printer bed.We can see the step-by-step design process in week 2.
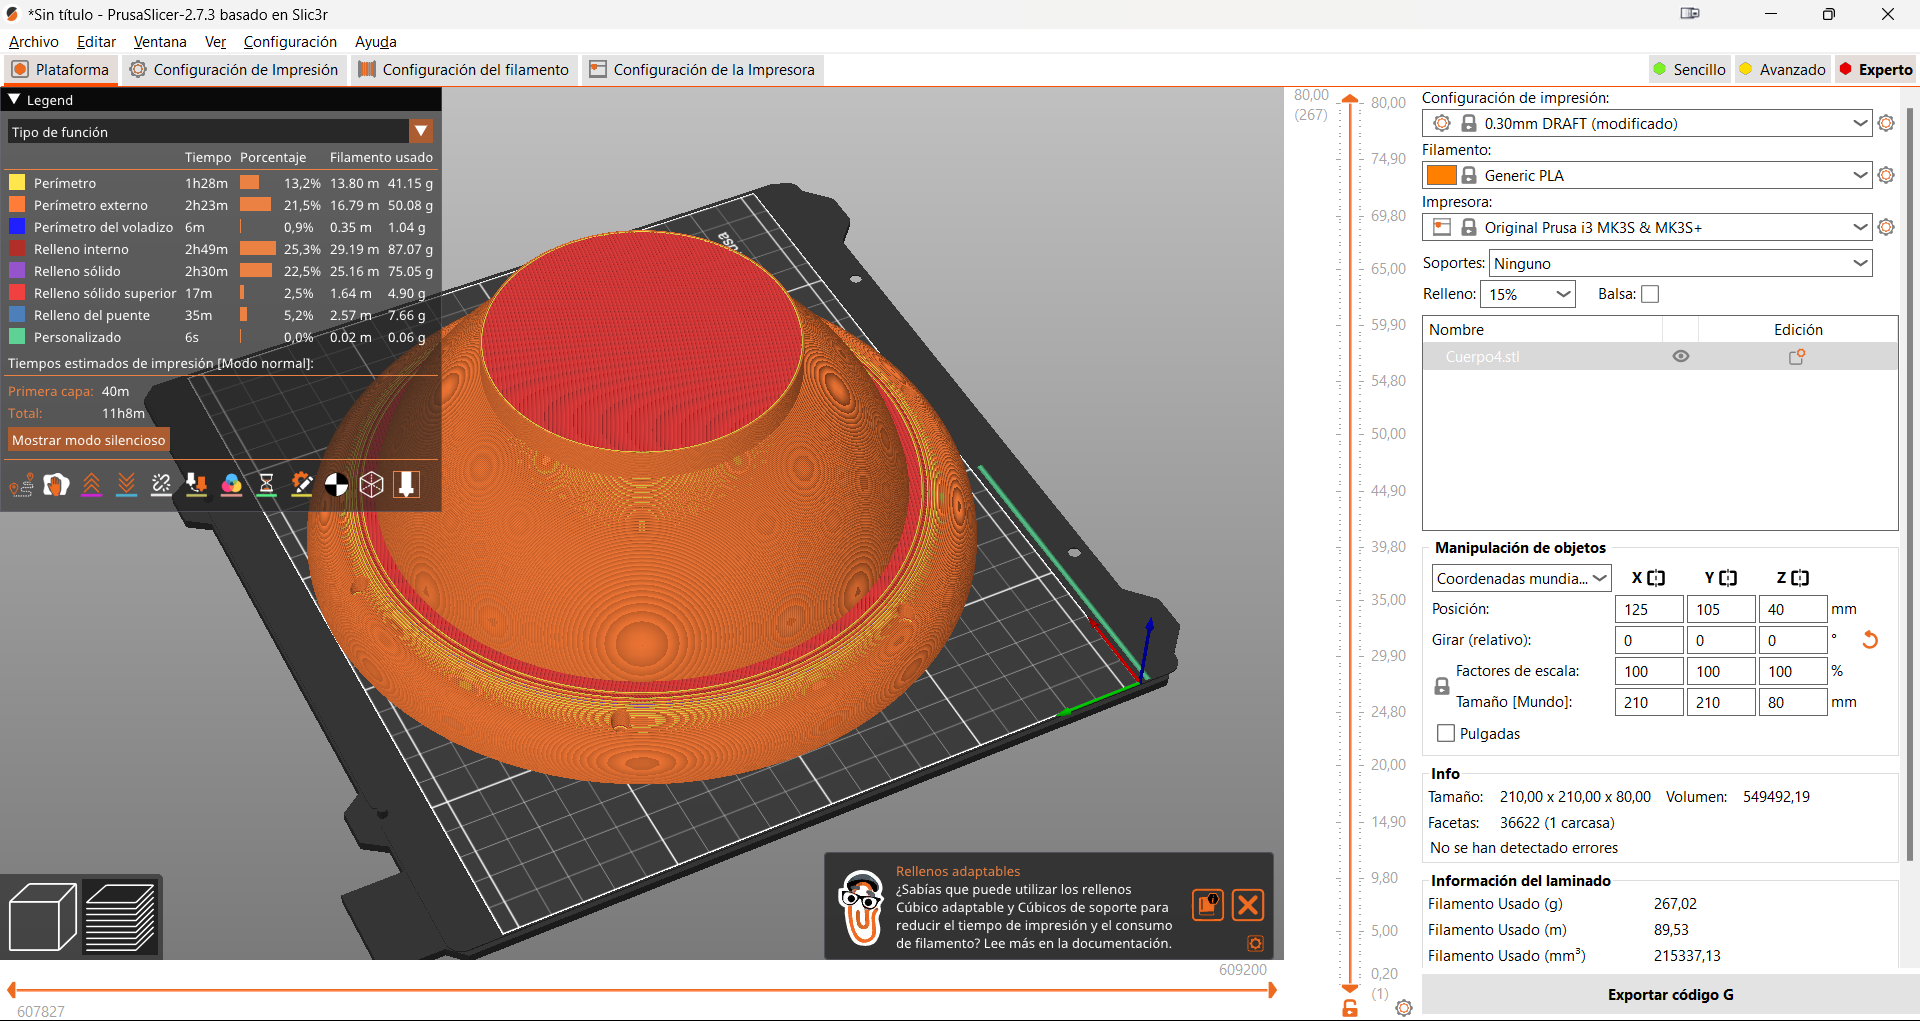
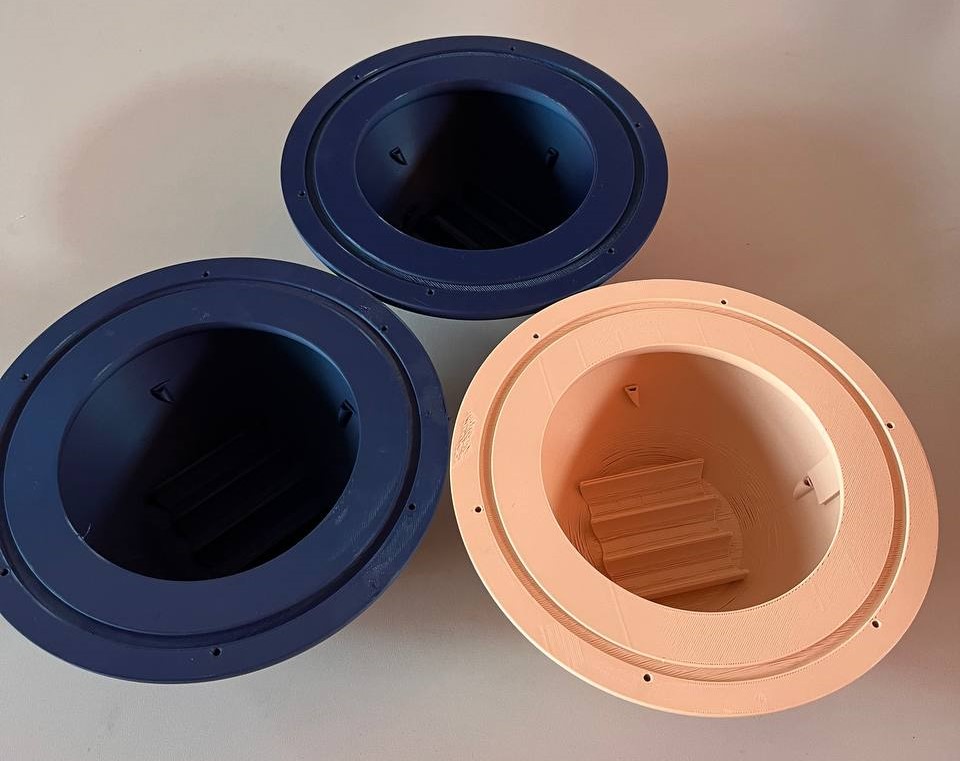
Until now all the fabrications have been made with PLA but according to what they say on the internet, this material does not resist outdoors, so the final version of this project will be manufactured in Polypropylene, which is a filament apparently designed for this type of applications. Of course, to make all these 3D pieces, the knowledge acquired during the 3D printing week was used.
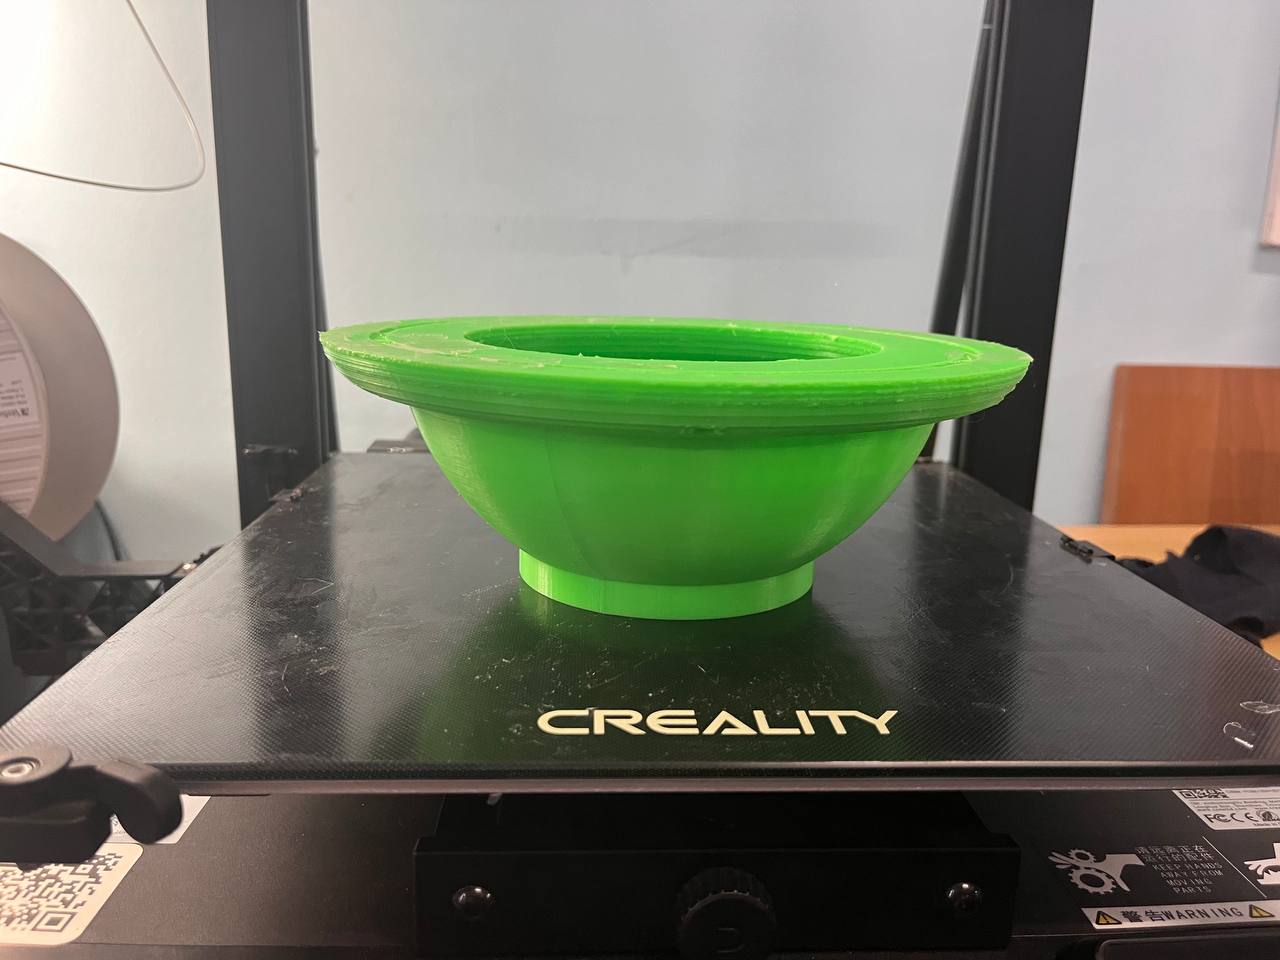
It had little stability both in the water and when I was putting it together, I needed something that would float but also have a firm base to put on a table (at least in the development stage). Also, the joint part needed to be thicker so I could put a gasket.
Closing joints
The design is intentionally made with the fewest possible parts, even so to seal both parts I used a gasket that I cast myself using the knowledge of the Molding and Casting week.
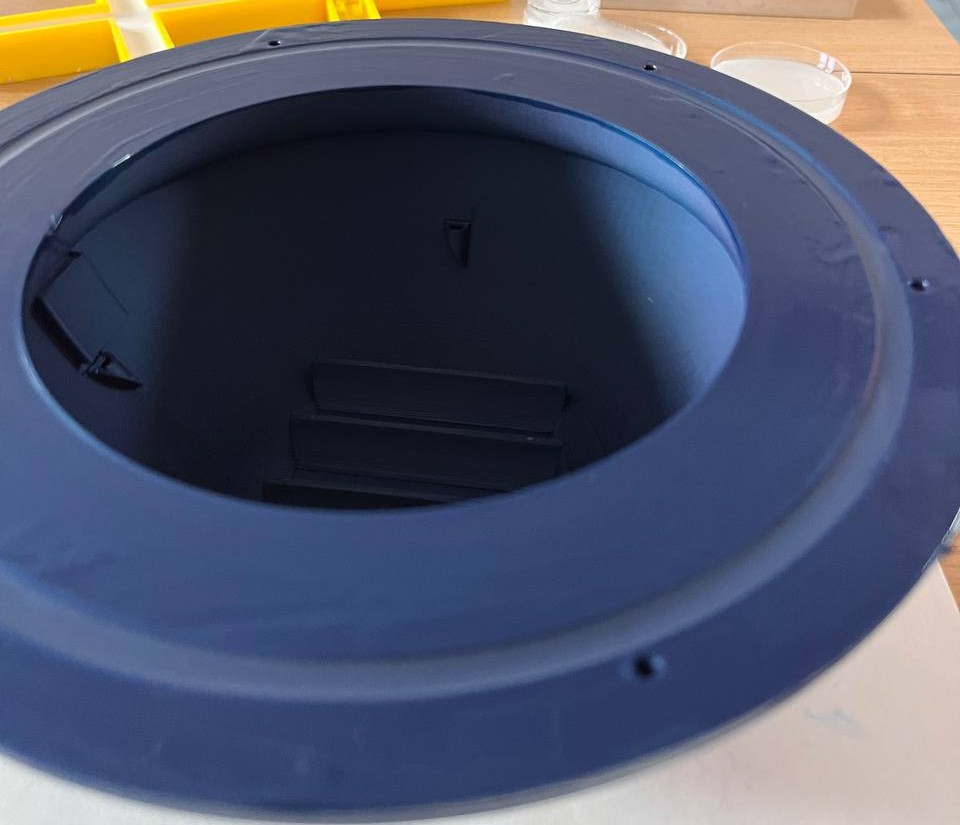

The solution of making the gasket in the body of the buoy itself was not effective, it is too small and does not compress. So I decided to make a separate gasket so I could vary the height or shape according to my needs.
After several tests with different materials, I determined that the one indicated for its hardness and flexibility is OOMO0 25
Electronic Part
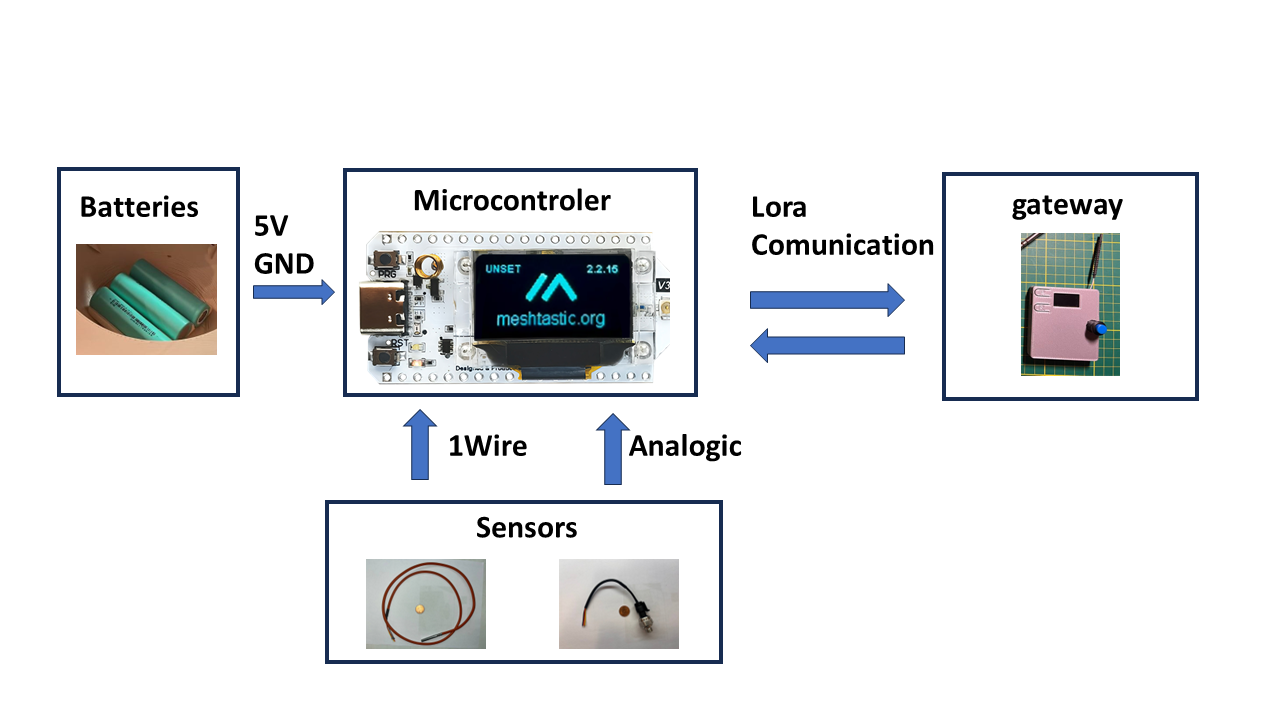
The electronic part will be nothing more than a slight redesign of the week of Electronic Designed, which is the one with which we have been carrying out almost all tests throughout the course, both the sensors and the communication are already ready, so It won't be very complicated to adapt it to the final prototype.
Connection diagram
This diagram shows the integration of the electronic part in the project, the connections of sensors and batteries are noted, as well as the data flow until reaching the final interface.

Design in kicad

As you can see in the photo, it is a simple PCB, with few elements, but it meets the requirements of this version. This is the download Link for the PCB
Manufacturing
A quick video about the manufacturing and production process.
Battery
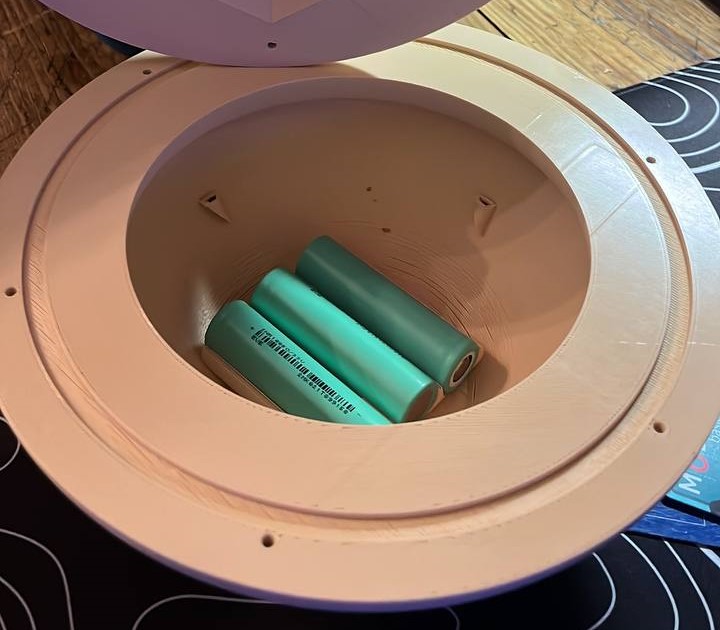
Taking into account that the energy demand of the system is about 100mA per day (calculated, STILL TO BE VERIFIED), I decided to put 3 18650 batteries in parallel, which should be enough for about 2 months of continuous use without charge
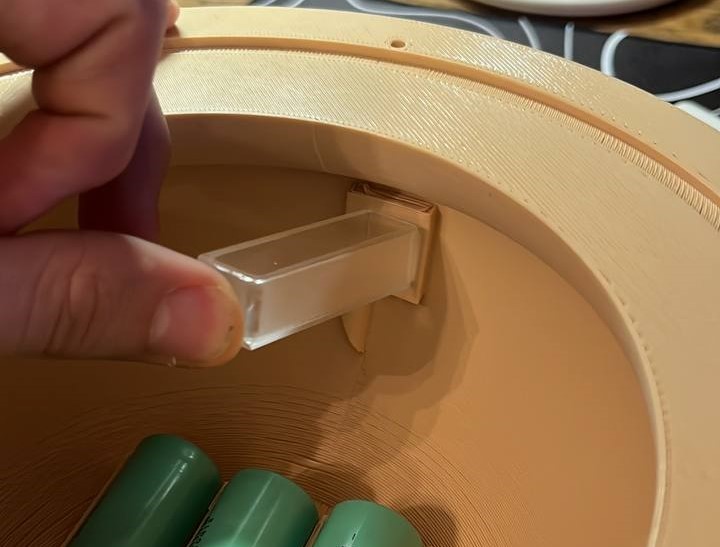
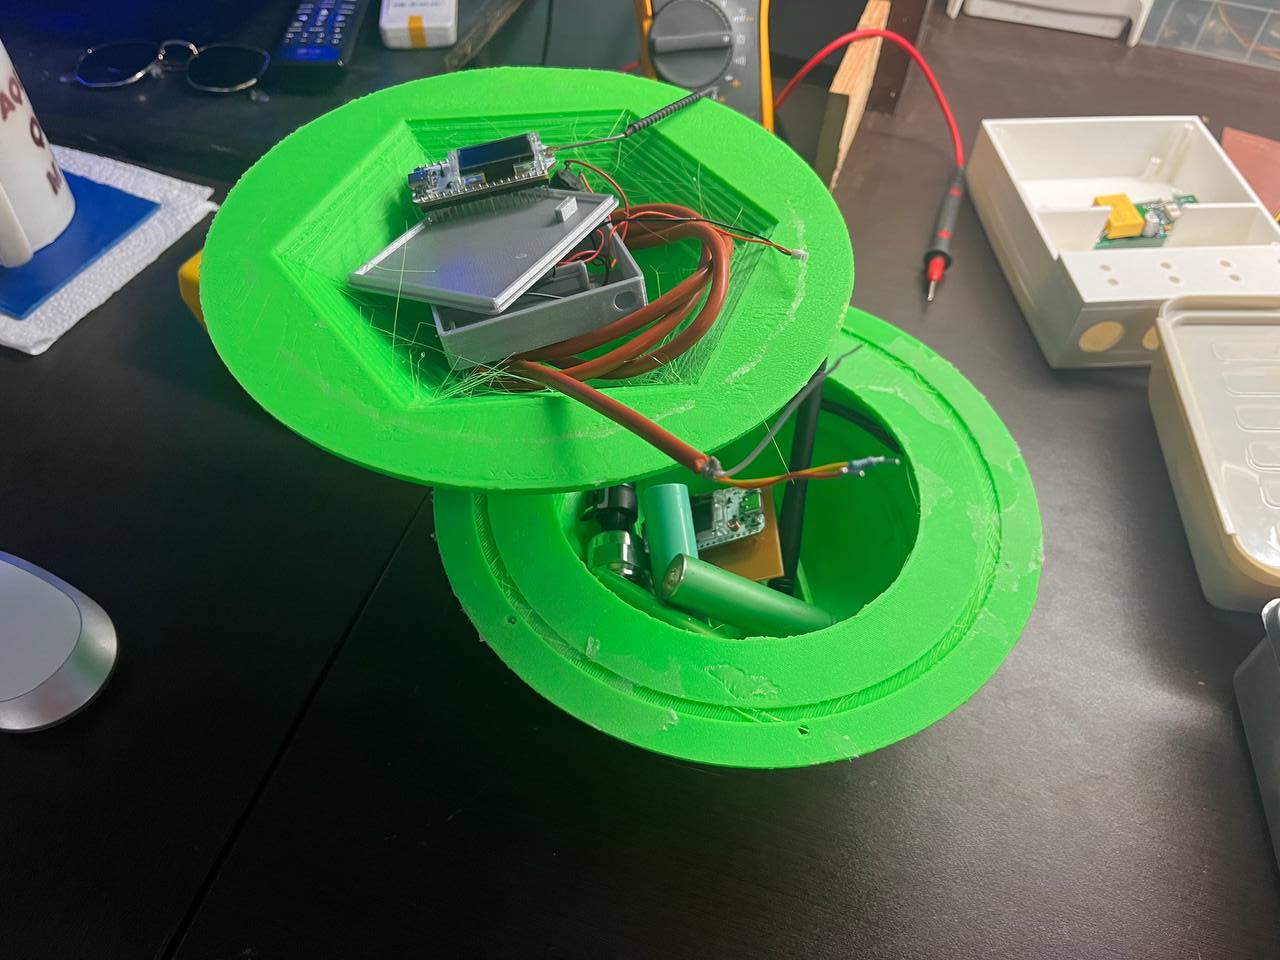
In the near future I will include an extraction system to perform spectral processing of water in a quartz basin, it was not included in this version due to time issues, but it is the next Milestone The tasks that are still incomplete are those related to testing, corrections and finishing the project. I continue working and in the next few weeks the project will be ready. At the moment I have the prototype almost finished, but there are still some uncertainties... Floating. Apparently it does, which was something that really worried me, but; I don't know if after a few days the water will start to penetrate, long-term tests need to be done. I am also worried about the condensation issue, assuming that the lake water is not able to enter, it remains to be seen what will happen with natural condensation. The truth is that it can be in the water for at least 2 days, so far that is the longest it has been in the water and it has not had any problems, neither with water nor battery...we would have to see how it goes in a week. This project has been a process of continuous challenge (like almost any project, to be fair). The use of open tools, which I knew but did not master, such as Kicad or Instalape, was very stimulating for me. The interaction with the team and the atmosphere that one breathes in the Fablab always makes you want to go a little further. I am convinced that 6 months ago I did not have the philosophy and skills to carry out a complete project by myself.improvements in the immediate future
What tasks remain pending?
What questions need to be resolved?
.png)
What have you learned?
