Interface and Application Programming
Let's go!
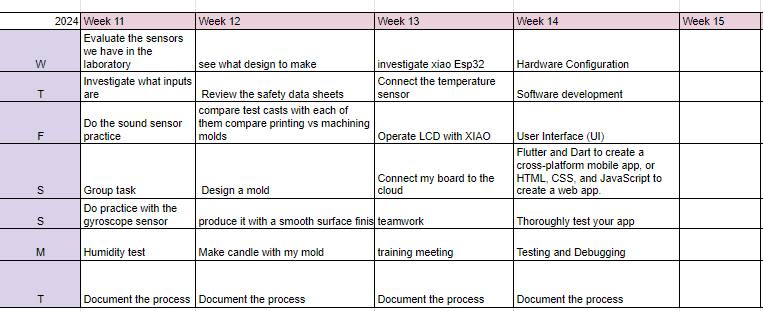
WEEK GROUP Individual assignment Processing Group assignment
Assignments
Our tasks for this week are:
-
Individual assignment:
- Write an application that interfaces a user with an input &/or output device that you made Group assignment:
- Compare as many tool options as possible
Processing classes
LINK
Create an Arduino Cloud account: Go to the Arduino website and create an account if you don't have one already. If you already have an account, log in.
- Linked to the group assignment page.
- Documented your process.
- Explained how your application communicates with your embedded board
- Explained any problems you encountered and how you fixed them.
- Included original source code (or a screenshot of the app code if that's not possible).
- Included a ‘hero shot’ of your application running & communicating with your board.
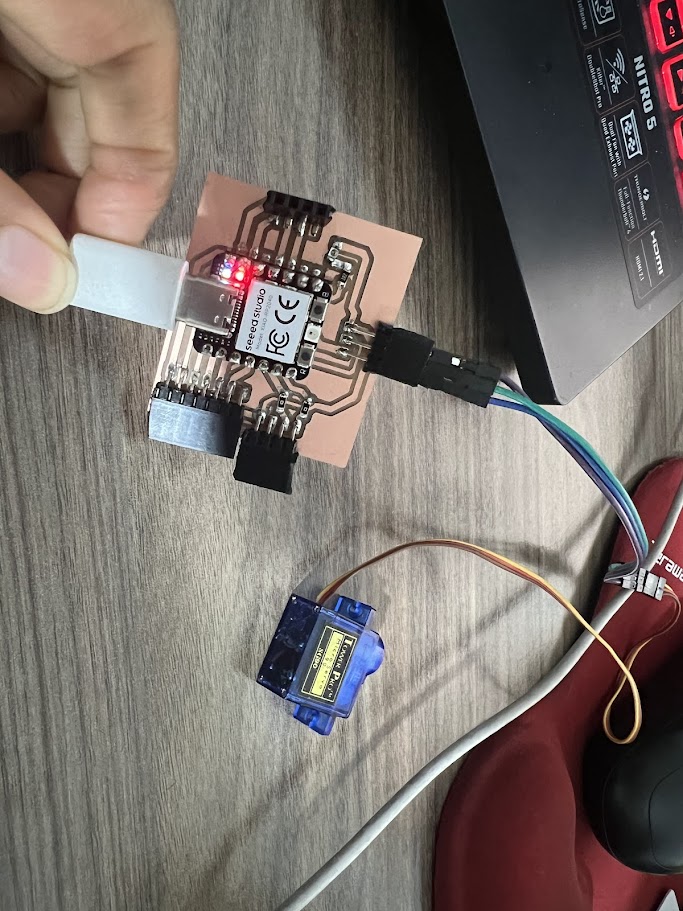
Board
If you want to see the development process of this board, it is in my 13th week.

- Connect your Xiao to the Internet: We will need a device compatible with WiFi or Ethernet connectivity to connect to the Internet. Make sure your device is properly connected to your WiFi network or via an Ethernet cable.
- Set up your Arduino: Use the Arduino IDE software to program your Arduino. Make sure you have the latest version of the IDE installed. Install the Arduino Cloud library: In the Arduino IDE, go to "Sketch" -> "Include Library" -> "Manage Libraries". Search for "Arduino Cloud" and click "Install" to install the library.
Processing
Download Processing
Open Create agent installation page


Practicing with processing with what Michael taught us.

We did a quick processing test, first we must understand how its structure works to be able to program, this time we will use chatgpt to be able to generate the codes, but you must understand the structure and operation to be able to solve possible errors.

First understand how the screen is generated to visualize the creative ways you can achieve with programming.

Then we begin to give it characteristics such as color, size, where it starts and what possible shapes it could have.
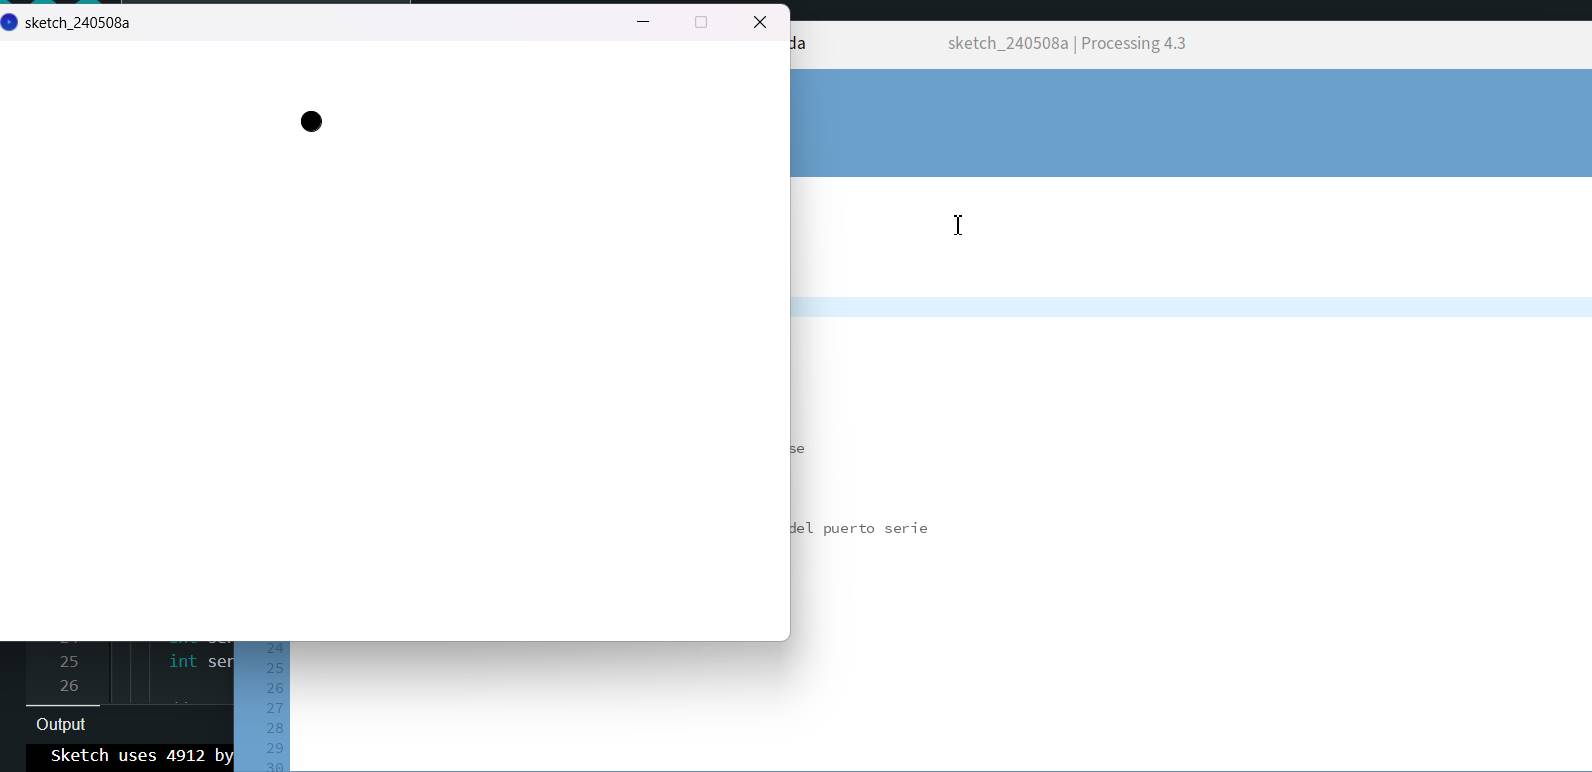
Here we can see an error because the port that was being used is not placed, keep this in mind.
Arduino IDE Code:
#include
#define DHTPIN D6     // Pin del sensor DHT11
#define DHTTYPE DHT11   // Tipo del sensor DHT

DHT dht(DHTPIN, DHTTYPE);

void setup() {
 Serial.begin(9600);
 dht.begin();
}

void loop() {
// Lee la temperatura del sensor DHT11
float temperatura = dht.readTemperature();

// Envía la temperatura por el puerto serial
Serial.println(temperatura);

delay(2000);  // Espera 2 segundos antes de la próxima lectura
}
codigo processing
import processing.serial.*;

Serial puertoSerial;
float temperatura;

void setup() {
  size(200, 400);
  puertoSerial = new Serial(this, "COM16", 9600); // Ajusta el puerto según tu configuración
}

void draw() {
  if (puertoSerial.available() > 0) {
    String lectura = puertoSerial.readStringUntil('\n');
    if (lectura != null) {
      temperatura = float(lectura.trim());
    }
  }

  background(255);
  stroke(0);
  fill(255, 0, 0);
  rect(75, 100, 50, 200); // termómetro

  // Barra de temperatura
  float barraTemp = map(temperatura, 0, 40, 0, 200);
  fill(0, 255, 0);
  rect(75, 300 - barraTemp, 50, barraTemp);

  // Texto de la temperatura
  textAlign(CENTER);
  textSize(20);
  fill(0);
  text("Temperatura", width/2, 50);
  text(temperatura + "°C", width/2, 350);
}

Here I was testing with my final project, measuring the temperature of the environment with my DHT11 sensor, it works very well and everything is beautiful but I wanted to try something else.

Clearly my attempt did not work as I expected, first the size of the image I added was larger, the other thing was that I had to pay attention to the COM port and well, to insert that image you must put it in the processing folder.

A photo of my plate with my sensor, I was blowing so that I can raise the temperature, since my image downloaded from the internet did not work well, I think I am left with the green block that shows the temperature range.
Testing processing with HC-SR04 sensor
I will start testing processing with the distance sensor, we will see what beautiful shapes I could make with the calculation of this sensor measuring objects at a distance, in theory this sensor can measure up to 400 cm, it is a fairly wide range, but I was testing and it measures much less .
Arduino IDE Code:
#define TRIG_PIN 5
#define ECHO_PIN 4

void setup() {
  Serial.begin(9600);
  pinMode(TRIG_PIN, OUTPUT);
  pinMode(ECHO_PIN, INPUT);
}

void loop() {
  long duration, distance;

  digitalWrite(TRIG_PIN, LOW);
  delayMicroseconds(2);

  digitalWrite(TRIG_PIN, HIGH);
  delayMicroseconds(10);
  digitalWrite(TRIG_PIN, LOW);

  duration = pulseIn(ECHO_PIN, HIGH);
  distance = duration * 0.034 / 2;

  Serial.println(distance);

  delay(100);
}
codigo processing
import processing.serial.*;

Serial serial;
float distance;
float speed;

void setup() {
  size(800, 600);
  serial = new Serial(this, Serial.list()[0], 9600);
  speed = 0.1; // Velocidad inicial de la esfera
}

void draw() {
  background(255);

  if (serial.available() > 0) {
    String data = serial.readStringUntil('\n');
    if (data != null) {
      data = data.trim();
      distance = float(data);
      // Ajustar la velocidad de la esfera en función de la distancia
      speed = map(distance, 0, 200, 0.1, 3.0); // Ajusta los valores mínimo y máximo de velocidad según tu preferencia
    }
  }

  // Mover la esfera
  translate(width/2, height/2);
  float angle = millis() * speed * 0.001; // La velocidad depende del tiempo y de la distancia
  float x = cos(angle) * 200;
  float y = sin(angle) * 200;
  fill(255, 0, 0);
  ellipse(x, y, 50, 50); // Dibujar la esfera
}

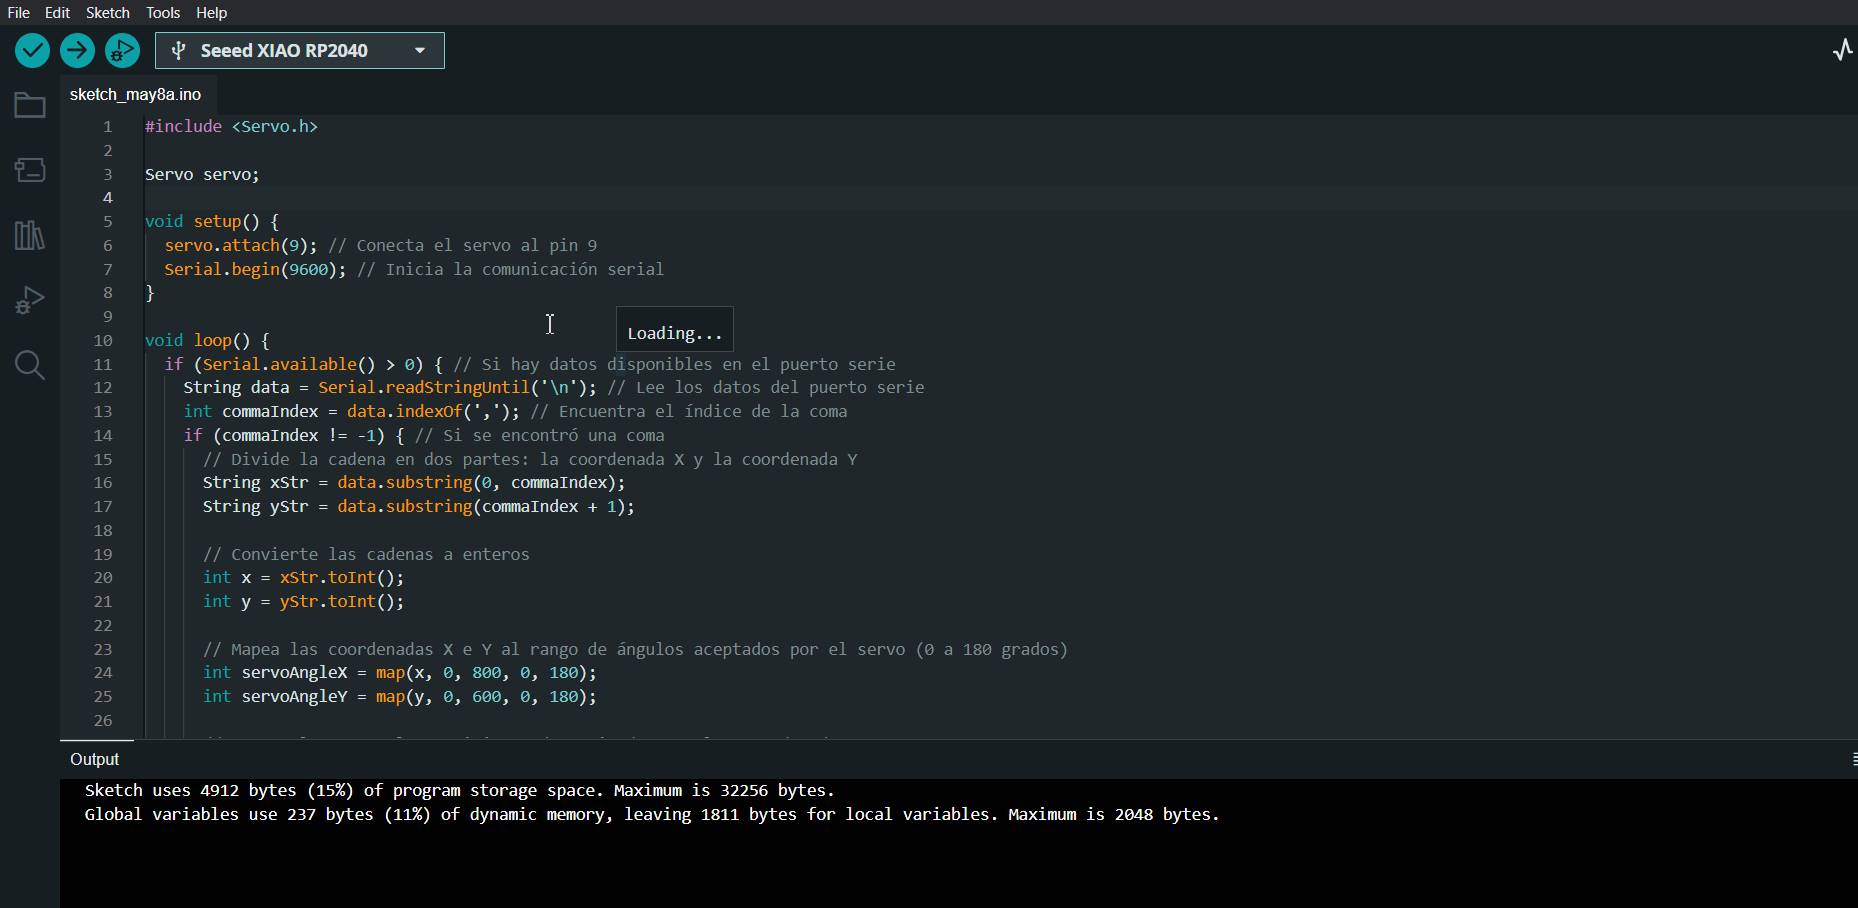
}
Arduino IDE Code:
			#include

Servo servo;

void setup() {
  servo.attach(9); // Conecta el servo al pin 9
  Serial.begin(9600); // Inicia la comunicación serial
}

void loop() {
  if (Serial.available() > 0) { // Si hay datos disponibles en el puerto serie
    String data = Serial.readStringUntil('\n'); // Lee los datos del puerto serie
    int commaIndex = data.indexOf(','); // Encuentra el índice de la coma
    if (commaIndex != -1) { // Si se encontró una coma
      // Divide la cadena en dos partes: la coordenada X y la coordenada Y
      String xStr = data.substring(0, commaIndex);
      String yStr = data.substring(commaIndex + 1);

      // Convierte las cadenas a enteros
      int x = xStr.toInt();
      int y = yStr.toInt();

      // Mapea las coordenadas X e Y al rango de ángulos aceptados por el servo (0 a 180 grados)
      int servoAngleX = map(x, 0, 800, 0, 180);
      int servoAngleY = map(y, 0, 600, 0, 180);

      // Mueve el servo a las posiciones determinadas por las coordenadas X e Y
      servo.write(servoAngleX);
      //servo.write(servoAngleY); // Si quieres usar la coordenada Y para controlar otro servo en el eje Y, descomenta esta línea
    }
  }
}
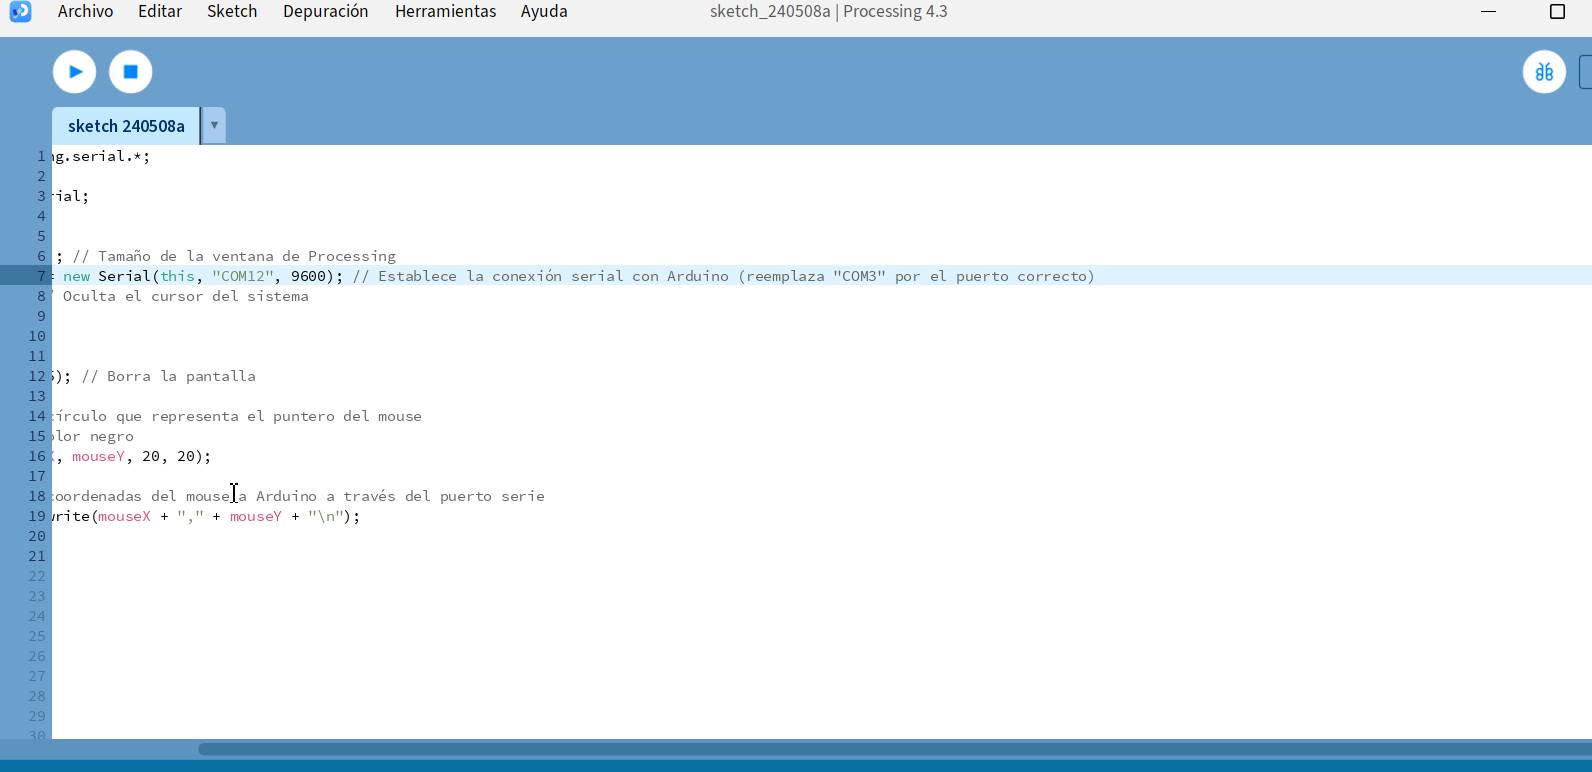
Code processing
		import processing.serial.*;

Serial puertoSerial;

void setup() {
  size(800, 600); // Tamaño de la ventana de Processing
  puertoSerial = new Serial(this, "COM16", 9600);
  noCursor(); // Oculta el cursor del sistema
}

void draw() {
  background(255); // Borra la pantalla

  // Dibuja un círculo que representa el puntero del mouse
  fill(0); // Color negro
  ellipse(mouseX, mouseY, 20, 20);

  // Envía las coordenadas del mouse a Arduino a través del puerto serie
  puertoSerial.write(mouseX + "," + mouseY + "\n");
}
Comparison
Final result

Reflection and recommendations
- Setting up the development environment for the Xiao ESP32 can be challenging, especially for beginners. Ensuring you have the correct drivers and firmware installed, as well as properly configuring the development environment in Arduino IDE, can take time and patience. Input Issues and Solutions: If you're experiencing input issues on the Xiao ESP32, such as incorrect pin detection or communication problems, uninstalling and reinstalling the Arduino development environment may be an effective solution. This can help resolve issues related to environment setup and drivers.
- As you work with the Xiao ESP32, it's important to conduct tests and experiment with different configurations and programming options. This will help you better understand how the device works and identify potential issues and solutions./li>
- Make use of online resources such as tutorials, official documentation, and discussion forums for help and guidance in case of issues. The Xiao ESP32 user community is active and can provide valuable insights and technical support.
- Search and review the official documentation provided by the manufacturer of the Xiao RP2040. This may include quick start guides, tutorials, technical specifications, and code examples to help you better understand how the device works and how to use it effectively.
- Asegúrate de tener instalados los drivers y firmware más recientes para el Xiao RP2040. Esto puede resolver problemas de conectividad y asegurarte de que tu computadora reconozca correctamente el dispositivo cuando lo conectes al puerto COM.
- If you are still experiencing connection issues, try connecting the Xiao esp32c3 to a different computer to see if the issue persists. This can help you determine if the problem is related to your computer or the device itself, that happened to me and I tried it with my classmates' laptop at the academy, there I realized that my computer was the problem.
Conclusions
Processing can communicate with external hardware devices through interfaces like the serial port, USB port, or network. This allows you to interact with sensors, actuators, and other physical devices from your Processing program.
Processing is ideal for rapid prototyping and creative experimentation. You can quickly and easily test ideas and concepts, enabling you to iterate and improve your design efficiently.


