Interface and Application Programming
Let's go!
Individual assignment Conclusions
Assignments
Our tasks for this week are:
-
Individual assignment:
- Design and produce something with a digital process (incorporating computer-aided design and manufacturing) not covered in another assignment, documenting the requirements that your assignment meets, and including everything necessary to reproduce it. Possibilities include (but are not limited to):
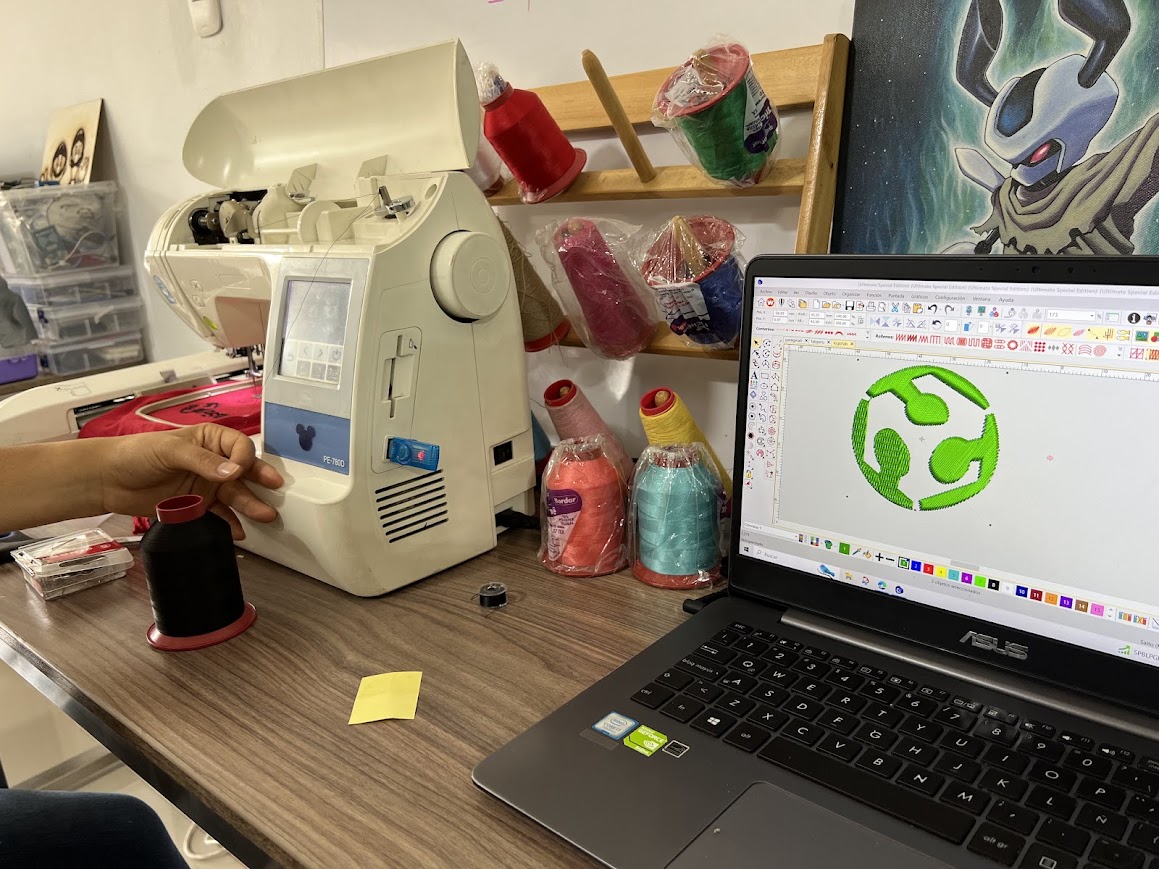
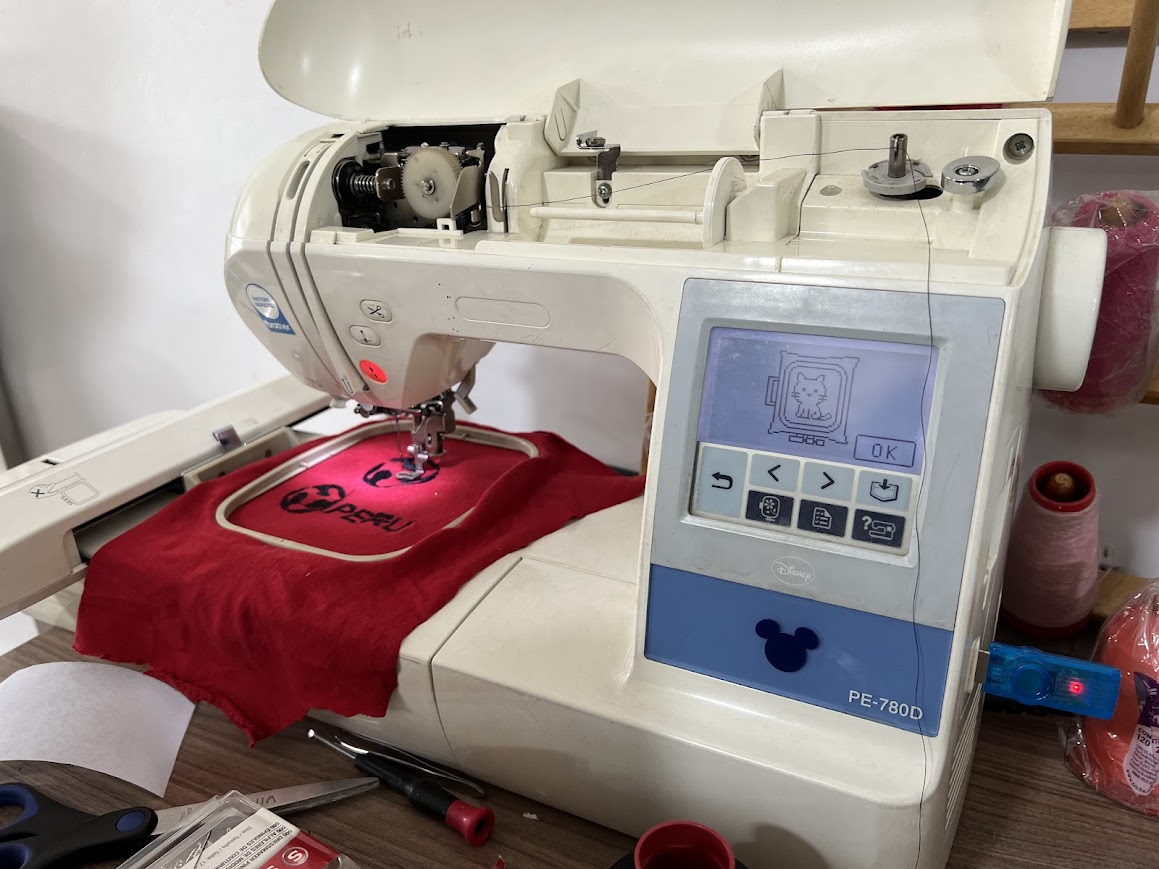
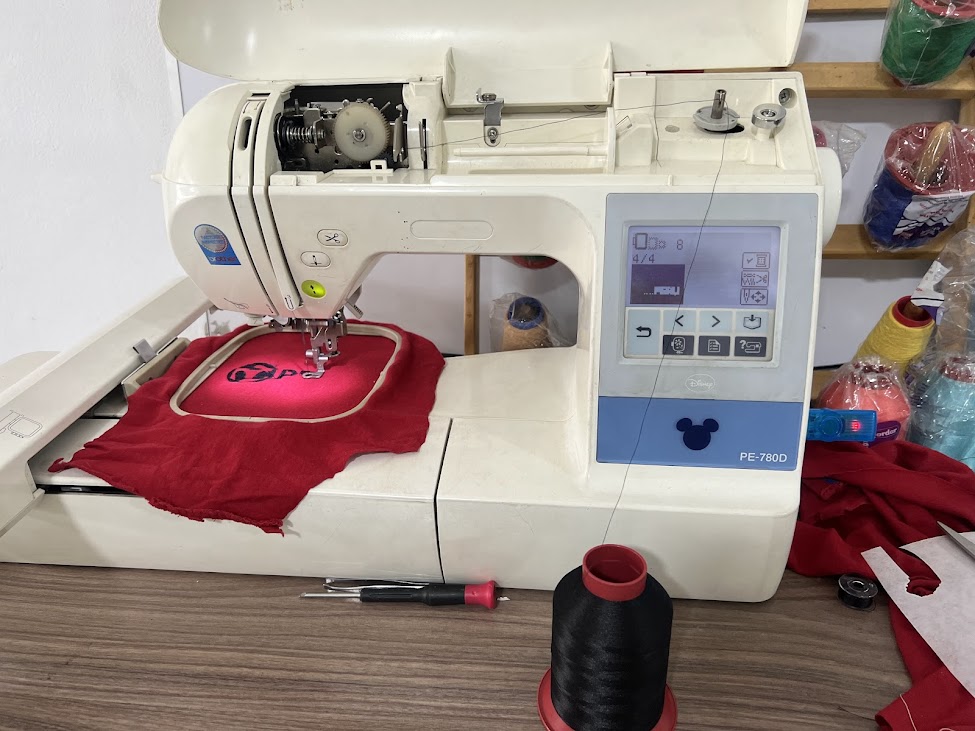
Brother PE780D
Characteristics
- 188 built-in embroidery designs including 52 designs featuring Disney® characters
- 6 built-in embroidery lettering fonts
- Easily import designs from your memory stick via the built-in USB port
- On-screen embroidery editing on monochrome LCD touch screen
- Maximum embroidery area of 5” x 7”
SUPPLIES & ACCESSORIES
White Embroidery Bobbin Thread - 90 weight
Blue, red, white, black, green 100% Polyester Color Fast, High Shine Embroidery Thread (3-Spool Pack)

It is also very important to have a set of needles that we can replace, here the size we use is 90/14. He didn't break a couple of us, and I'll explain why later.


Here also take into account your elements such as scissors, fabrics and frame.
Program

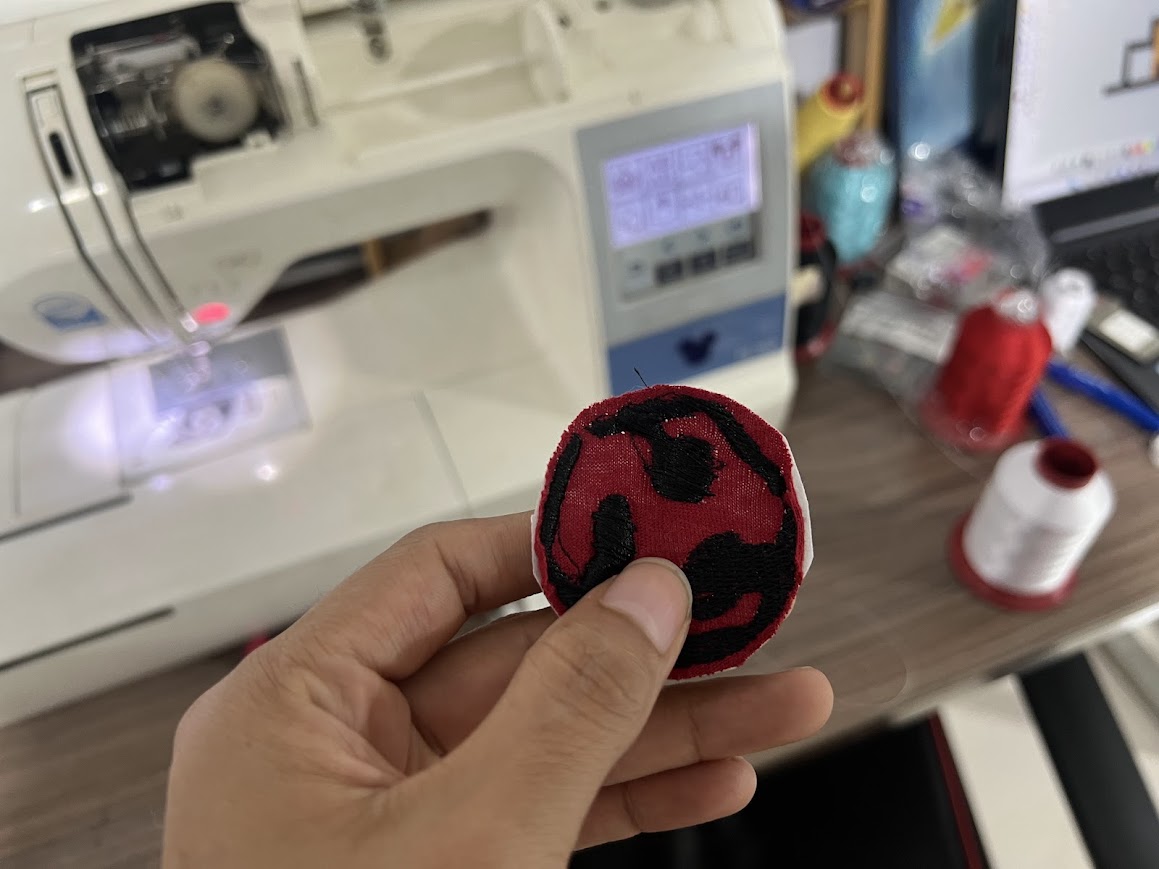
This week I found it quite interesting to be able to explore How to do embroidery. So since there was no embroidery machine in the laboratory, I joined other friends from other laboratories so that they could lend my Academy classmates and me an embroidery machine, we got the one I mentioned before. the brother who helped us a lot to be able to do this activity. After researching and asking colleagues who had already used this machine, they recommended that we download Wilcom. There was a detail with this software and it was that it is paid, which when downloading it, Well, it only gave us 14 days of free trial which is enough to be able to take this week's test.
Download

I started to download the program, I leave the link on my page so you can download it directly. Also in this part I had to download some programs that I already had on my computer because it was not supporting it so I uninstalled some and installed this one and it took too long This program takes up a lot space on the computer and it takes a long time to open.

When you accept all the terms and conditions, it asks you to restart the computer. This part is very important so that it can be executed correctly. So restart.

This is what the platform looks like when you open it

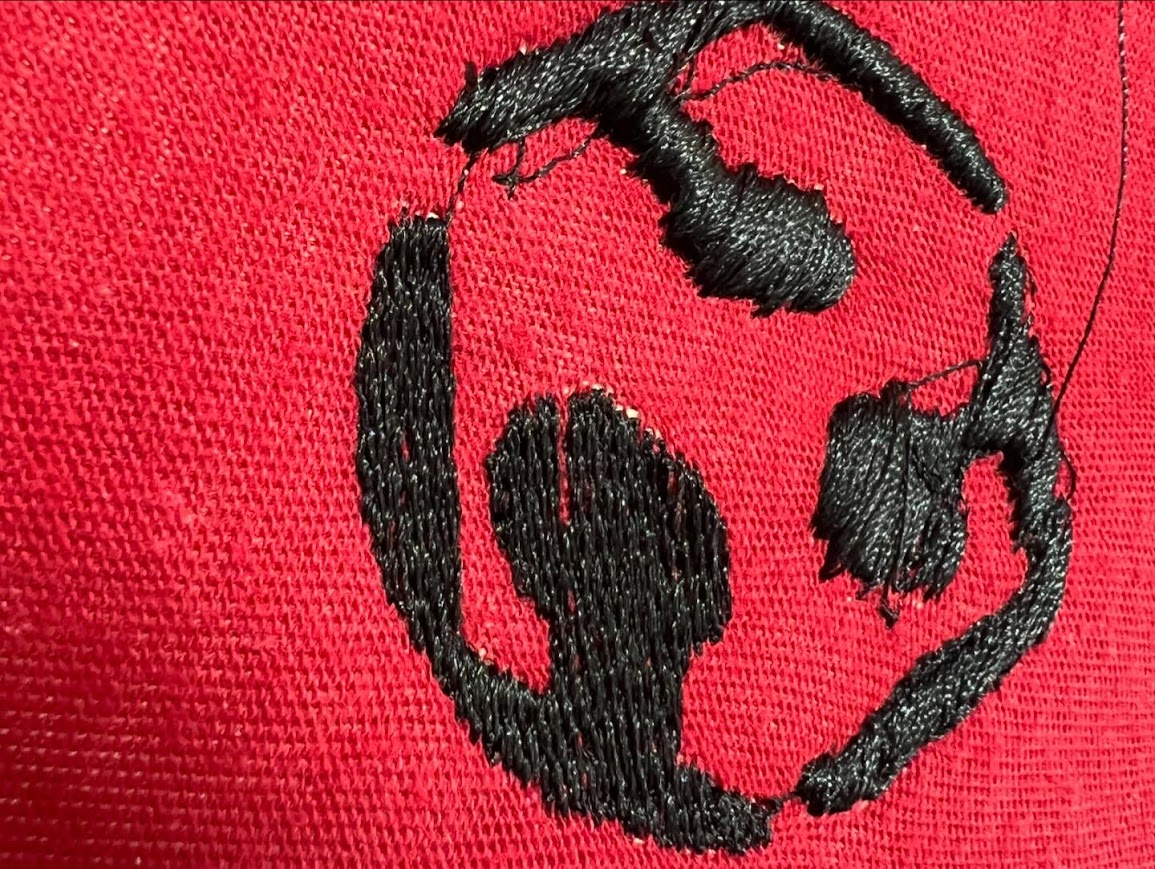
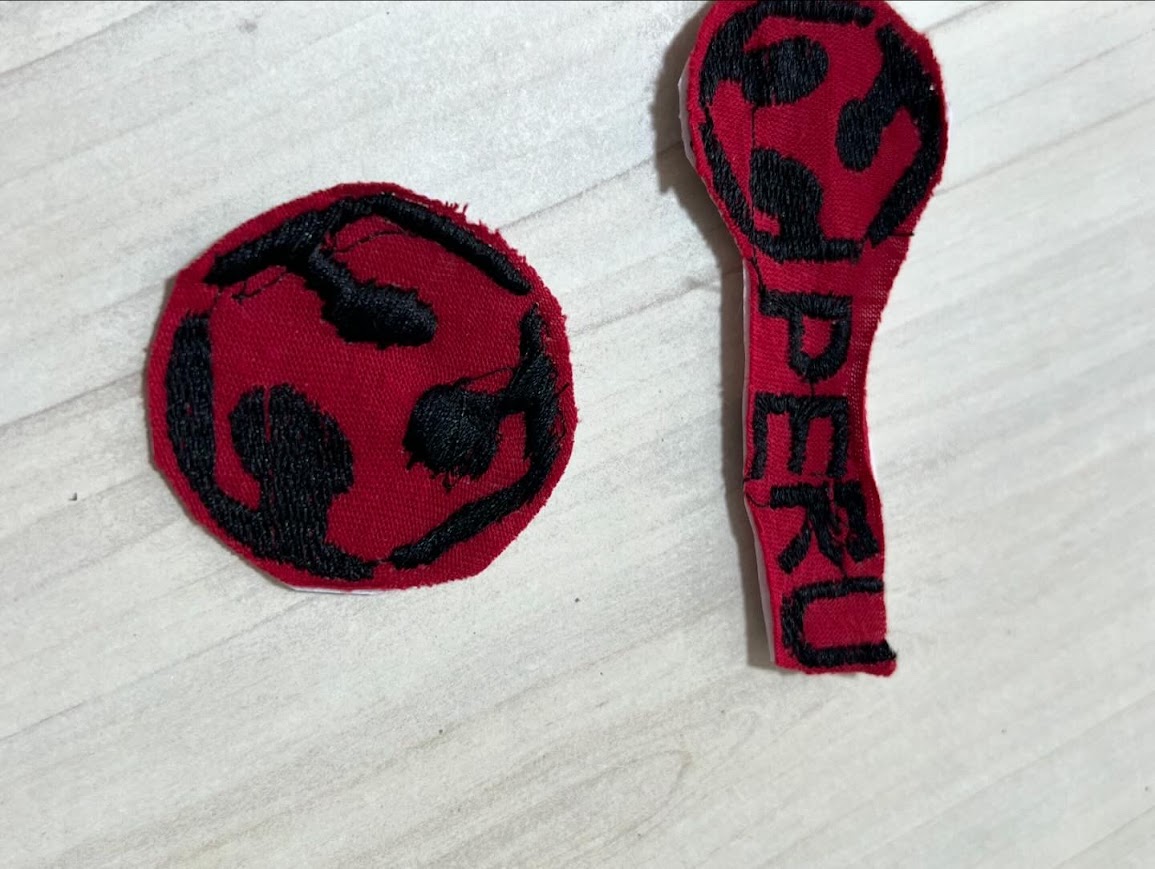
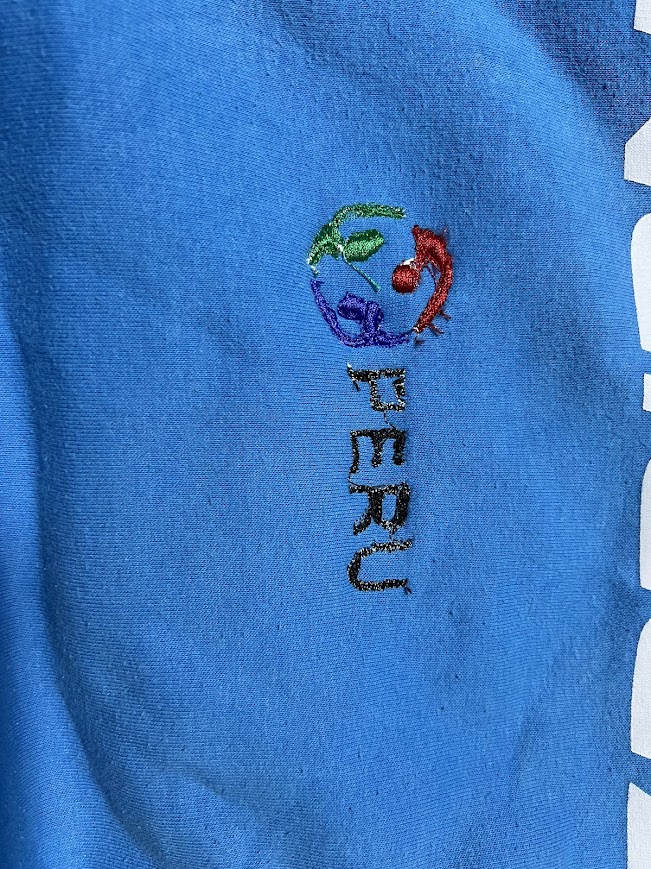
I started with an image of the fable Peru, I love it, so I tried this one to be able to make my logo on my t-shirt, so I had to import a graphic to be able to pull the logo that I downloaded from the internet.

After having it and downloading it, I went to the undulating fill option, it is ideal to improve the fill of the embroidery, before I was using complex fill, but it did not give me the option to be able to place the direction of the fill.

In this part I was already starting with the app to be able to test the direction of the embroidery. Something very important is the support of the Mouse in which left clicking drew straight lines and I could close the shape with enter..

Then the difficult part came in the letter b, which I had to use the right click to generate curves, allowing me to change shapes from straight to curved and practicing on the first letters, allowing me to design the next ones faster.

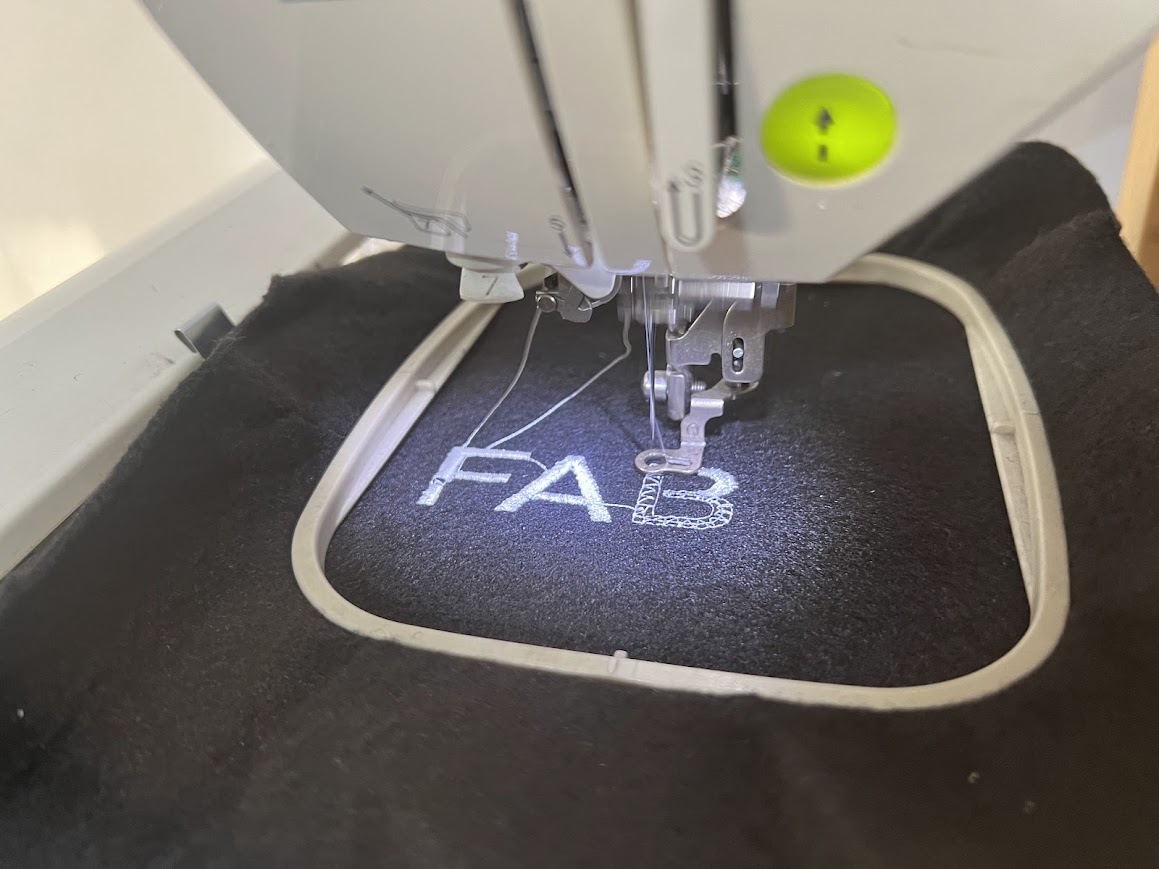
I was already becoming more skilled at being able to make the letters and little by little I was developing it faster. Here I love how it was filled and I was already imagining it on my poles.

Here I already had all the shapes and the logo of the fablab, but once I was done I began to place the colors that I wanted to be able to visualize how it was going to look, even and to see the direction of the filling, I observed several important things that you have to take into account when embroidering and that is the direction in which the needle and embroidery thread will go..
Something very important is the type of file that you must use to be able to embroider. In this case, it is the fish stitch, which is the file that is recognized by the Brother machine we are working on and which was saved on USB to be able to place it in the embroidery machine.

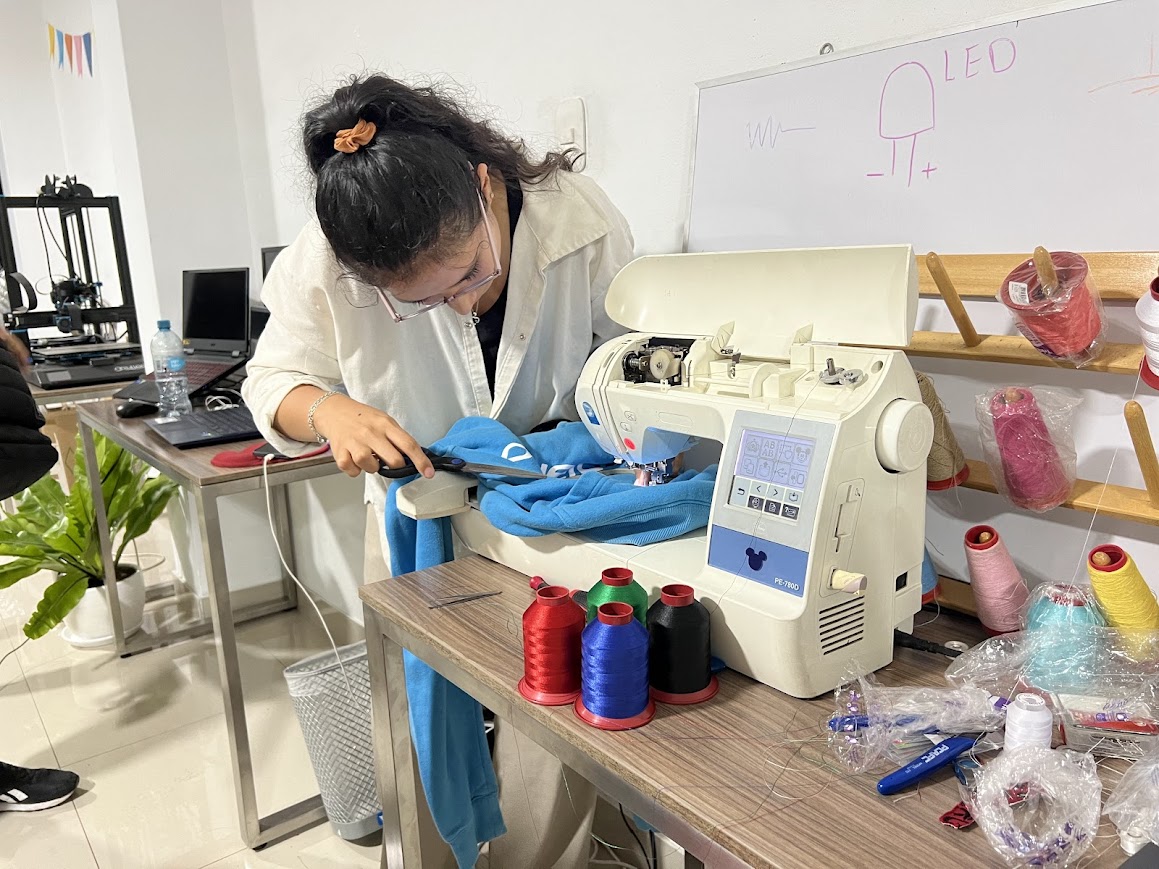
To remind you, it is important to have the scissors, have the needles, have the threads so that we can do things more practically and quickly.

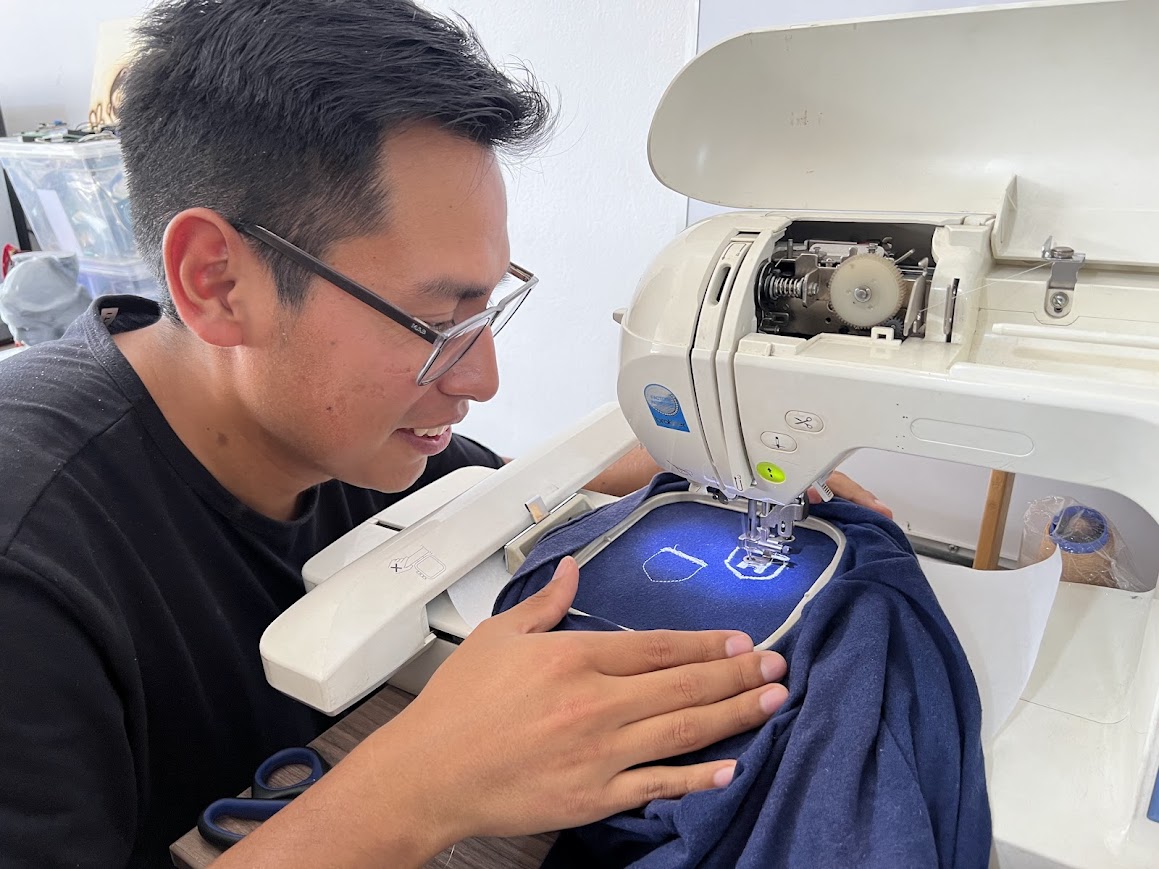
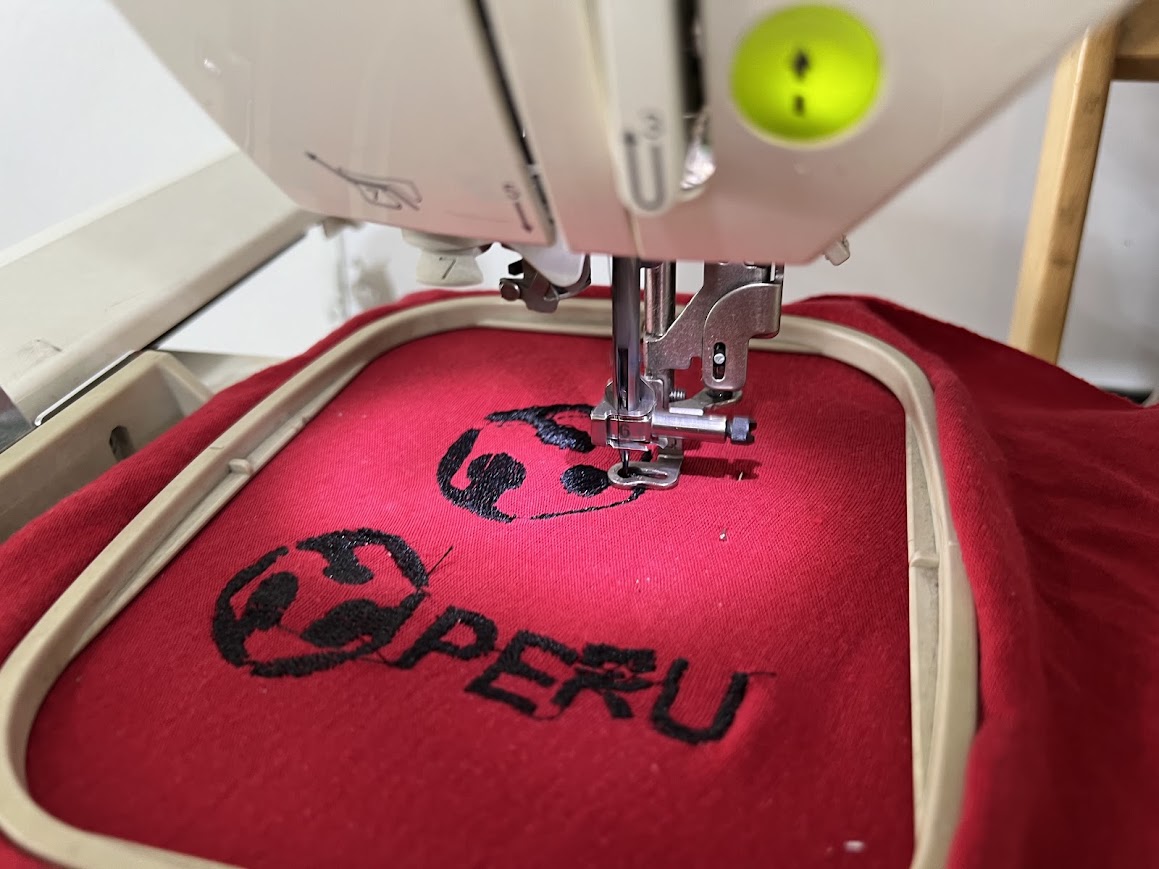
Something that was challenging was when placing the interlining with the fabric, which was quite thick and we had to apply pressure so that it could fit and adjust correctly and I don't know if this is happening, something that happened to us several times so we had to See different installation techniques. Correctly position the fabric on the hoop.

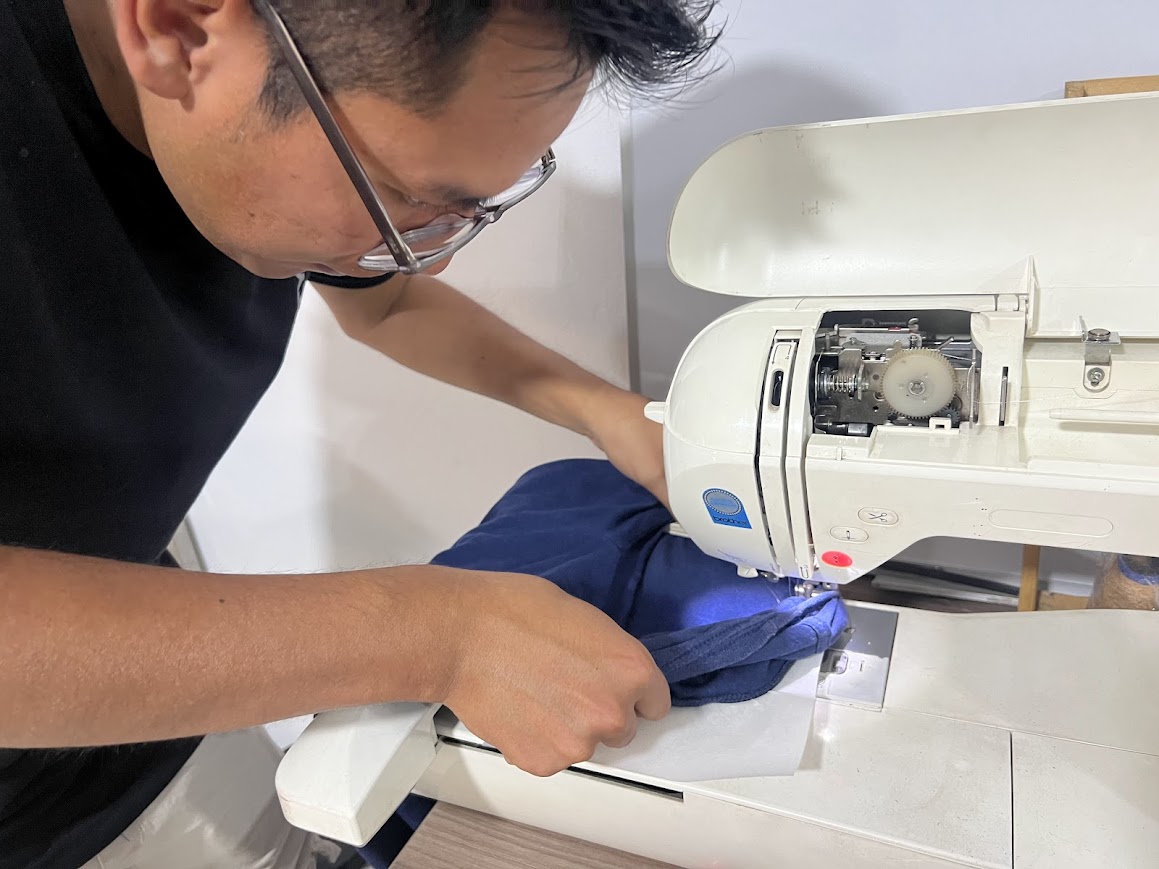
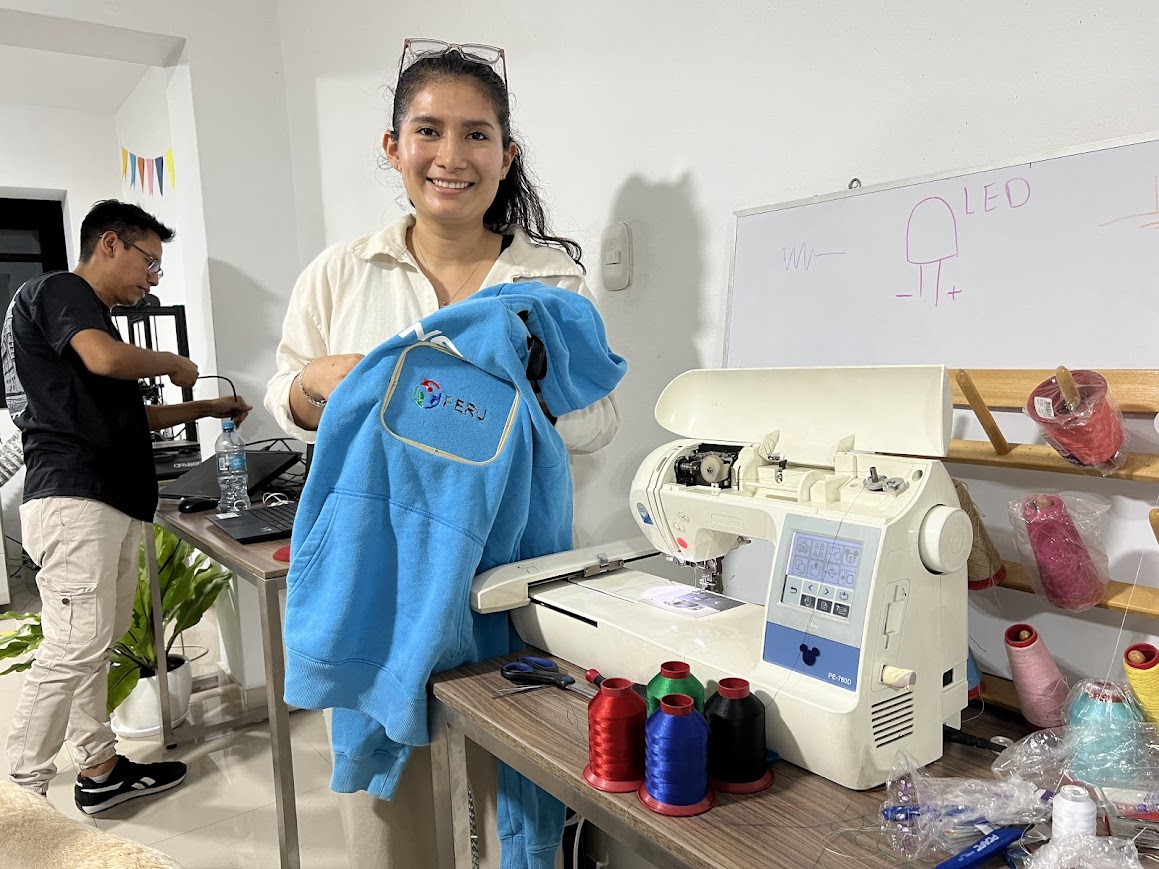
After many tests we managed to place the fabric on the frame. Here we can see that I am holding it correctly at the base of the machine, lifting the needle part a little to correctly place the frame. And in this case I put the interlining under the frame. It is no longer next to the fabric because it was causing me problems in being able to adjust it.

I tried again to be able to place the frame with the bare foot but it was a quite difficult task. So I am going to try it again with more supporting hands.

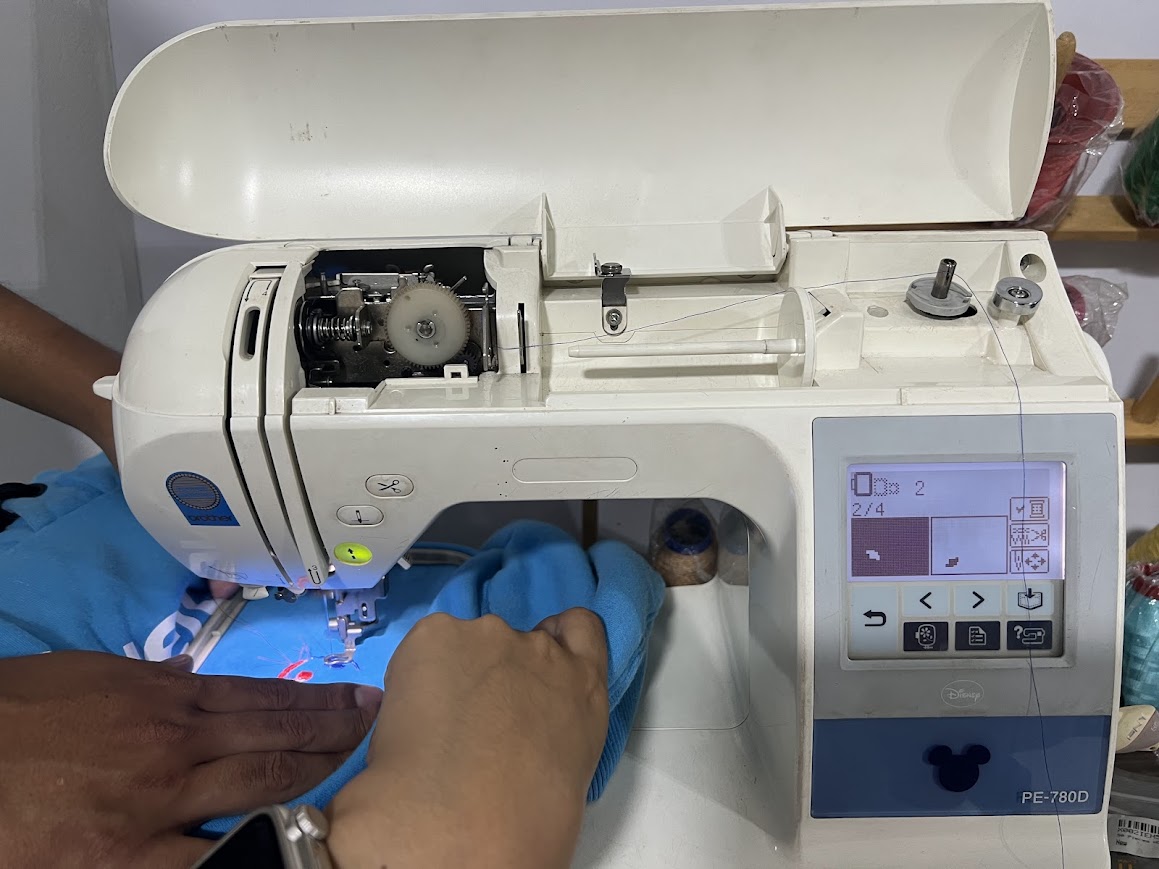
Something very important is to correctly position the spool at the bottom of the machine, which will help to embroider correctly and which has to be steel, which will allow it to slide correctly in the machine and it is important to be able to observe the graphics. indicators on the same machine to be able to position the reel correctly
White Embroidery Bobbin Thread - 90 weight
Blue, red, white, black, green 100% Polyester Color Fast, High Shine Embroidery Thread (3-Spool Pack)
It is also very important to have a set of needles that we can replace, here the size we use is 90/14. He didn't break a couple of us, and I'll explain why later.
Here are the threads that I already showed you at the beginning.

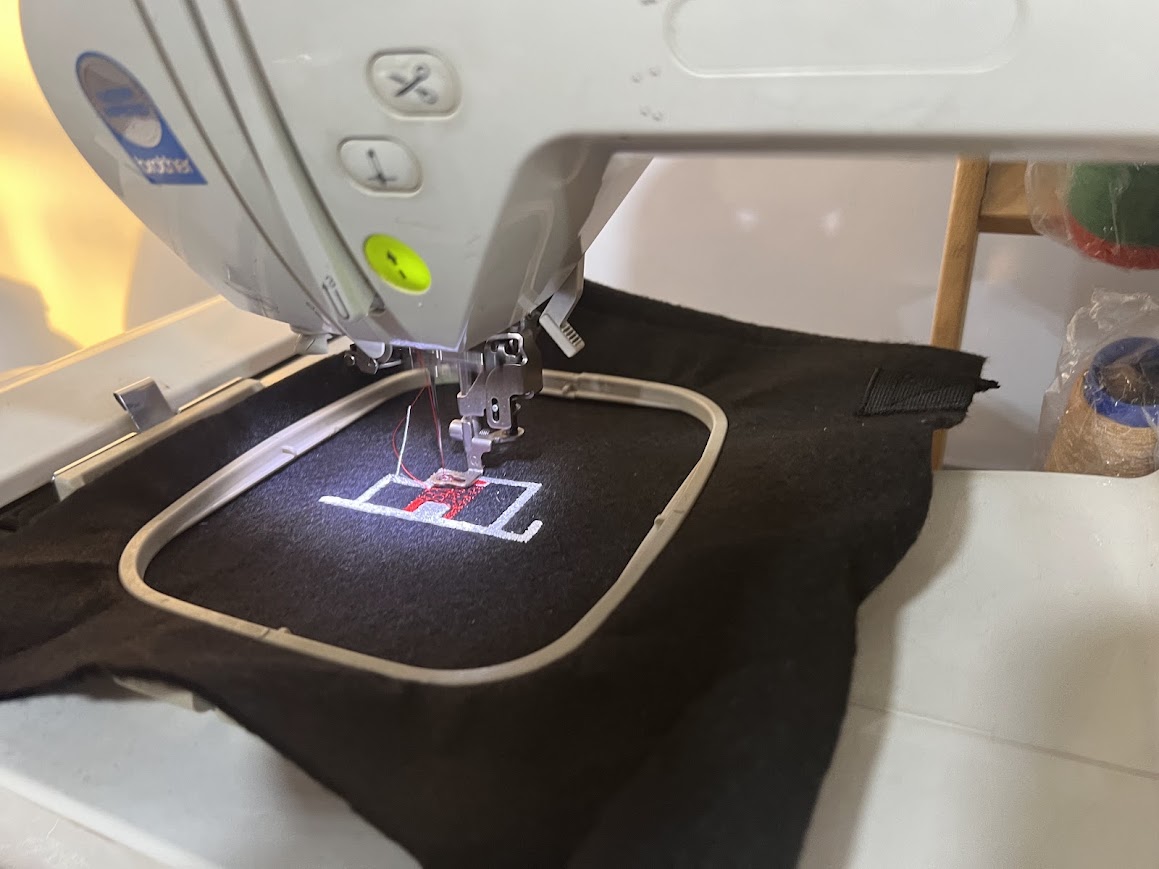
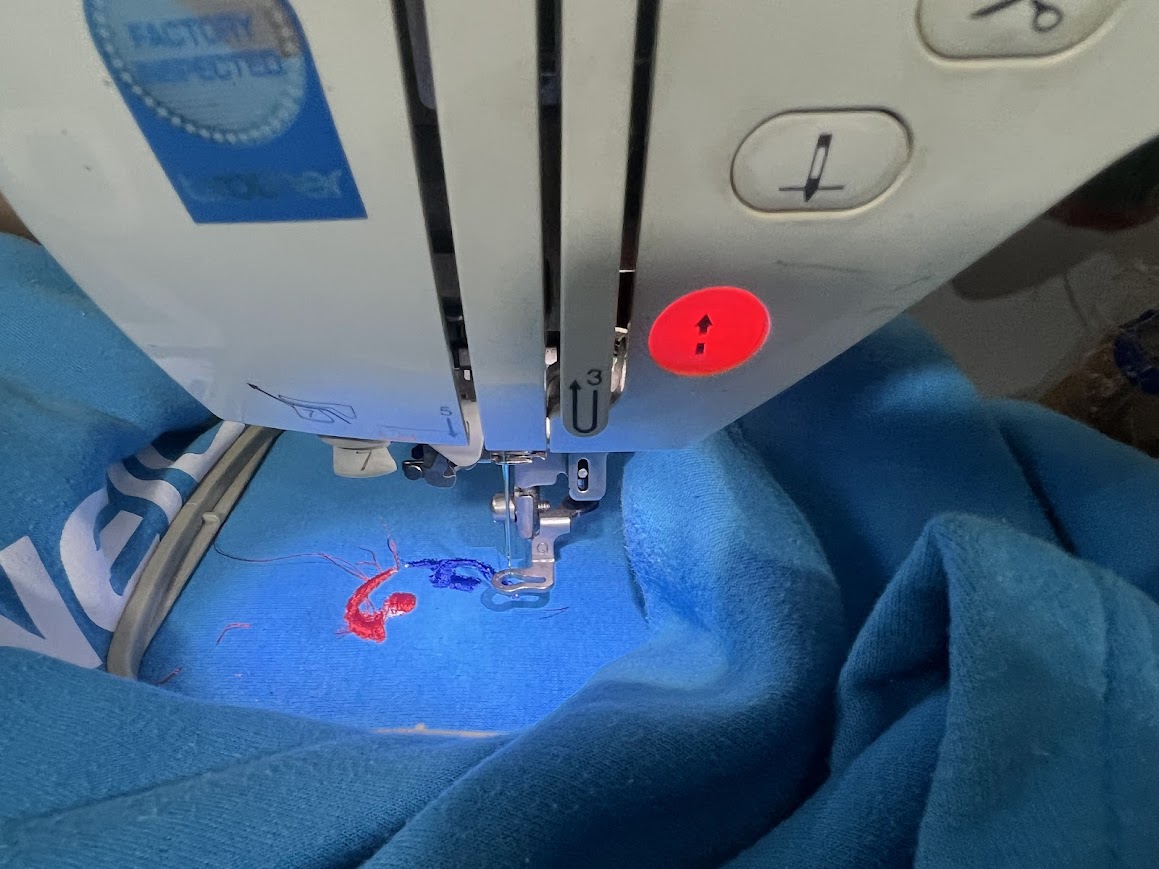
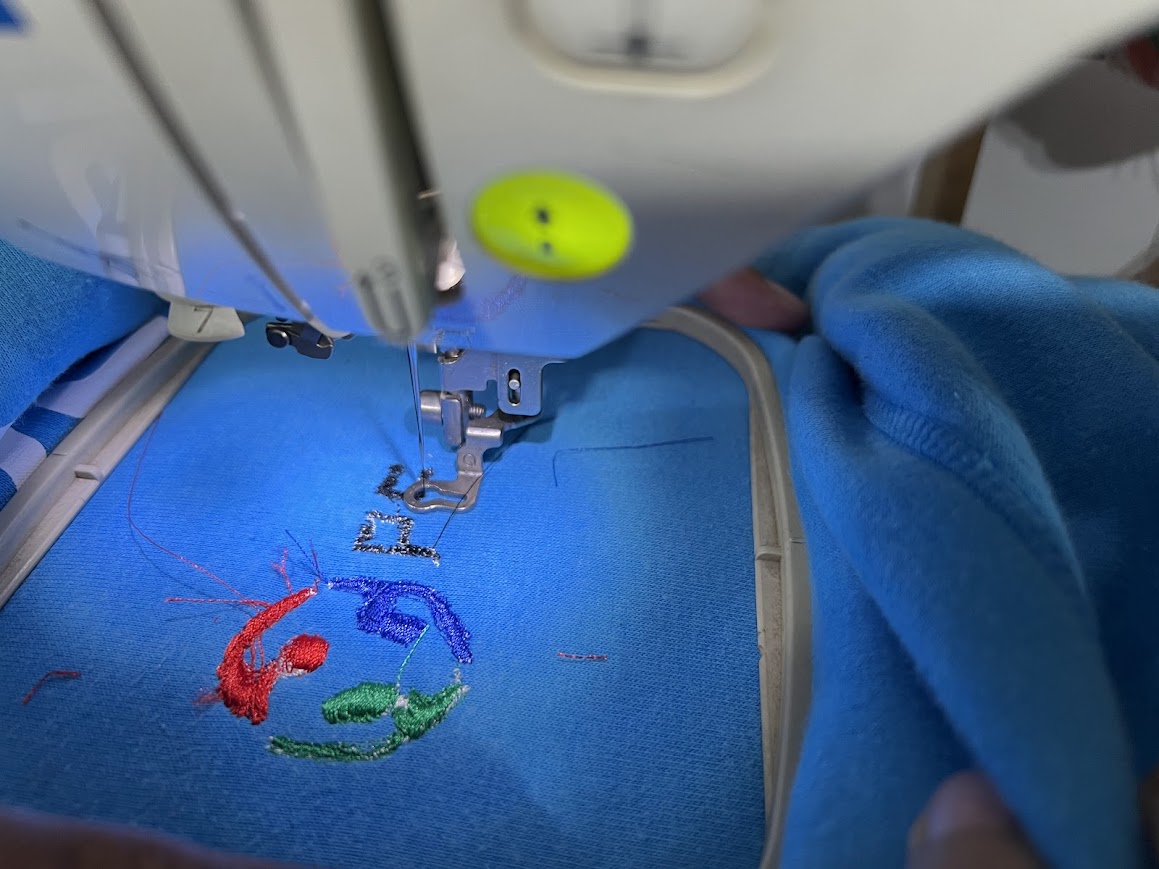
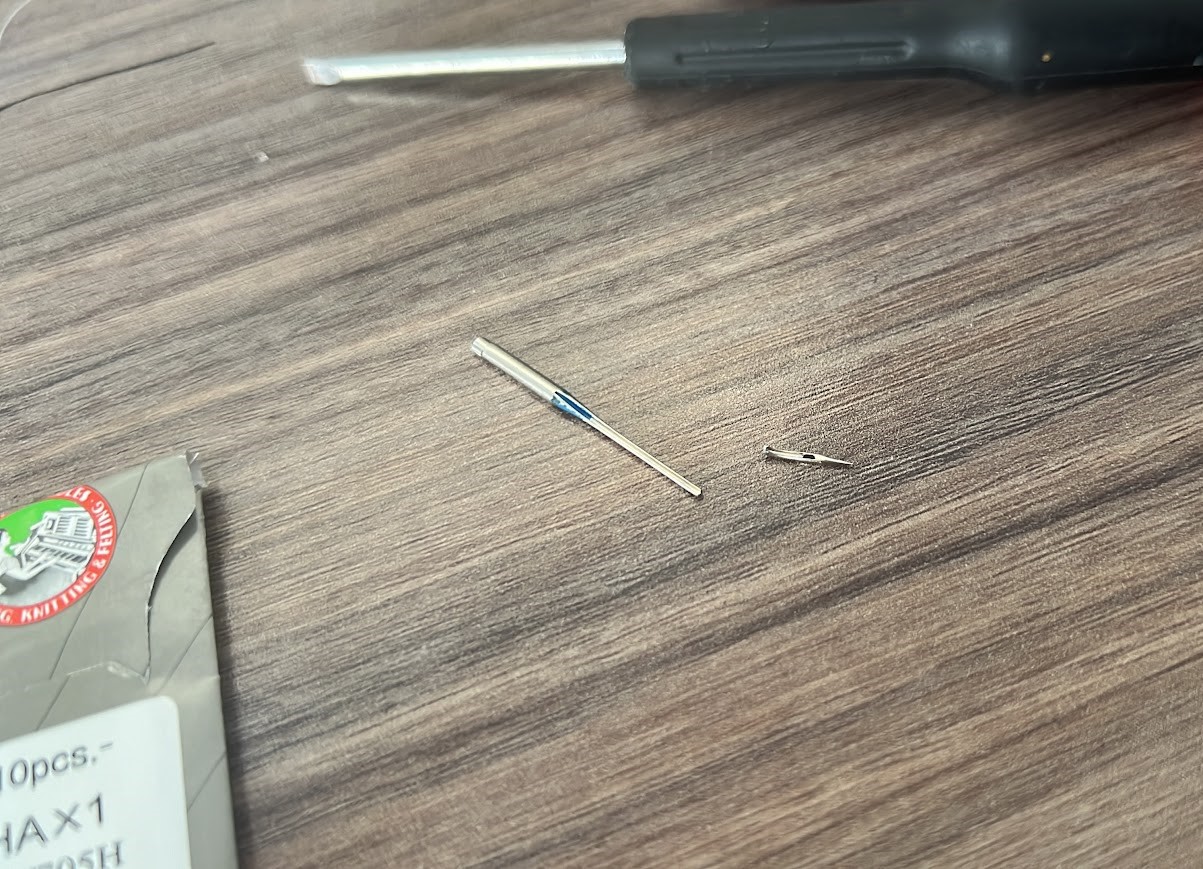
Here our needle broke due to the type of thick embroidery, it got stuck, we got scared and then we changed the needle and everything turned out fine.
Reflection and recommendations
- Familiarizing oneself with the machine's features and capabilities is essential. The Brother 780D, for instance, has advanced features like automatic thread cutting and color change options, which can significantly enhance efficiency if used correctly.
- Proper preparation of the fabric and stabilizers can make a significant difference in the quality of the embroidery. Ensuring the fabric is adequately stabilized and tensioned prevents issues like puckering and misalignment.
- Different fabrics and designs require different approaches. Not all materials react the same way to embroidery, and understanding the characteristics of the fabric being used can help in selecting the right needle, thread, and stabilizer.
- Machine embroidery requires patience, especially when dealing with complex designs or frequent color changes. Each step, from threading the machine to changing colors, needs to be done with precision to avoid errors and ensure the quality of the final product.
- Select needles and threads that match the fabric and design complexity. For instance, finer needles and lightweight threads for delicate fabrics, and sturdier options for heavier materials
- Always do a test run on a scrap piece of the same fabric. This allows you to adjust tension, needle choice, and stabilizer if needed, ensuring the final piece is flawless.
- Organize your threads and use the machine's color change feature effectively to save time and reduce the risk of mistakes.
- The fabric should be taut in the hoop but not overly stretched. Over-tensioning can distort the fabric and the design. Check the tension frequently, especially for larger or more intricate designs.

