System integration
Let's go!
Individual assignment Conclusions
Assignments
Our tasks for this week are:
-
Individual assignment:
- Design and document the system integration for your final project
Physical Arrangement of Components

Components:
- DHT11 Sensor: Measures the temperature and humidity inside the box.
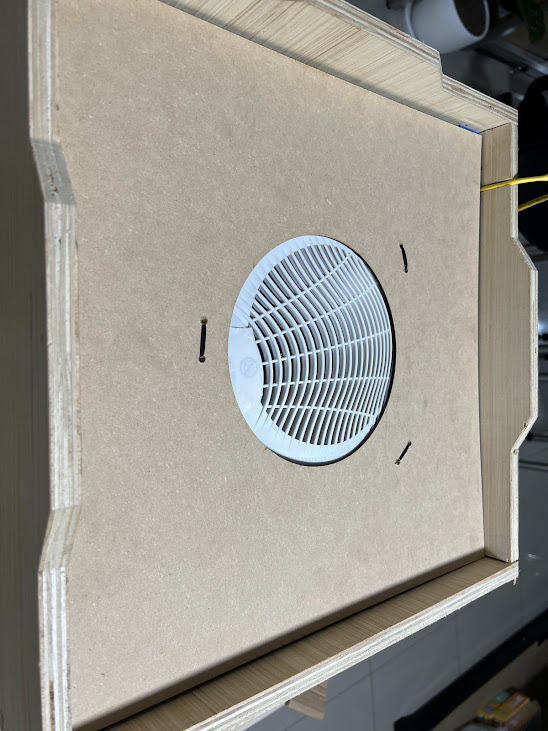
- Fan: Helps move hot air and cool when necessary.
- Nichrome Wire: Acts as a heating element.
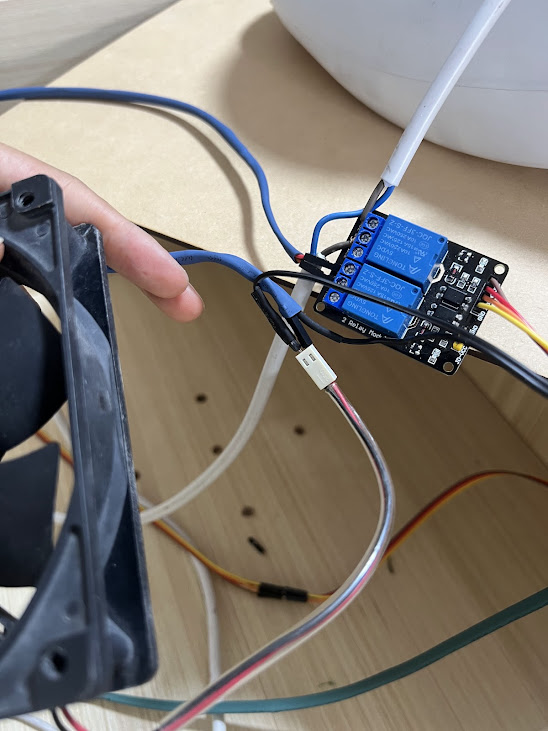
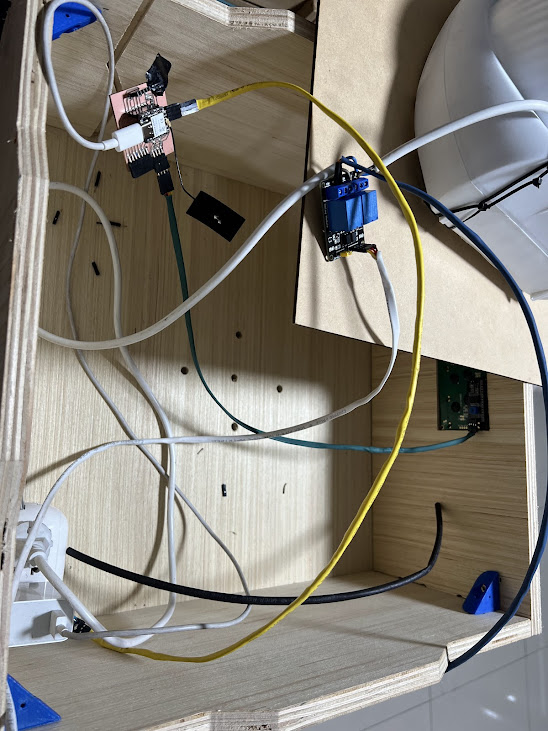
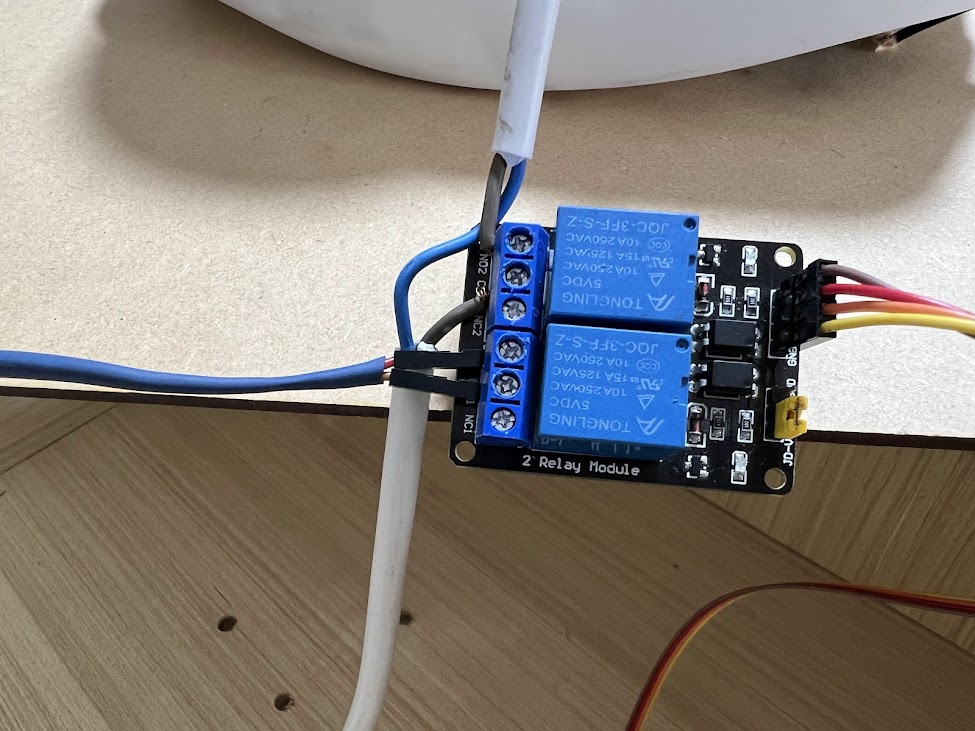
- Relay: Controls the on and off of the fan and nichrome wire.
- XIAO ESP32-C3: Microcontroller to manage all components.
- LCD display: Shows temperature and humidity.
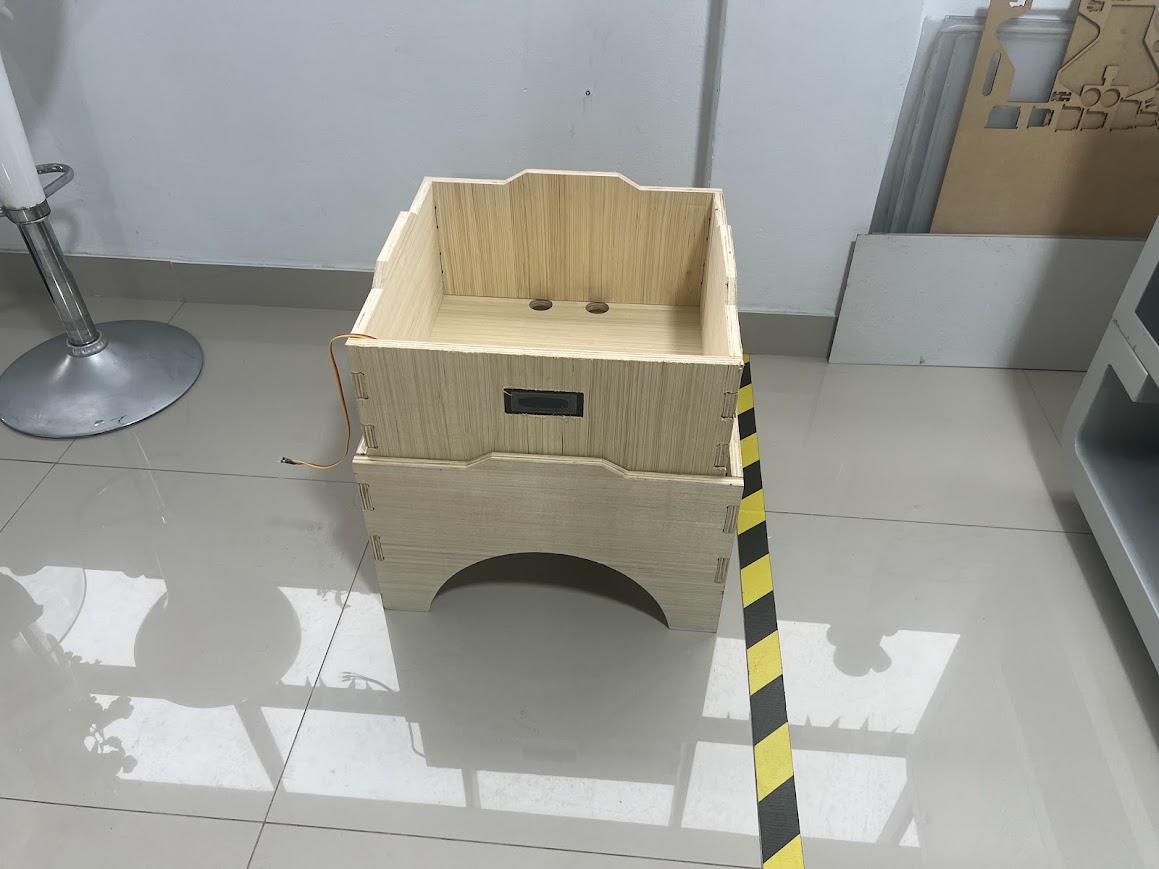
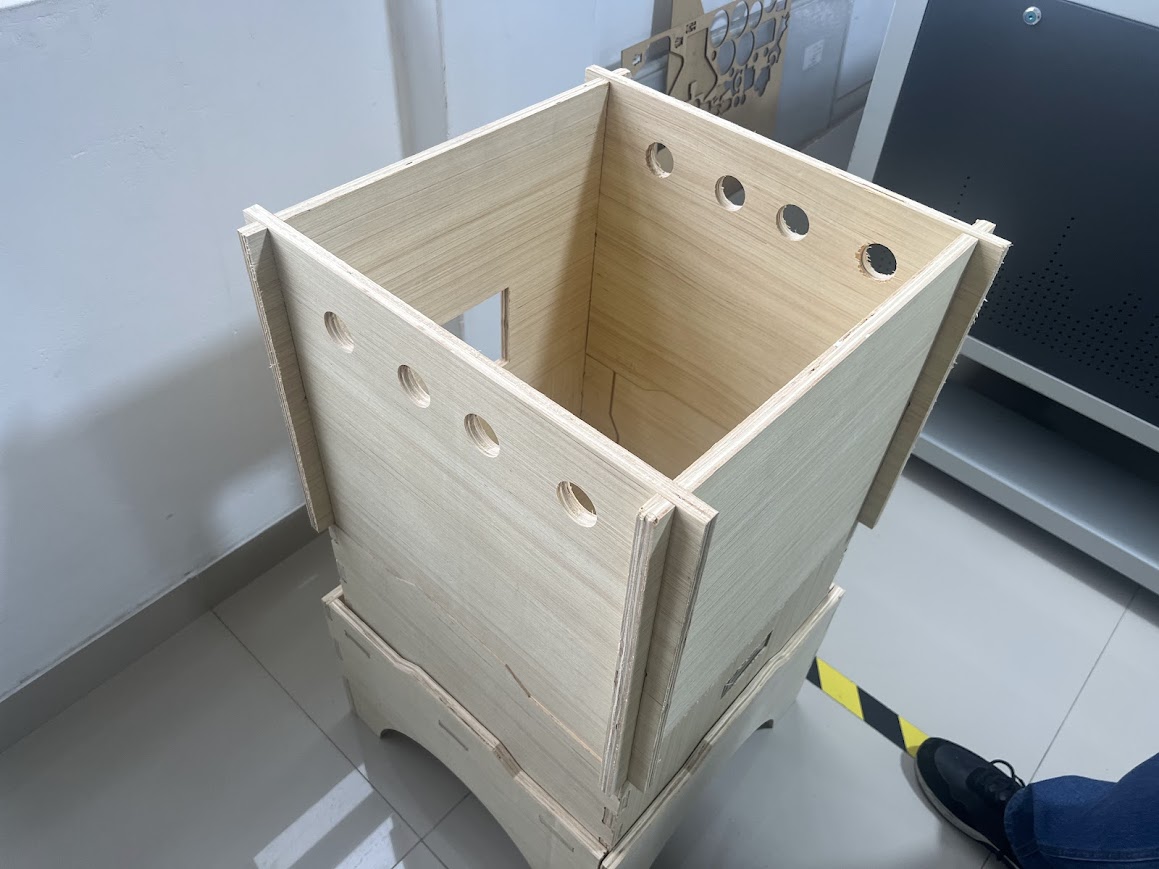
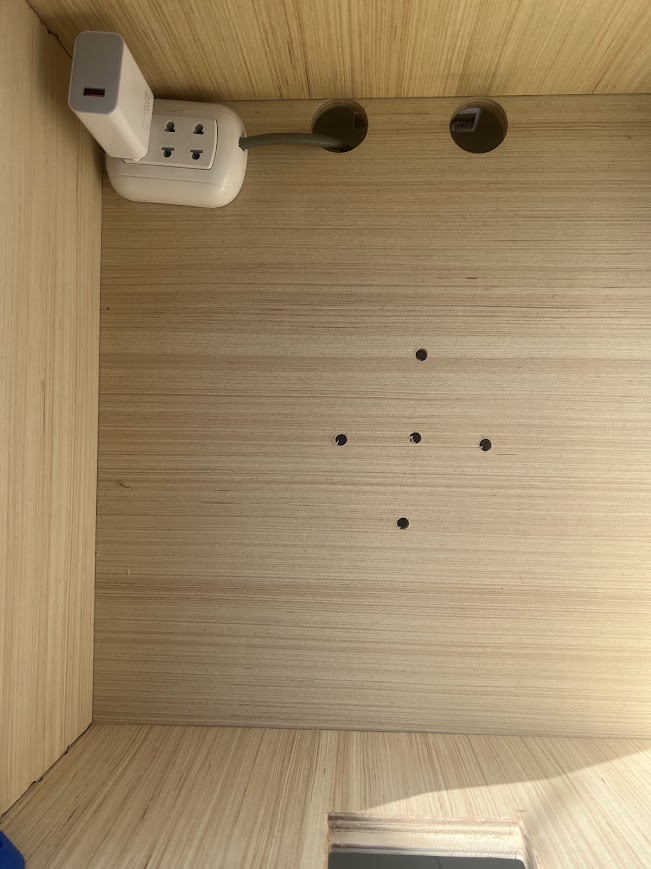
Distribution inside the box
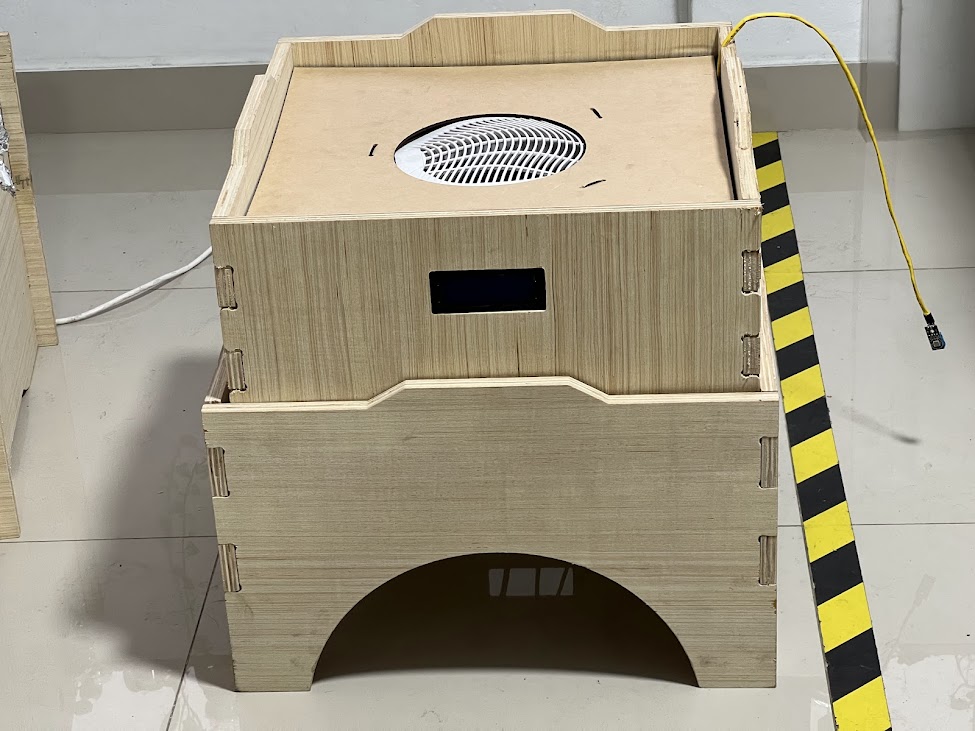
DHT11 Sensor: I am going to place it in a central location inside the box to get an accurate reading of the average temperature and humidity. I will avoid placing it too close to the nichrome wire as I would not get false readings from the direct heat.
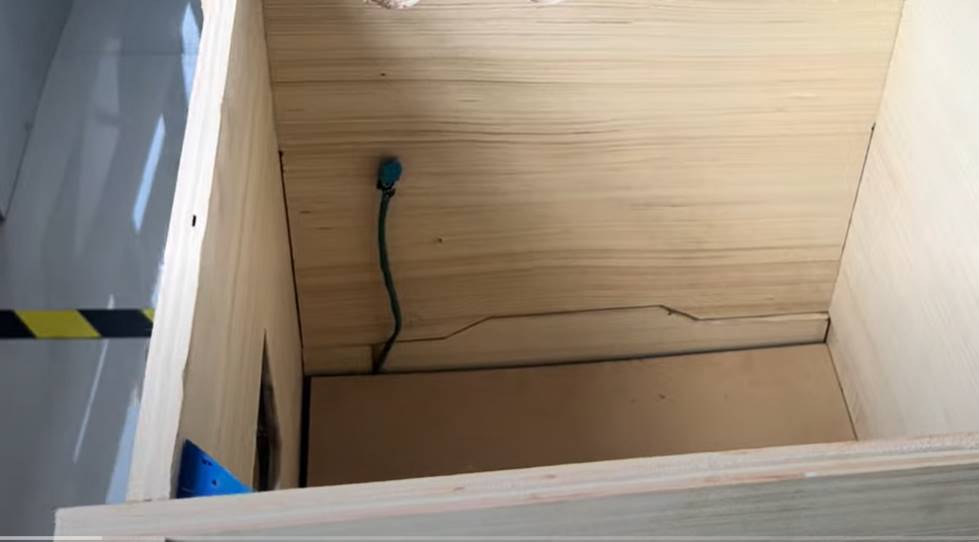
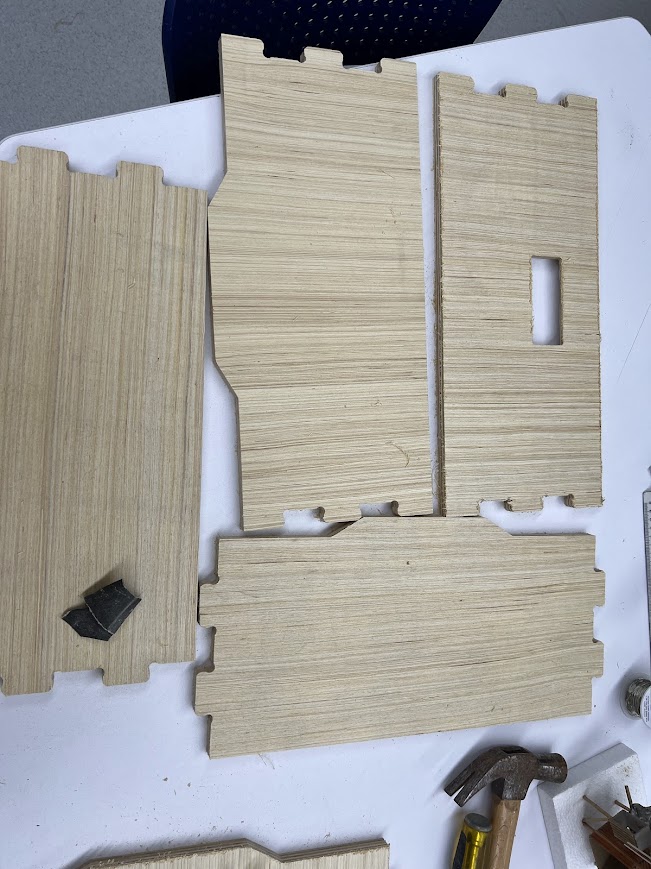
Fan: I designed a 12x12 square on the back of the box to allow good air circulation.

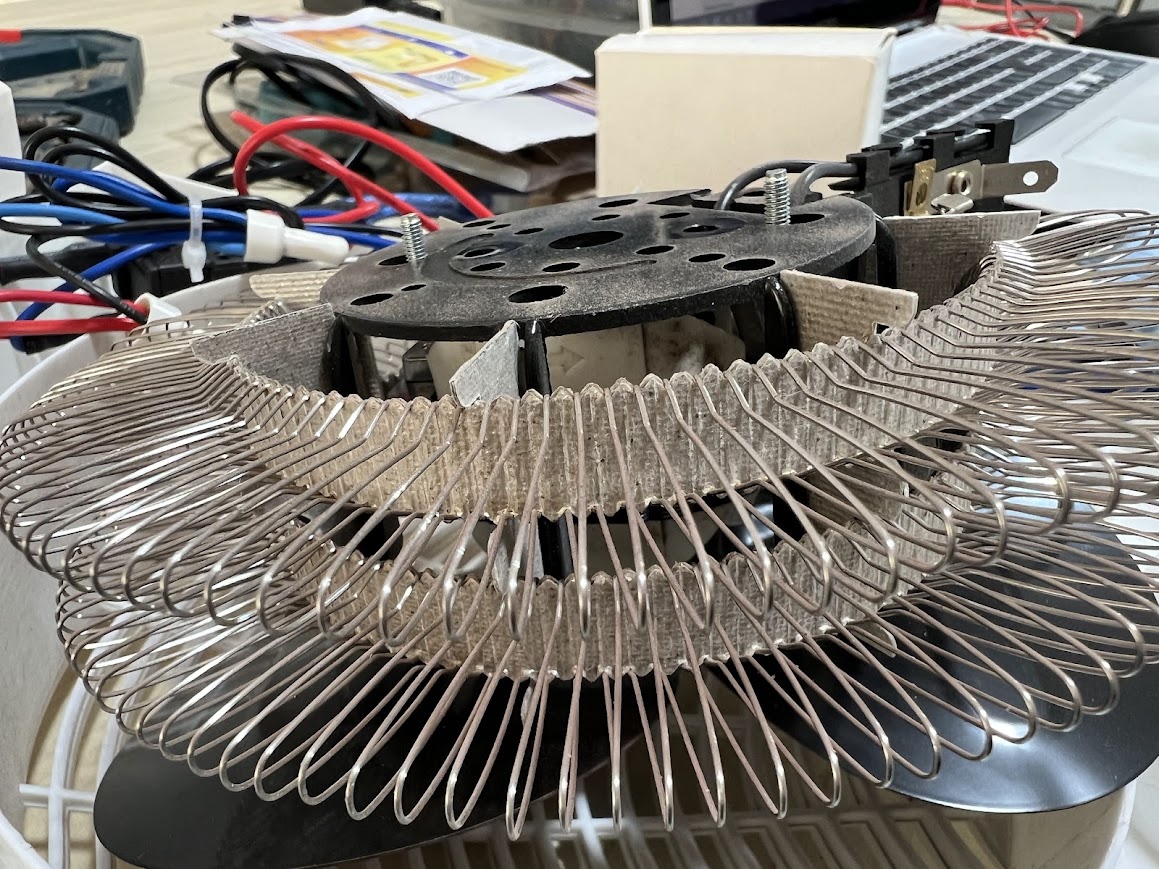
Nichrome Wire: Place a heater first to test and have a wire, which I will use and then a nicron wire only on the bottom of the box so that the heat rises and is distributed evenly. I have to make sure it is away from the walls of my box to avoid an accident.
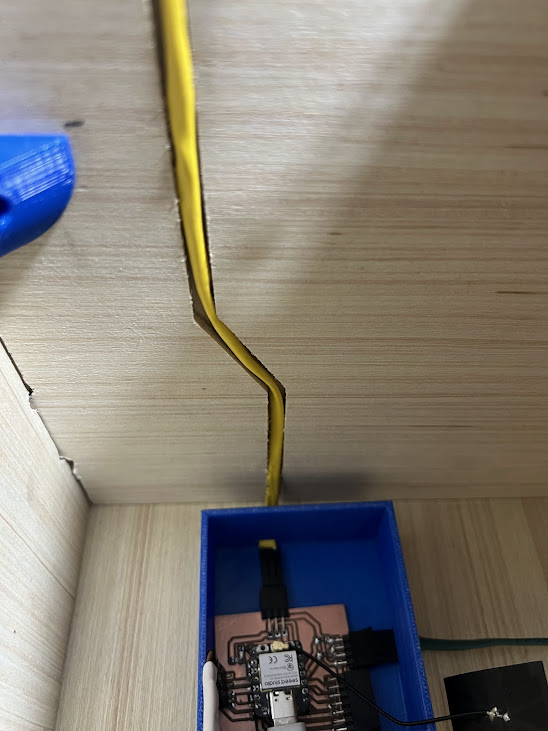
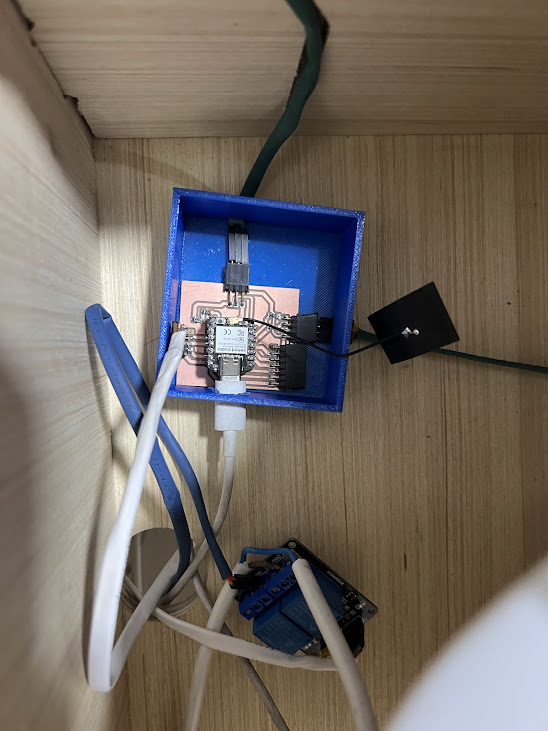
Relay and XIAO ESP32-C3: These components must be outside the main box to avoid damage from heat and humidity. According to my research, the temperature it tolerates without damaging the signal is a maximum of 40°C. I will place a 3D printed case on the outside.
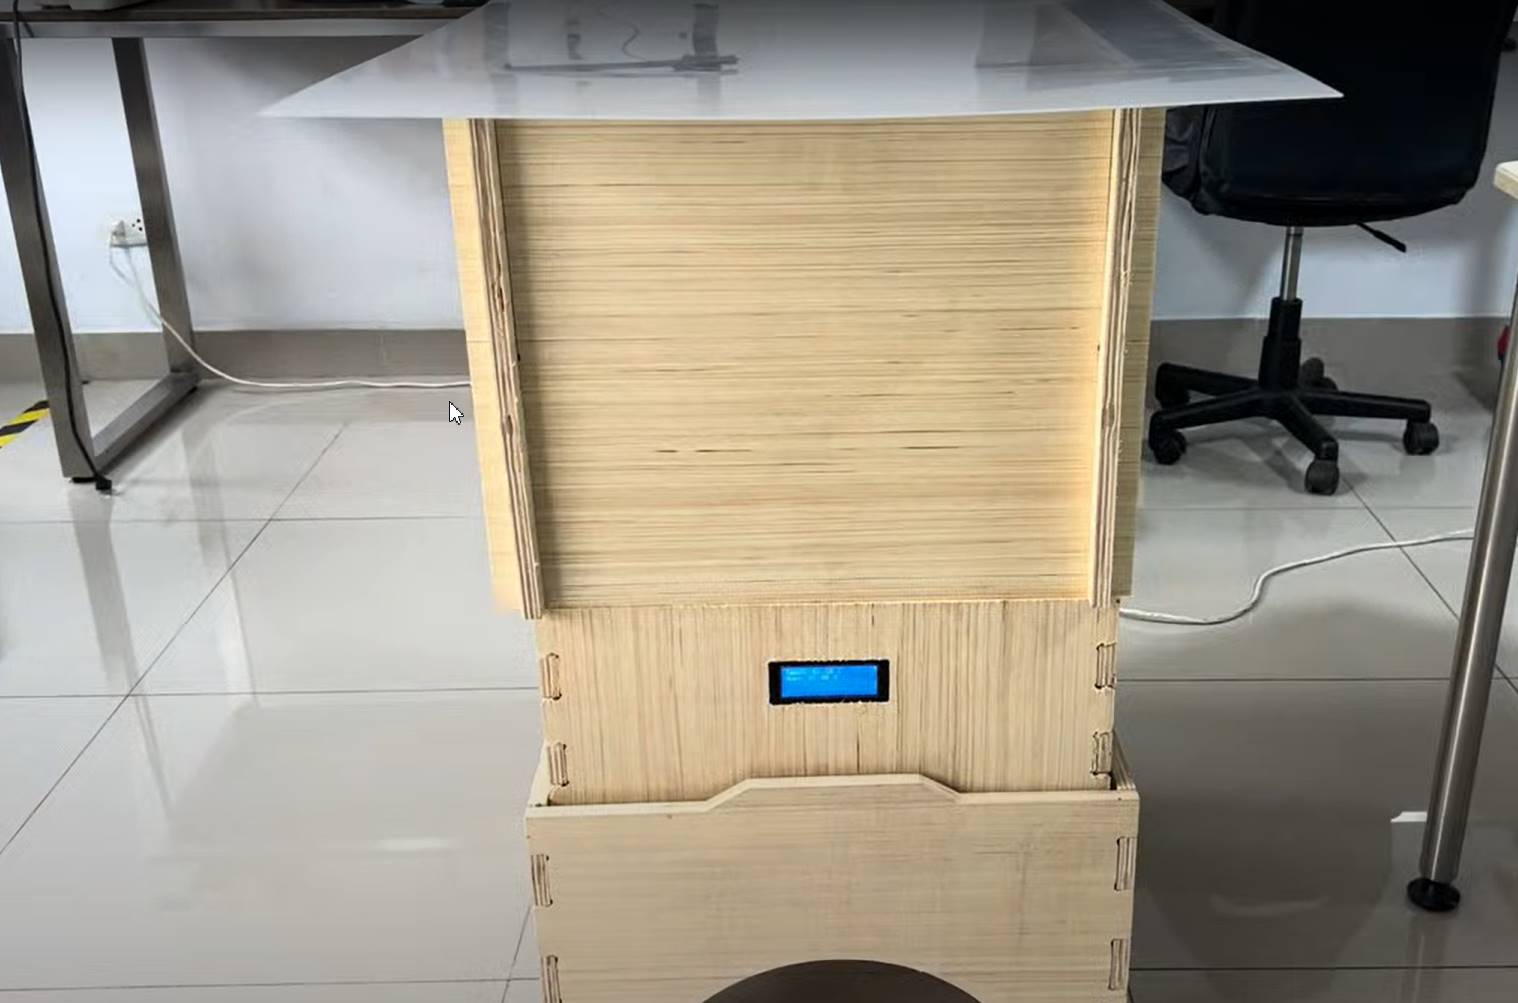
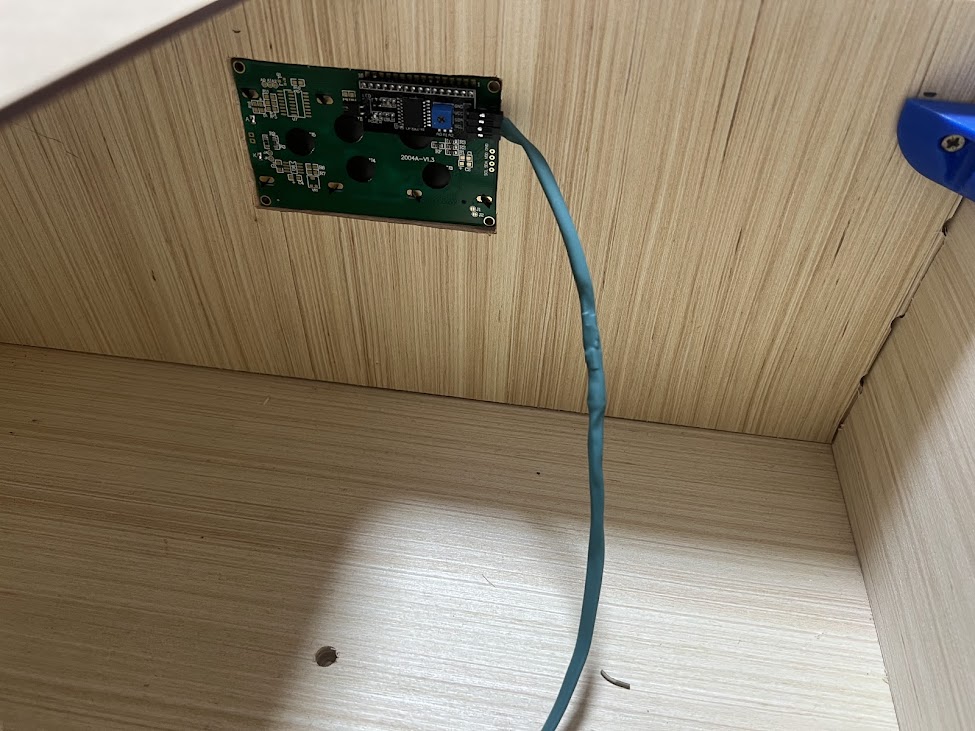
LCD screen: I placed my screen on the front so that the user can see how the humidity and temperature of the fruit dryer is going.

Functional Integration of the System
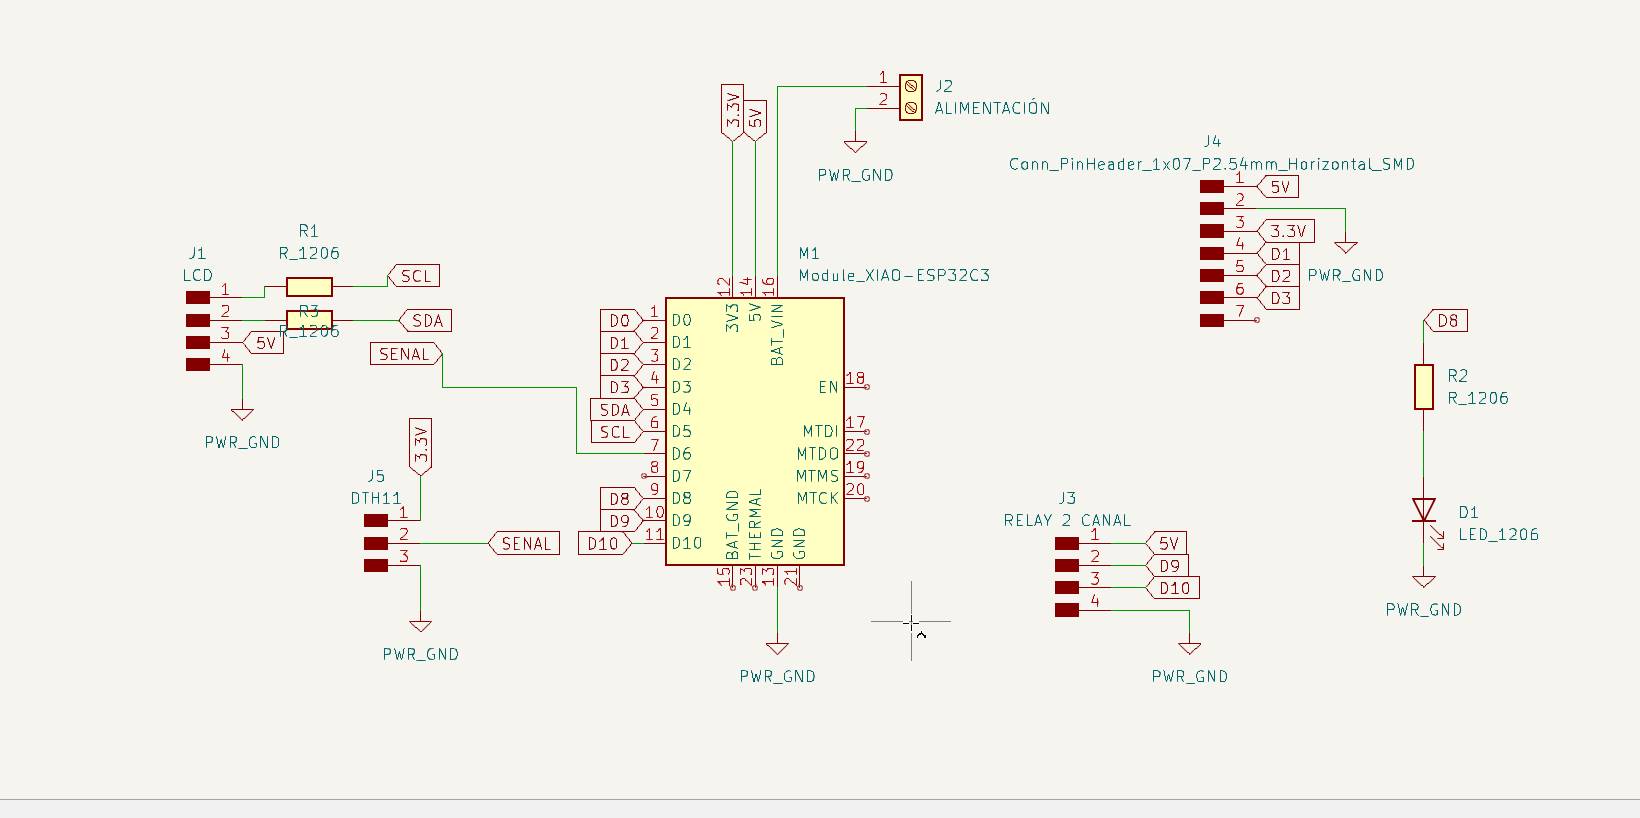
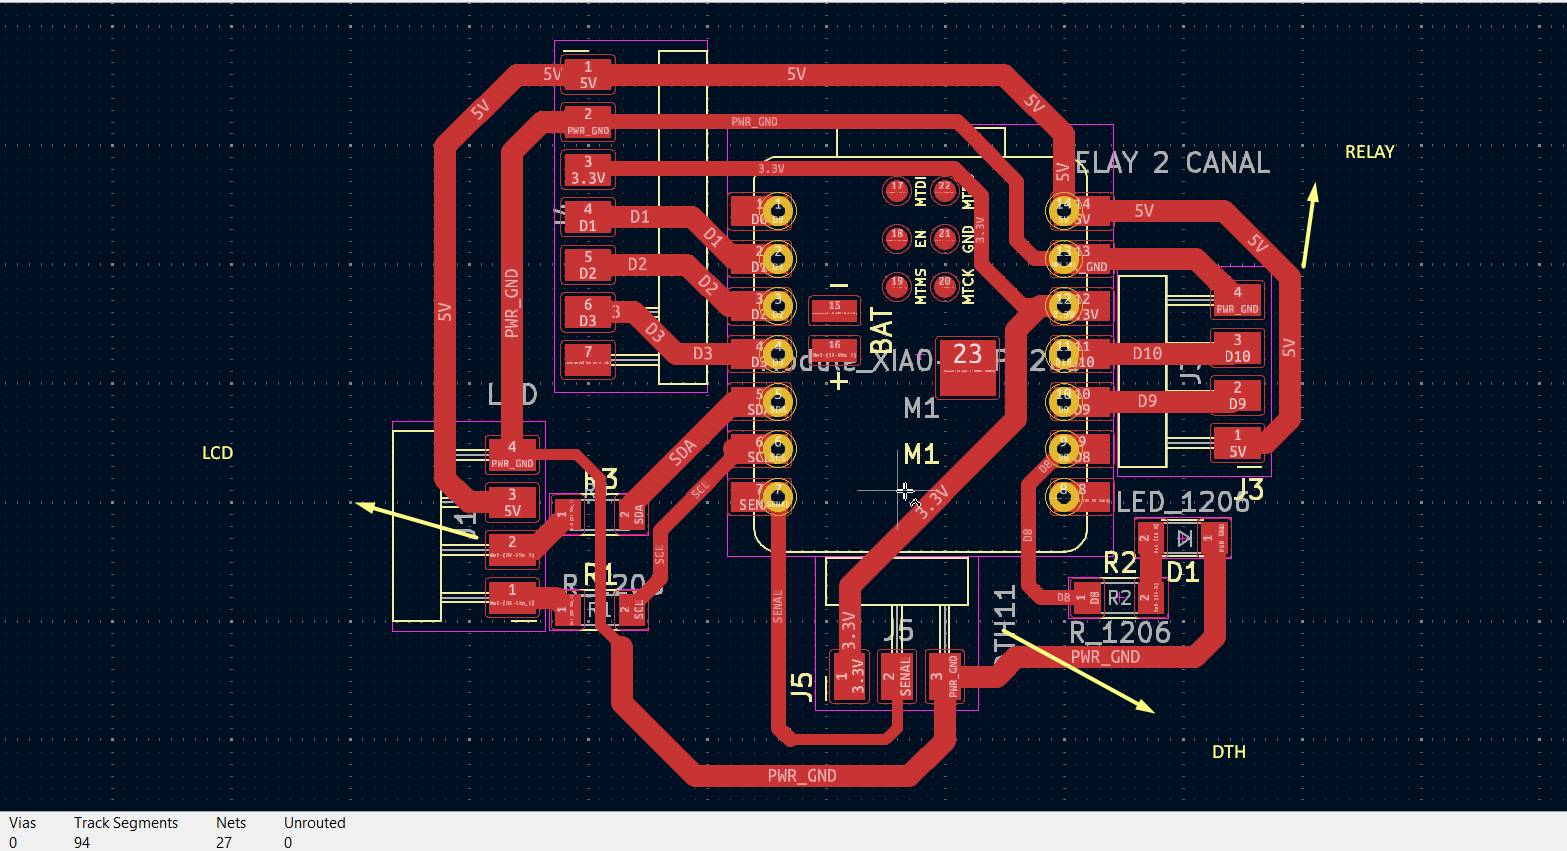
Conexion diagram
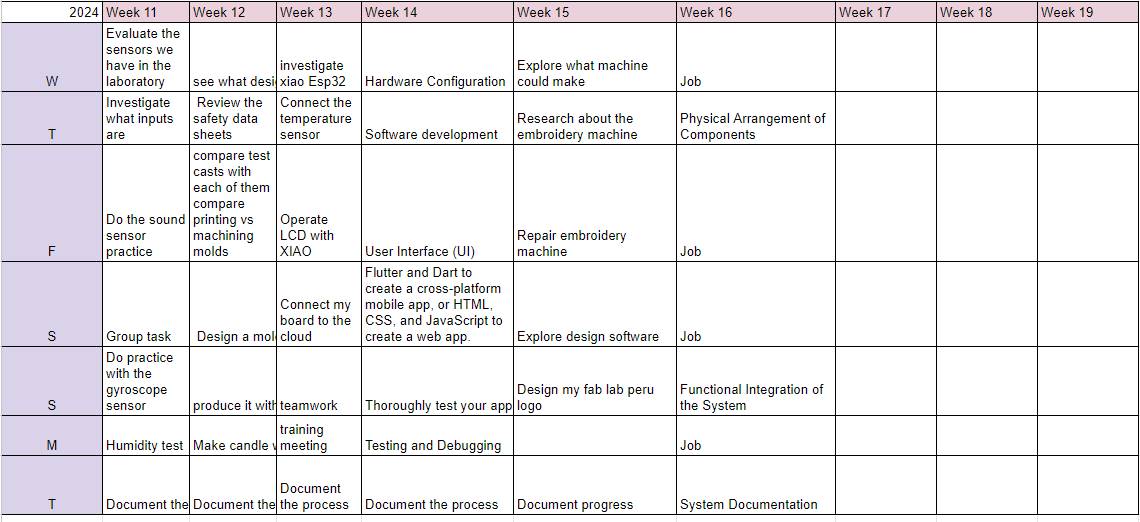
This week I found it quite interesting to be able to explore How to do embroidery. So since there was no embroidery machine in the laboratory, I joined other friends from other laboratories so that they could lend my Academy classmates and me an embroidery machine, we got the one I mentioned before. the brother who helped us a lot to be able to do this activity. After researching and asking colleagues who had already used this machine, they recommended that we download Wilcom. There was a detail with this software and it was that it is paid, which when downloading it, Well, it only gave us 14 days of free trial which is enough to be able to take this week's test.

Reference

DHT11 Sensor:
Connect the data output of the DHT11 to one of the digital input pins of the XIAO ESP32-C3.
LCD screen:
The screen I use is an I2C LCD, connected to the SDA pins and SCL of the screen to the I2C pins, where the SDA will be on pin D4 and the SCL on pin D5.
#include < Wire.h> //
#include < LiquidCrystal_I2C.h>//
#include "DHTesp.h"

#define DHTPIN D6            // Pin del sensor DHT11
#define DHTTYPE DHTesp::DHT11   // Tipo de sensor DHT11
#define I2C_ADDR 0x27       // Dirección I2C del LCD
#define LCD_COLS 21         // 21 columnas
#define LCD_ROWS 4          // 4 filas

DHTesp dht;

LiquidCrystal_I2C lcd(I2C_ADDR, LCD_COLS, LCD_ROWS);

void setup() {
  Serial.begin(115200);
  dht.setup(DHTPIN, DHTTYPE);
  lcd.init();
  lcd.backlight();
}

void loop() {
  delay(2000);

  float humidity = dht.getHumidity();
  float temperature = dht.getTemperature();

  if (isnan(humidity) || isnan(temperature)) {
    Serial.println("Error al leer el sensor DHT11!");
    return;
  }

  lcd.clear();
  lcd.setCursor(0, 0);
  lcd.print("Temp: ");
  lcd.print(temperature);
  lcd.print(" C");

  lcd.setCursor(0, 1);
  lcd.print("Hum: ");
  lcd.print(humidity);
  lcd.print(" %");
}

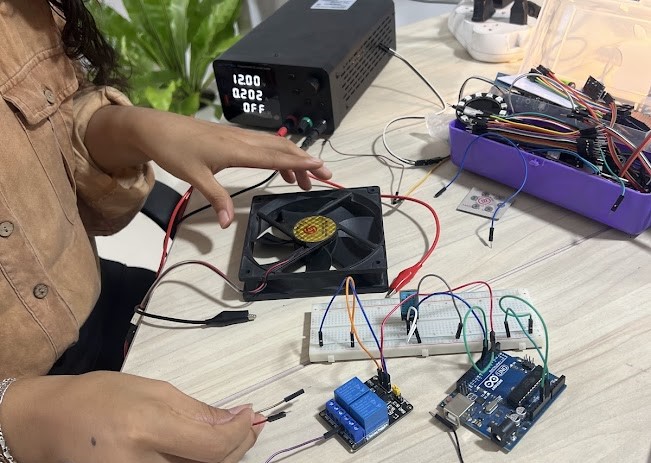
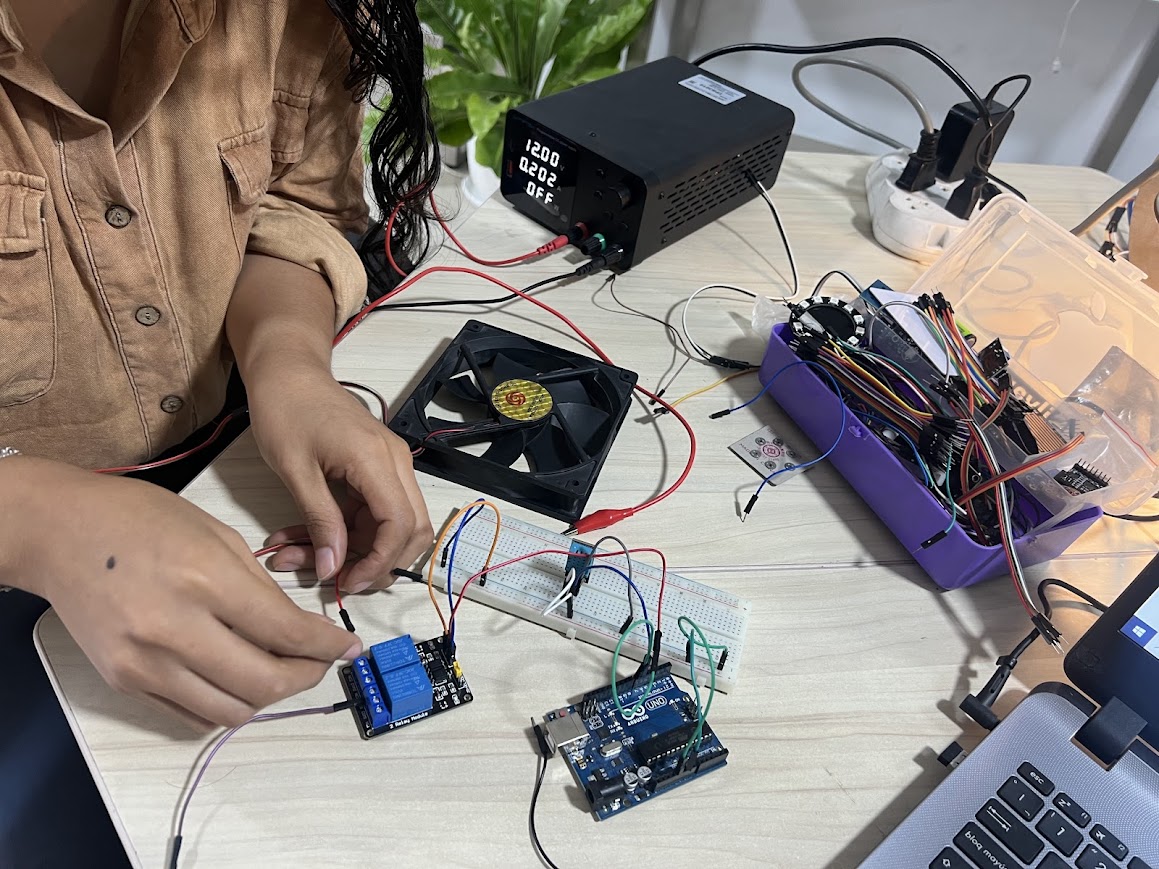
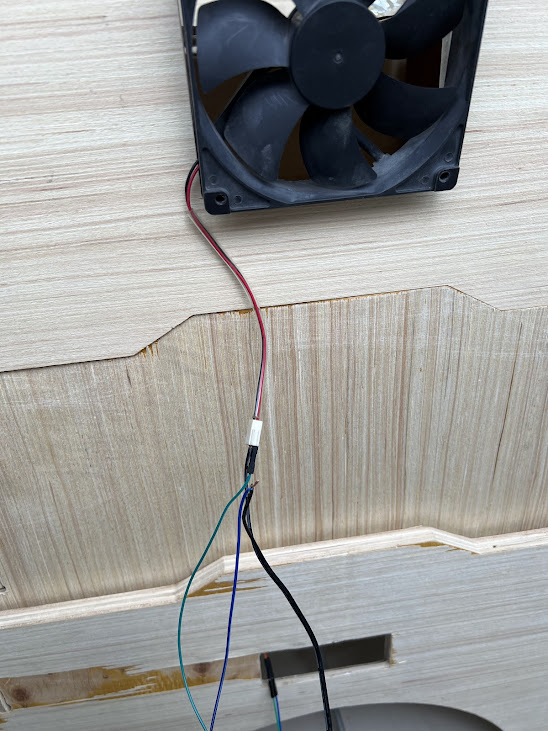
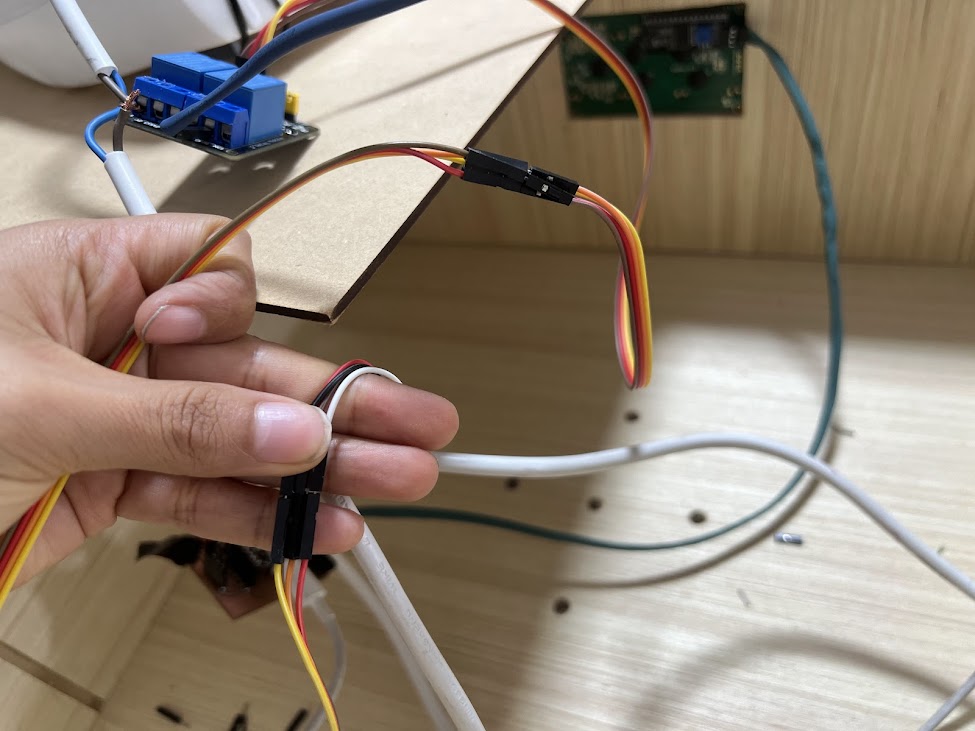
Fan: Connect the fan to one of the relay outputs. Power the relay from a suitable power source, in my case a 12V source. Control the relay with one of the digital output pins of the XIAO ESP32-C3. so that it can be executed correctly. So restart.

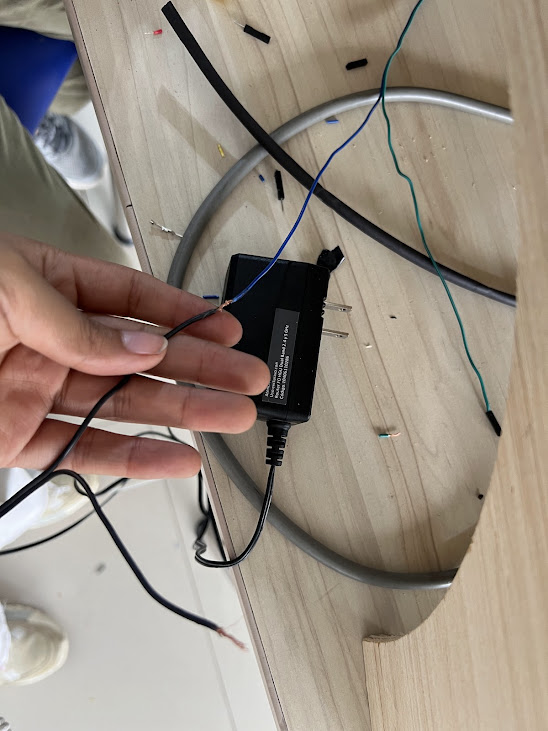
Nichrome wire: I will connect the nichrome wire to another output of the relay. Power the relay from a 12V 200mA power supply I control the relay with another digital output pin of the XIAO ESP32-C3.
Control Logic

Sensor Reading: Use the arduino IDE with my XIAO ESP32-C3 to read the temperature and humidity values of the DHT11, the value being 45°C.
Heat Control: If the temperature is below a threshold of 44°C, it turns on the nichrome wire. If the temperature exceeds a higher threshold, it turns off the nichrome wire.
Fan Control: If the humidity is too high or the system needs to cool, the fan turns on. If the humidity is within the desired range and the temperature is correct, turn off the fan to maintain the proper temperature.
System Documentation
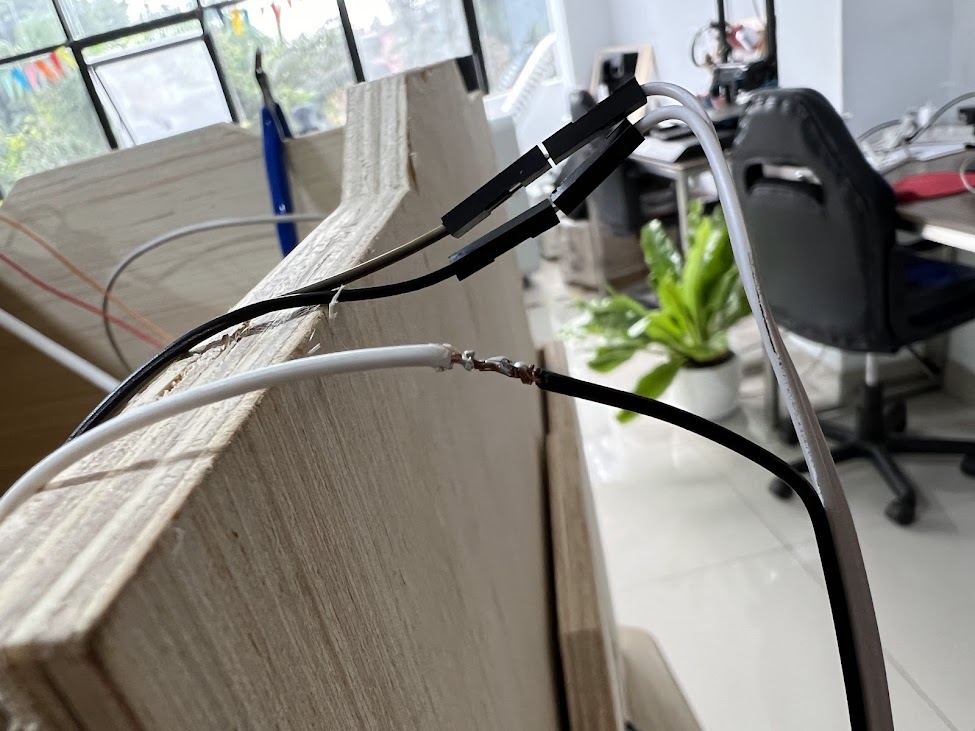
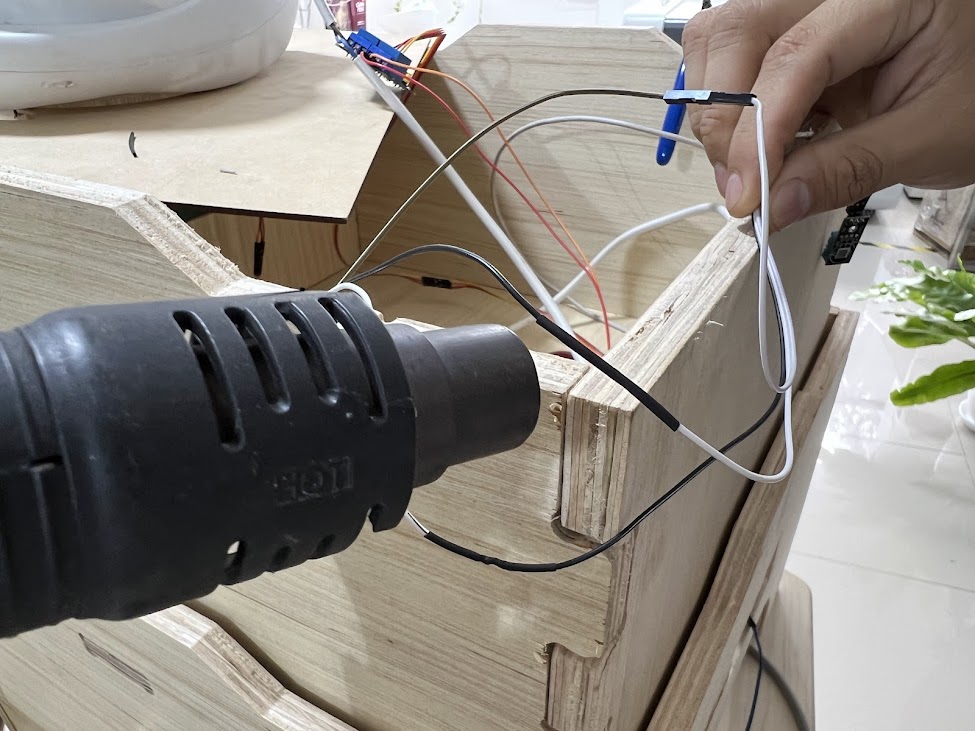
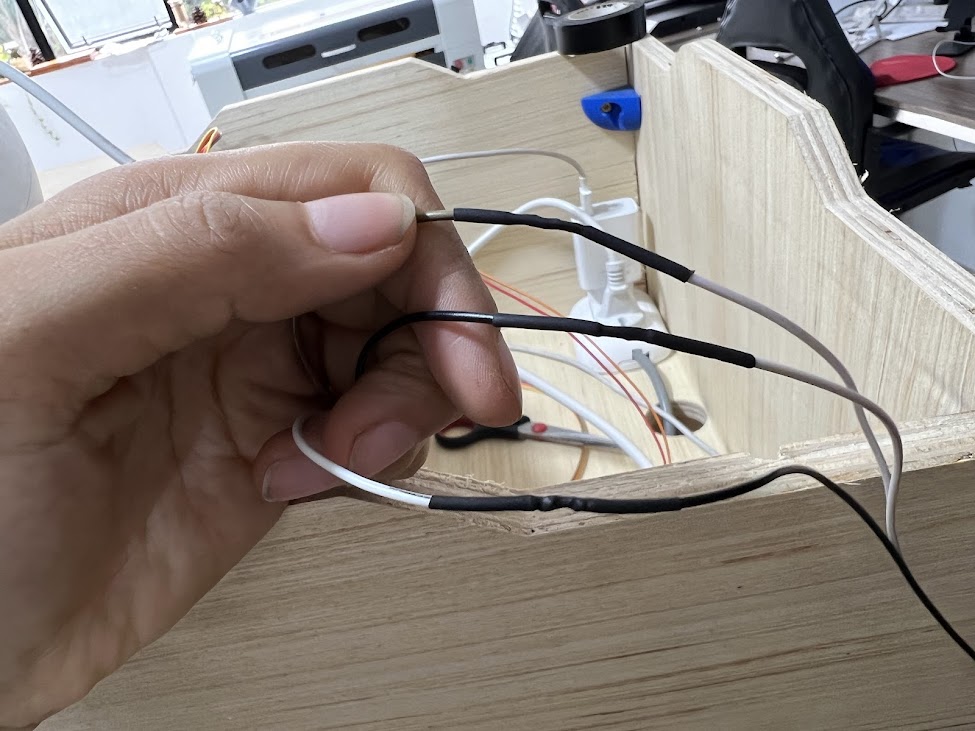
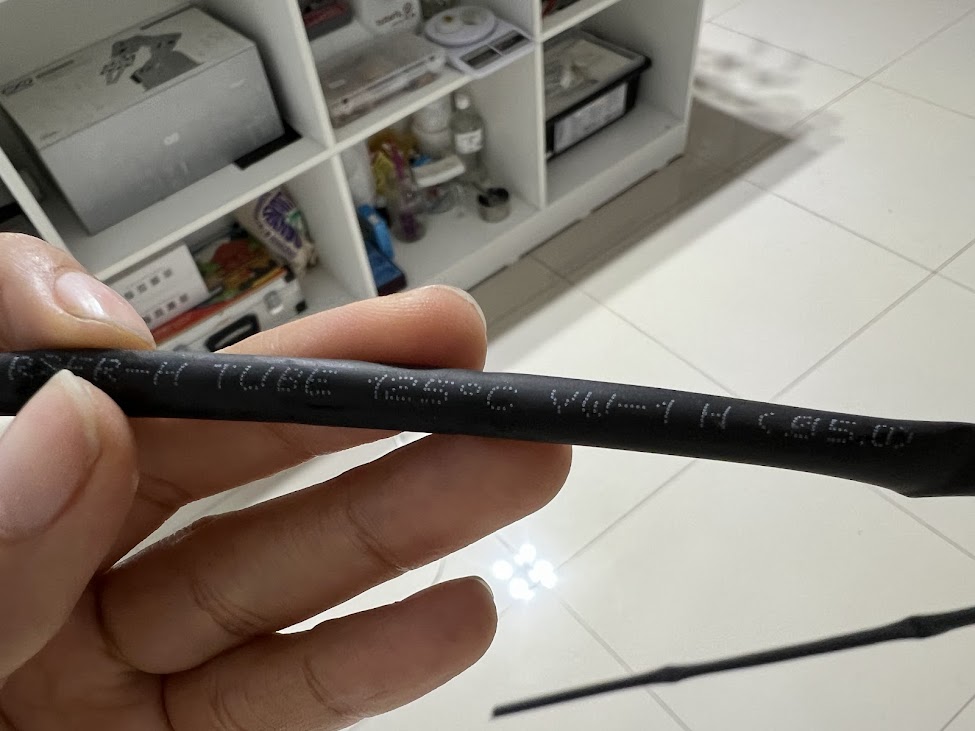
Here are the characteristics of the heat shrinkable that indicate that it resists 125°C.
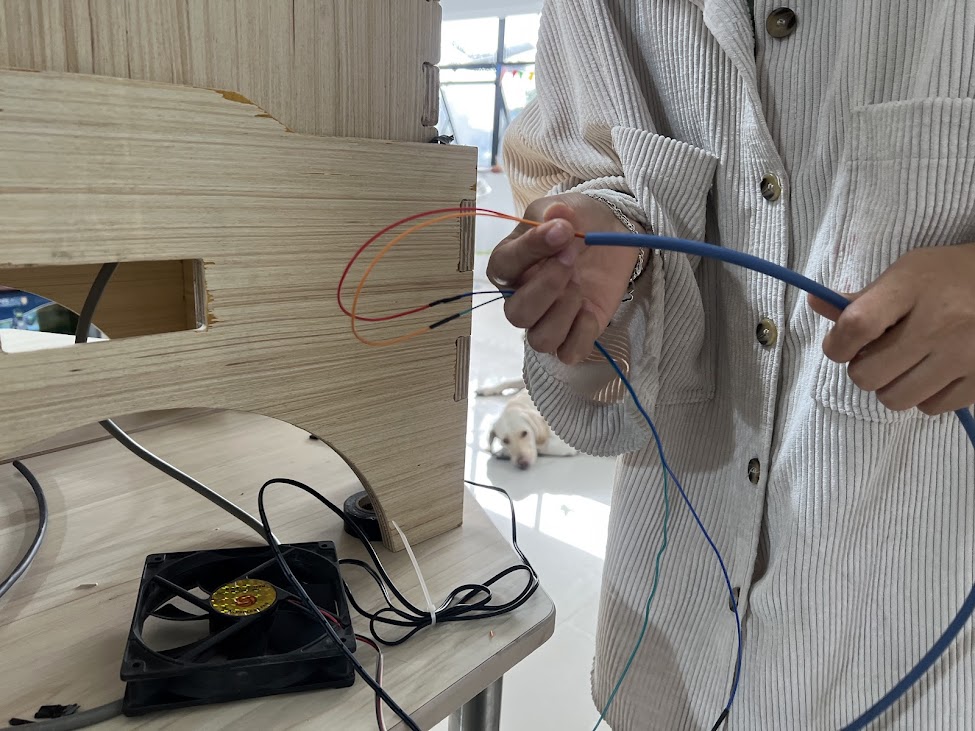
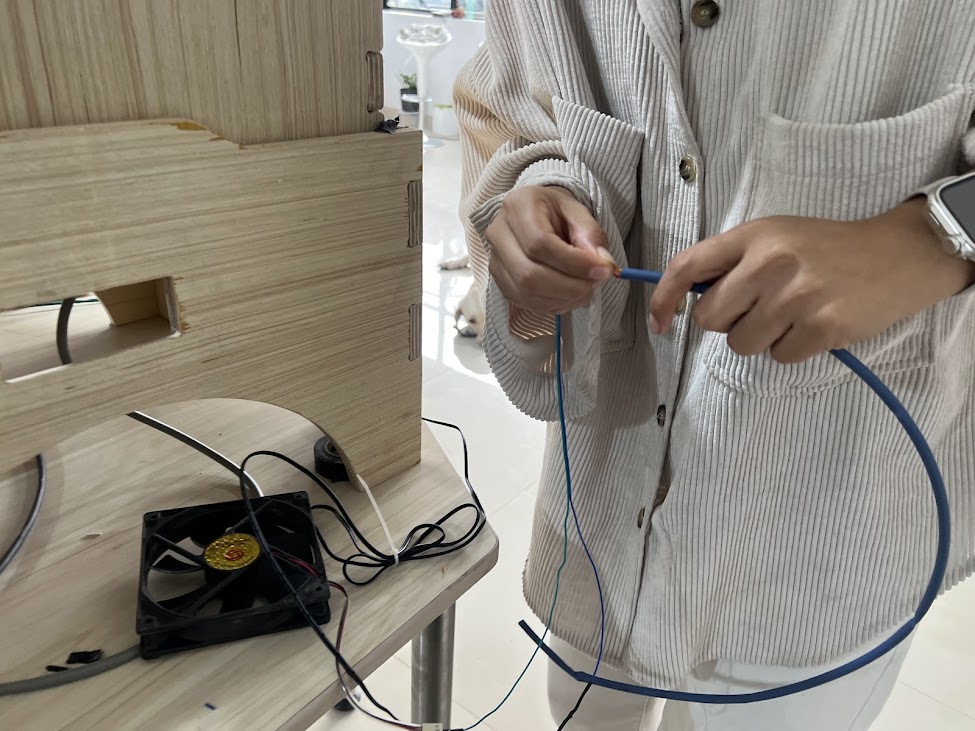
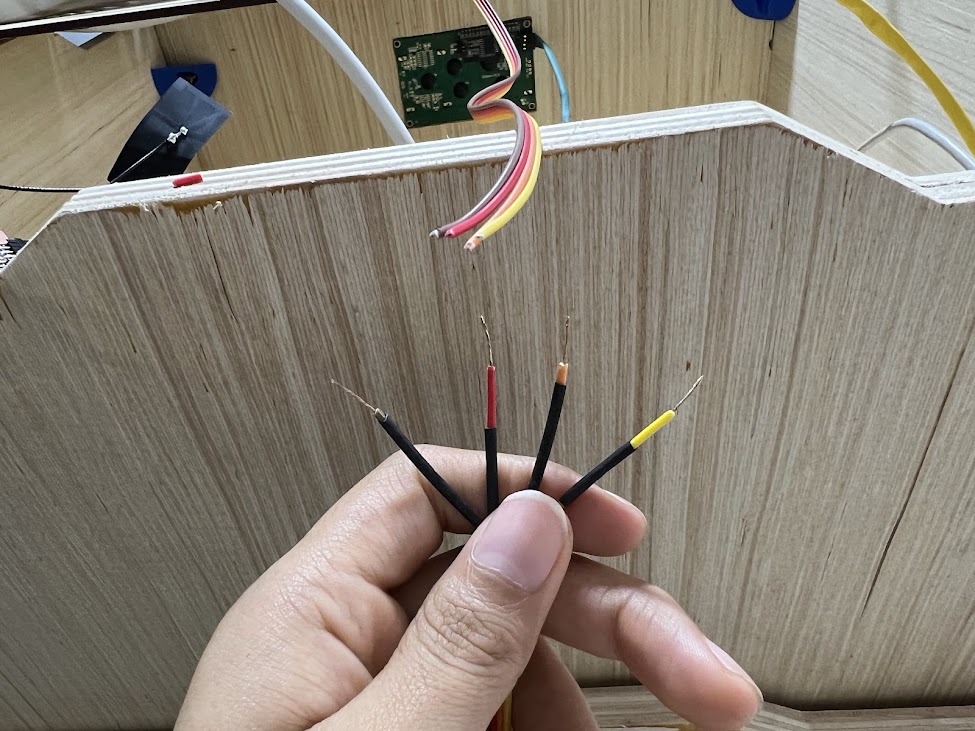
Here so that everything is more organized, place this Cable Wrap Organizer also called Spiral Tube, Serpentine, Threading Tube, Desktop Computer Accessories, everything was super organized.

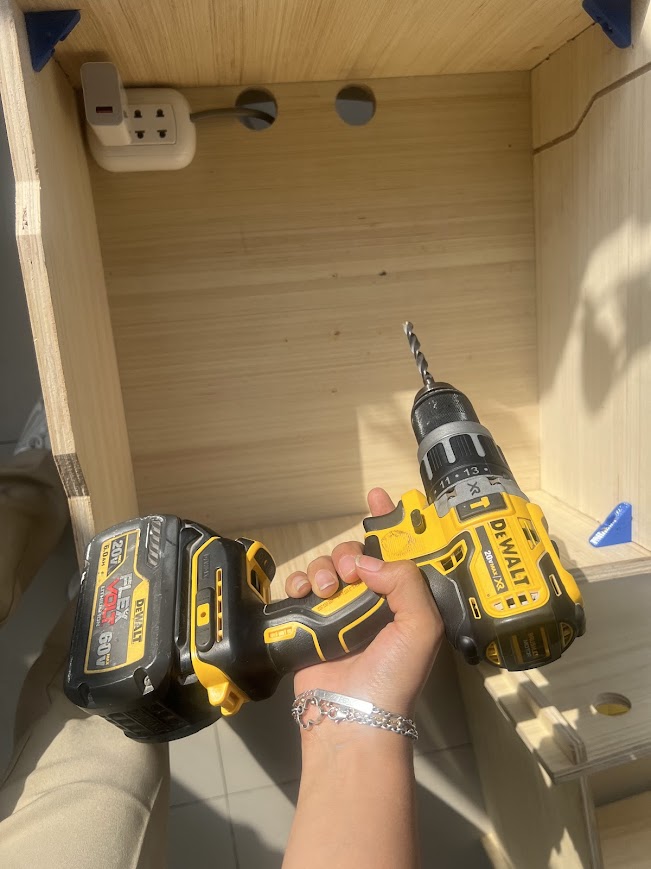
Me with the wrong tool
Me with the right tool :D
Consideration
- If you want to replicate this project, take safety into account with the nichrome wire, it must be insulated and the system must have adequate ventilation.
- The initial tests I did were with a heater that had a nichrome wire and a fan, allowing me to make the test safer. If you don't have that heater and you try to replicate this project, be careful with the heat generated by the wire.


