Results: Molding and Casting
I have made molds based on 3D printed pieces before, but this week was the first time I used wax block.
Icons in Fab&Plant module made with silicone molds
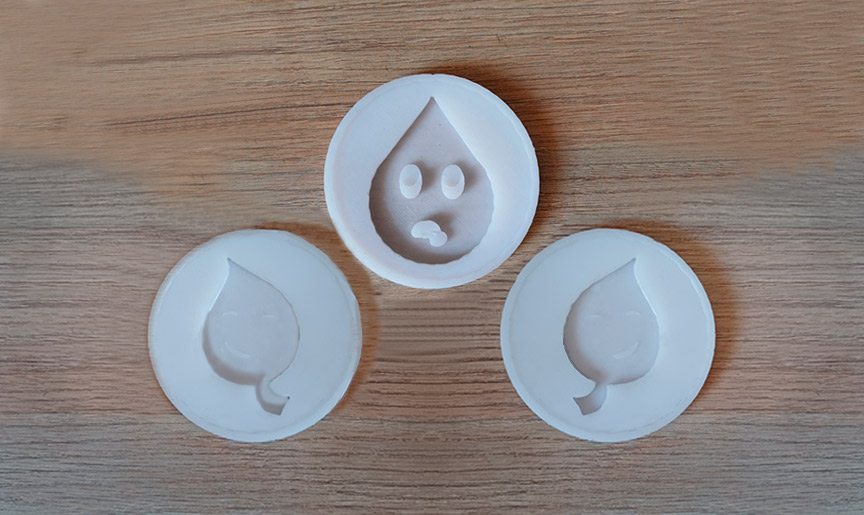

Icons silicone molds and casted pieces
This task was an interesting one and I managed to started to manufacturing the final pieces of my final project module.
Group Assignment: Safety and Test Cast
The group assignment page is here.
What I Learned From Team Work
To use the router machine for milling the wax block mold -as a team- we went to Universidad Cientifica del Sur (UCSUR) Fab Lab which is located in the architecture faculty of the university, in Chorrillos district, in Lima, Peru.
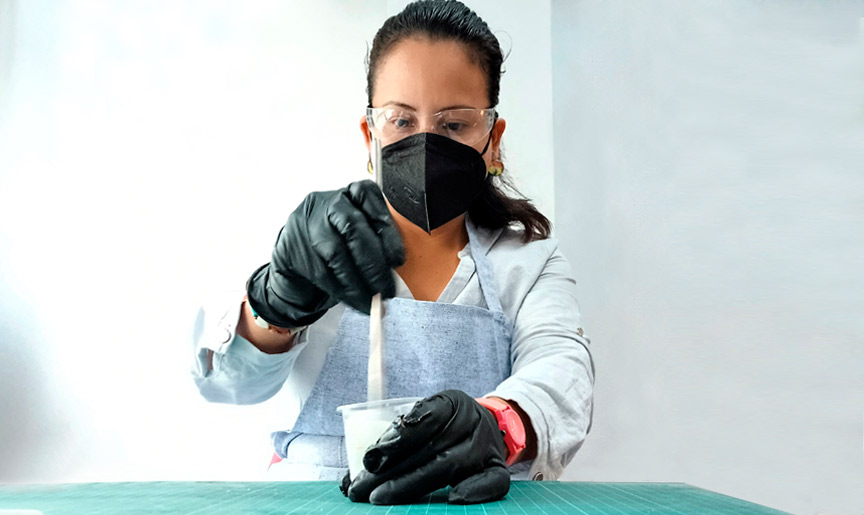
Safety Considerations
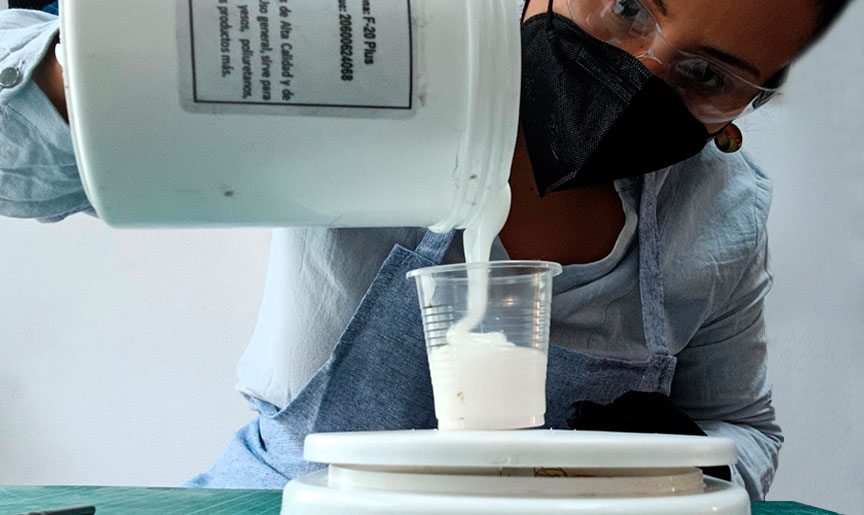
When working with materials for mold-making, prioritizing safety is paramount. It is essential to equip oneself with protective gear, including safety glasses to shield the eyes from potential splashes or spills. Additionally, wearing long sleeves and gloves serves to minimize skin exposure to the material, reducing the risk of irritation or allergic reactions. Furthermore, a face mask should be worn to prevent inhalation of any airborne particles or fumes emitted during the molding process. By adhering to these safety precautions, one can ensure a safer and more secure working environment while engaging in mold-making activities.
Safety Data Sheets of Molding Material: Silicones
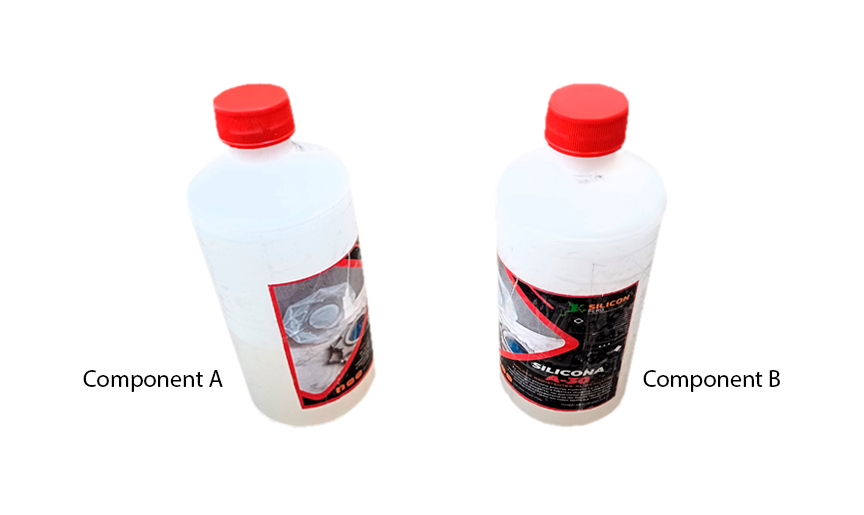
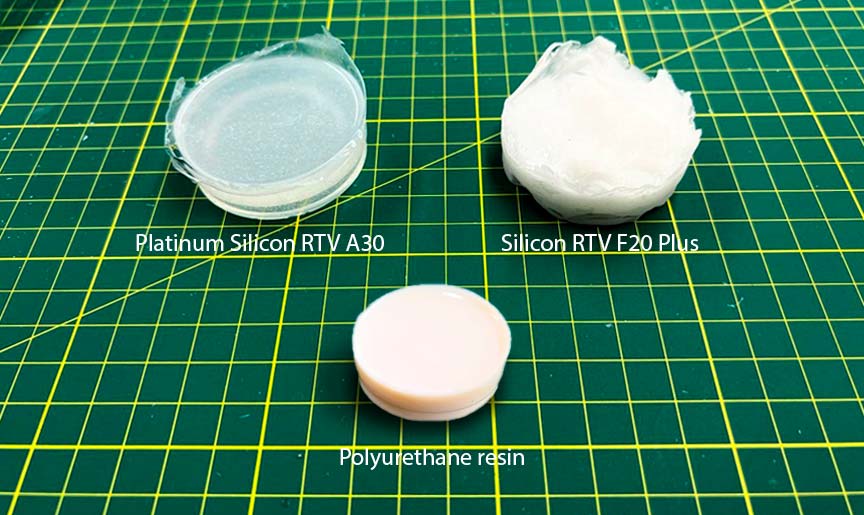
For this task, we tested two kinds of silicone: Silicon RTV F20 Plus and Platinum Silicon RTV A30. In Peru, Silicon Peru is the local seller.
It is worth mentioning that we had an initial problem with the OOMMOO silicone. Because it had not been used for more than a year after purchase, one of the components was completely dry. Reading the data sheet, we discovered that its shelf life is only about 6 to 9 months. This material is very scarce in Peru (only one store sells it). We immediately contacted the supplier, but they did not have that silicone in stock. As a team, we look for alternatives and get other more accessible materials in the country.

Dry OOMMOO silicone
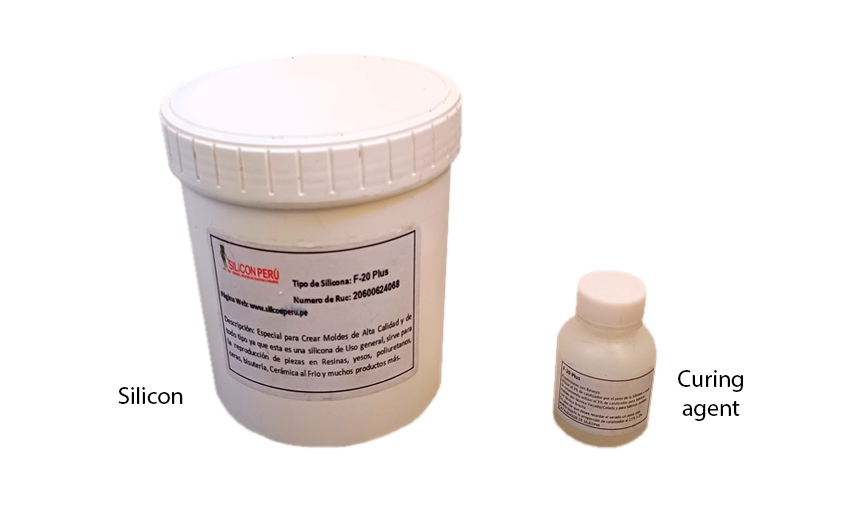
The first material we tested was the Silicon RTV F20 Plus. It is a liquid mold making silicone rubber that comprises two components: a white liquid serving as the silicone itself (component A) and the curing agent (component B). The mix ratio is: component B should be the 2%-3% of the amount of component A. The curing process typically takes from 4 to 8 hours. Noteworthy qualities include strong tear resistance and exceptional tolerance to high temperatures.
Following the review of the datasheet, we proceed to utilize the material, mixing it in accordance with the specified proportions and values outlined within the documentation.
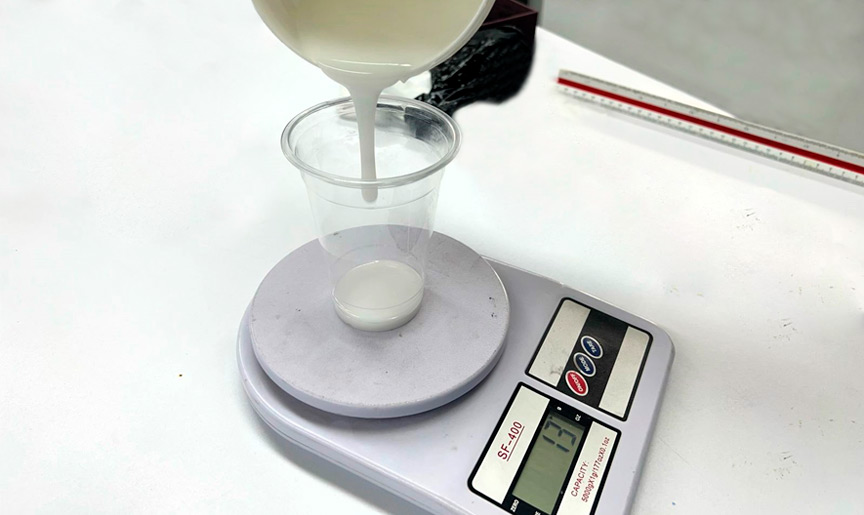
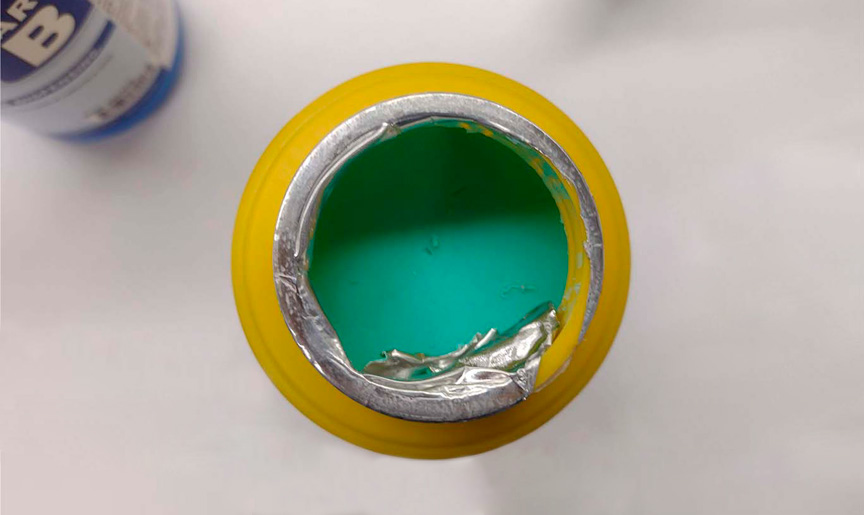
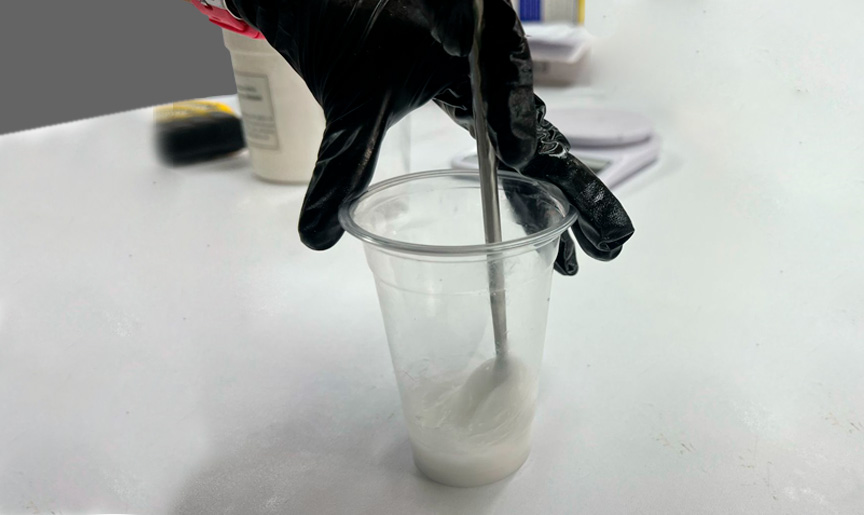
Mixing components of silicon RTV F20 Plus
Once the two materials are merged, we commence the process of stirring the mixture for one minute until it achieves a homogeneous liquid state, thus facilitating the silicone test to yield the desired outcome.
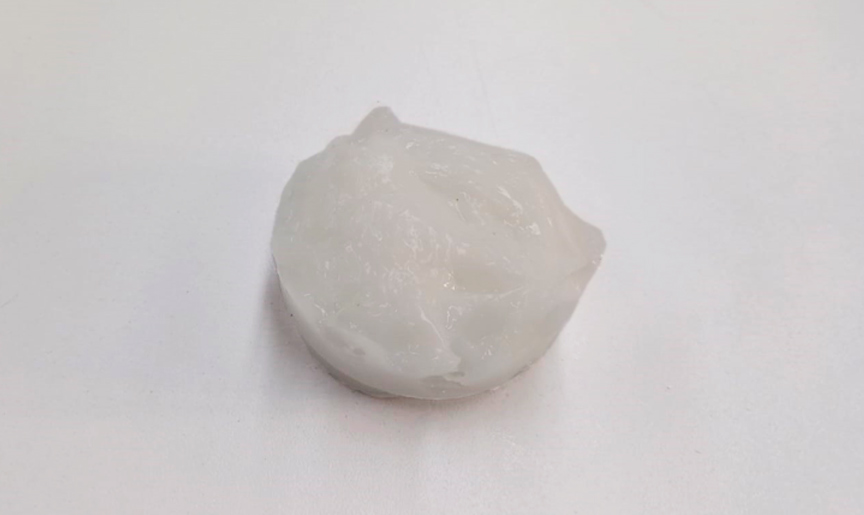
Silicon RTV F20 Plus
When the mixture hardened, we obtained a whitish and flexible material.
The second material we tested was the Platinum Silicon RTV A30. It is a food-grade silicone that comprises two components: a translucent liquid serving as the base (component A) and the curing agent (component B). The mix ratio is 1:1. The curing process typically takes from 5 to 12 hours. This food-grade silicone is environmentally friendly, odorless, and non-toxic, ensuring safety for various applications such as makin food molds. With its remarkable resistance to high temperatures and aging, it can withstand temperatures ranging from -60°C to 200°C. Moreover, its exceptional tear resistance makes it highly durable for a wide range of uses.
Upon reviewing the data sheets, we conducted our test using the specified proportions and mixed the materials accordingly to achieve the desired outcome.
Mixing components of Platinum Silicon RTV A30
Once the two materials are merged, we must adhere to the recommended mixing time of 3 to 5 minutes at most before pouring the mixture into our mold.
Food-grade Platinum Silicon RTV A30
When the mixture hardened, we obtained a translucent and flexible material.
Safety Data Sheet of Casting Material: Polyurethane Resin
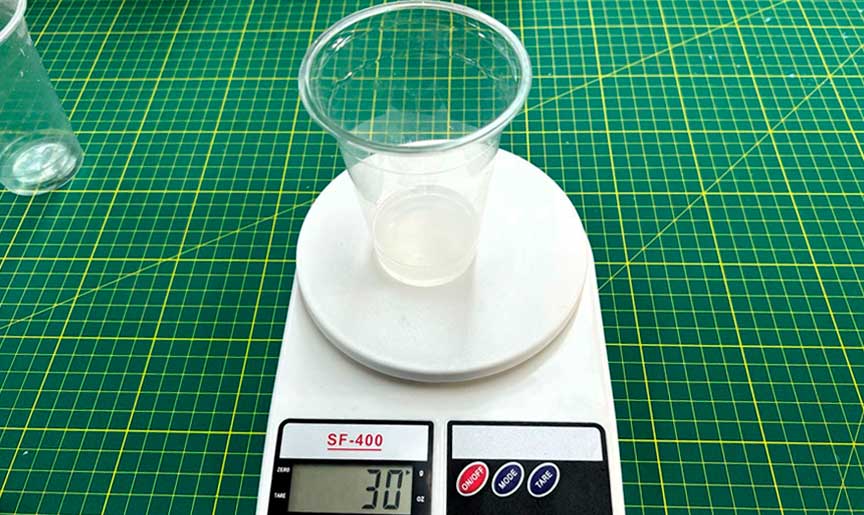
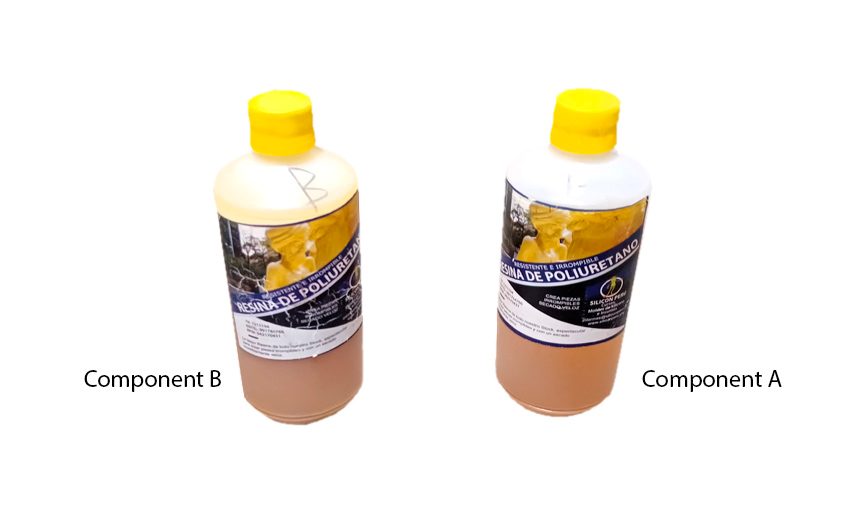
For this task, we tested Polyurethane Resin. In Peru, Silicon Peru is the local seller. It is an MDI polyether based polyurethane elast omer. This is a two part polyurethane casting system with a mix ratio of 1:1 and cures at room temperature after 5 minutes.
After consulting the datasheet, we move forward with the application of the material, ensuring that we mix it according to the specified proportions and values provided in the documentation.
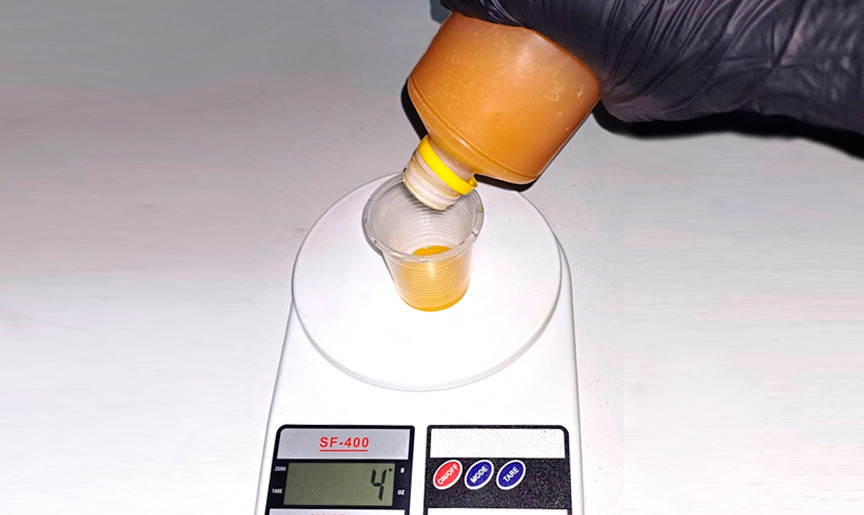
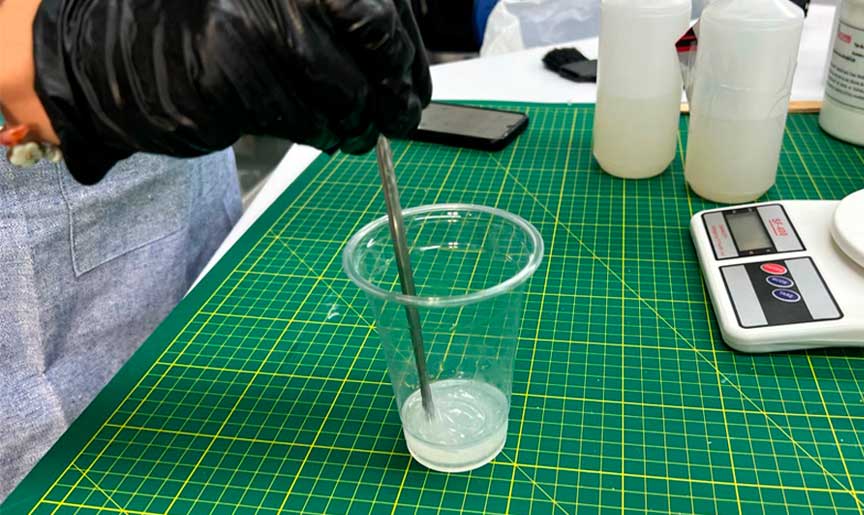
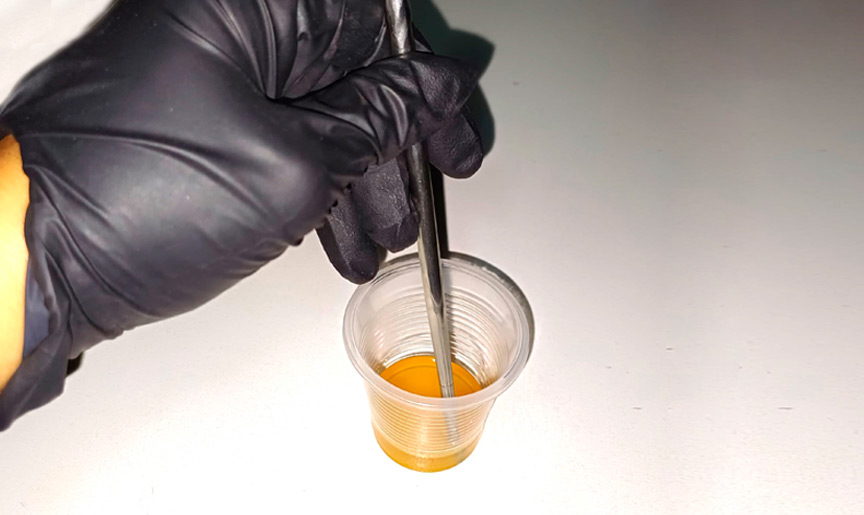
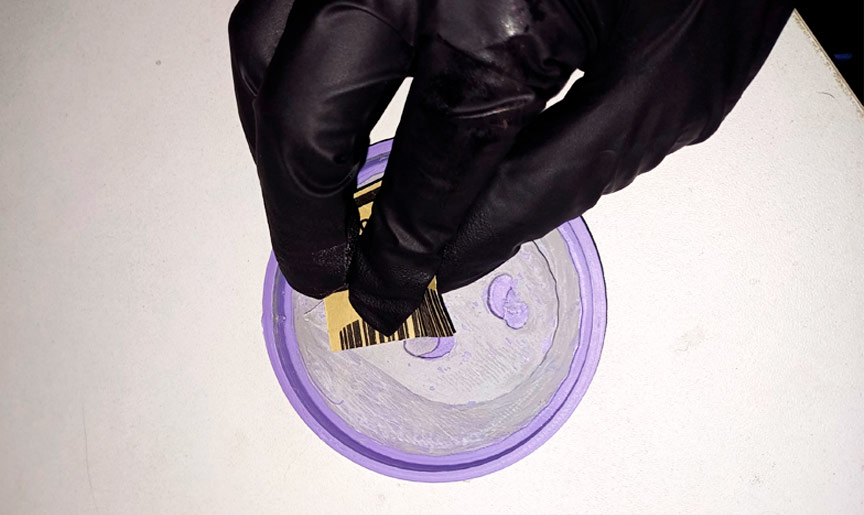
Mixing components of polyurethane resin
Upon combining the two components, we initiate the stirring process for approximately 30 seconds until the mixture achieves a uniform liquid consistency. This step ensures that the resin test results in the desired outcome by facilitating optimal homogeneity.
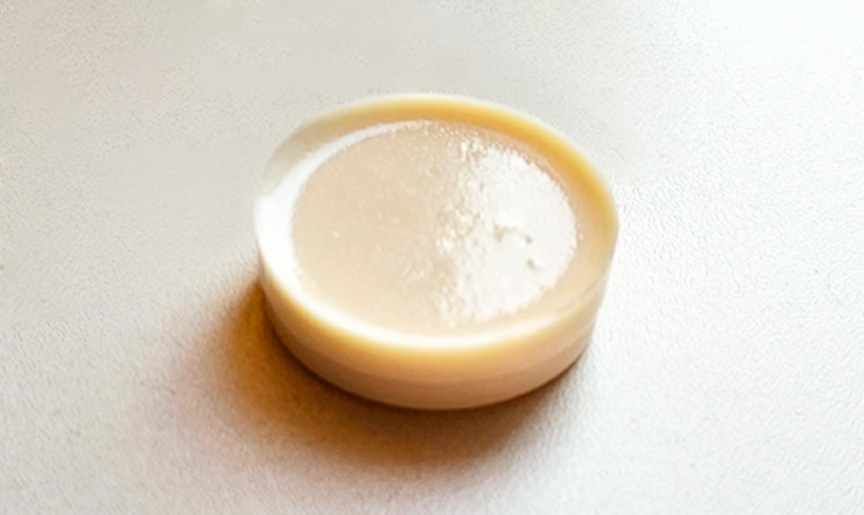
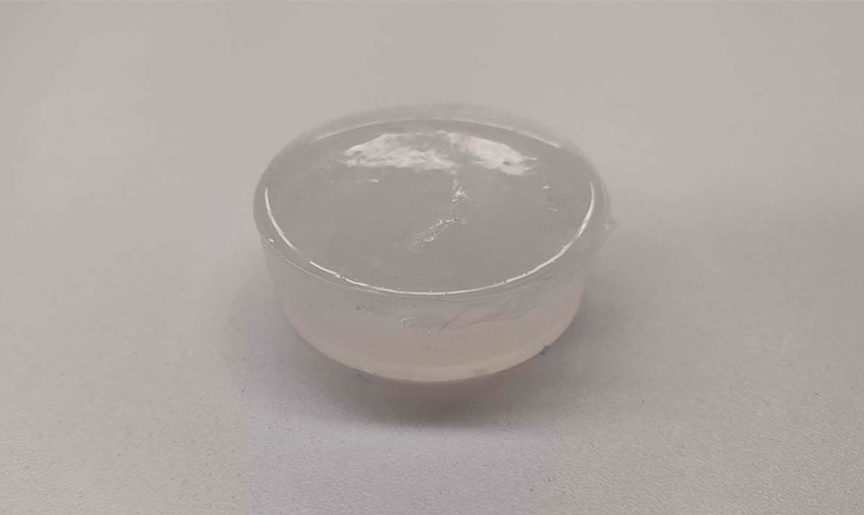
Polyurethane resin
When the mixture hardened, we obtained a light beige hard material.
Comparing Printing vs Milling Molds
For this task, I compared the molds for the name of my final project.
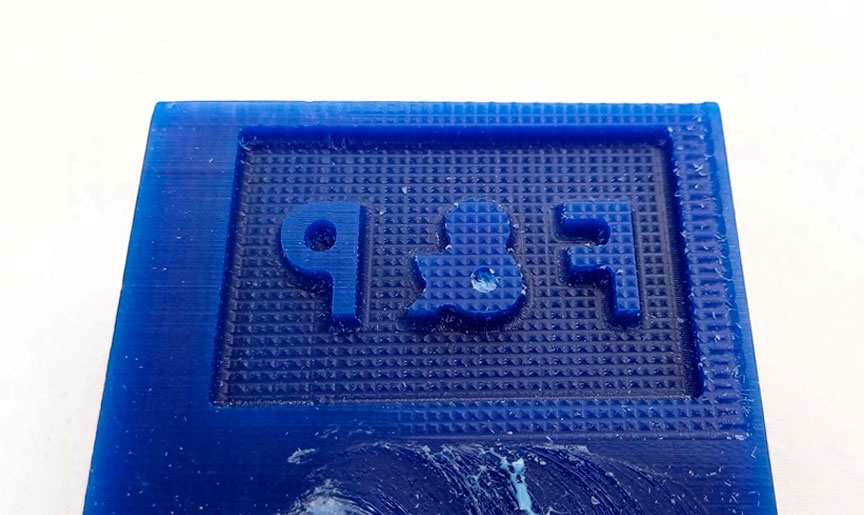
Milling mold vs 3D printed mold
Conclusions:
- Molding materials such as silicone offers a versatile and essential material for mold-making. Its flexibility makes it very easy to remove from the mold, a feature that can be useful for complex molds.
- Casting material like polyurethane resin provides versatile solutions based on their rapid curing, strength, and detail replication, they offer cost-effective and efficient options for manufacturing prototypes, models, and functional components.
Teamwork and quick action in unexpected situations allowed us to obtain the results for this assignment.
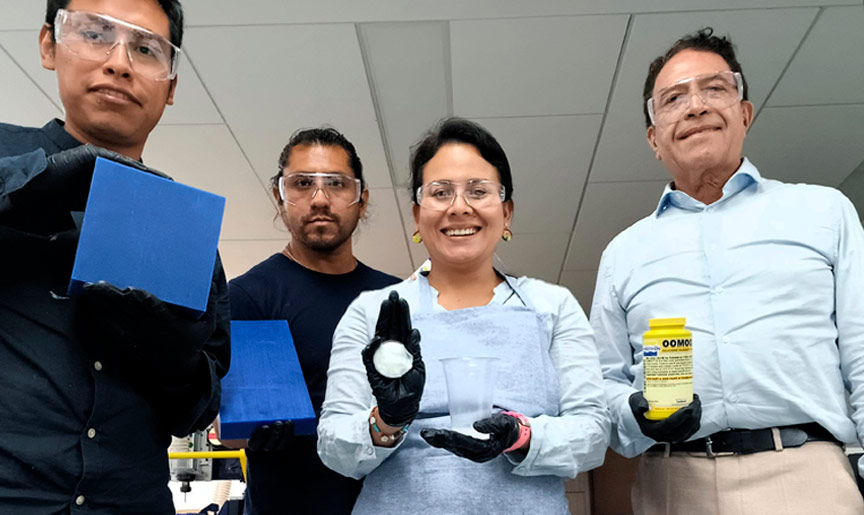
Team work at UCSUR Fab Lab
Individual Assignment: Designing a Mold
After comparing different materials in the group work, I decided to work on one mold for the name and three other molds for the icons of my final project.
Designing the Name Icon of my Final Project Text
To quickly generate a file before using the Fab Lab router, I created an initial design of the name of my final project. This helped me understand mold design, which I later used for the icons of my final project. I designed the mold in Onshape using line, offset, extrude, and text tools.
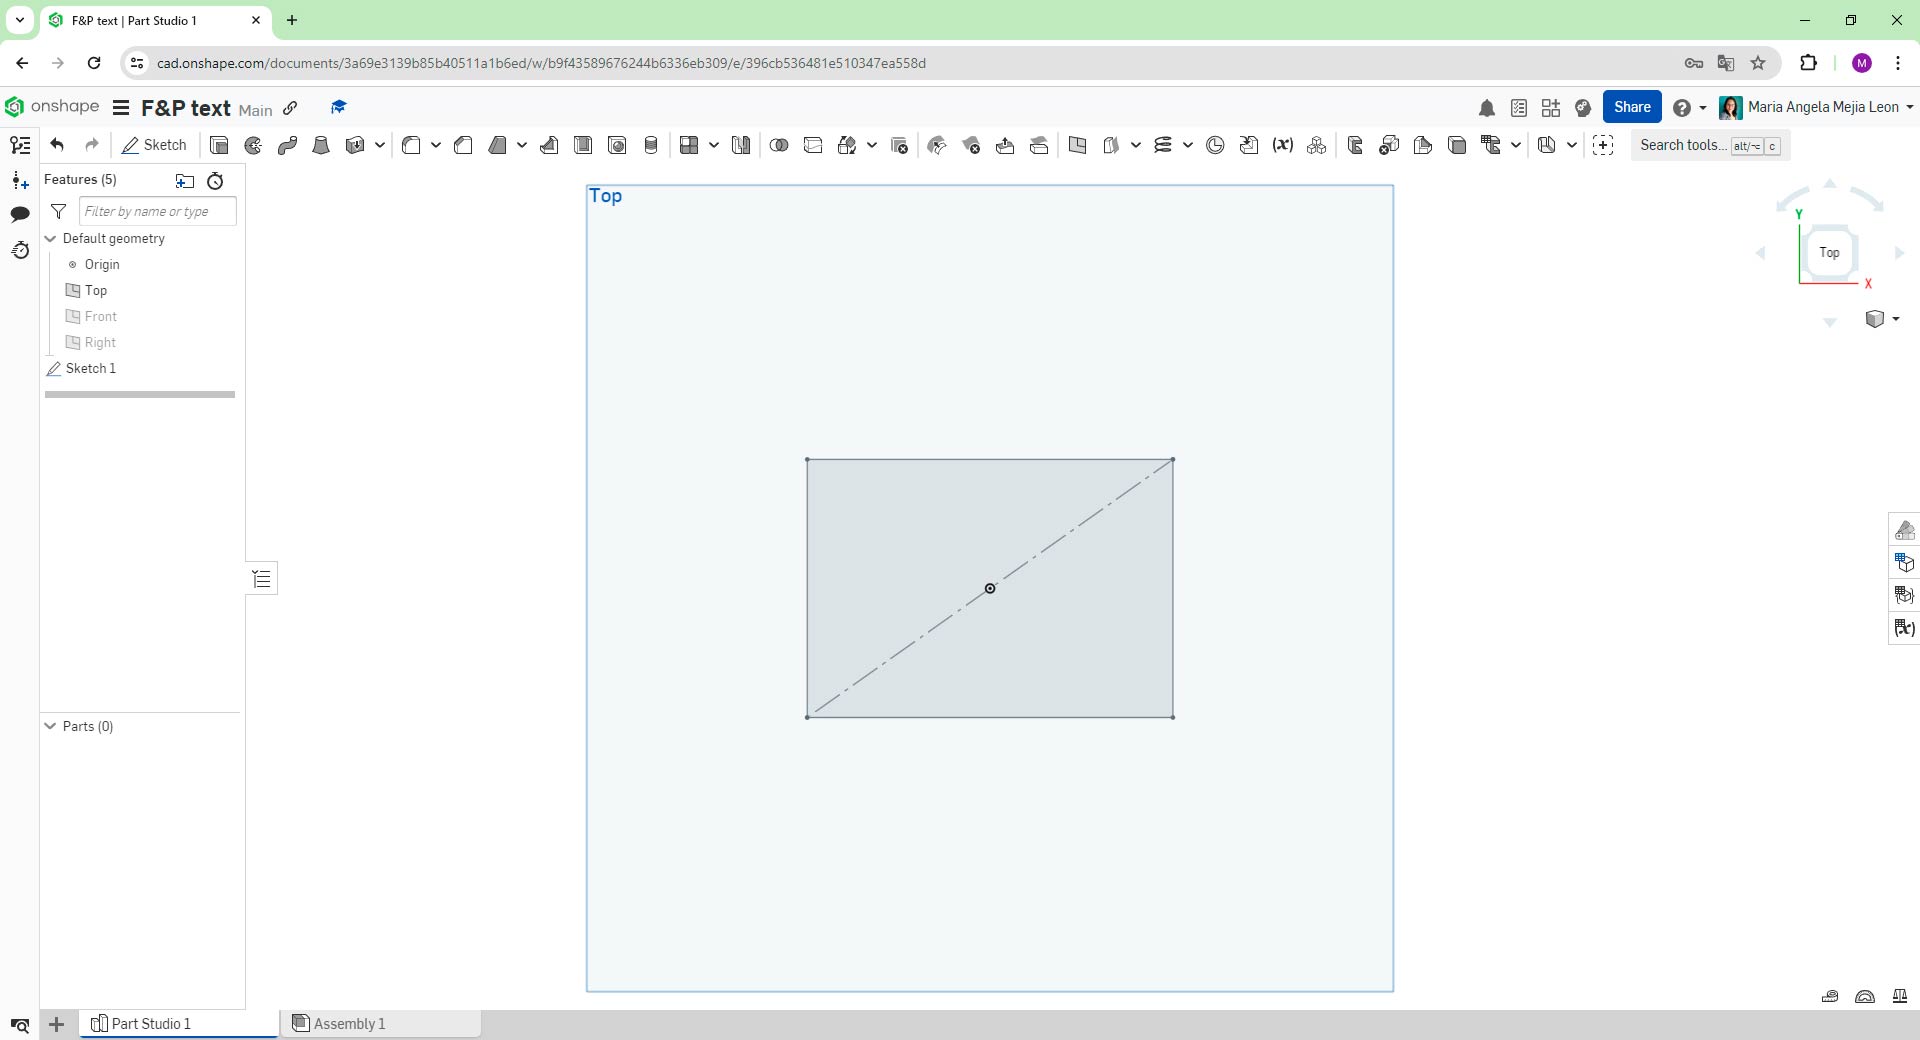
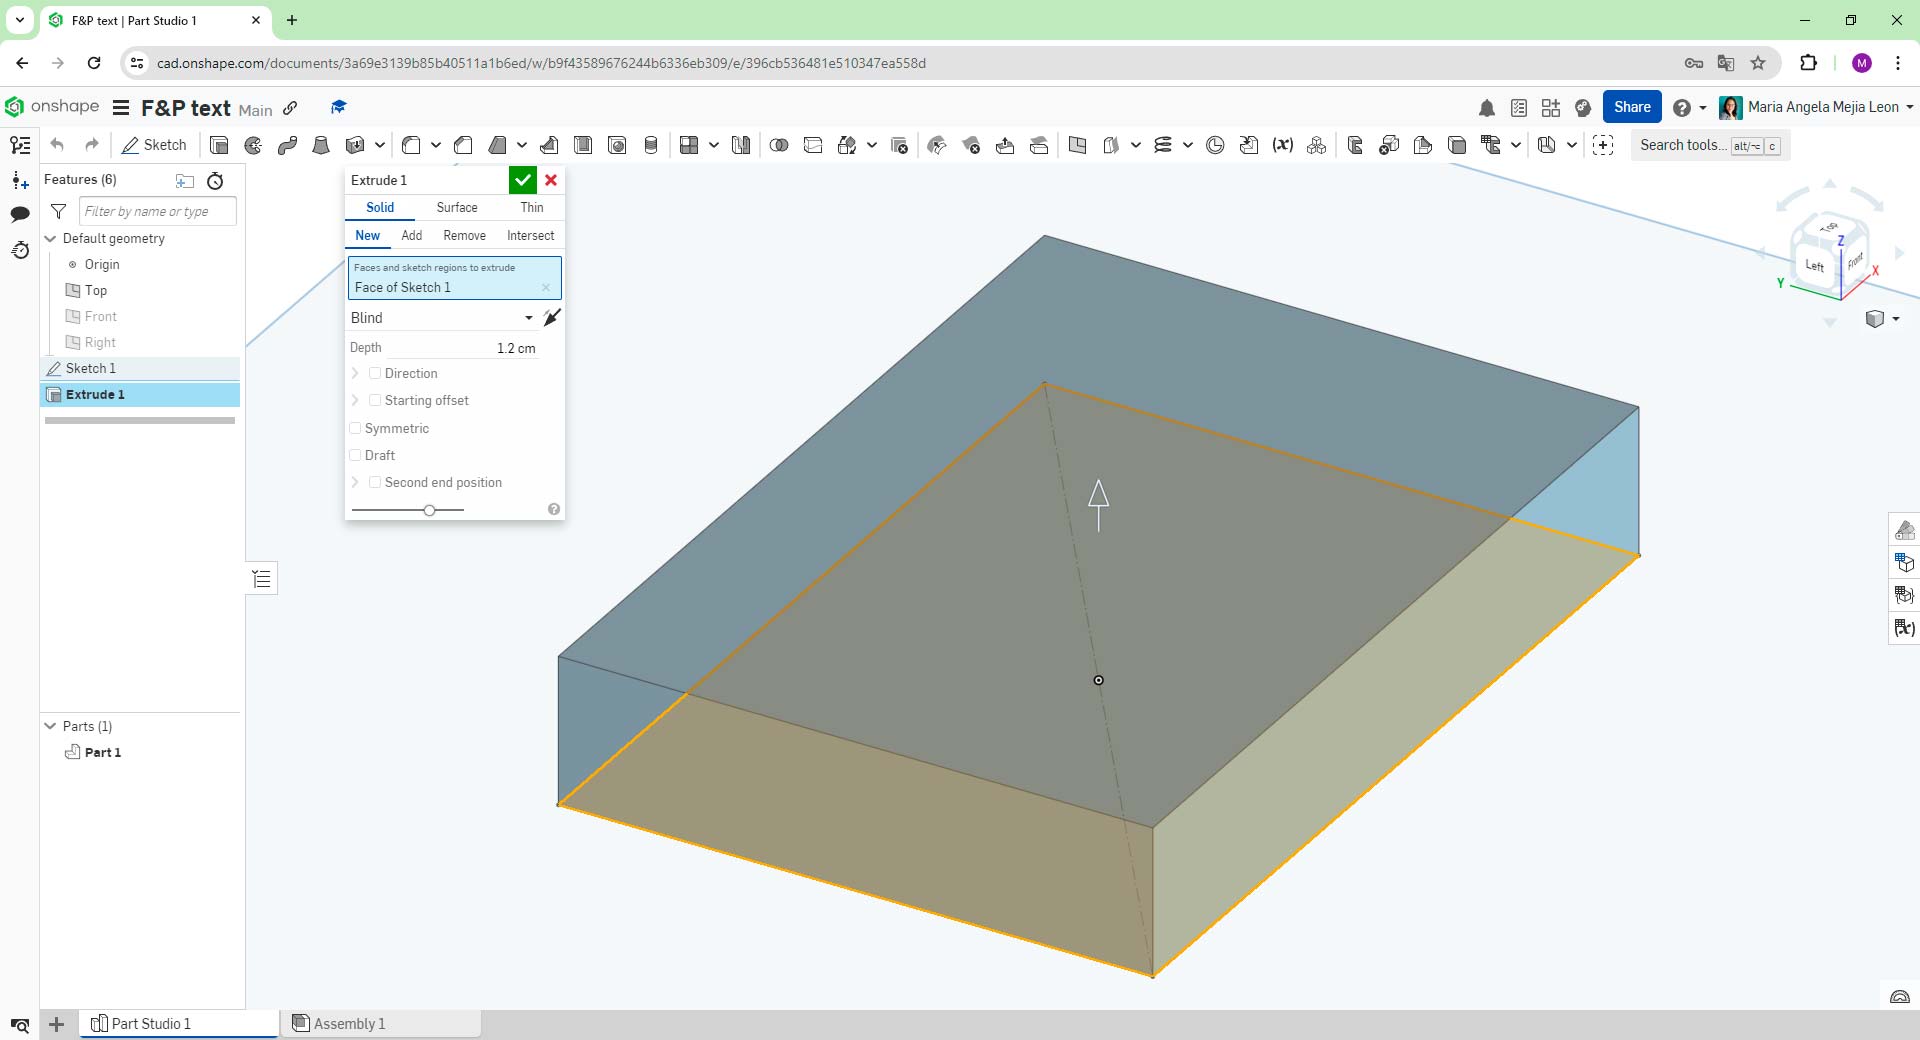
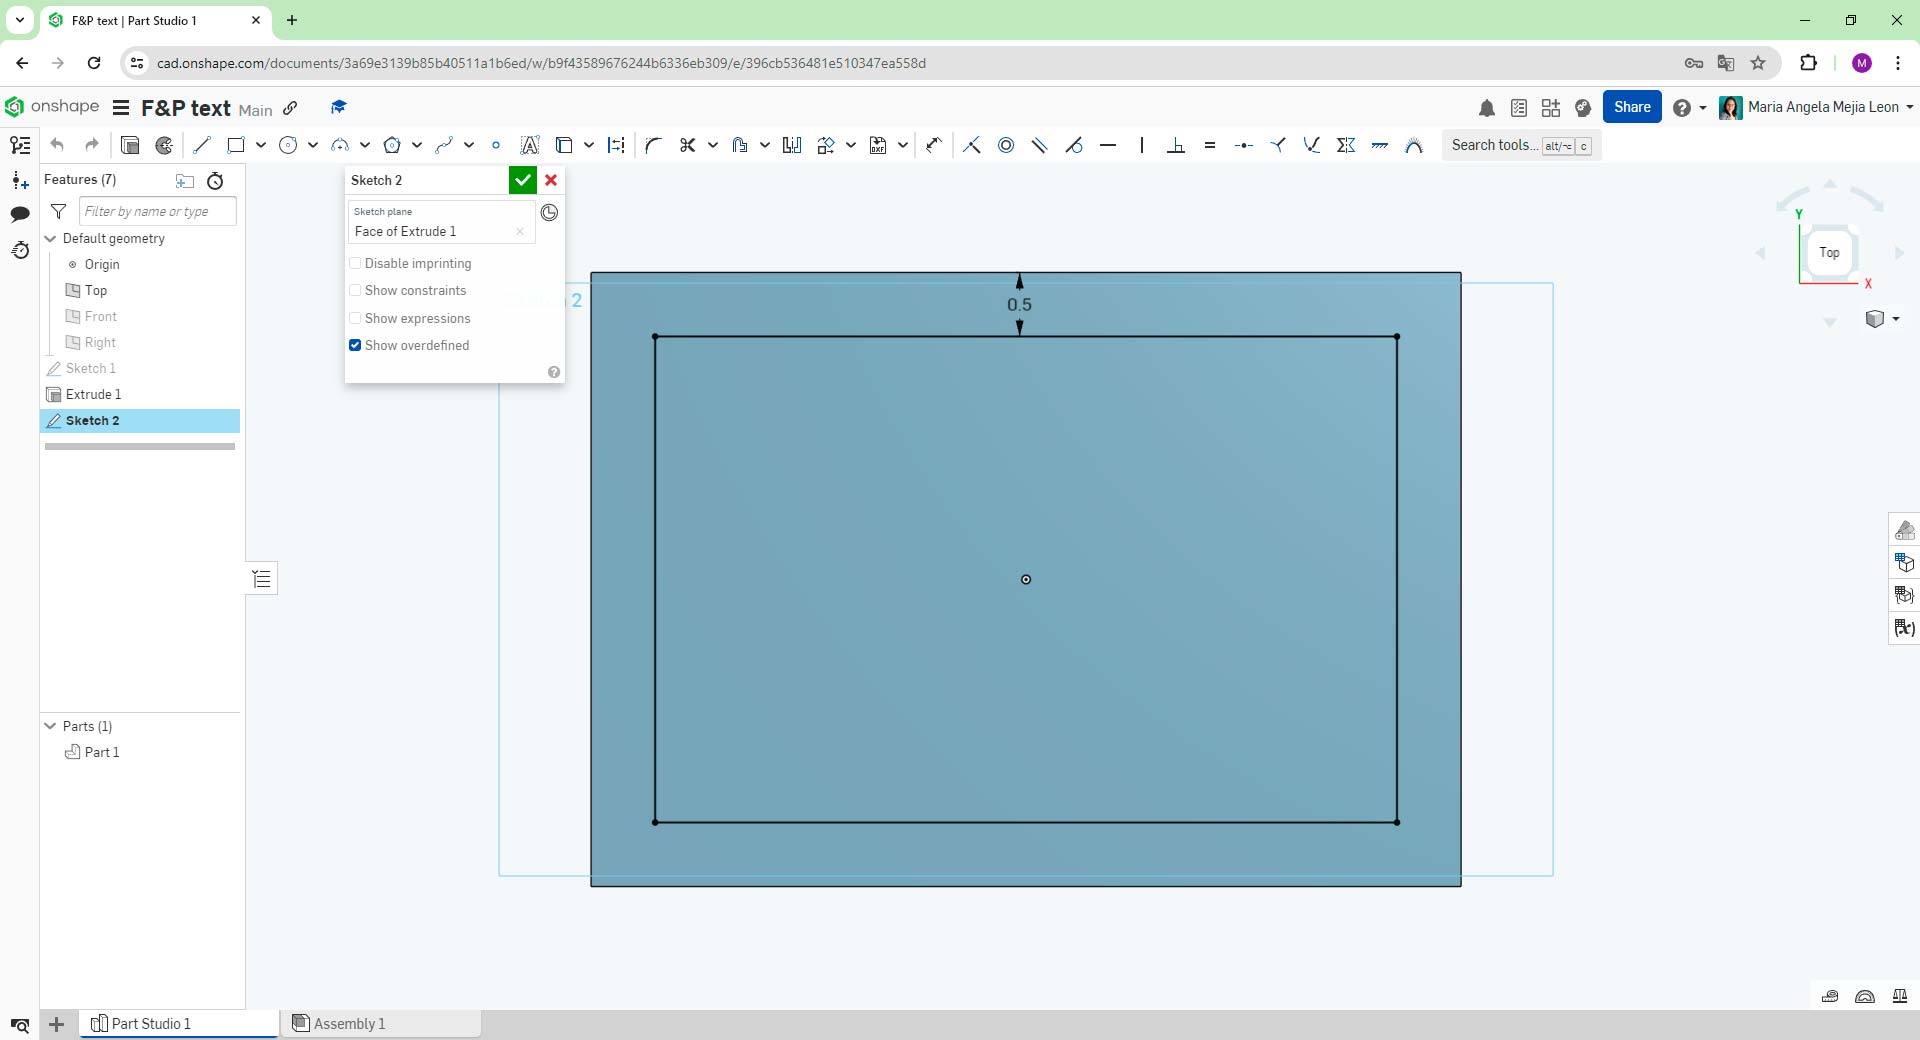
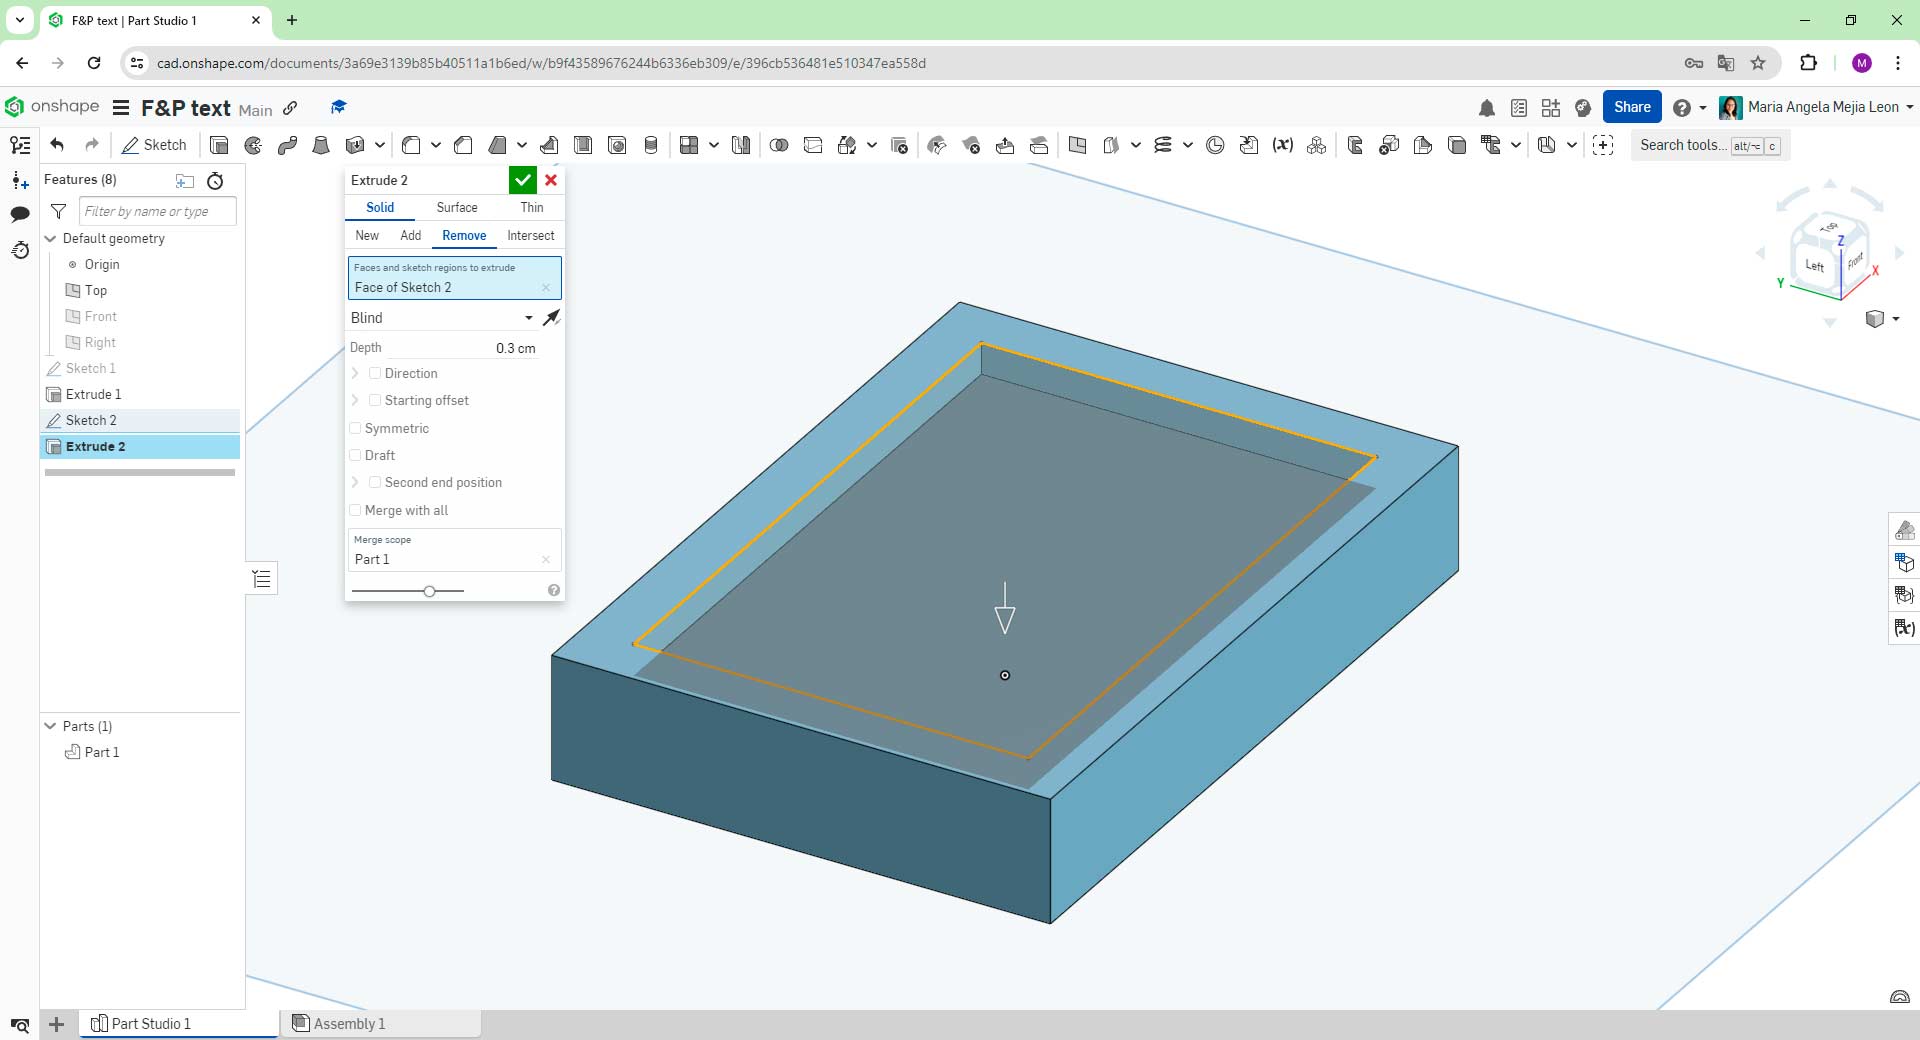

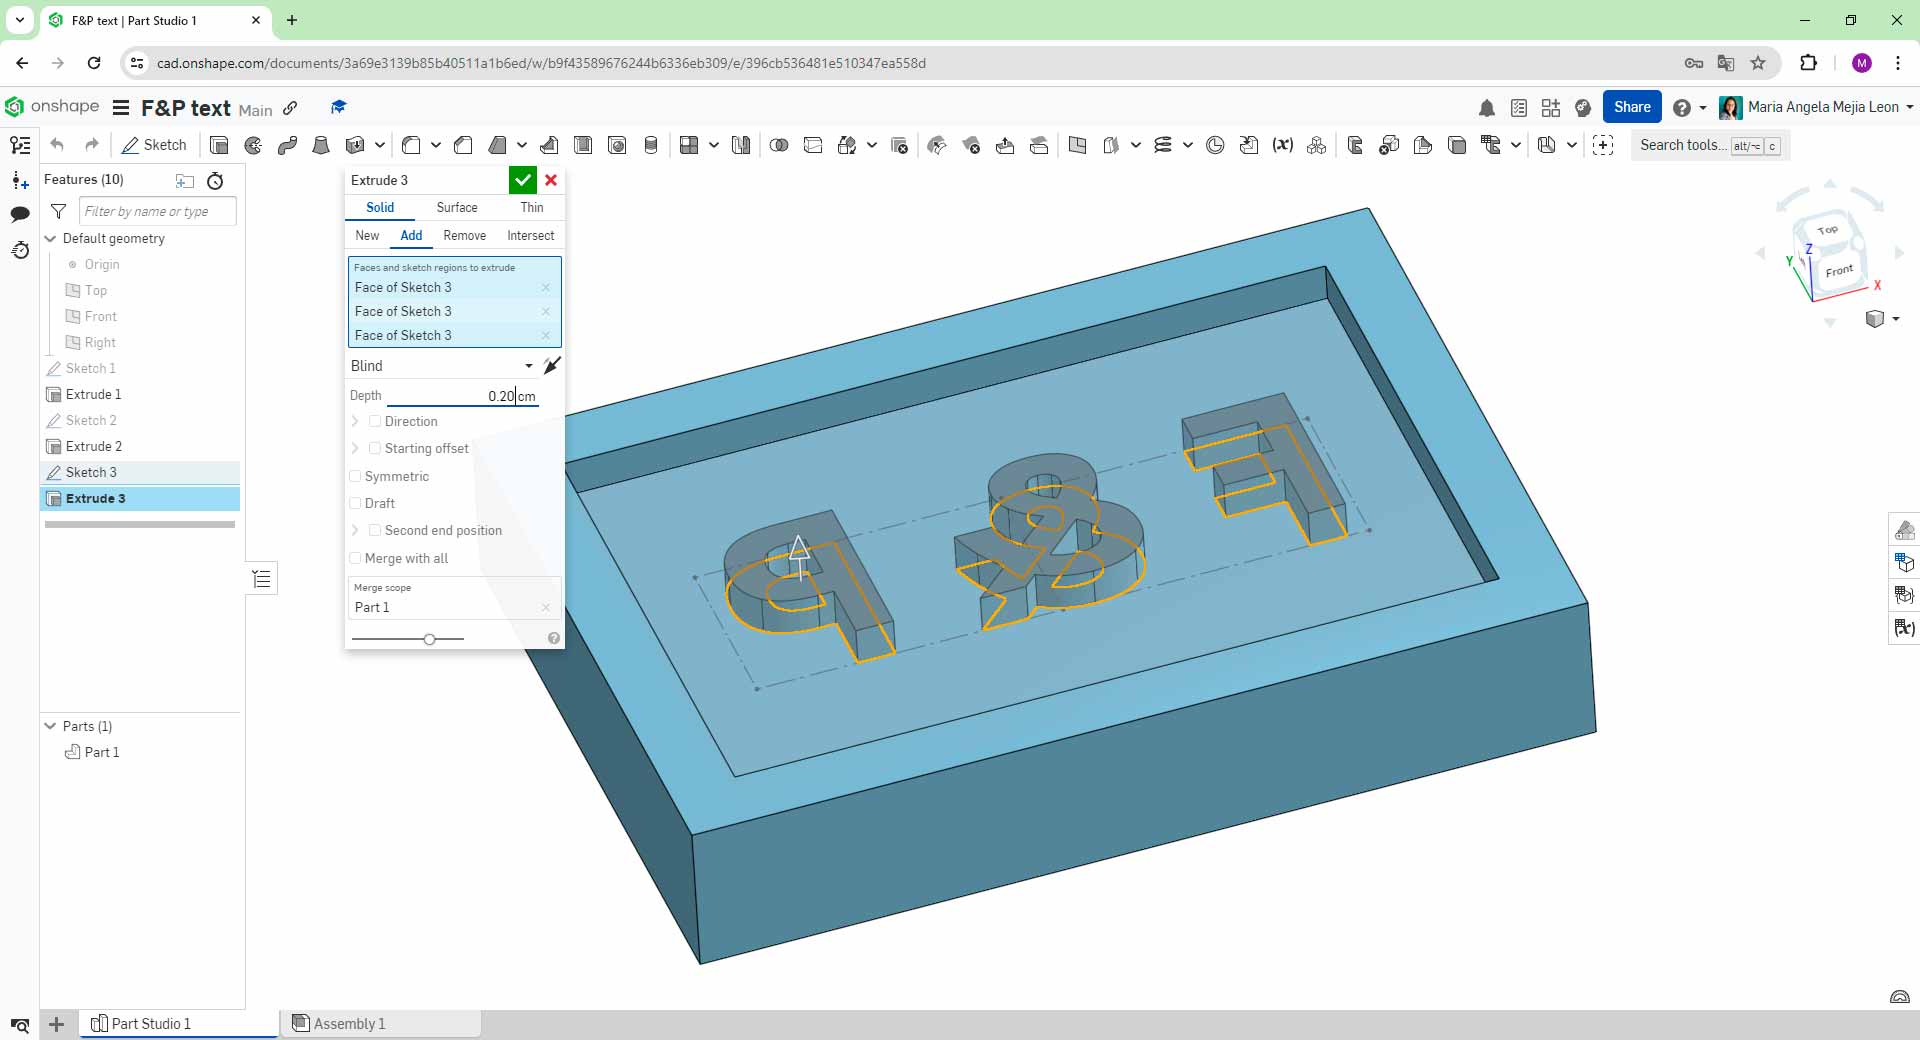
Designing process in Onshape
Here is the result of that design:
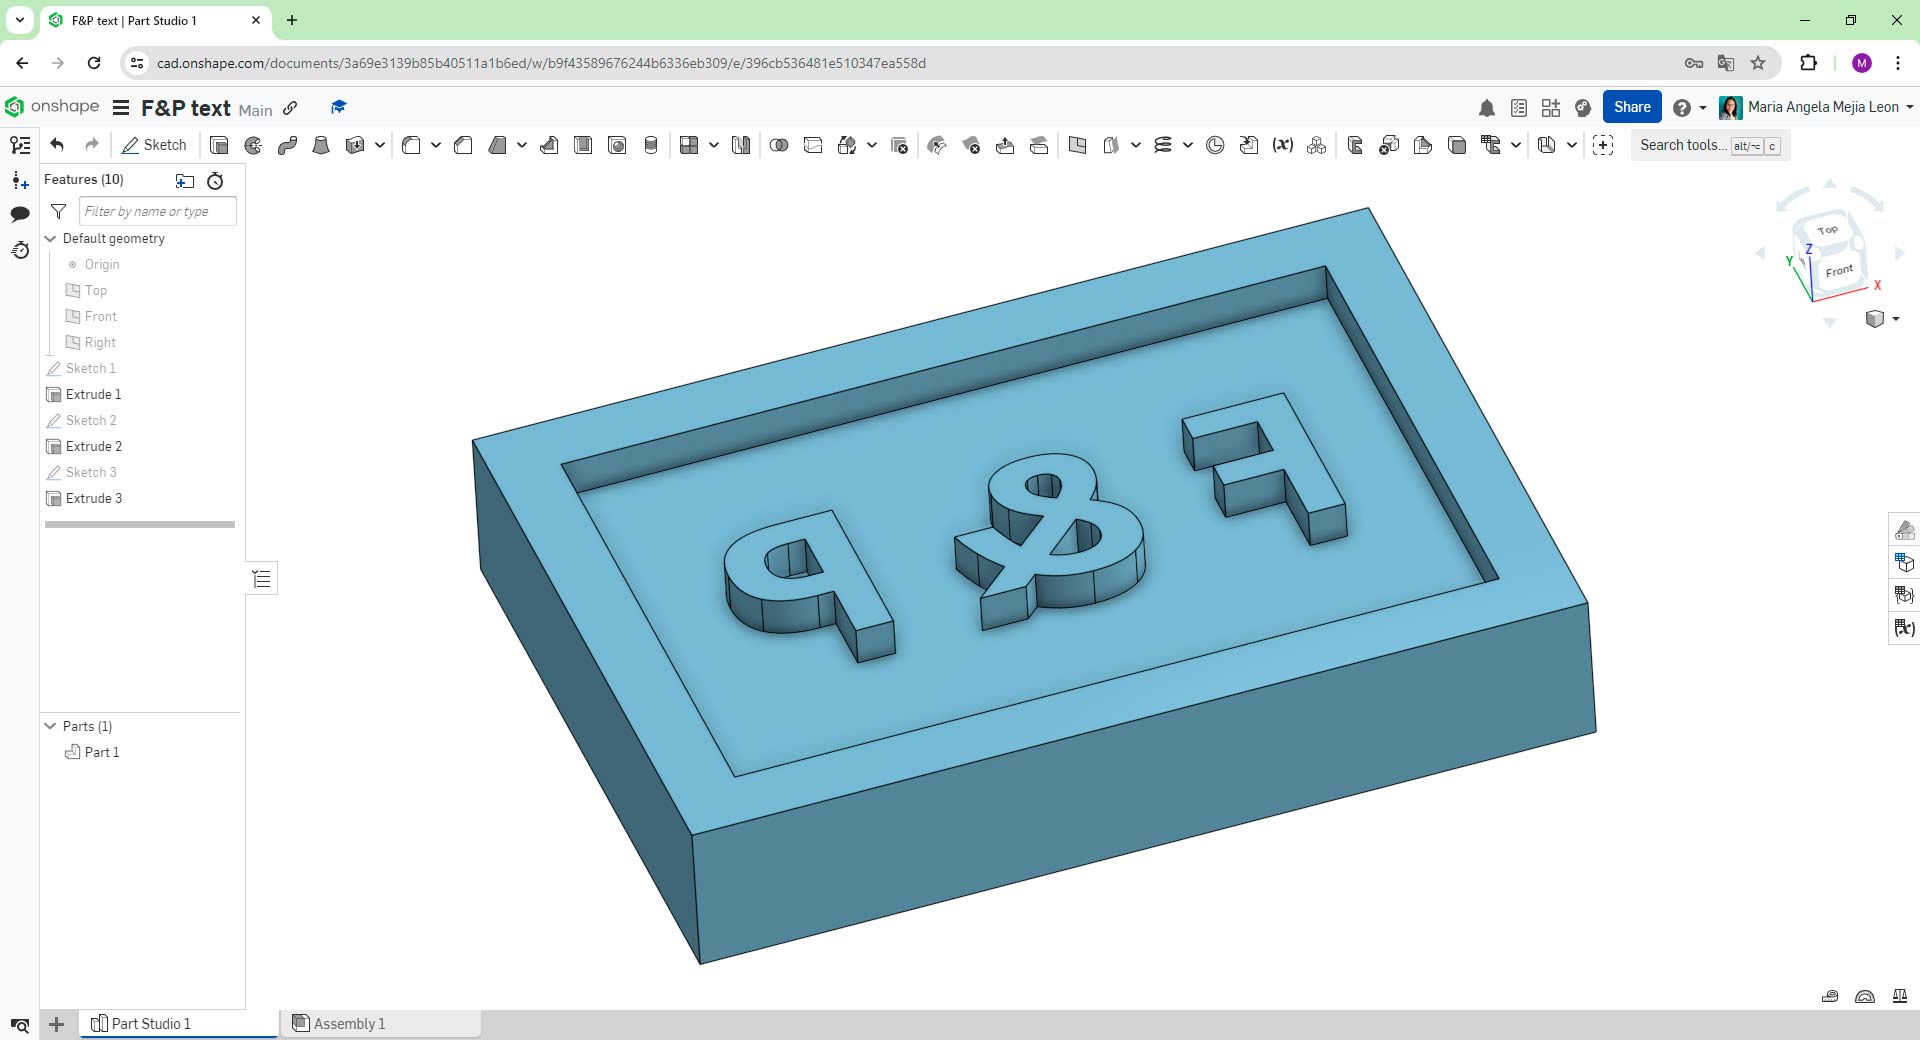
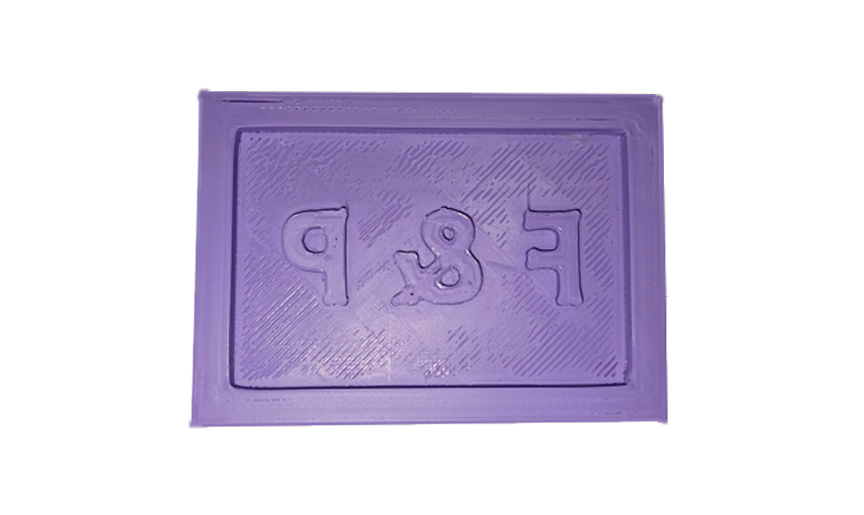
Fab&Plant text mold
Milling in Wax Block
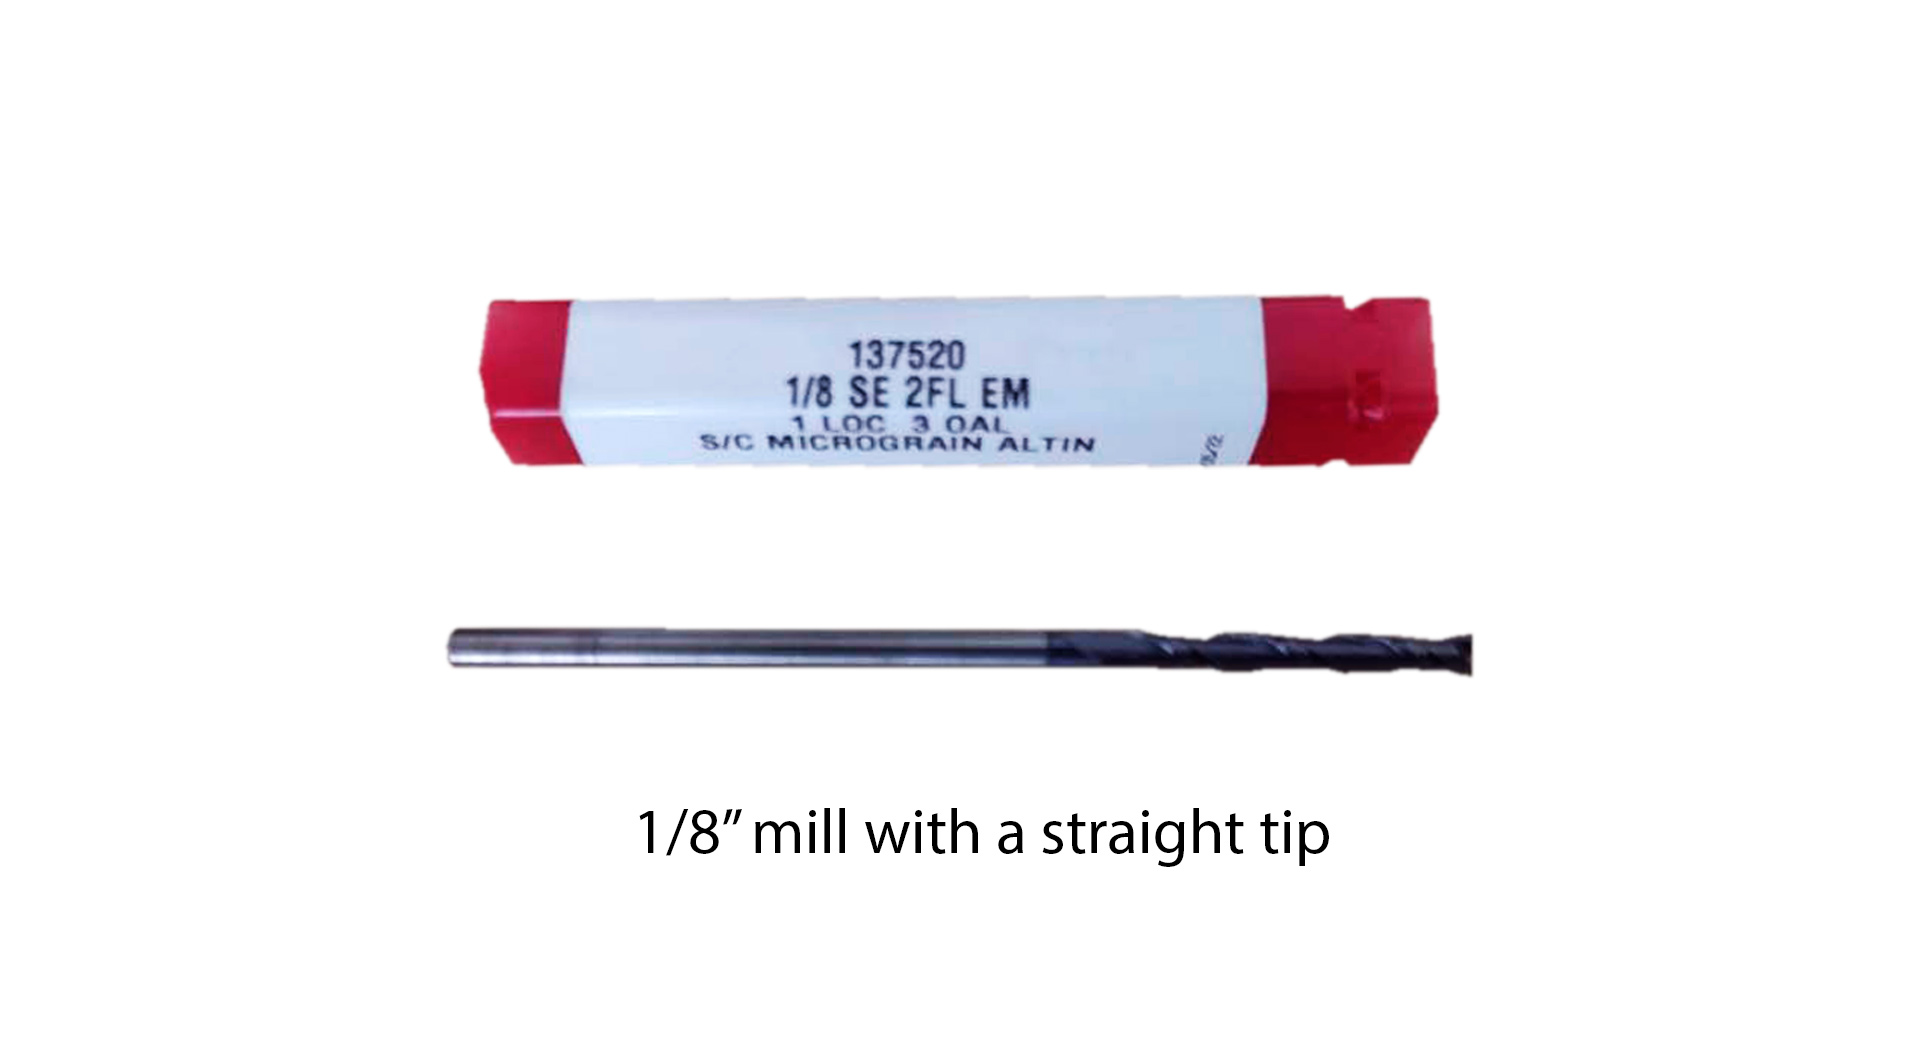
To create the mold for this design, I used MODS to obtain the tool path file for the ShopBot machine and utilized a 1/8" end mill.
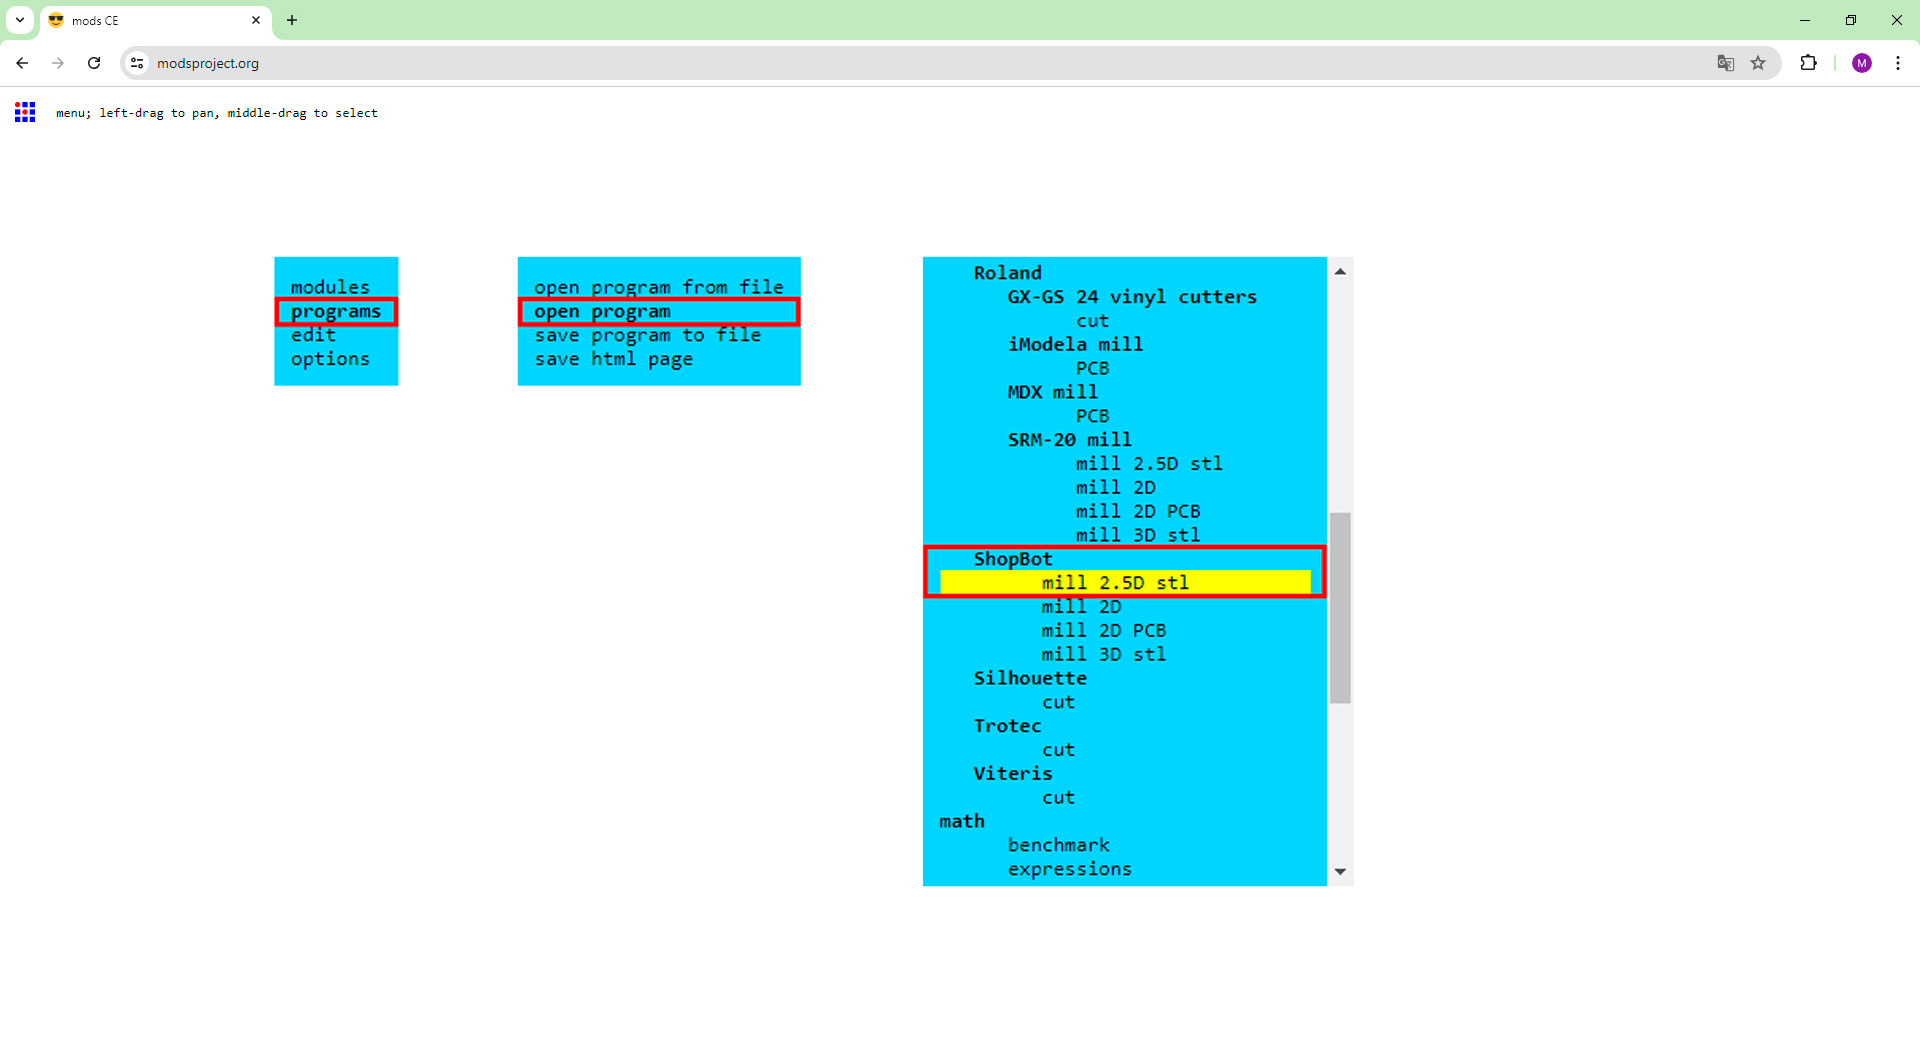
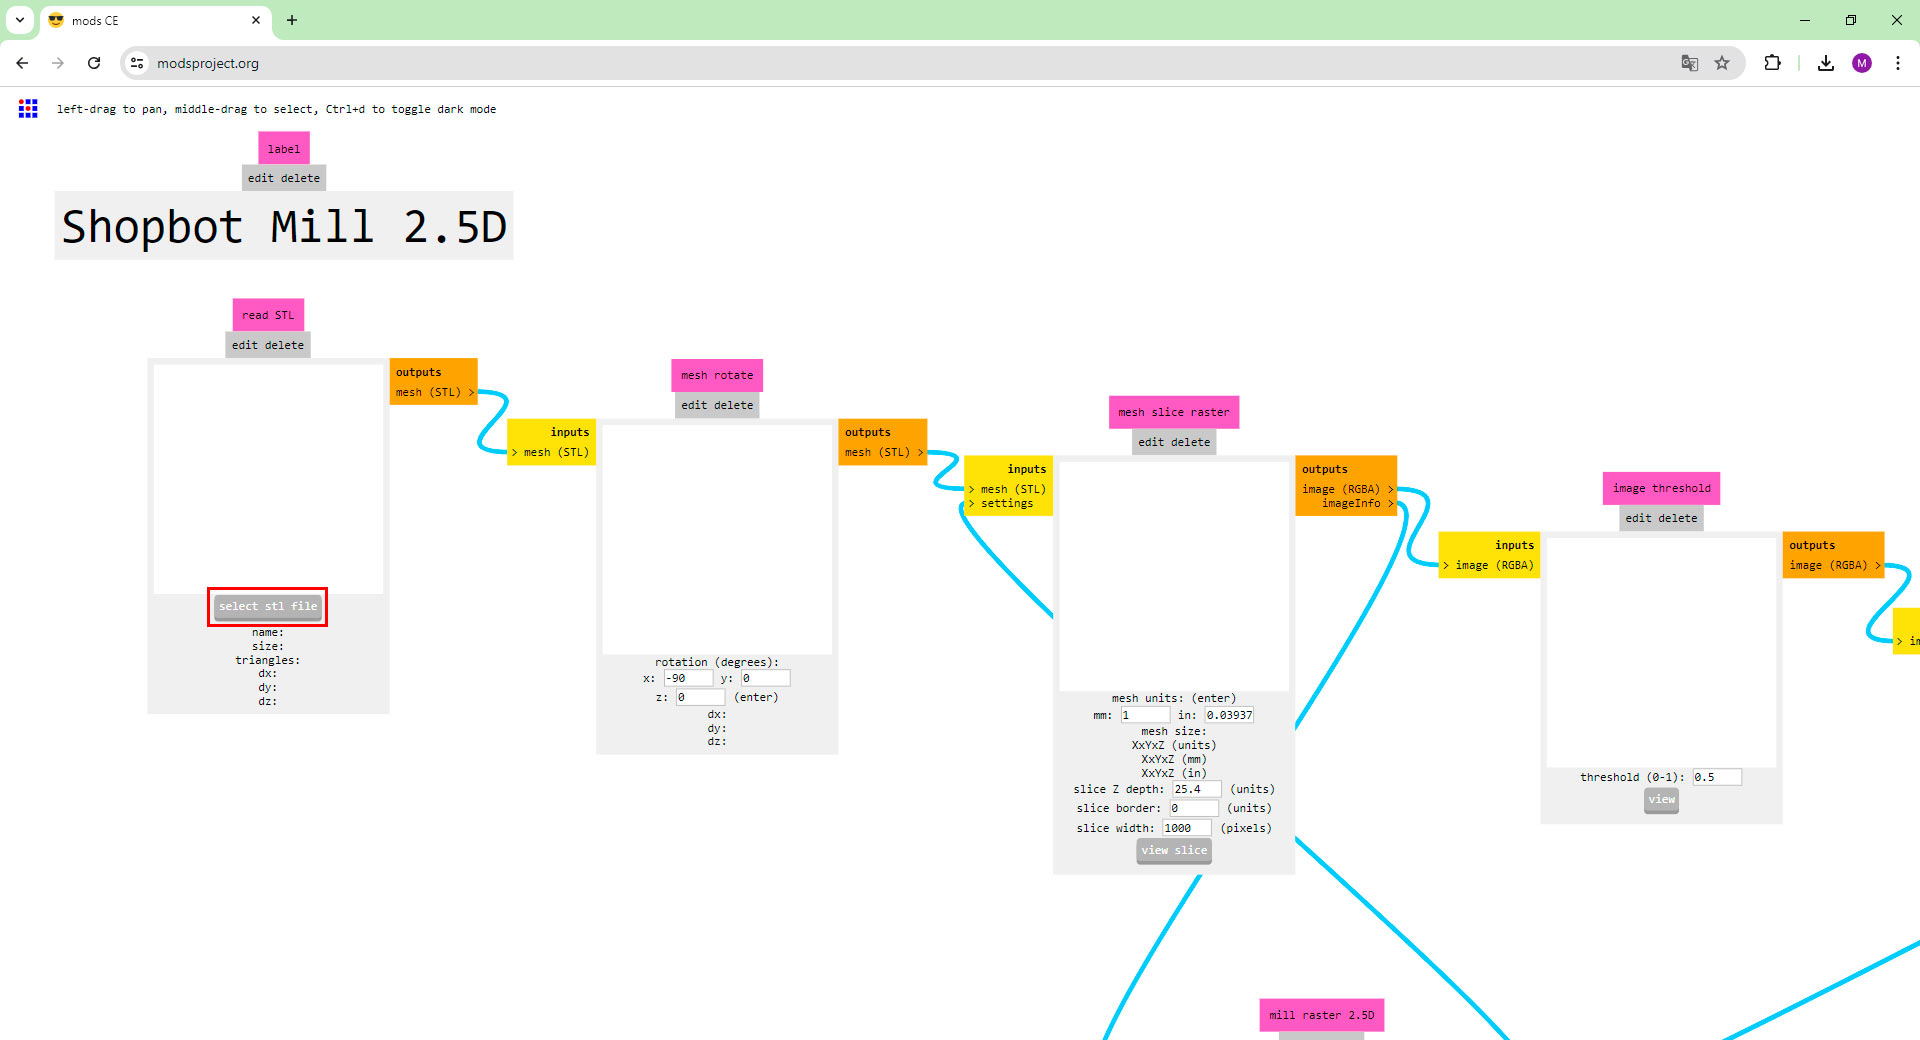
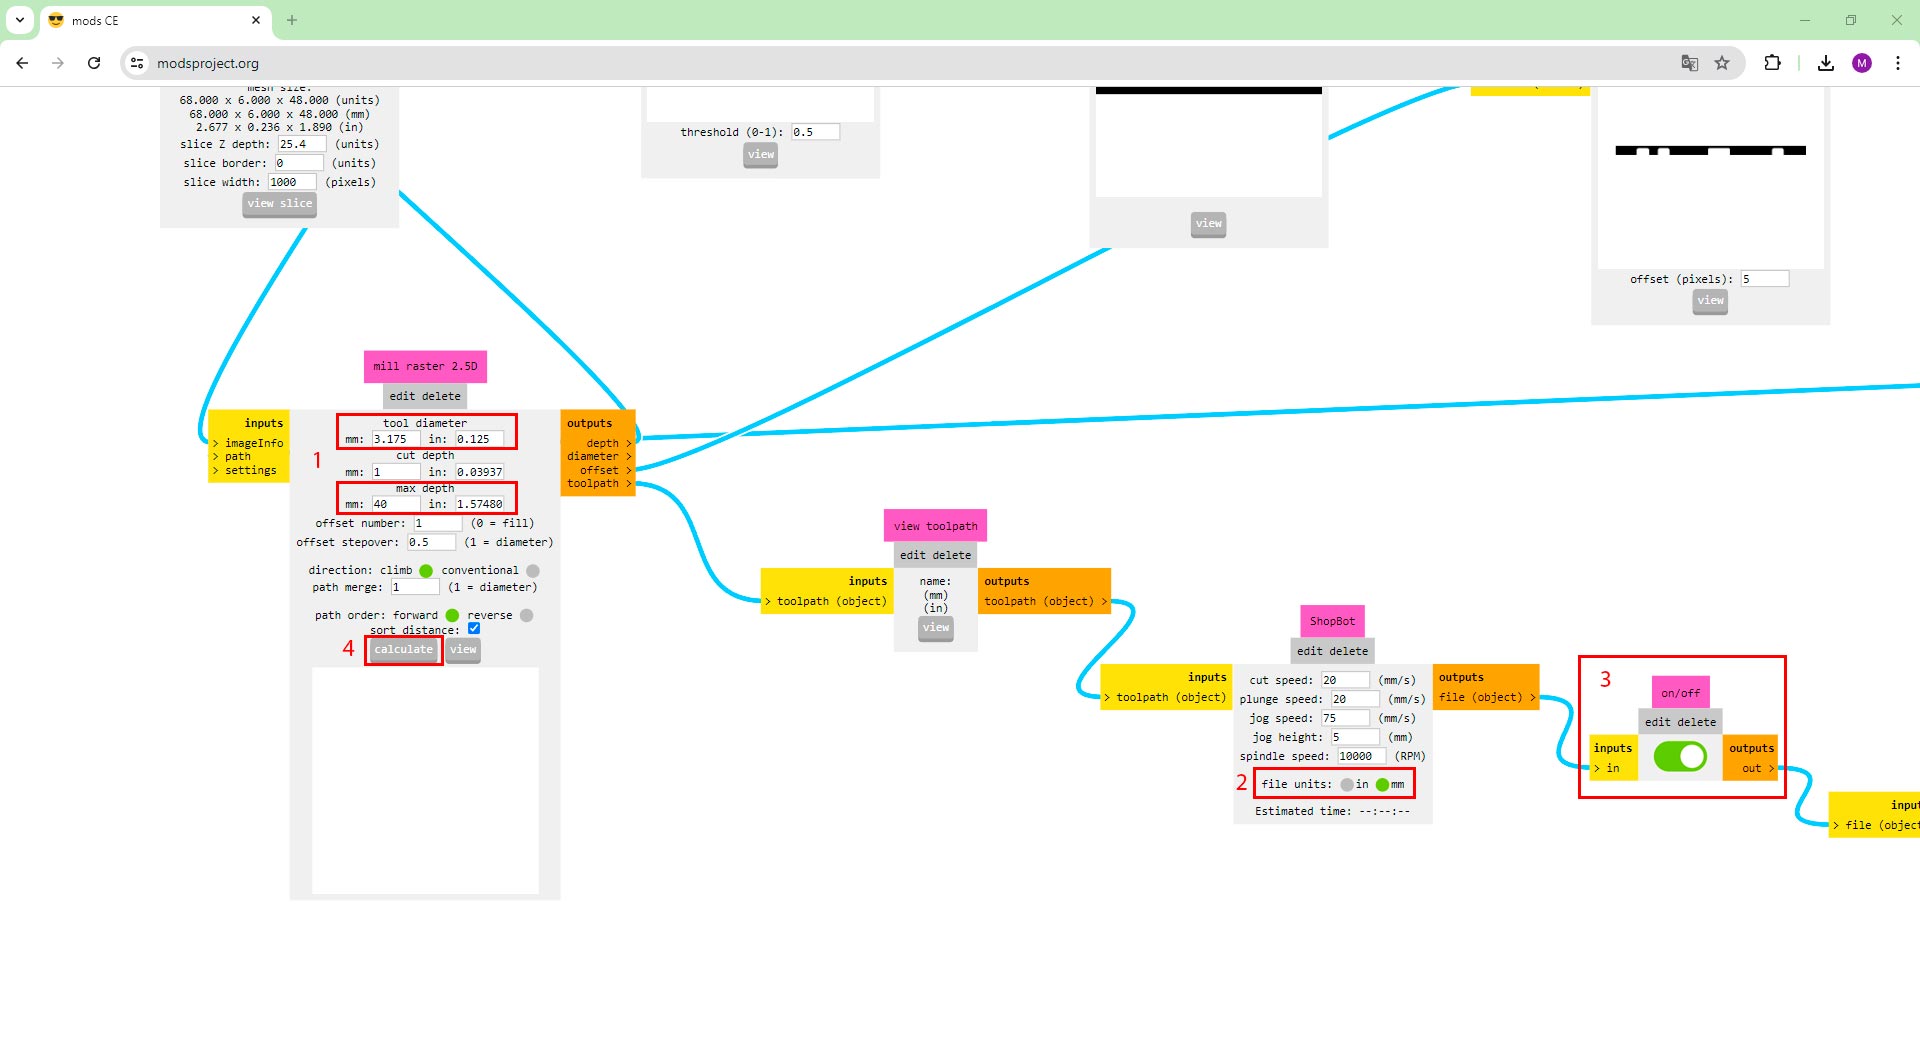
Tool path generation in MODS
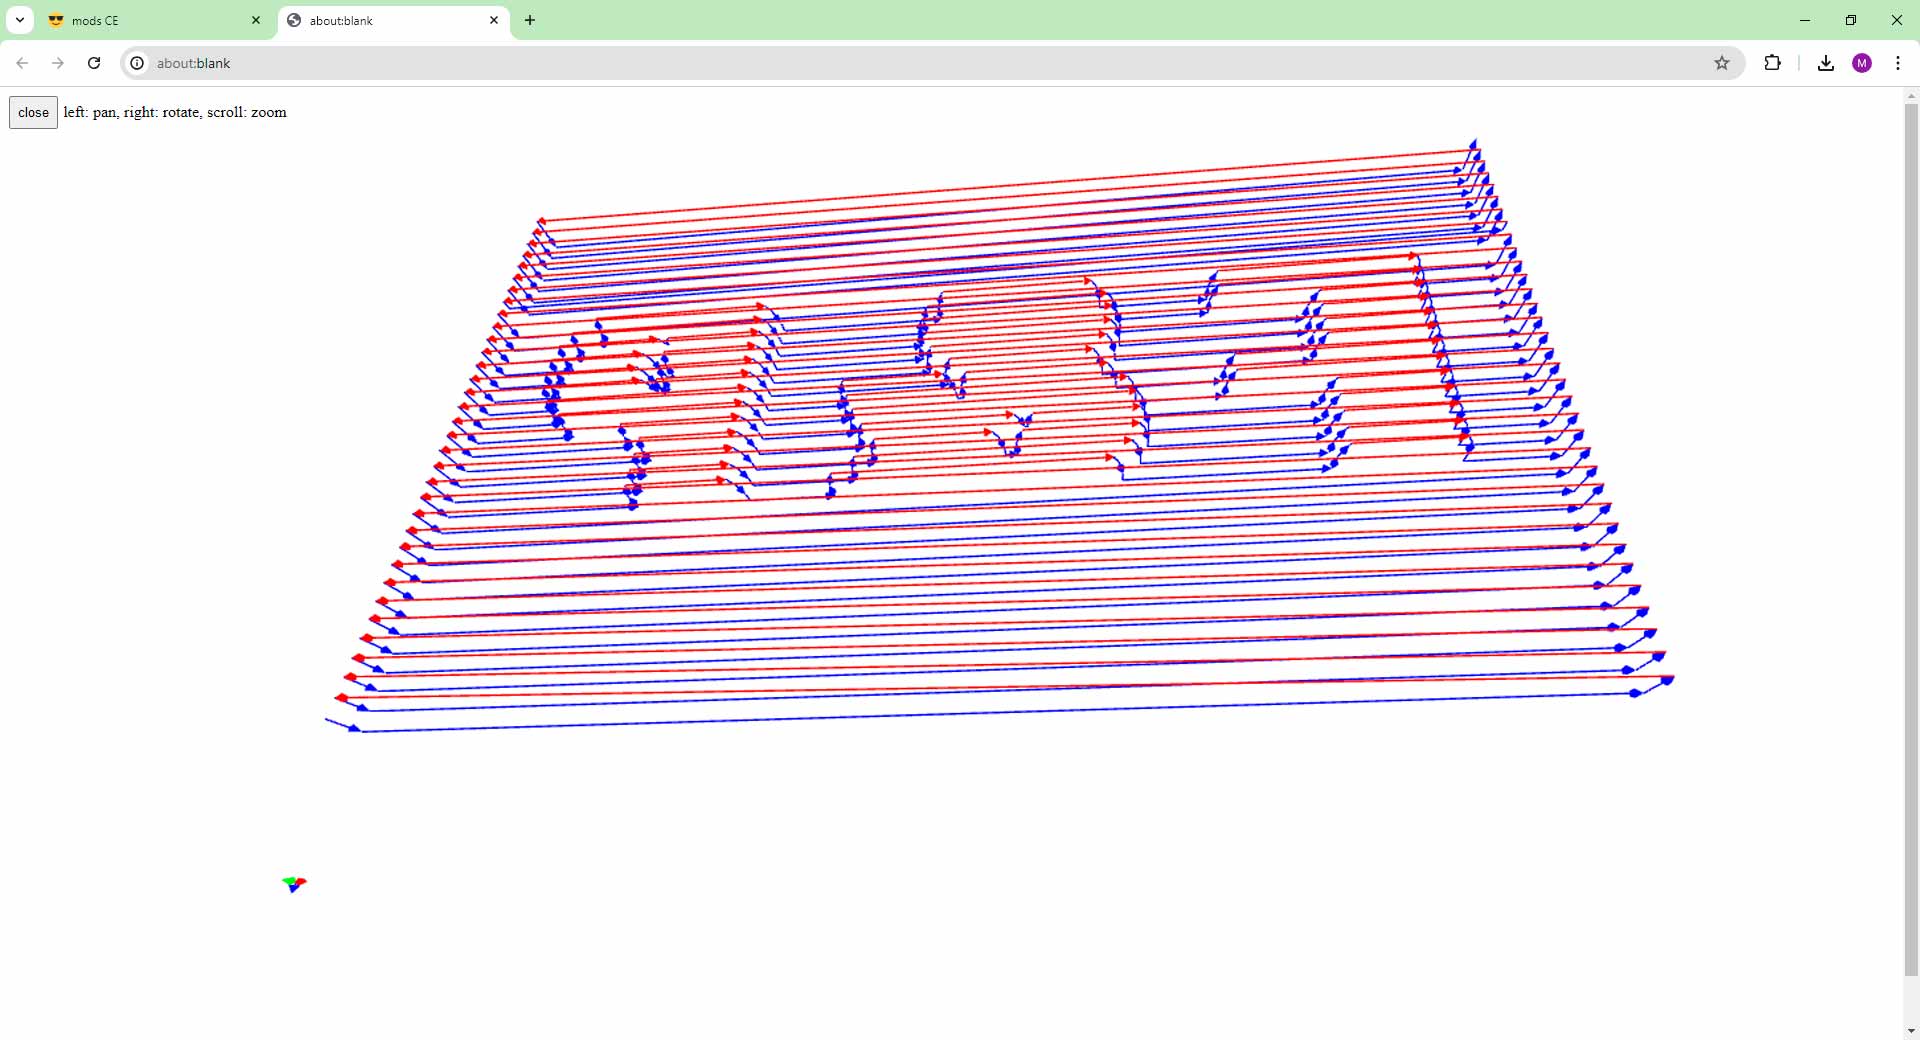
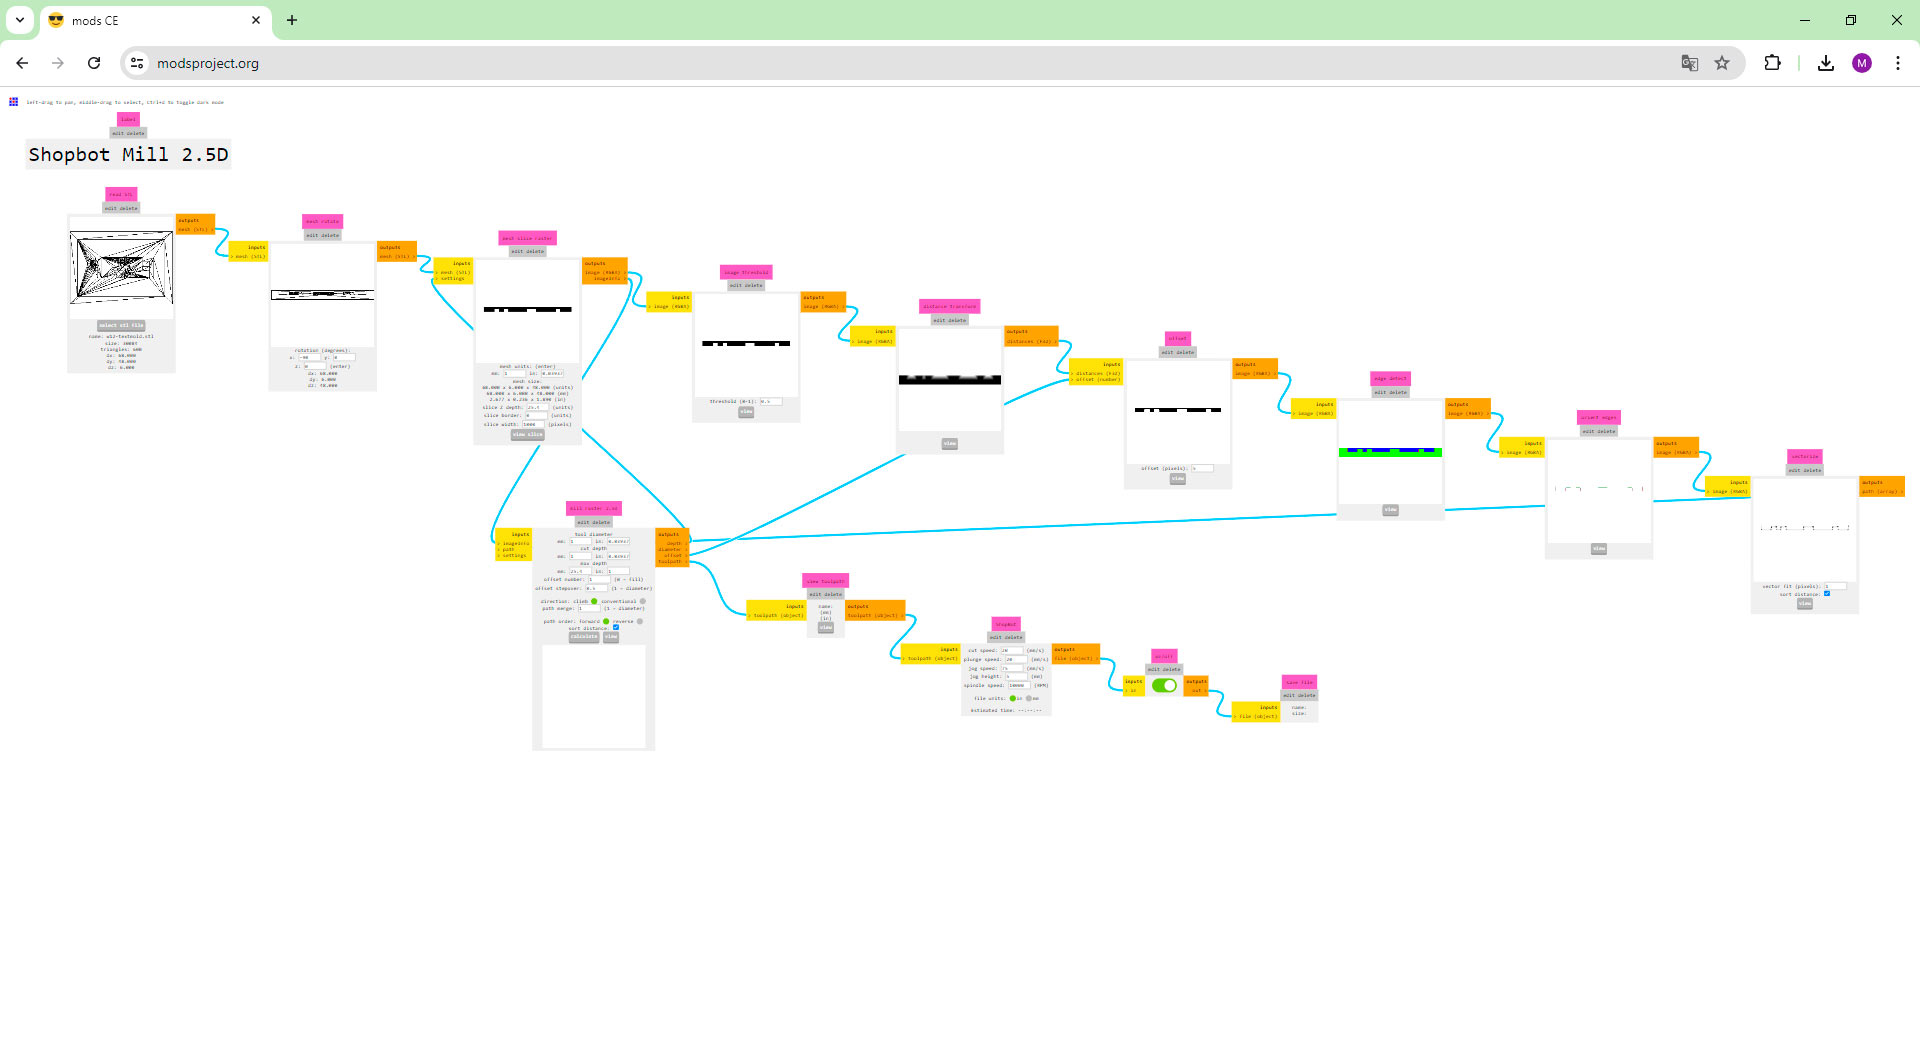
Tool path generated in MODS
To start milling the wax for the mold, the spring collet was replaced on the ShopBot with a 1/8" collet and secured the 1/8" mill. The wax block was secured with a double-sided tape to firmly adhere it to the ShopBot's bed. After ensuring the wax was secure, the Z-axis was calibrated. With everything set up, I started the milling process.

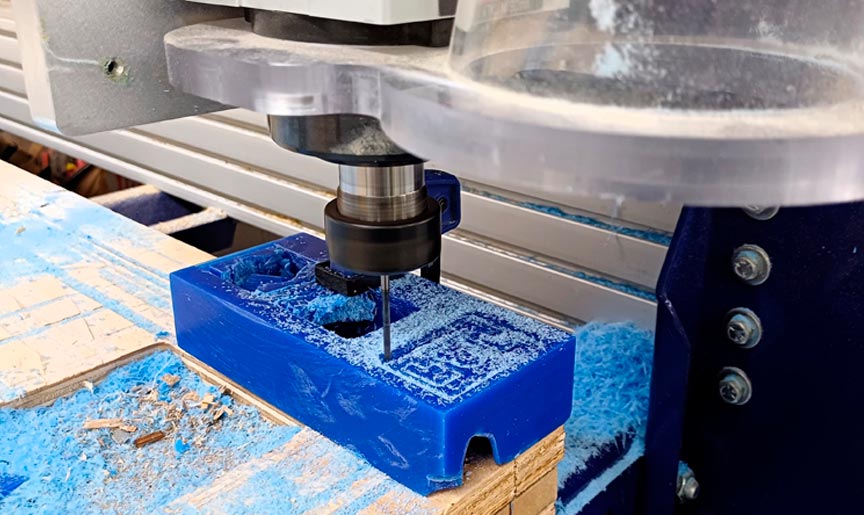
Milling process in ShopBot router
Working on this first mold highlighted the importance of incorporating a draft angle to ensure easy removal of the part, which was quite simple in this case. Additionally, it's crucial to consider the height of the drill bit (12mm) in the design to ensure proper manufacturing of the part.
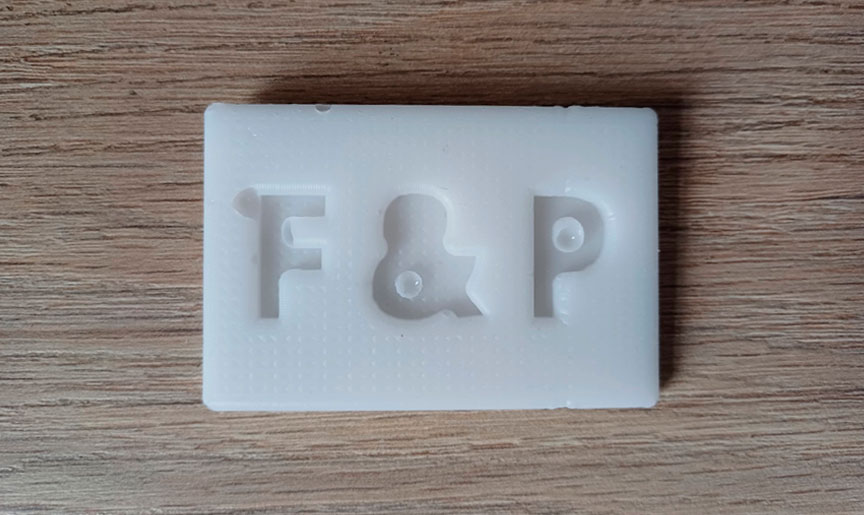
3D Printing the Text Mold
I made the piece using the 3D printer I have at home, the Artillery Genius Pro. I configured the pieces in Utilmaker Cura Slicer so that the layer in direct contact with the mold material had a smooth finish enabling the ironing option.
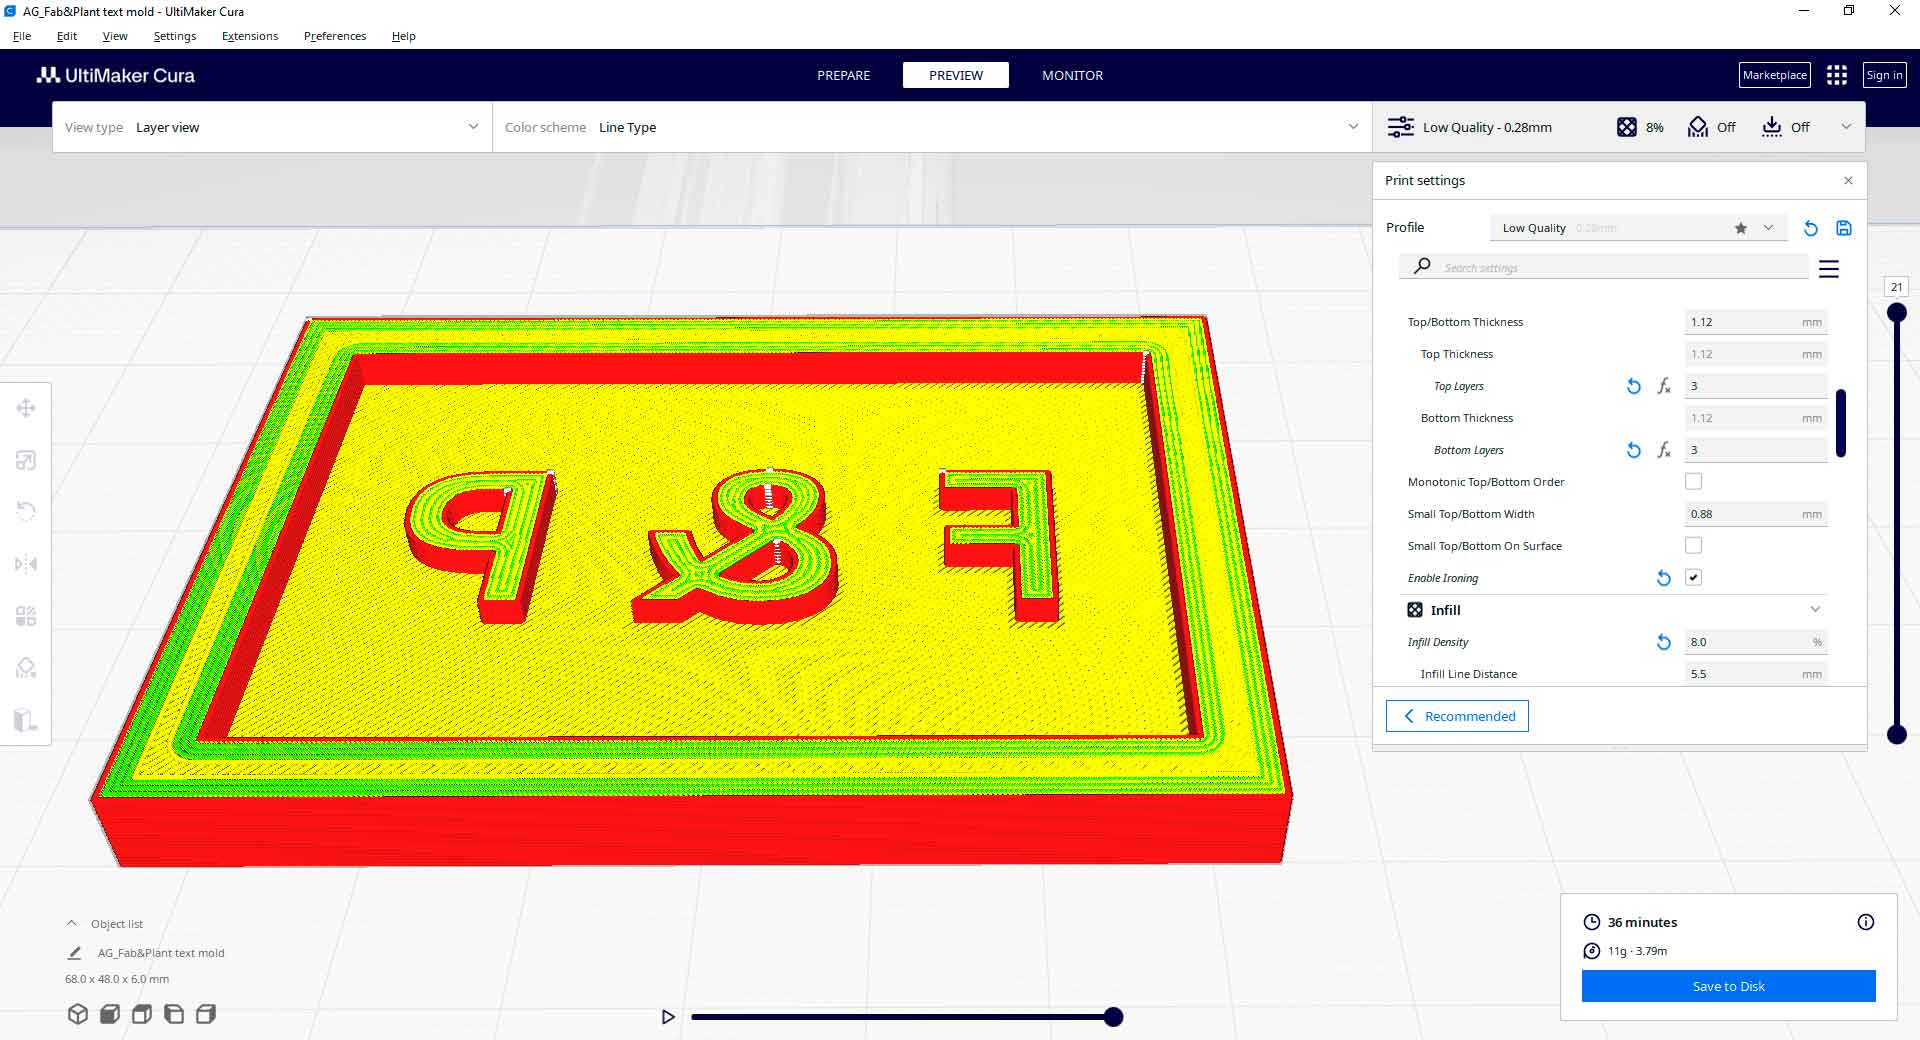
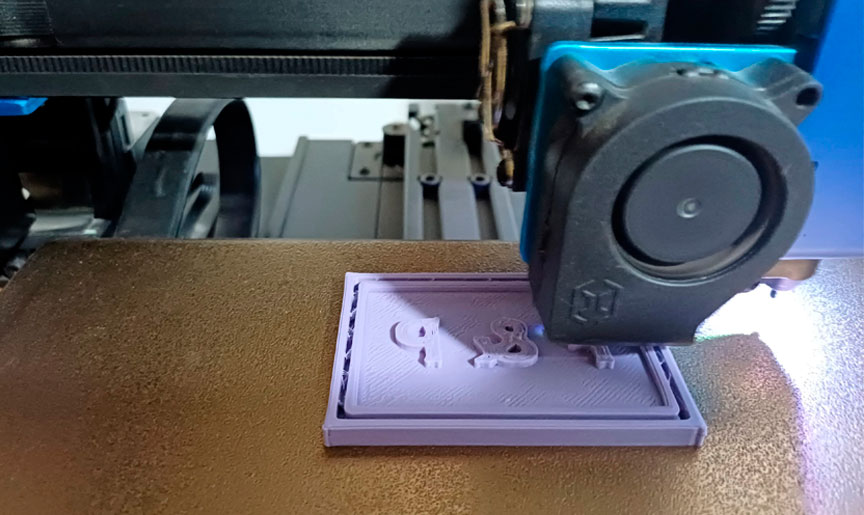
3D printing process of text mold
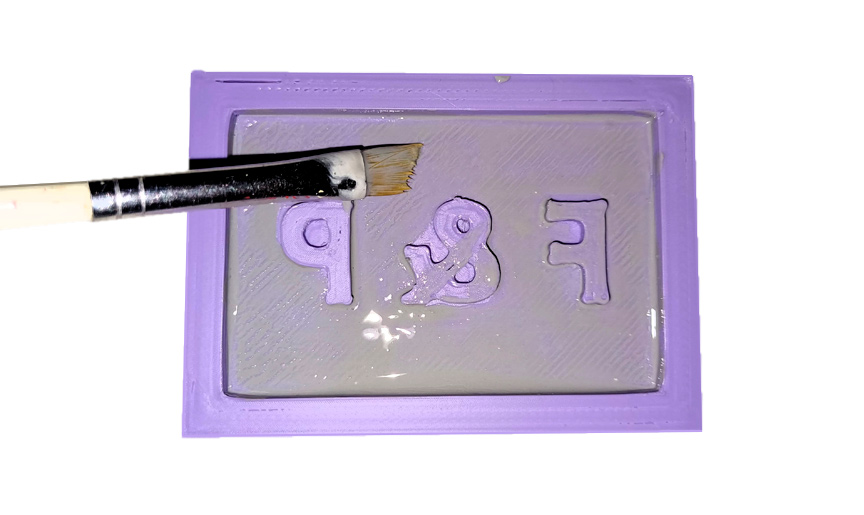
To achieve a smooth finish without visible lines, I performed post-processing work using liquid putty to fill and homogenize the surfaces.
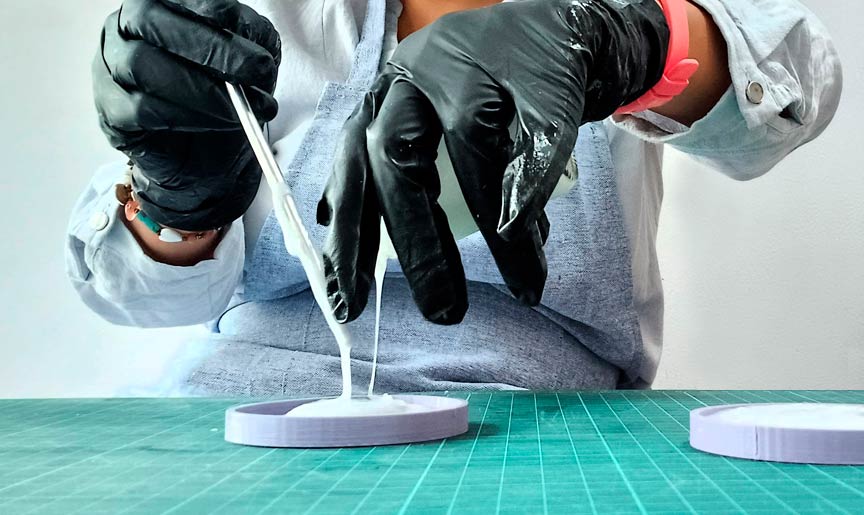
Casting the Molds in Silicone
To compare the results of both molds, I poured silicone in both cases. To calculate the amount of silicone needed for casting, I filled the mold cavity with water and carefully measured its volume. The result was as follows:
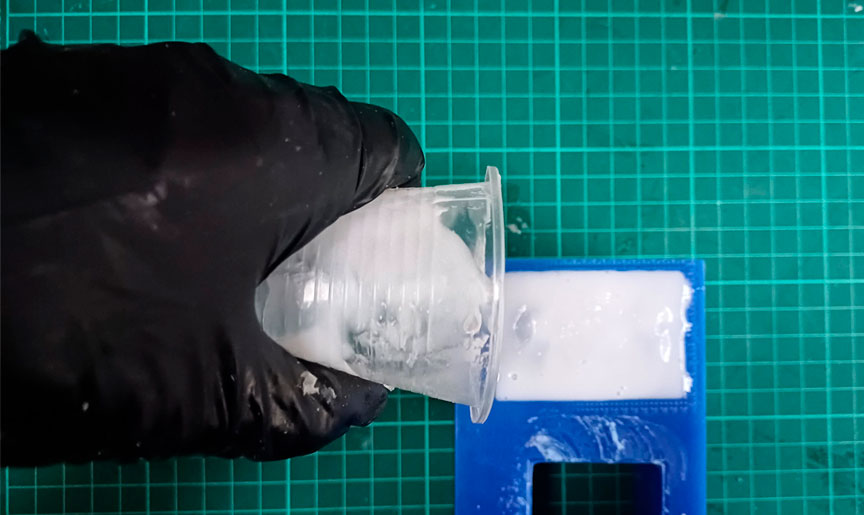
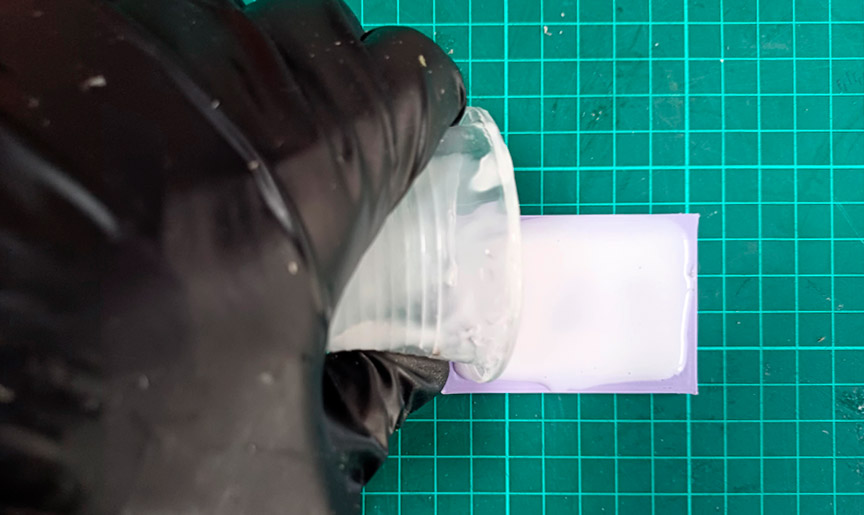
Casting process of text molds
After a few hours, this was the result for both molds:
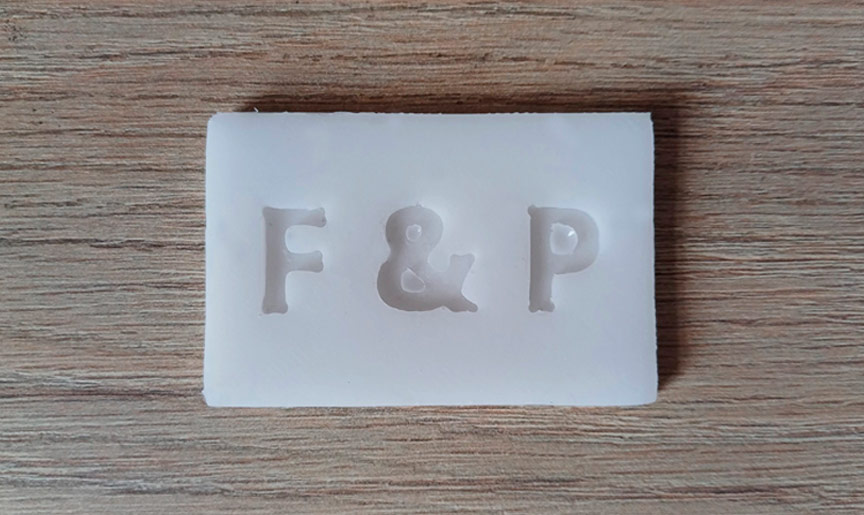
Molds in silicone
Designing my Final Project Icons Molds
I created successful text but was unsure where to place it in my final project. Therefore, I began sketching icons for my final project.

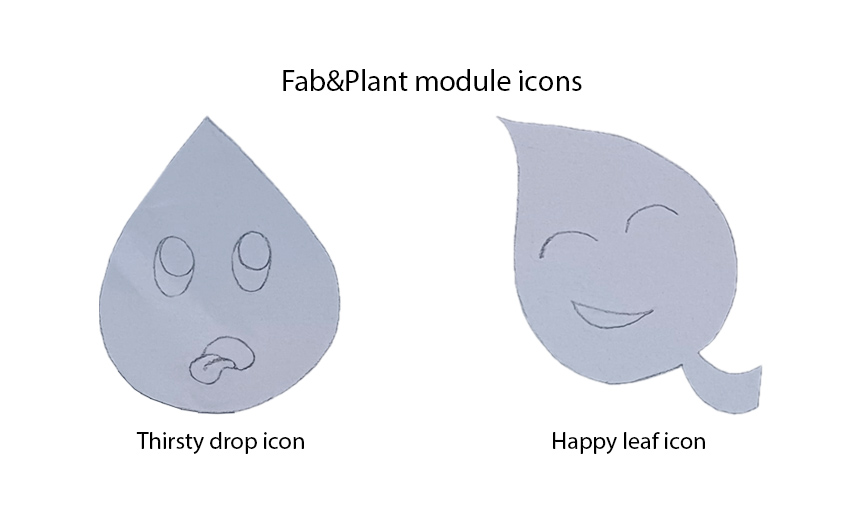
Icons' location in Fab&Plant module and first sketches
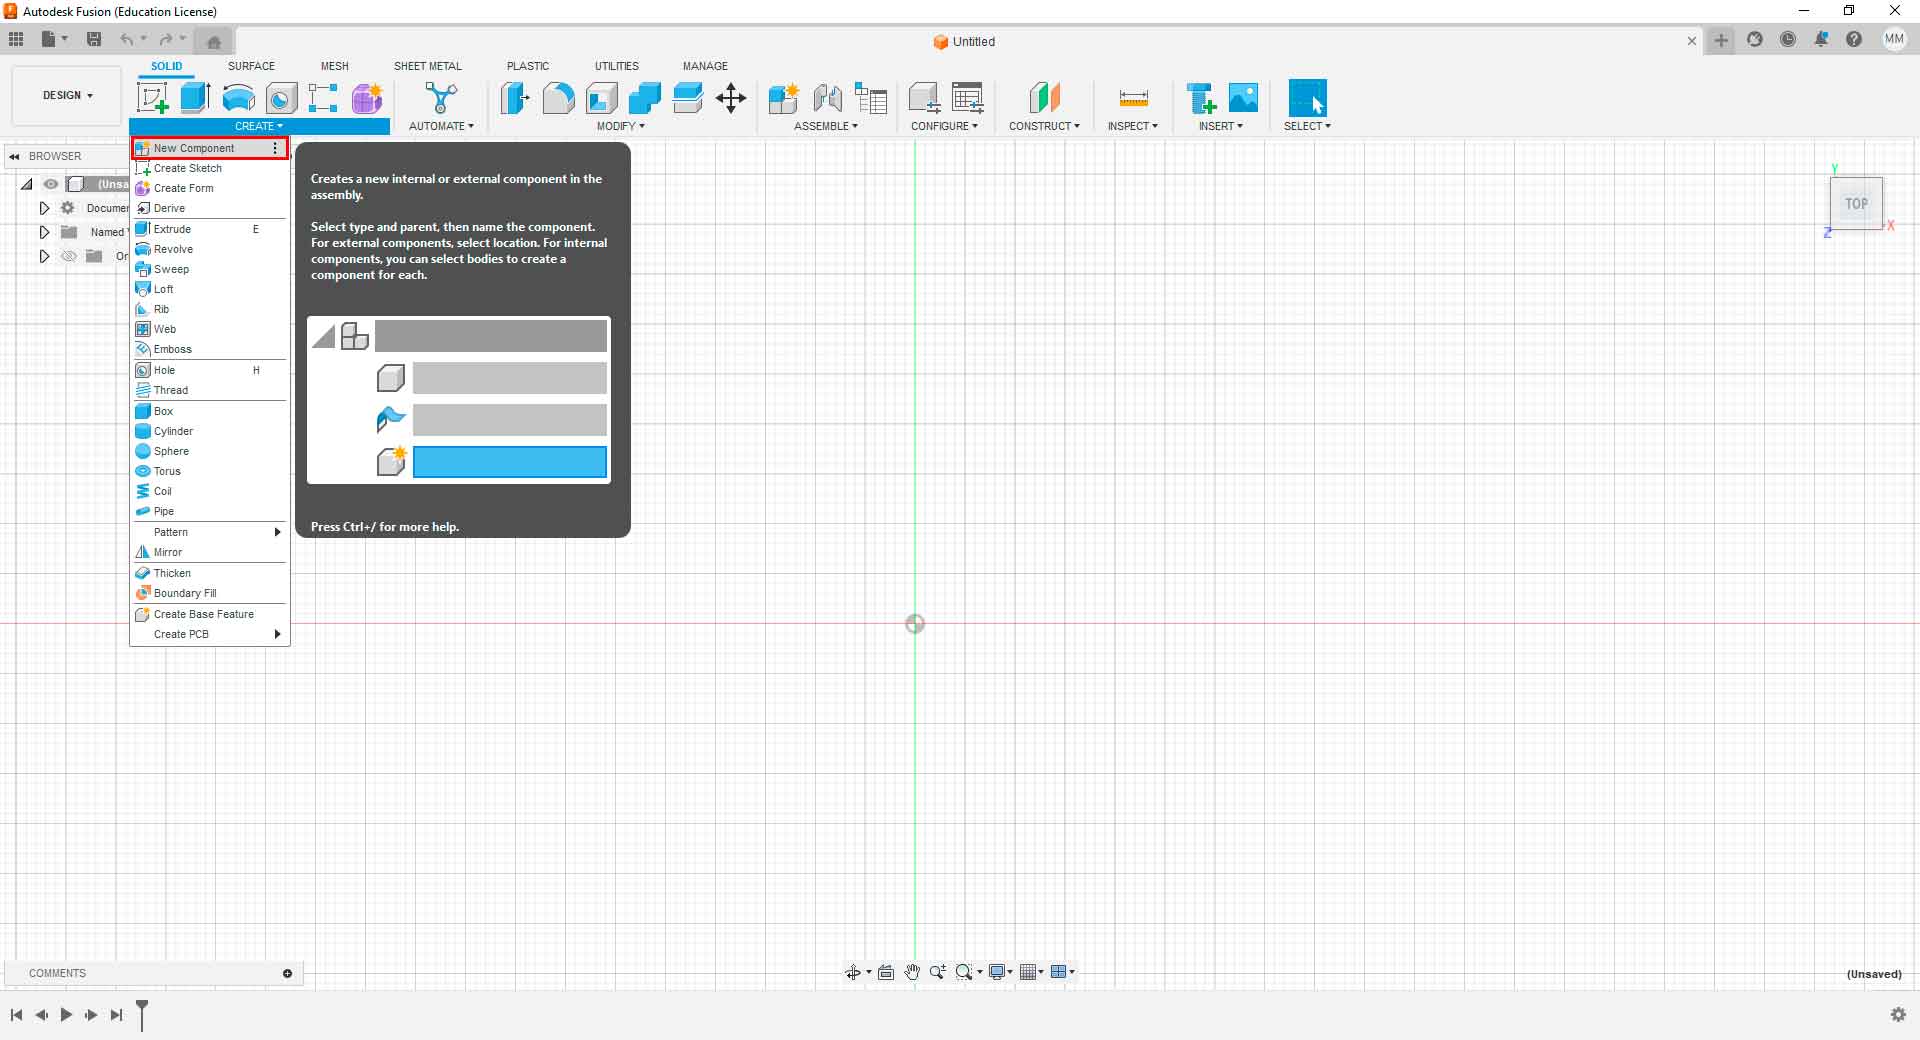
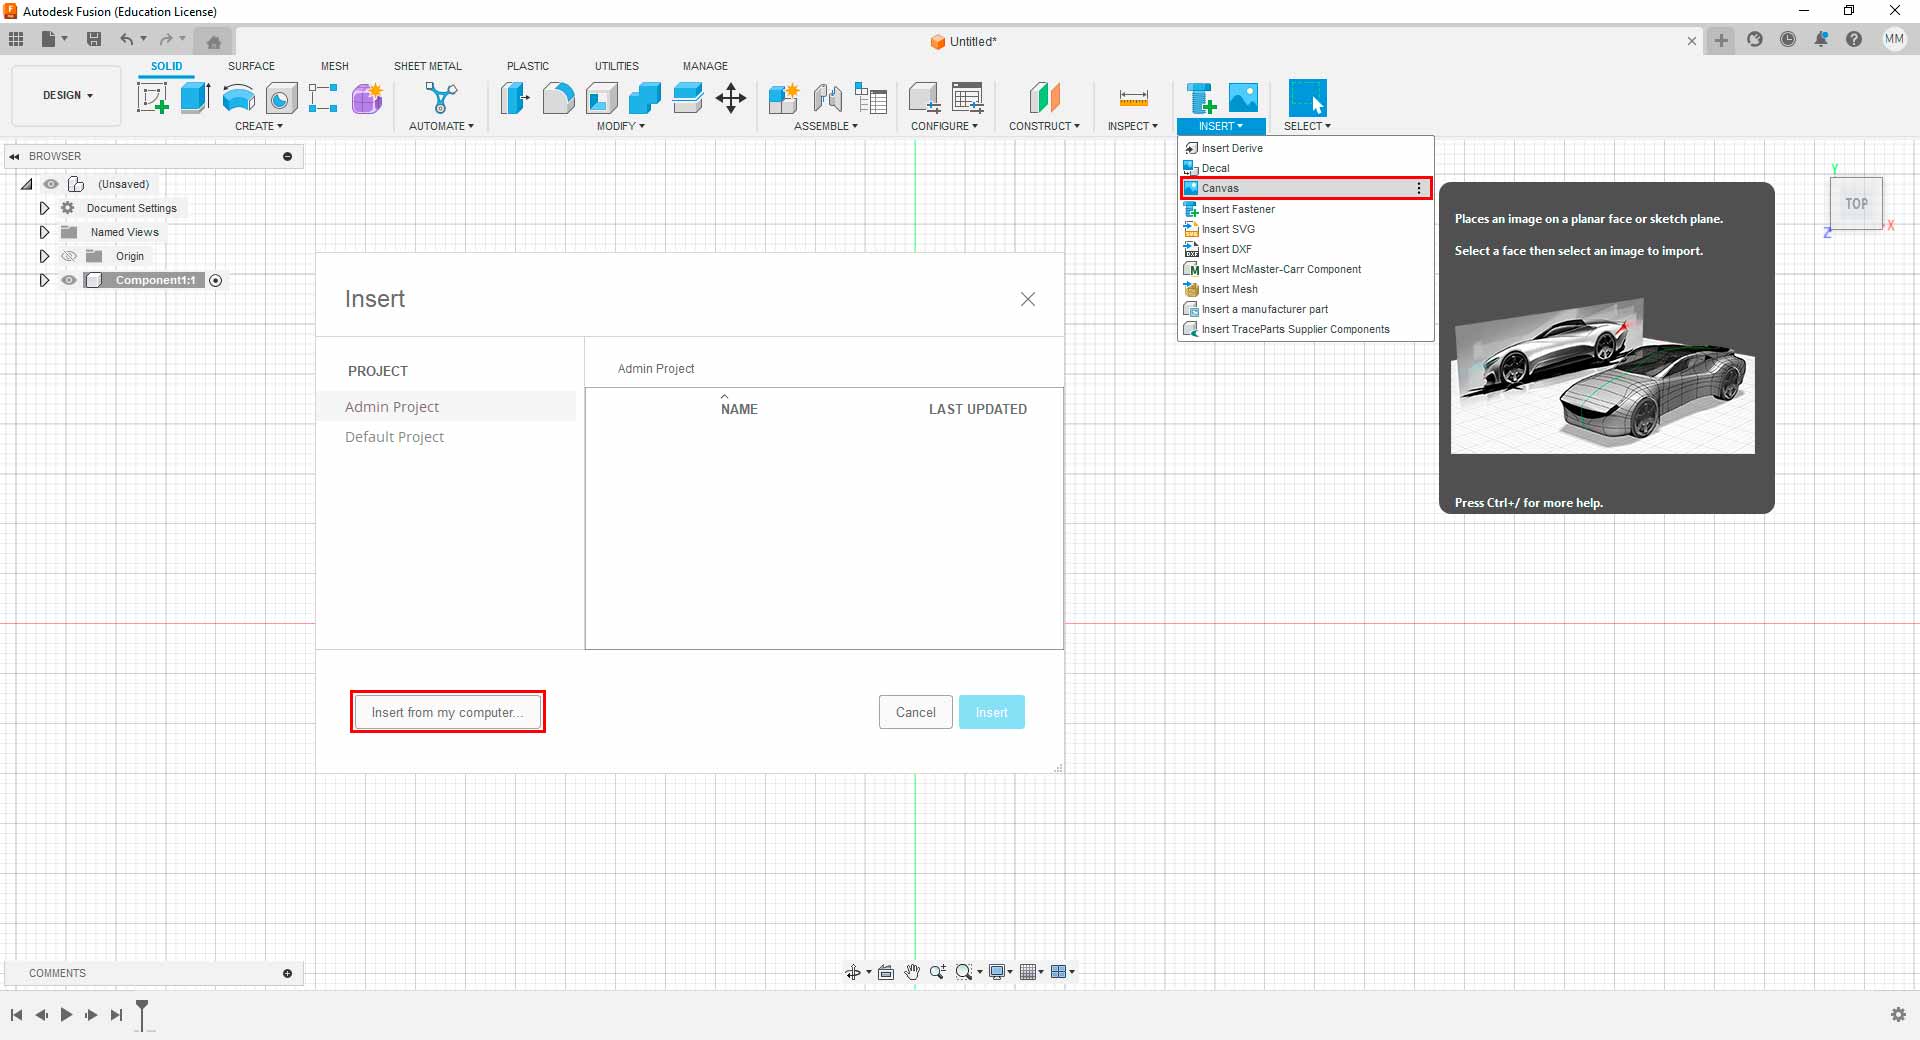
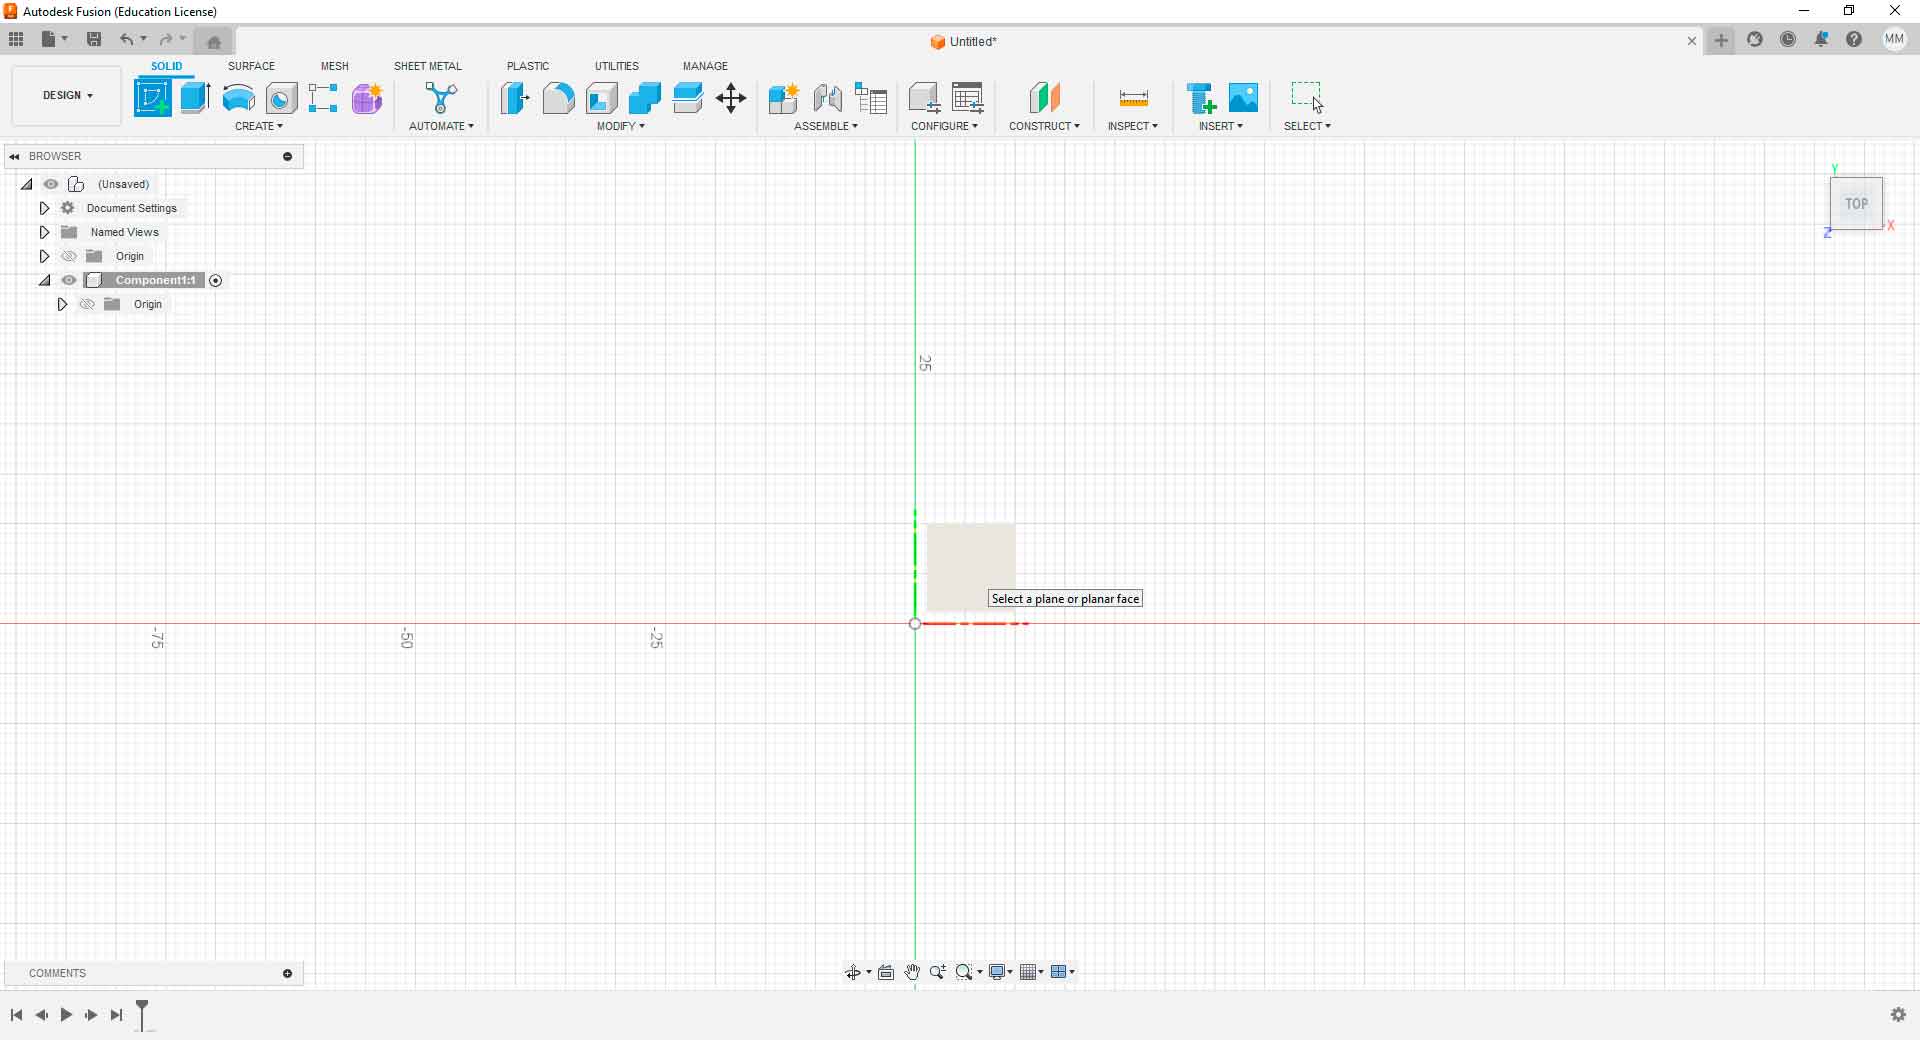
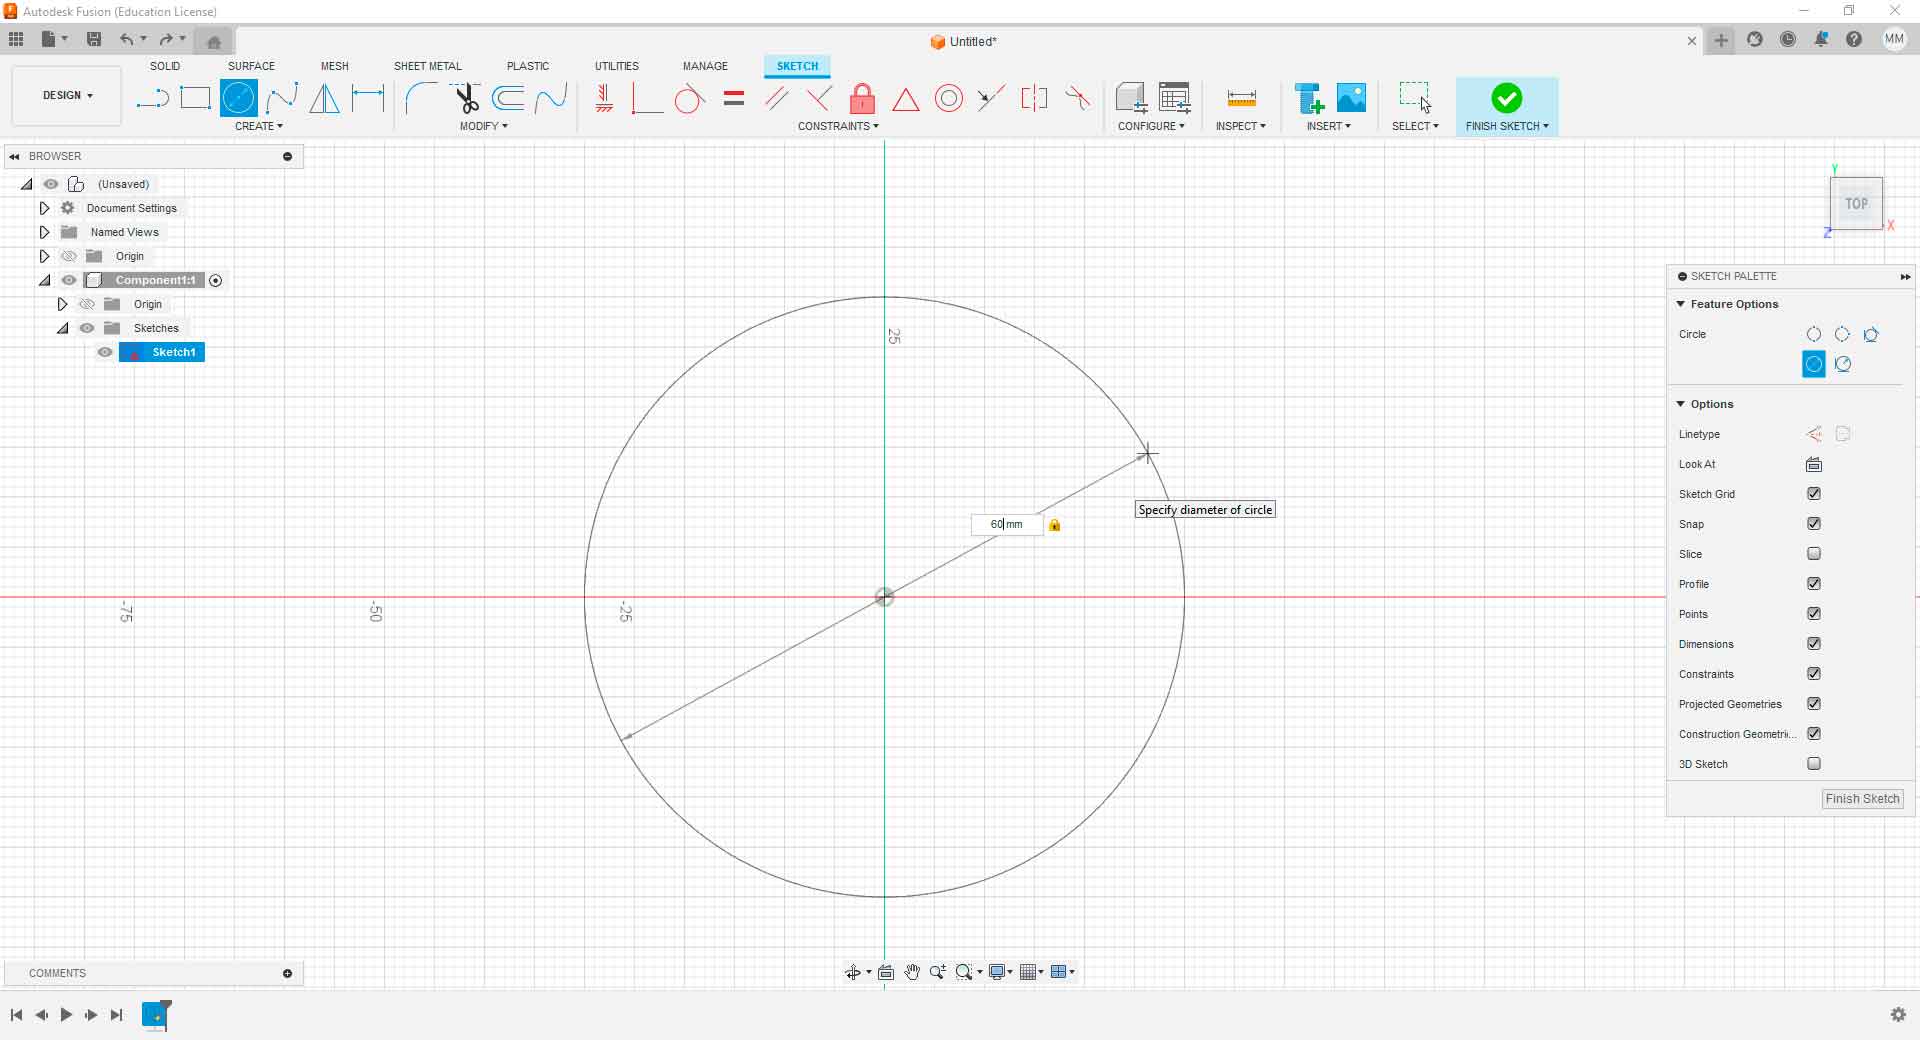
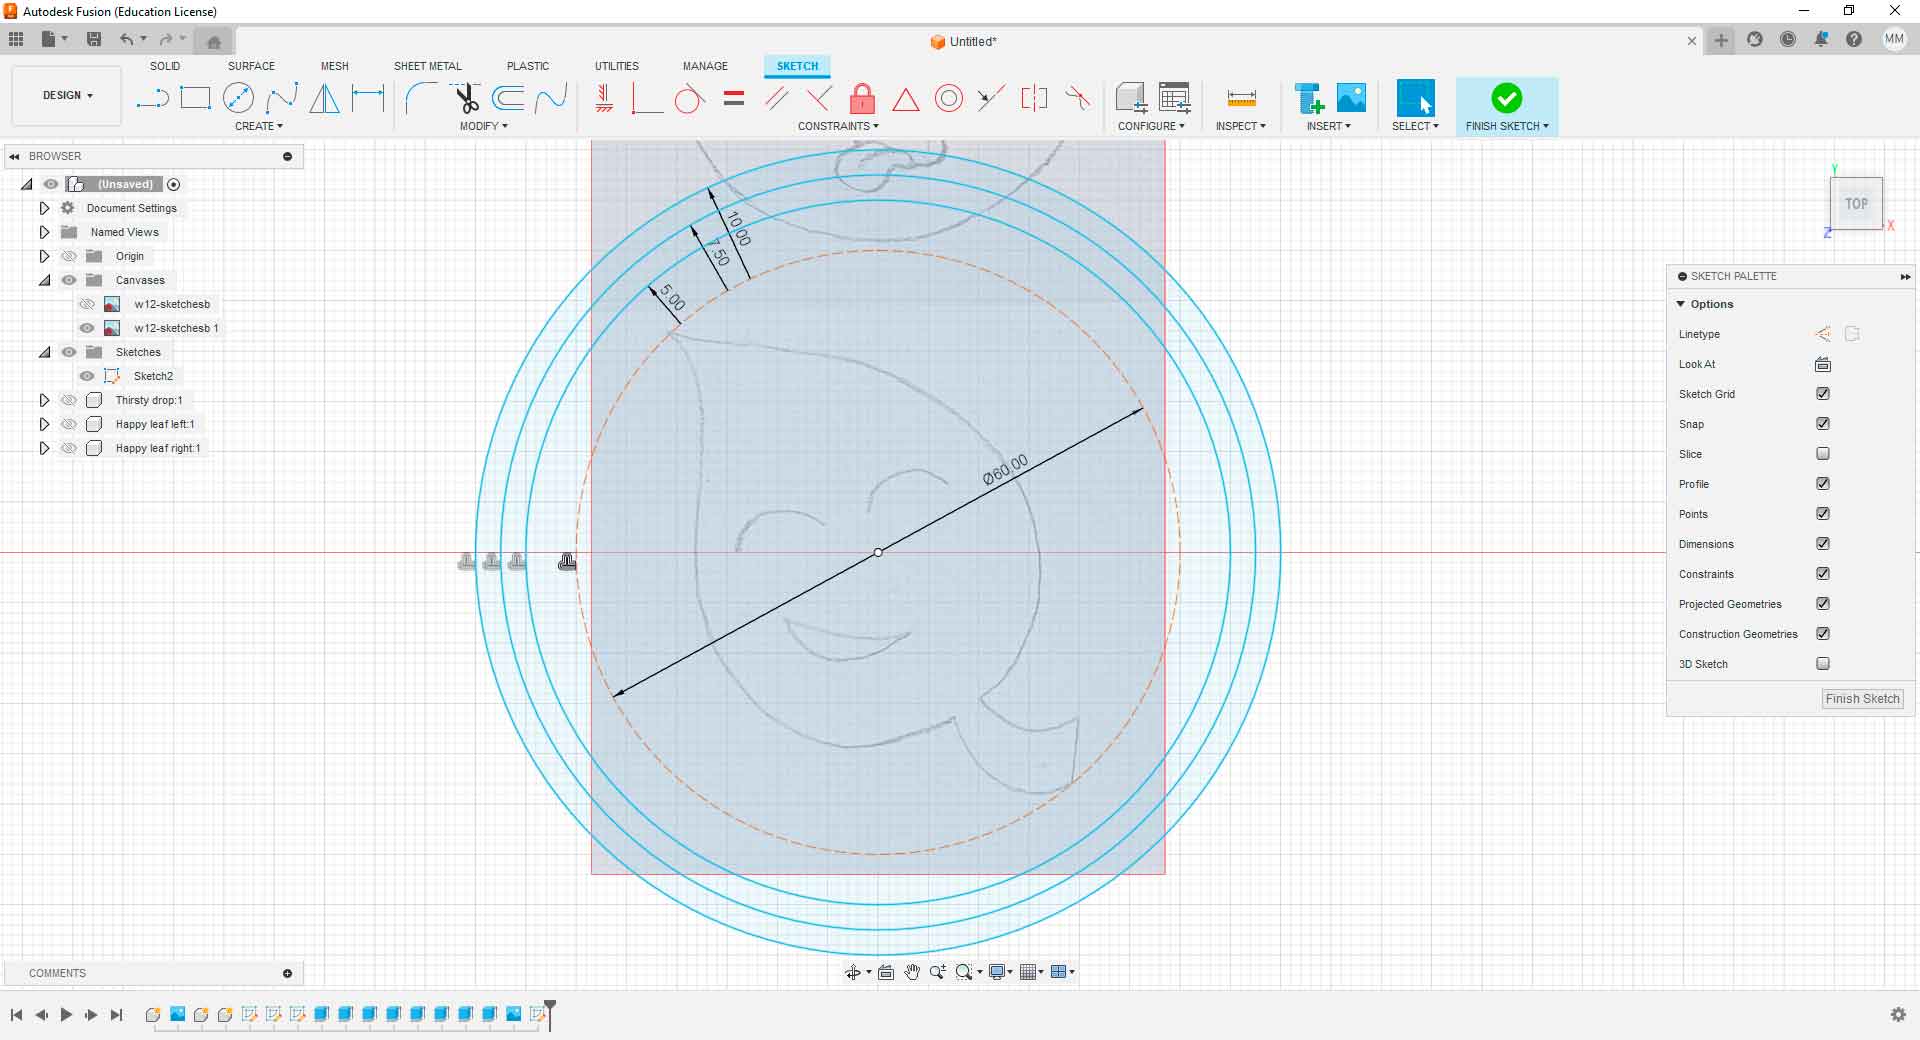
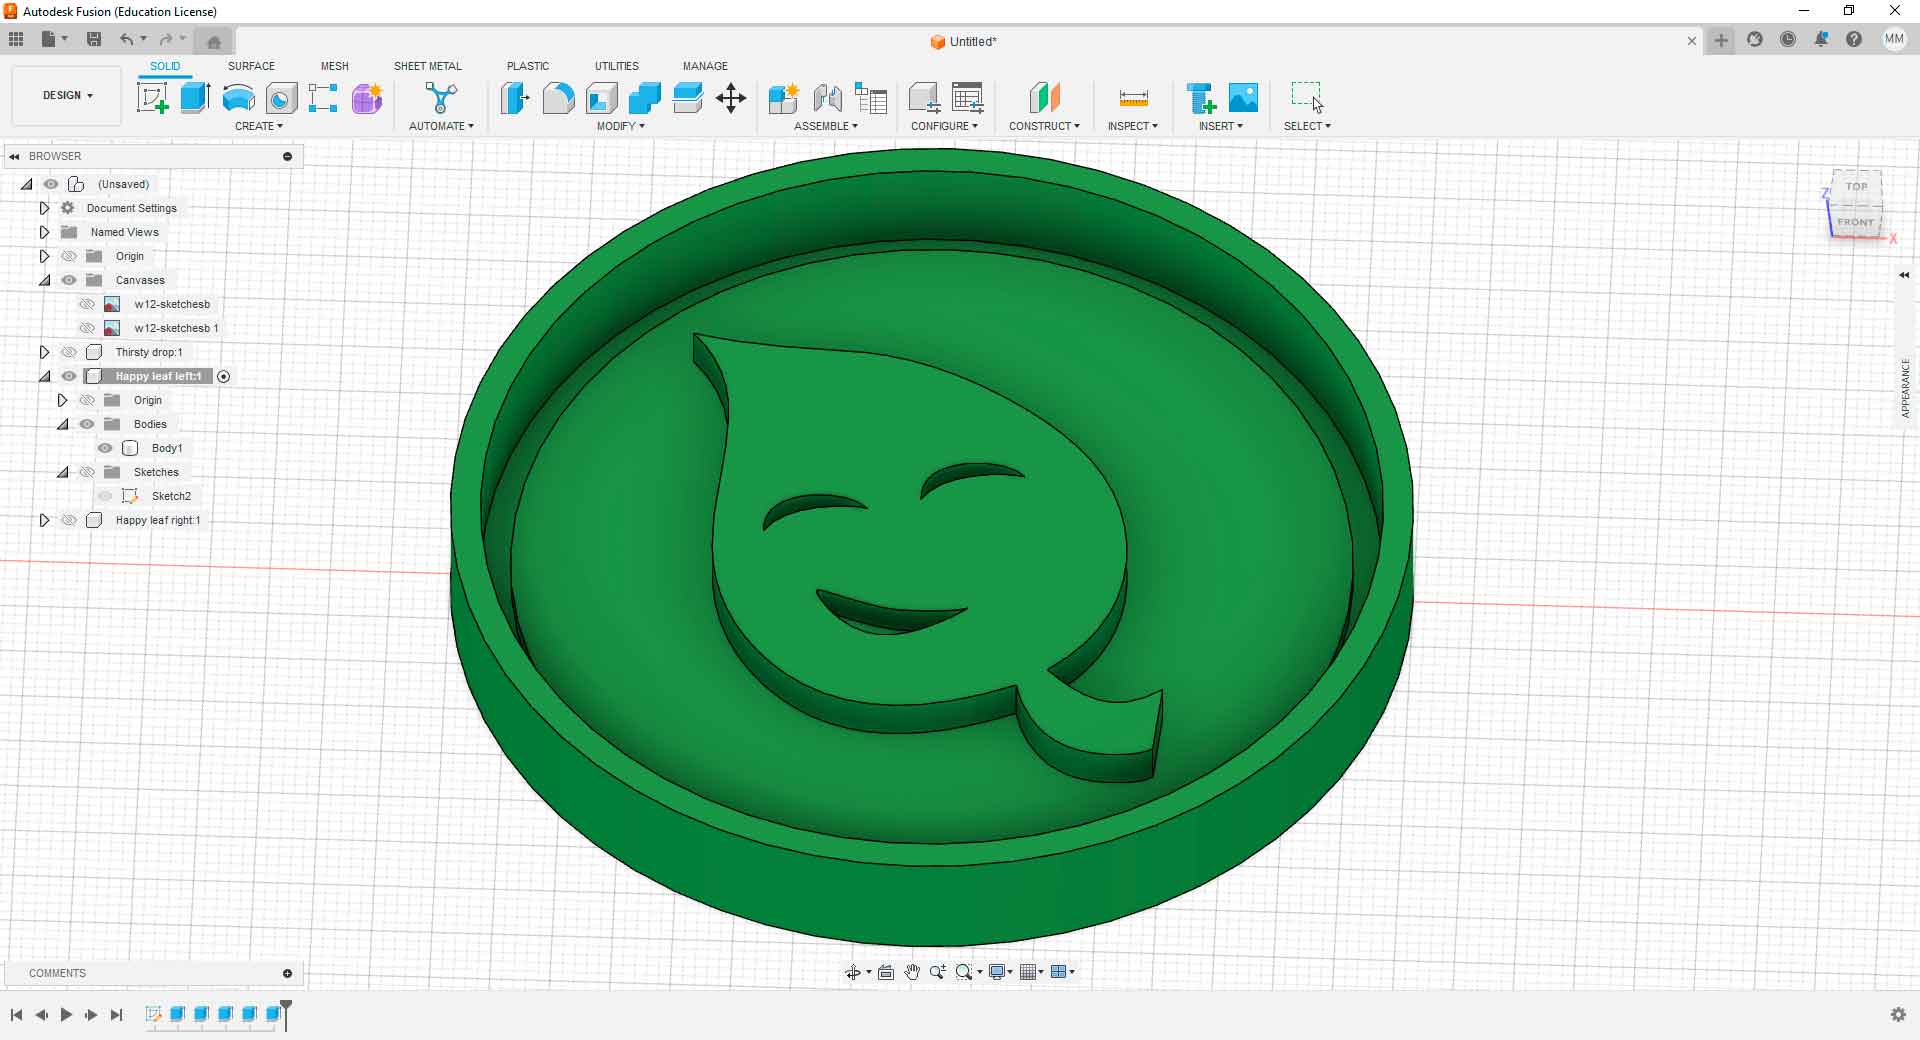
Having started with Fusion 360, my aim was to master this software during the program. In week 10, I focused on machine design and now, I'm delving into mold design. A good practice in Fusion 360 is to create components for each piece; for my project, I created three components for three molds. After importing my icon images, I calibrated the design and started a new sketch outside the components to visualize the image while creating the mold drawings.
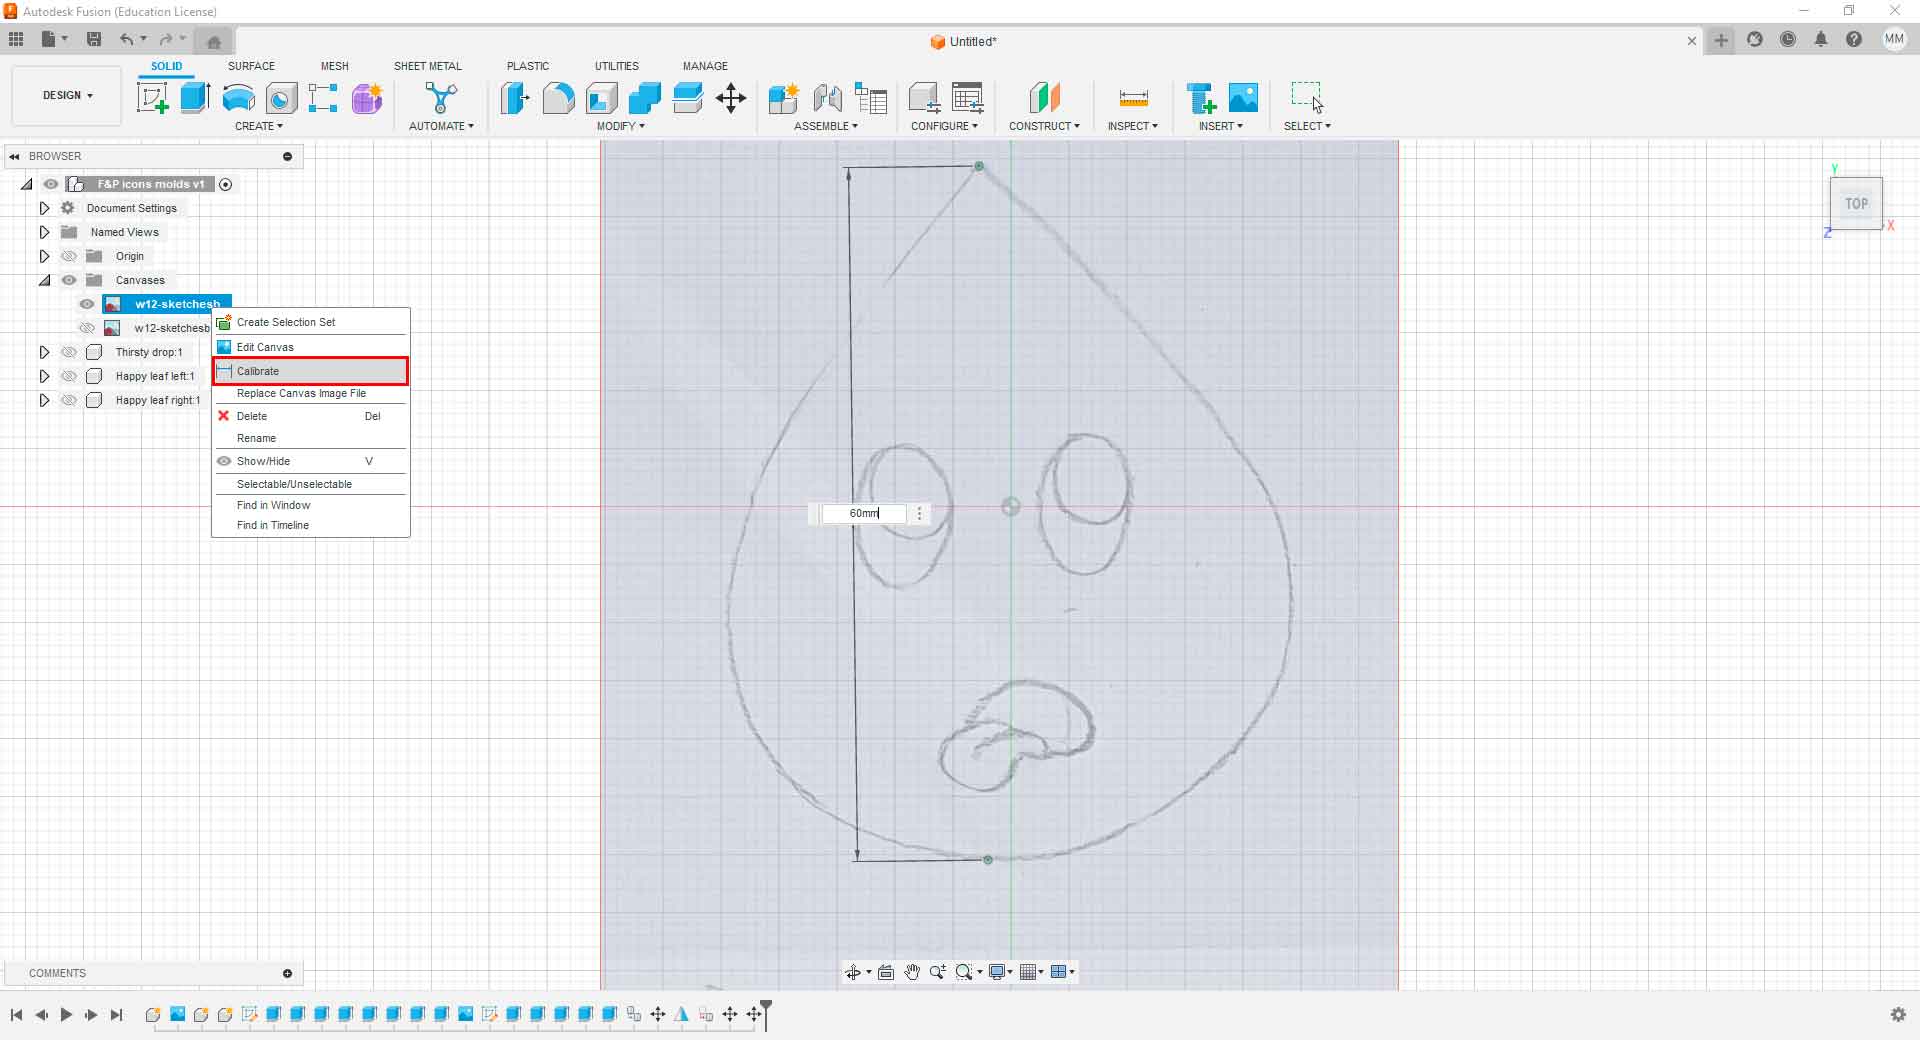
Handmade sketch inserted in Fusion 360
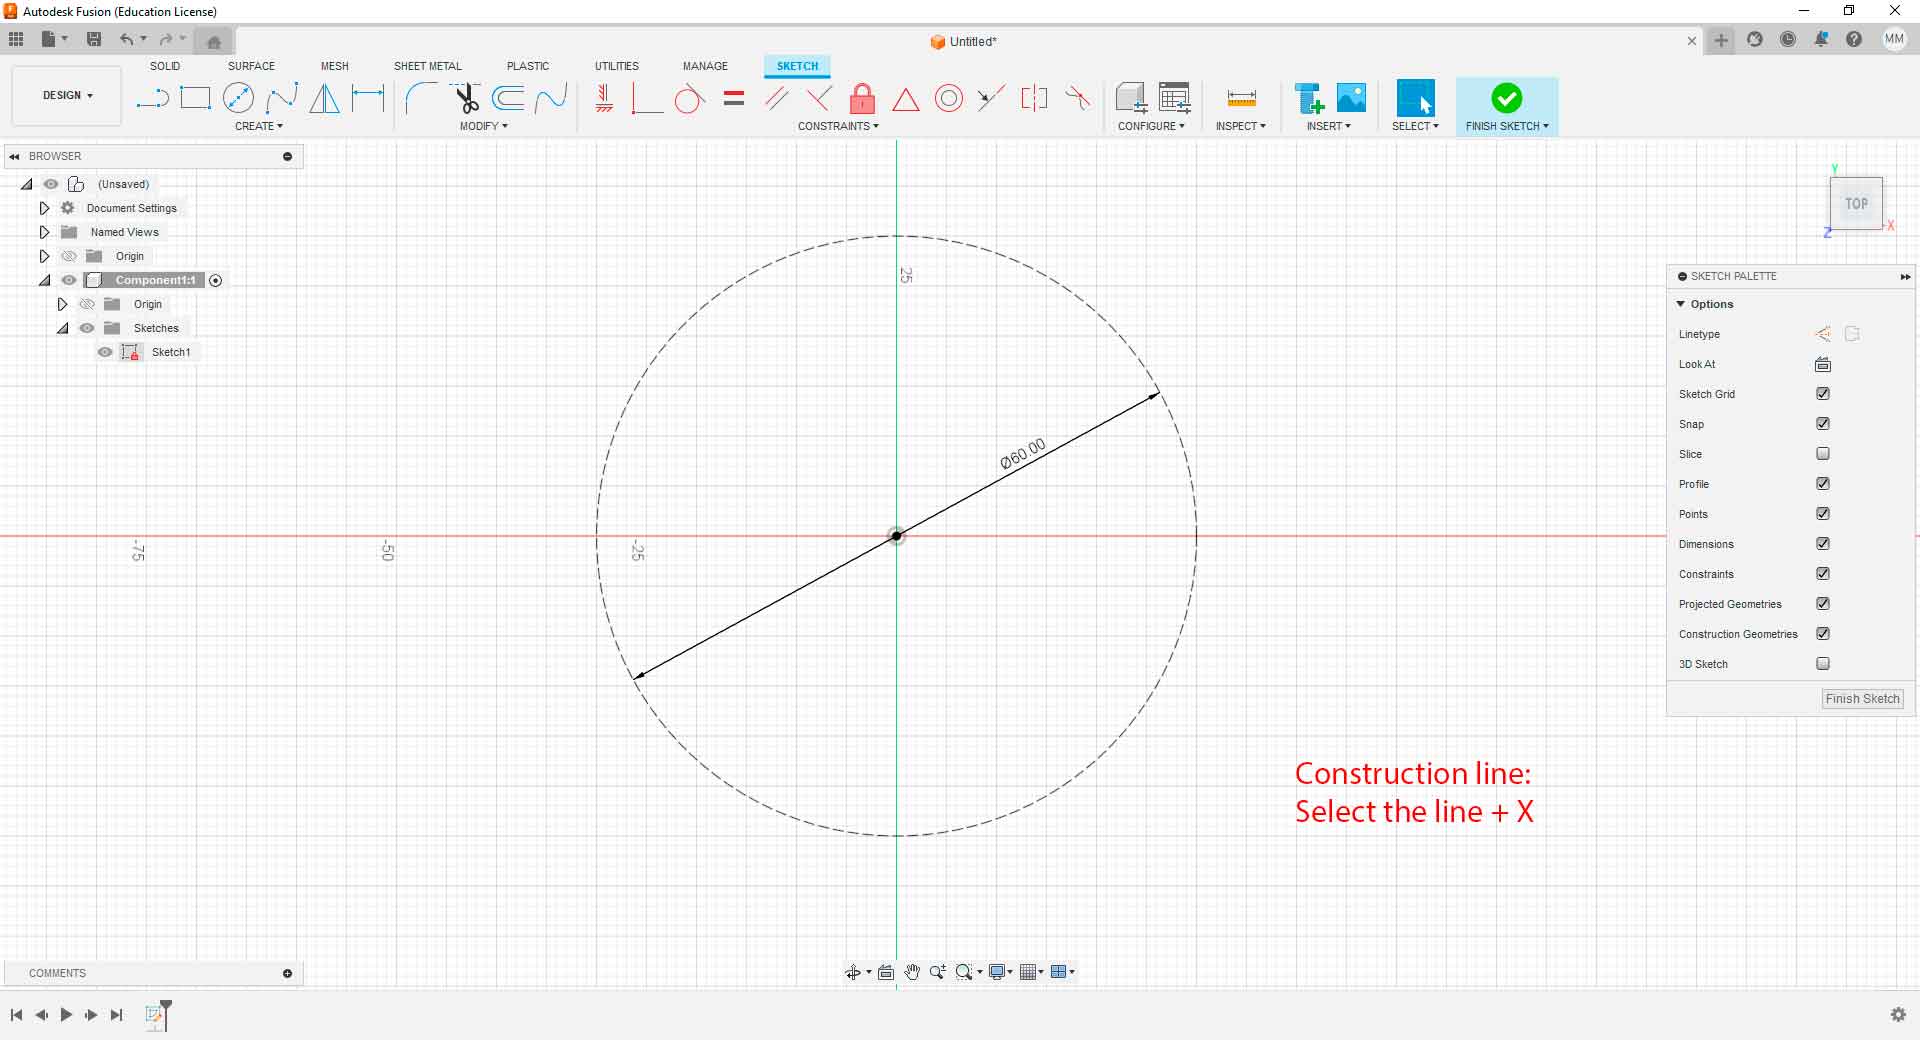
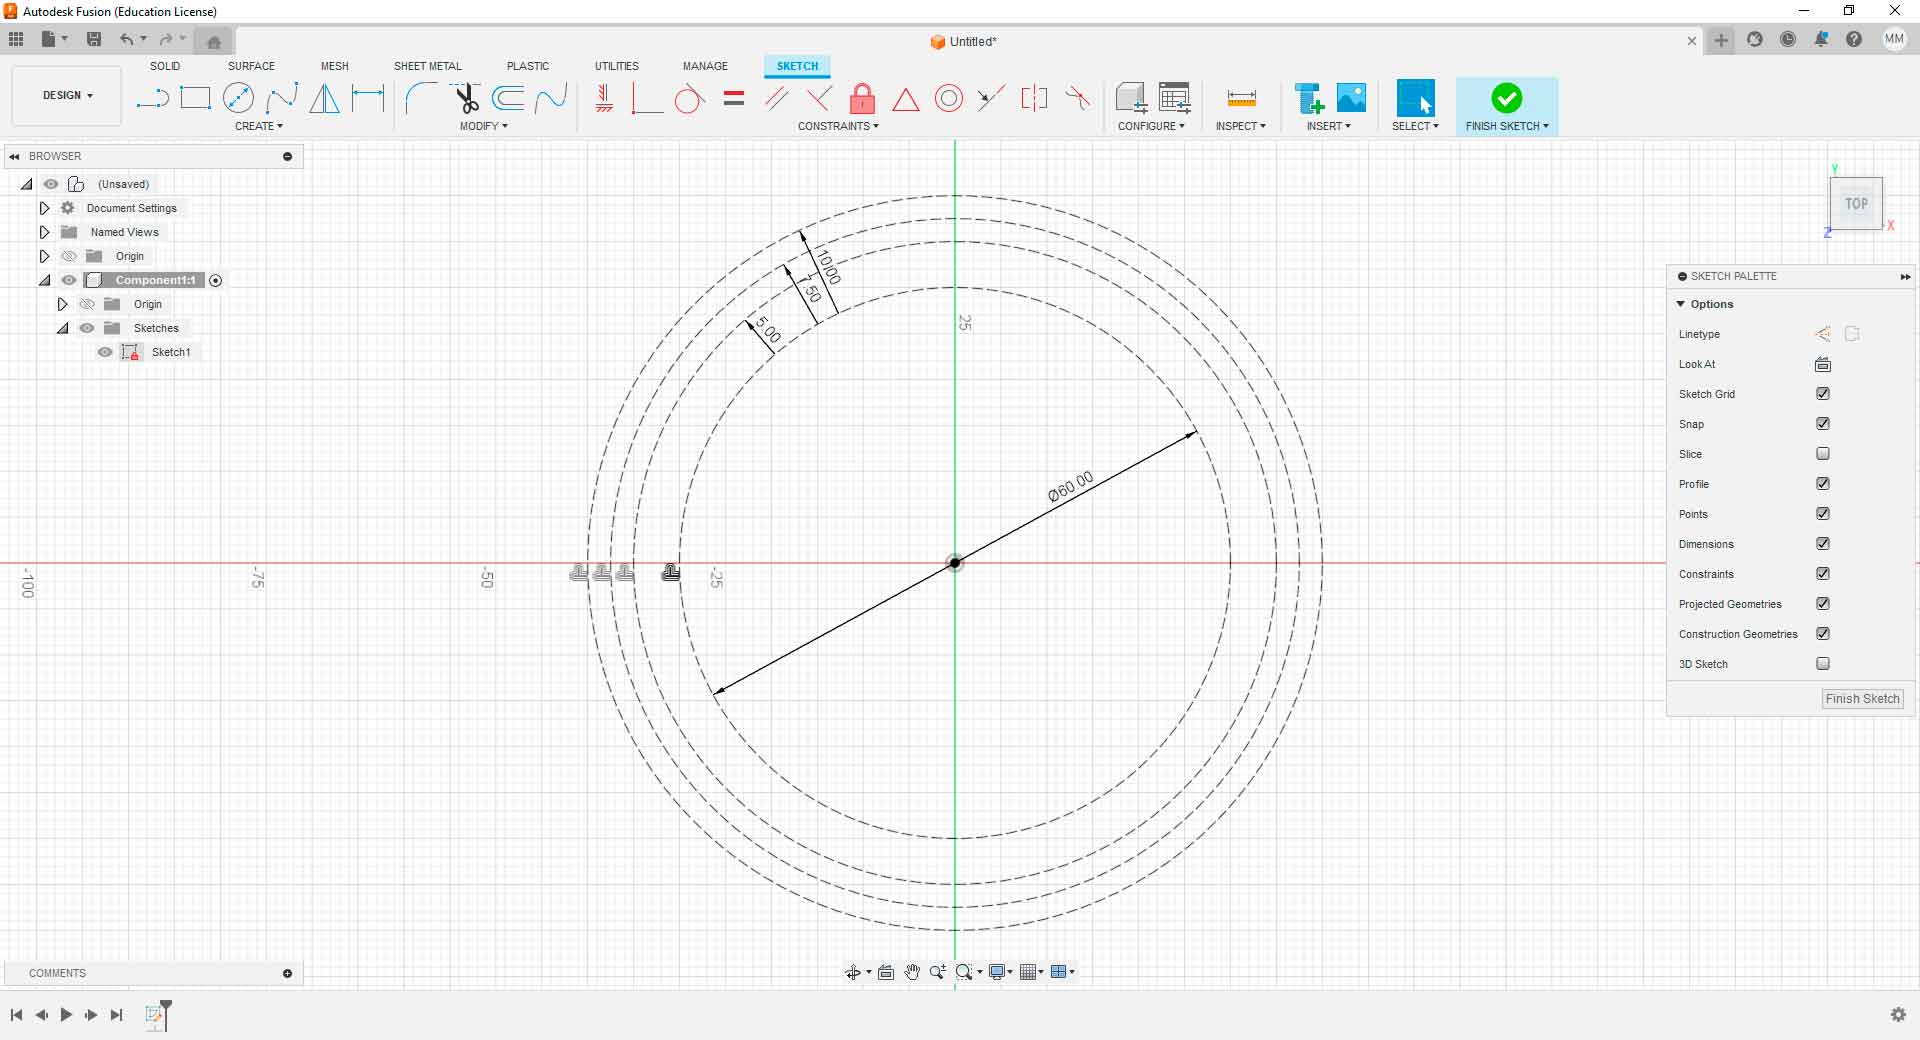
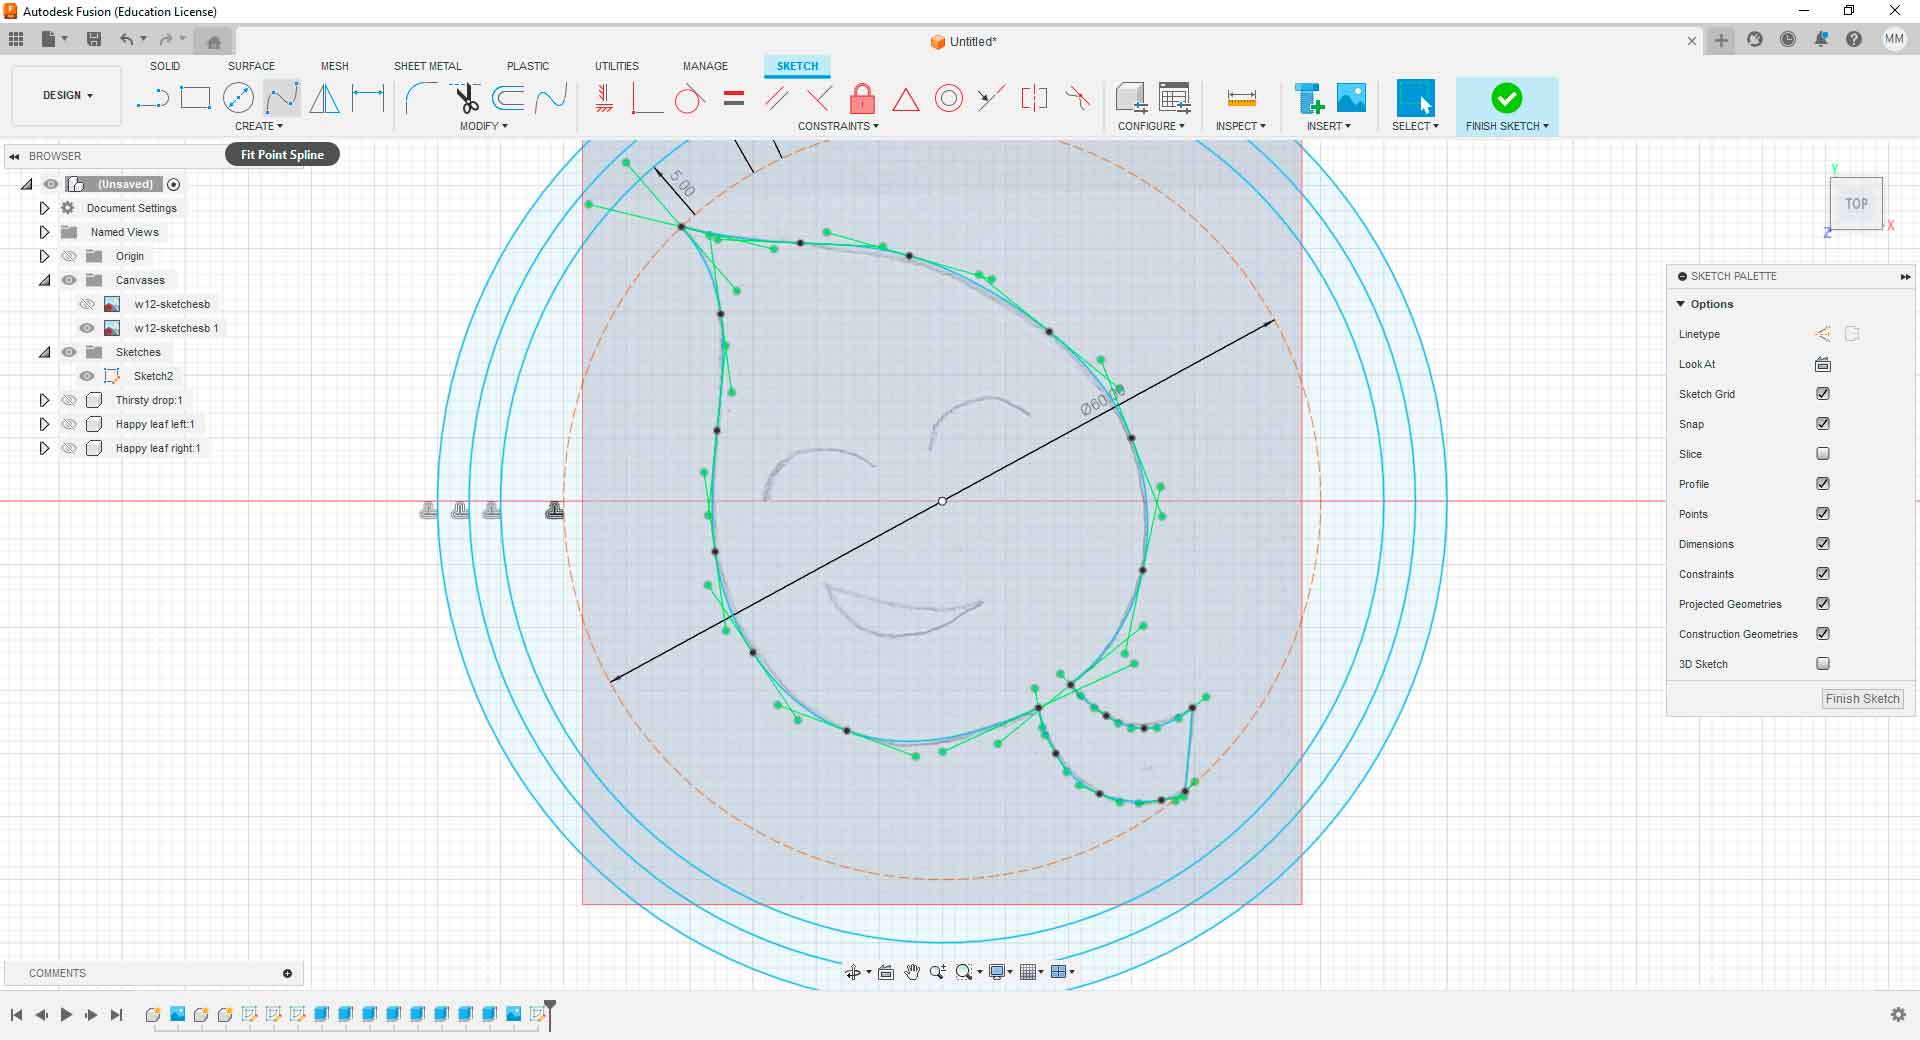
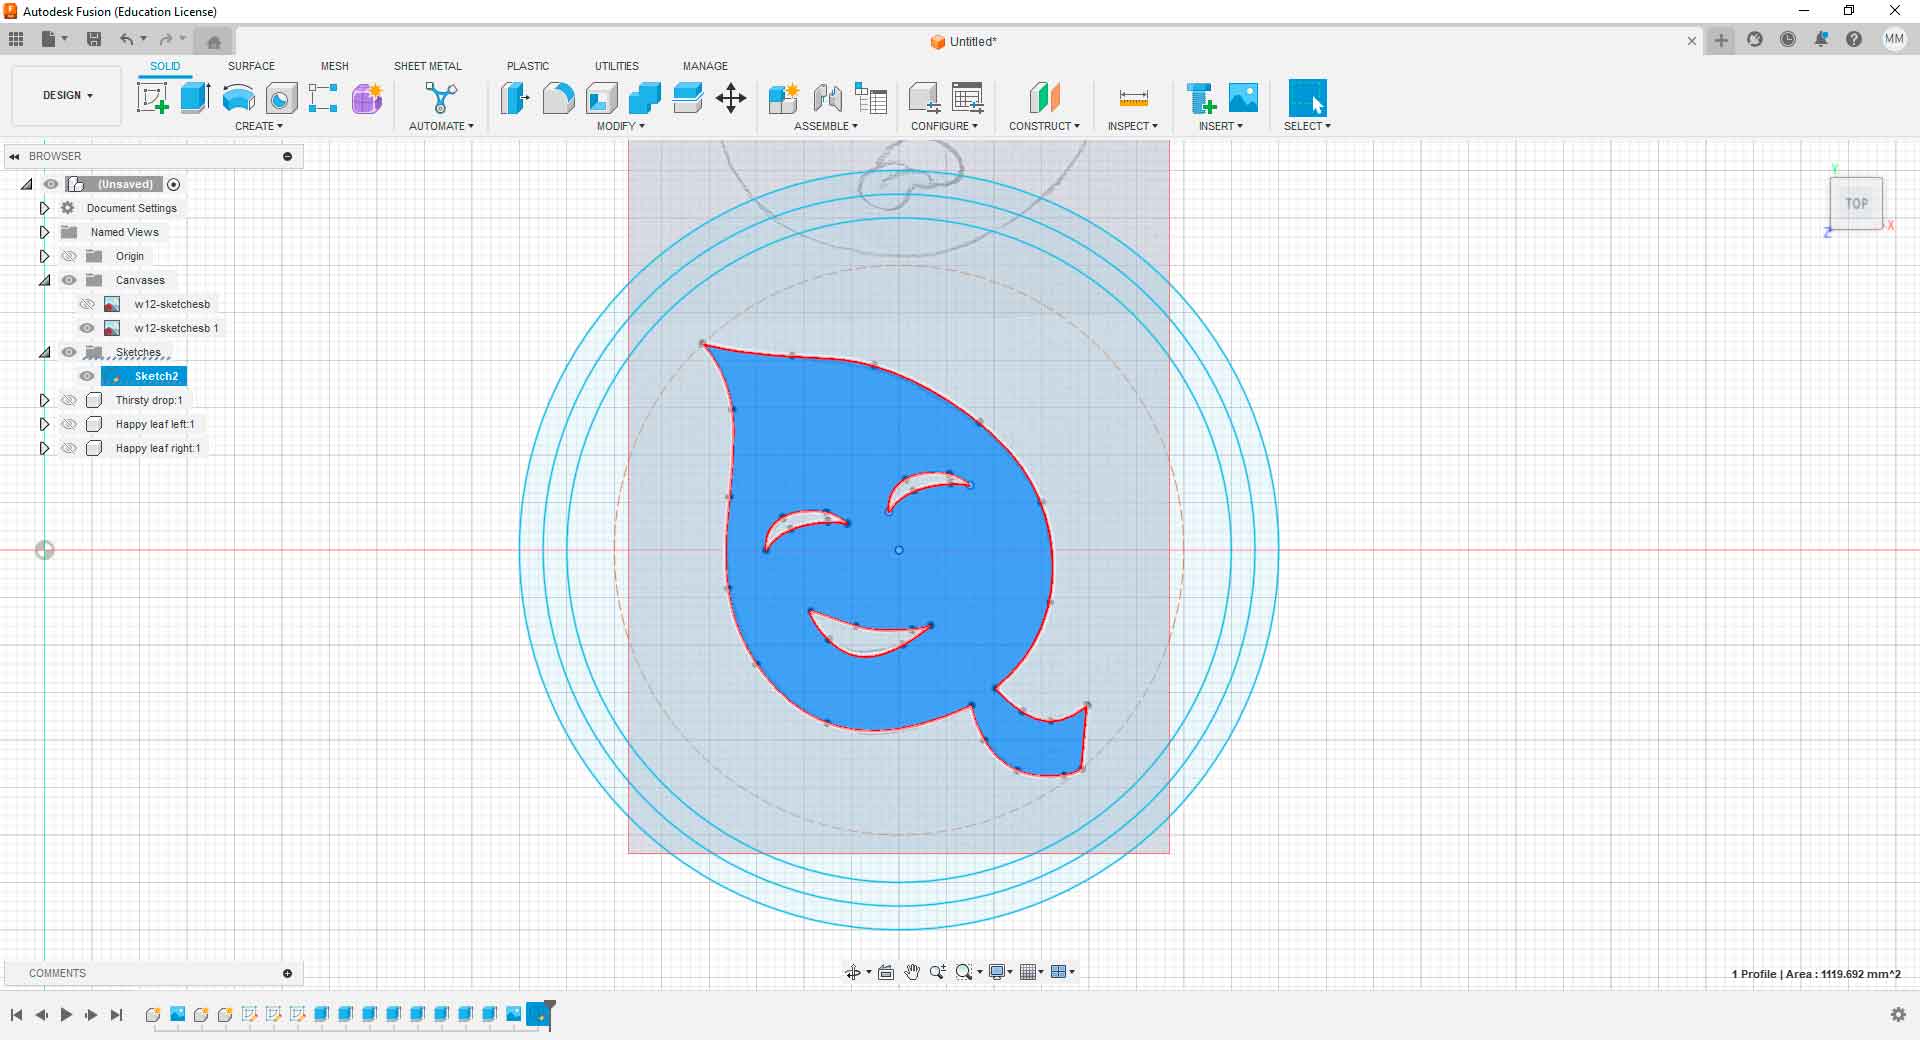
Then, in the sketch, I generated guide lines that will be part of the design later on. I used the spline, mirror, ellipse, copy, and paste tools to digitize the icon.
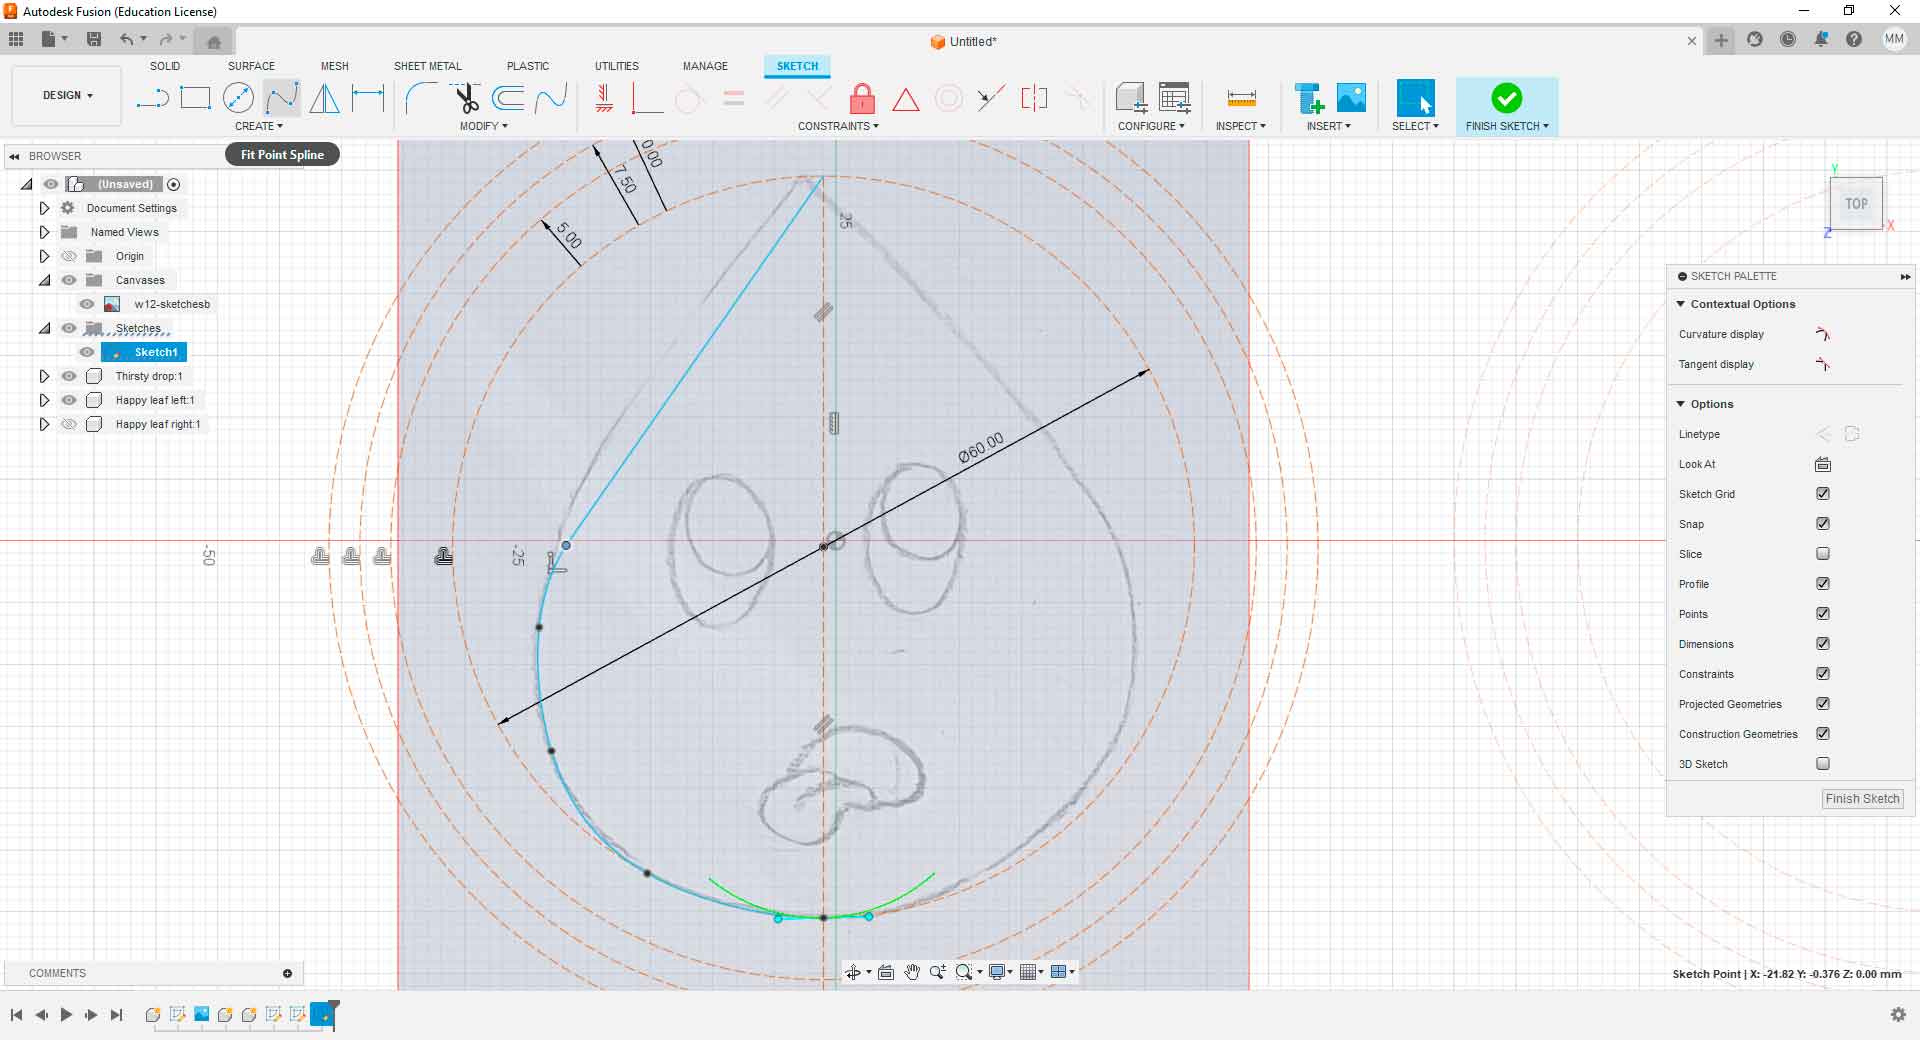
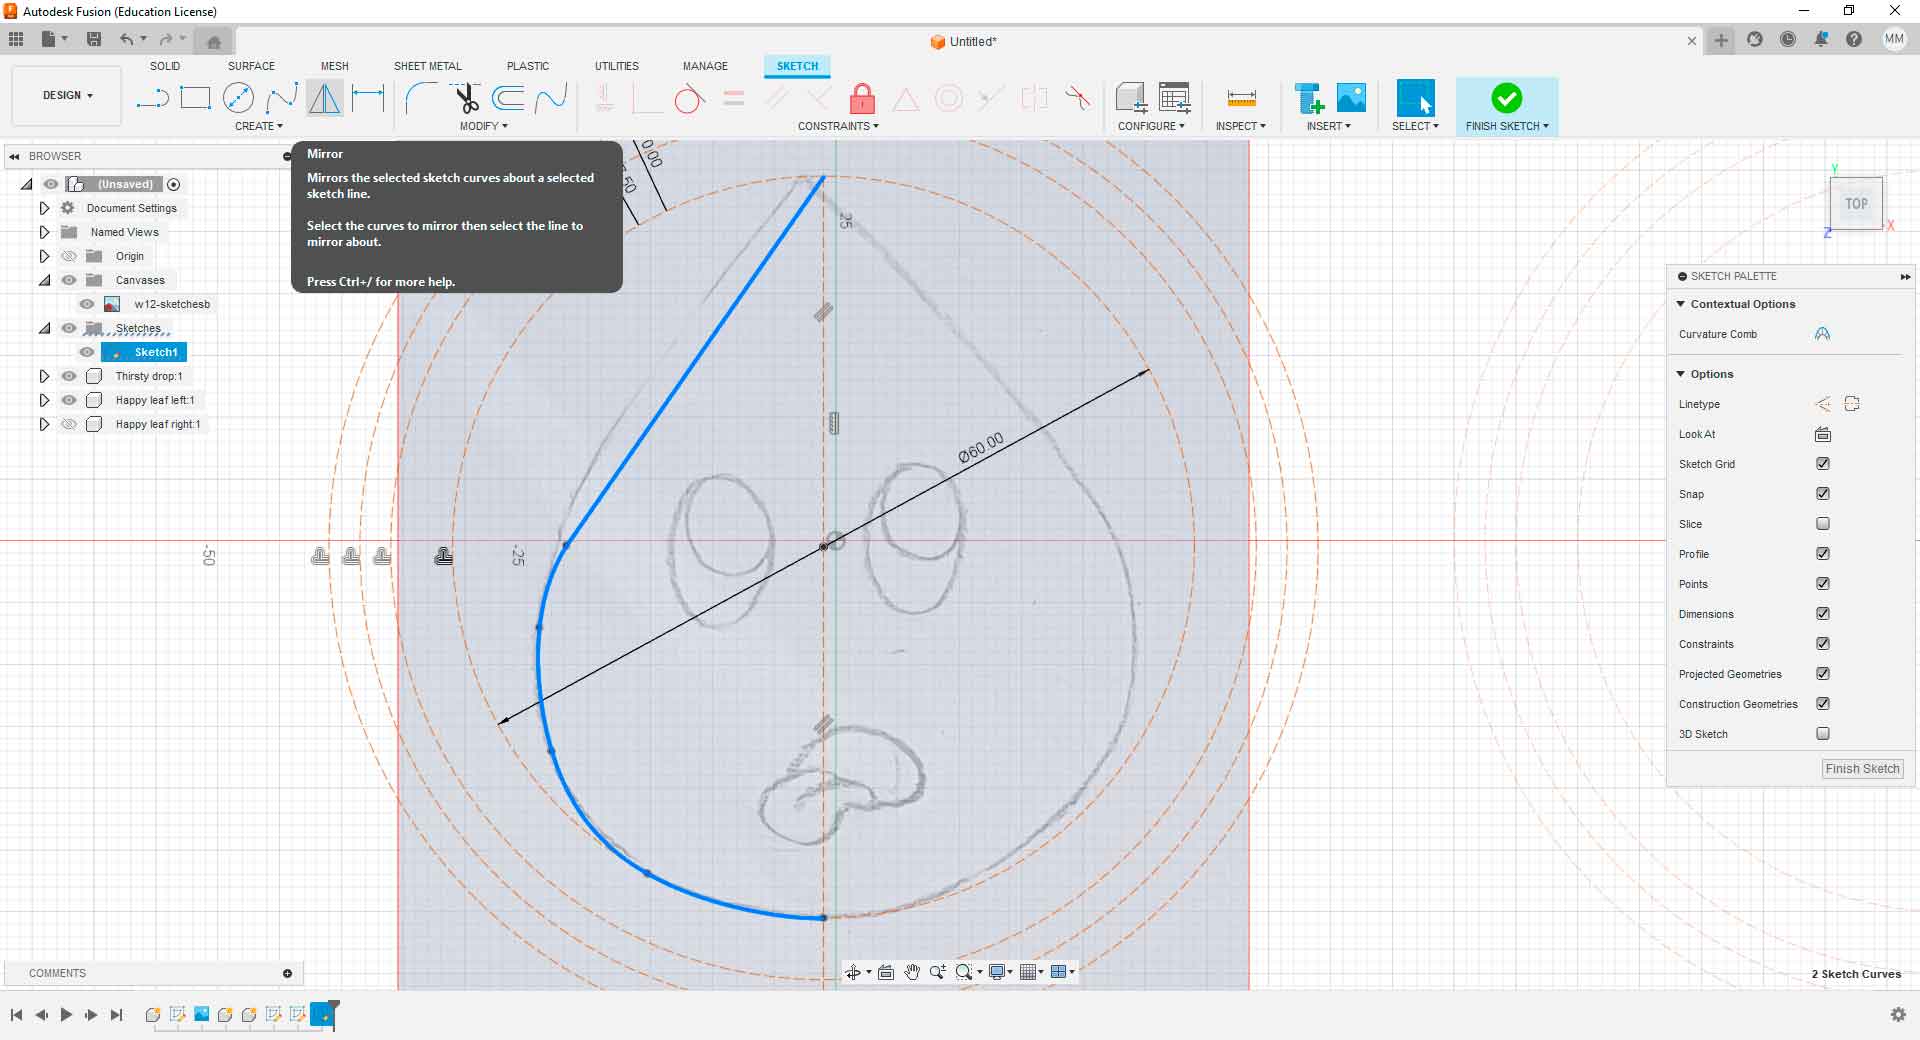

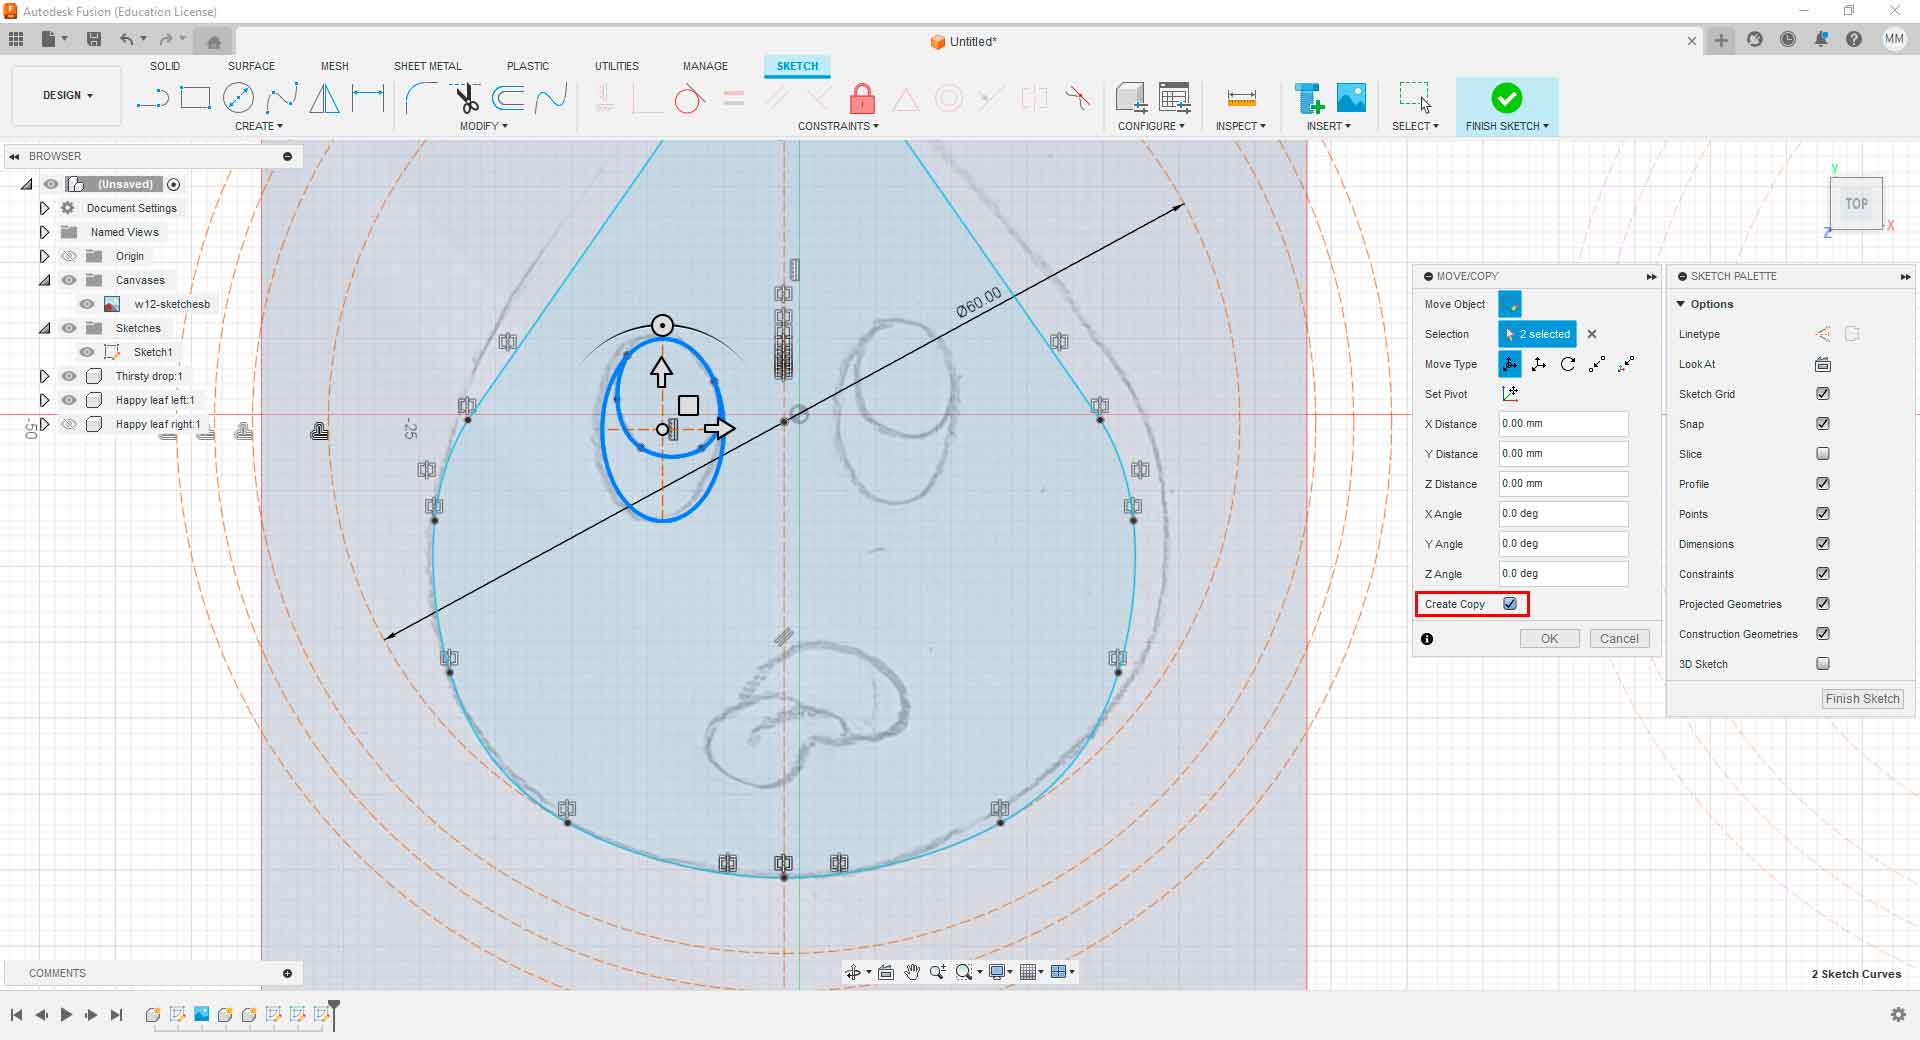
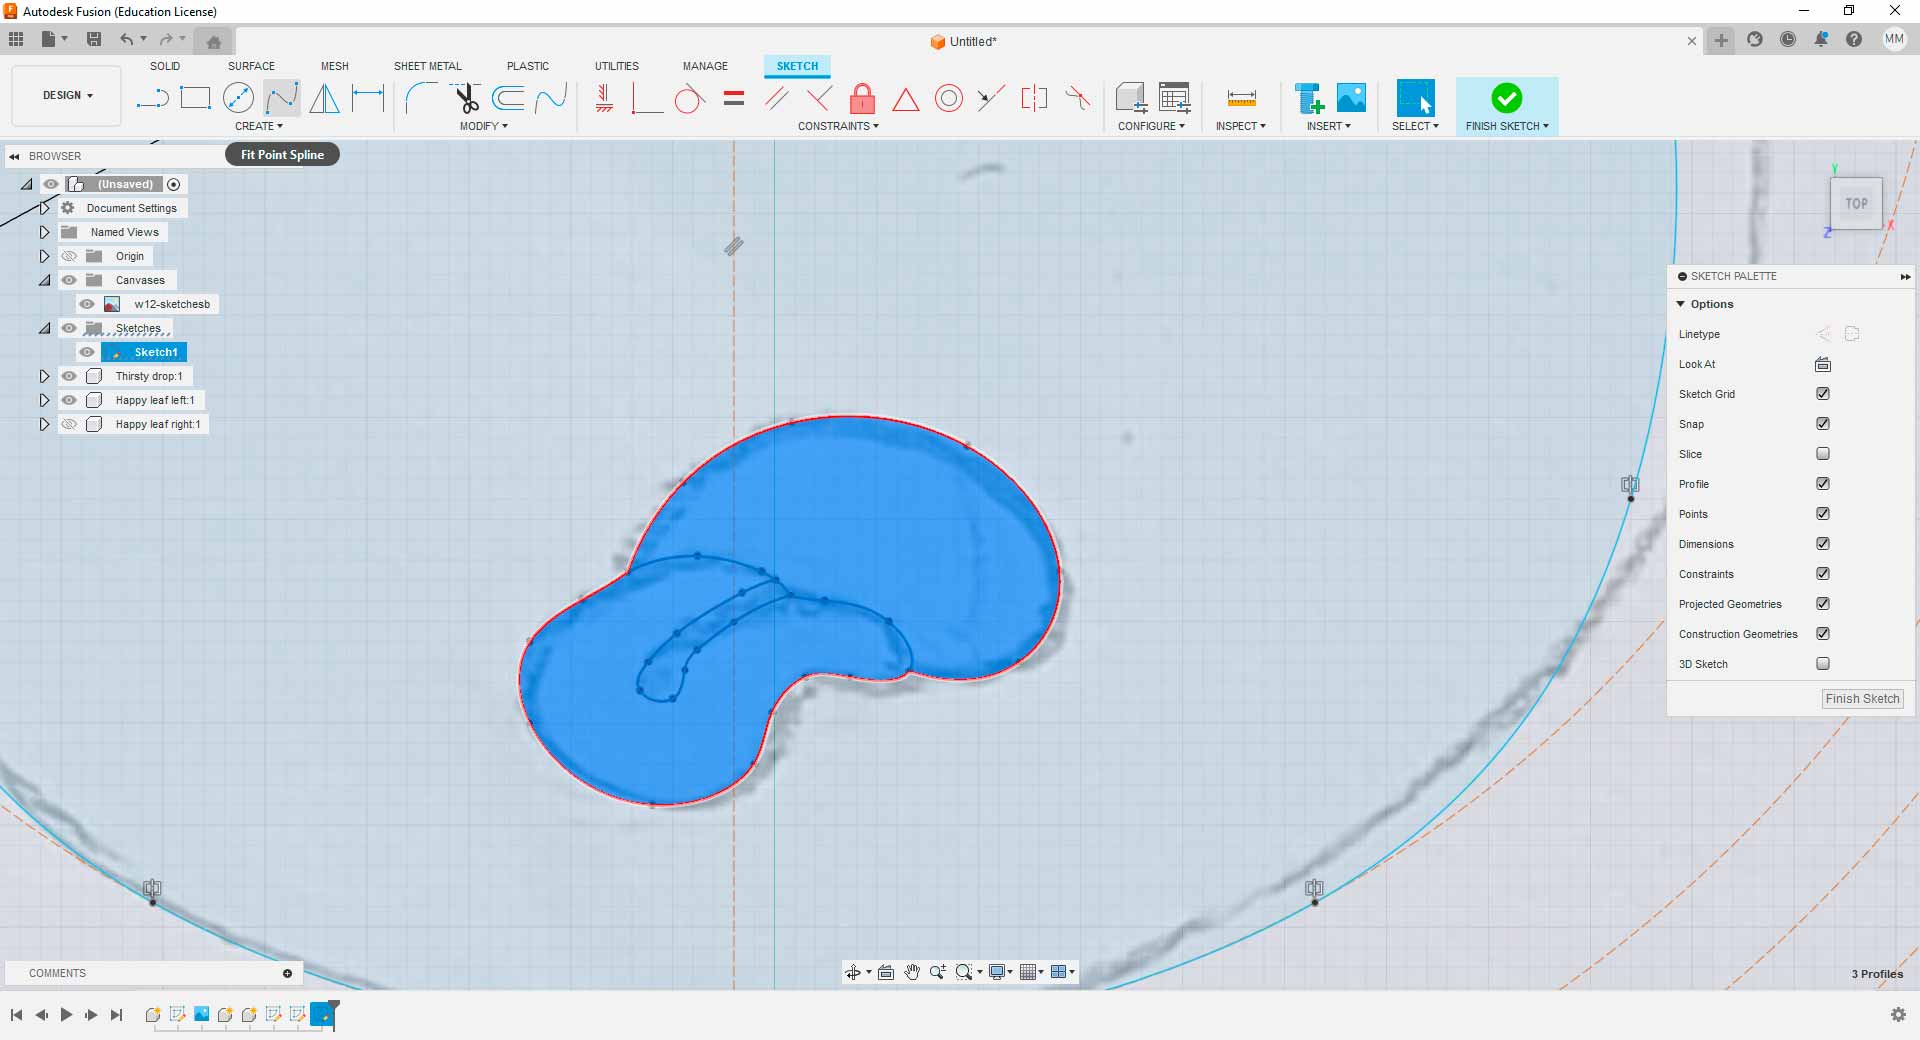
Drawing process of icon in Fusion 360
Afterward, I used the extrude tool to generate the differences in sizes in the drawn shapes and thus create the mold.
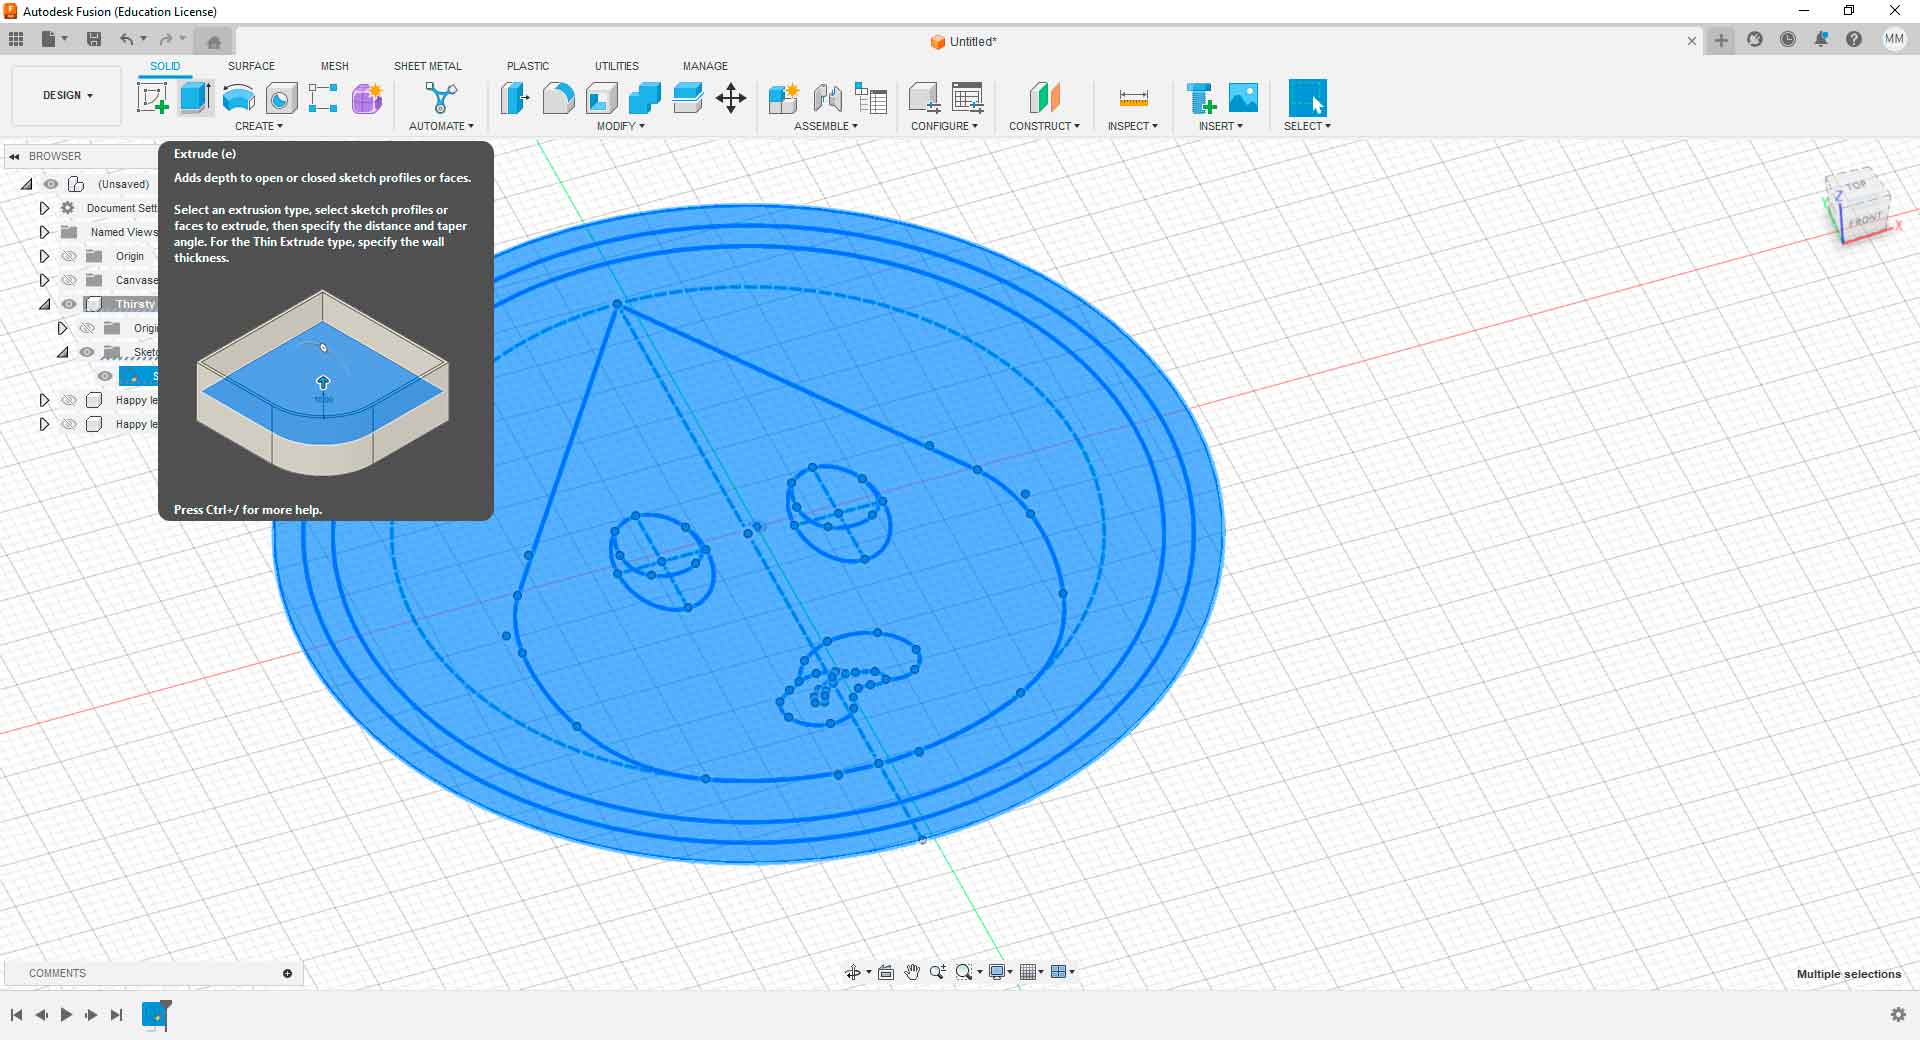
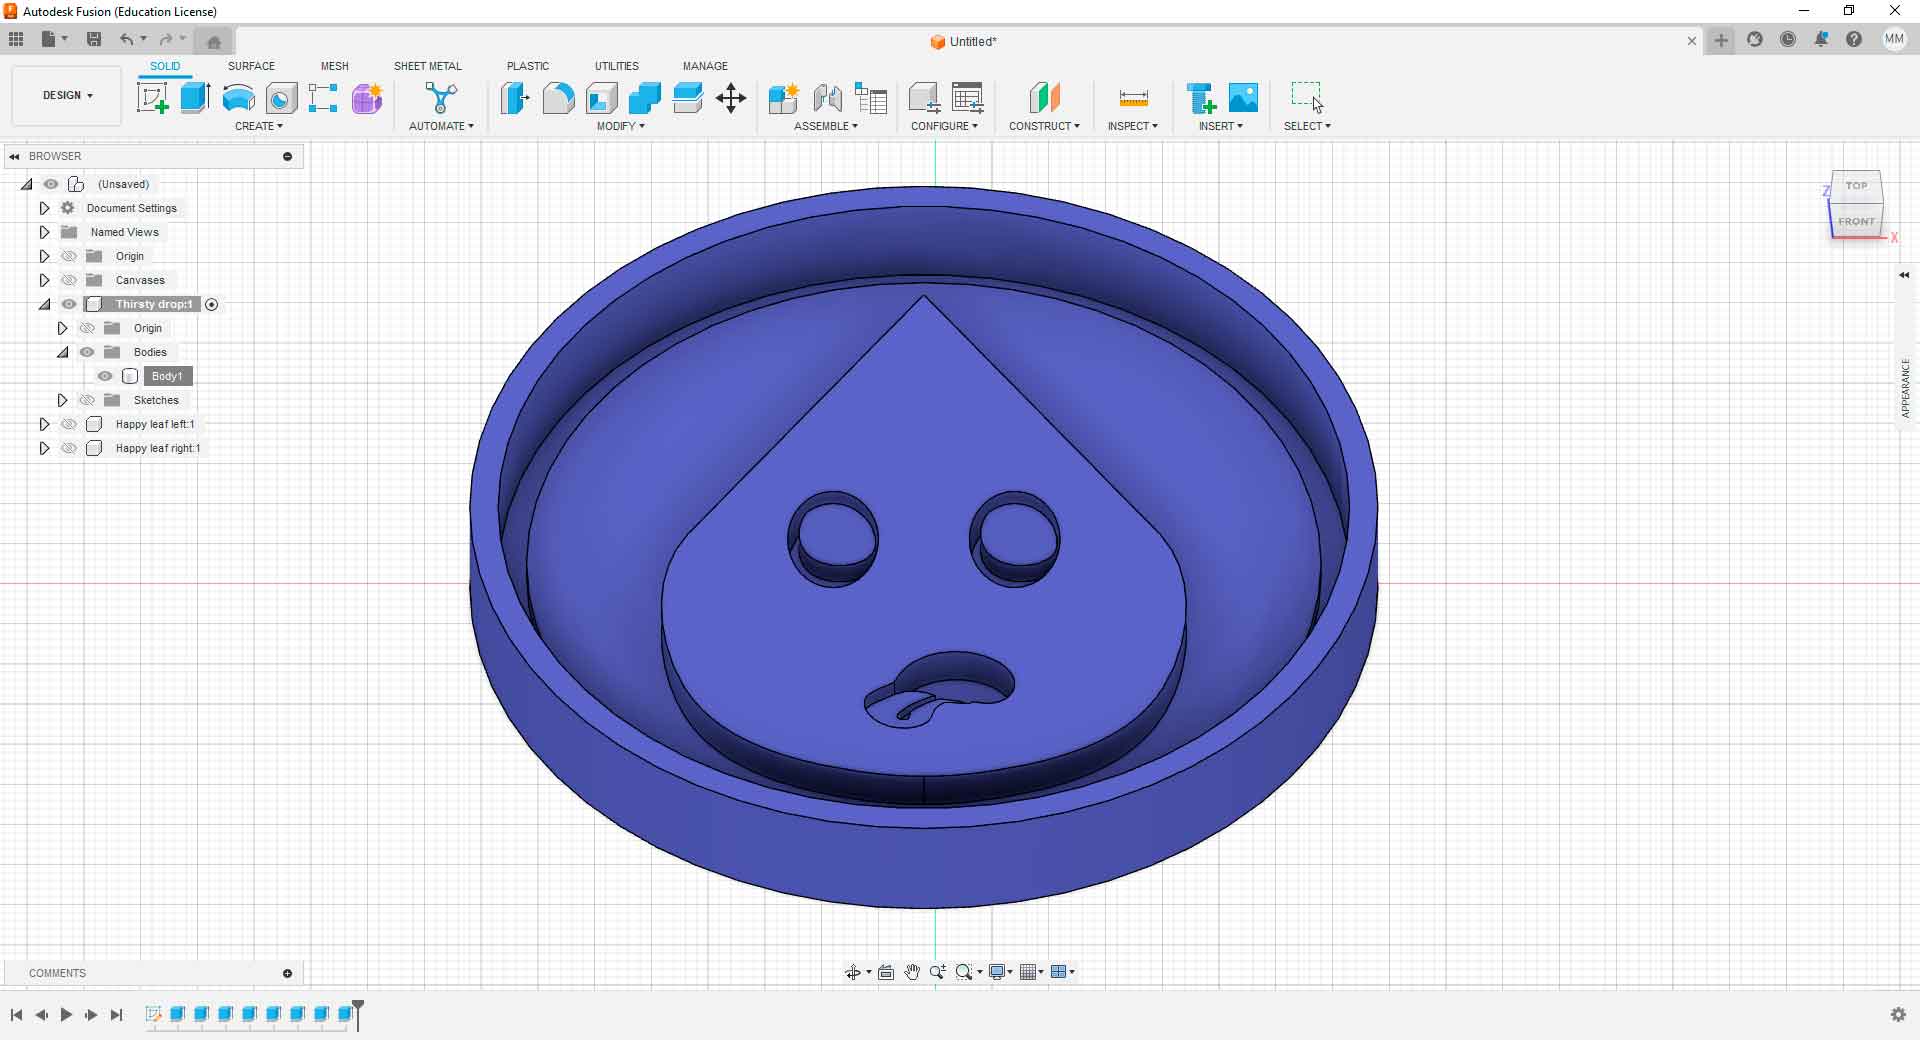
Thirsty drop icon mold designed in Fusion 360
I followed the same procedure to obtain the other two molds.
Drawing process of icon in Fusion 360
Finally, the positive pieces of the icons look like this in Fusion 360:
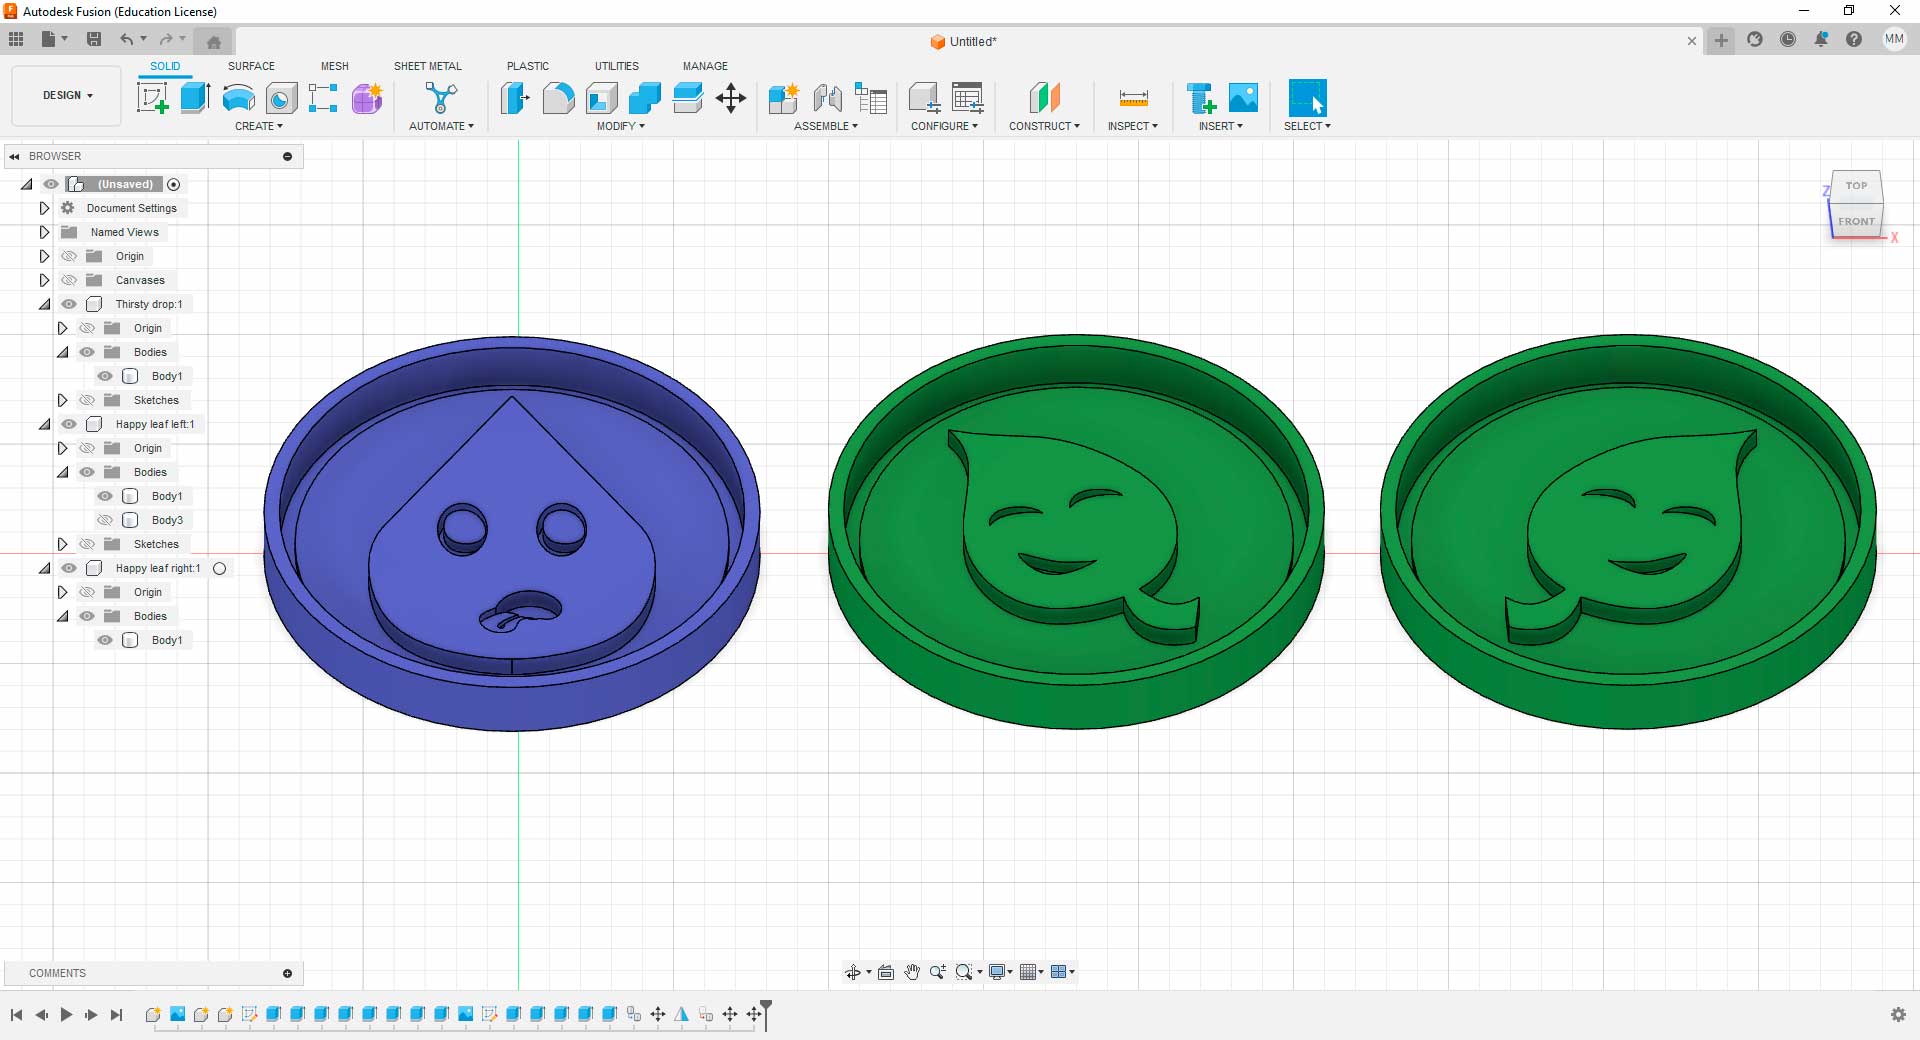
Fab&Plant positive pieces
3D Printing Positive Pieces
I made these pieces using the 3D printer I have at home, the Artillery Genius Pro. I configured the pieces in Utilmaker Cura Slicer so that the layer in direct contact with the mold material had a smooth finish enabling the ironing option.
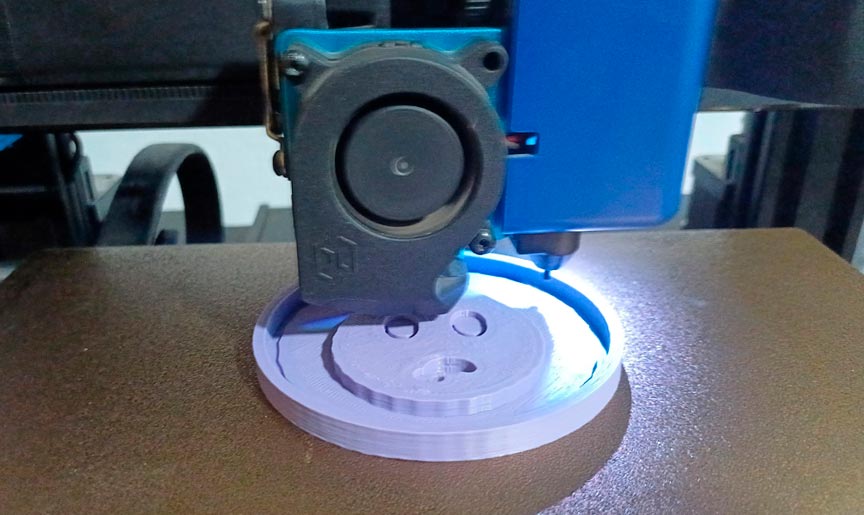
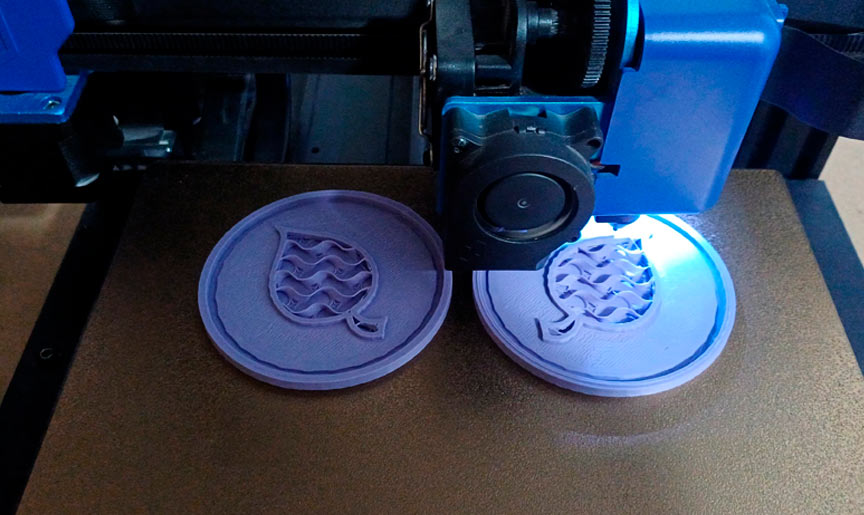
3D printing pieces
3D printed pieces
Since the ironing option improved the surface of the 3D print, but the lines were still noticeable to the touch, I did some post-processing work on each piece. This involved applying putty and sanding three times to achieve a smooth finish.
Post-processing 3D printed pieces for getting a smooth finish
Casting the Molds in Silicone
Once the 3D prints were ready for casting, I calculated the amount of silicone needed for casting filling the mold cavity with water and carefully measured its volume. Then the Silicon RTV F20 Plus mixture was prepared for pouring.
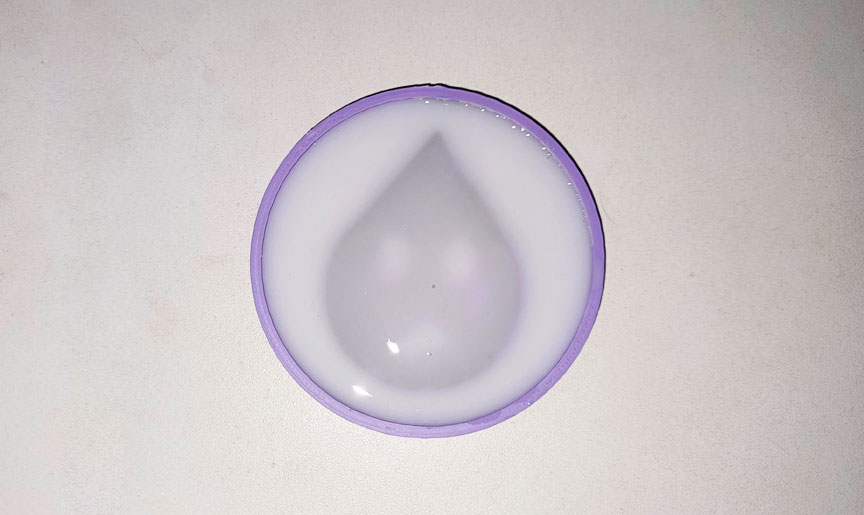
Casting process of thirsty drop icon
After a few hours of drying the product, the demolding process was carried out.
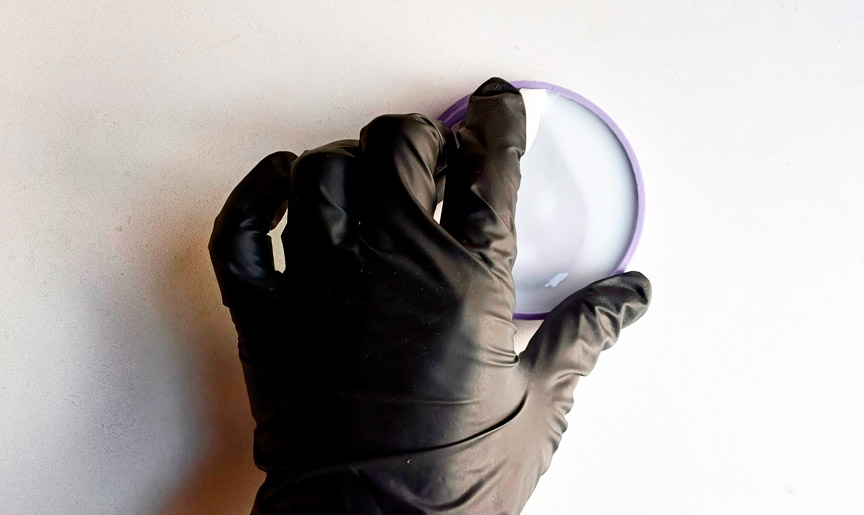
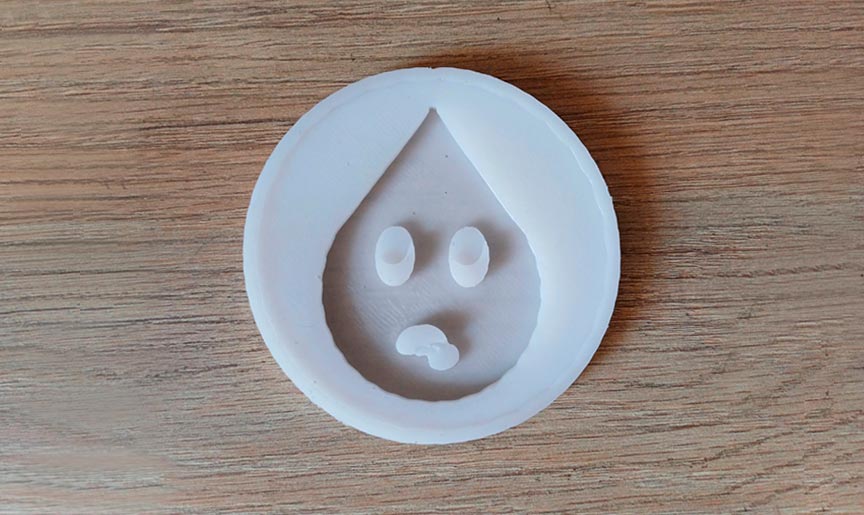
Removing the thirsty drop icon mold from the 3d printed negative
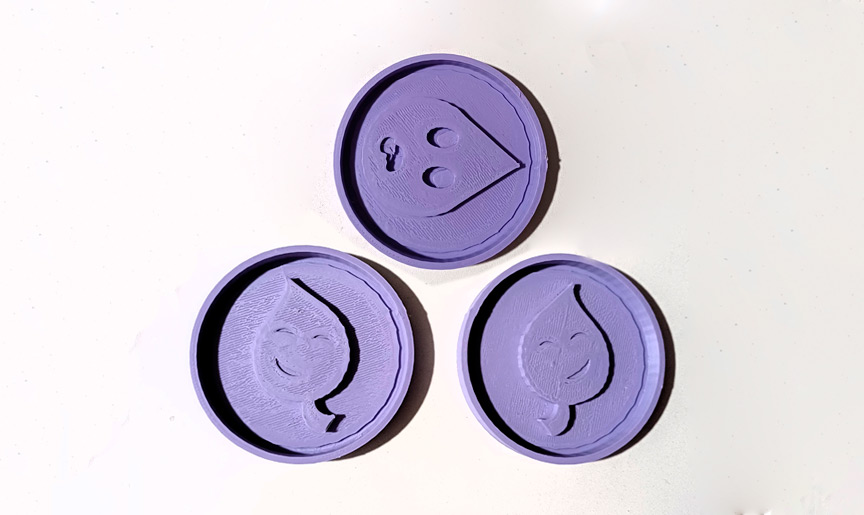
Silicone molds of icons of Fab&Plant module
Producing Icons in Silicone
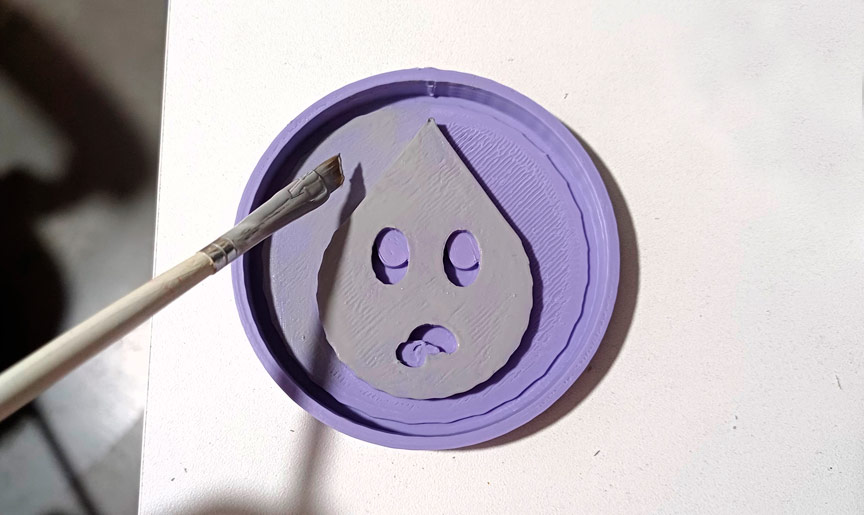
Finally, I made the icons for the module of my final project in silicone to achieve a translucent finish. The goal is then to be able to illuminate them according to the programmed input. To calculate the amount of silicone needed for casting, I filled the mold cavity with water and carefully measured its volume.
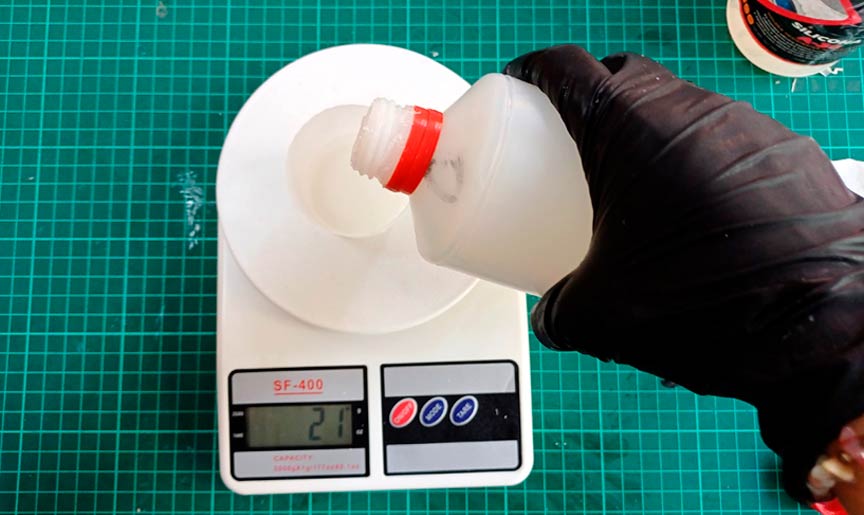
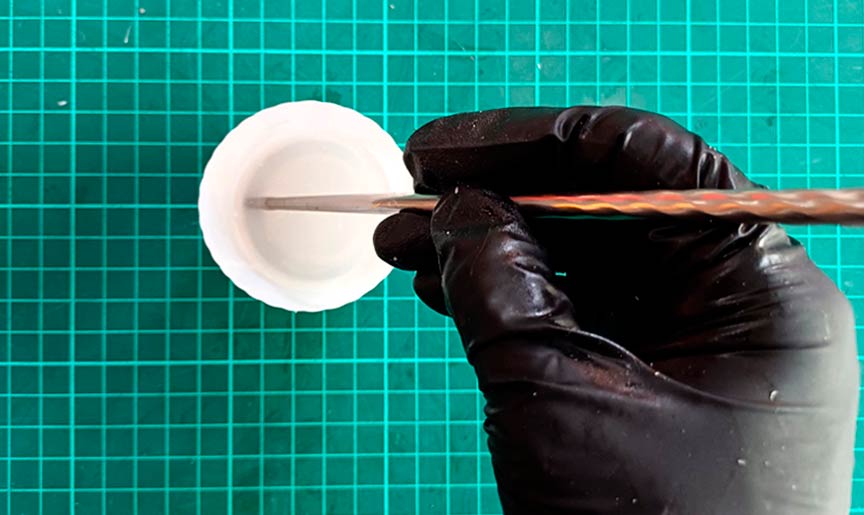
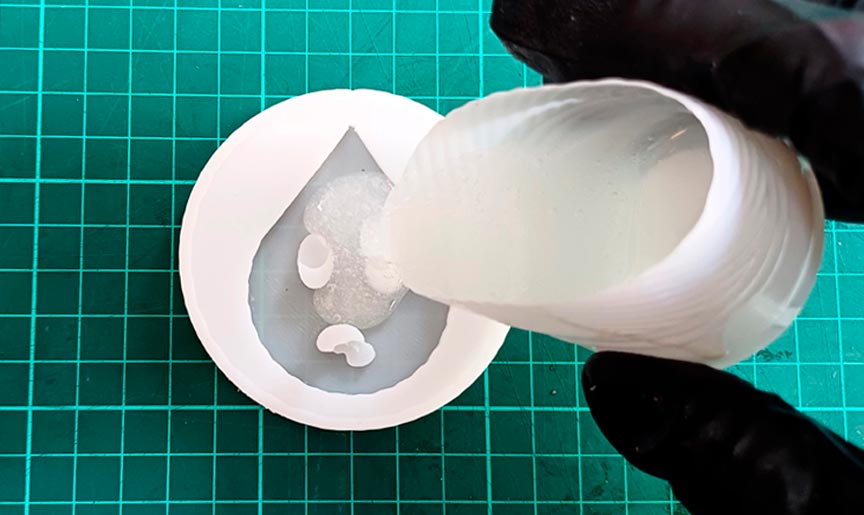
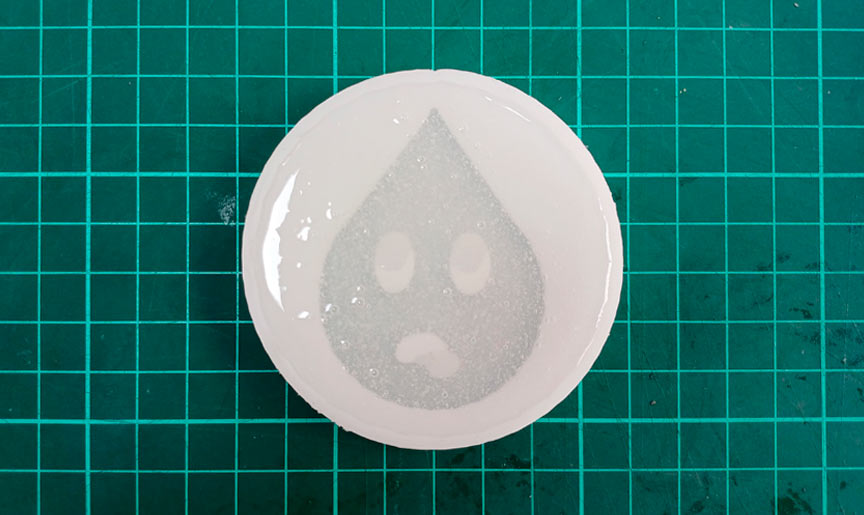
Process of preparing the mixture and pouring the silicone into the mold
After a few hours, the pieces dried, and I was able to remove them from the mold.
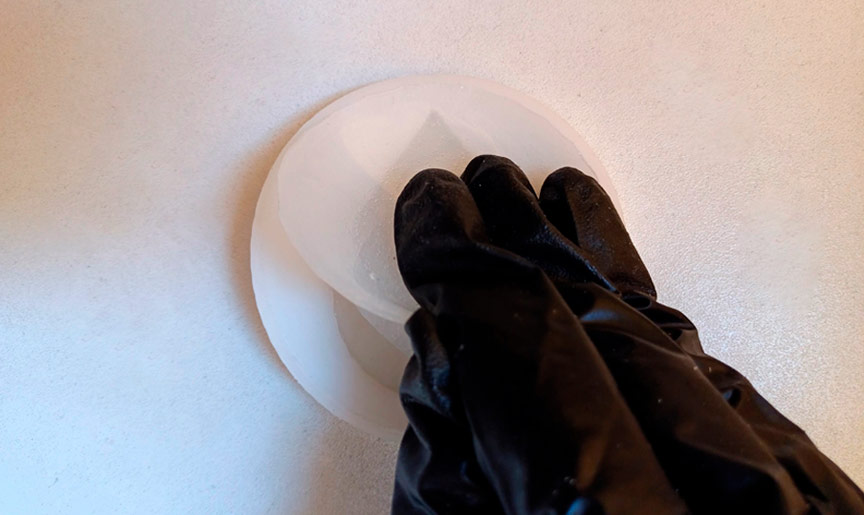
Removing the thirsty drop icon from the mold
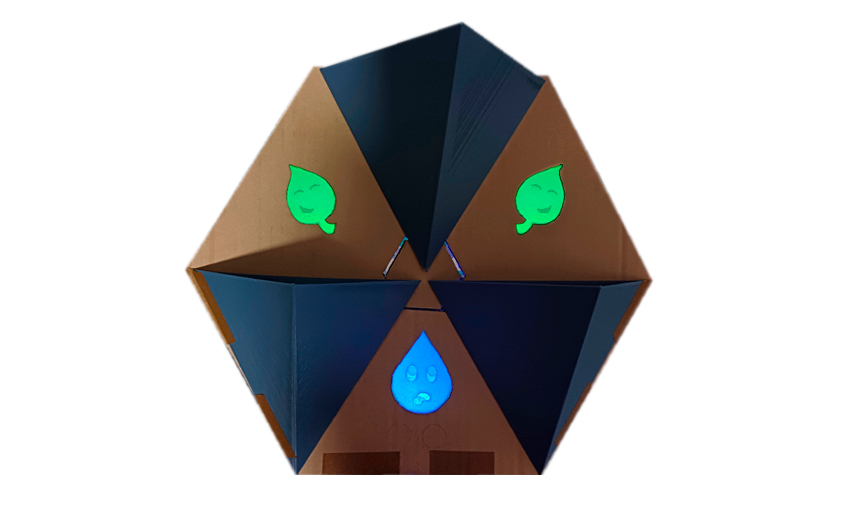
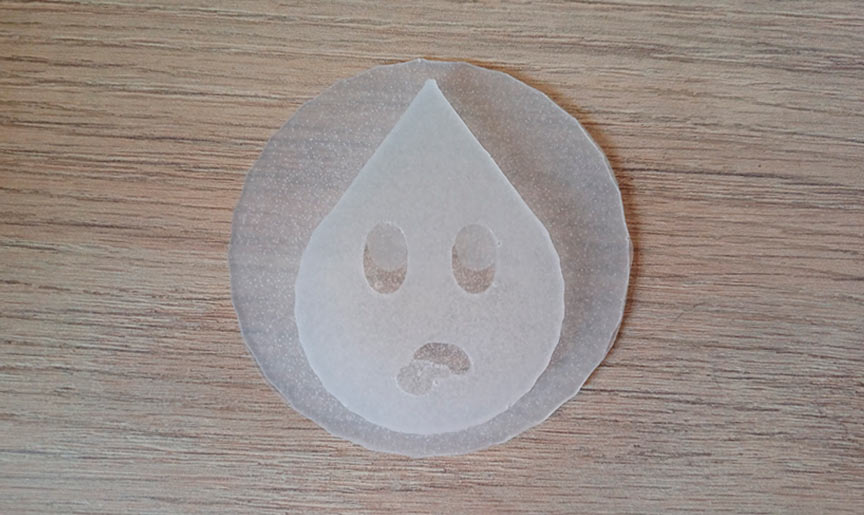
Silicone icons of Fab&Plant module
Finally, I placed the pieces on the model of my final project module and used some backlighting to simulate its operation.
Icons in Fab&Plant module
Thanks to the assignment this week, I started creating the initial pieces for the Fab&Plant module for the final presentation of this program.
Conclusions
- Factors such as material selection, mold complexity, production volume, and budget constraints play crucial roles in determining the most suitable design approach for mold designing.
- CNC routers and 3D printers offer distinct approaches to mold-making. ShopBot routers excel in precision carving of durable molds from solid materials, suited for larger-scale projects and diverse materials. Conversely, 3D printers utilize additive manufacturing, producing intricate molds layer by layer, ideal for smaller-scale projects with complex geometries. Each method has its advantages, catering to specific project needs and material compatibility, ultimately influencing the choice between the two technologies for mold-making applications.
- The ability of a mold to reproduce intricate details underscores its pivotal role in manufacturing. Selecting the right material is paramount to achieving accurate replication. In my case, I used silicone and prefer it as a material for its ability to precisely replicate and because during casting, it can access very small areas of the intended design.
- To finish this task I thank my fellow students and tutors, especially Roberto Delgado for the guidance in this process, Silvana Espinoza and Hans Moncca for helping me with the use of the milling machine and valuable tips on designing a mold.