Molding an casting
Week 12
Group assignment:
- Review the safety data sheets for each of your molding and casting materials, then make and compare test casts with each of them
- Compare printing vs machining molds
Group 1
Group 2
Group 3
Group 1:
Hans Moncca Contribution
REVIEW THE SAFETY DATA SHEETS FOR MATERIALS
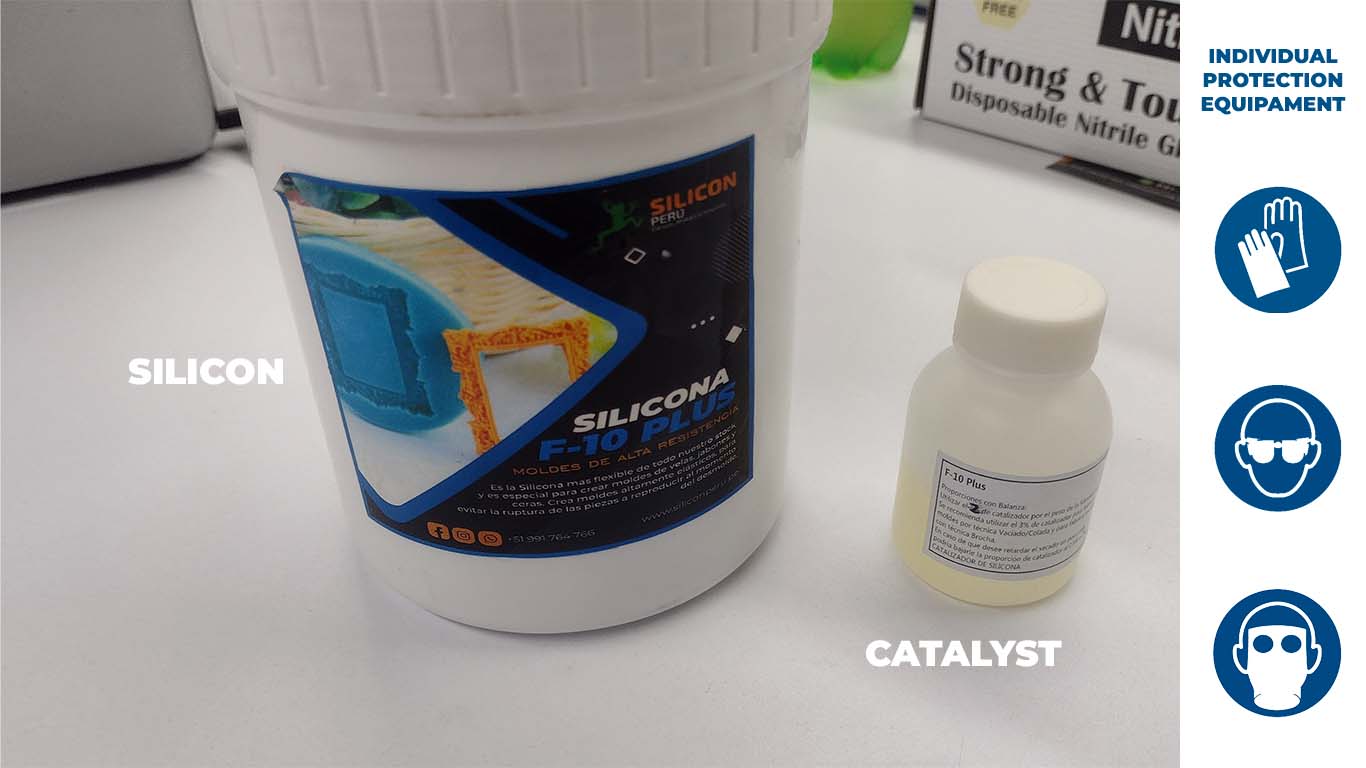
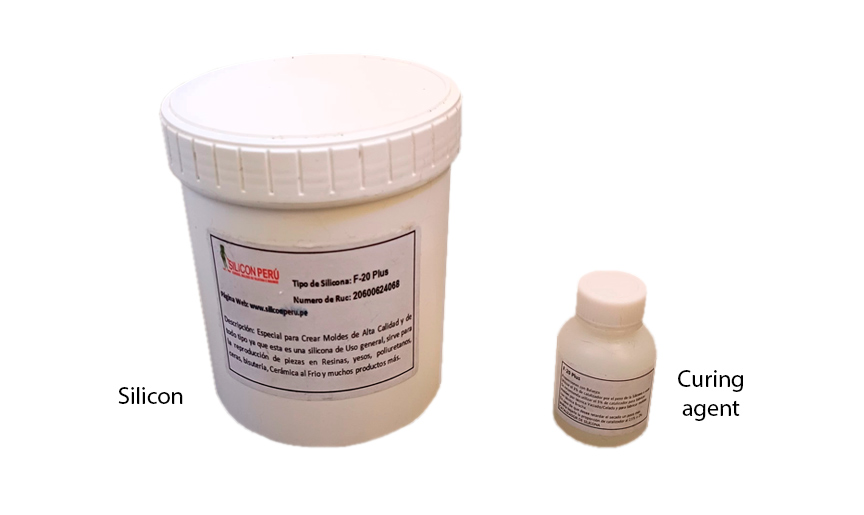
SILICON F10 PLUS
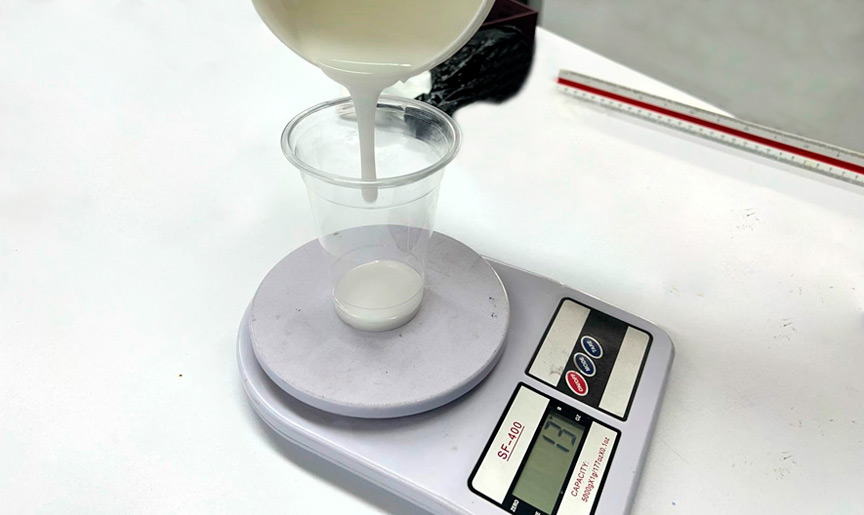
The following RTV F-10 silicone is a flexible silicone that is for creating elastic moles. It is resistant to breakage and is suitable for producing molds for wax, soap and candles. Here is the data sheet that the supplier gave us and a summary table of it.
| CARACTERISTIC | INSPECTION METHOD | VALUE |
|---|---|---|
| MIX RATIO | A:B | 100:3 |
| COLOR | - | White |
| POT LIFE | 25°C | 40-50 mins |
| Demold time | 27° C | 8-12h |
| Storage | Store covered, in a dry and cool place. | - |
| Shelf life | - | 12 months with original unopened package |
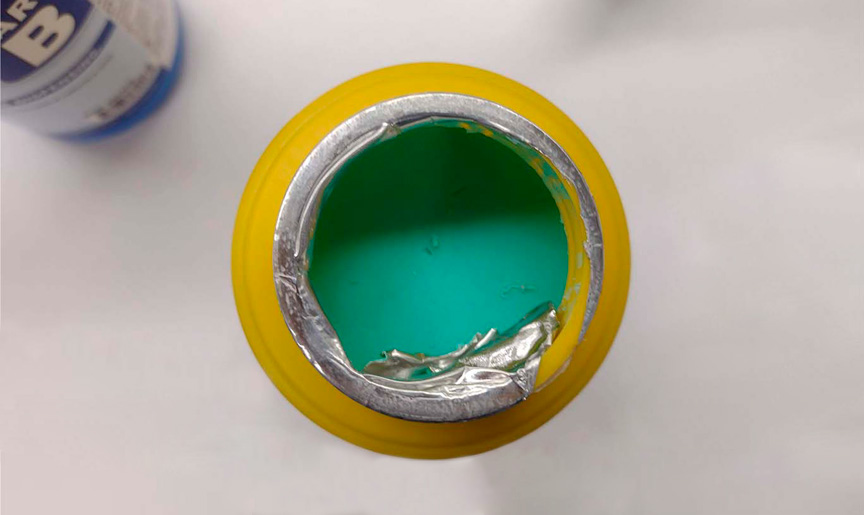
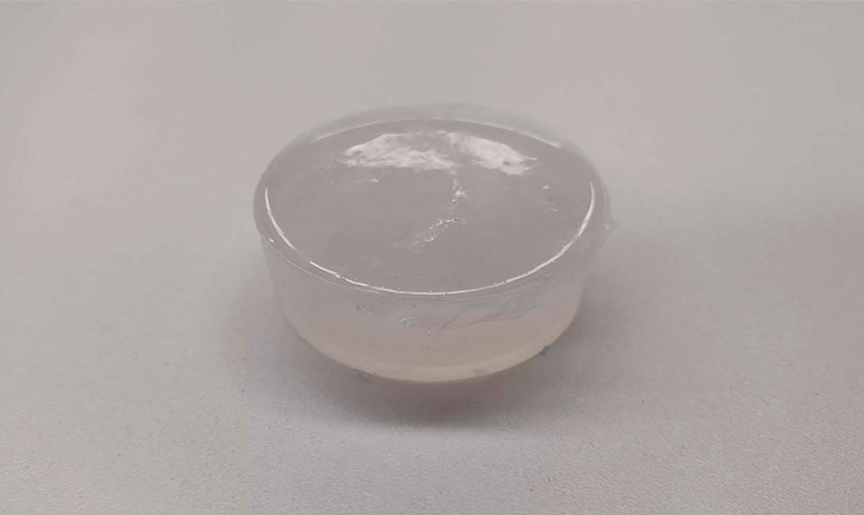
Finally, after carrying out the entire mixing process, we waited for the curing and after 24 hours we were able to obtain the following result.

COMPARATION AND CONCLUSION FOR SILICON TEST
After carrying out all the tests on the silicones that we were able to obtain in Lima, Peru together with my colleagues. I can leave these 3 conclusions that I think are important in the following table:
| CHARACTERISTICS | RTV 20 | PLATINIUM RTV | EXTRAFLEX | F10 PLUS | CONCLUSION |
|---|---|---|---|---|---|
| DEMOLD TIME | 8-12h | 5-12h | 4-8h | 8-12h | Regarding time, I consider that Platinium silicone and Extraflex have a shorter curing time and the product is ready to use. |
| DESMOLDING | Little difficult | Difficult | Easy | Easy | Regarding demolding, I would recommend using the EXTRAFLEX and the F10 PLUS because being more flexible than the other two, we can obtain better molding. |
| DETAILS | little detail | detailed | Very detailed | Very detailed | According to the details, I consider that the F10, Platinium and Extraflex silicones present better detail of the mold we want to make. |
| FLEXIBILITY | flexible | not very flexible | very flexible | Very flexible | I consider that flexibility is important when making molds to be able to remove them and we only had complications with the PLATINIUM silicone |

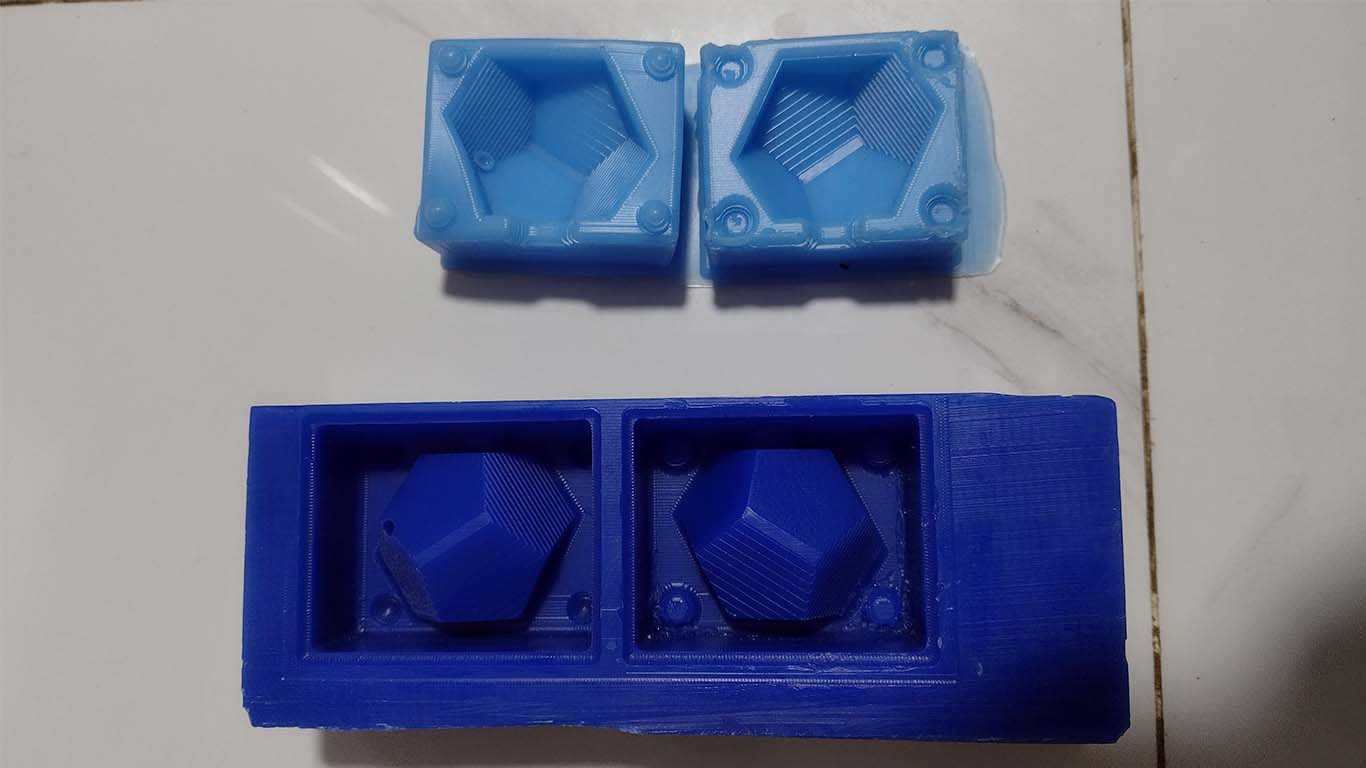
COMPARATION PRINTING VS MACHINING MOLDS
To compare printing and machining molds, I think we have to see the process of each of them. 3D printing molds are faster to make and have a very detailed finish for casting. I consider that due to time and finish it is a good option to use. Compared to machine molds, we have to carry out a more laborious process of configurations and milling but it is not left behind in terms of finishes. Both have characteristics that distinguish them.
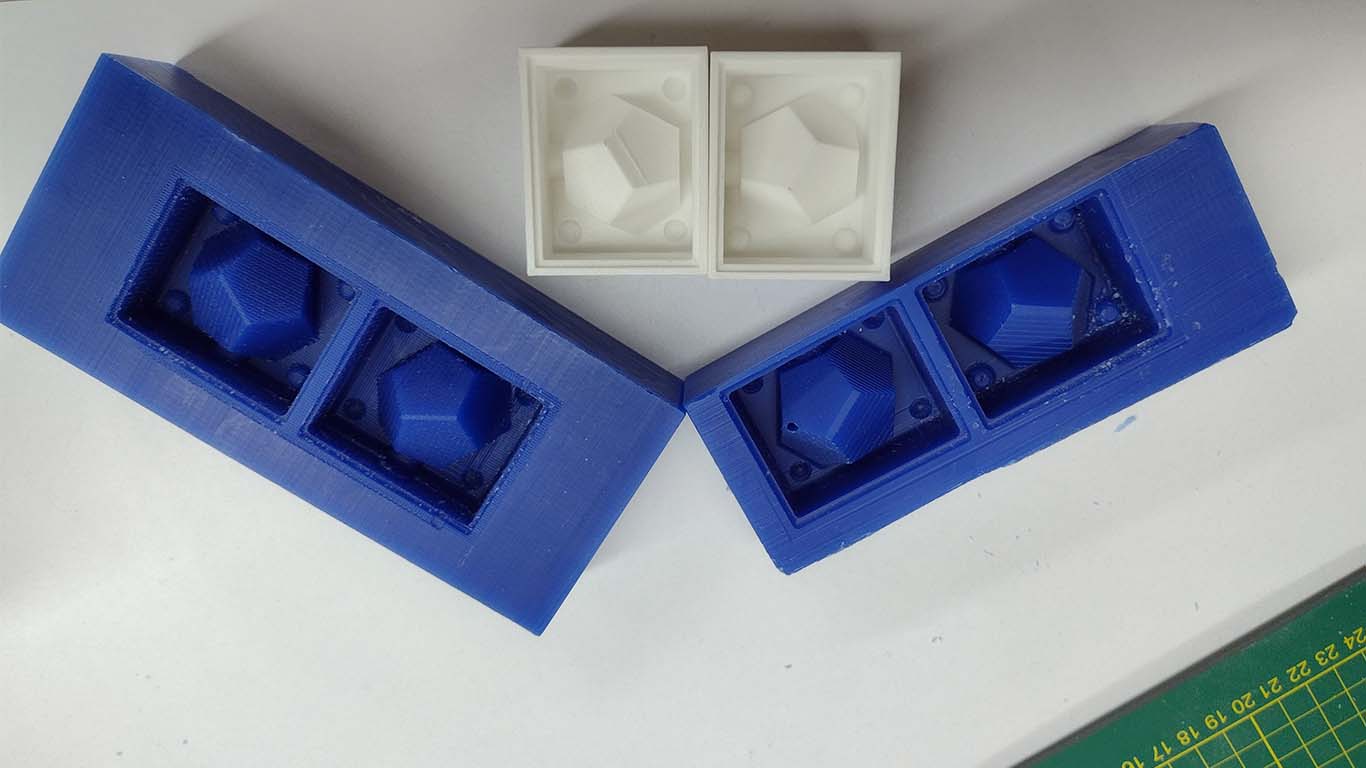
After seeing the molds of each process, I would choose the 3D printing mold because of the speed and detail we can achieve. I liked how to make molds with a machine and wax, but in my case, I suffered a lot in the machine configuration and finishing stage because I felt that the machine was uneven or the wax was not finishing in some areas of my model. I consider that the 3D mold obtains more detail from the model unlike the machine mold.
Group 2:
- Cristian Loayza
- Silvana Espinoza
- Maria Angela Mejia
- Jesus Lucero
Safety and Test Cast
To use the router machine for milling the wax block mold -as a team- we went to the Universidad Cientifica del Sur Fab Lab which is located in the Architecture Faculty of the university, in Chorrillos district, in the city of Lima, Peru.
Safety Considerations
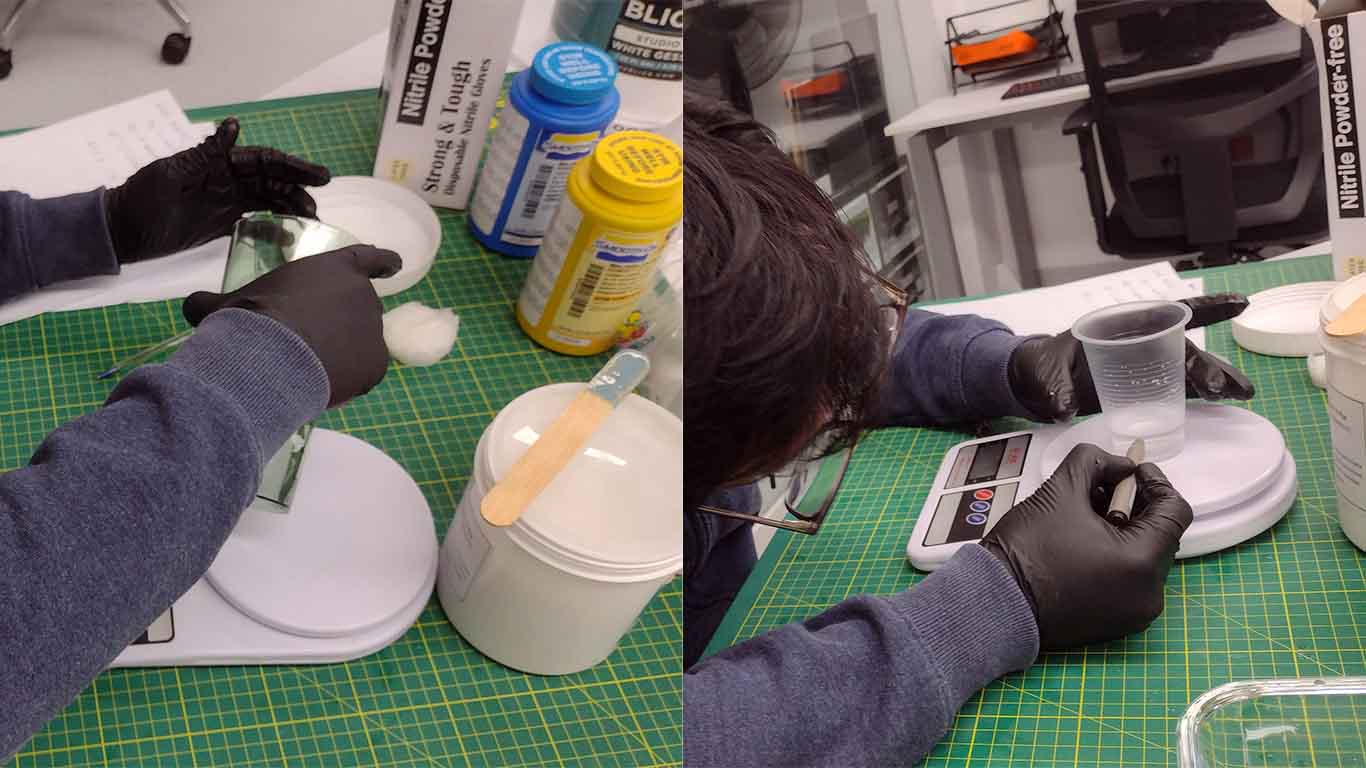
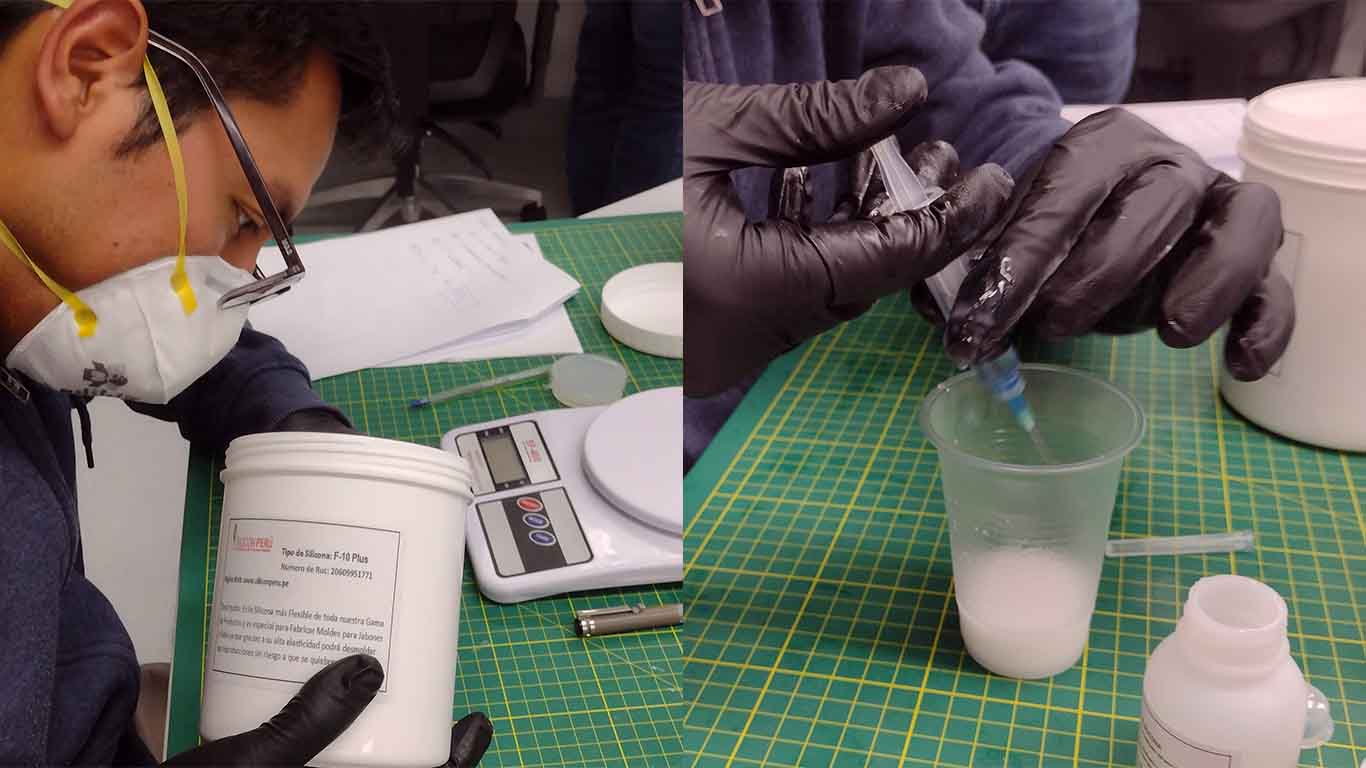
When working with materials for mold-making, prioritizing safety is paramount. It is essential to equip oneself with protective gear, including safety glasses to shield the eyes from potential splashes or spills. Additionally, wearing long sleeves and gloves serves to minimize skin exposure to the material, reducing the risk of irritation or allergic reactions. Furthermore, a face mask should be worn to prevent inhalation of any airborne particles or fumes emitted during the molding process. By adhering to these safety precautions, one can ensure a safer and more secure working environment while engaging in mold-making activities.
Safety Data Sheets of Molding Material: Silicones
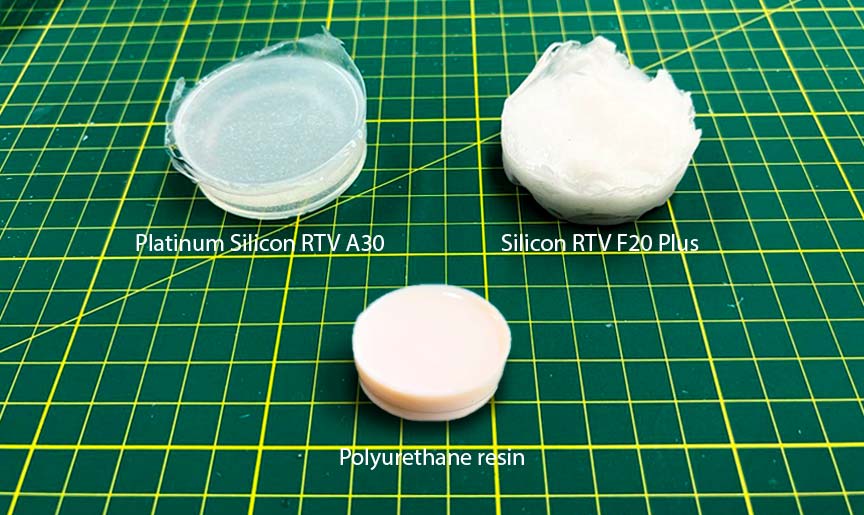
For this task, we tested two kinds of silicone: Silicon RTV F20 Plus and Platinum Silicon RTV A30. In Peru, Silicon Peru is the local seller.
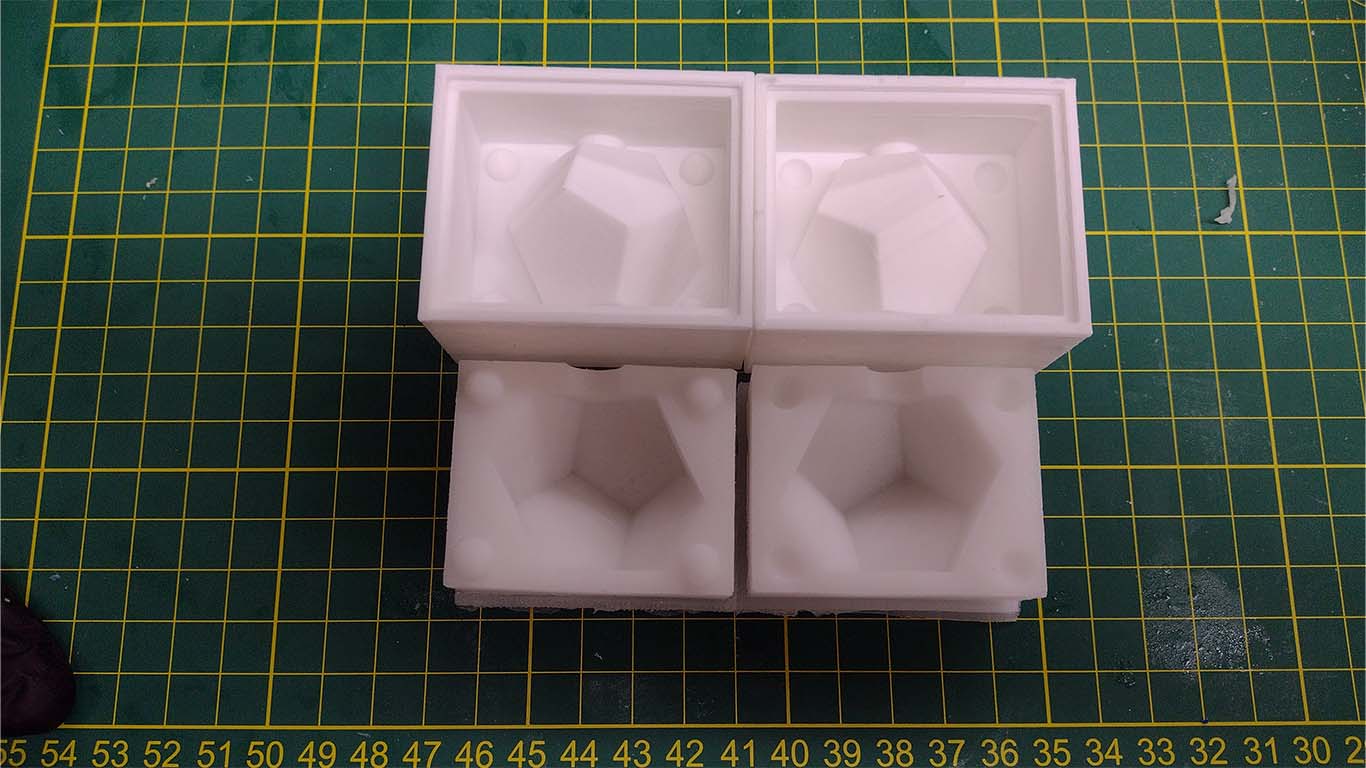
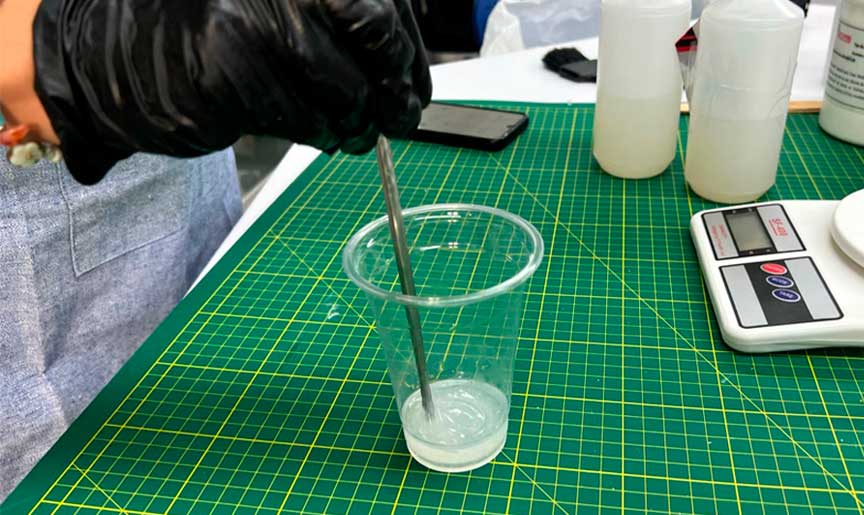
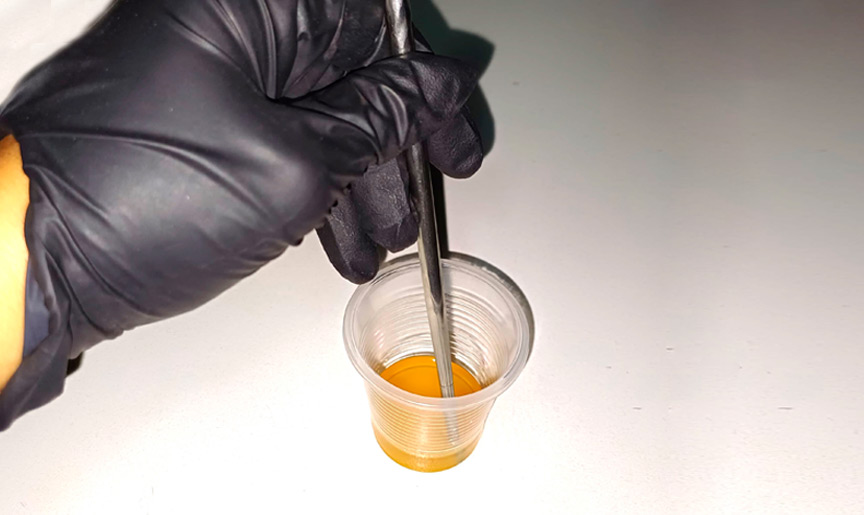
Following the review of the datasheet, we proceed to utilize the material, mixing it in accordance with the specified proportions and values outlined within the documentation.
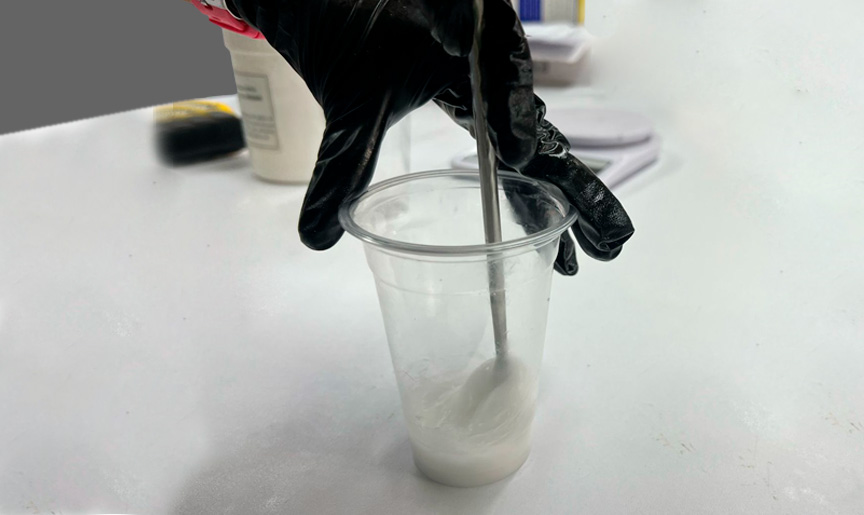


Upon reviewing the data sheets, we conducted our test using the specified proportions and mixed the materials accordingly to achieve the desired outcome.
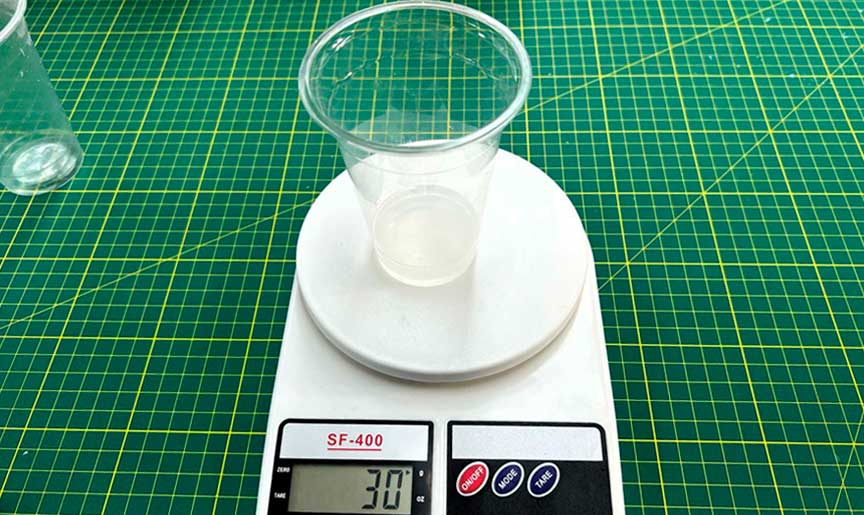
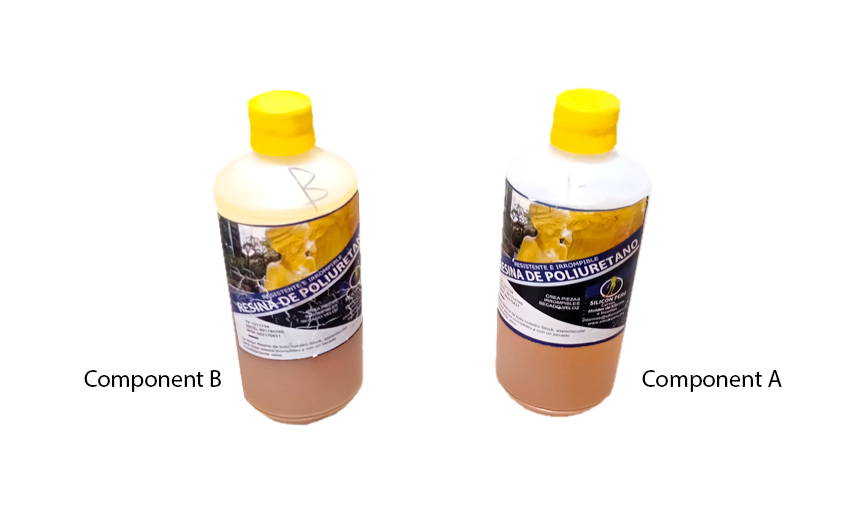
Safety Data Sheet of Casting Material: Polyurethane Resin
For this task, we tested Polyurethane Resin. In Peru, Silicon Peru is the local seller. It is an MDI polyether based polyurethane elast omer. This is a two part polyurethane casting system with a mix ratio of 1:1 and cures at room temperature after 5 minutes.


Conclusions
Molding materials such as silicone offers a versatile and essential material for mold-making. Its flexibility makes it very easy to remove from the mold, a feature that can be useful for complex molds.
Casting material like polyurethane resin provides versatile solutions based on their rapid curing, strength, and detail replication, they offer cost-effective and efficient options for manufacturing prototypes, models, and functional components.
Teamwork and quick action in unexpected situations allowed us to obtain the results for this assignment.
Group 3:
Ronal Vilca Apolin Contribution
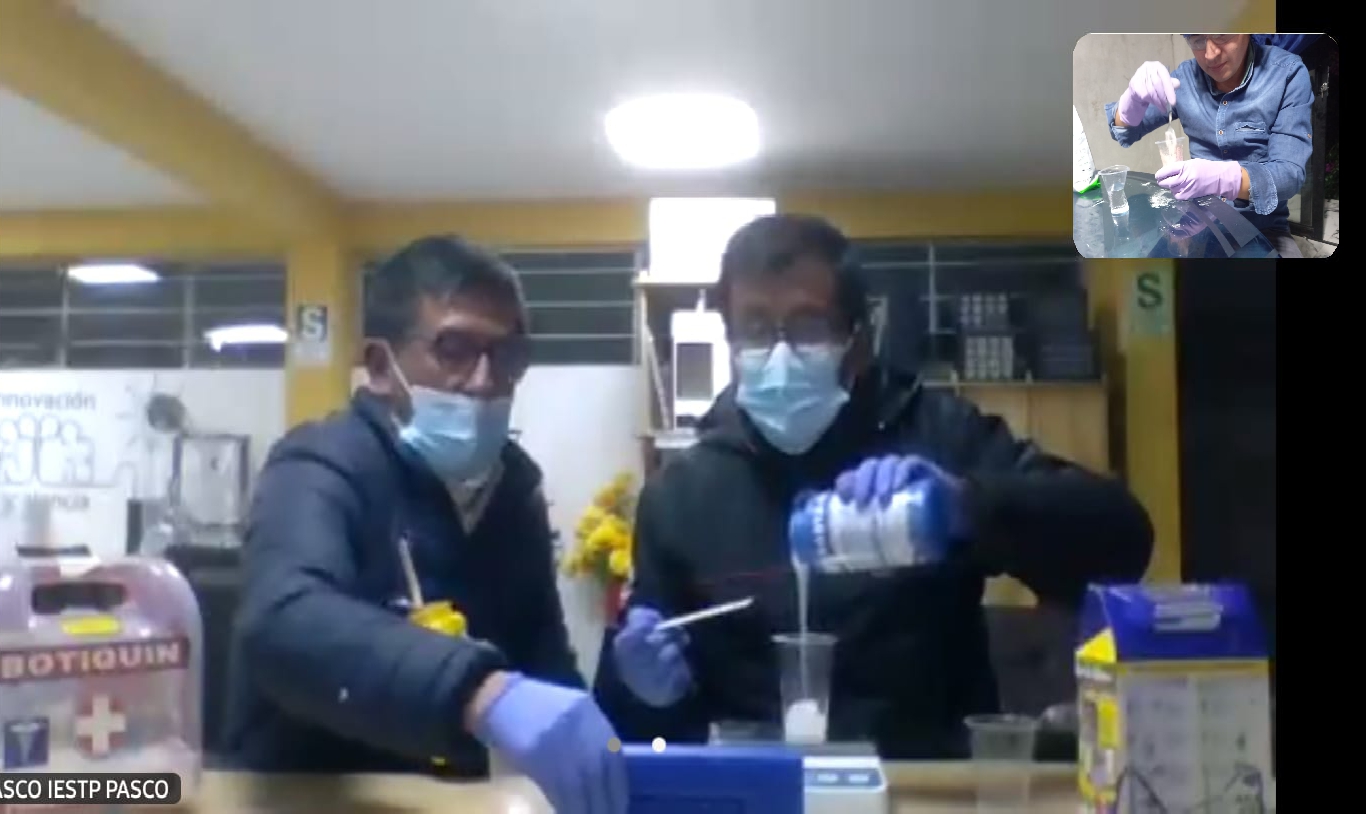
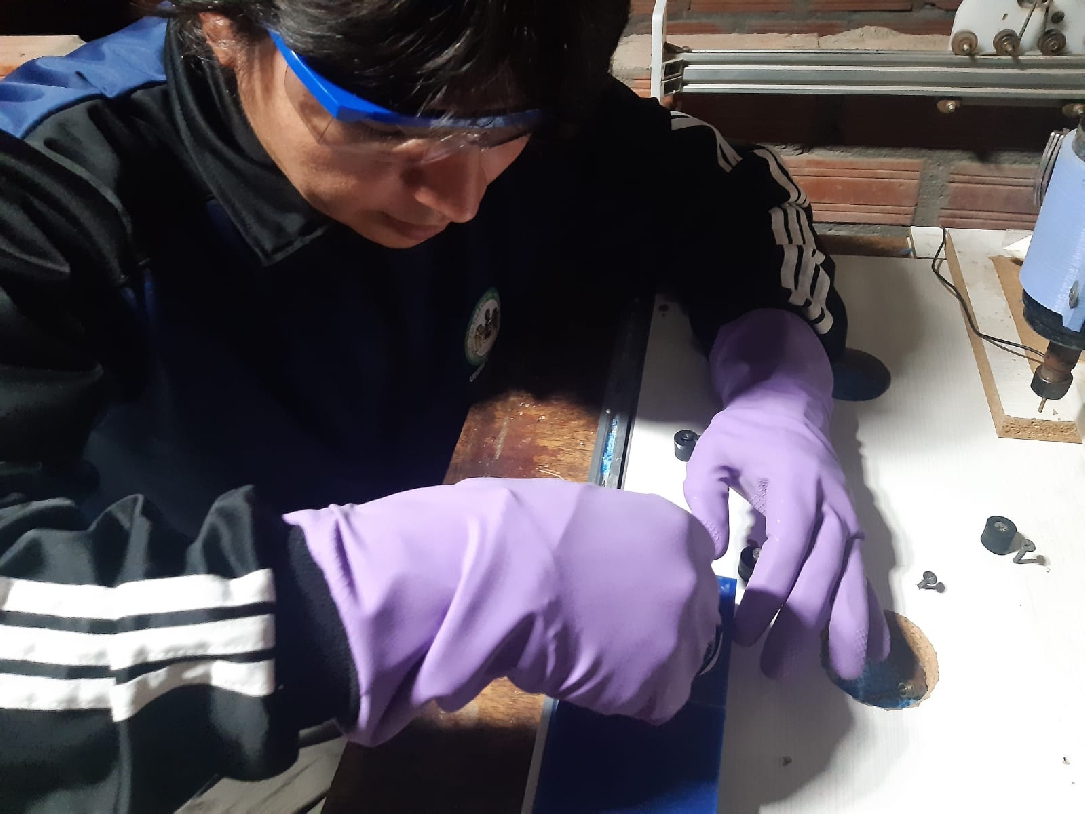
For group work, we met through Google Meet with colleagues Wilber and Renso, who are in the city of Pasco. We carry out tests using materials such as wax with the CNC Router and latex for modeling, in order to obtain better results in later stages.SORTA-Clear.
Alginate Impression Material
- In addition, we used another material that was the following:Alginate Impression Material.
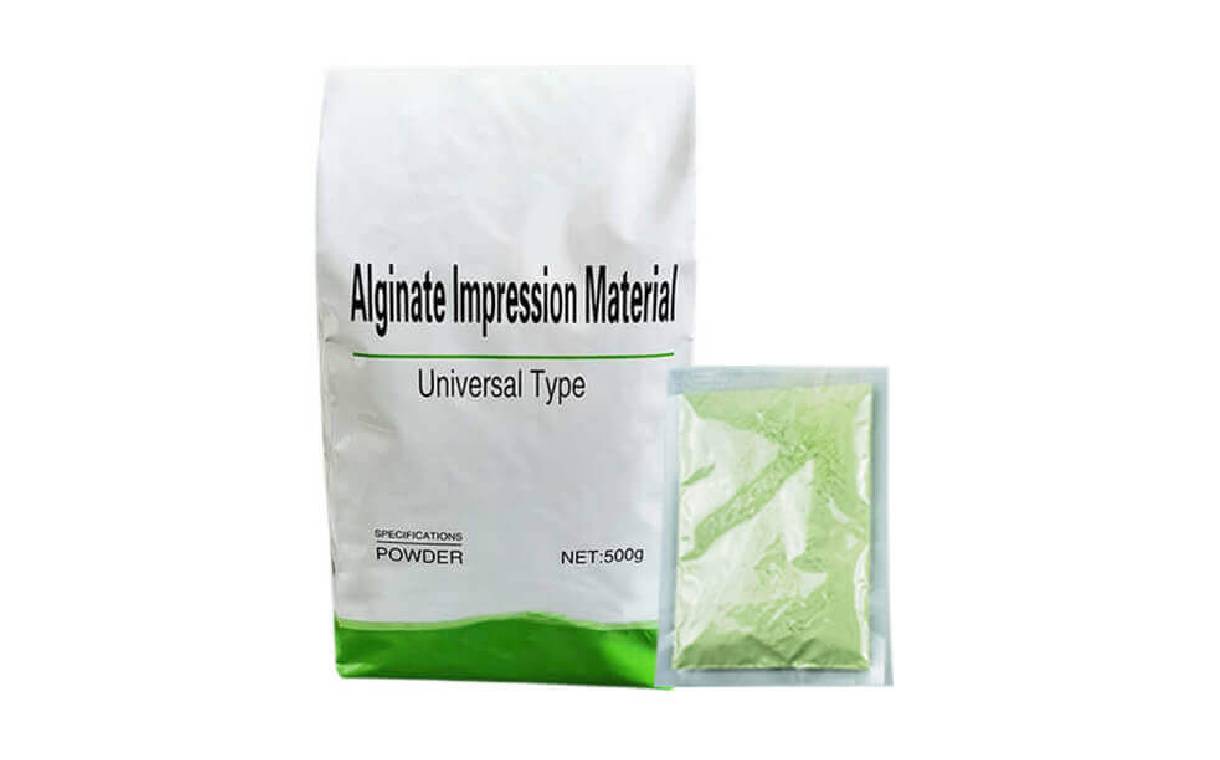
Specifications
- Item:Alginate Impression Material.
- Type:Universal Type/High Precision Type/Super High Precision Type.
- Appearance:Fluffy, Muti-Color powder (Green,Yellow,Blue,Pink,Purple,White,Orange).
- Water Temperature: 23℃ / 73℉.
- Curing Mechanism:The material sets when mixed with tap or distilled water.
- Mixing Ratio:100g powder/200ml water (1:2) for Dental/100g powder/3 00ml water (1:3) for 3D casting.
- Feature:Chromatic or not/Dust Free/Easy Mixing.
- Shelf-Life:3years.
- Filler Type: Not applicable.
- Storage: Keep container well closed, store in a cool(below 25°C )and dry place.
Blue Machinable Wax-1Lb
Ferris File-A-Wax Blue is a softer wax formulated for excellent flexibility strength. The blue colored wax can be carved in the finest of sections, still retaining excellent details. Good for rounded corners and less intricate designs. Due to the low ash content, this product is ideal for the investment casting process.
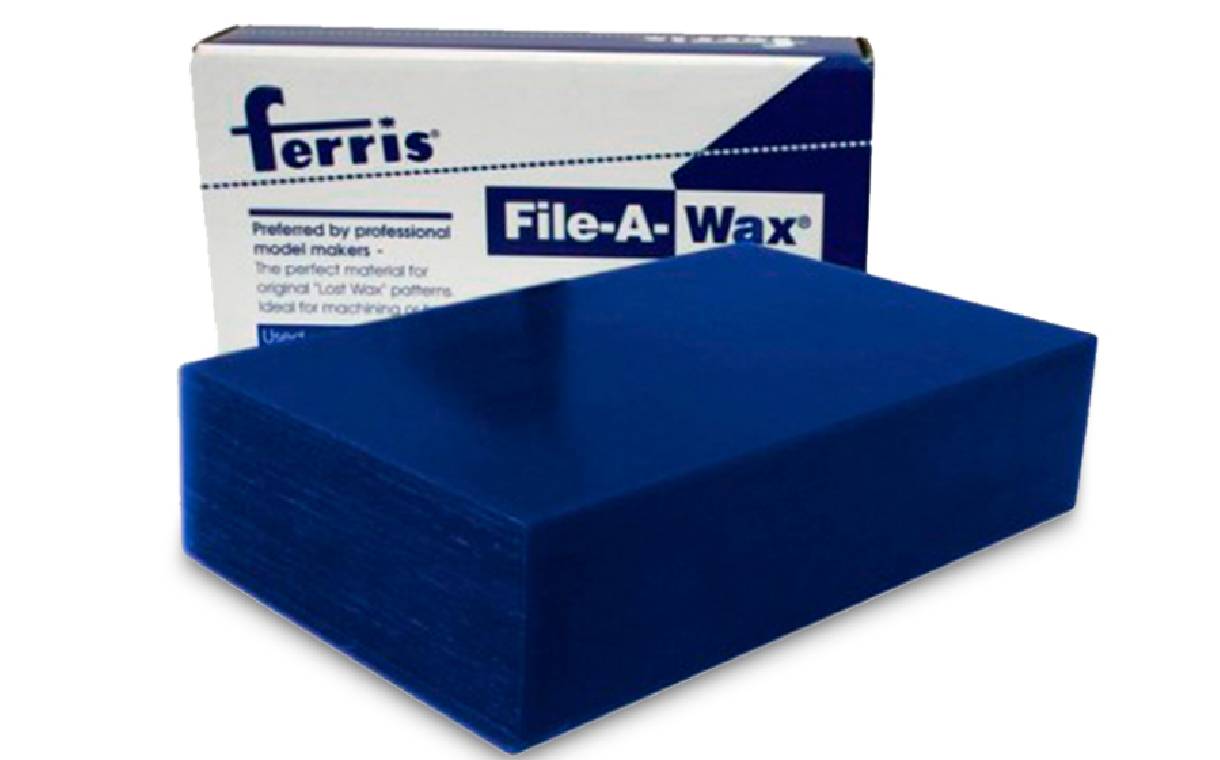
Specifications
Viscosity at various temperatures

Physical Properties
- Melting point
- Hardness (Prop)
- Specific Gravity
- Flash point
- Measurements
- Weight
- Blue
- 226th
- 0.92
- 0.003%
- 585th
- 147x93x36 mm
- 1 Libra
Preparing the 3D design
In this collaborative project, we used machinable wax to prepare the mold for the positive part, which allowed us to carry out tests with our materials.
While carrying out some tests, we faced difficulties at first, since it was our first time working with these materials
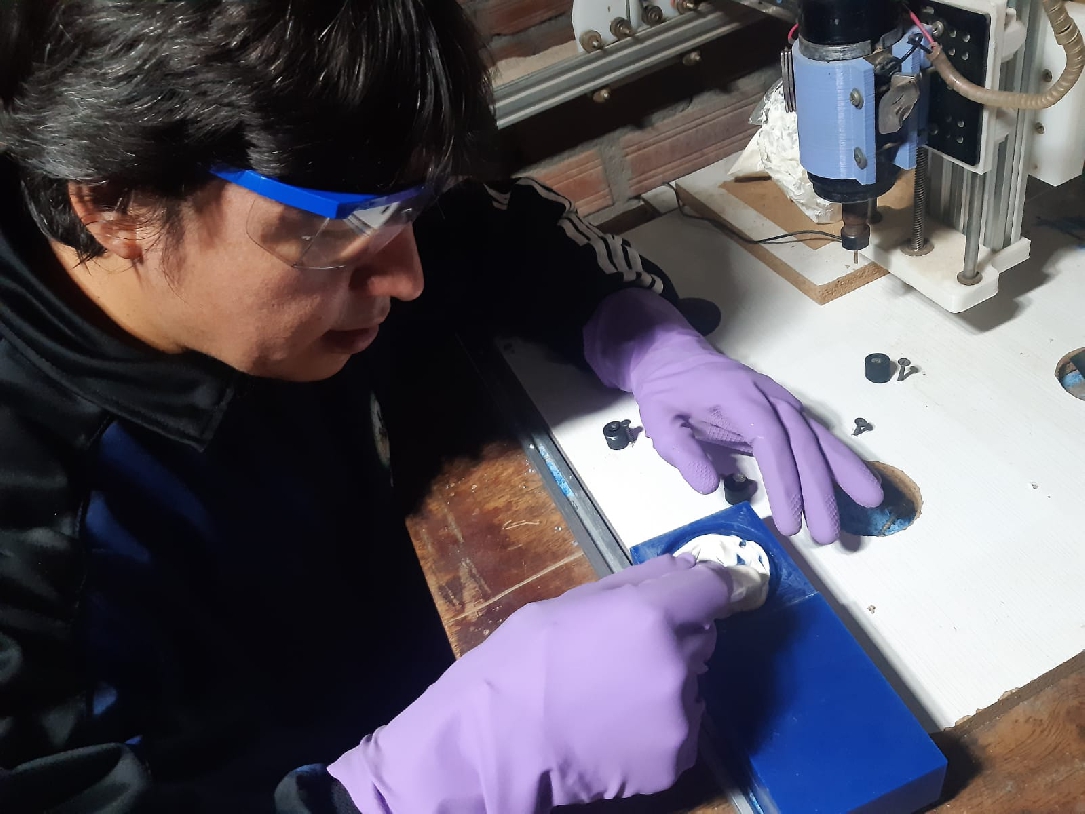
Finding the right consistency turned out to be the most challenging, but we managed to compare results.
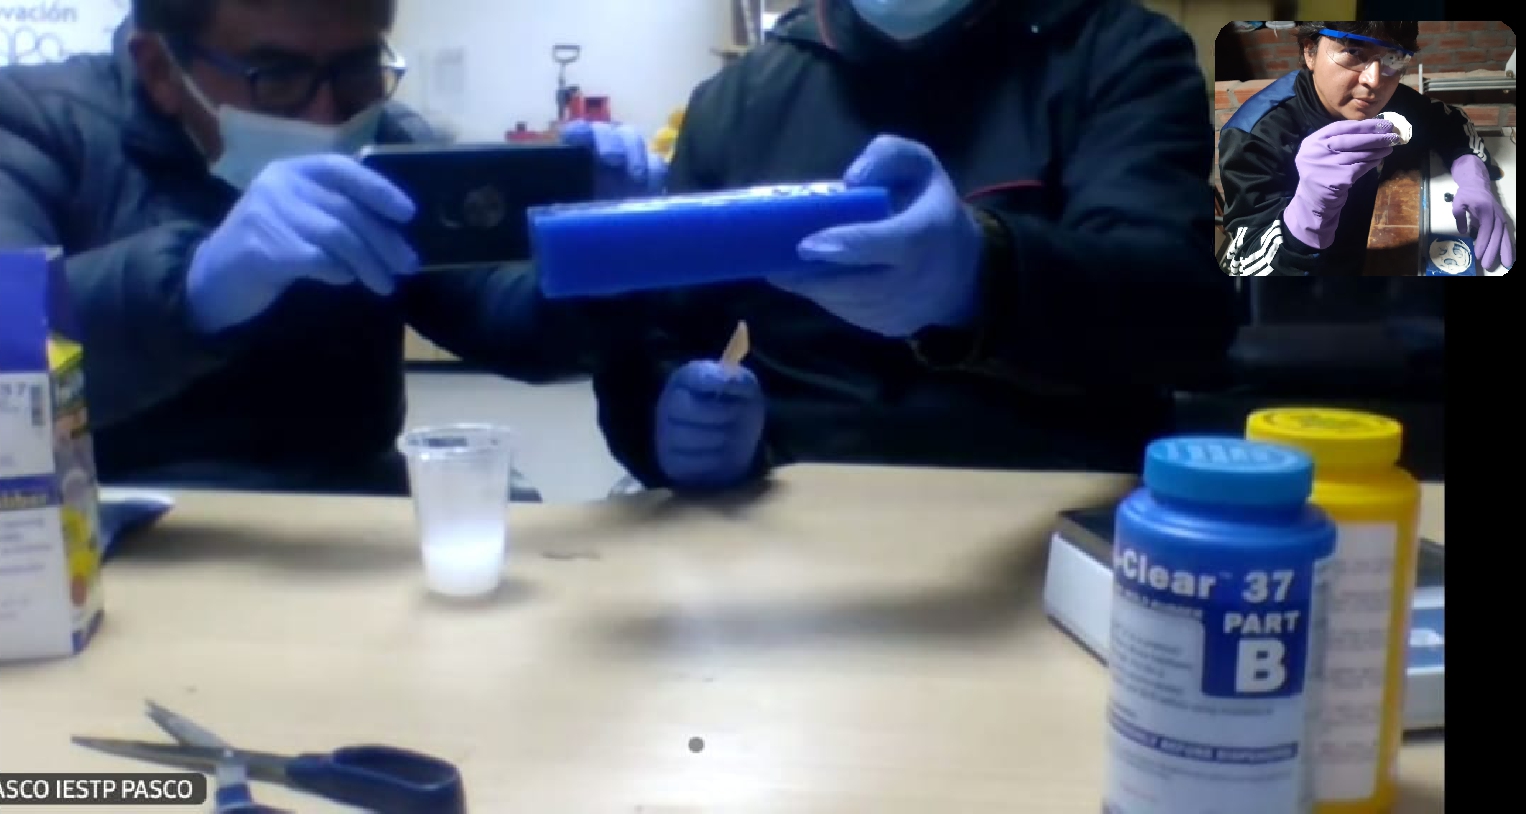
Team testing was necessary and very helpful in finding the right consistency with the SORTA CLEAR material. I will take this into account to carry out the next experiments and works individually.