4. Computer controlled cutting
This week, I learned how to use the vinyl and laser cutters to create my own sticker and a parametric puzzle kit, respectively. Although I have used these two tools in the past, I wasn’t too familiar with multi-layer stickers as I had only made single layered ones before. Additionally, I didn’t have too much experience with parametric design either. I have used Fuson 360 many times before and I feel familiar with it, but the new added element of custom user parameters made this project much more interesting.
Parametric Design
CAD
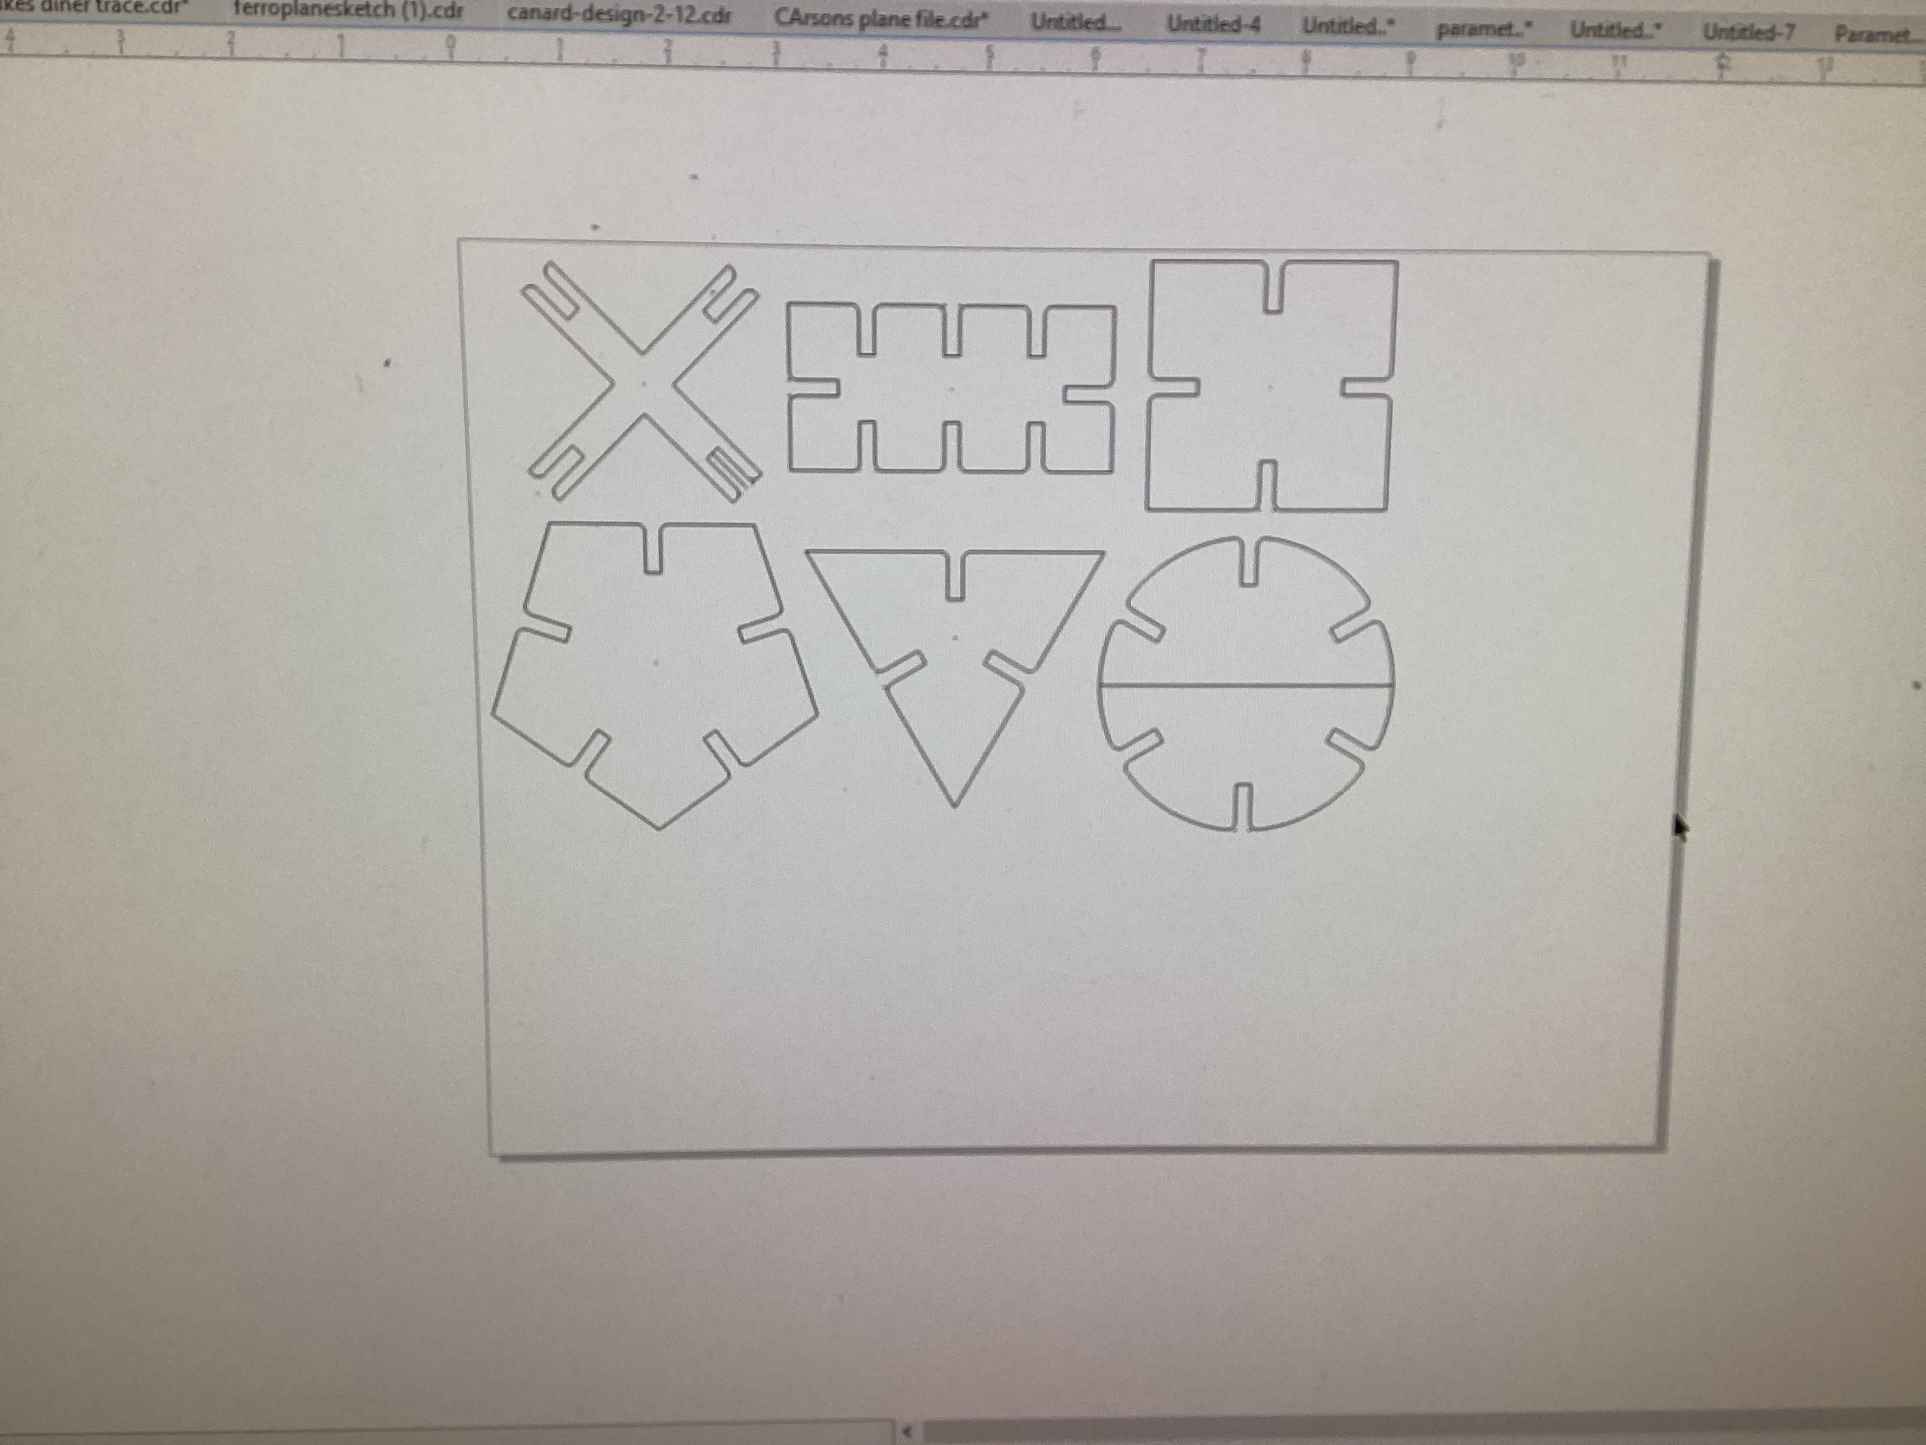
The first of the two assignments I did this week was parametric design. This week, I created 6 distinct puzzle pieces (3 main pieces, 3 connector pieces) with several tabs cut out of each so that they can connect together. In order to create these tabs, I used parameters to constrain the length and width of each of the tabs. For the length, I used a parameter of 12 mm, and, for the width, I contrained it to 3.80 mm. Outside of these two constraints, I used other constraints sparingly, as the tabs were one of the only things that were the same between each of my puzzle pieces. The side lengths, for example, I made different for almost every piece so that they would scale to each other better.
The first piece I made was a regular pentagon. The first thing I did was make five 50 mm lines and connect them to one another, which created a non-regular pentagon. Next, I constrained the angles of the pentagon to be 108 degrees, fully defining the pentagon. Then, I used my parametric constraints for tab width and length to create one tab on the top side of the pentagon. In order to make sure it was exactly in the middle of the top side, I created a construction line bisecting the top line and created two dimensions (one on the right and one on the left) and made sure each of the length lines were 1.90 mm away from the new construction line. Finally, I used a circular pattern to copy the tab 5 times, creating one tab on each side.

Now that I had one of my main pieces created, I used the same process to create my two other main pieces. These pieces were a triangle and a circle. I created the triangle with 3 tab cutouts, and the circle had 6 tab cutouts. For the triangle, I used side lengths of 75 mm, and, for the circle, I used a diameter of 75 mm.

For the final 3 connector pieces, I used the same design process as the previous pieces. The only piece which stood out was the “X” piece I created. In order to make this, I first made two perpendicular construction lines. Then, I proceeded to use the offset tool (10 mm) in both directions for both lines, creating an X shape. Then, I used the trim tool to remove the inner intersections, which left just the outline of the connector piece. Finally, I used the same parametric constraints as the other pieces to create the 4 tabs, one on each arm of the X piece. The picture below shows all of my puzzle pieces.

After finishing the CAD, I used Fusion’s export feature to export my file as a .dxf, which is what I will be uploading to the laser cutter to cut out my pieces. After doing this, I went onto the computer connected to the laser cutter and imported my new .dxf file. Because I had saved my design as a dxf file, It was ready to cut as soon as I loaded it on the new computer.
Laser Cutting
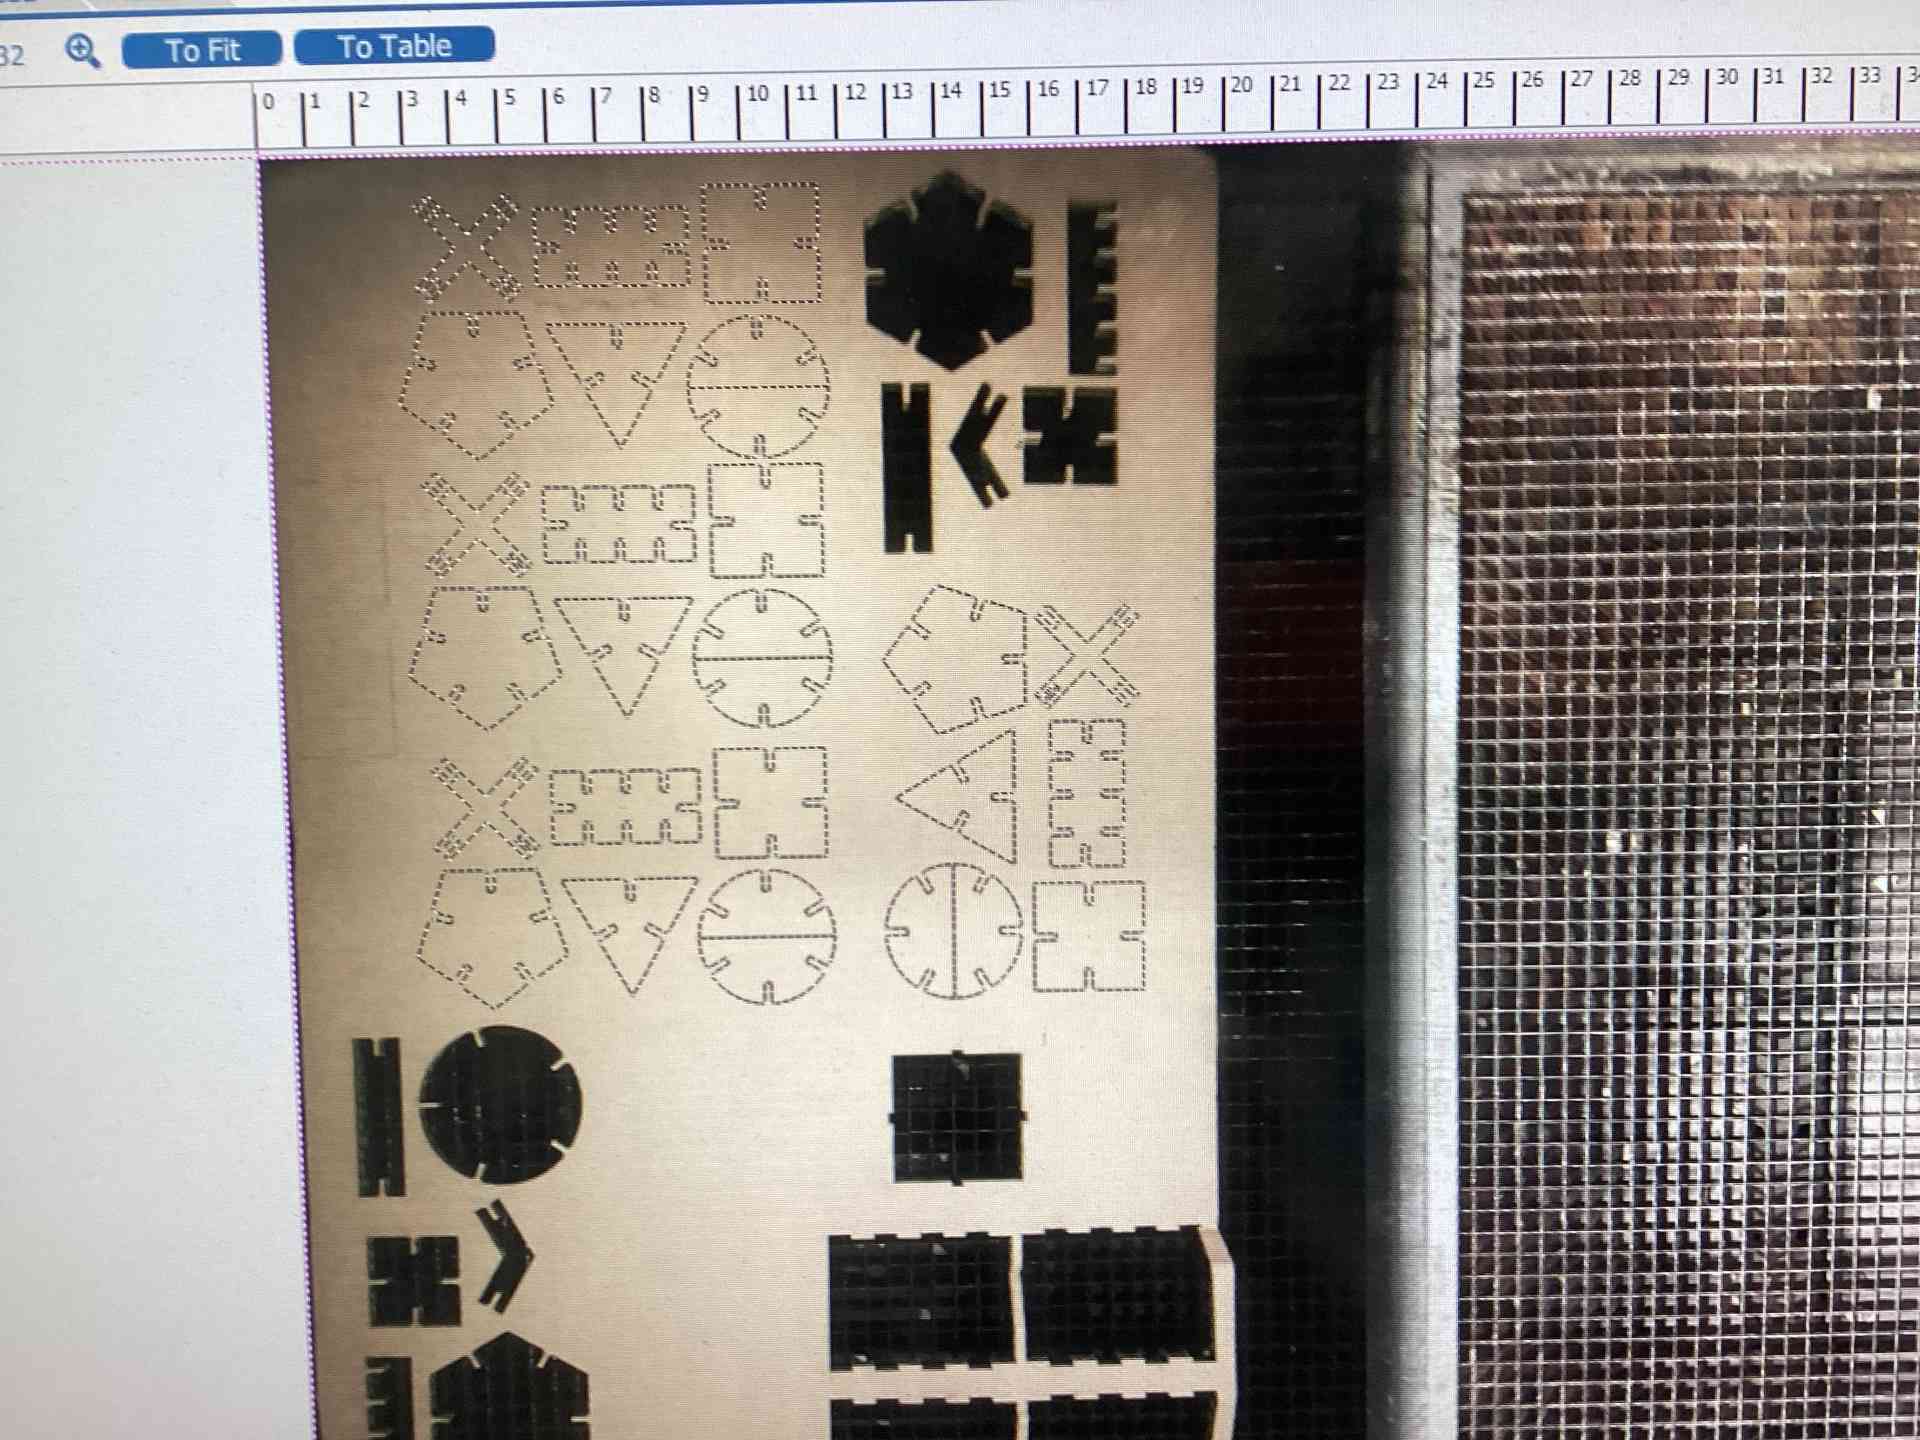
Now that I had the file loaded, I copied and pasted the designs 5 times so that I could have more than just 6 pieces when I eventually cut them out. I then began changing the settings. The most important setting I changed was the page size, which needed to be the same size as the cardboard as I was using. After making sure the page was the right size and that all of the other settings were correct, I went to the file tab, hit print, and the file was now loaded onto the laser cutter. The following picture shows what this looked like.
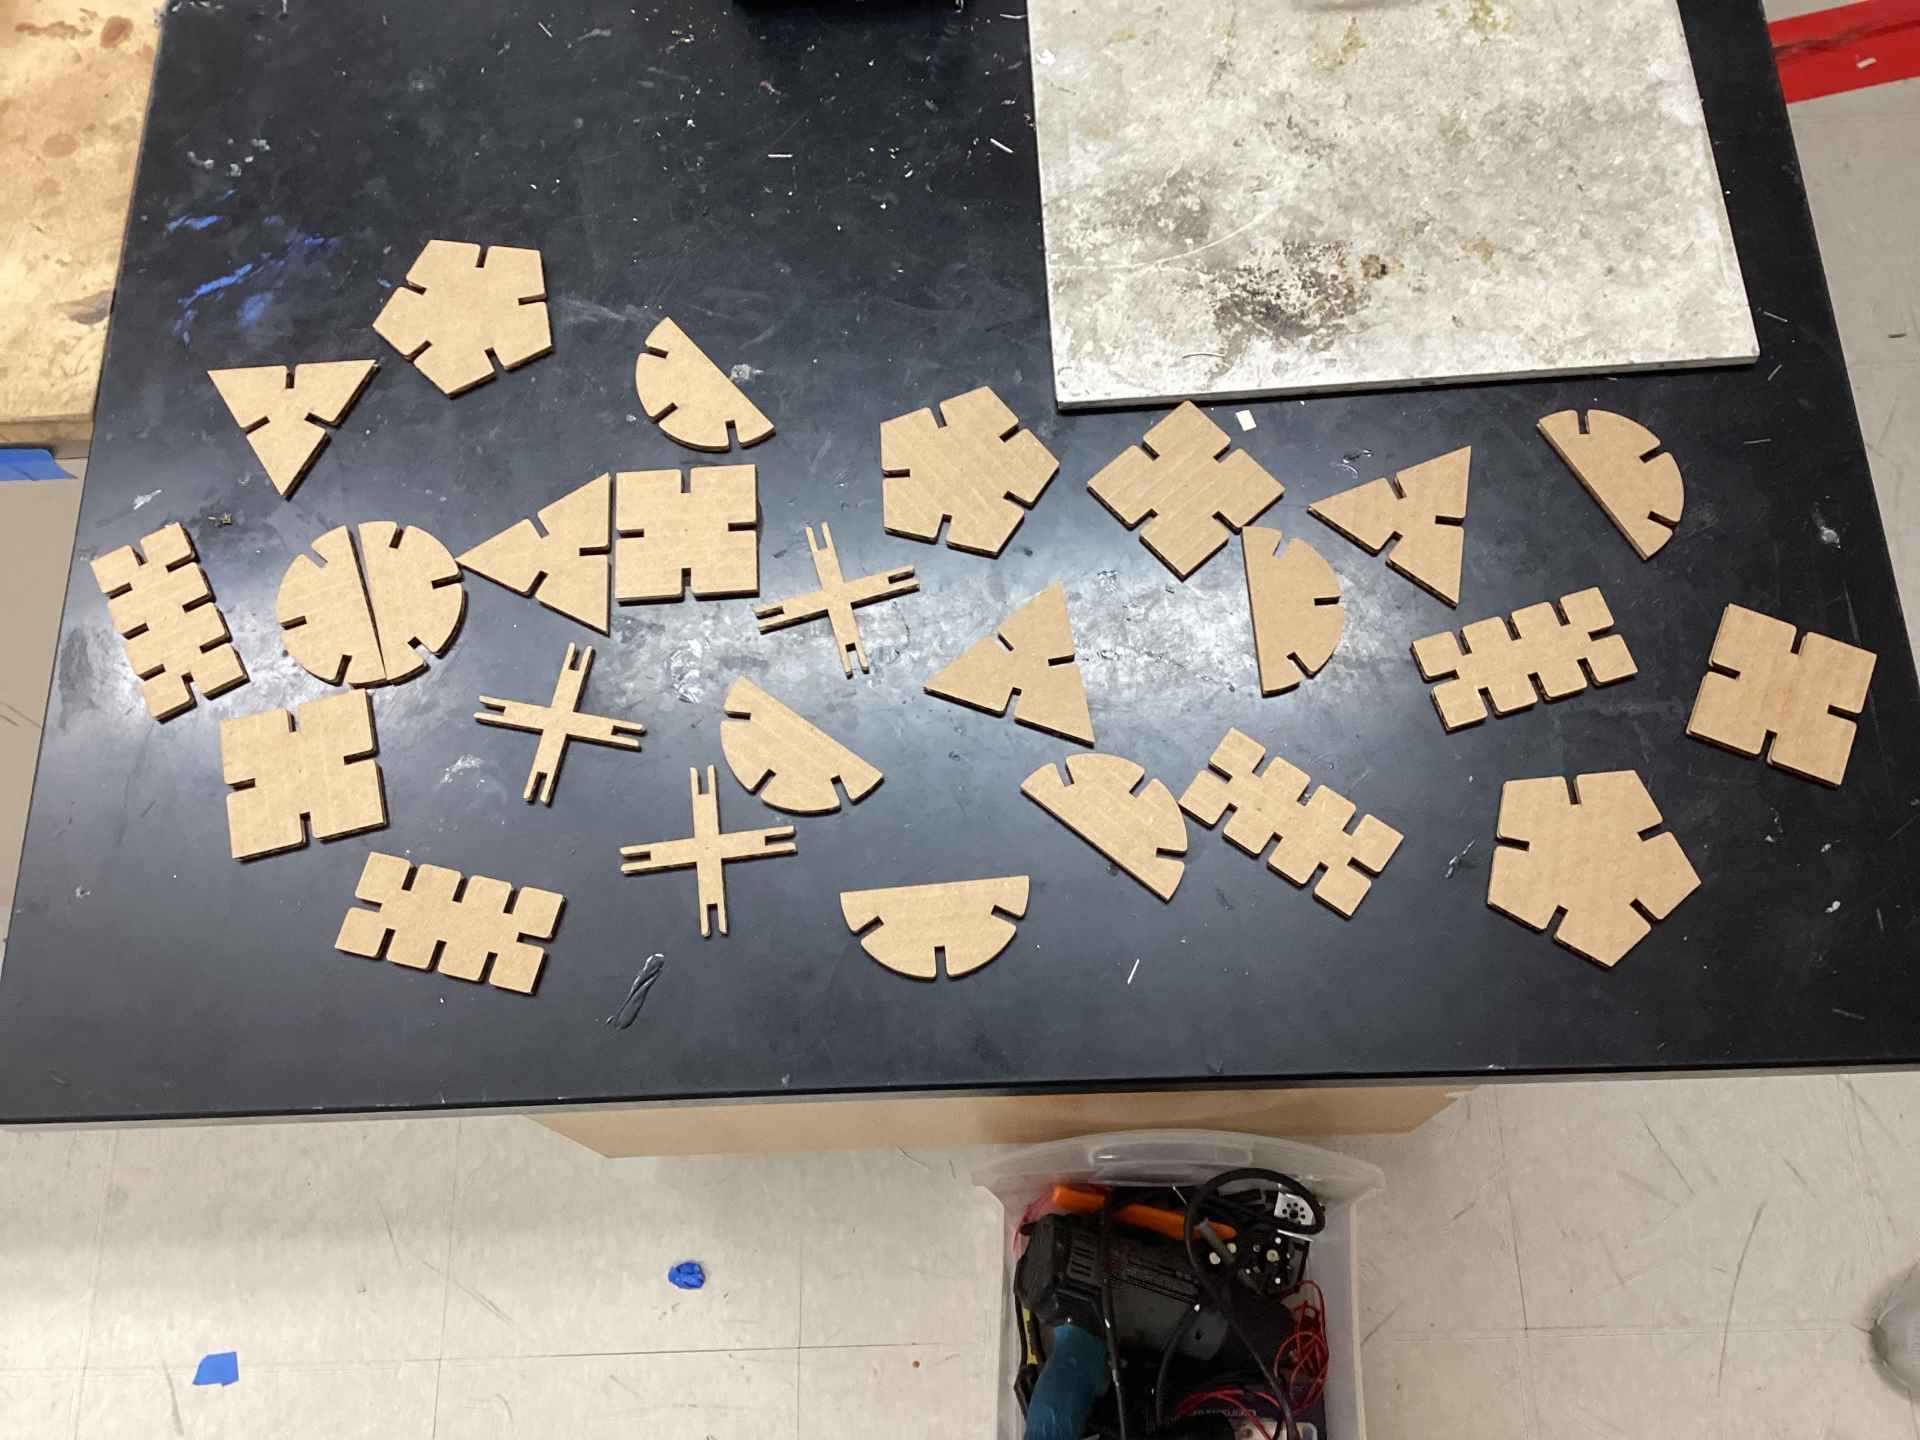
The reason I didn’t have to worry about changing the focus of the laser cutter was because several people had just used it before me to cut their own puzzle pieces. I then proceeded to hit the print button on the laser cutter before it began to cut. The job took about 5 minutes, and then I took out the completed pieces, after separating them, this is what they looked like:
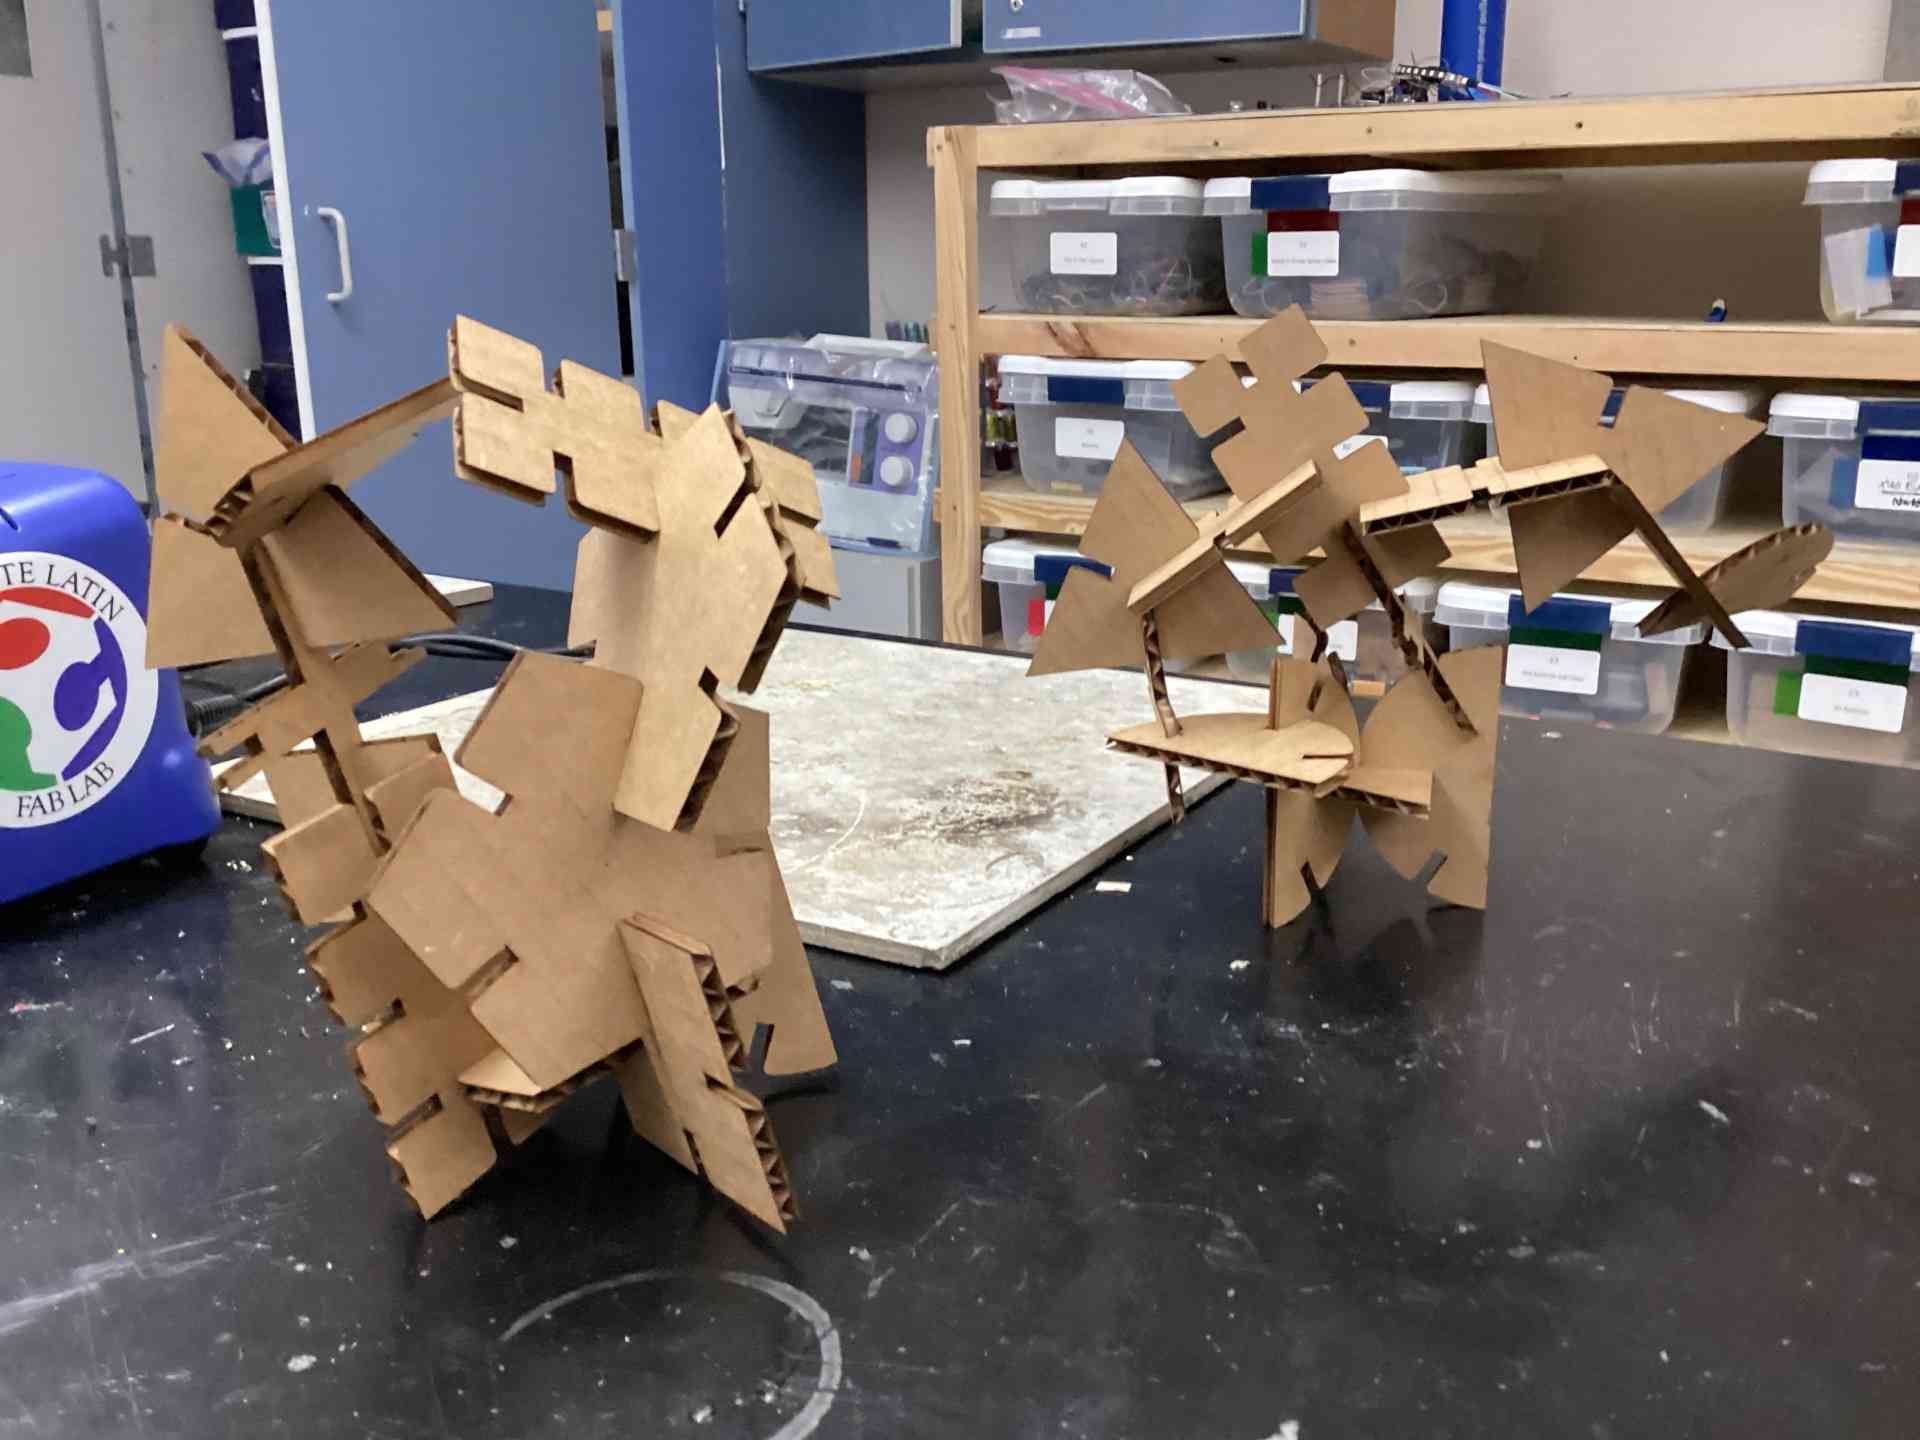
I tested them, and the pieces fit together very well! The picture below shows the assembled pieces I and one of my classmates, Alana Duffy, created together.
Kerf + Laser Cutter Settings
While laser cutting my design, I simply used the median kerf value that were found in my group’s assignment for this week, which was ~0.3 mm. The reason I did this was because the cardboard that I cut my design out of was the same kind of cardboard (same thickness) as the one used in my group assignment. As for the tab width of 3.8 mm that I chose, I also used the measurement from our group assignment this week, which found that the thickness of the cardboard was ~3.8 mm. Although I could have gone with the “best fit” width of 3.55 mm that we found in the group assignment, I wanted the parametric design kit to fit together slightly more loosely instead of being completely snug, so I went with 3.8 mm width tabs instead. Now, the settings that I used to cut my design (which is made of cardboard) on the laser cutter are shown below.
- Power: 50%
- Speed: 50%
- Frequency: 2000hz
Vinyl Cutting
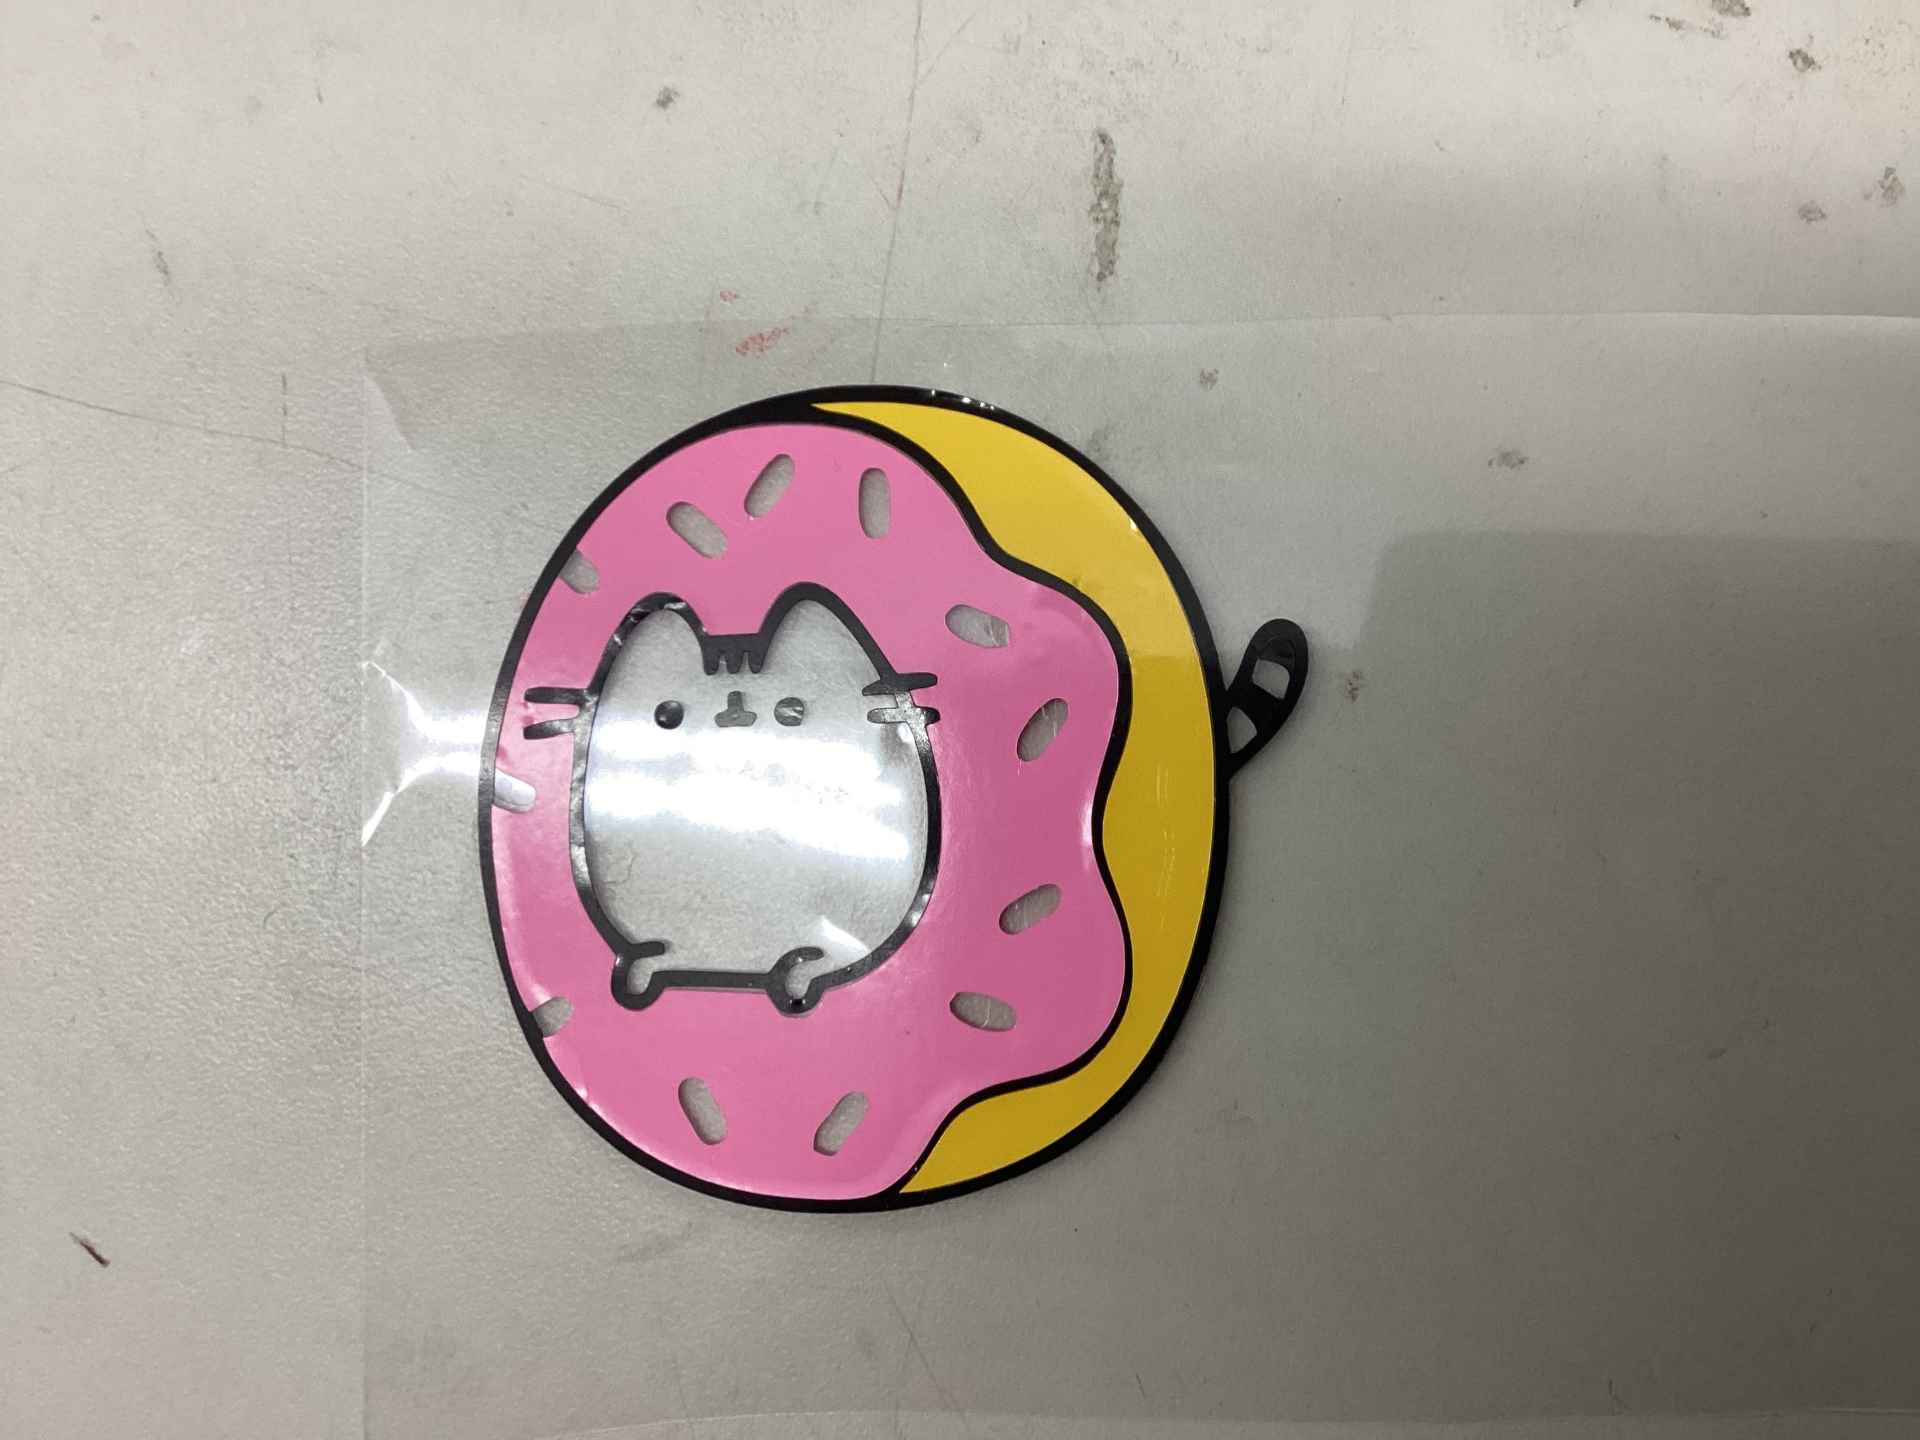
After finishing my parametric puzzle pieces, I moved onto vinyl cutting. I have had some experience with using the vinyl cutters in the past, but mostly with only one or two layers. Because of this, I decided to create a four-layer sticker this time. The design I chose was an image of Pusheen the cat stuffing herself inside of a donut.
I obtained the image from here.

Before using the vinyl cutter, I began by creating a vector graphic of the previous image so that it would be ready to cut. In order to do this, I opened the image into Corel Draw, an 2D vector CAD application. I then resized it to be around 3 inches in height and width. After this, I selected the image, chose the “trace bitmap” option in the toolbar, and created a quick trace. Although the tool is called “trace bitmap”, it actually creates a vector image. Finally, I selected the orignal image and deleted it, leaving only the vector graphic. After sending the file to the vinyl cutter, it was now ready to be cut.
For reference, the vinyl cutter that we use at the lab is a Silhouette Cameo, and we used Silhouette Studio as the software for vinyl cutting. Because both the machine and the software are made by the same company, the process of going from vector graphic to actual vinyl cutting was very smooth and wasn’t too difficult to learn. We basically just have to import the vector image into Silhouette Studio, choose which parts of it to cut, and press “send” to send the instructions to the machine before it begins to cut.
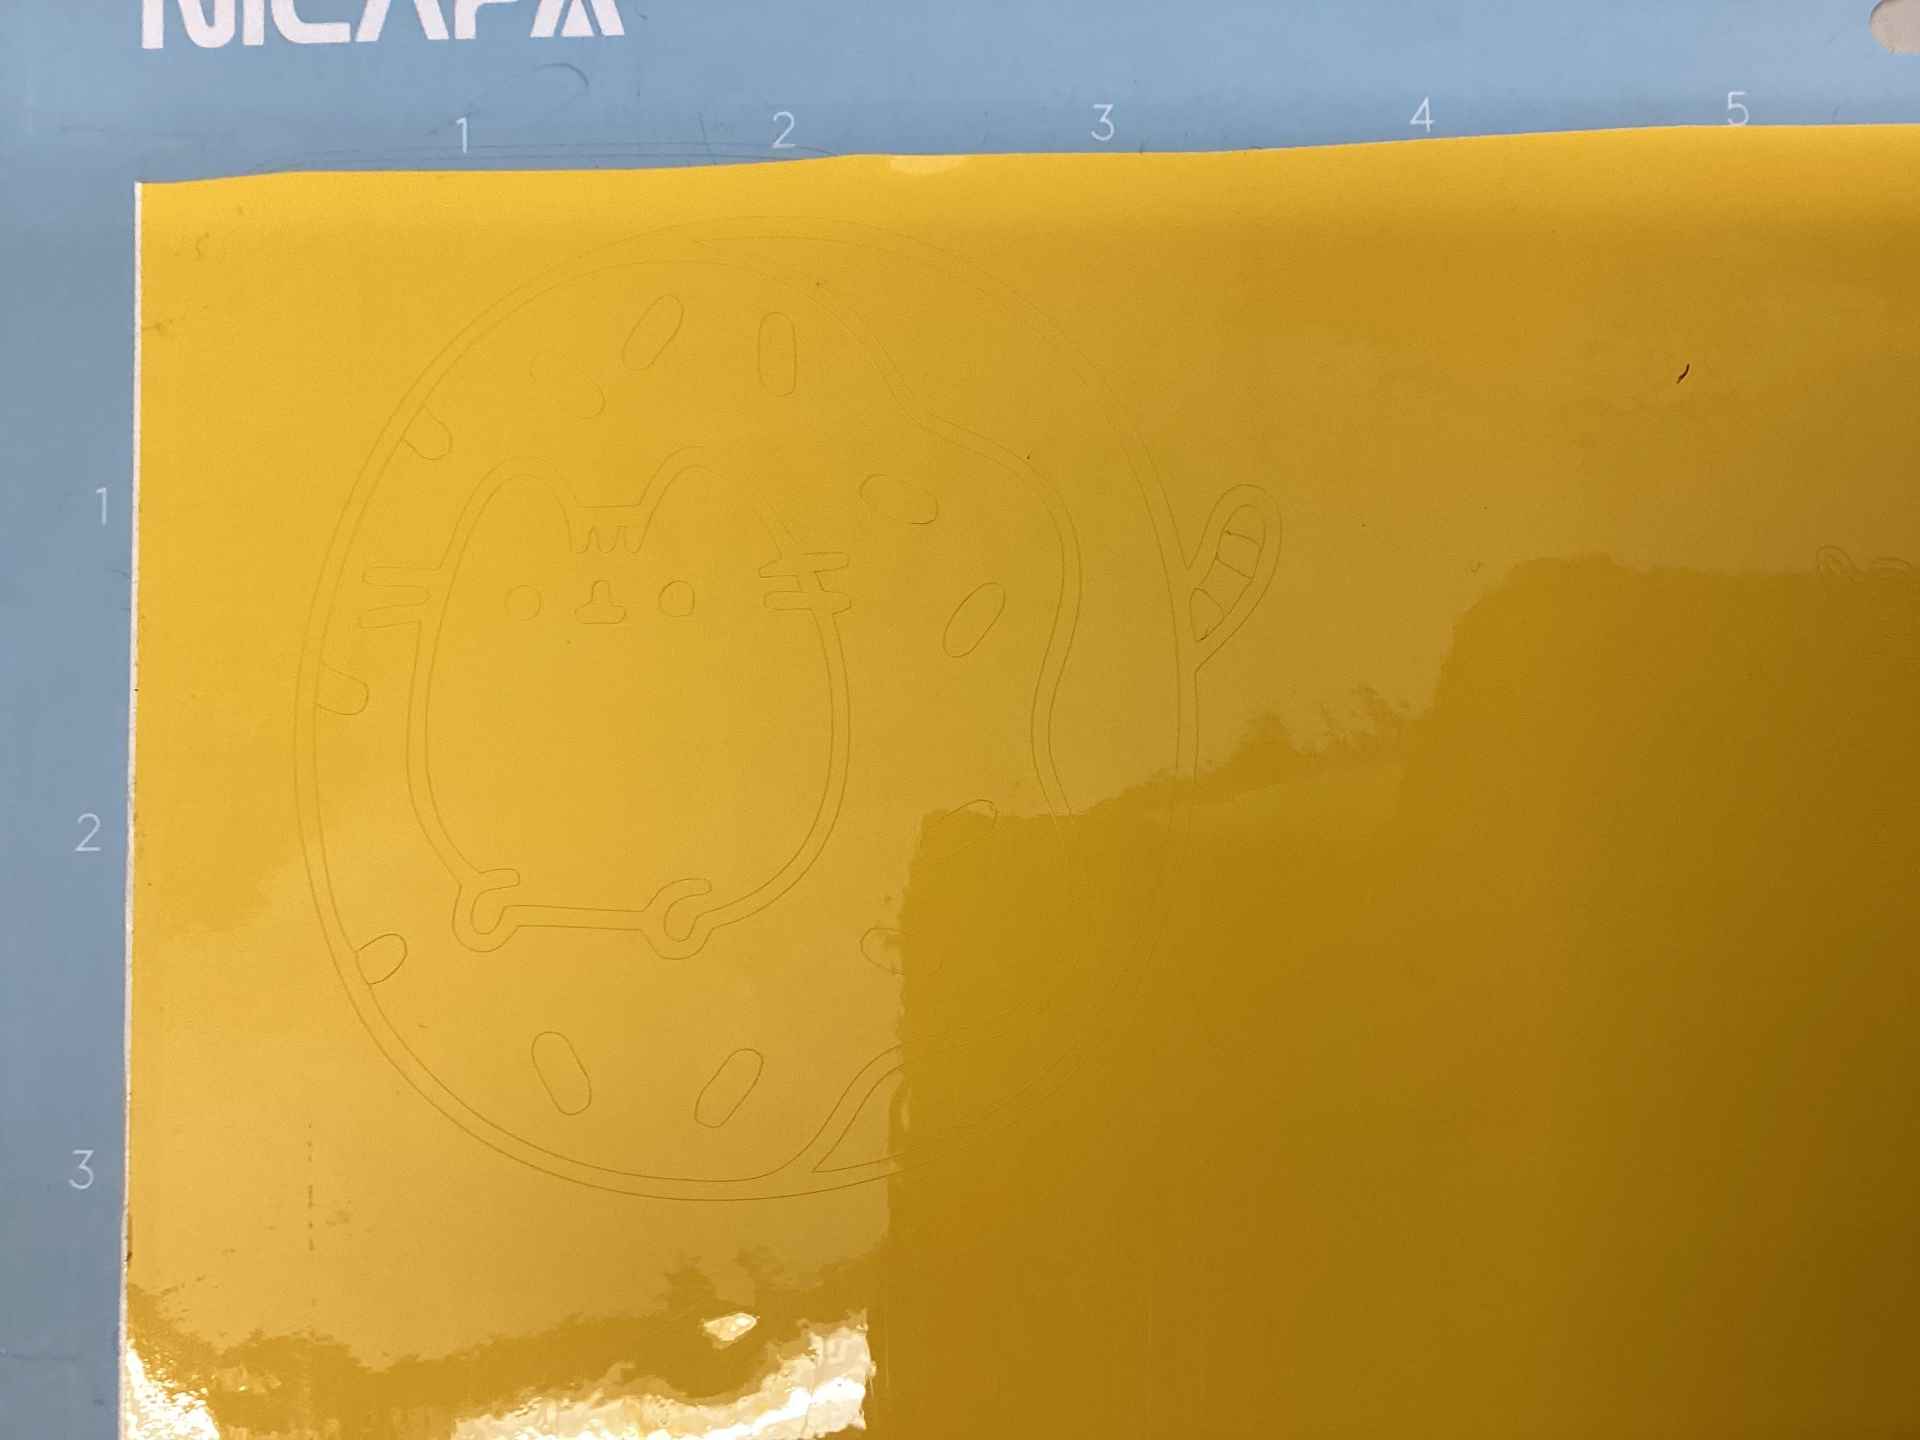
However, before I could actually cut, I had to set up all of the materials I would need. These included: yellow, pink, and black vinyl; scissors, tweezers, transfer tape, a squeegie, and a cutting mat. Then, I began the actual cutting process. I decided to start with the yellow vinyl, which I would use for the right part of the sticker. I loaded it onto the cutting mat and used the squeegee to make sure it stayed. Then, I loaded the cutting mat into the machine and began the job. This is what the vinyl looked like after (each of the cuts took about a minute).
Now, I could use my tweezers to weed (remove excess pieces). Afte carefully weeding the design, this is what I was left with.
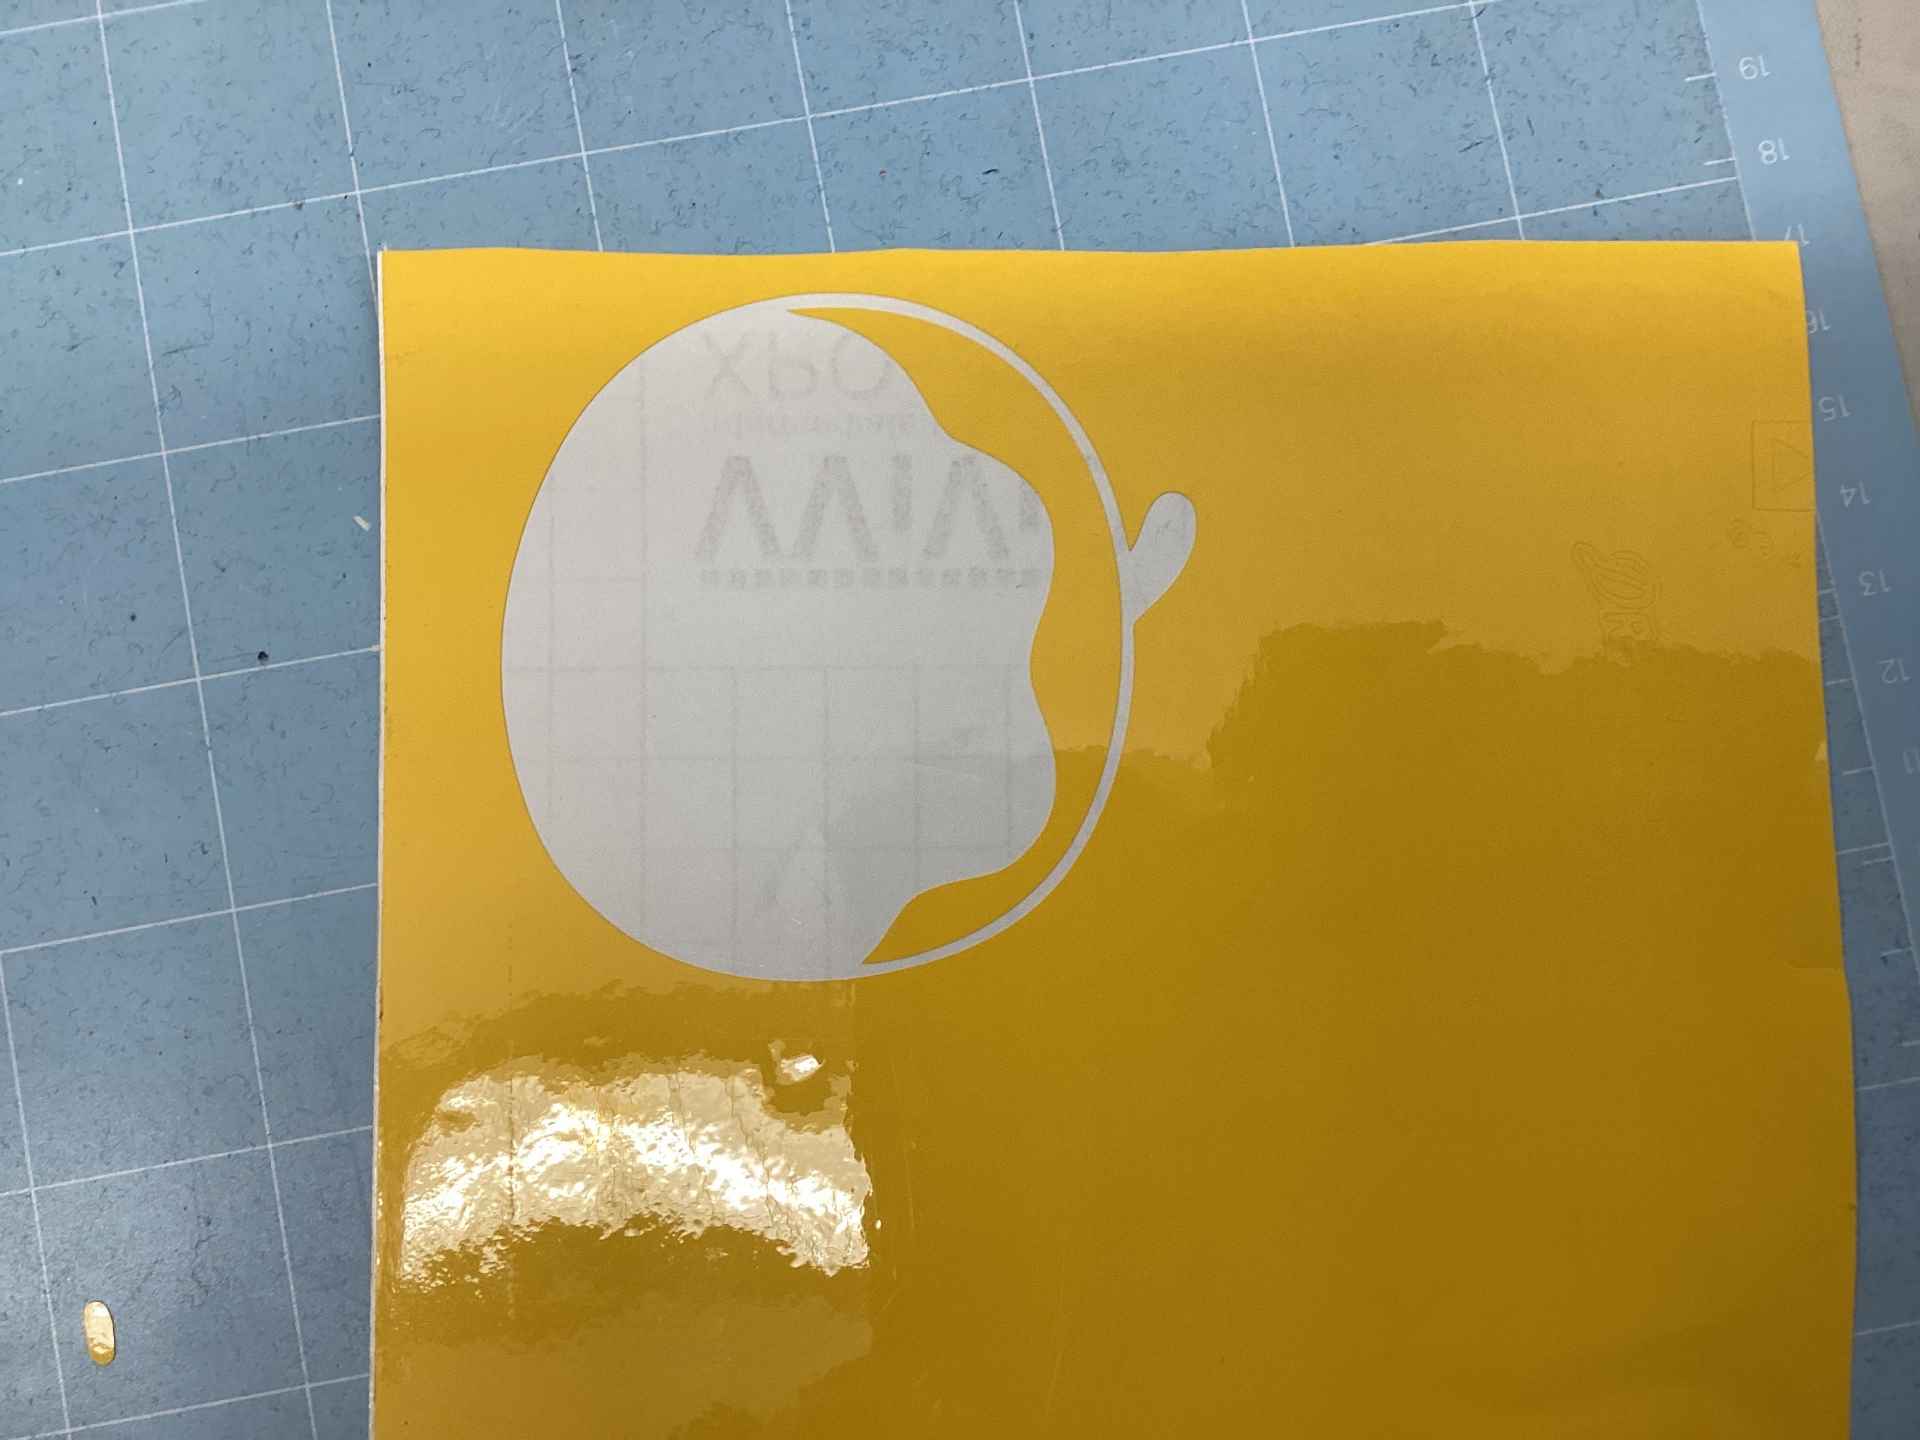
I also used scissors to cut out the design and removed the excess (uncut) vinyl outside of the design after this picture was taken. Now that the yellow portion had been cut, I moved onto cutting the outline. For this section, I had originally planned to use brown vinyl, but I was unable to find any in the lab. So, instead, I used black vinyl. I went through the same process as the first cut for this portion, with the only difference being that this part was slightly harder to weed due to the slimmer pieces. This is what the outline looked like after being weeded.

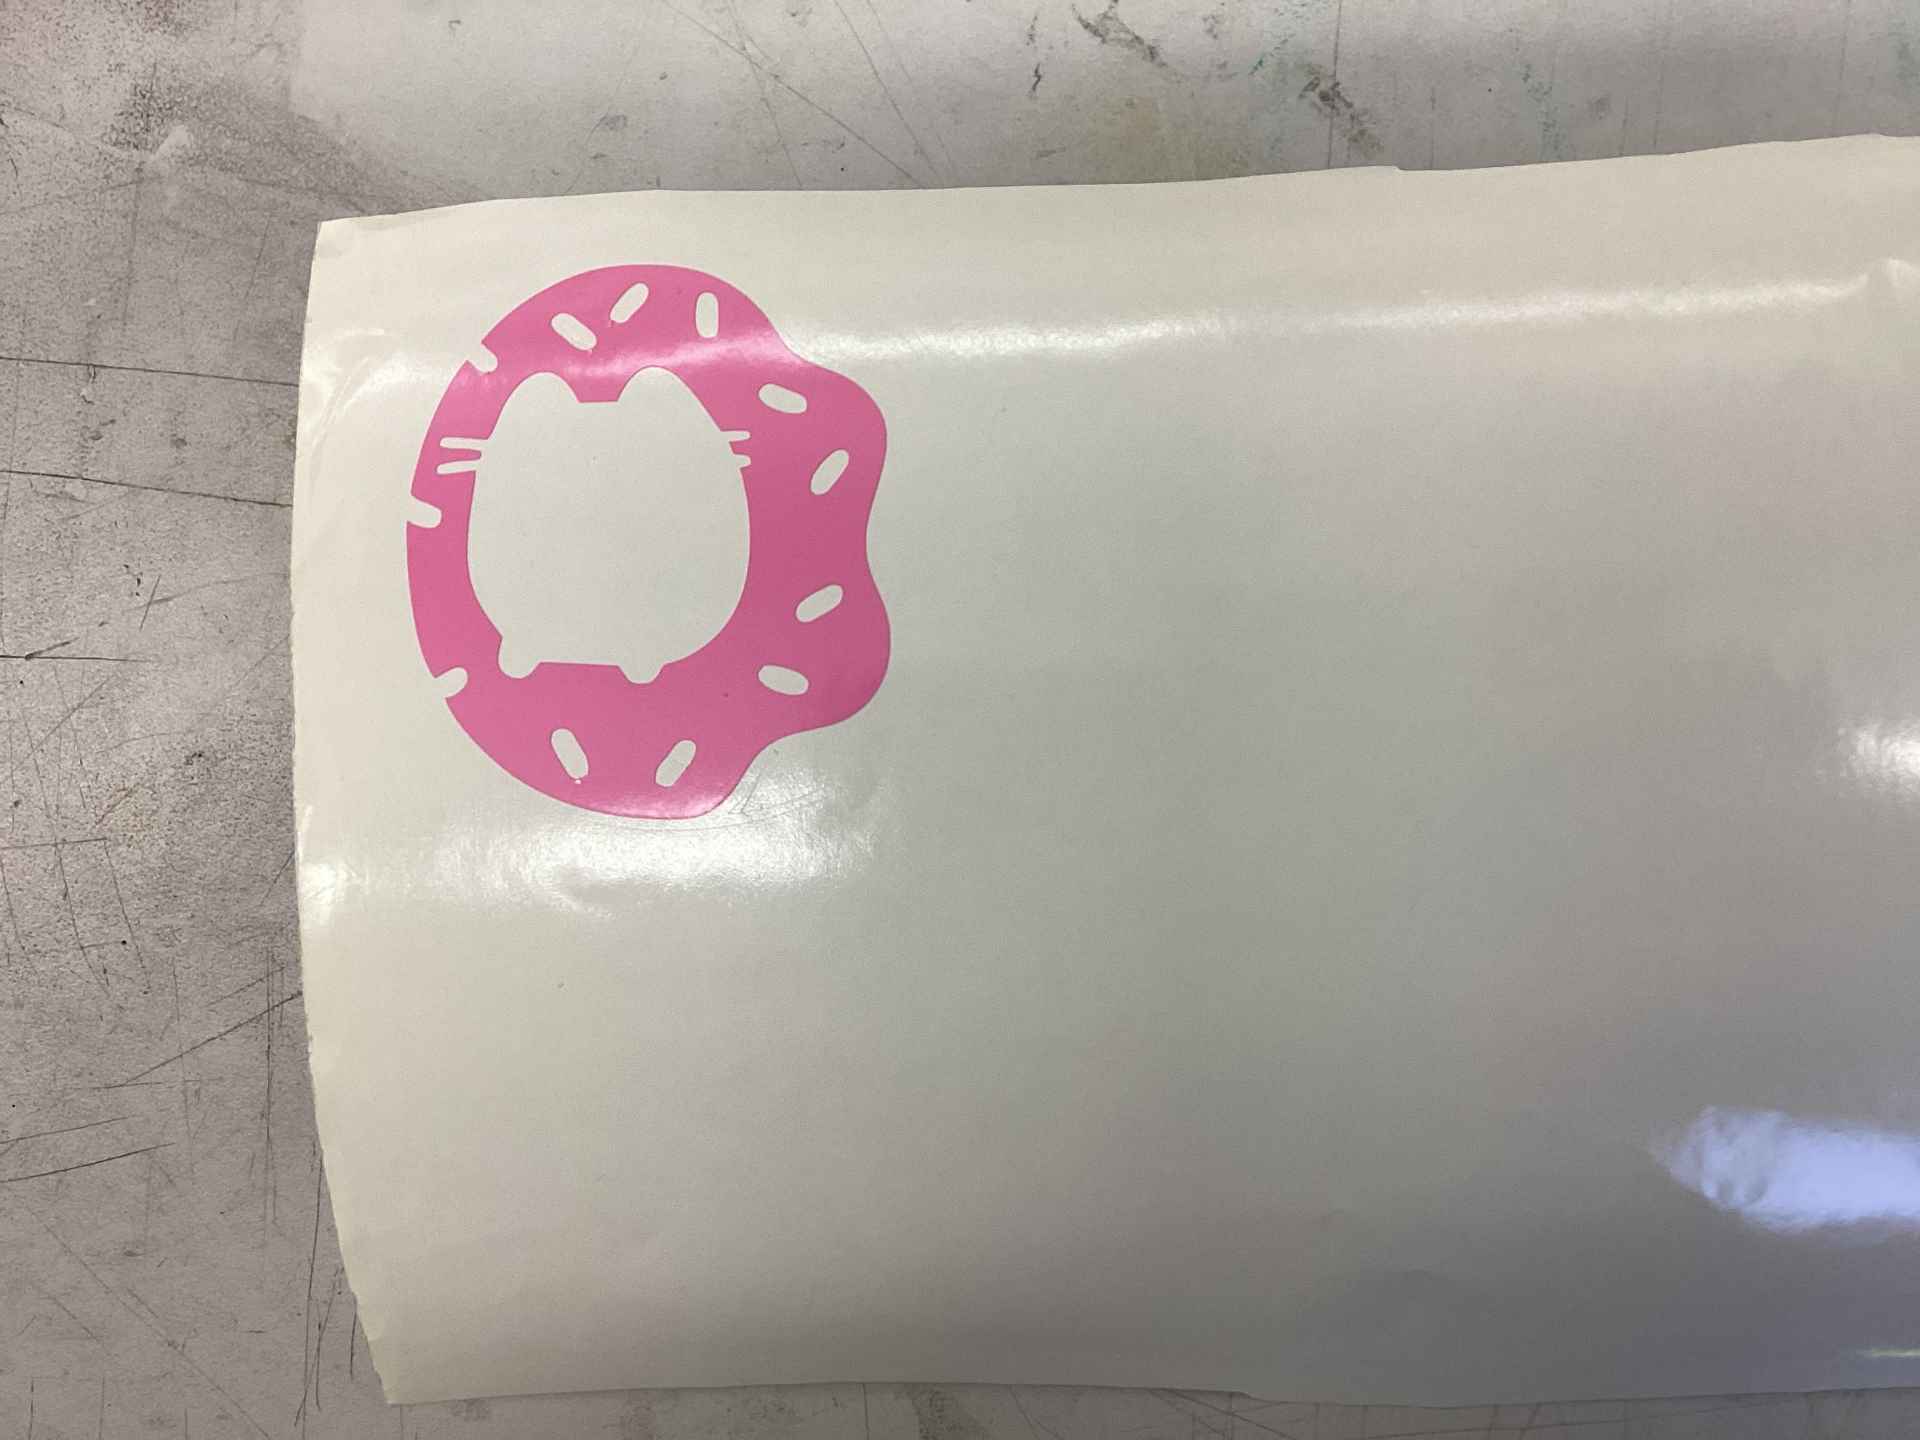
Importantly, this is the piece which I eventually decided to layer all of my pieces. I chose to layer them on this piece because the outline would be much harder to pick up and put down precisely with transfer tape. The eyes and nose would have also been a problem if I had chosen to layer on a different piece. Anyways, I could now cut the pink piece, which consists of the left side of the sticker. Again, I used the same process as the previous two cuts. After weeding, this is what it looked like.
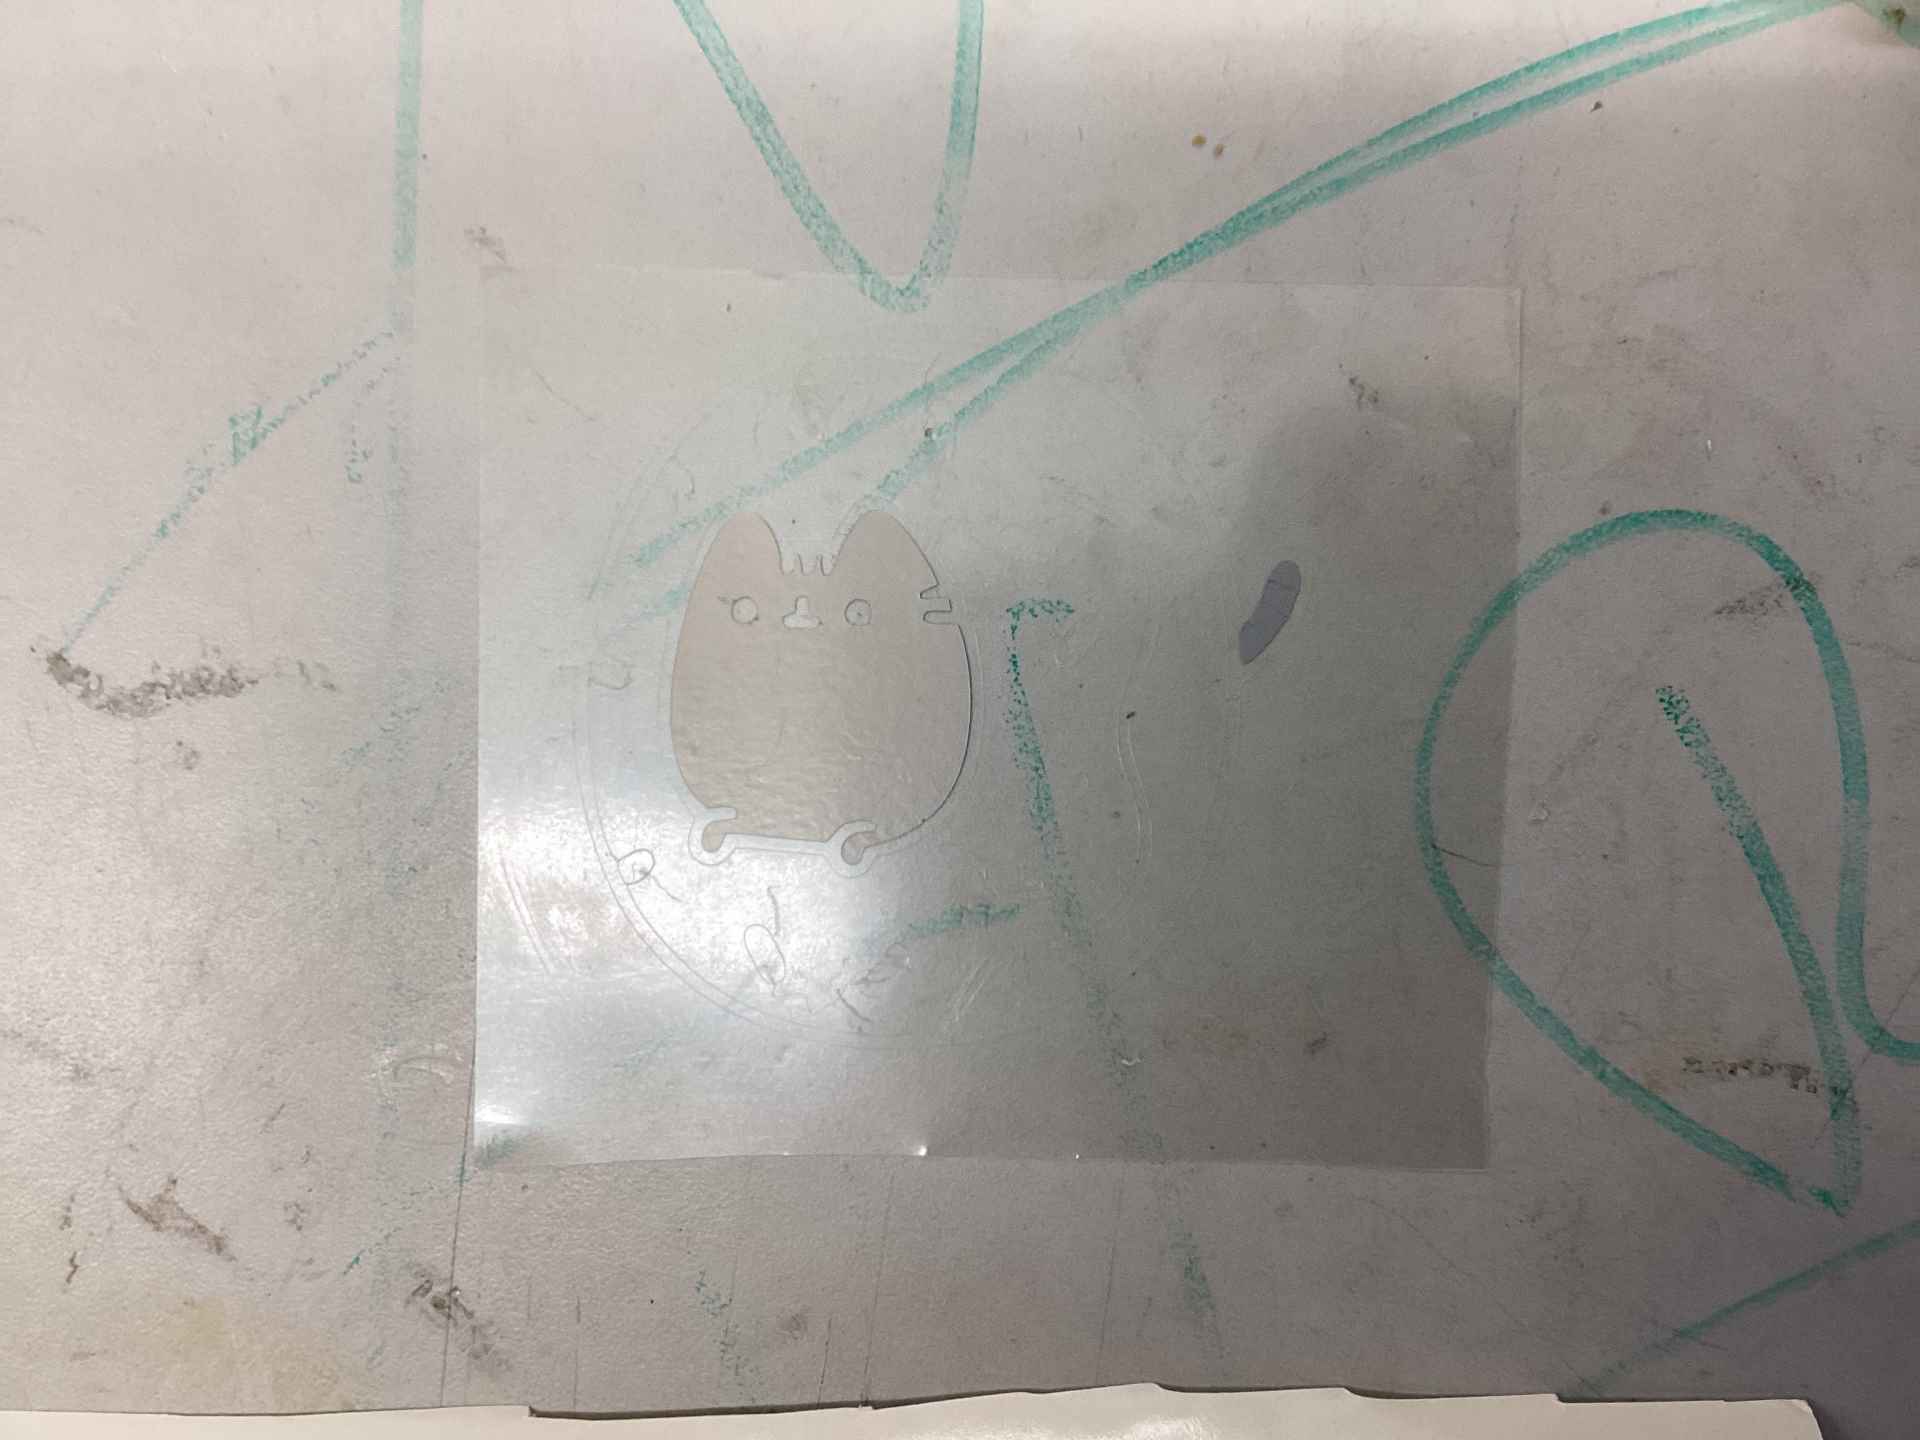
The final piece of this design was the face, which I made out of grey vinyl. This piece rather difficult to weed correctly, but it was stil more simplistic than the outline. This is what the piece looked like after it had been cut and weeded.
Now that I had all my pieces cut out, I could begin the proccess of using transfer tape to layer them! As I previously stated, I decided to layer everything on the outline (and eyes), as that would be the hardest piece to precisely move with transfer tape. Overall, this process wasn’t too difficult, at least not when algning the yellow and pink pieces. The only part which caused trouble was when I attempted to layer the grey face piece over the eyes. Because the eyes were so small, they didn’t stick very well and constantly moved around while I tried to layer the grey piece over them. Eventually, though, this was fixed by simply removing the eyes temporarily, layer the grey piece on, and then adding the eyes back over the face. The picture below shows the finished sticker.
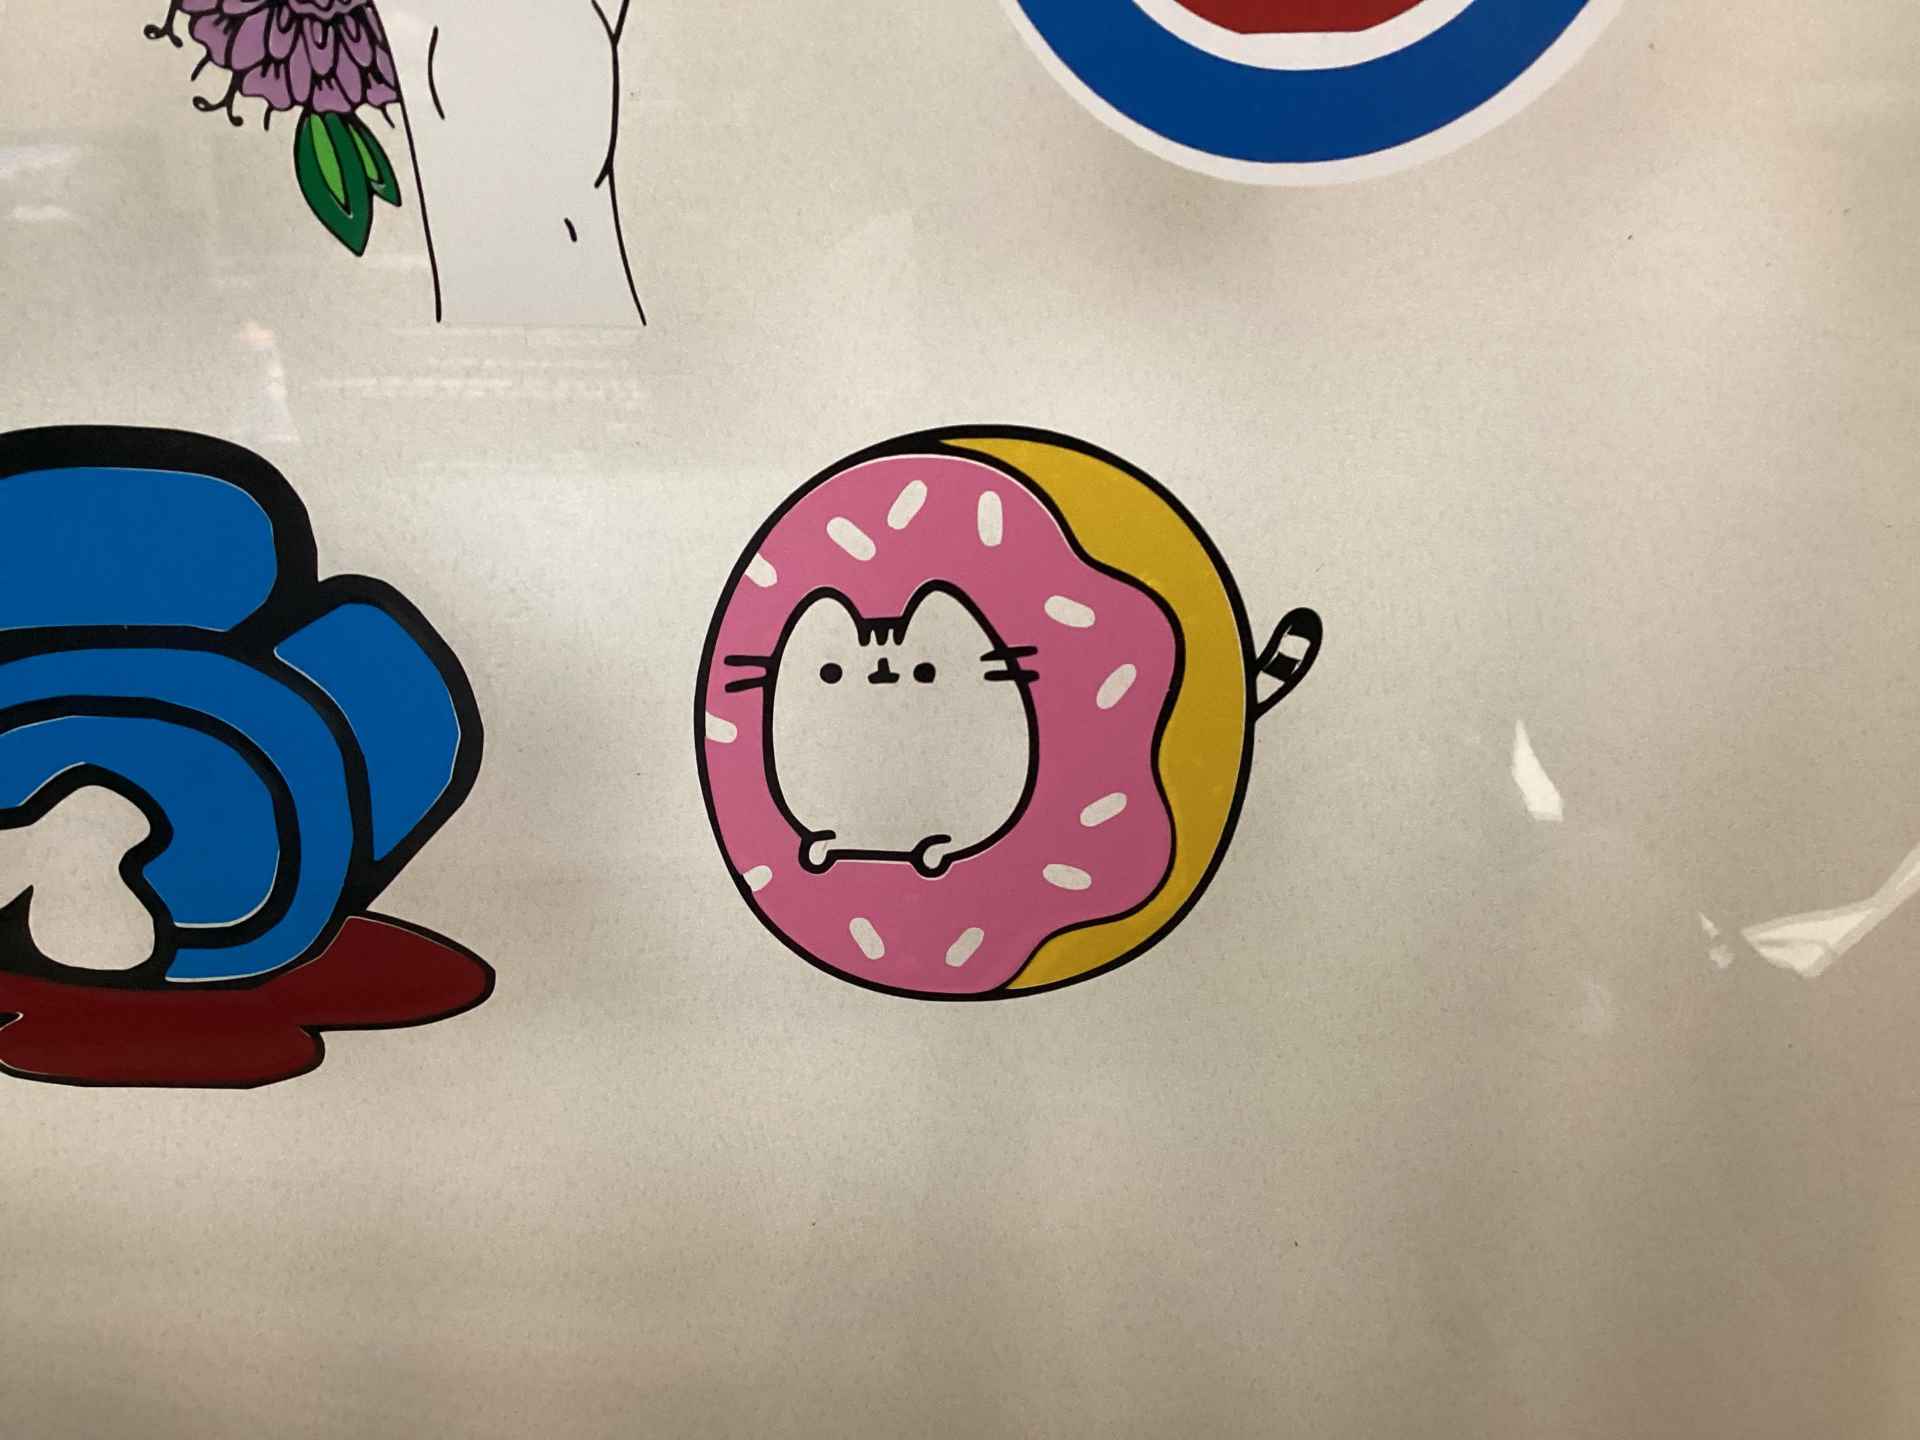
After finishing the sticker, all I had to do was use transfer tape to put it on the wall of my lab, which is a running tradition. The transfer tape I ended up using wasn’t fully transparent and looked more like normal tape than I expected it to. Luckily, however, this didn’t end up affecting the transfer process, as it still went very smoothly. The picture below shows my sticker with transfer tape over it.
![]()
Now, all I had to do was move the transfer tape over the window. This was relatively easy, as none of the pieces put up resistance or stuck themselves to the tape while I was trying to remove them. The picture below shows what my sticker looks like on the wall of my school’s lab.
Fixing my Parametric Design
So, after I finished this week’s assignment, it was brought to my attention that I had actually forgotten to include parameters in my parametrically designed puzzle piece set (sigh). Because of this, I will now create those parameters in my Fusion file and explain how I would change my current file to utilize those parameters properly. A picture of the parameters I have created is shown below.

I used Alana Duffy’s documentation as a reference when creating this table, so feel free to take a look at her documentation if you are struggling with the parametric design process. Now, I will explain the parameters in the picture above and why I chose the values that I did (before considering kerf).
- Kerf: I got the optimal kerf value of 0.3 mm from my group assignment during this week (which is linked further down). In my group assignment, we found that the kerf should be around 0.3-0.35 mm. I went with the lower end of this estimate because I wanted my puzzle pieces to fit more snugly in each of the tabs and have less wiggle room.
- MaterialThickness (also called tab width): I also got the value for this parameter from my group assignment during this week. We got this value by measuring the thickness of the cardboard we were using using calipers.
- TabLength: This is the value that determines, as the name suggests, the length of the tabs I used in this design. In my experience, the exact value that you choose for this parameter doesn’t matter too much, as long as you make the tabs long enough for the different puzzle pieces to be able to fit inside of the tabs and not fall out. I chose a value of 12 mm for this parameter because I felt that it was both long enough for the puzzle pieces to fit snugly inside of each of the tabs while also not taking up too much space.
Also, as you can see, I added the value of kerf to the values I set for MaterialThickness and TabLength. This is to make sure that, after the laser cutter cuts the design out, the values that I set for the other two parameters will actually be accurate, as the laser cutter takes away some material when cutting through.
Changing my Design
Now that I have created my table of parameters, how would I actually apply them to the constraints I have already created? Well, it might actually be simpler than you think, due to the fact that Fusion has a list of “model parameters” in the files you create (shown in picture below)

Not all of the model parameters are shown here, as the list is too long, but the model parameters essentially contain all of the constraints I have already made in this design. This list makes it easy to change the constaints to parameter values because I can just replace the length value of any constraint with the name of my parameter. For example, take a look at the constaint “Linear Dimension-3”, which has a length of 12 mm. This constraint is supposed to represent the tab length, but it is not currently parametrically defined. In order to fix this, all I have to do is double click on “12 mm” and replace it with “TabLength”. Now, the tab length has been parametrically defined. I would then repeat this process for all constraints which represent either MaterialThickness or TabLength to create a parametrically designed puzzle piece set.
Group Assignment
The group assignment for this week was to test the effects of changing the settings on our lab’s laser cutter. This week, my group consisted of my classmates Connor Cruz, Landon Broadwell, Evan Park, and myself. The settings which we primarily focused on were: Power, frequency, speed, kerf, focus, and joint clearance/type. Throughout the course of this assignment, I learned many new things, such as how kerf affected the dimensions of my puzzle pieces, the different types of joints, and how all of the previously mentioned settings changed the overall quality of laser cuts.
The link to our documentation can be found here.
My Contribution
My job this week was to specifically test focus and its effect on laser cuts. In order to do this, I created a file in Corel Draw with four copies of the Fab Academy logo. I then converted all four of these logos into bitmaps and removed the original (non-bitmap) images. After this, I added text indicators under each logo to show what focus level they would be cut at. These focus levels ranged from +0.0 to +0.2. I then engraved each logo using its corresponding focus level and saw that the +0.2 logo had the most prominent engravings, with the others all being relatively similar. From this, my group concluded that changing the focus level almost definitely has a noticeable effect on engravings (and maybe cuts too). Focus testing can be found at the bottom of my group’s documentation.
Reflection
This week wasn’t too much of a challenge for me when it came to parametric design, which went very smoothly. However, I ran into 2 major issues while vinyl cutting. The first issue was when I attempted to cut some of the pieces using vinyl that didn’t have any backing. This issue only resulted because I didn’t pay enough attention to the vinyl, so I will be much more careful from now on with that. The second issue was that the outline of my sticker was prone to moving around because it didn’t stick very well, making it harder to fit my other layers onto it. To fix this in the future, I plan on using either tape or another tool to secure the outline while I layer parts over it. I feel like both my parametric puzzle pieces and my sticker came out well, even if I did encounter some issues. The files for these designs are linked here.